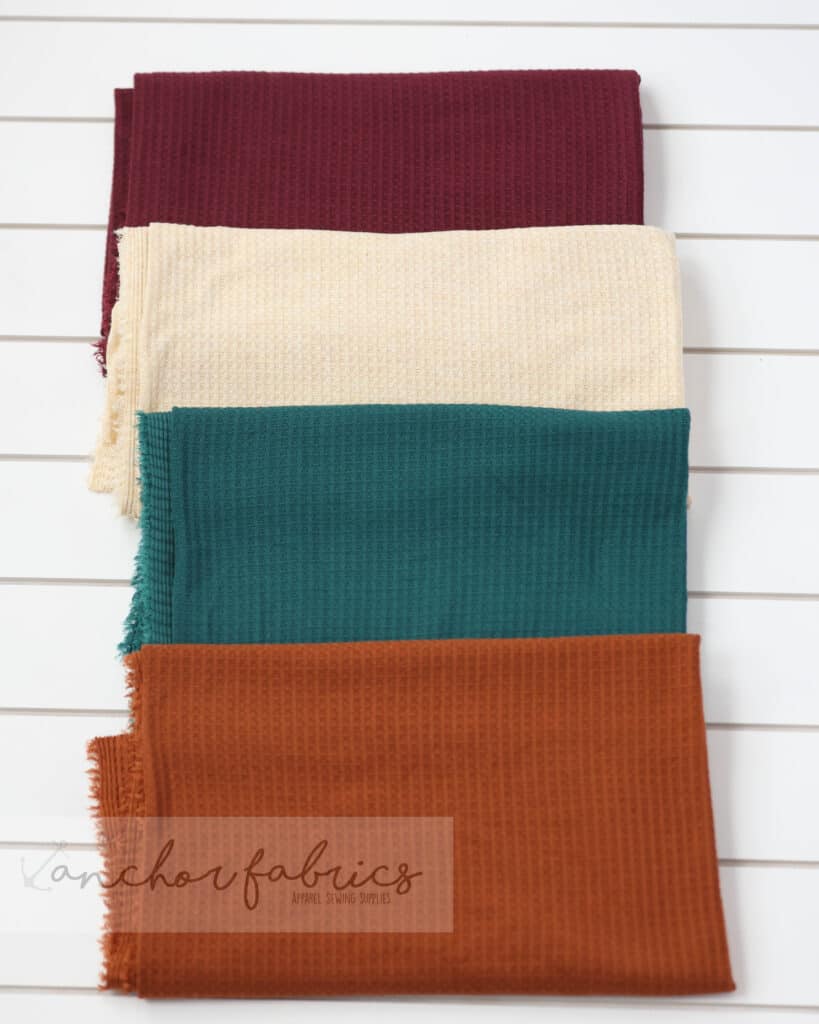
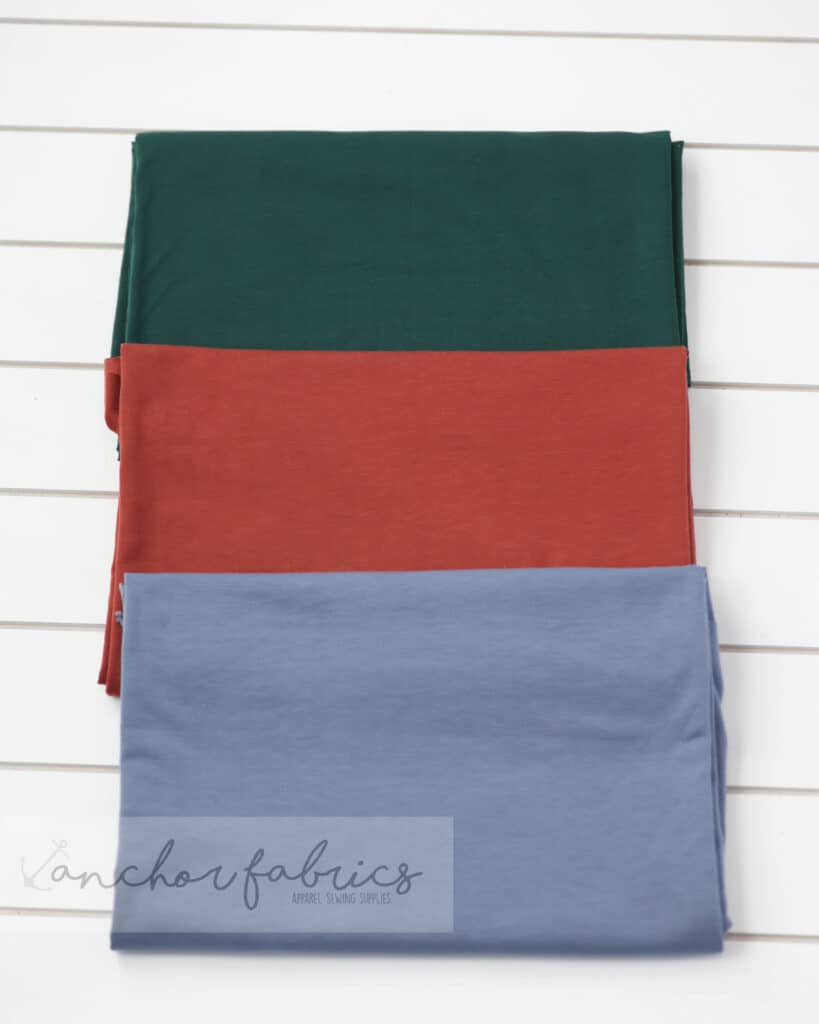
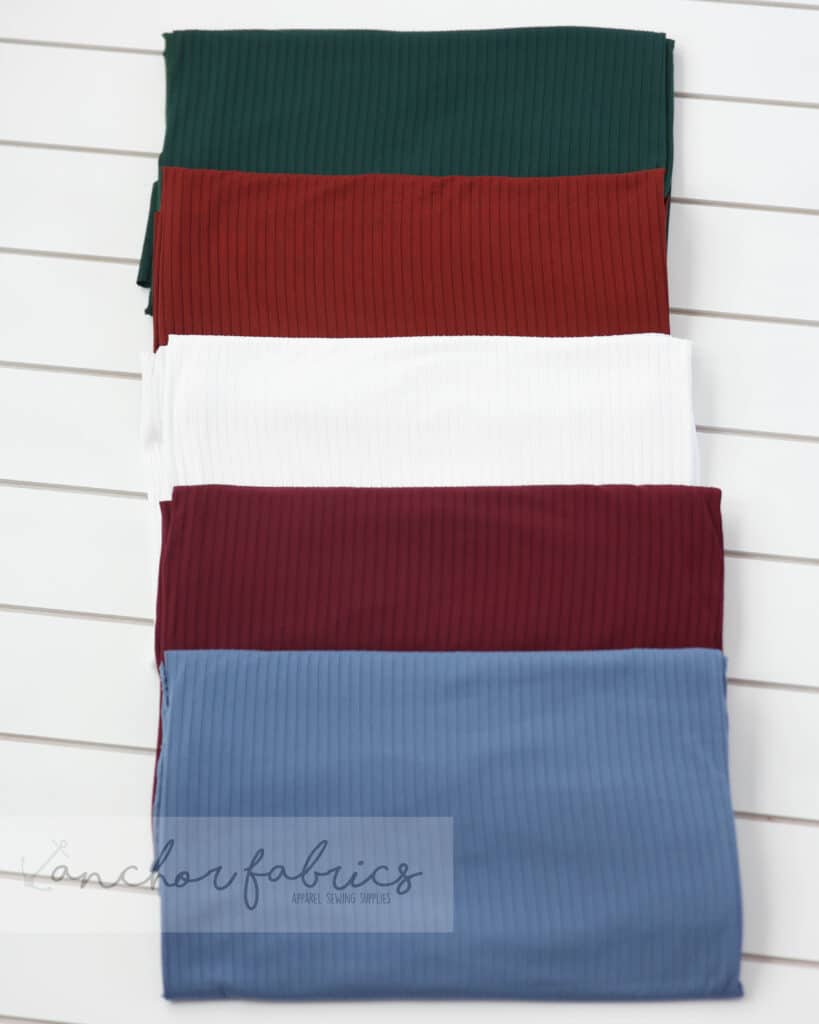
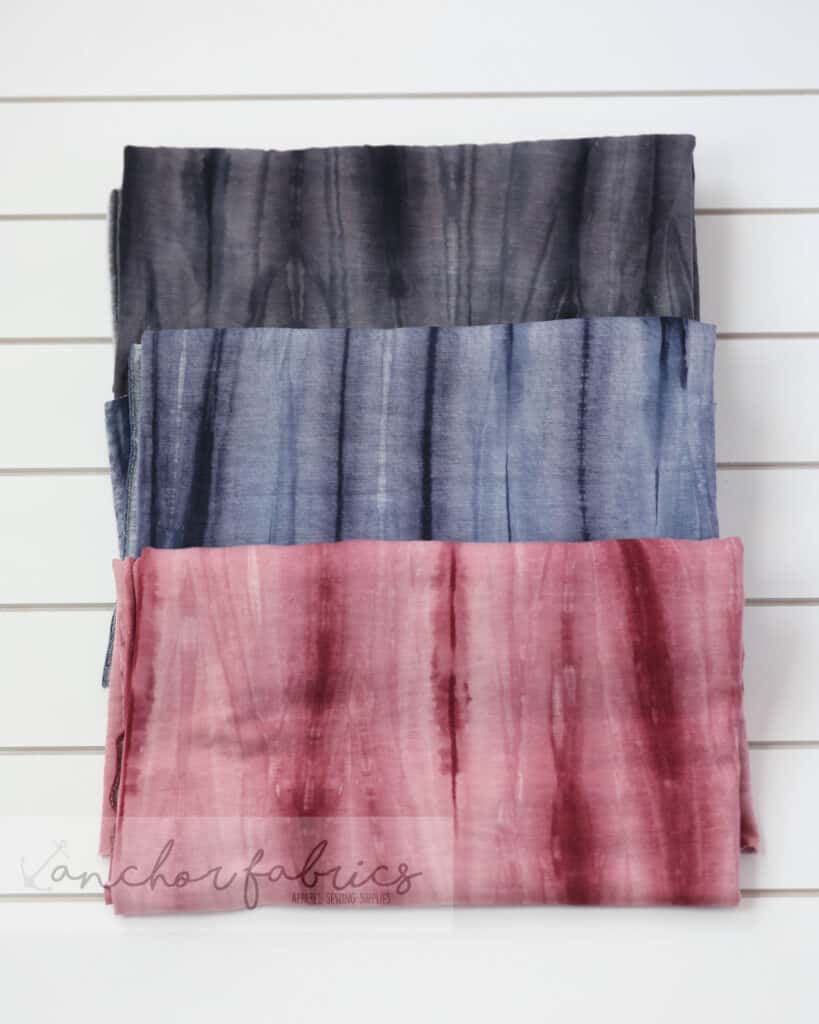
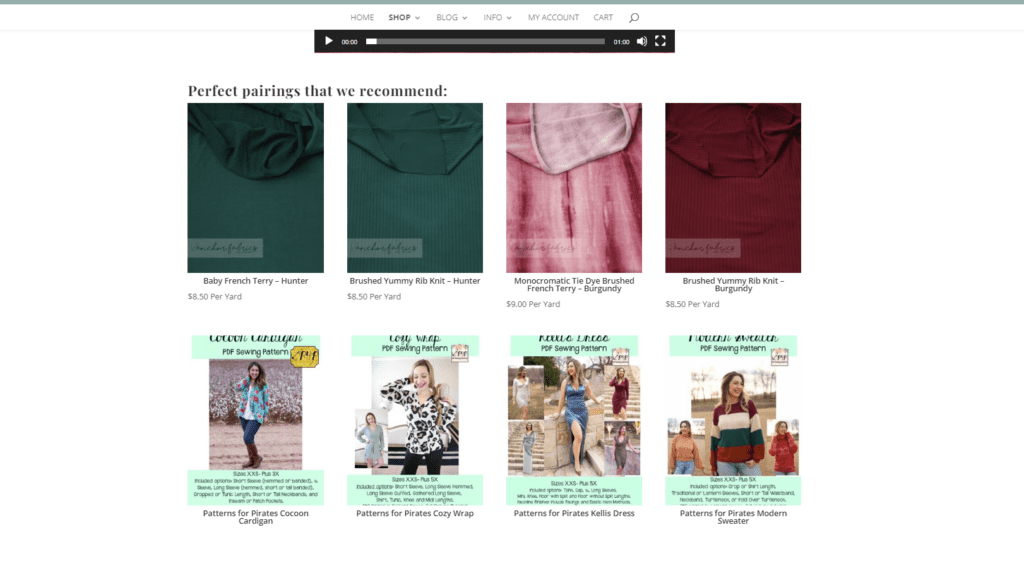
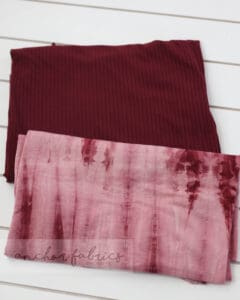
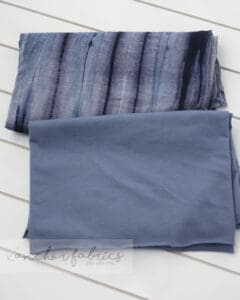
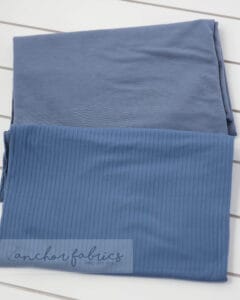
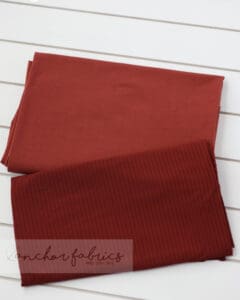
Protected: Fabric for Pirates :: August 2022 Reveal
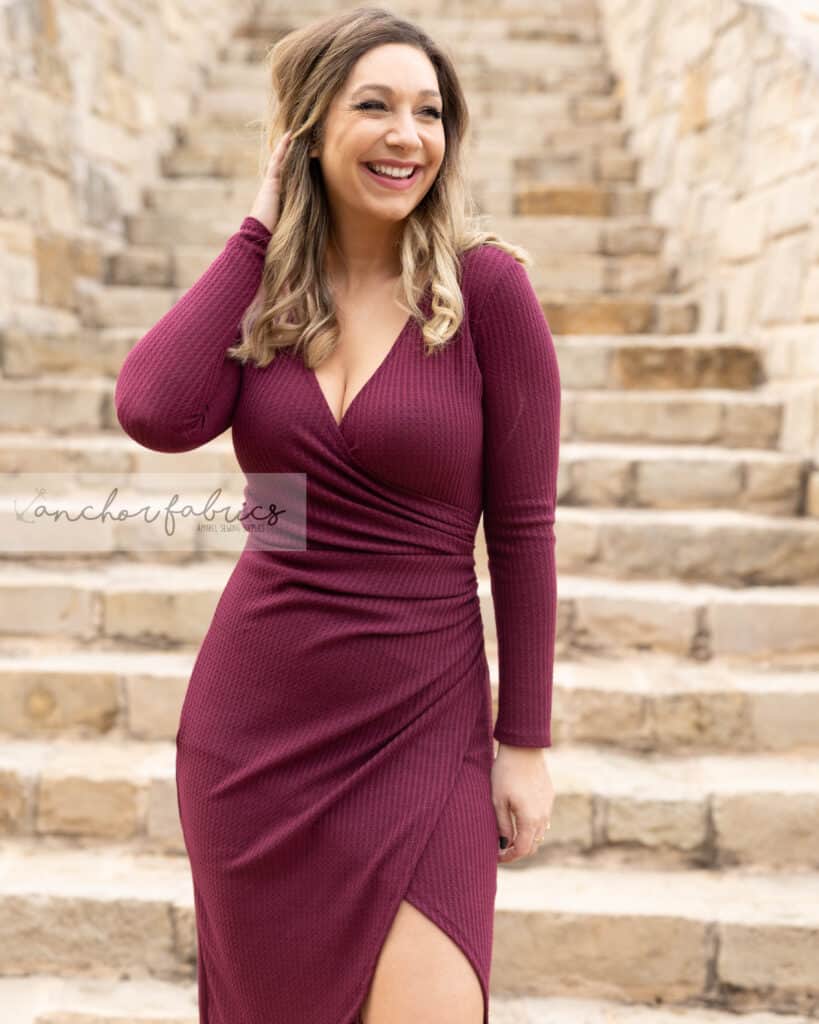
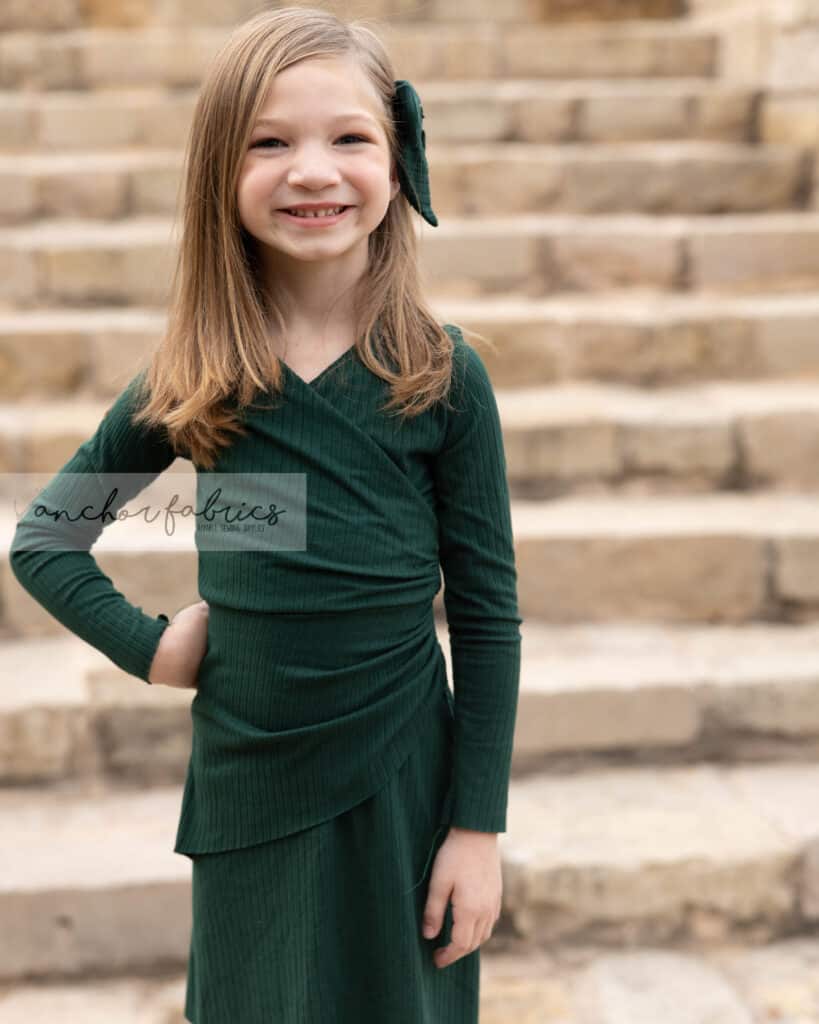
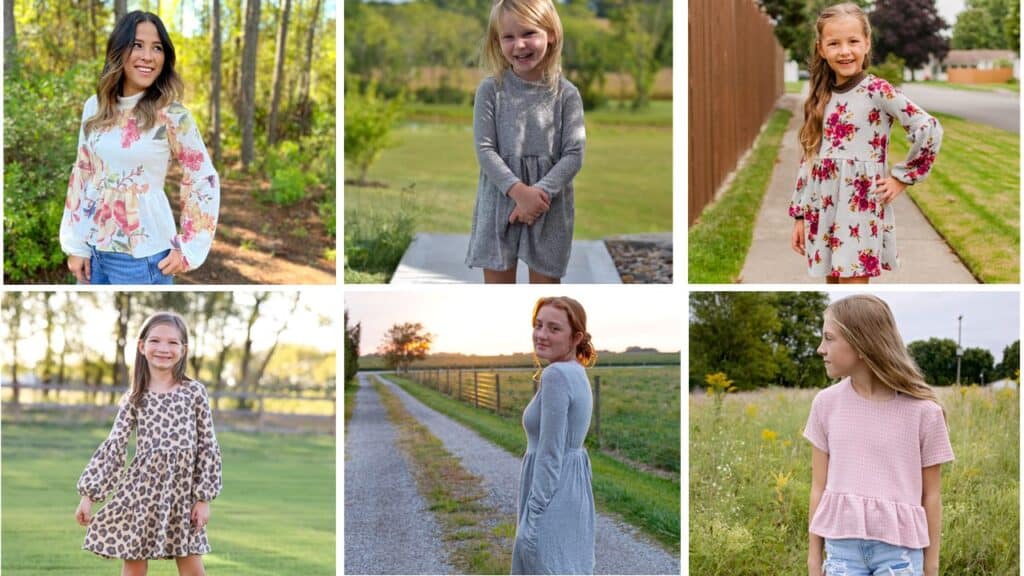
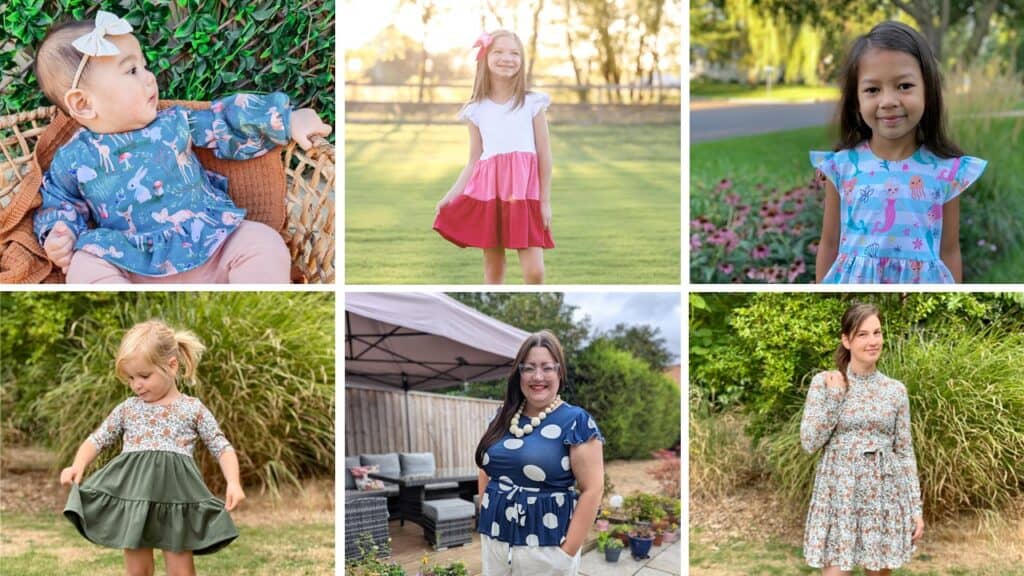
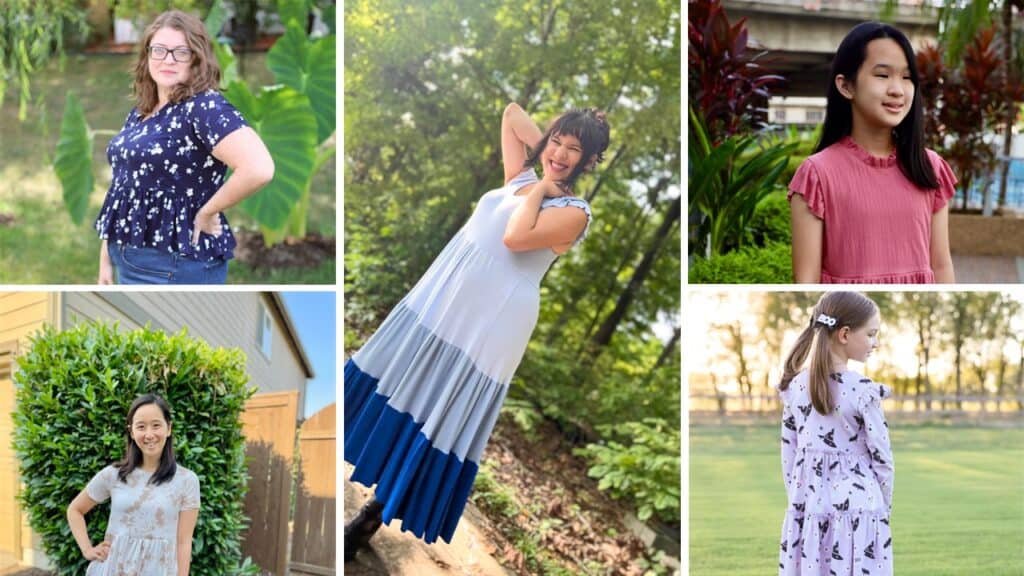
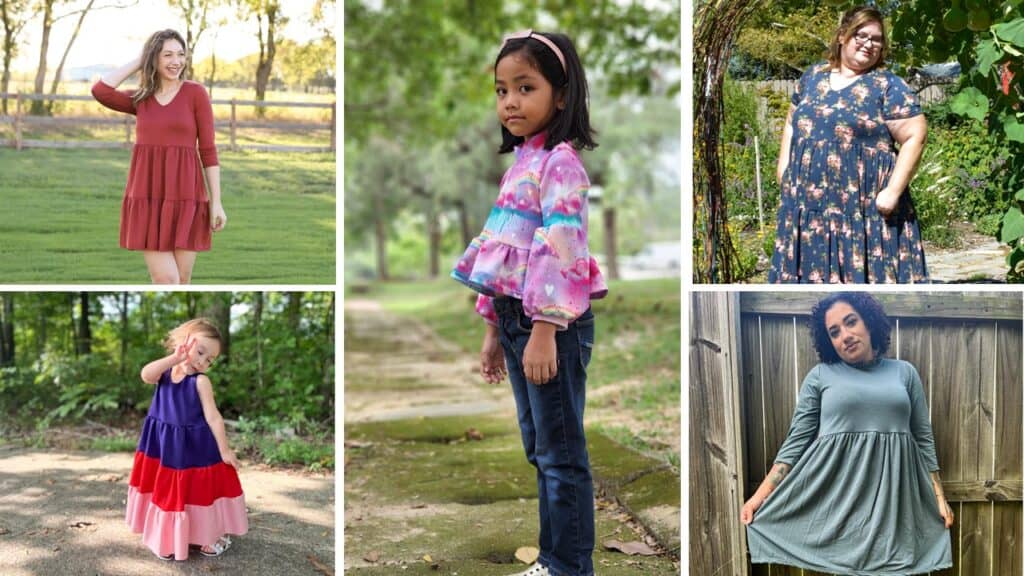
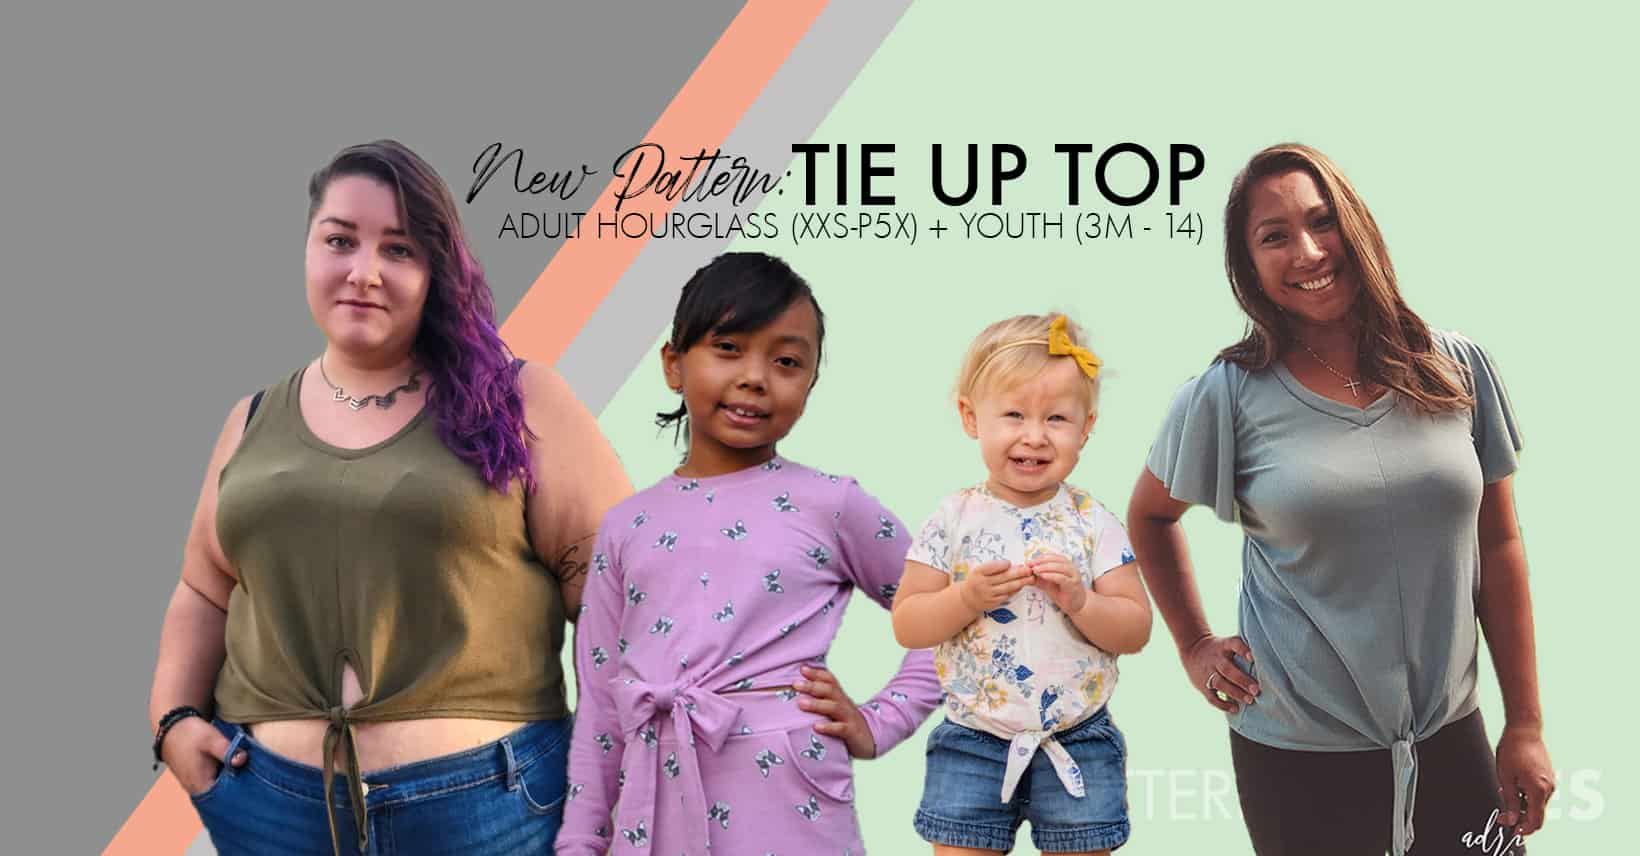
New Pattern Release :: Tie Up Top (Adult + Youth Sizes!)
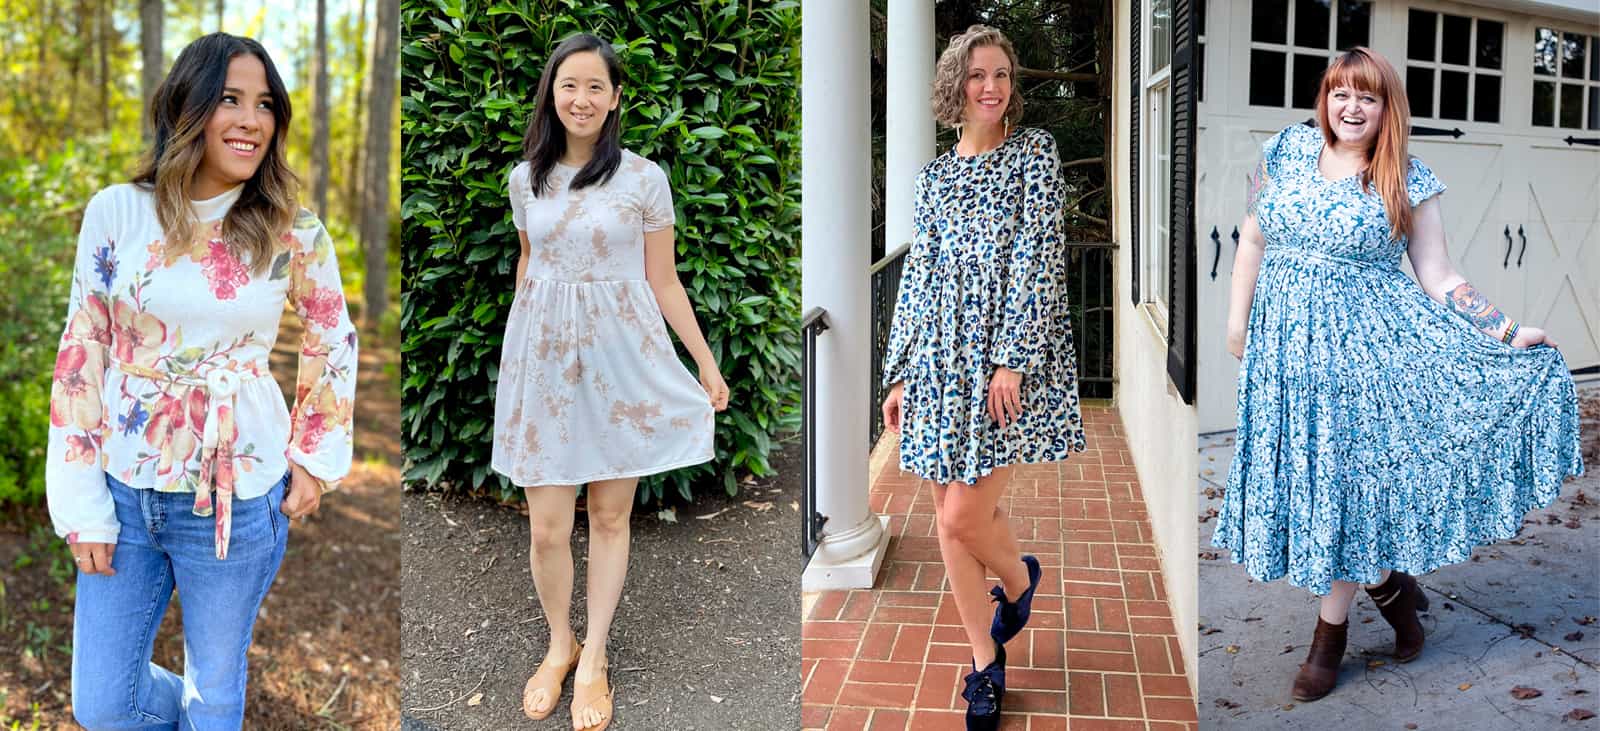
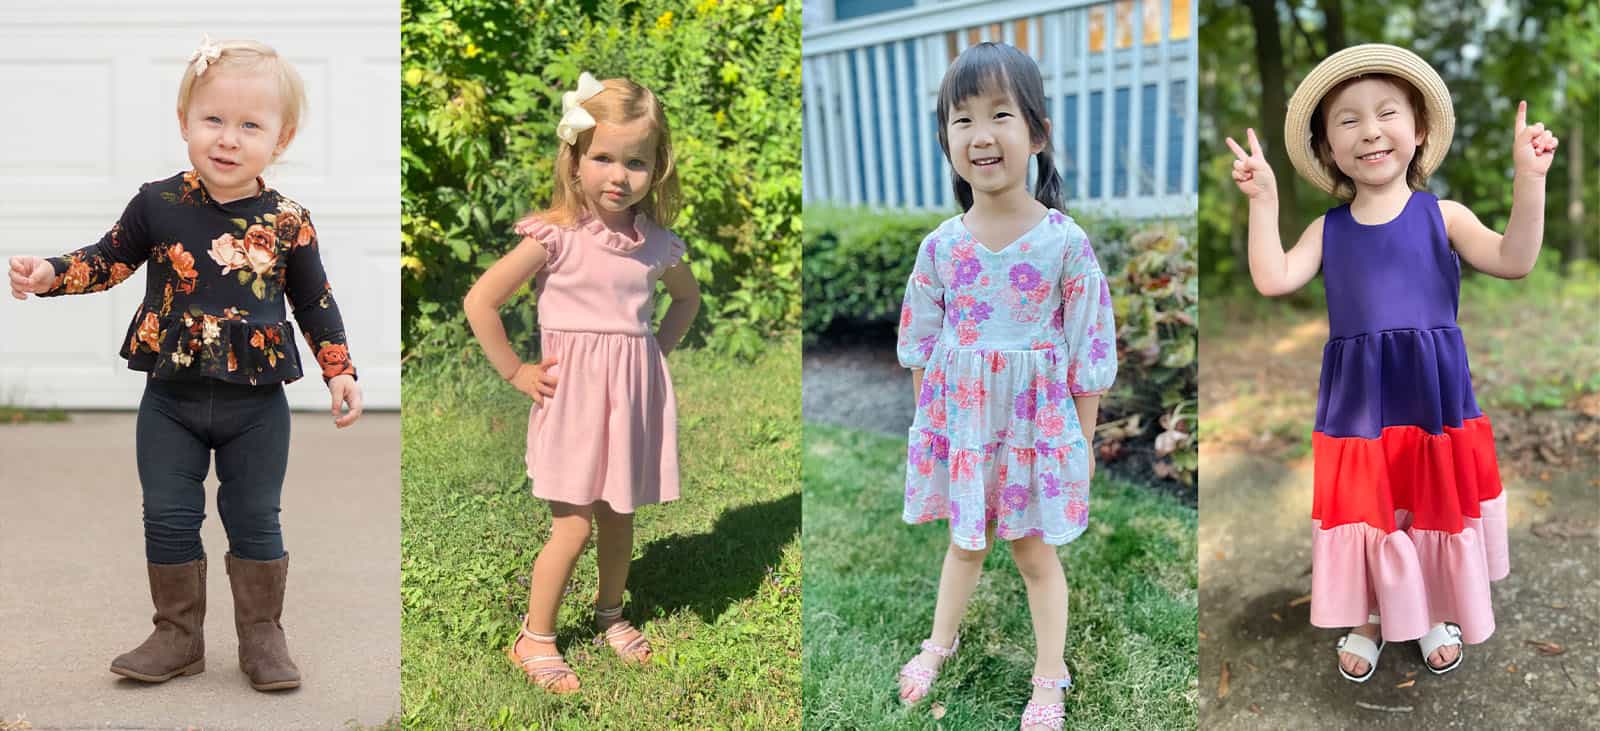
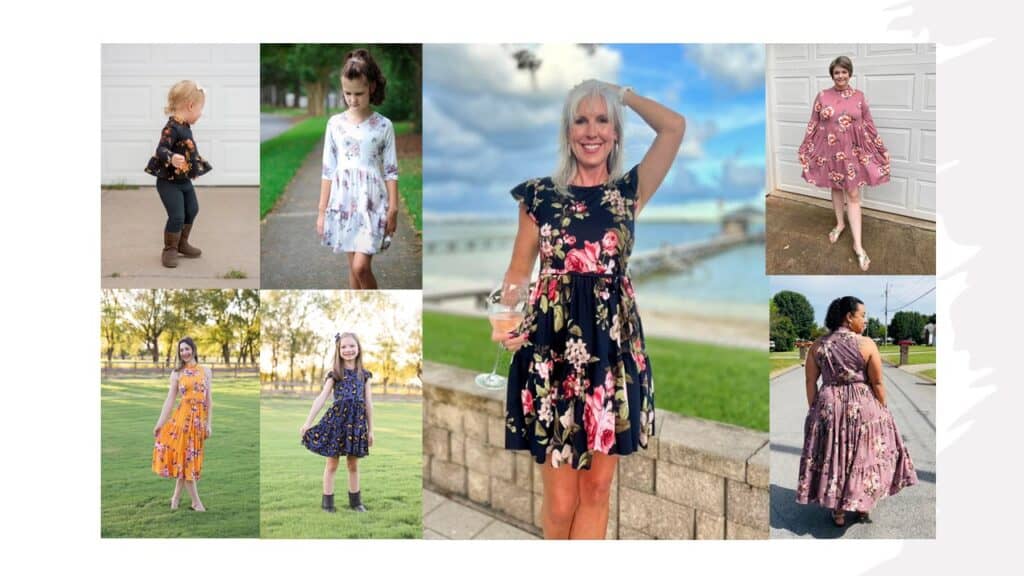
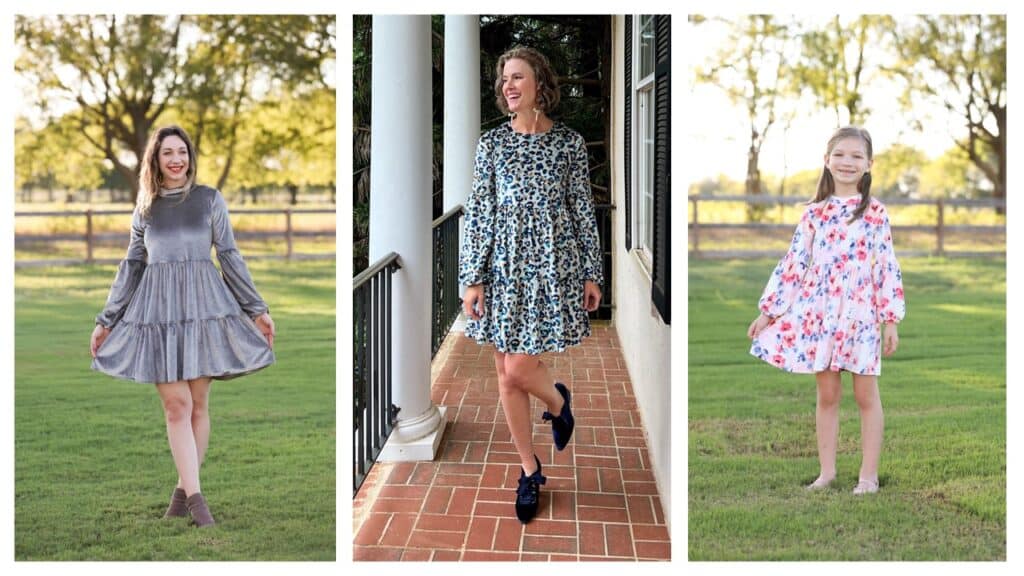
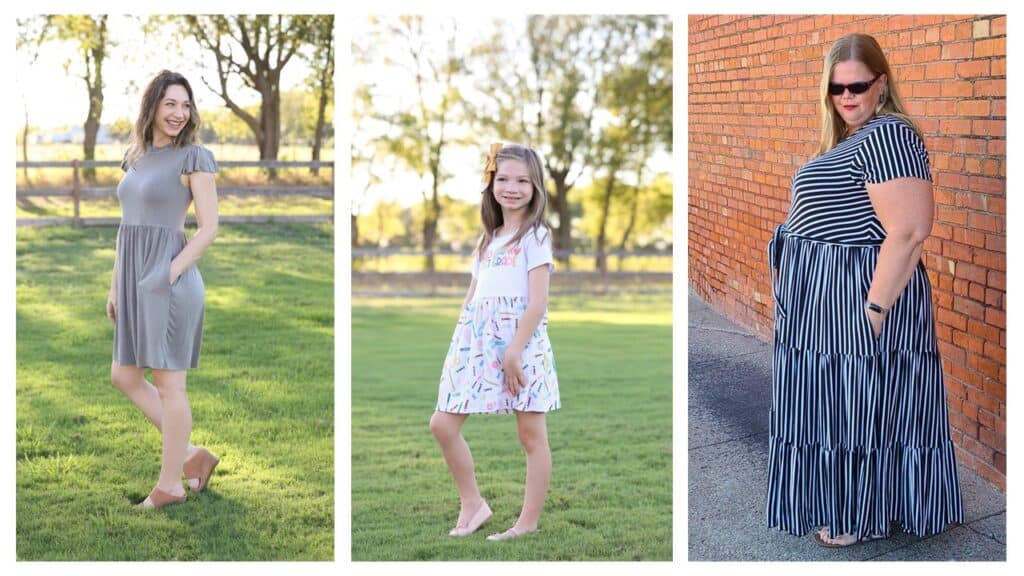
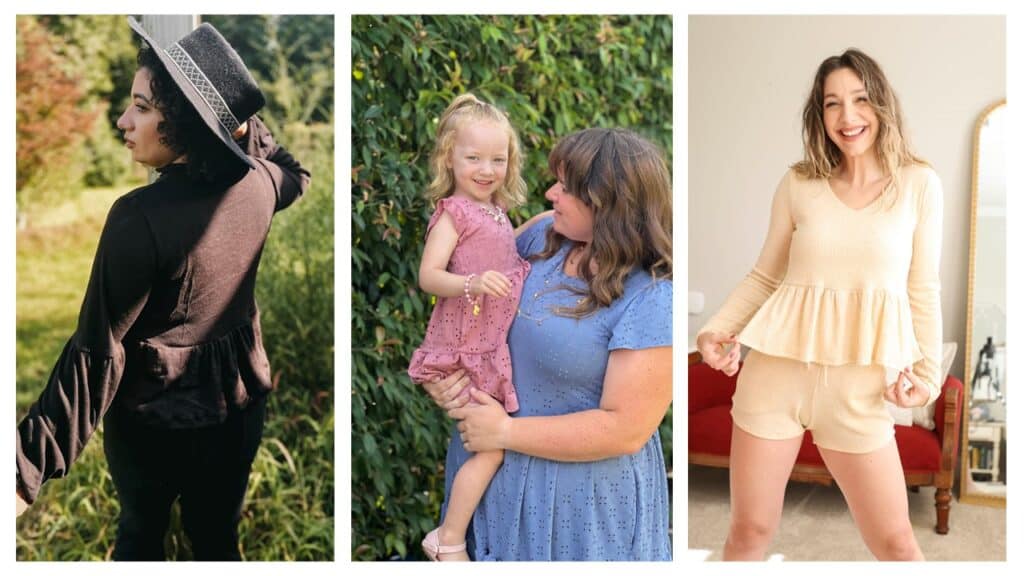
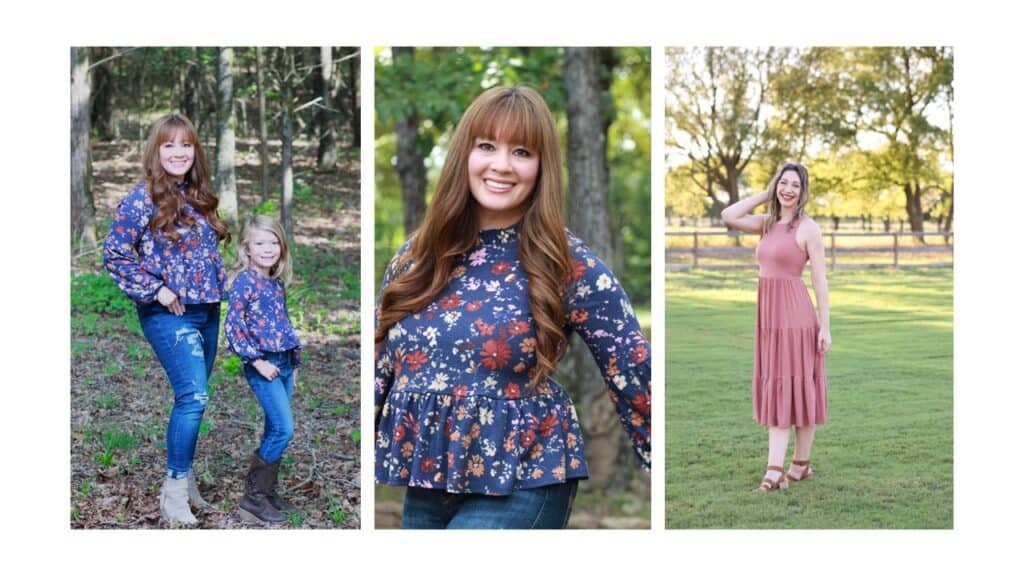
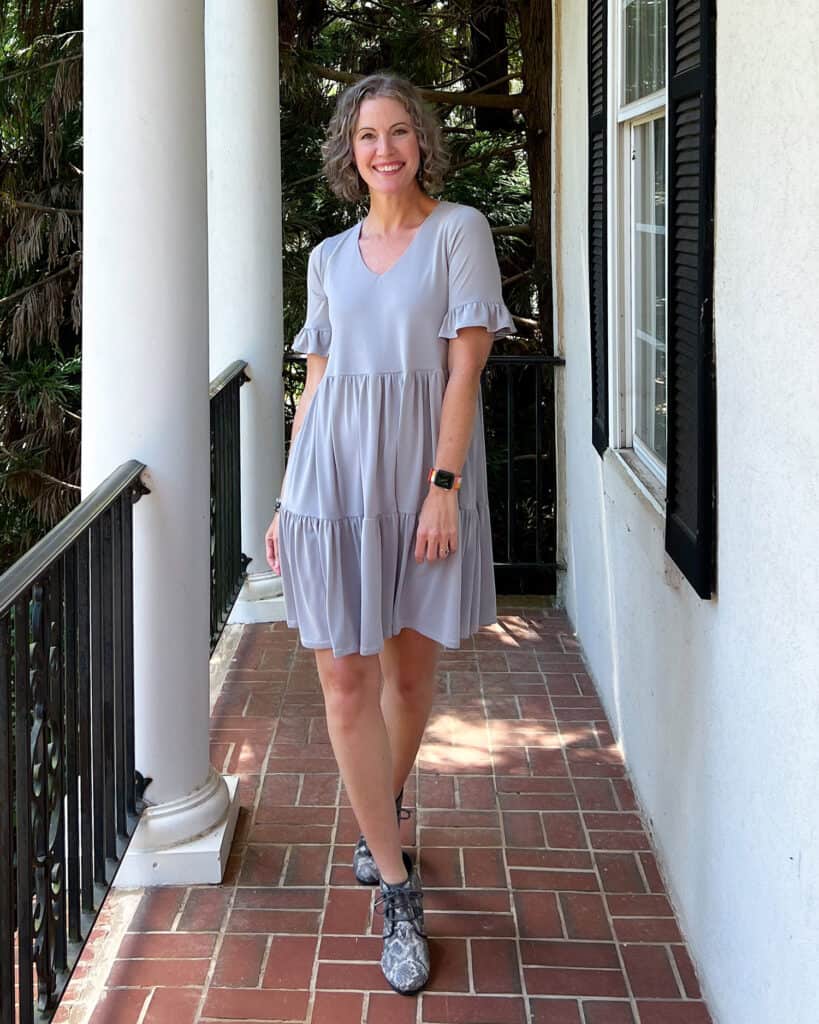
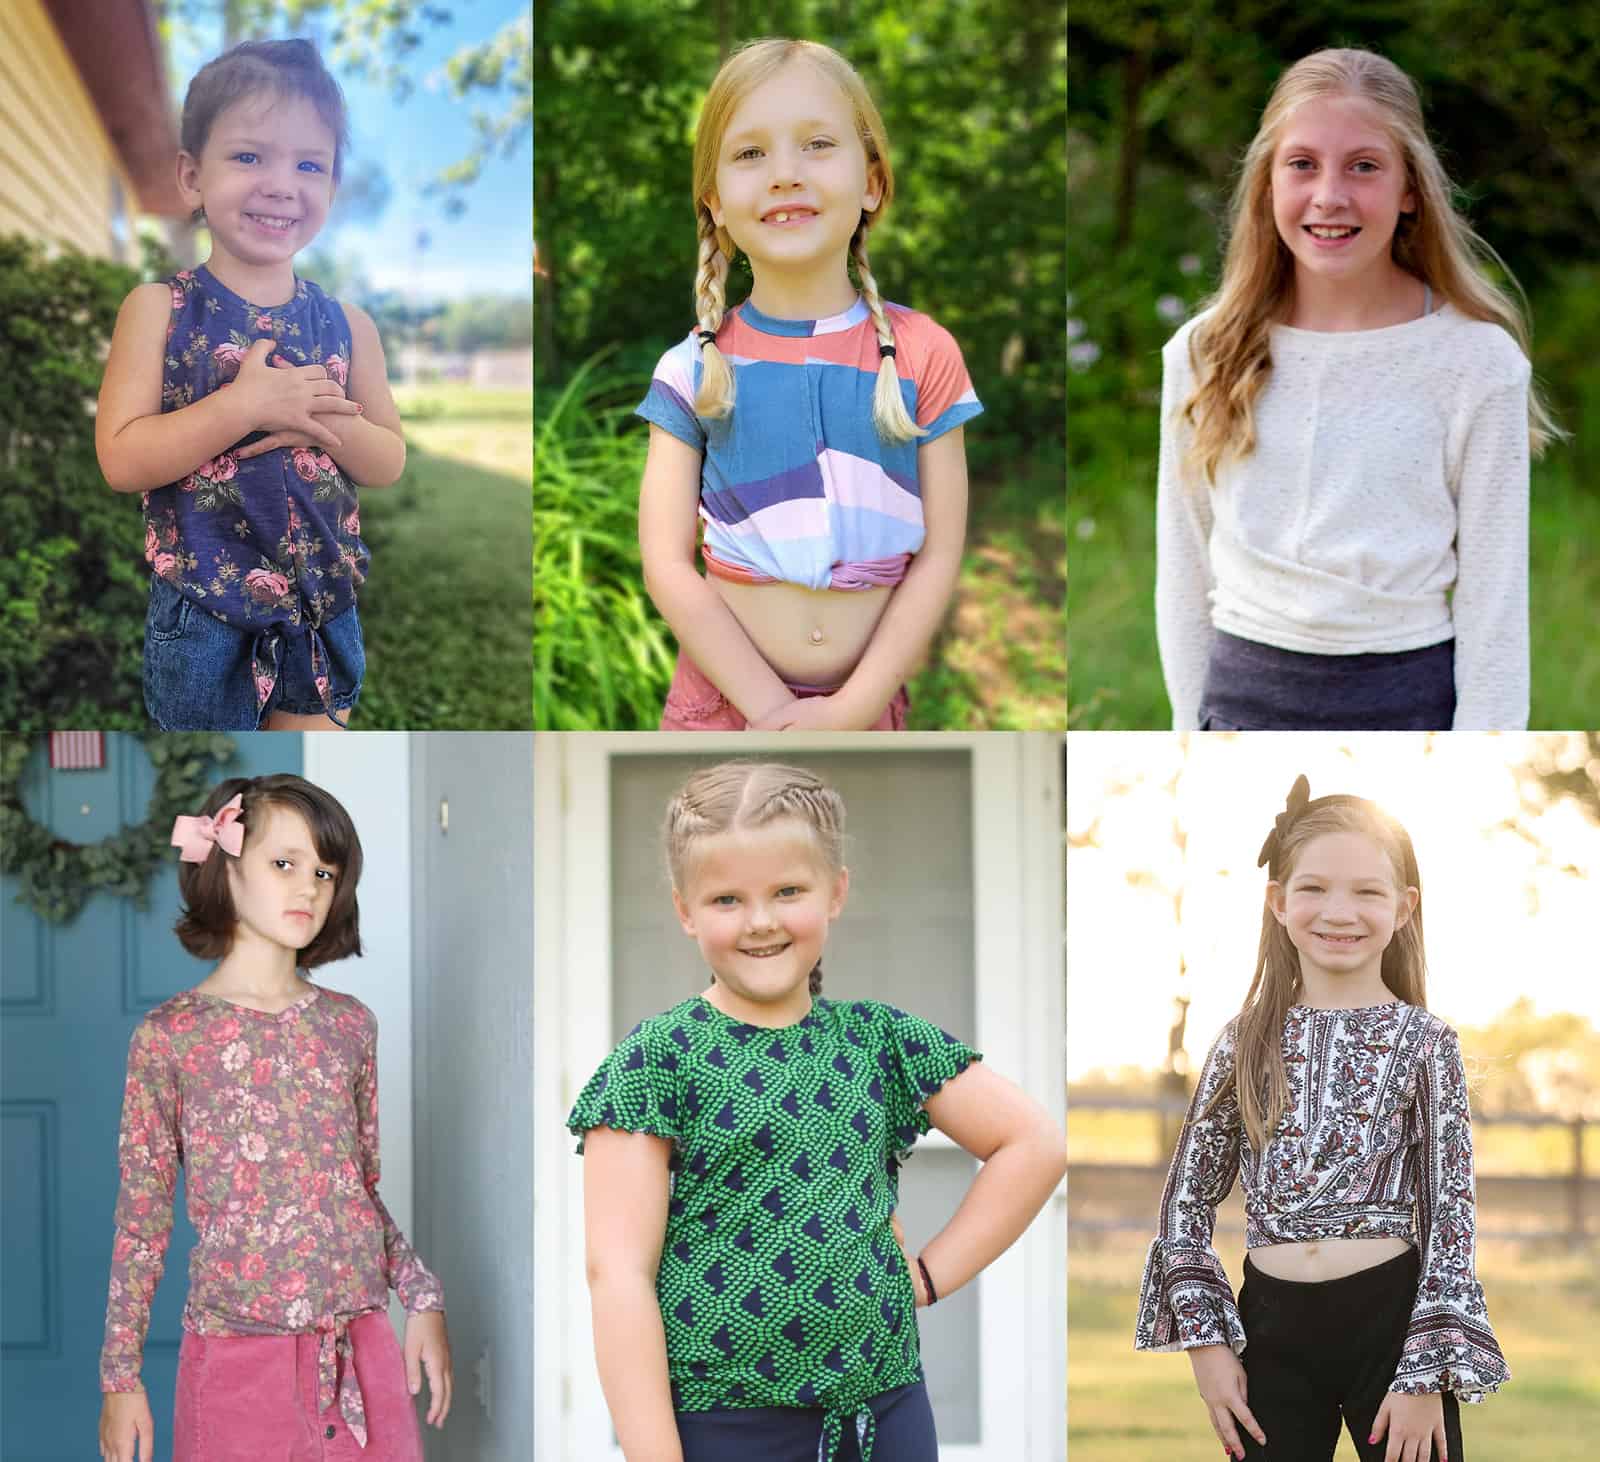
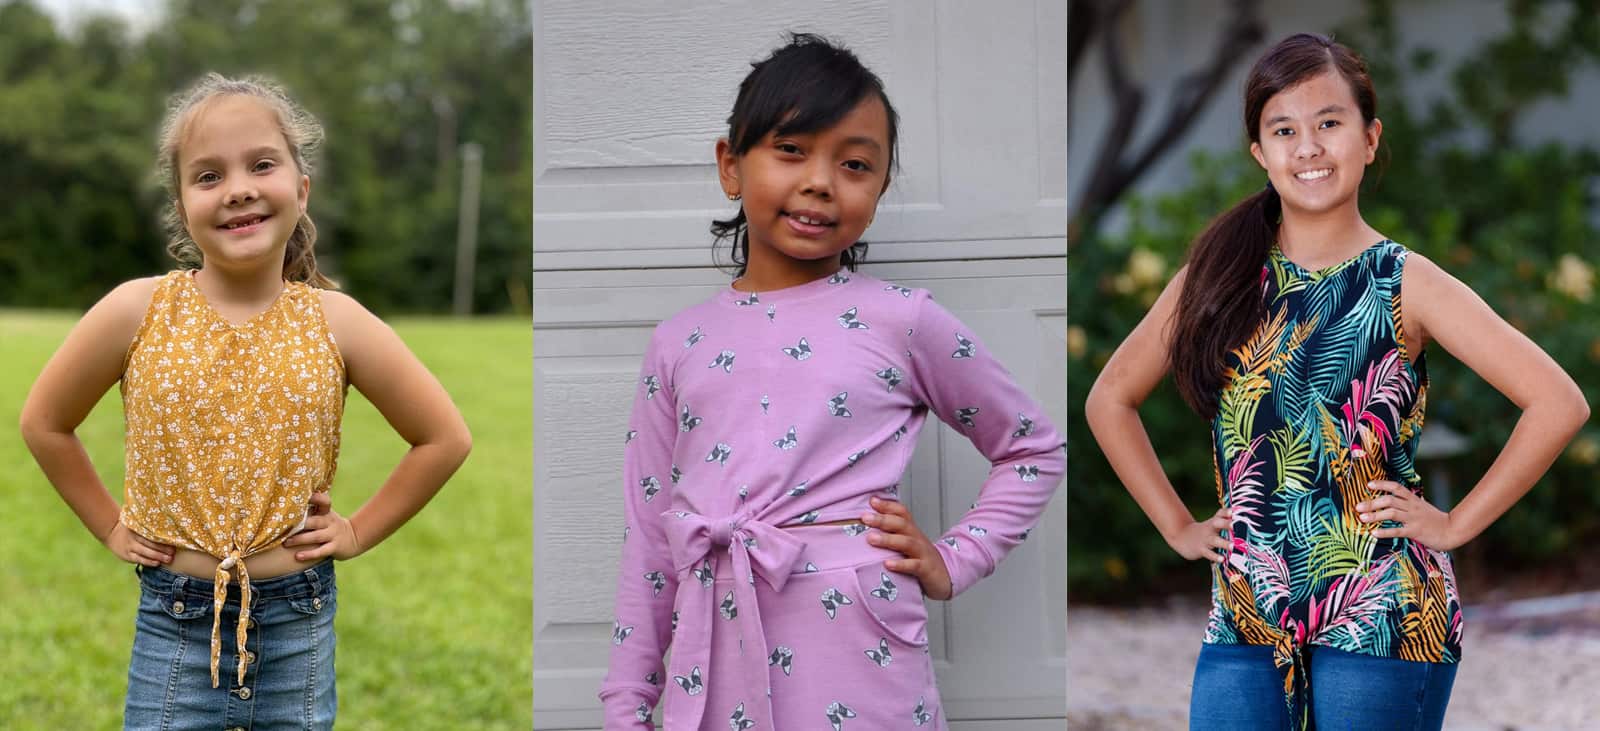
We are super duper excited to be sharing our latest pattern to hit the P4P lineup today! It’s perfectly timed for this in-betweener season….where you’re kinda over summer and ready for fall but still needing clothing to carry you through the warm weather. The Tie Up Top patterns (in both Youth and Adult – Hourglass sizes) are everything you’ve been waiting for.
They’re cute. They’re on trend. And they’re adaptable for all the seasons you’re in, and all the seasons you’re wishing would happen sooner!
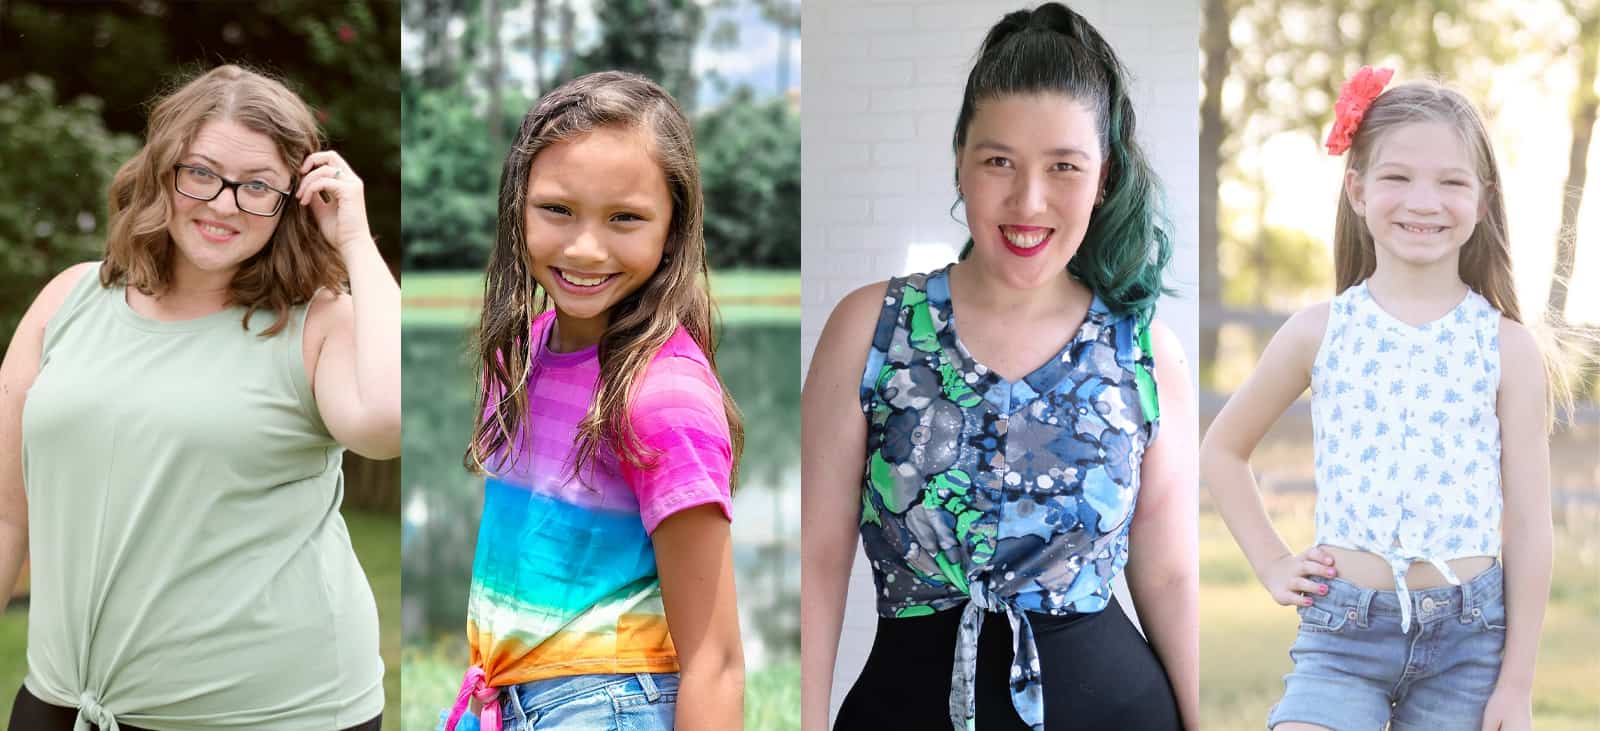
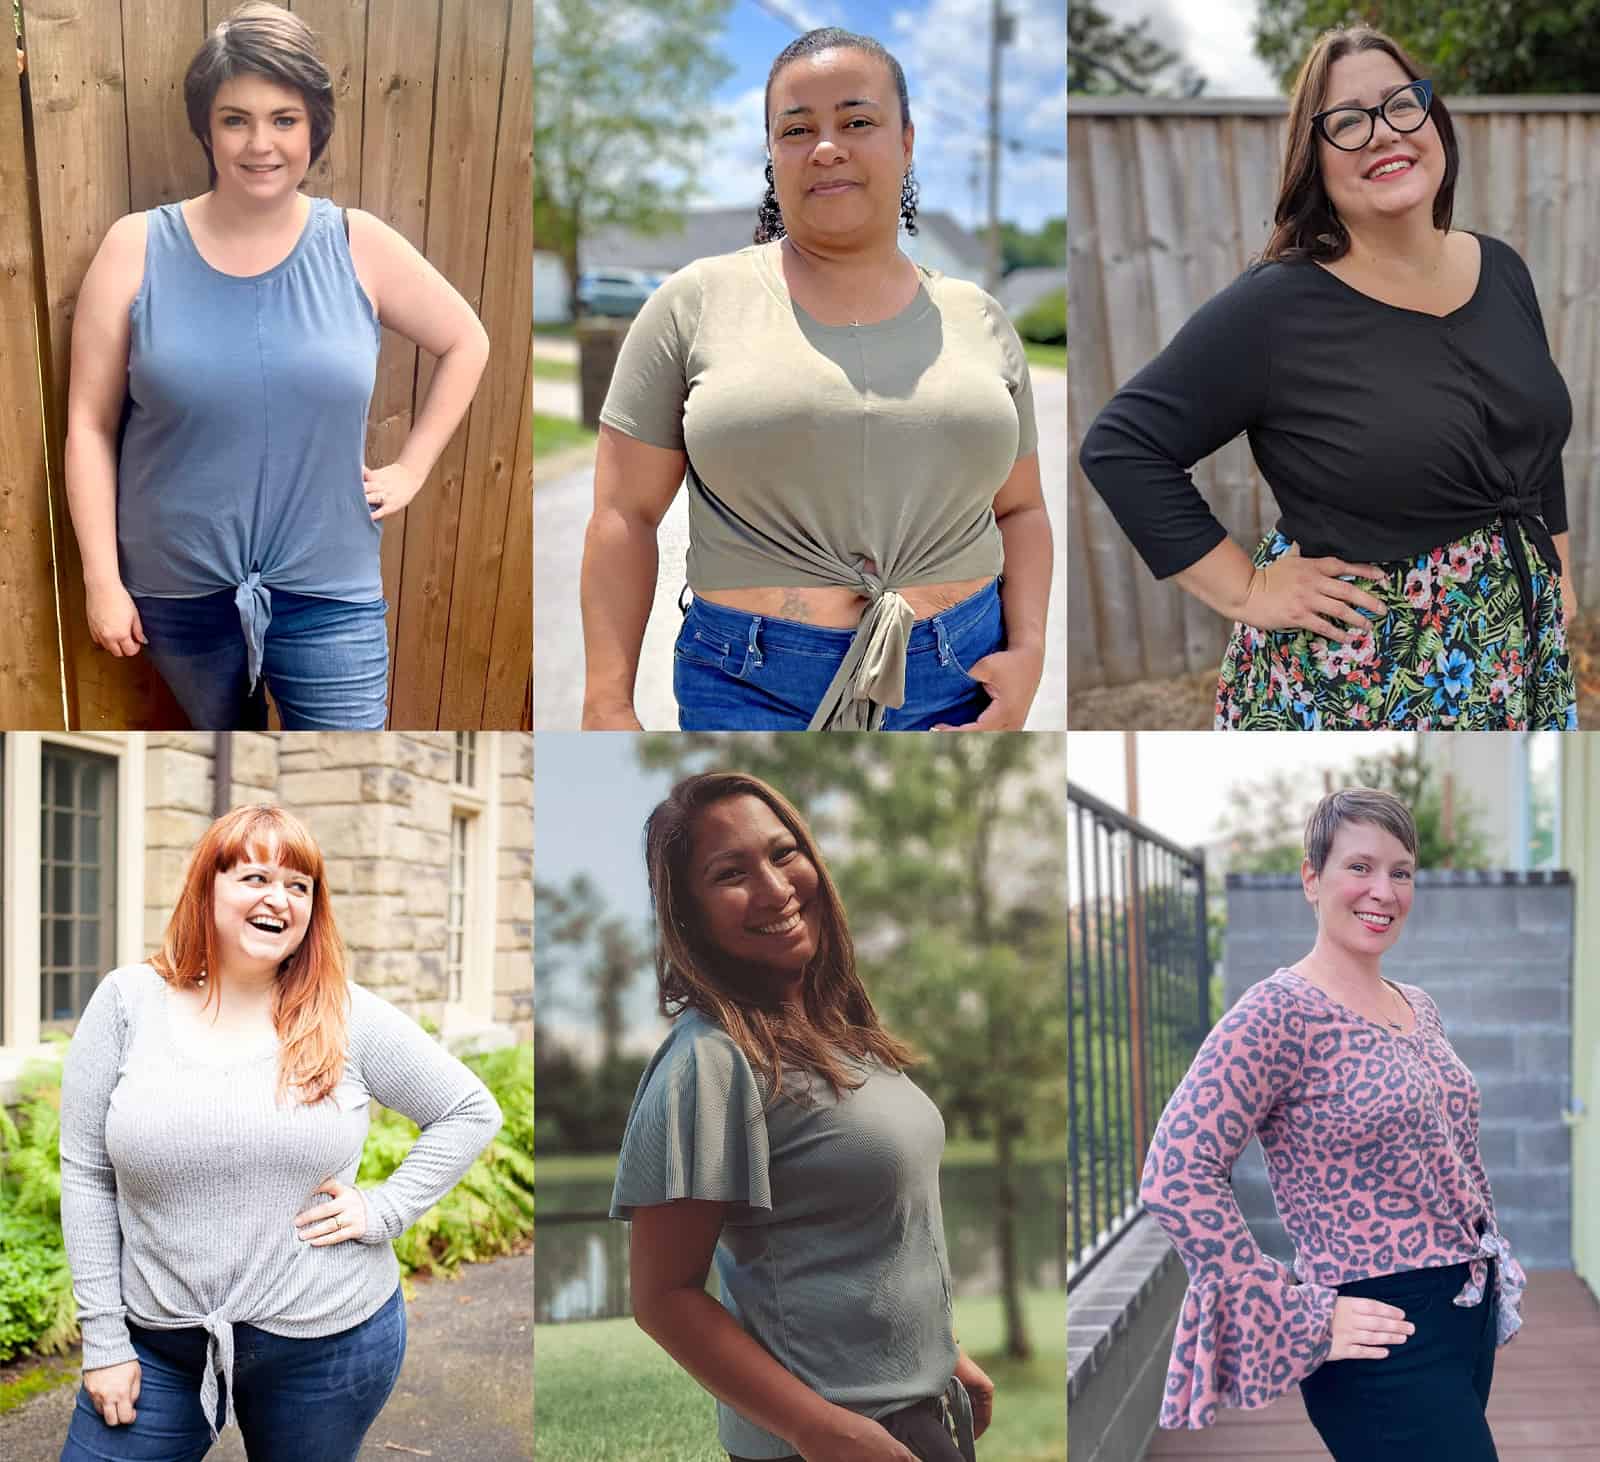
The youth sizes range from 3m – 14 and the adult sizes are for the full, newer size chart, extending from XXS – Plus 5X for the Adult Hourglass Figure.
- *Want to learn more about how to measure yourself for these pattern? We’ve got you covered with an in-depth blog HERE. And for even more helpful fun, we have a free* printable that you can use to help record your measurements as you take them.
- And in case you’re new to Patterns for Pirates and PDF patterns in general, we have a great blog full of new-user tips HERE to help you get started!
- As with all of our current releases and updates, the pdfs now include our layers feature and can be found in Letter, A4, A0 and projector sizes.
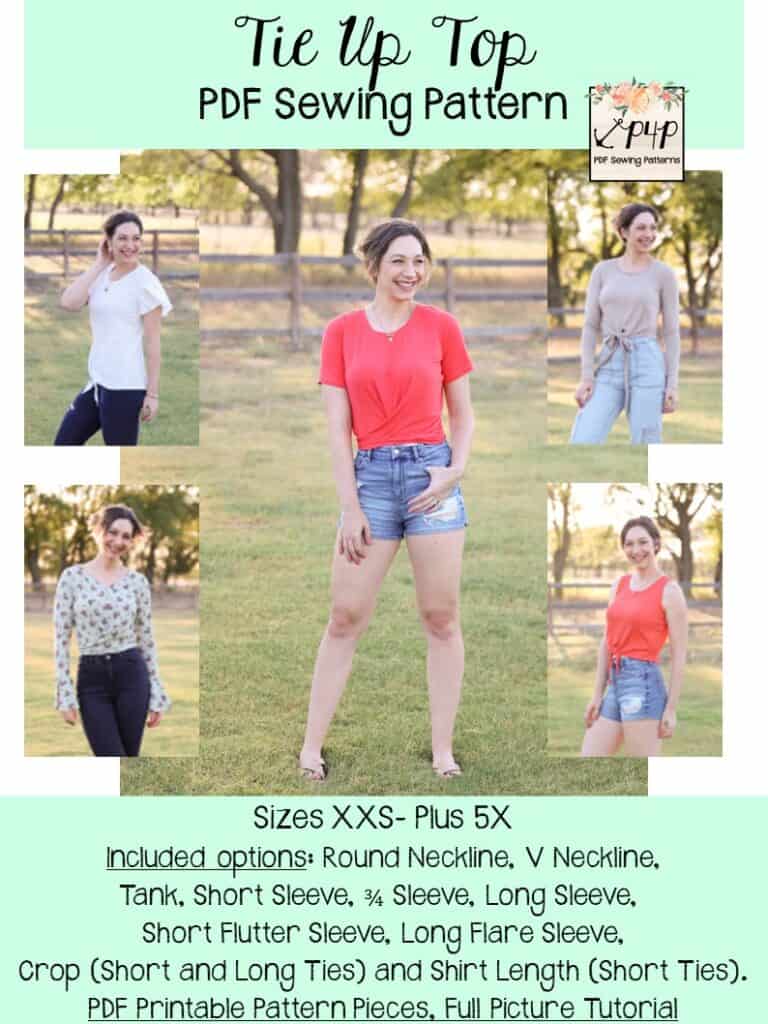
Round Neckline | V Necklines
Tank | Short Sleeve | 3/4 Sleeve | Long Sleeve | Flutter Sleeve | Flare Sleeve
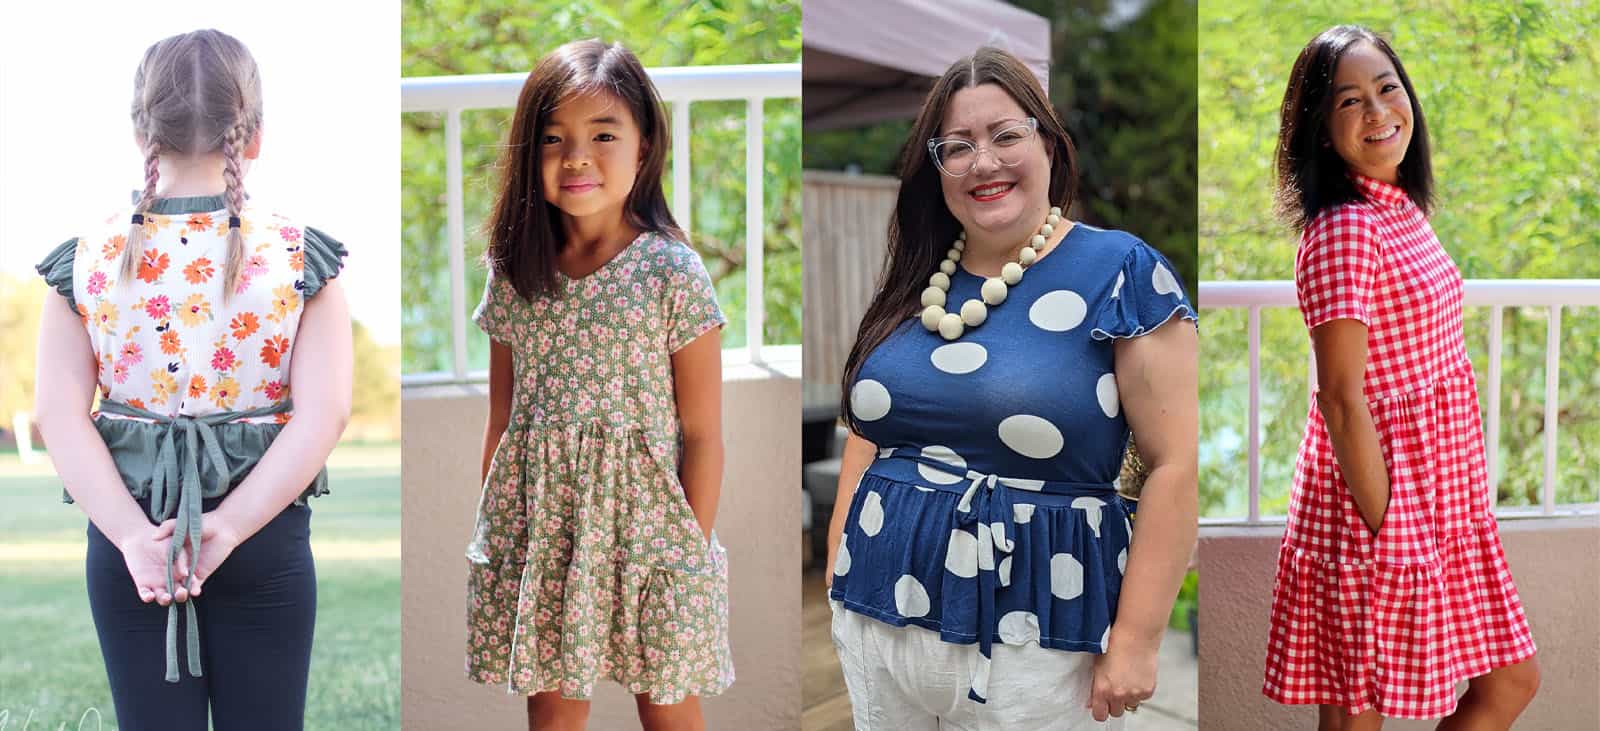
Crop w/Short Ties | Crop w/Long Ties | Shirt Length
The Crop with long ties can be tied both in front in a long bow or wrapped around to the back and tied in the back for a more fitted waist.
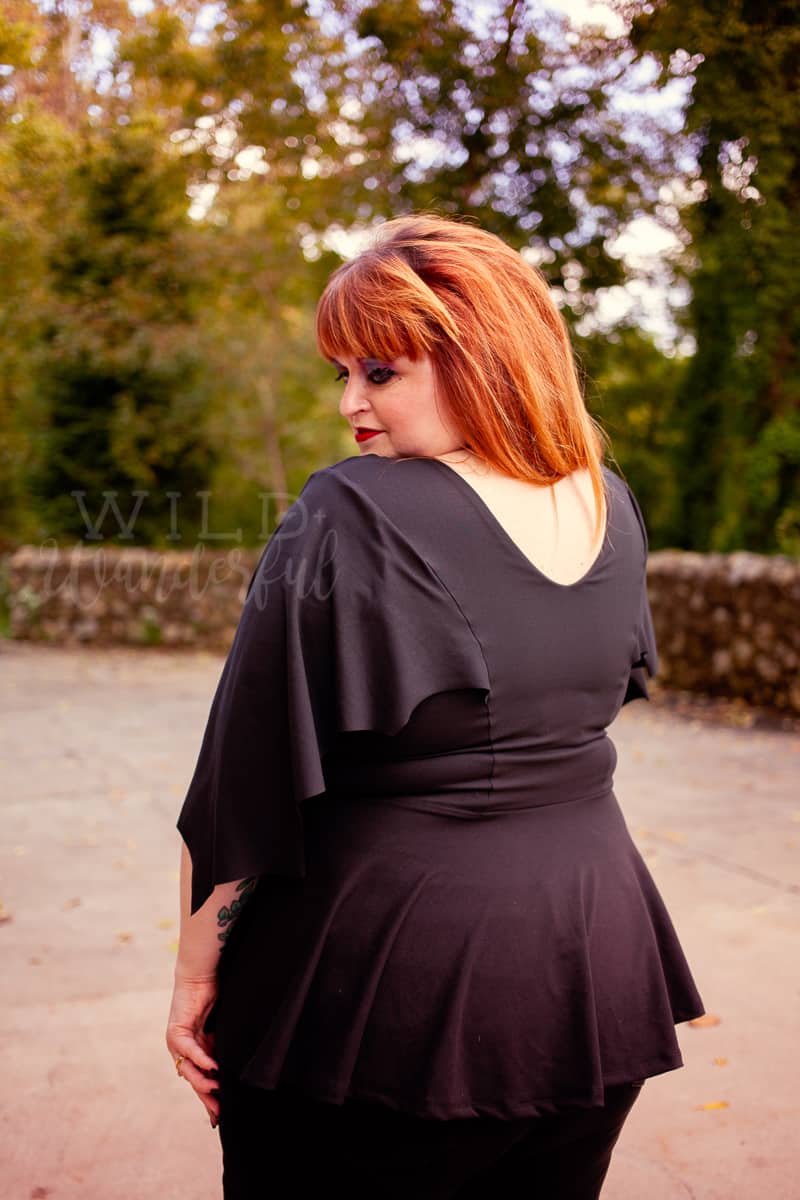
We are so excited to see what you sew up with the new Tie Up Top patterns! Head on over to the shop, grab yourself a copy, and get to sewing! They are available on sale (no code needed) through 11:59pm CST, August 8, 2022.
Tie Up Top – Adult Hourglass | Tie Up Top – Youth | Tie Up Top – Adult + Youth Bundle
Hoping for a little inspiration before diving into some Tie Up Top sewing? Journey over to our Facebook group where you can see tester albums full of amazing images!
Tie Up Top Adult Album | Tie Up Top Youth Album
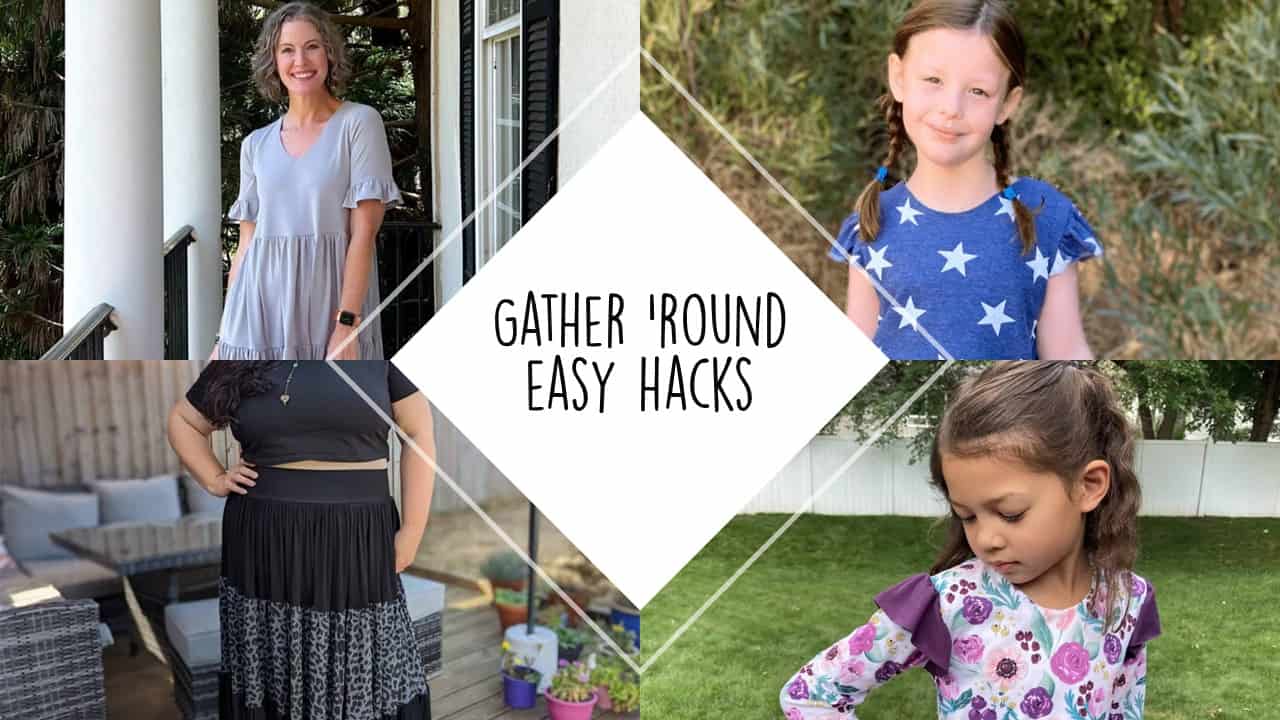
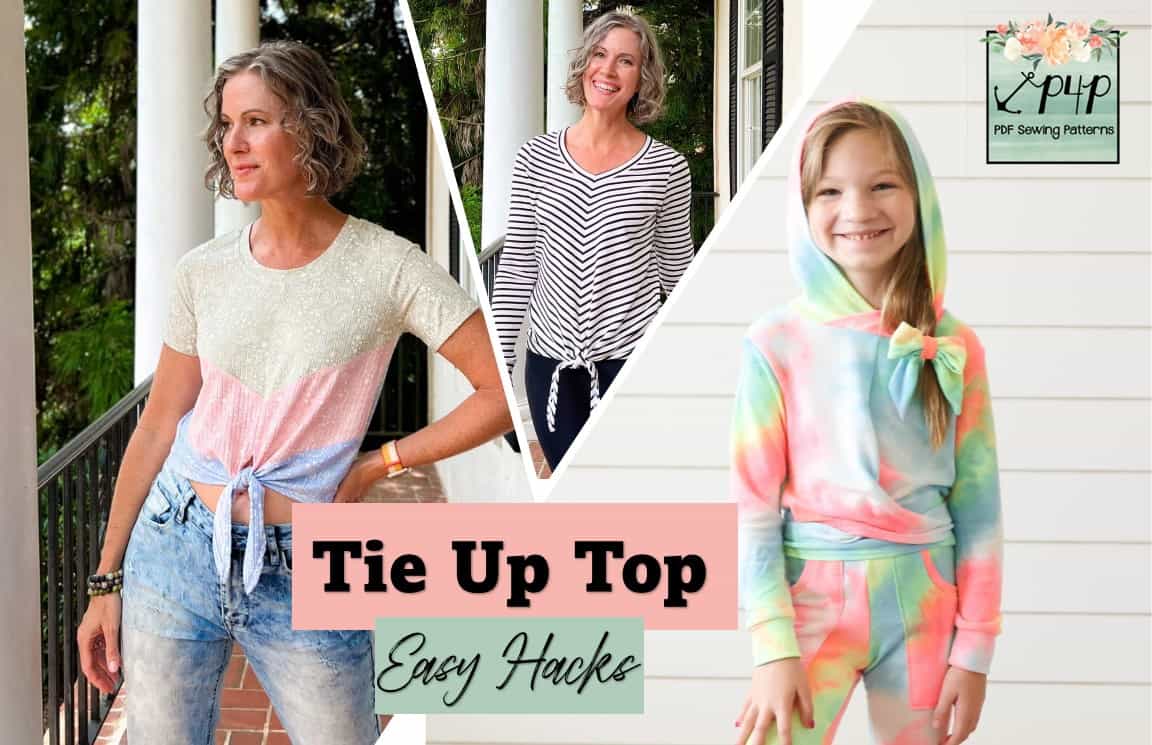
But wait, there’s more! We’ve put together an awesome “Easy Hacks” blog post, that will help you take your sewing a little further! Go check out what Judy and Rachel put together for you, in the ways of some simple tutorials!
Tie Up Top Easy Hacks
Hood
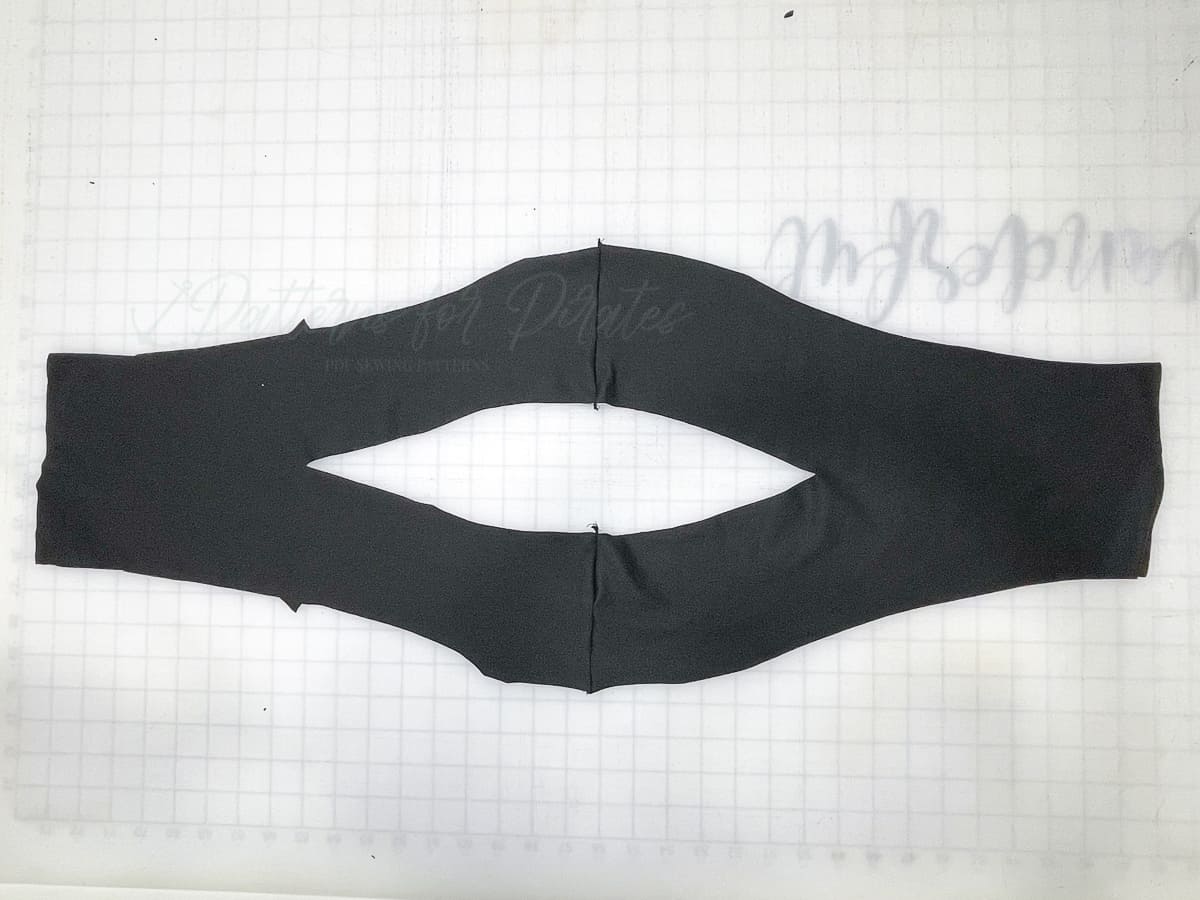
I had a hard time narrowing down options for the Tie Up Top, like I always do when I’m drafting up a pattern! One option that I wanted, but just couldn’t squeeze in anymore into the pattern was a hood! I thought it would be so cute with the crop, long ties option! So, here I am to show off how to add a hood to it if you’re like me and think it’s an adorable combo.
Cut your Tie Up Top with the rounded/crew neckline. I used the hood from the Sporty Piko….bonus! Cut that out in the same size as your Tie Up Top is.
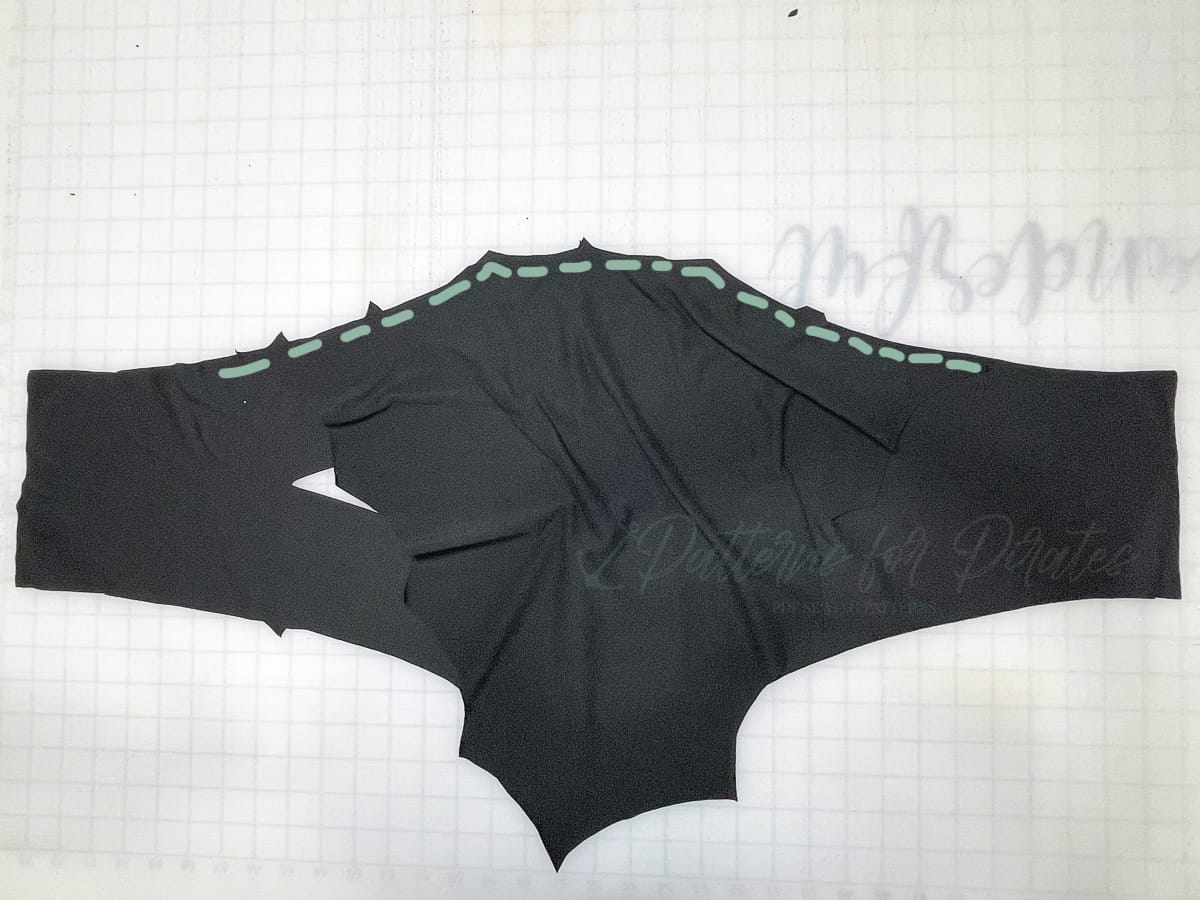
Next sew up the Tie Up Top completely following the tutorial, just leaving the neckline raw. Sew up the hood as the Sporty Piko tutorial instructs up to the part that attaches to the neckline.
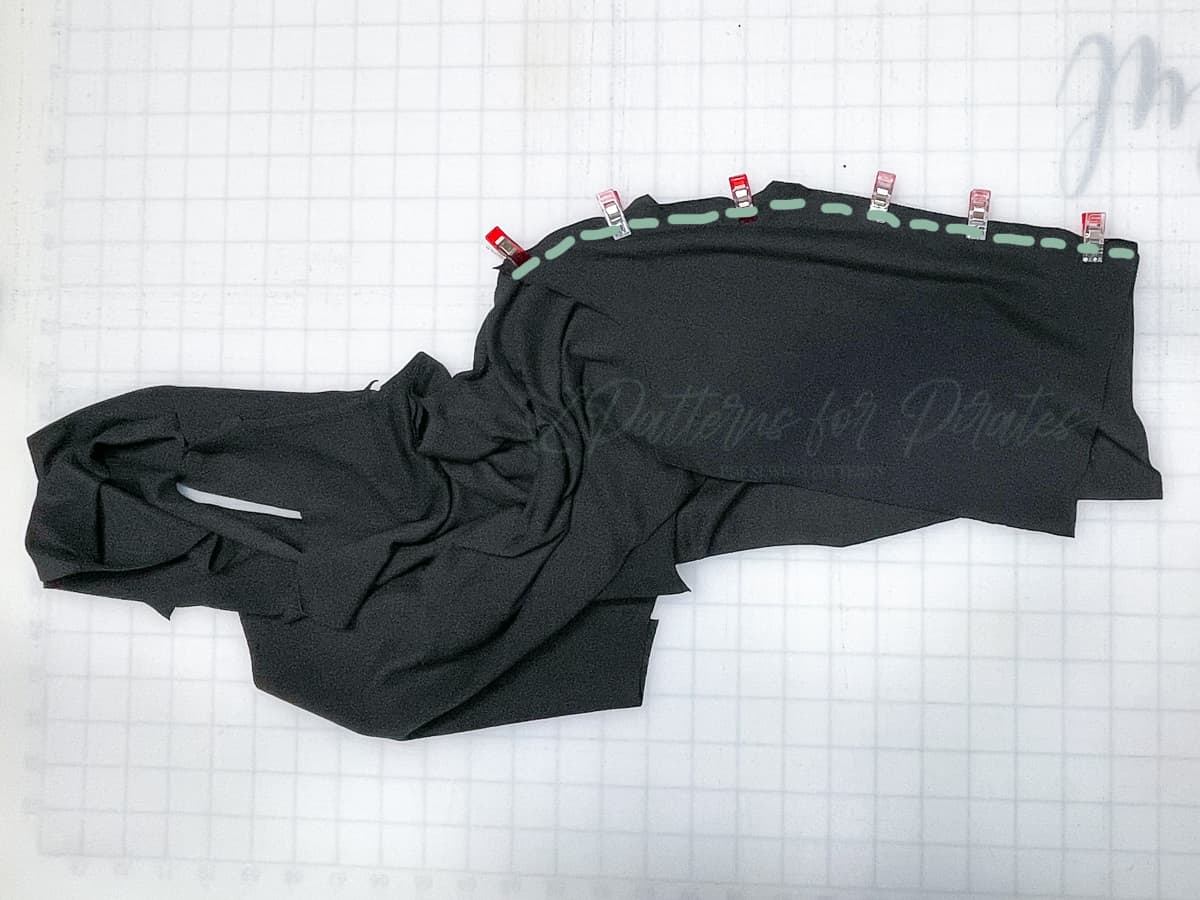
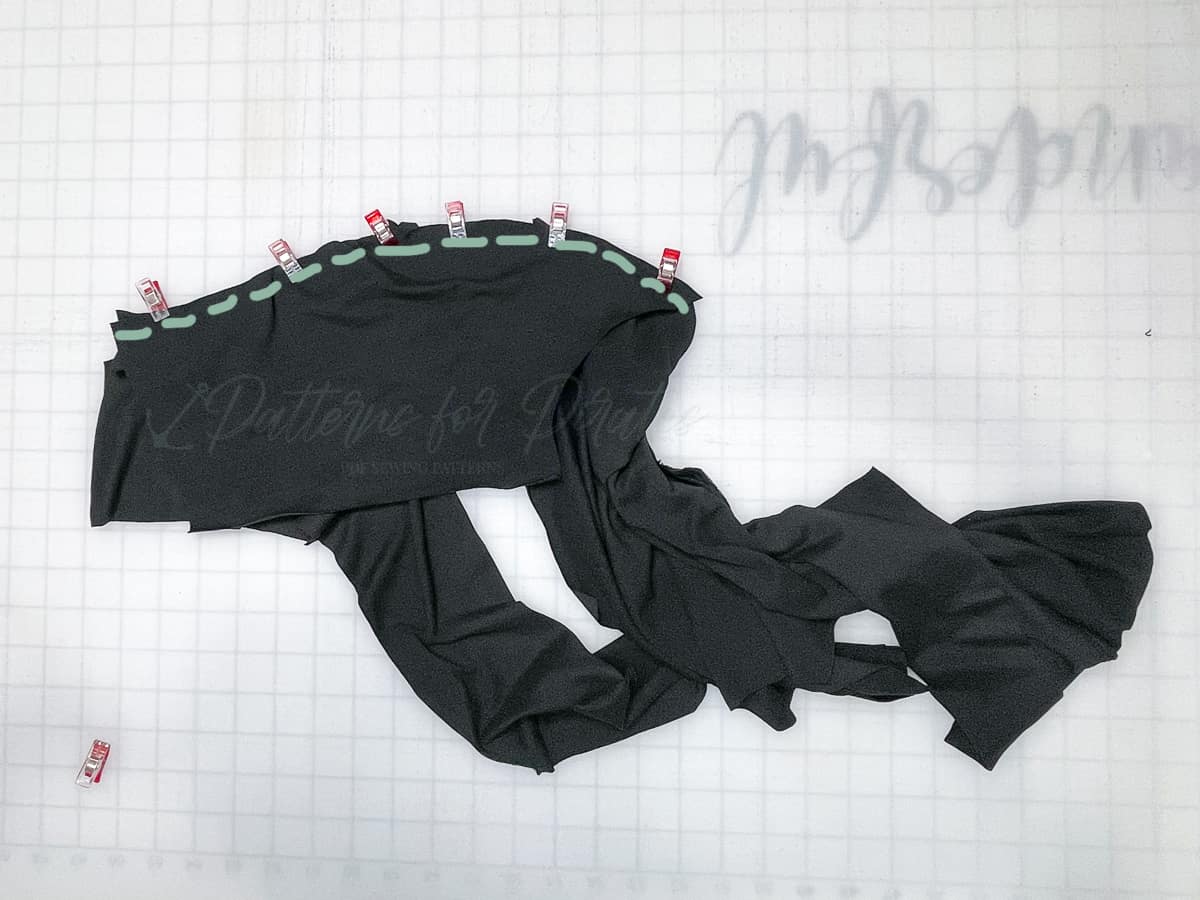
We will now follow the instructions on the Sporty Piko for attaching the hood. Match the hood at the back centers. Then continue pinning/clipping the hood to the neckline without stretching neckline or hood. The notches on the hood should be close to the center front. It might not be perfect since we’re using 2 different patterns, but it will be close! My size 7 matched up great.
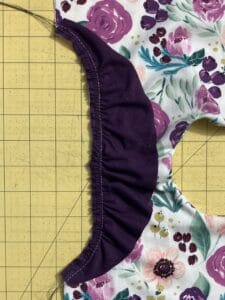
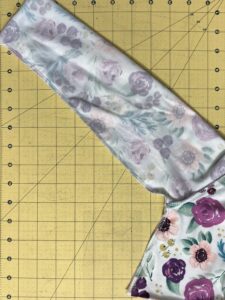
Stitch the hood to the neckline.
Now…. if you’re like us… you’ll also need some matching pants and a bow to go with it 😉
Wear it tied in front
Or wrapped to the back and tied.
Either way, you have an amazing new hoodie! I hope I have time to make myself one in waffle knit soon too!
Diagonal Stripes Two Ways!
The center seam of the new Tie Top pattern makes it perfect for scrap-busting and playing with pattern placement! Here are two ways that I added a diagonal stripe detail to the front of my makes.
Colorblocking
I am fully committed to projector sewing at the moment, but this hack is easiest to accomplish with a printed pattern piece.
Start by printing and assembling (if necessary) your front bodice pattern piece of choice.
I wanted my colorblocking to begin just below the armscye. You may wish to carry yours higher. If so, the same steps apply!
I started by measuring the side seam. Mine was 12”. I divided in half and marked my pattern piece at this halfway point (6”). I also made a mark ½” from the bottom of the armscye and above the hemline to account for the seam allowance. I copied these marked positions on the opposite side of the pattern piece.
I then drew a diagonal line from the top outside mark to the inside center point. Repeat for the marks below.
Trace another line ¼” above and below your original lines. These represent your seam allowances and fold lines.
It’s time to cut your pieces! Fold up the first block at the #1 line indicated below. Repeat for the other two pieces, folding your pattern piece at the corresponding lines.
Sew in order, right sides together, with a ¼” seam allowance and top stitch. Isn’t your front bodice CUTE??!!
From this point, follow the assembly instructions that come with your pattern.
Striped Fabric
It’s very easy to achieve a diagonal detail with striped fabric. Just be careful about how you cut it. Rather than cutting two pieces at a time, I chose to cut one panel first, then the other. I wanted to make sure my stripes were as accurate as possible.
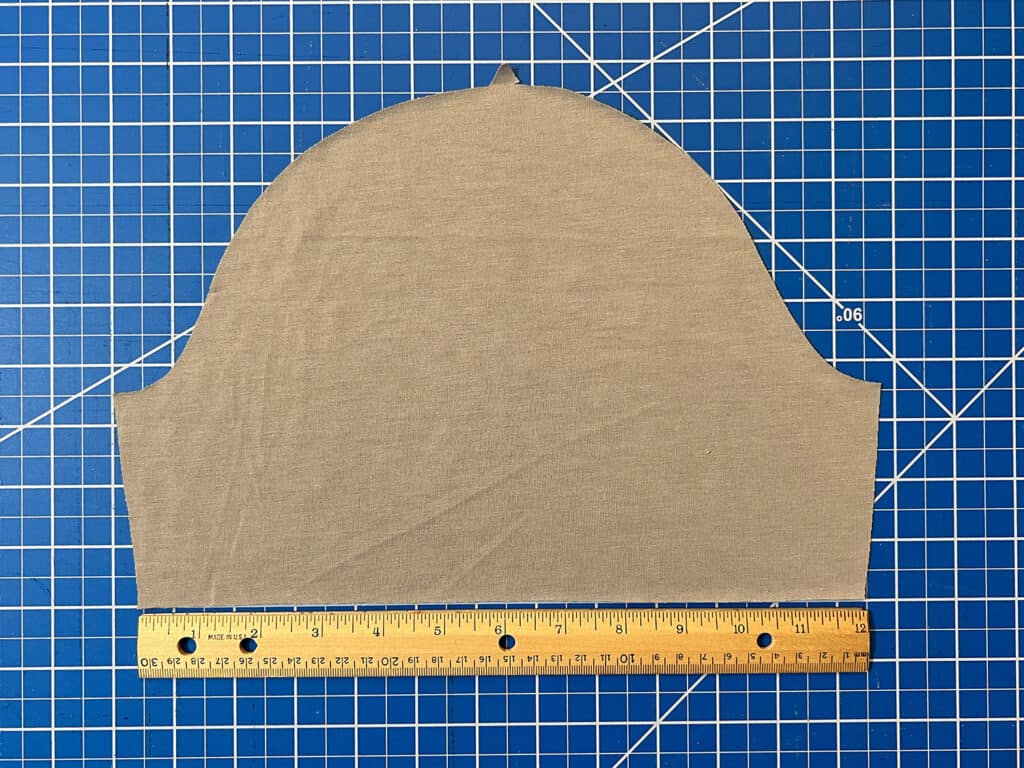
I have a clear ruler imprinted with angles and decided to use the 60° angle to line up my pattern piece. The angle of your diagonal lines is totally up to you – it’s most important that the sides mirror each other.
Cut your first panel, flip it over, line up your stripes, and cut out your second panel.
Assemble per the pattern instructions. I recommend pinning or clipping ever second or third stripe to keep it beautifully lined up as you sew.
Enjoy!
New Pattern Release :: Valley Swing Dress (Adult + Youth Sizes!)
We are so excited to release our newest pattern by crew member Katy!
Say hello to your new favorite dress: The Valley Swing Dress, available for both our Adult Hourglass Figure (XXS – Plus 5X sizes) and Youth (3m – 14 sizes). Like all of her pattern releases so far, Katy’s giving a nod to her home state. The Valley Swing Dress is named after where she lives in West Virginia: the Ohio Valley.
Are you ready to swish, sway, and (of course!) swing yourself into a new pattern with us? Let’s tell you all about it!
- tanktop, short, 3/4 and long sleeves
- top, tunic and above-knee hem lengths
- colorblock or plain skirted options
The youth sizes range from 3m – 14 and the adult sizes are for the full, newer size chart, extending from XXS – Plus 5X for the Adult Hourglass Figure.
- *Want to learn more about how to measure yourself for these pattern? We’ve got you covered with an in-depth blog HERE. And for even more helpful fun, we have a free* printable that you can use to help record your measurements as you take them.
- And in case you’re new to Patterns for Pirates and PDF patterns in general, we have a great blog full of new-user tips HERE to help you get started!
- As with all of our current releases and updates, the pdfs now include our layers feature and can be found in Letter, A4, A0 and projector sizes.
TOP + TUNIC + DRESS HEM LENGTHS
TANK + SHORT + 3/4 + LONG SLEEVE LENGTHS
COLORBLOCK + PLAIN OPTIONS
We are looking forward to see what you make with the new Valley Swing Dress patterns! Head on over to the shop and grab yourself a copy and get to sewing! They are available on sale (no code needed) through 11:59pm CST, July 17th, 2022.
Valley Swing Dress | Valley Swing Dress – Youth | Valley Swing Dress – Bundle
Hoping for a little inspiration before diving into some swing dress sewing? Journey over to our Facebook group where you can see tester albums full of amazing images!
Protected: Fabric for Pirates :: July 2022 Reveal
24/7 Tank Hack
24/7 Tank Hack
If there is something I am always looking for a little bit more of in life, it’s comfort! I started making all my own bras a few years ago, and a soft and comfortable knit bra pattern is something I just love. When we made the 24/7 Tank in testing I couldn’t get enough of the integral bra with it, and knew I had to hack it to make the perfect everyday undies for me too.
I used a lovely athletic jersey fabric from Crafty Baba, here in the UK, with a 95/5 cotton lycra from my lining. You need a stable fabric with good stretch and great recovery. This honestly couldn’t be much easier to do. I started by tracing the bra pieces from the 24/7 Tank pattern, and then added 1/4″ seam allowance onto the neckline and armscye curves of both the front and back bra pattern pieces. In my pictures below, the original pattern is traced in black biro and the extra 1/4″ seam allowance is drawn in a permanent marker, to make it a little easier to see.
Then I cut out the following pieces:
FRONT
1 x Outer
1 x Lining
1 x Inner lining in powermesh (optional but gives better support)
BACK
1 x Outer
1 x Lining
1 x Inner lining in powermesh
ELASTIC
1 x under bust elastic cut to measurements provided in pattern.
Sew your outer fabric together at the shoulder seams, right sides together using your regular 1/2″ seam allowance.
Optionally, for your lining you can baste the inner lining to the wrong sides of the lining fabric before you sew the shoulder seams together, this helps make sure everything gets layered together properly. I didn’t in this example as I was comfortable handling everything without but it’s easy to get confused.
Then sew your lining together at the shoulder seams, right sides together. Your fabric should be layered as such: back inner lining power mesh, back lining right sides up, front lining right sides down, front inner lining power mesh.
Next lay the lining fabric out flat, right sides up (the attached power mesh inner lining will be at the bottom). Lay the outer fabric right sides down on top. Pin or clip the fabric together around the neckline. Sew together using your favourite stretch stitch using a 1/4″ seam allowance. I sew 1/4″ clear elastic into the seam as I go using my overlocker/serger. This helps recovery of the seam and gives greater support for a larger bust.
Next you will flip the garment right sides out again through the neckhole. Press carefully.
We will now finish the armscyes using a burrito roll method. You can follow this video tutorial for the Boundless dress which guides you through step by step, just remember we are only using a 1/4″ seam allowance for the armscyes. Burrito Roll Method – P4P You Tube
Or the written instructions are to lay the fabric out flat, rights sides out. Then roll one side of the bodice up towards the other side.
When you get near the top, flip the bottom of the open edges out under the roll and up over the top of it to encase the roll inside the open edge.
Then pin or clip along the length of the curved armscye. Stitch with a 1/4″ seam allowance being careful to keep the roll of fabric inside the shoulder strap well out of the way of the stitches.
Pull your garment right sides out through the finished shoulder strap. Here you can see the left side is finished and the right is not.
To finish the right side too, lay the garment out again and roll the finished side up towards the unfinished side. Then flip the bottom fabric on the unfinished side out under the roll, and up over the top to encase it again, like before. Stitch again.
Pull your garment right sides out through the shoulder strap once more and give it a press.
Now we just have to finish the side seams. To do this we open out the main from the lining on both the front and back, and clip them right sides together, matching main with main and lining with lining. Then sew the side seam with a 1/2″ seam allowance. Repeat on the other side.
Your bra is now almost finished, you just have to stitch the elastic to the bottom. Butt the edges of the elastic together and sew them together using a wide, short zig zag stitch. Then quarter the elastic and the bottom of the bra and sew the elastic on as per the instructions in the 24/7 Tank tutorial.
You’re all done! I hope you love your comfy new lounge bra. They’re so quick to make you can whip up another in next to no time.
Happy Sewing!
Dana xxx
New Pattern Release :: 24/7 Tank (Youth and Adult Sizes!)
While this pattern was in it’s pre-testing phase and we were trying to come up with a name for it, our incredible testers dubbed it the “24/7 Tank”, since they can see themselves wearing it all day, all night, on repeat. And when your testers give you a brilliant idea, you go with it. So we did!
Let’s talk all about the 24/7 Tank and introduce y’all to the latest and greatest pattern to hit the P4P lineup!
- Pick up an athletic knit and use that shelf bra, add in clear elastic into the thin binding and you have the perfect long line sports bra.
- Switch out the athletic knit for swim knit and use swim elastic and you’ve got yourself an adorable tankini swim top!
- Make it comfortable in a soft modal fabric and make the shelf bra in just something soft with no powermesh or cups and you have the perfect sleep tank.
- Leave the shelf bra out completely and use an everyday knit… you have the perfect tank for summer or for layering under in cooler months.
Some of our favorites are: athletic knit, swim knit, ribbed knits, double brushed poly, yummy rib knit, rayon/modal/bamboo knit, ITY/DTY knit, etc.
The youth sizes range from 3m – 14 and the adult sizes are for the full, newer size chart, extending from XXS – Plus 5X for the Adult Hourglass Figure.
*Want to learn more about how to measure yourself for these pattern? We’ve got you covered with an in-depth blog HERE. And for even more helpful fun, we have a free* printable that you can use to help record your measurements as you take them.
And in case you’re new to Patterns for Pirates and PDF patterns in general, we have a great blog full of new-user tips HERE to help you get started!
As with all of our current releases and updates, the pdfs now include our layers feature and can be found in Letter, A4, A0 and projector sizes.
Okay….let’s check out some of the different features!
FRONT NECKLINES :: LOW / HIGH (adult only)LENGTHS :: CROP / TOP (adult only) / SHIRT
BACK VIEWS :: HIGH / LOW / RACERBACK
BINDING STYLES :: THICK / THIN (optional- add elastic for sports bra or swimsuit)
OPTIONAL BUILT-IN SHELF BRA
We are super excited to see all of the new 24/7 Tanks that you’re about to make! Head on over to the shop and grab yourself a copy of these new patterns! They are available on sale (no code needed) through 11:59pm CST, June 27th, 2022.
24/7 Tank | 24/7 Tank – Youth | 24/7 Tank – Bundle
Hoping for a little inspiration before diving into some delightful tank top sewing? Head over to our Facebook group where you can see tester albums full of amazing images!
Protected: Fabric for Pirates :: June 2022 Reveal
New Release :: Weston Raglan
Are you like me and you LOVE a good raglan pattern? Hands down, it’s one of my favorite things to sew. They’re fast, provide for fun pattern and color mixing options without any effort, and they make such a great casual tee.
The P4P pattern lineup has been needing a V-Figure raglan for quite some time now and the wait is finally over! Meet the Weston Raglan!
The Weston Raglan is drafted for our Adult V-Figure size chart!
What’s the Adult V Figure size chart? It’s based upon the ASTM Men’s Standard Body Measurements. V Figures typically are taller, have a broader shoulder, larger bicep, straighter waist-to-hip ratio, etc. Who typically fits this chart? Male / male presenting / non-binary / whoever feels better suited for this size chart (verses our Adult Hourglass Figure chart). If you want to wear it, we want you to sew it with one of our patterns!
The Weston Raglan goes along with the newer, extended sizing that we brought out with our V-Figure chart as well! If you haven’t measured yourself in a while, you might want to check yourself against the chart below.
Need help with how to measure? We’ve got you covered! Check out our “how to measure yourself” in-depth blog HERE. For some extra helpful fun, we have a free* printable that you can use to help record your measurements as you take them. And in case you’re new to Patterns for Pirates and PDF patterns in general, we have a great blog full of new-user tips HERE to help you get started! As with all of our current releases and updates, the pdfs now include our layers feature and can be found in Letter, A4, A0 and projector sizes.
The Weston Raglan is a traditional, raglan t-shirt with ease throughout the bodice and sleeves. There are multiple sleeve lengths included (short, 3/4, long sleeve hemmed, and long sleeve cuffed) and is a beginner friendly sew.
Sizes include: XXS – 6XL for the Adult V-Figure. Our V-Figure patterns have multiple lengths, based upon height.
- Short is drafted for 5’6″
- Average is drafted for 5’10”
- Tall is drafted for 6’2″
Not only is there a bodice cut line for each height, but we’ve included separate sleeve lengths to accommodate for them as well.
Looking for fabric recommendations? The Weston Raglan is drafted for t-shirt knits like tri-blend jerseys, ribbed knits, spun poly jersey, modal/rayon/bamboo knit, double brushed poly, lightweight cotton spandex, sweater knit, waffle knit, and the like.
***Want to use something thicker (think custom cotton spandex or french terry), you’ll need to size up to keep the same look and feel.
One of my favorite design features of the Weston Raglan is the hem on the front bodice. Instead of leaving it a straight hem, we graded a curved hemline starting at the 6XL size and down, to help accommodate for chests and bellies. As wild as it sounds, adding a curve to the front actually straightens out the hem when being worn!
If you look at the pattern pieces and wonder exactly what that design element was for, here’s an amazing example!
Big thanks to Chandy Mueller and all of her help during pre-testing of the Weston pattern. That’s her model above!
Let’s take a look at some of our stellar sewists and models, in the new Weston Raglan pattern!
- Sleeves and Their Wrinkles
- JRR Woven Fabric Hack
- JRR Animal Faces Add-On
- Contrast Band Hack for Kangaroo Pockets
- Keyhole / Scoopback Raglan Hack
- Off-The-Shoulder Raglan Hack
- Adding Stripes to Your Raglan Sleeves
- « Previous Page
- 1
- …
- 7
- 8
- 9
- 10
- 11
- …
- 66
- Next Page »