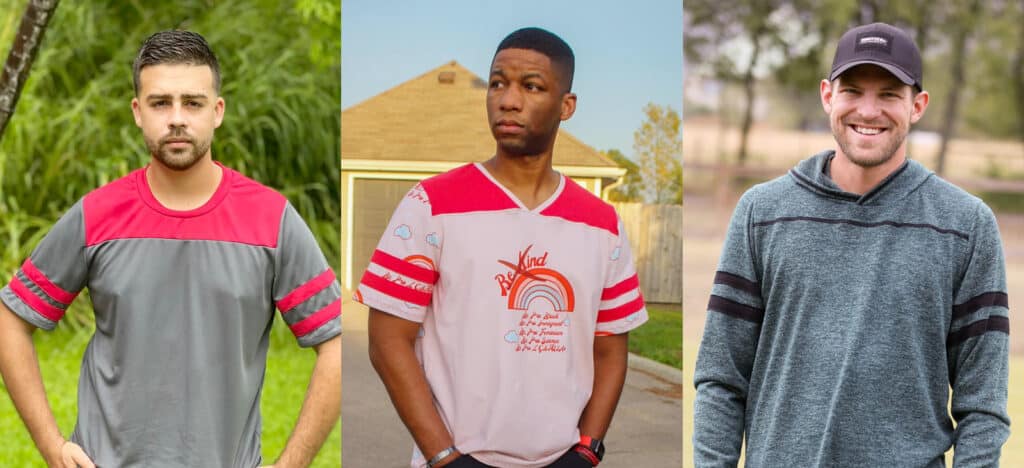
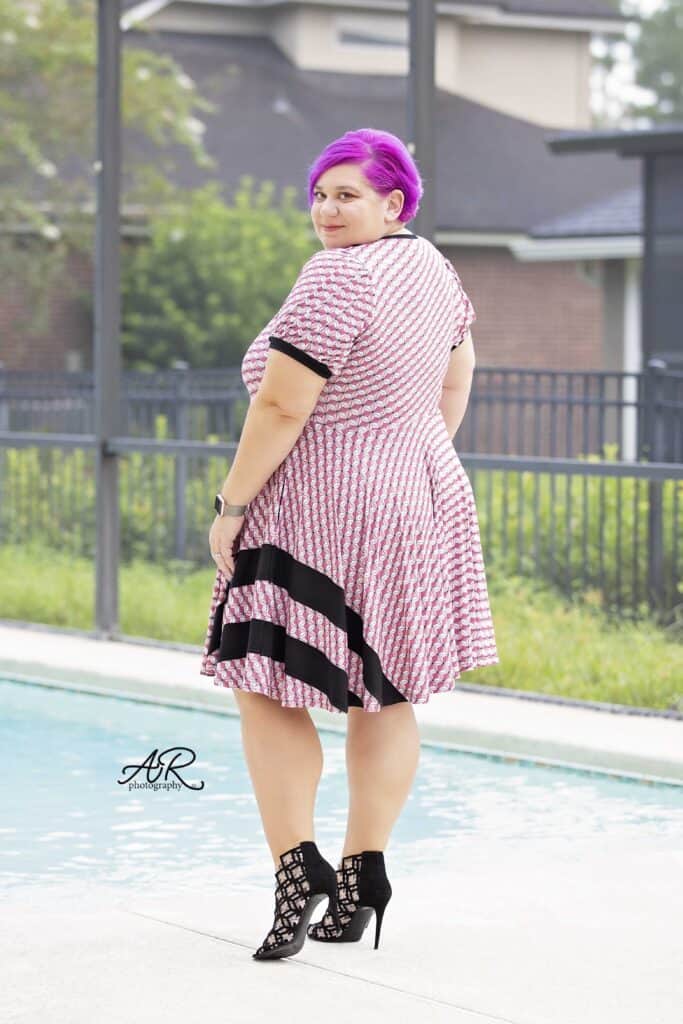
Welcome to day 4 of the Go Team sew along! Today is the day most of you have been waiting for, we add the sleeves details. The pattern includes pieces for both strips but we also added measurements for the cut chart in the tutorial.
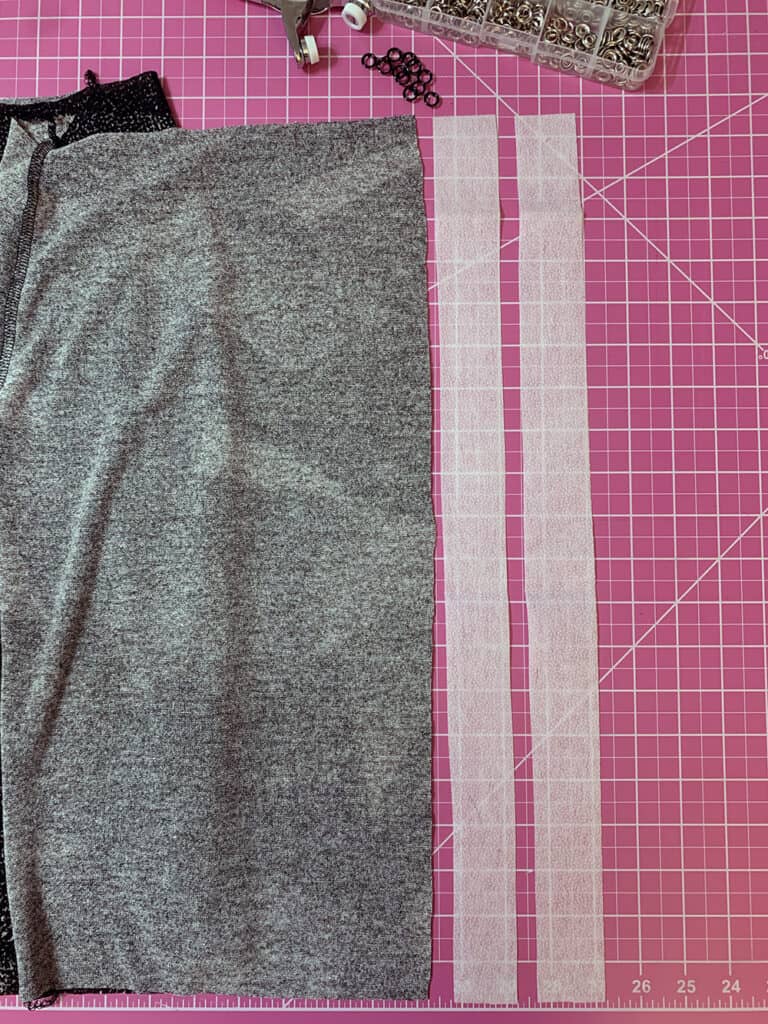
Start by pressing the strips hems, two for each strip. If the type of fabric you’re using does not hold the pressed hem (like mine), use a some water soluble double sided tape to keep the hem folded. You can see how in today’s video below. Remember the markings we did on the sleeves on day one? Today we take peel off the paper backing and adhere the strips we made to them.
If you don’t have water soluble double sided tape, you can mark the strip placement on the sleeves with a fabric marker or chalk. Use a ruler and be sure to only mark the inner lines on the strips. Here is a short video with some tips for achieving the perfect strips.
— If you are doing the HTV hack I mentioned during day 1, today you are fusing the strips to your sleeves. You can do that using a heat press or your iron. If you use your iron, add a hard surface under your sleeves, like a ceramic tile. HTV needs pressure to fuse, not just heat.
Once the strips are added, pin them to the sleeve opening, matching the shoulder notch to the shoulder seam and the front notch to the front armscye. Sew it down with a 1/2″ seam allowance using a stretch stitch.
You can see day 4 video below. Don’t forget to add your progress photo to the comments of day 4 photo in the sew along album. See you back here tomorrow when we’ll sew the side seams and hem the bottom.
Go Team SAL – day 1 | cut fabric
Go Team SAL – day 2 | shoulder seams & neckline
Go Team SAL – day 5 | side seams & hem bottom
Go Team SAL – day 6 | hem sleeves or add cuffs


