Grab those buttons and snaps…the All Buttoned Up pattern is here!! What a beautiful staple for year round sewing. We am so excited to bring you two easy hacks for the All Buttoned Up pattern that will give you even more options. First off, the gorgeous Dana is showing how to achieve the – ohh so popular – lettuce hem look. In the second half of the blog, our talented Rachel is creating separates with the ABU pattern. Yes!
…..
LETTUCE HEM HACK
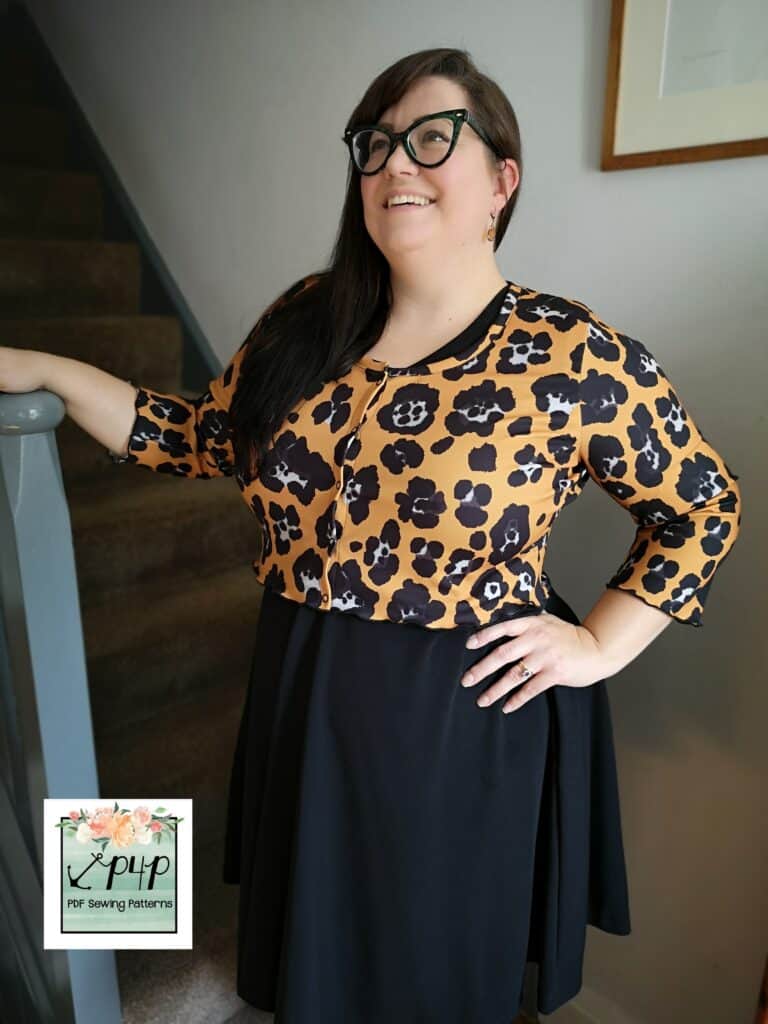
If you are looking to give a cute and flirty finish to your new cardigan, a lettuce hem is a great way to go. It’s quick and easy and looks fantastic. Here’s how to do it!
First you will want to remove your hem allowance. Shorten the bottom edge of your bodice piece by 1”, and the bottom edge of your sleeves by ½”. Cut out the rest of your pieces as normal.
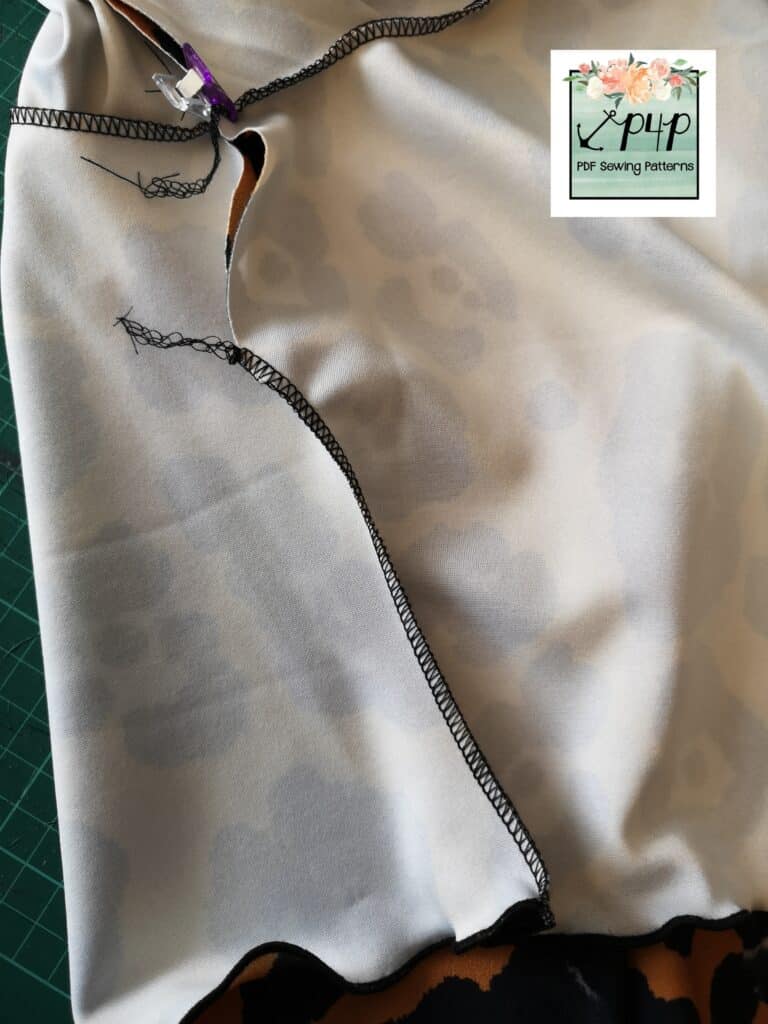
Then continue with the tutorial instructions until you reach the part where you are told to memory press the hems. We don’t have hems so instead you will sew the bottom half of the side seams together. This will enable you to hem the whole of the bottom edge in one go. (You can’t sew the whole of the side seam, otherwise you will have to hem your sleeves in the round, which is a little tricky with a rolled hem).
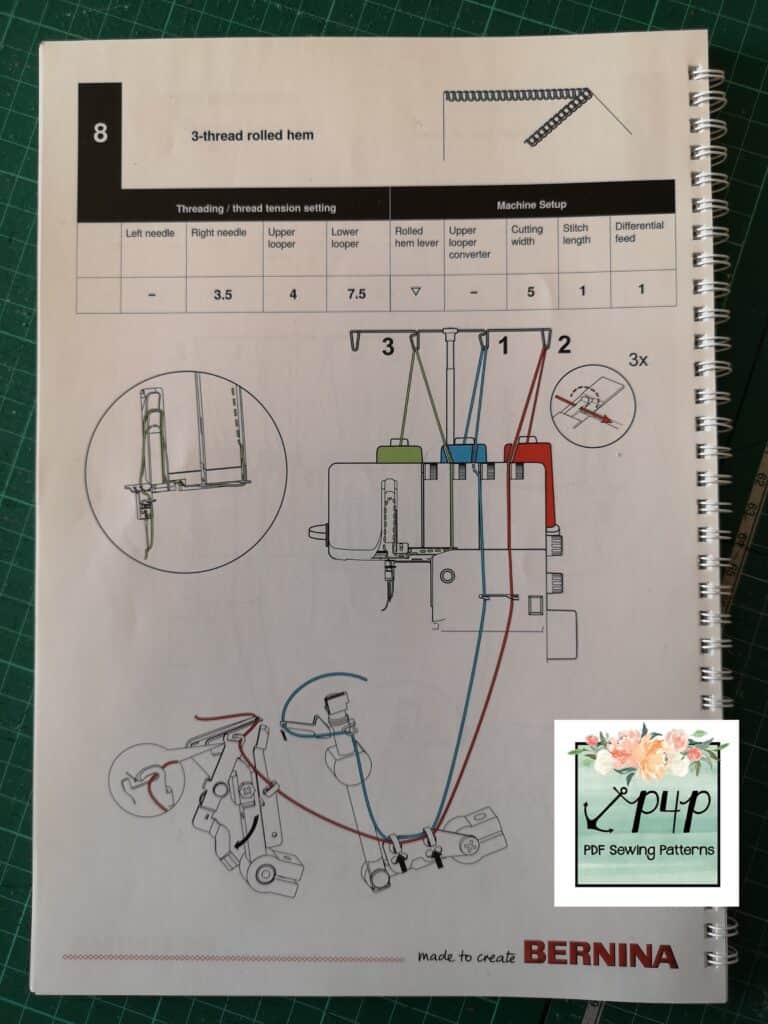
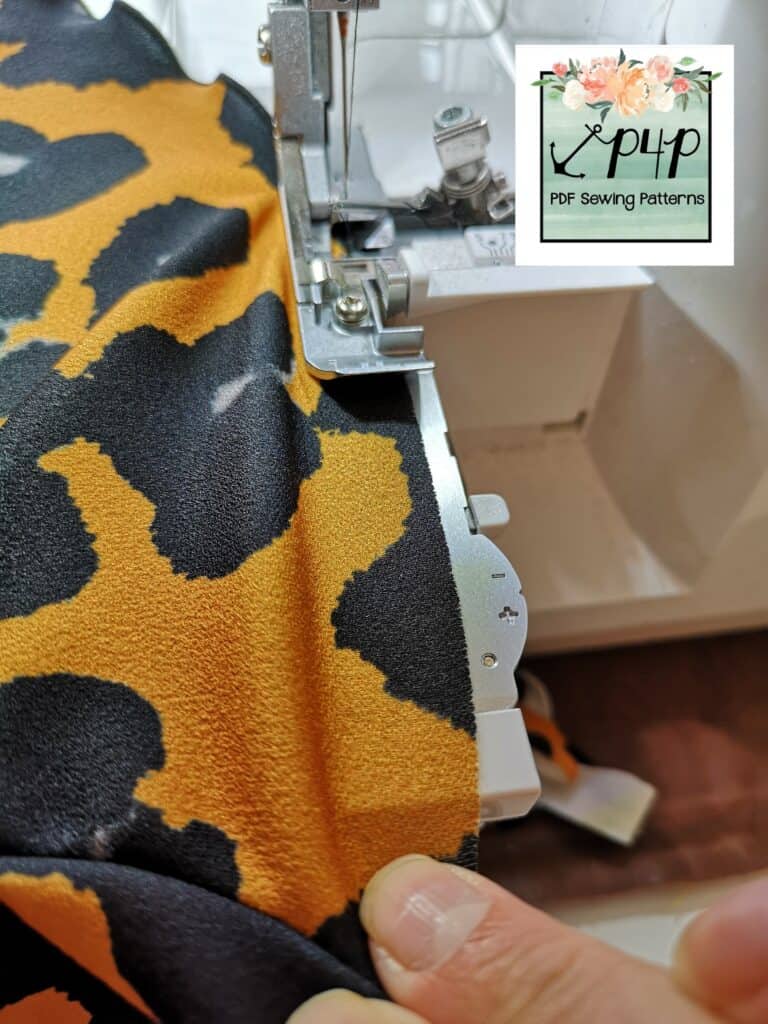
Next we will change our overlocker/serger onto its settings for a 3 thread, narrow rolled hem. You will need to remove your left needle and then change your tensions, stitch length, width and differential feed. Your manual will show you how to do this. This is the page from my manual for reference but different machines will have slightly different settings.
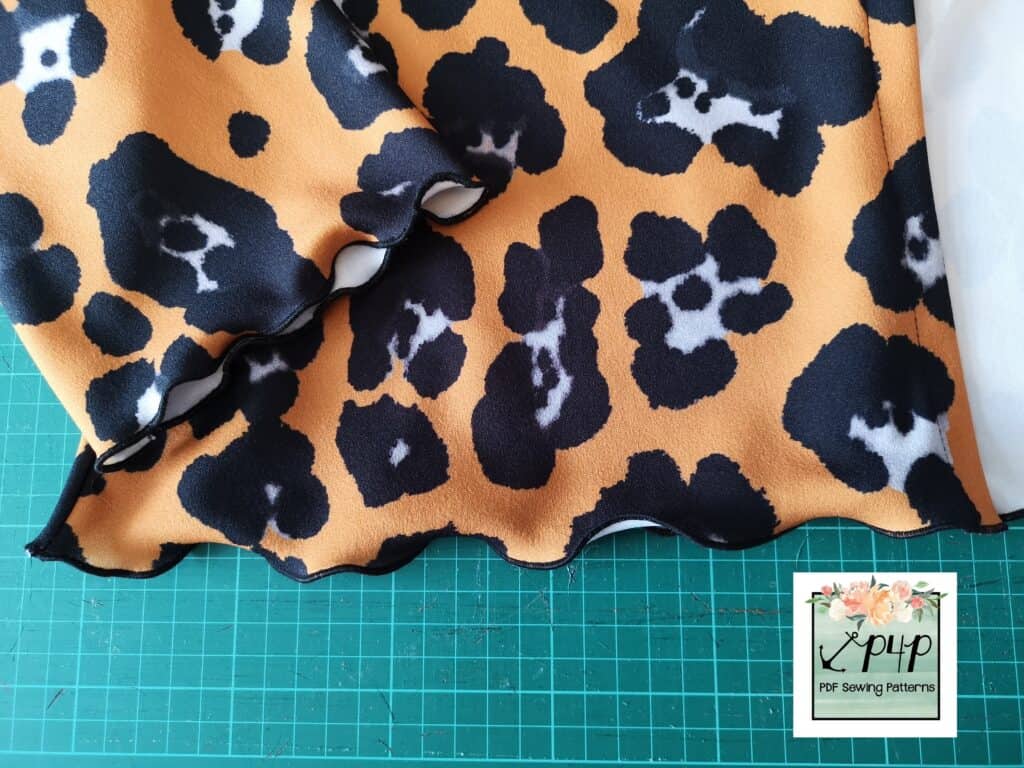
The only difference between a lettuce hem and a regular narrow rolled hem is to decrease the differential feed down as far as it goes, and to gently pull the fabric to stretch it as you feed it into the presser foot. Both of these actions will stretch the fabric as it is sewn, and helps give the wobbly lettuce edge.
You can also slow the fabric as it comes out of the back of the feed dogs, and gently stretch the hem once it is sewn, as this increases the ruffled look.
Then, once you have perfected your narrow rolled hem on scrap fabric you can hem both sleeves and the bottom edge of the cardigan.
Reset your machine to its previous settings and finish sewing the side seams, from the hem edge of the sleeve up to the underarm, and down to join the top of the previous side seam stitching. Weave in your tails, or trim and finish with fray stop.
Construct the rest of your garment as per the pattern tutorial.
You’re done! Enjoy your fun new cardigan.
Happy Sewing
Dana x
…..
SEPARATES
Versatility is a requirement in my wardrobe so I always put my patterns to work for me. As soon as I saw the All Buttoned Up Cardigan, I knew I wanted to create separates, too!
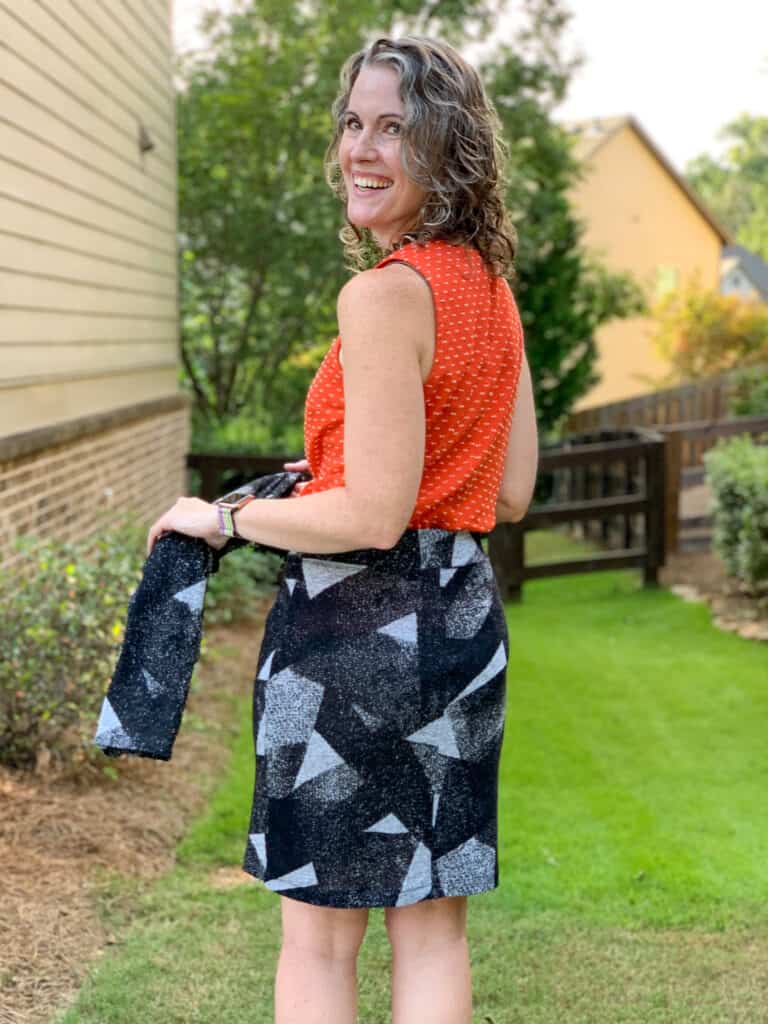
For this make, I worked up a cropped cardigan and a pencil skirt, with the crew neck and self-facing placket options. You can follow the same method for the v-neck with banded placket.
Start with the dress length cardigan and cut the full length piece in half at the “Crop” length line. You will now have your cardigan and skirt pieces separated.
Construct your cardigan per the pattern directions.
Assemble your skirt by stitching together at the back and sides.
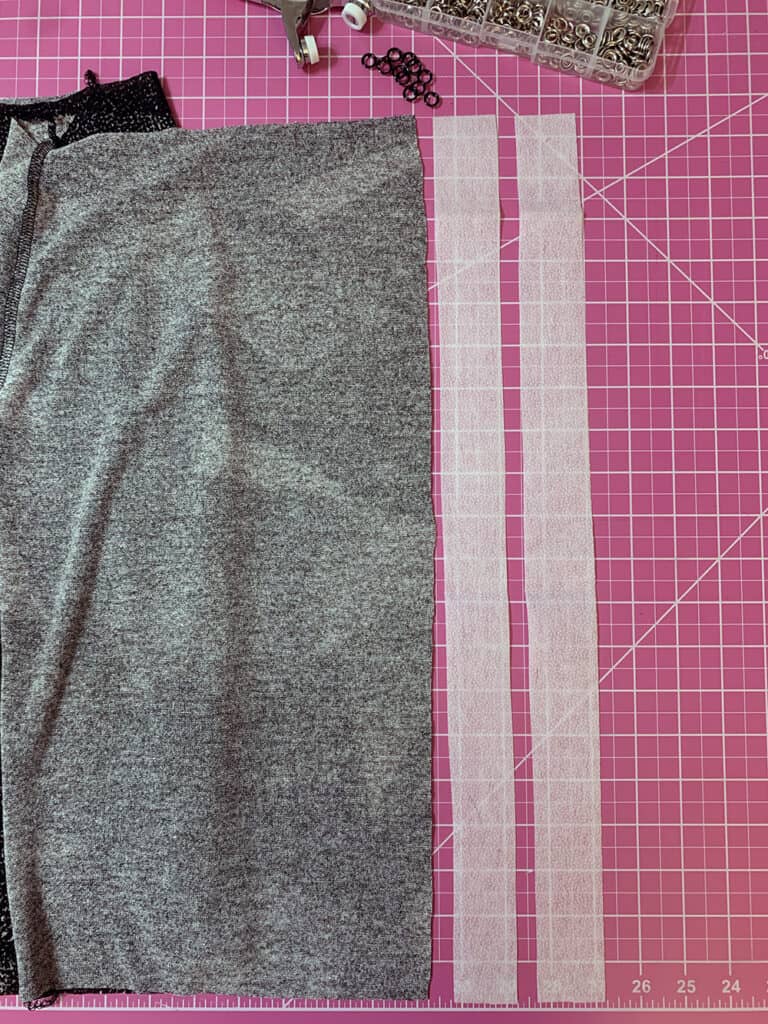
Cut fusible interfacing strips that are 1.5” wide by the length of your skirt. Iron on the interfacing to the wrong side of the fabric, aligning with the front edges of your skirt. Just as you did with the cardigan, press the front edge ¾” towards the inside and press.
Cut your waistband 5” tall by the length of the top of your skirt, minus ½”. For example, the top of my skirt is 31” wide so I cut my band 30.5” long.
From here you have 2 options. If your fabric has great stretch and recovery, you can cut 2 strips of interfacing ¾” wide by 5” tall. Fuse them to your fabric ½” from the edge.
If your fabric has poor recovery, you will want to cut a piece of 2” elastic to sew into your band. No interfacing is required because your elastic will provide stability to your waistband.
Assemble your waistband using the same instructions that you completed for the neckband.
Stitch your waistband to the top of your skirt, ¾” away from the front edge of your skirt.
Complete your skirt placket, buttons, and hem using same instructions for the cardigan.
Wear your pieces together for a coordinated look or separately with jeans or a sweater… your options are unlimited!
Happy sewing!
Rachel






Leave a Reply