
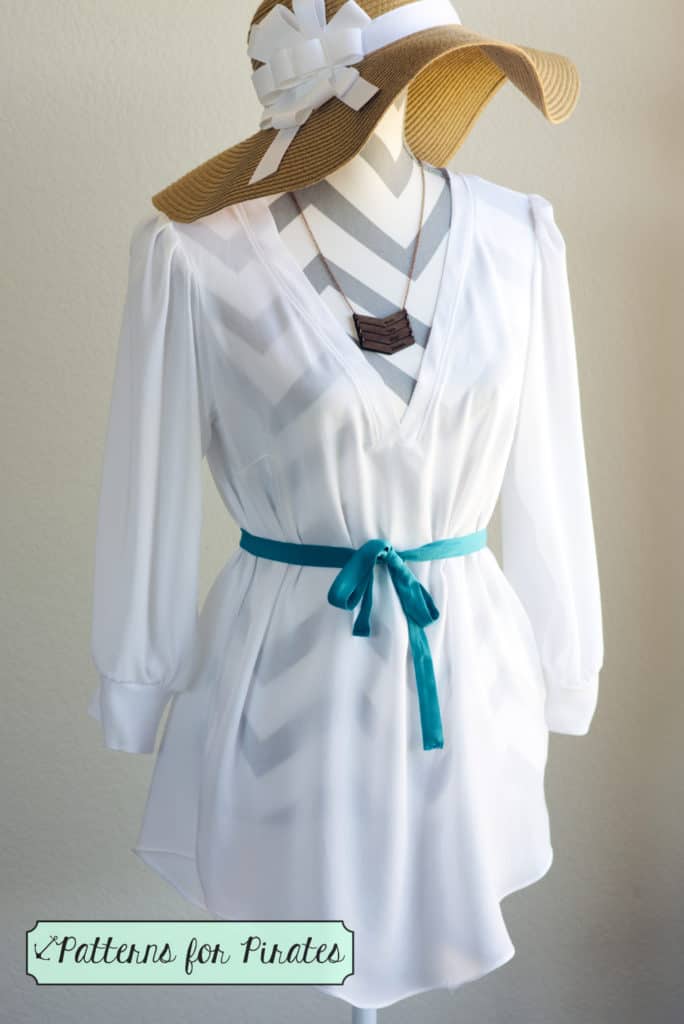
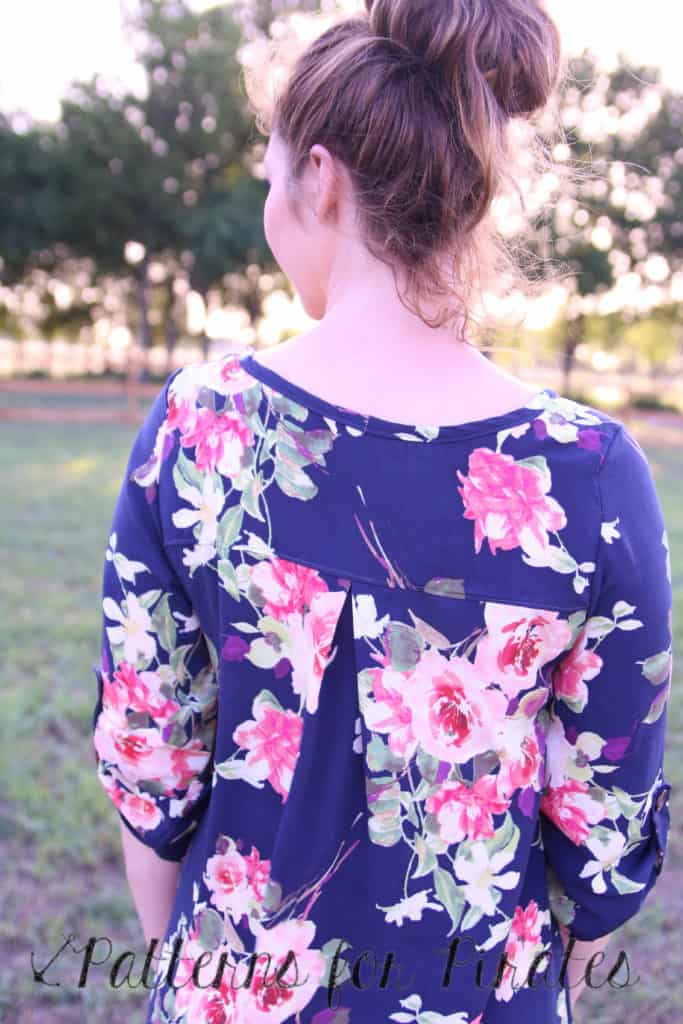
The Everyday Elegance recently received an update and and we added more options. (Read more about it the re-release here). We could not let this event pass by without showing you some easy hacks that can take your beloved EE to the next level.
NECKLINE HACKS
~ Neckline Facing ~
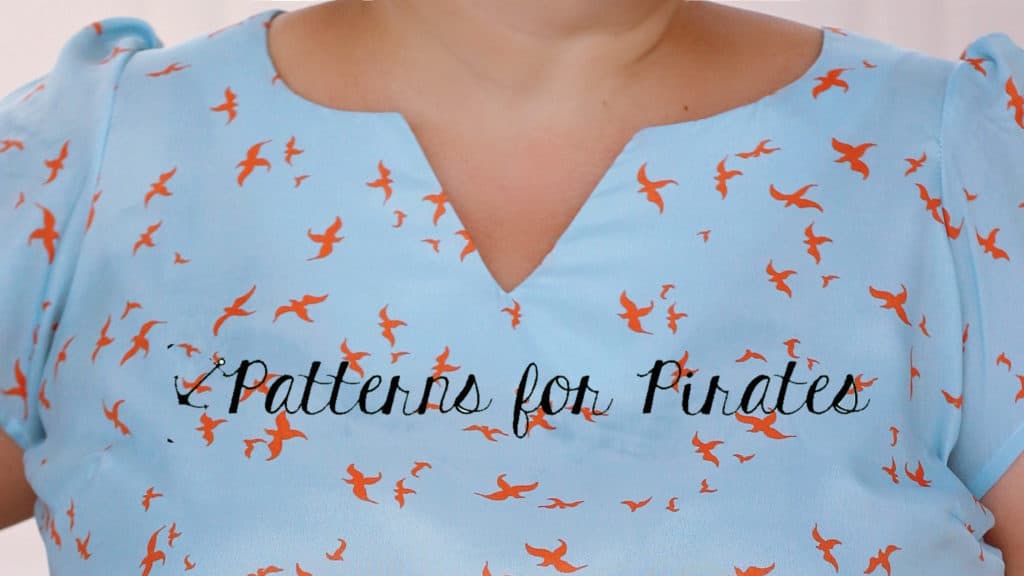
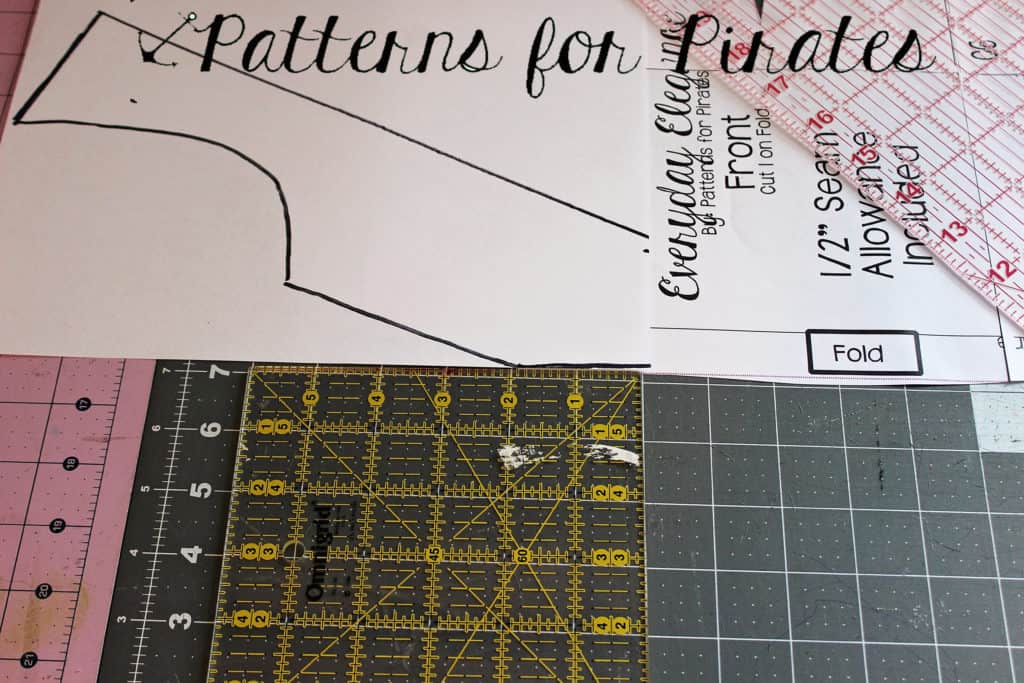
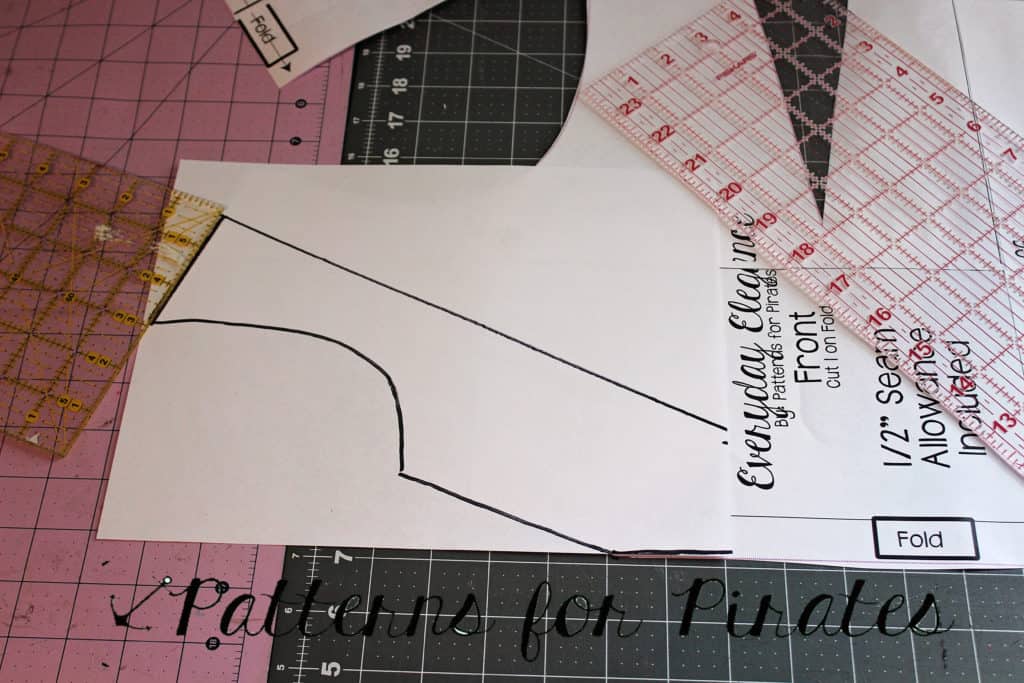
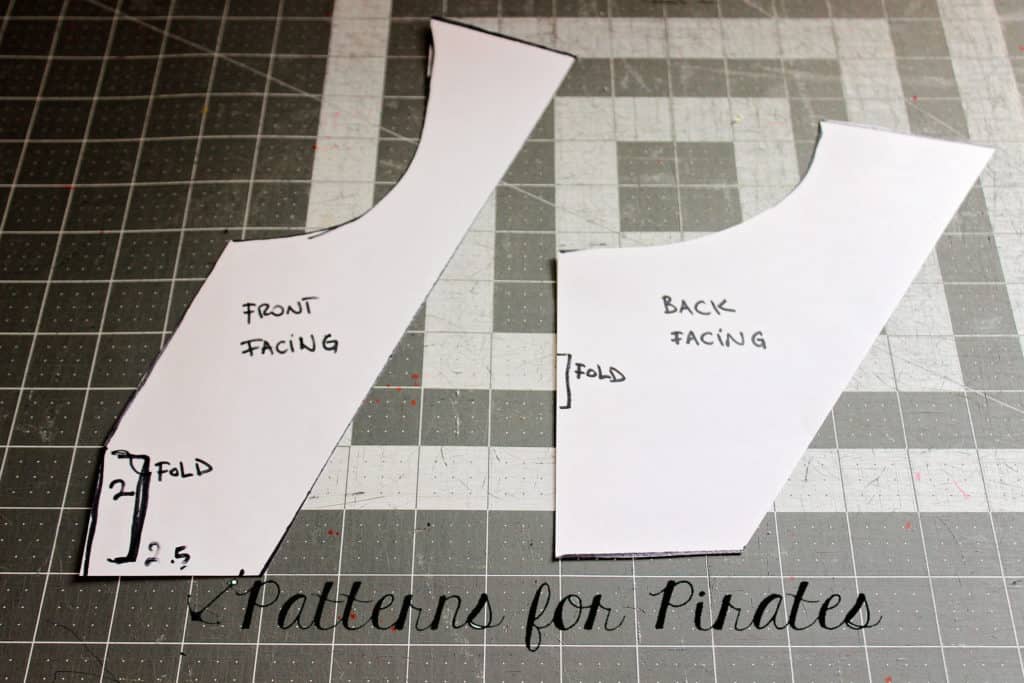
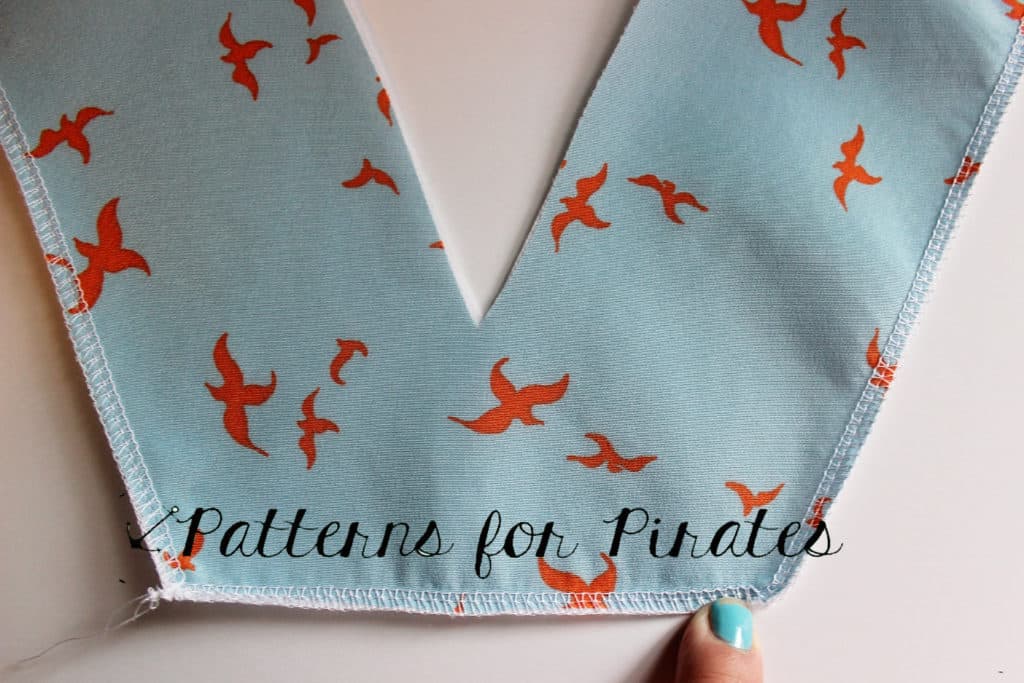
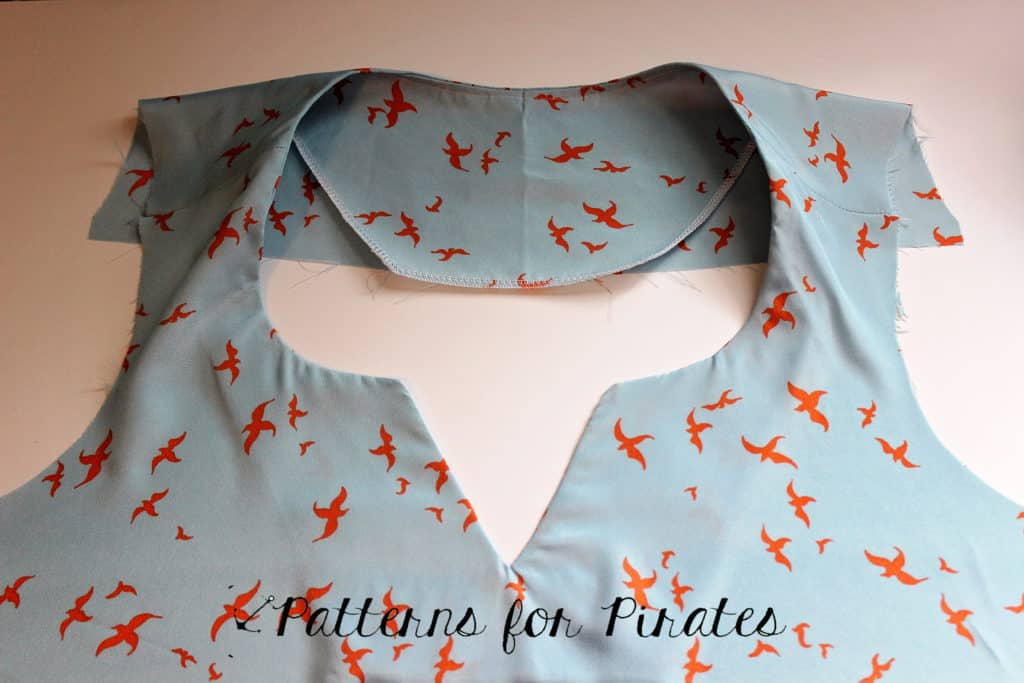
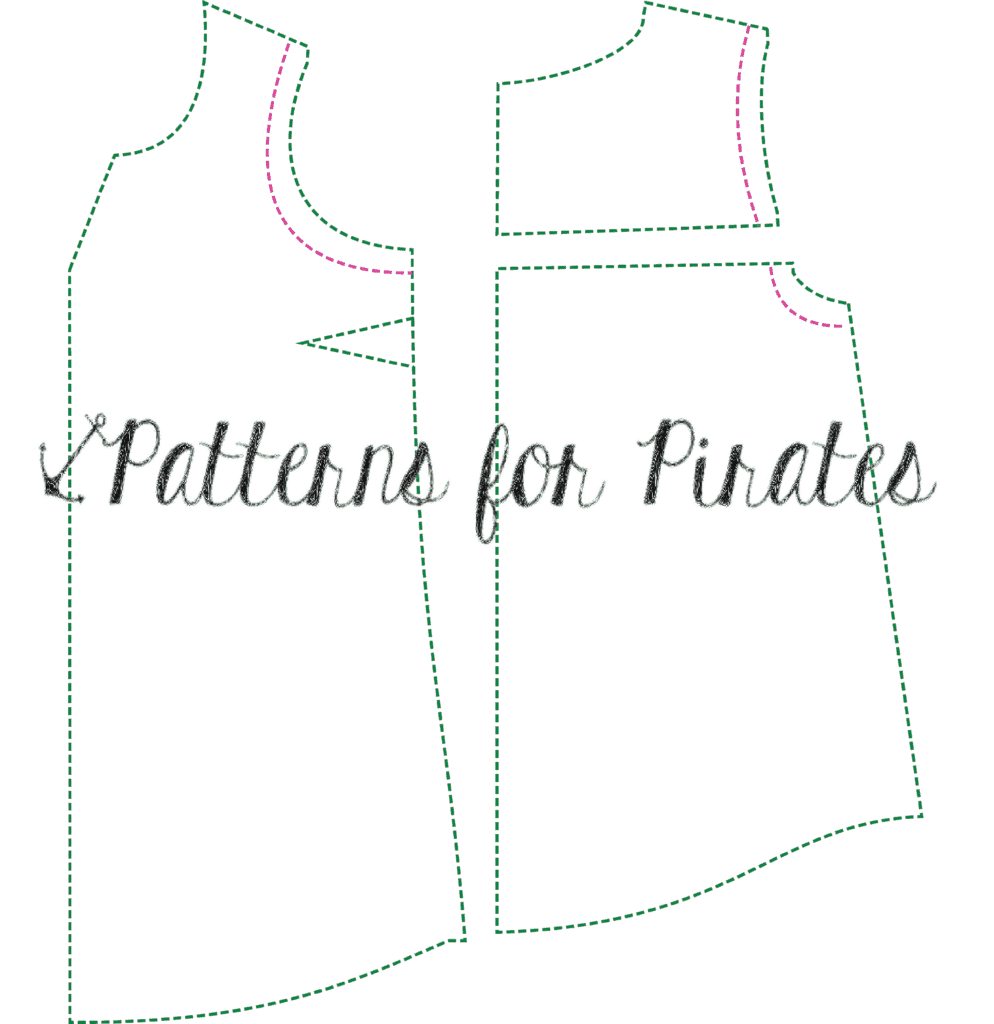
First, I wanted to show you an easy way to add a facing to the neckline. That means you will not need the collar or V neck binding piece. Grab your front and the back yoke piece. We will now draw the facing. Place a blank paper on the front piece and trace the neckline curve a V. Mark 2″ down on the fold and 3 ” at the shoulder seam. Repeat with the back yoke. Cut the two new pattern pieces (the front and back facing).
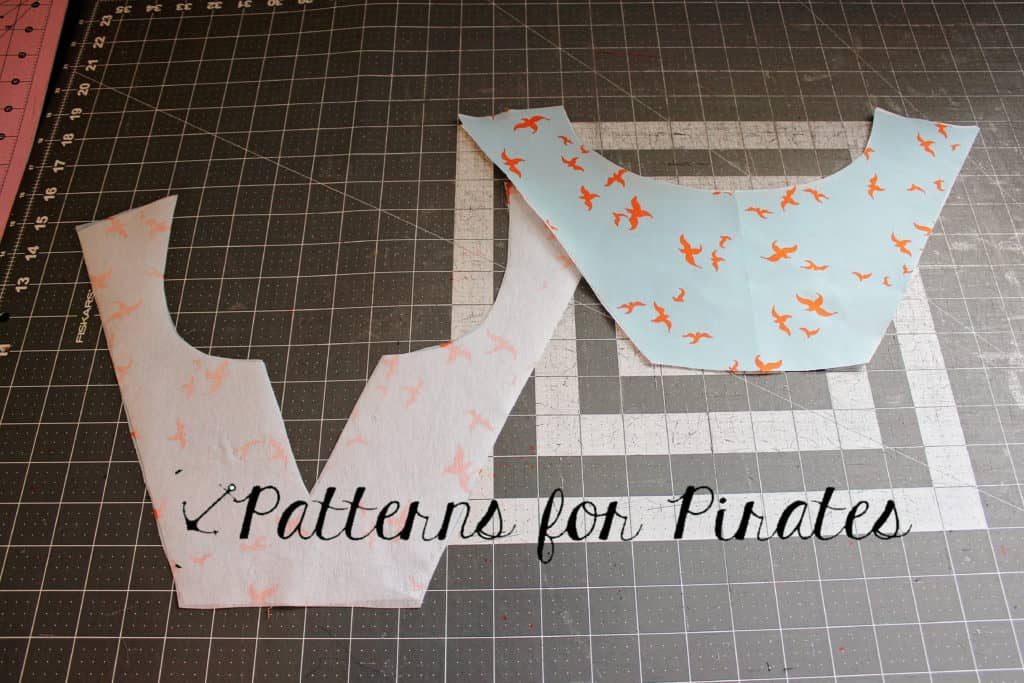
You will need to cut one of each of fabric and light weight interfacing.
Iron the interfacing to the wrong side of each facing piece as per the manufacturer’s instructions.
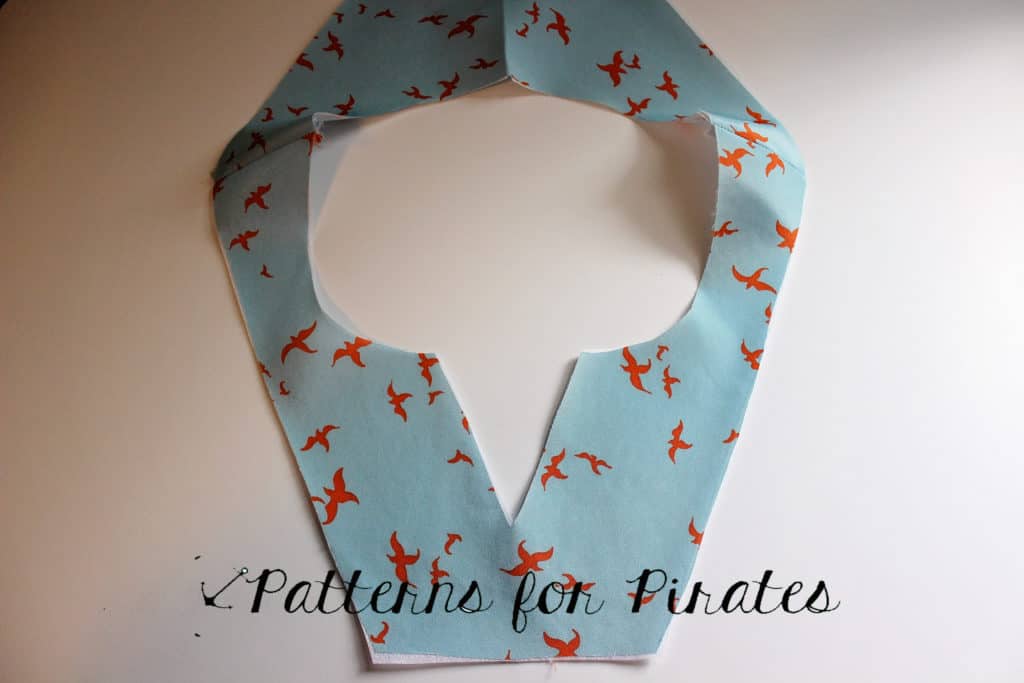
Sew the facing pieces right sides together at the shoulder seam. Press the seam open.
Serge the outer raw edge. If you do not use a serger, you can finish the raw edge with a zig zag stitch or pinking shears. Since the fabric used for this pattern is woven, the edge will fray during wash if it’s not properly finished.
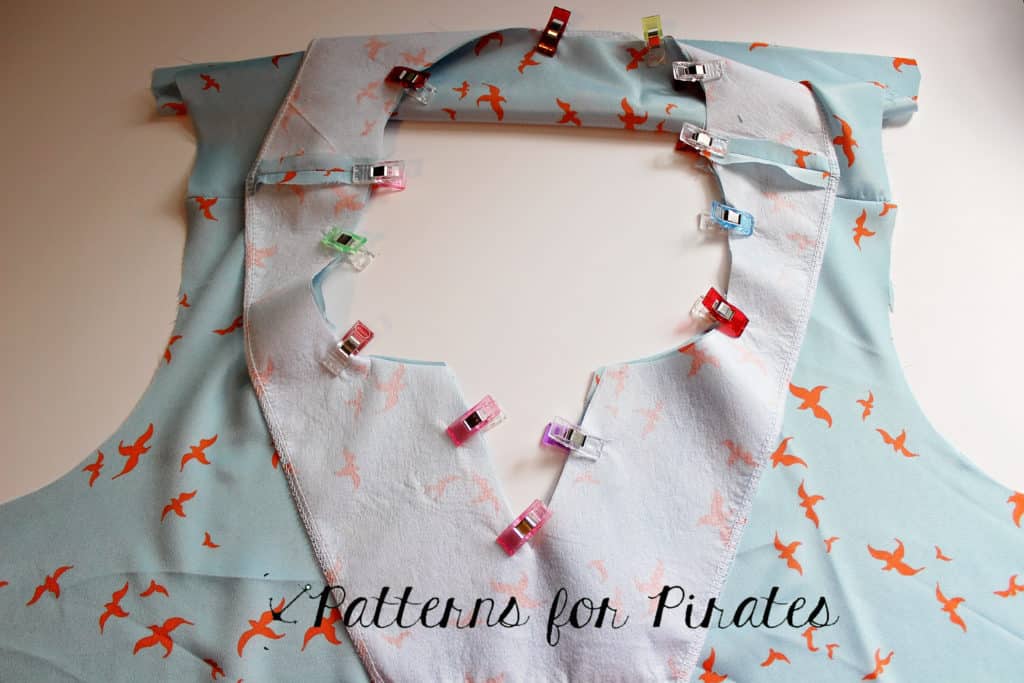
Sew the front and back of the main fabric at the shoulder seam. Take your facing piece and place it right sides together matching the neckline. Pin or clip it in place.
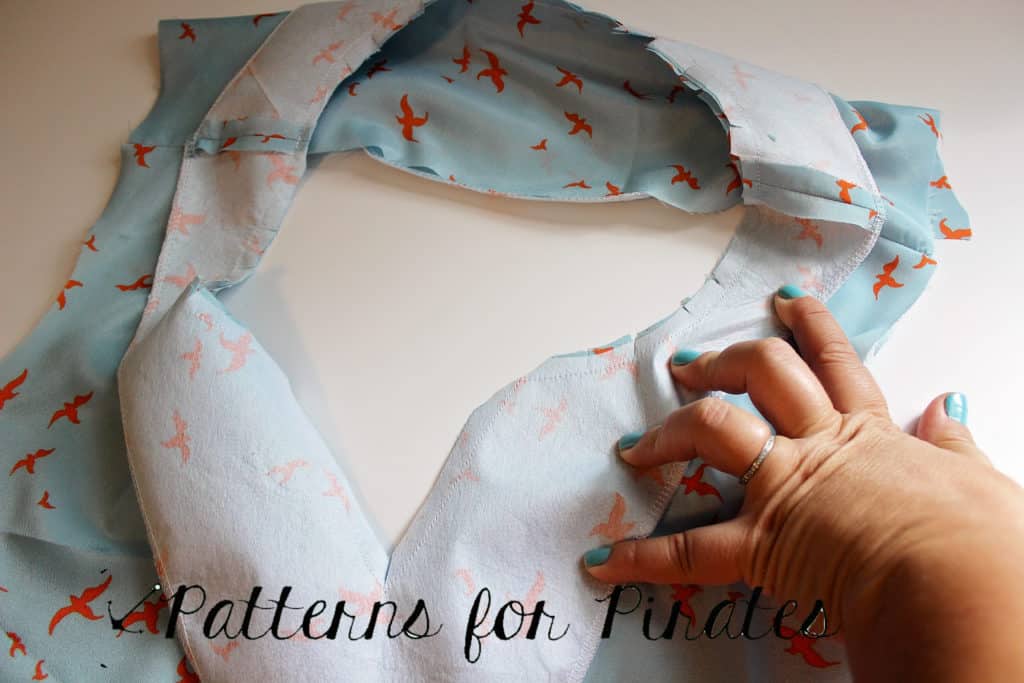
Sew around the neckline with a 1/2″ seam allowance. Remember to pivot at the V part of the front neckline! Snip the seam allowance around the curve being extra careful not to snip your stitches.
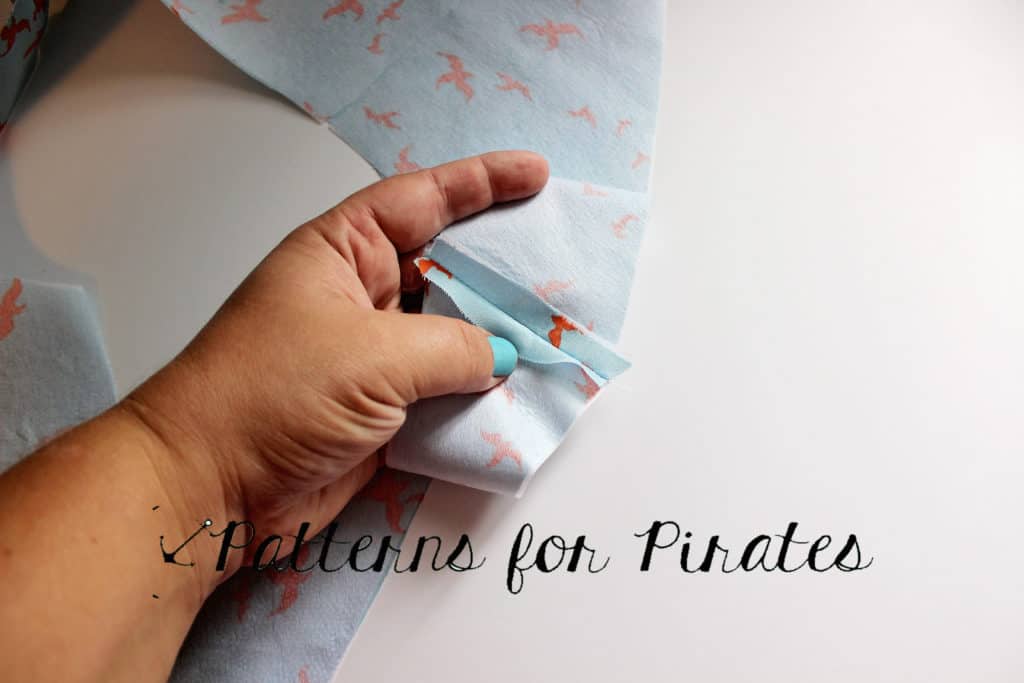
Under-stitch the seam allowance to the facing and press. See how easy that was?
Continue sewing the dress or blouse following the pattern instructions. I can’t wait to see your beautiful Everyday Elegance tops and dresses!
~ Simple Bias Band Neckline Hack ~
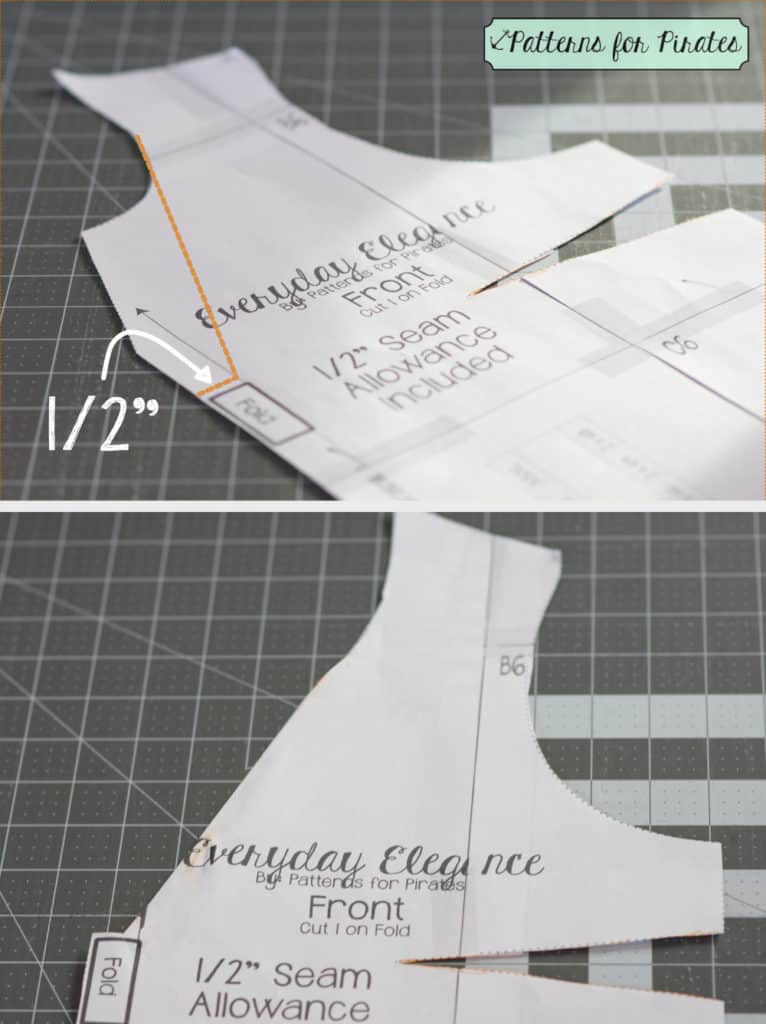
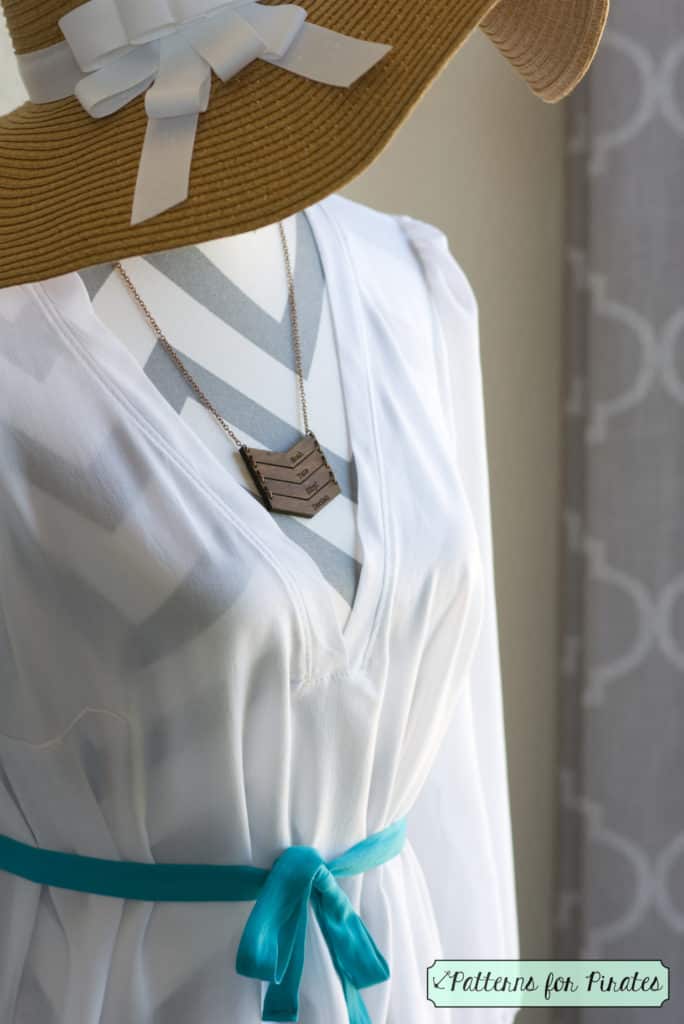
Let’s begin by altering our front bodice on the EE. Figure out how deep you’d like your neckline to plunge. I chose to go a little deep as this top is going to be used as a swim cover up or over a Cross my Heart Cami. For this top I used some pretty thin rayon challis woven. Make sure to cut the bottom of your neckline horizontal and no more than 1/2″ wide. This will give you a 1″ gap to work with on your bodice.
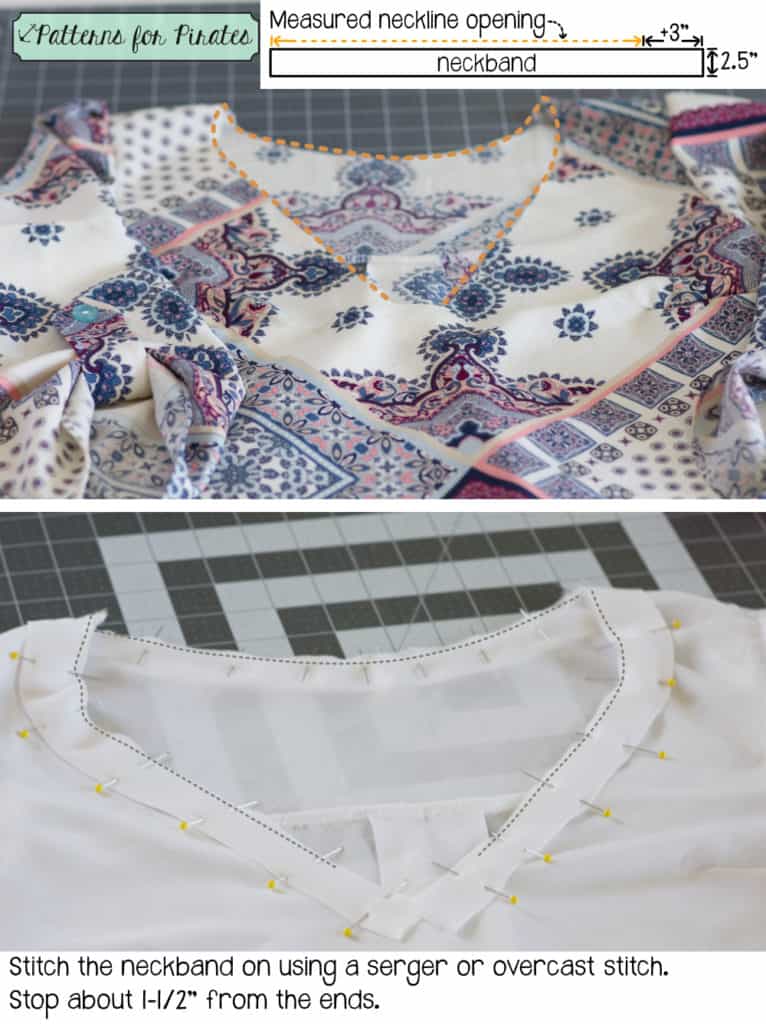
Cut out your pieces and assemble your top per the pattern tutorial. Measure your needed bias neckband size by measuring your neckline opening and adding 3″ (to give some wiggle room). Cut your band that wide by 2.5″ tall on the bias. Use your iron to press your bias band in half giving a finished width of 1.25″.
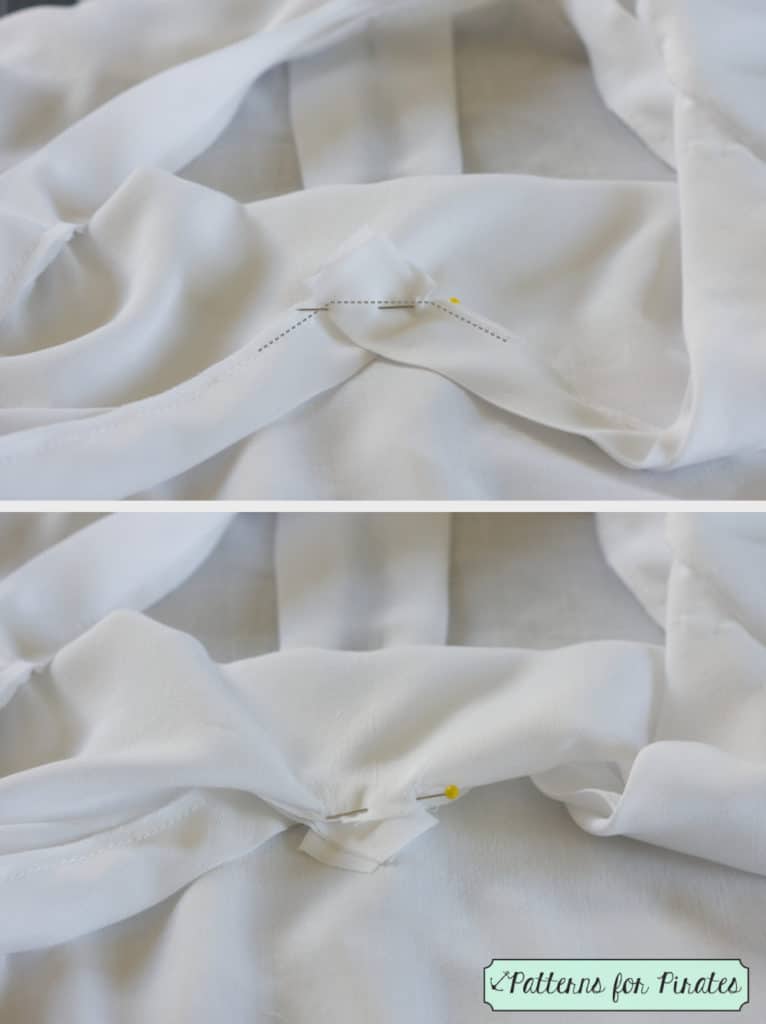
Starting at back of the neck, find center on your bias band and pin in place all the way around to the front of the neckline. Stitch in place using a serger or overcast stitch stopping about 1.5″ from the horizontal bottom of the neckline.
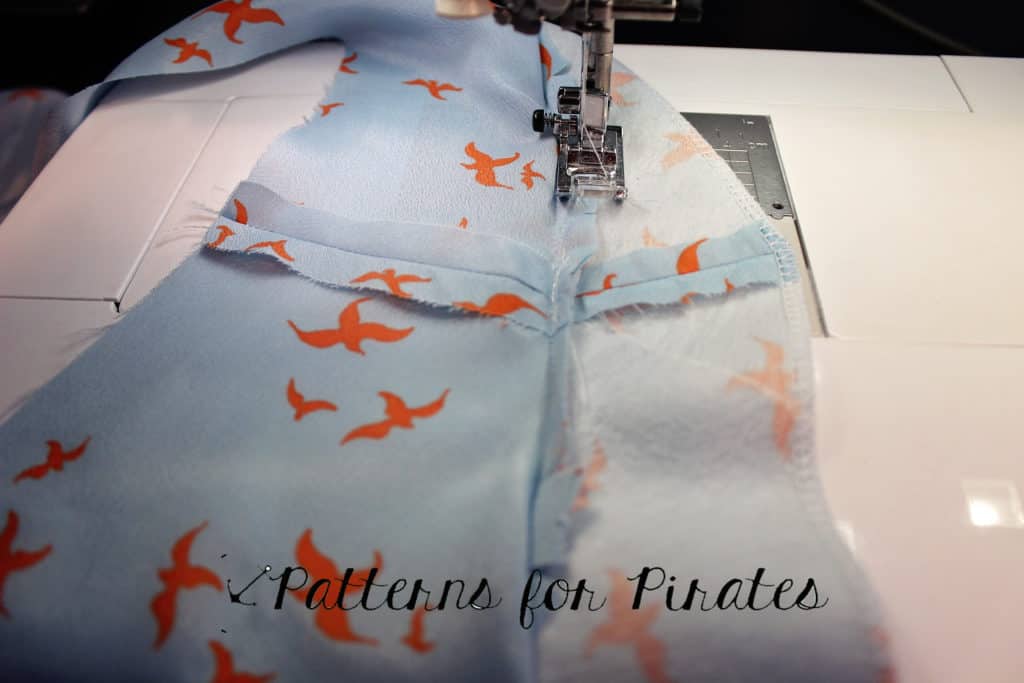
At this point you are going to arrange the bias band ends and pin to the horizontal bottom of the neckline. This is going to take a little trial and error. Once arranged and pinned, flip your top right side out and check that the band is attaching at an angle that isn’t causing any gaping to occur. If it is, flip your top wrong side out again and adjust until perfect. Once you get it just right, finish attaching using a straight stitch. Check your work for gaping. Then trim off the excess bias band and finish with a serger or an overcast stitch on your machine.
Flip your top right sides out. Try it on. If no adjustments are necessary complete the neckline with some topstitching. You’re all done!
SLEEVES HACKS
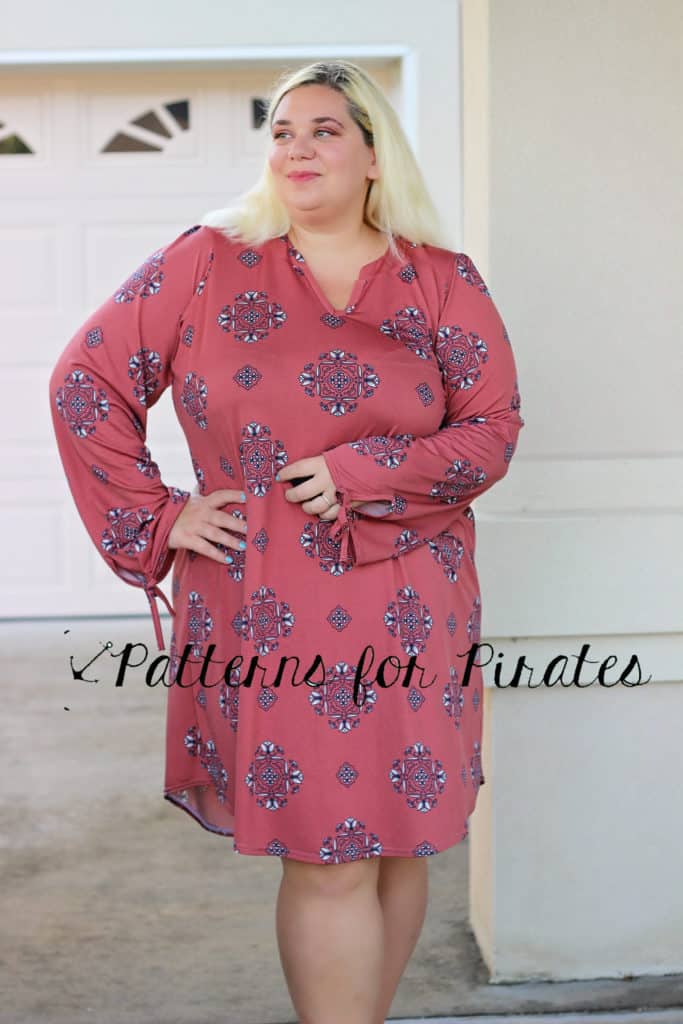
~ Sleeve Ties ~
This sleeve ties hack can be done to any of the 3 sleeve length included in the Everyday Elegance pattern.
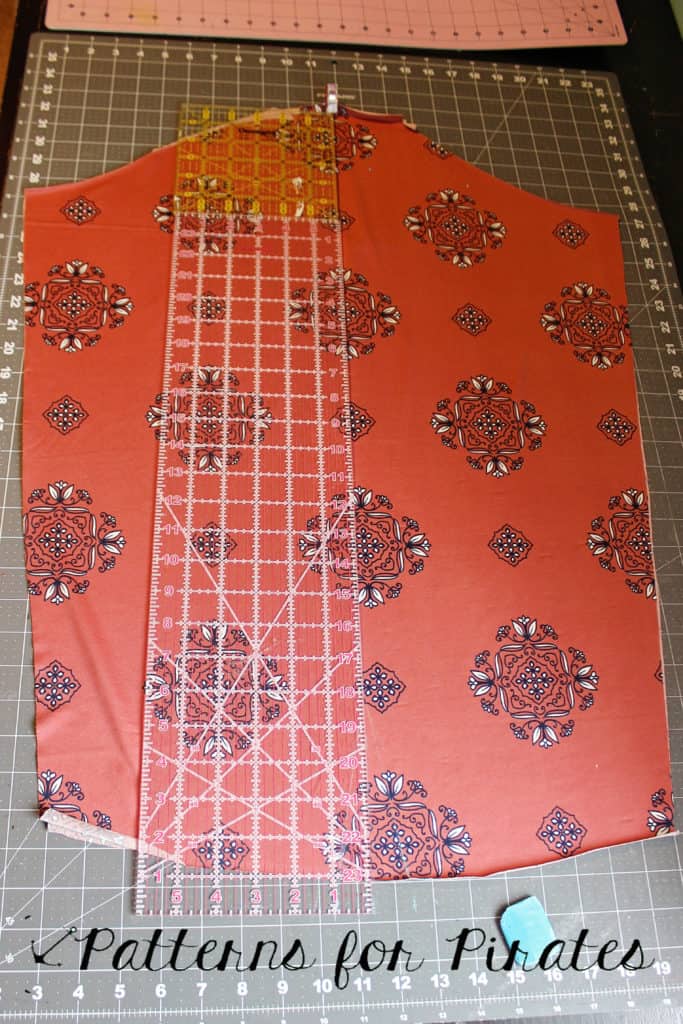
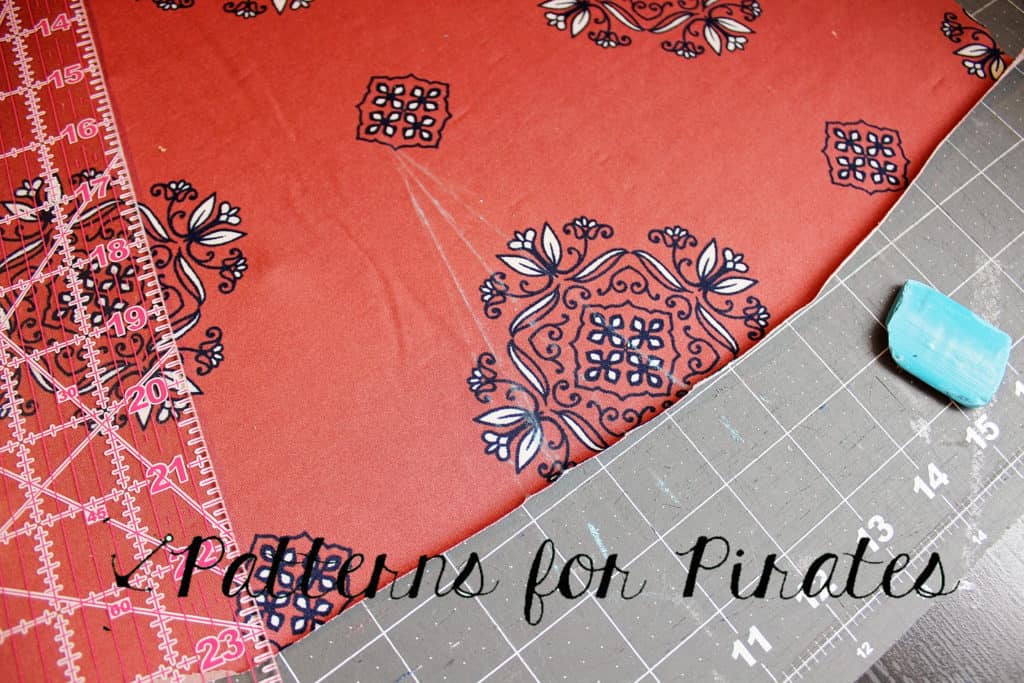
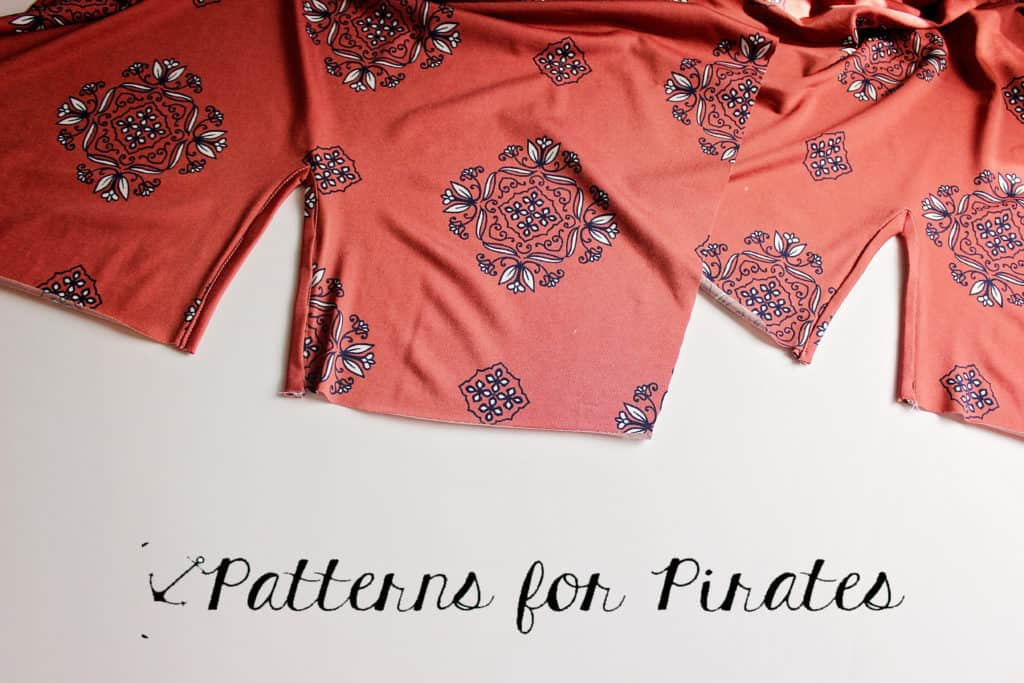
I have done this sample in a poly blend knit but it everything in the tutorial will work with woven fabrics too. Start by cutting your fabric in the size needed. Take the sleeve and lay them wrong sides together so you do only one cut and ensure that they will be mirrored pieces. Mark the shoulder seam and draw a 5 inch line at the sleeve bottom.
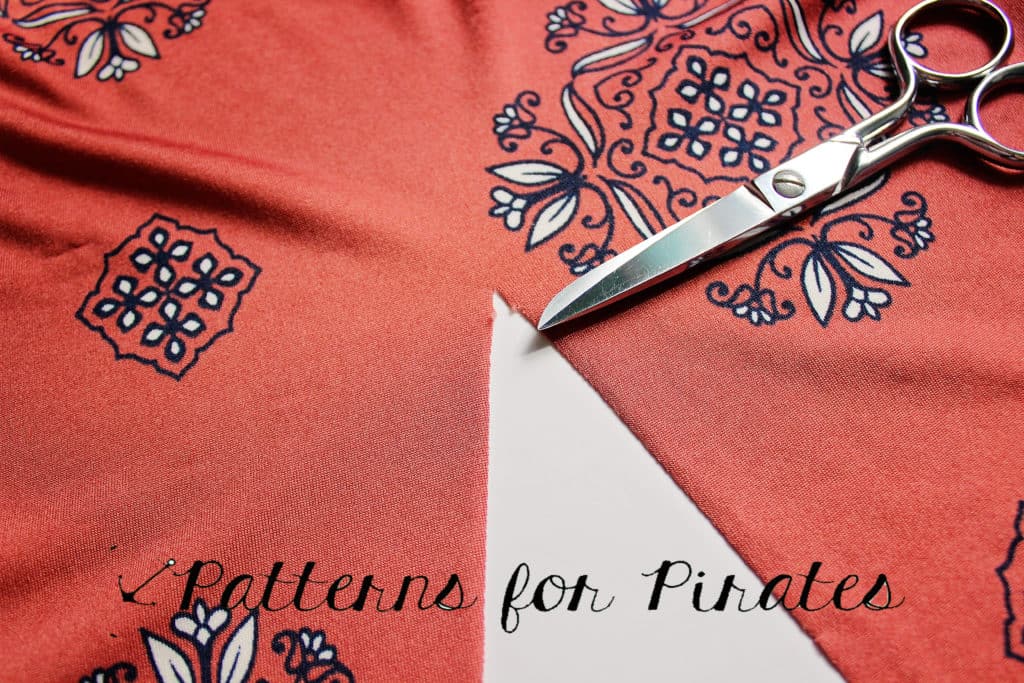
Mark 1 inch on each side of the vertical line and draw a line from that point to the top.
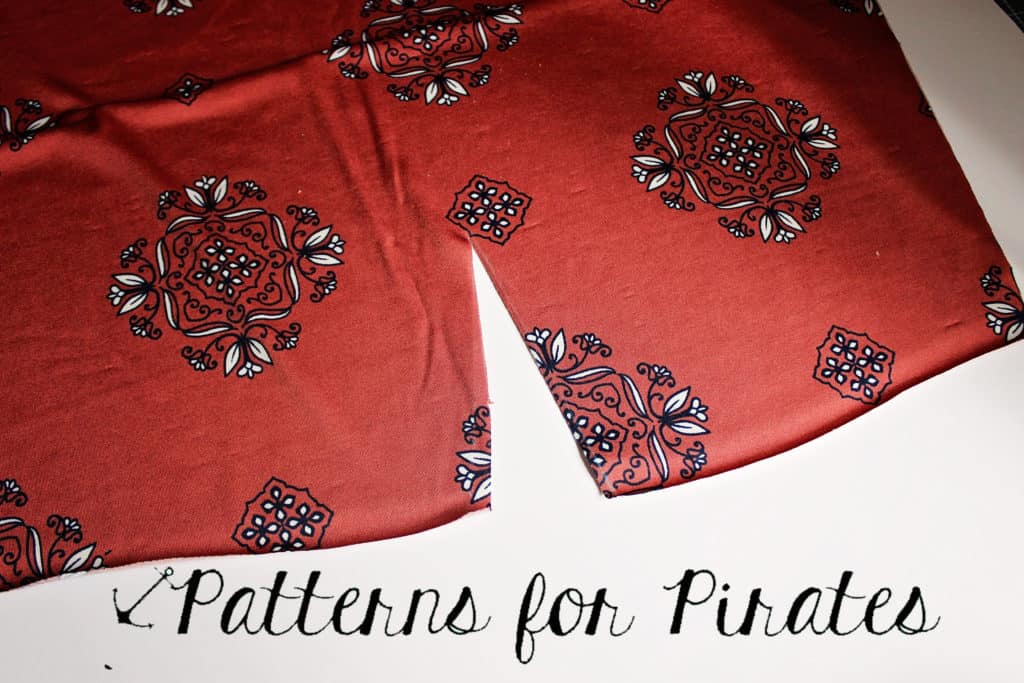
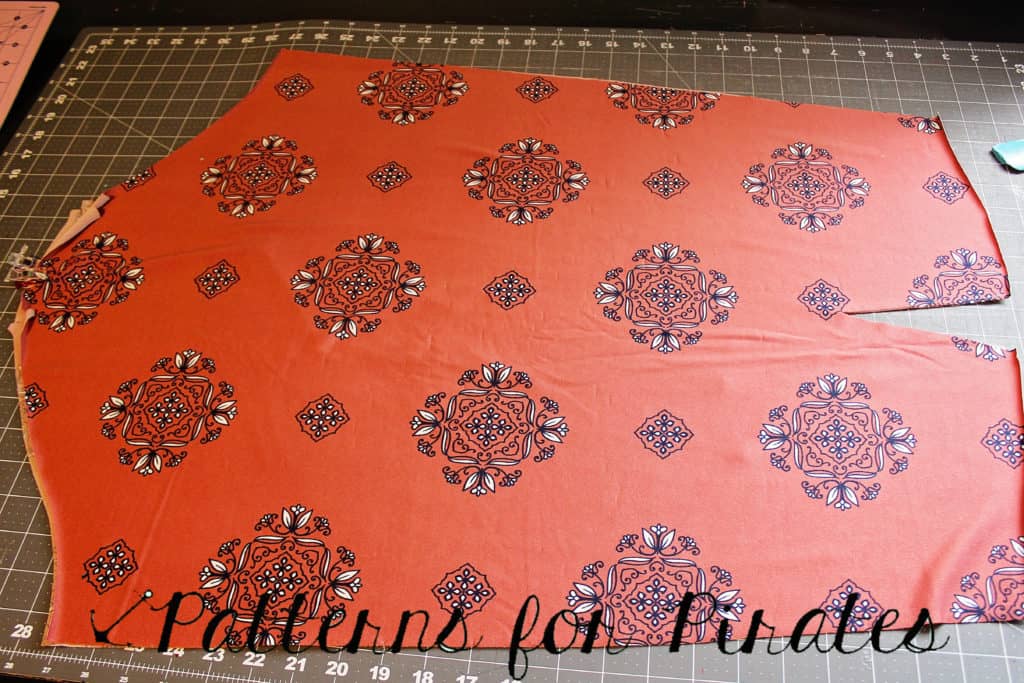
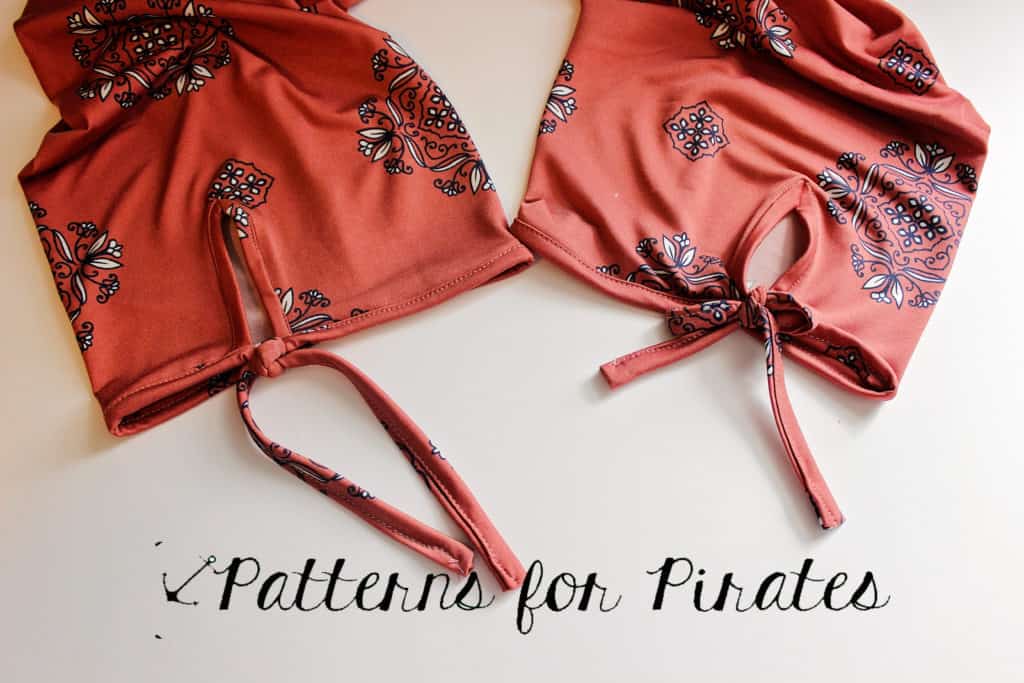
Cut out the V like markings. Your new sleeves will now look like this.
NOTE: If you are doing this hack to the short sleeve you will need to make the V a little shorter.
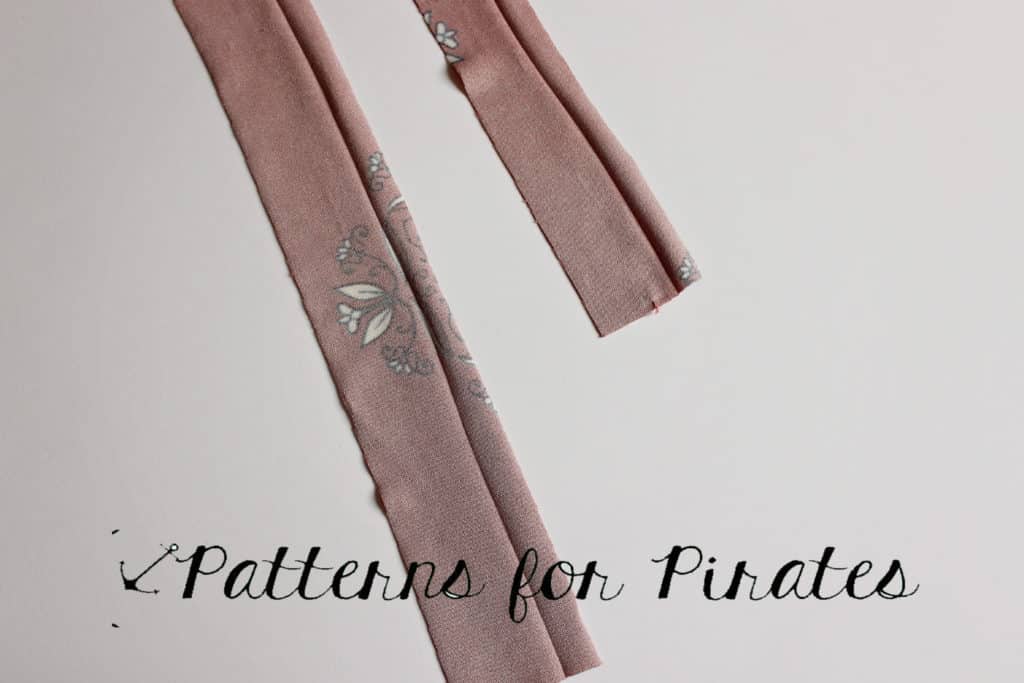
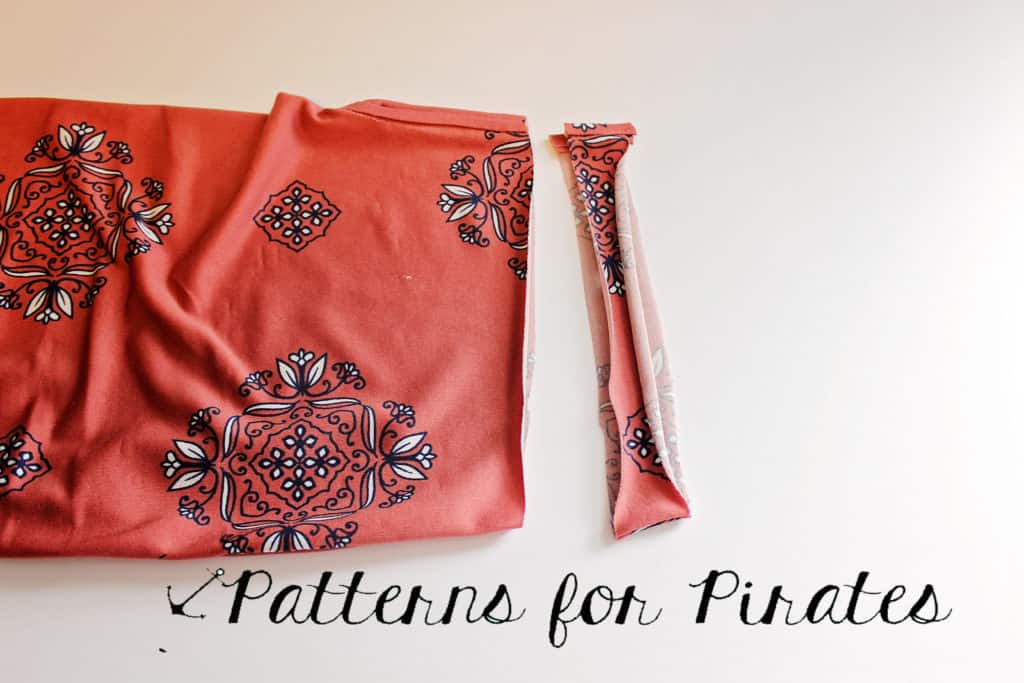
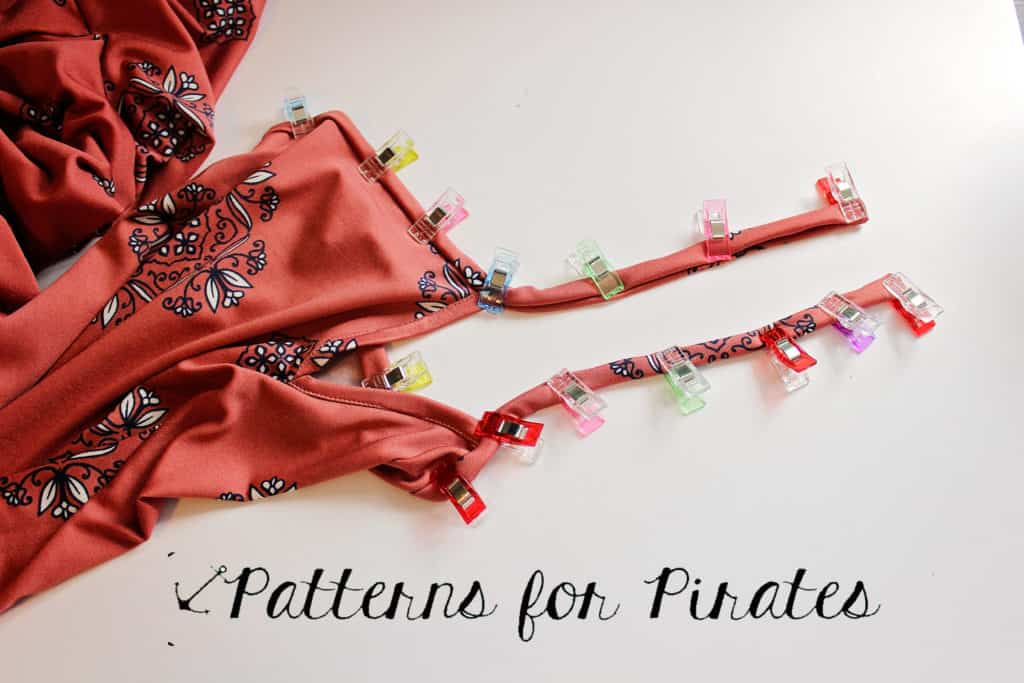
We will now add a binding to the V slit as we do for the front V. Cut 2 binding strips 2″x 14 “. Press a 1/2 inch memory hem on one side of each binding piece.
Snip the V point of the slit about 3/8 of an inch.
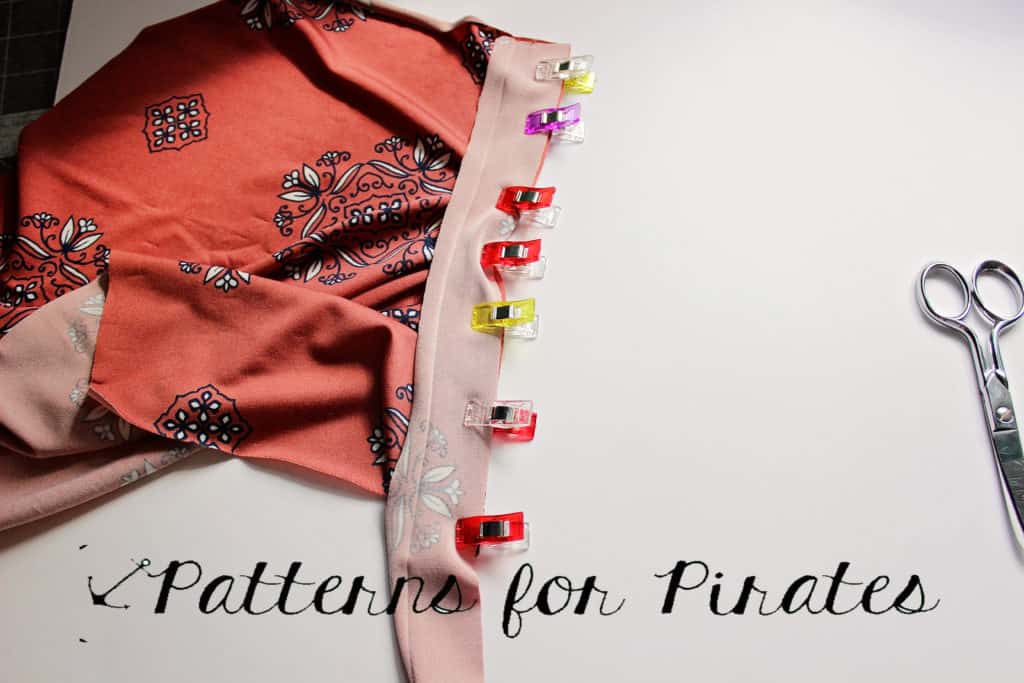
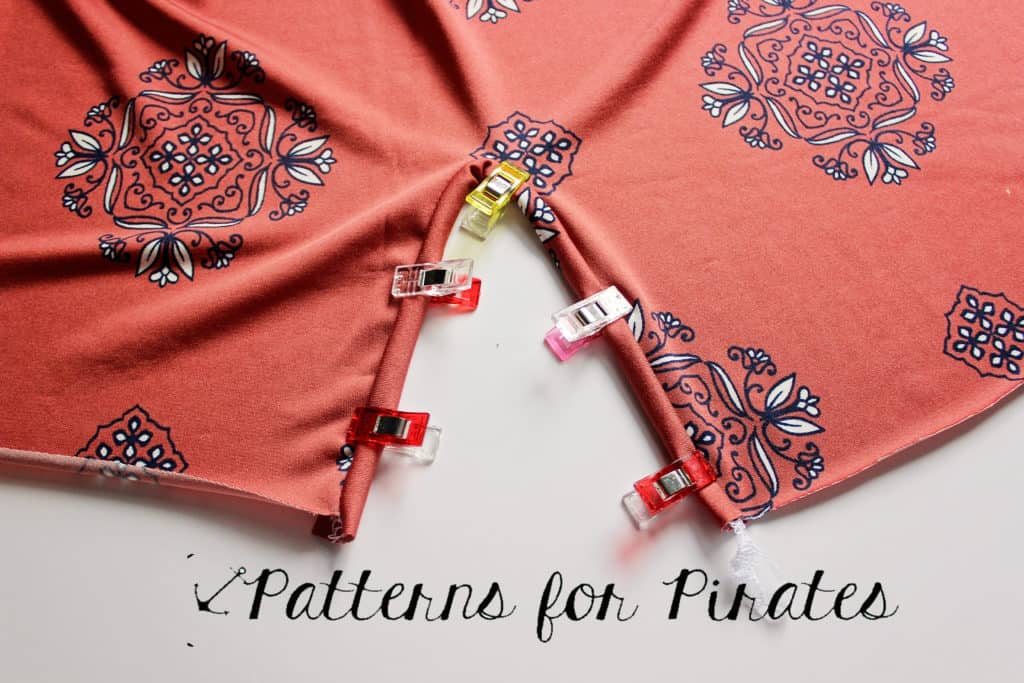
Attach the binding using the same technique as used to add the front V binding.
Cut off any excess binding and press well.
Put the sleeves aside and sew the Everyday Elegance following the tutorial. Once you sewn the sleeves and the sides you will be working on the ties. I wanted a loose look for my sleeves so I did not add the long sleeve elastic casing. I removed 1 1/4 inched from the length (which would have been the elastic casing).
If you would like the sleeves to gather at the wrist, simply run two basting stitches along the bottom of the sleeves and gather to the desired length. Afterwards, you’ll be adding the bias binding the same way as I did.
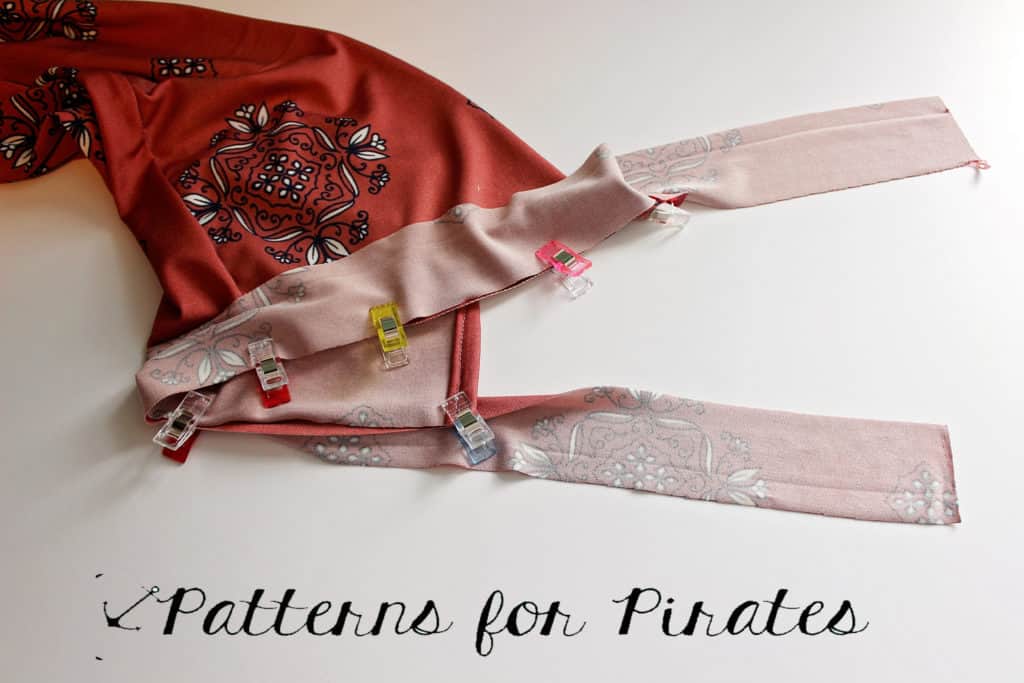
Cut two strips of binding 2″ by at least 28″. If you want to tie a bow and have longer ties I would recommend cutting the strop 33-35″ long. Press a 1/2 memory hem on one of the length. Find the center of the strip and match it to the sleeve seam. Pin (or clip) the binding to the sleeve hem right sides together.
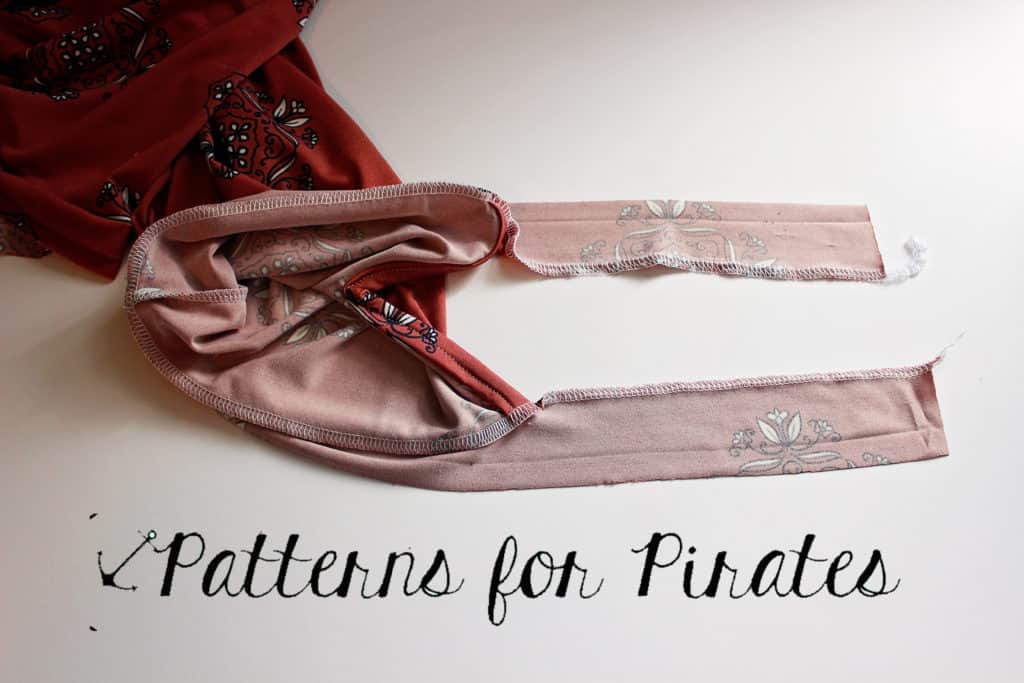
Serge or sew the binding to the sleeve hem. I like to serge the ties too for extra stability and/or prevent any fraying.
Fold the memory hem and enclose the serged seam in the binding. Fold the ends of the ties 1/2 inch to avoid having raw edge. All you have left to do is sew the binding closed and give it a good press.
You can tie the sleeves binding into a bow or a knot. Use a contrast fabric for a pop of color!
• • • • • •
~ 3/4 Sleeve Cuff Hack ~
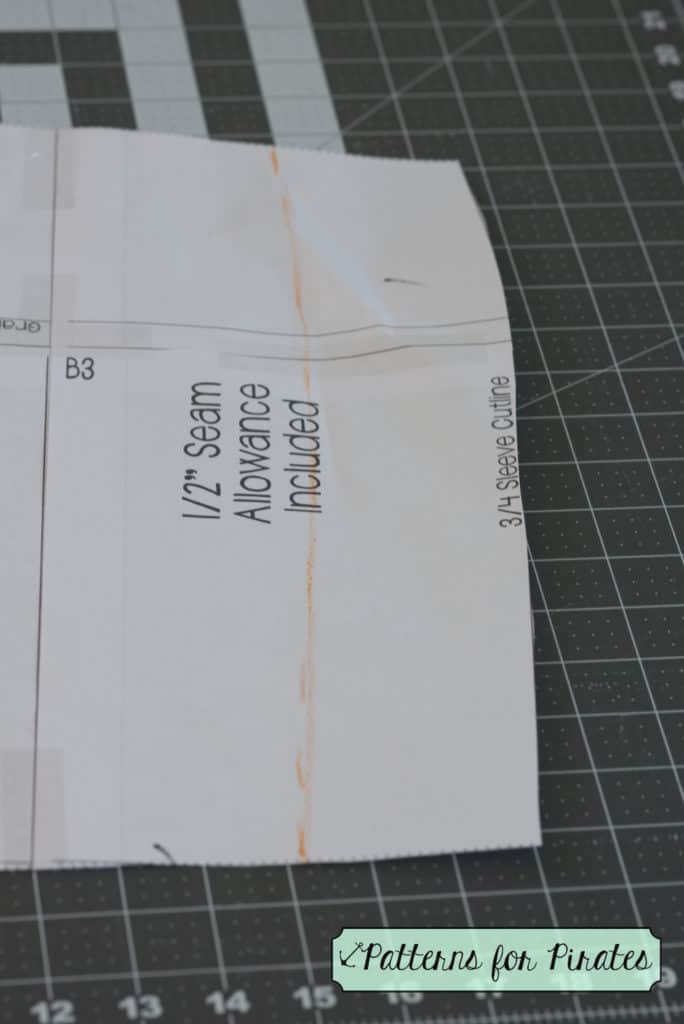
First things, first. Trim about 3″ off the 3/4 sleeve cut line on your EE pattern.
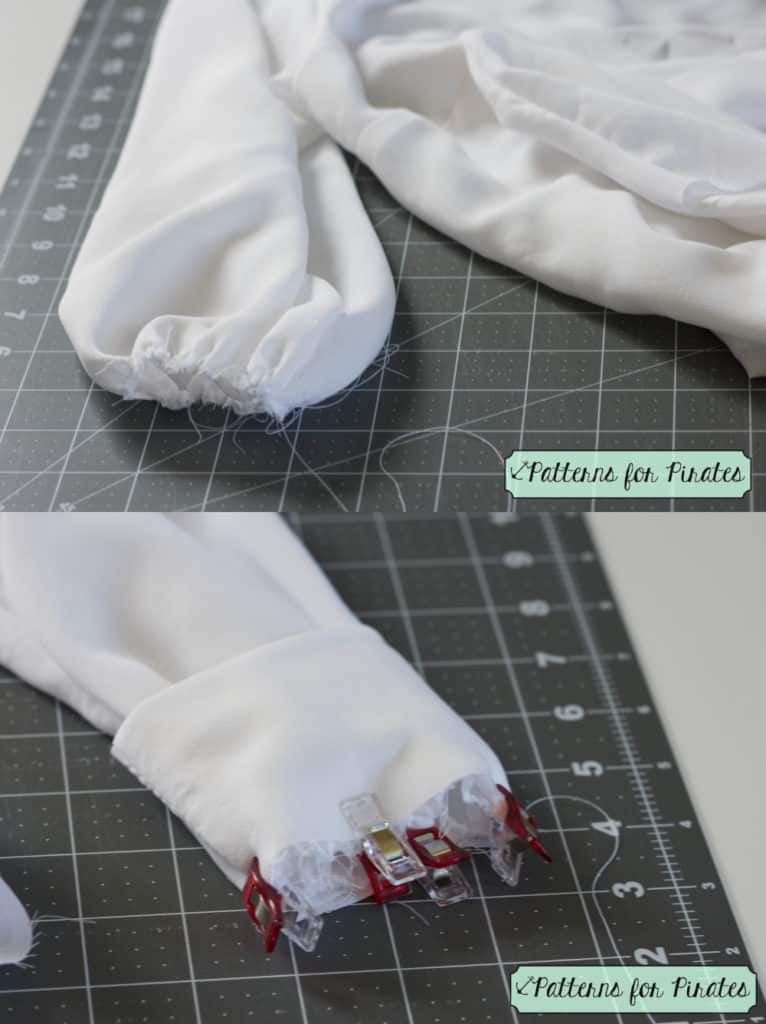
Next you will create your cuff size. Measure your forearm just below your elbow, holding your tape loosely. Add 2.5″ to that size. Cut 2 cuffs of that length by 6″ wide on the bias. Cutting on the bias will provide a little stretch to your cuff along with a little bit of extra comfort when bending your arm. Now sew the short ends of each right sides together as shown. 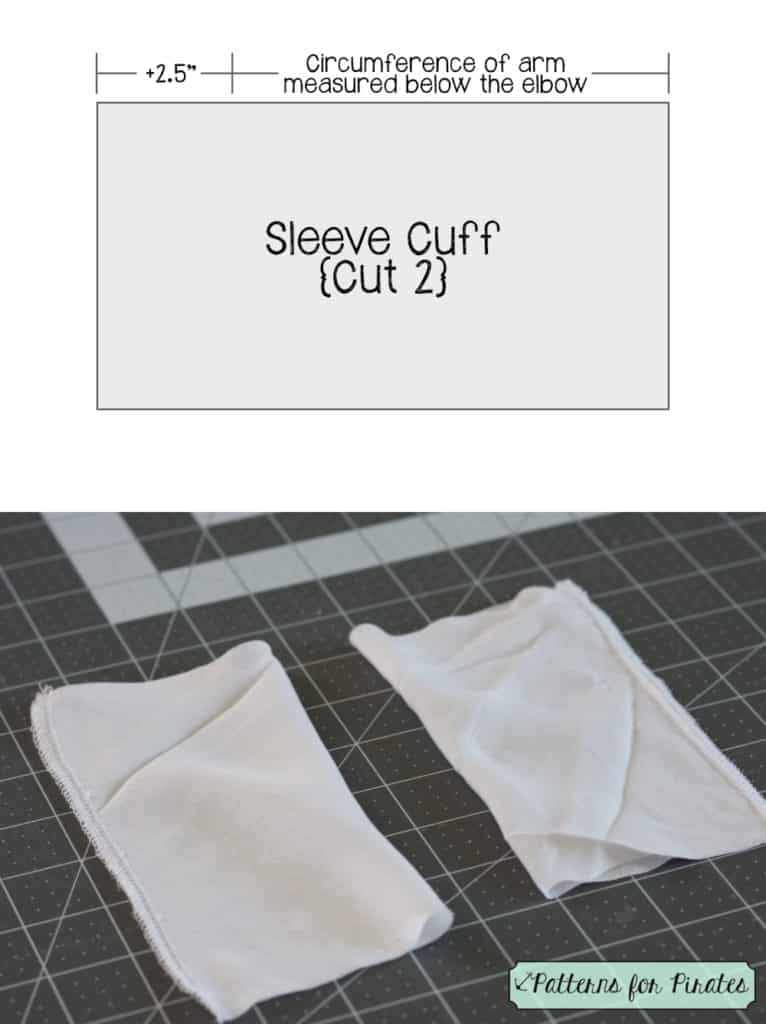
Cut your bodice and sleeve pieces, assemble them as normal if you haven’t already. Once completed run gathering stitches in the ends of your sleeves. Pull the bobbin thread to gather. Press your cuffs in half with wrong sides together. Try them on! Don’t skip this part. Make sure the cuffs you have cut will comfortably sit on your arms (straight and bent) just below your elbow. Now, with right sides together place them over your gathered sleeve ends, lining up the raw edges. Pin or clip in place.
Stitch them in place using a serger or an overcast stitch. A traditional straight stitch will not do here. You must enclose the raw edges to prevent the woven fabric from fraying. Once stitched, you’re all done! Yay!
Written by Kelly Bailey
• • • • • •
~ No Gather Sleeve ~
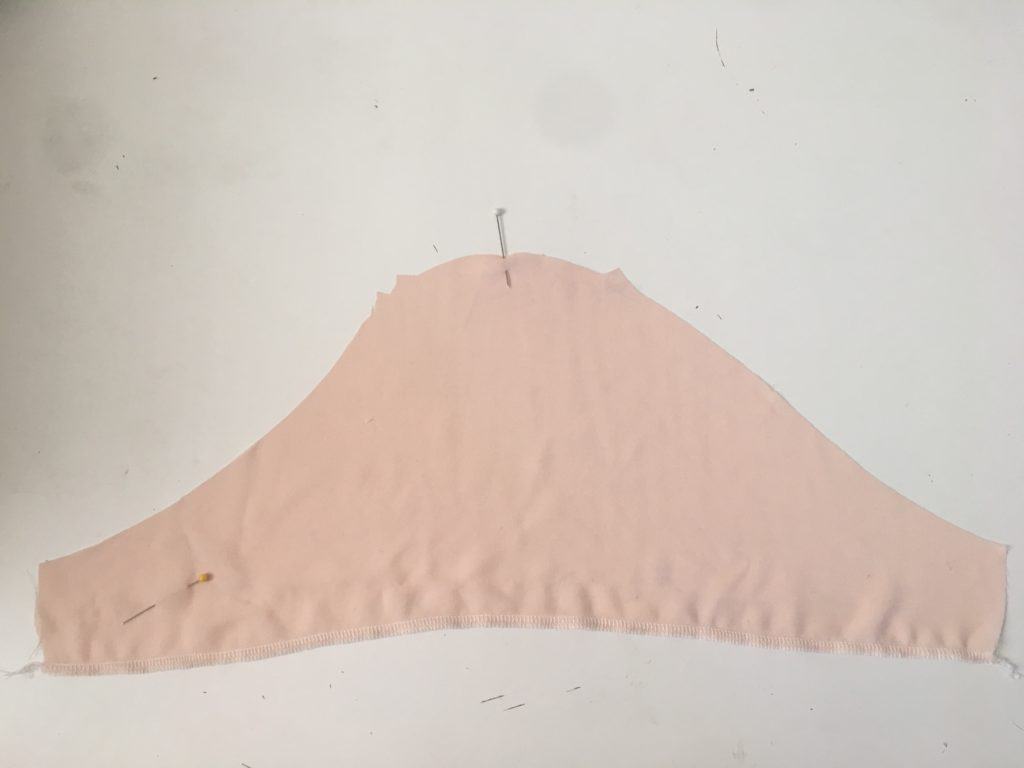
If you’re not feeling the slight gather on the sleeve you can take out that extra fullness by folding out the gather
You still want some ease in the sleeve cap (meaning it is a big longer than the armsyce curve).
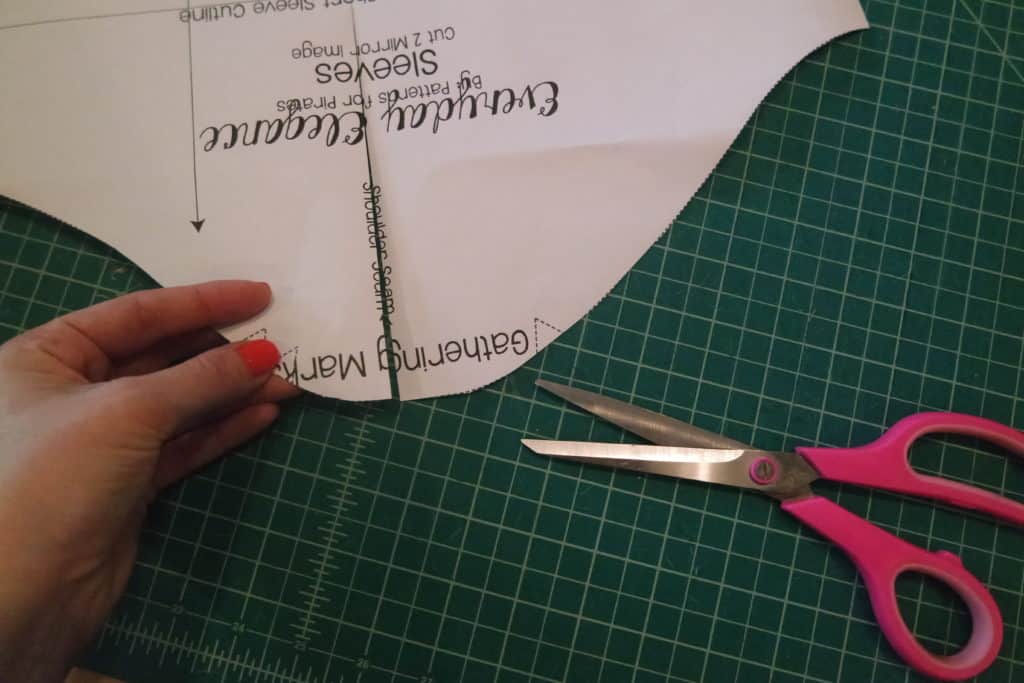
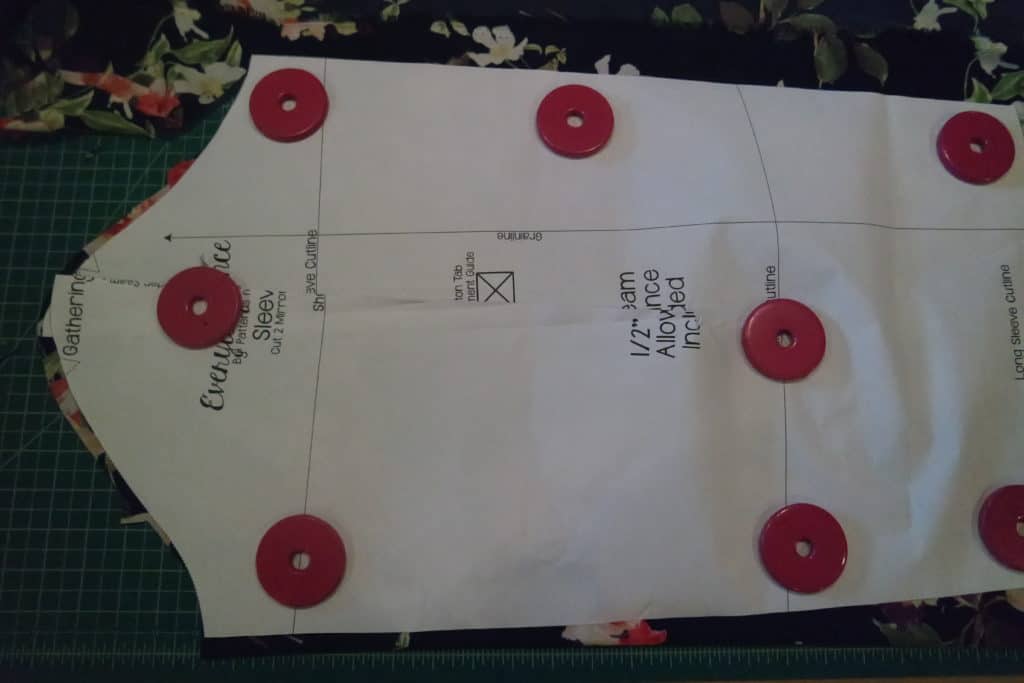
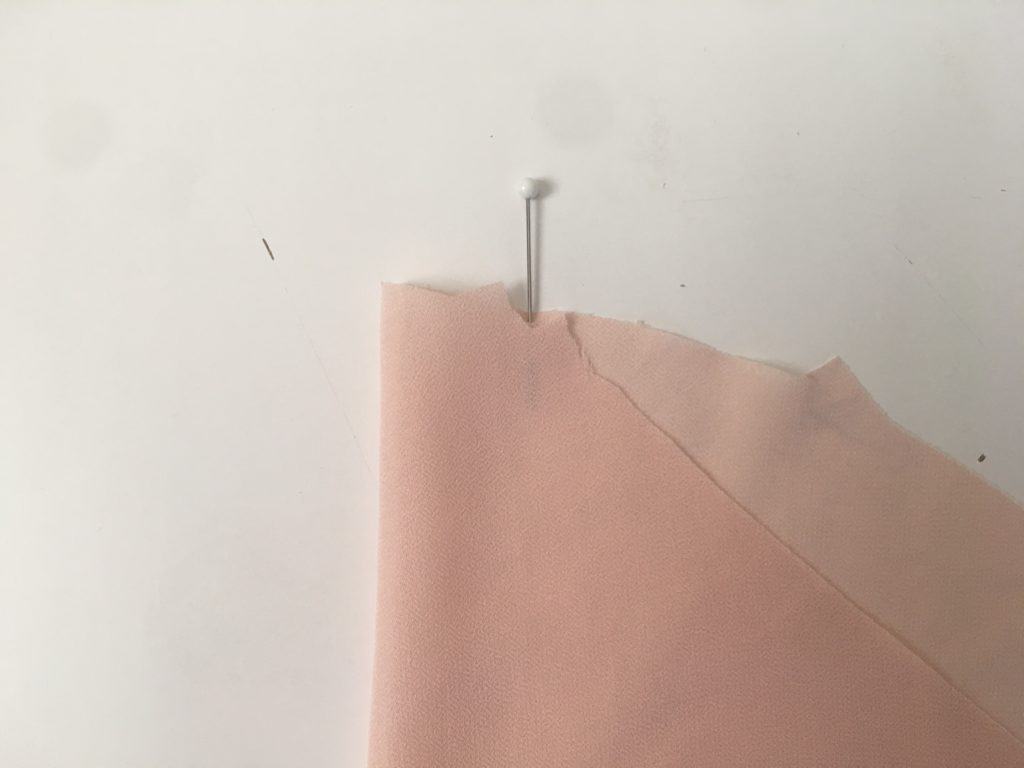
Instead of actually folding my sleeve piece I thought it was easier to cut a slit down the center and overlap.
Overlap the notches about 1.5″ apart from each other to maintain some ease at the sleeve cap.
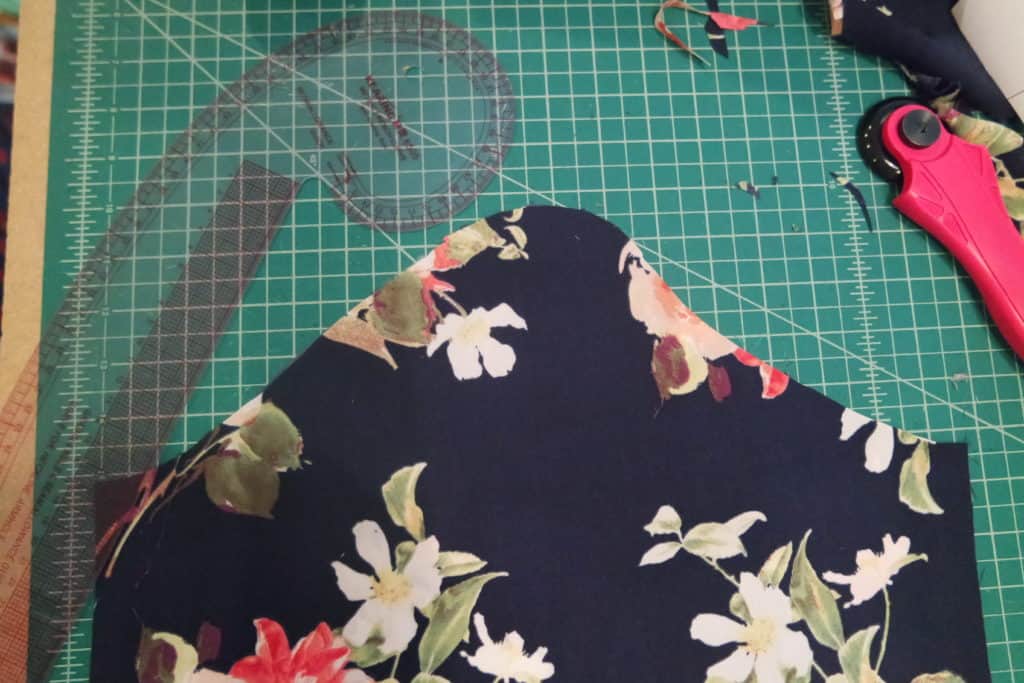
Keeping the same height of my sleeve cap, I smoothed the curve with a french curve.
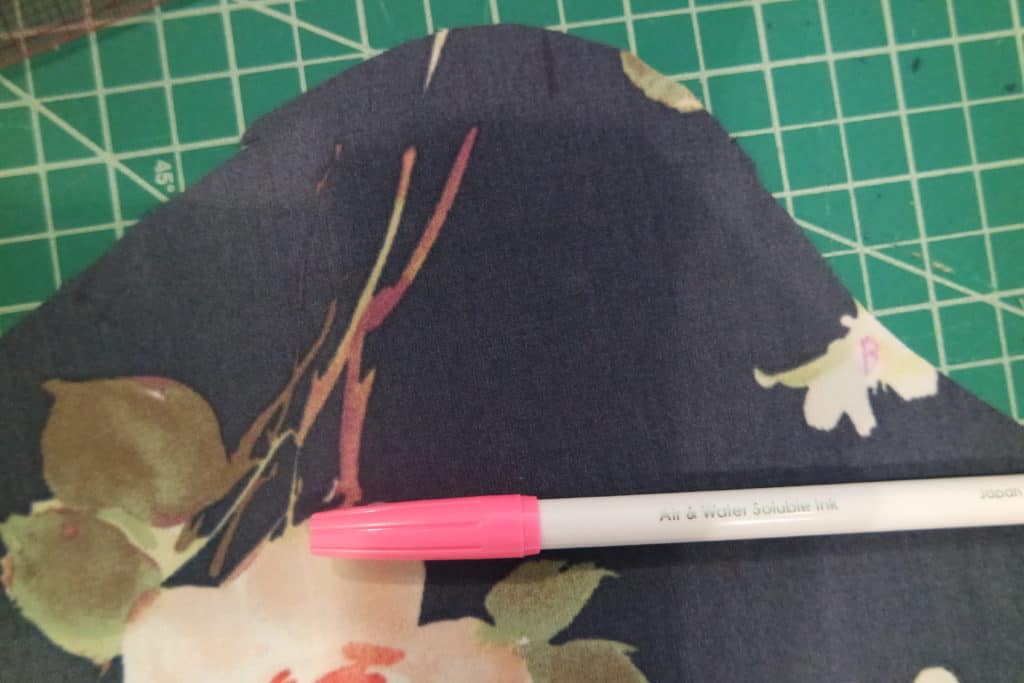
Mark the front and back about 3.5″ from each armpit corner (this is where you generally start easing in along the sleeve cap), as well as the shoulder seam.
Sew up the Everyday Elegance just like in the tutorial, except skip the gathers and ease in the sleeve cap between the notches.
• • • • • •
~ Pleated Sleeve ~
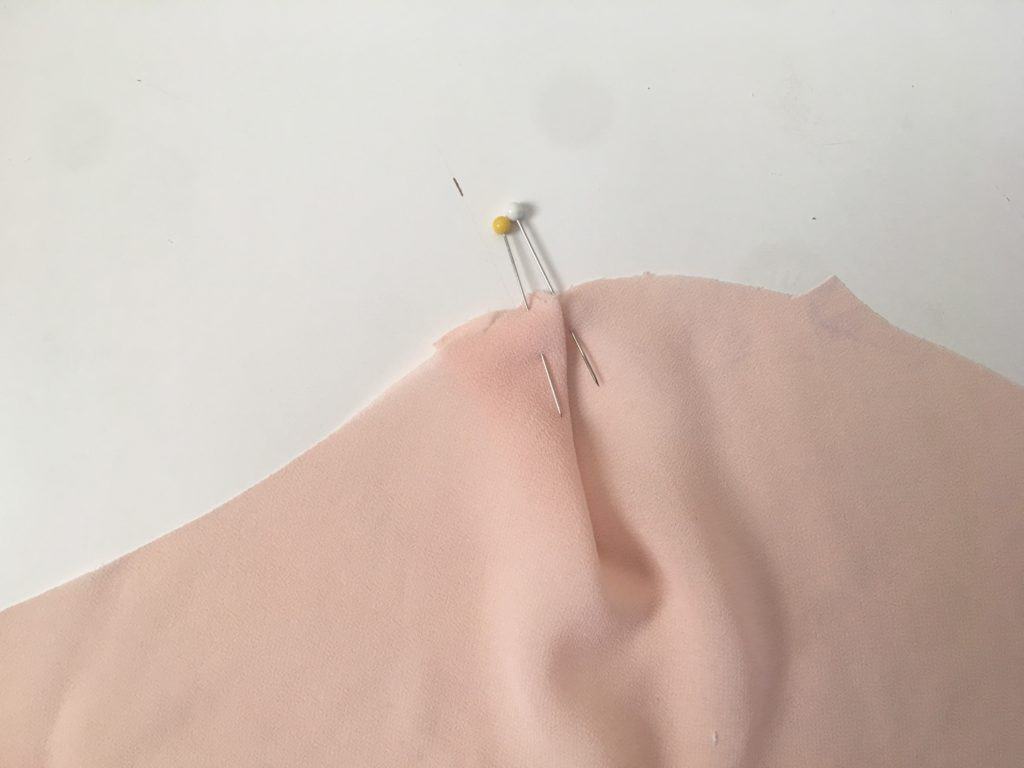
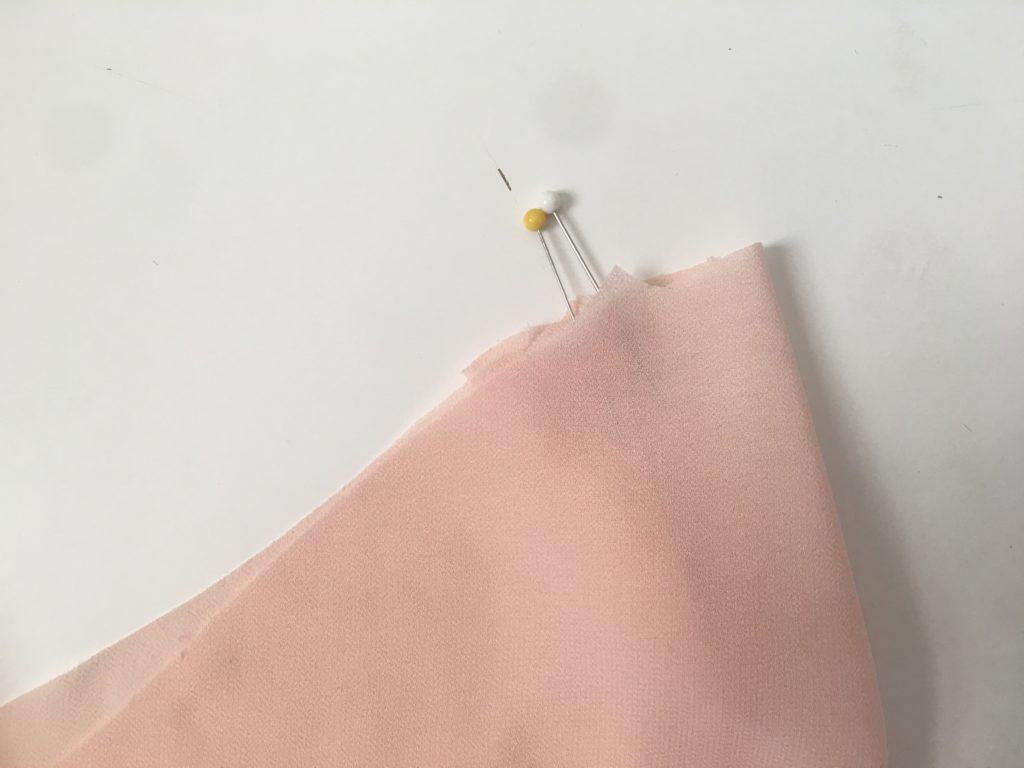
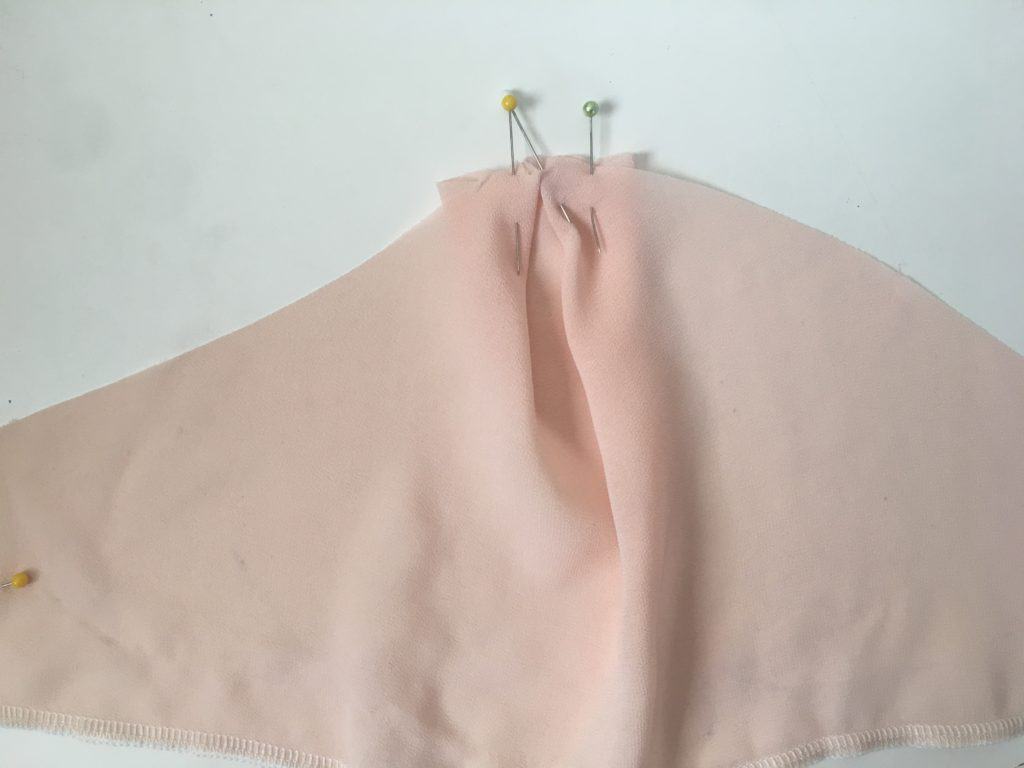
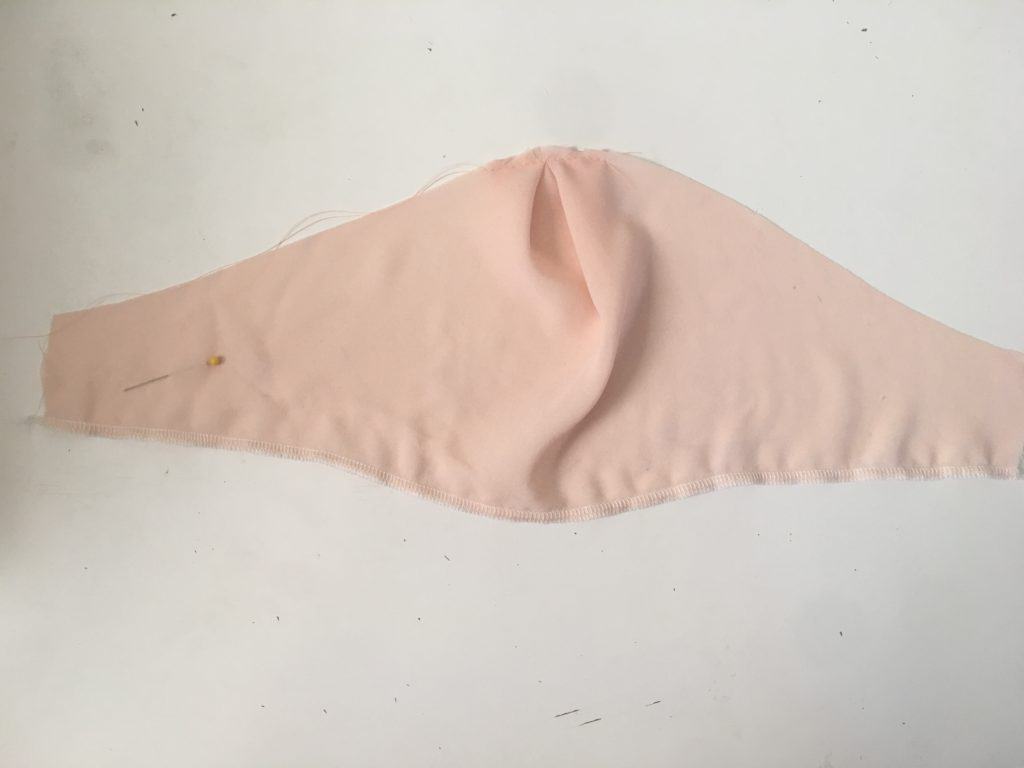
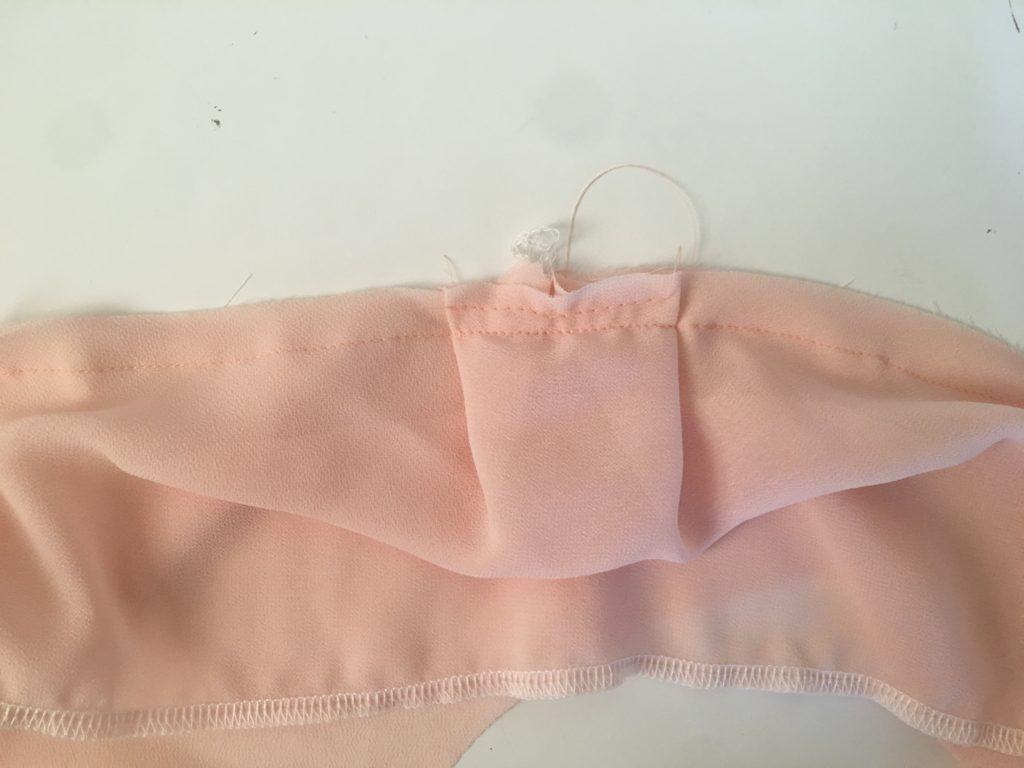
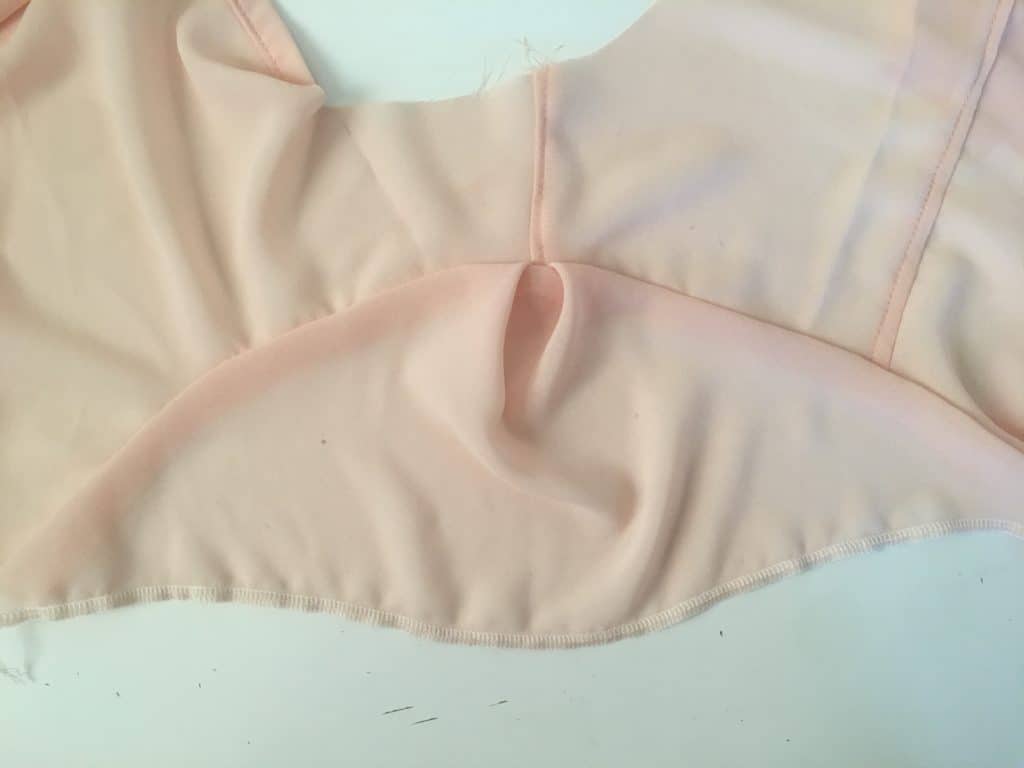
Another option if you’re not really in to the gathered sleeve is a pleated sleeve. We’re going to use the same method as the back bodice to create a box pleat. Using the existing front and a back notches as a guide, it is a simple modification and requires no changes to the pattern piece.
- Place your sleeve right side up and mark the shoulder seam.
- With right sides together, fold one side of the sleeve towards the center. Match the notch to the side of the shoulder seam previously marked.
- Fold the sleeve back again with wrong sides together. Pin in place.
- Repeat on opposite side.
- Baste pleat in place.
- Lining up the shoulder seam with the center of pleat, ease remaining curves and stitch.
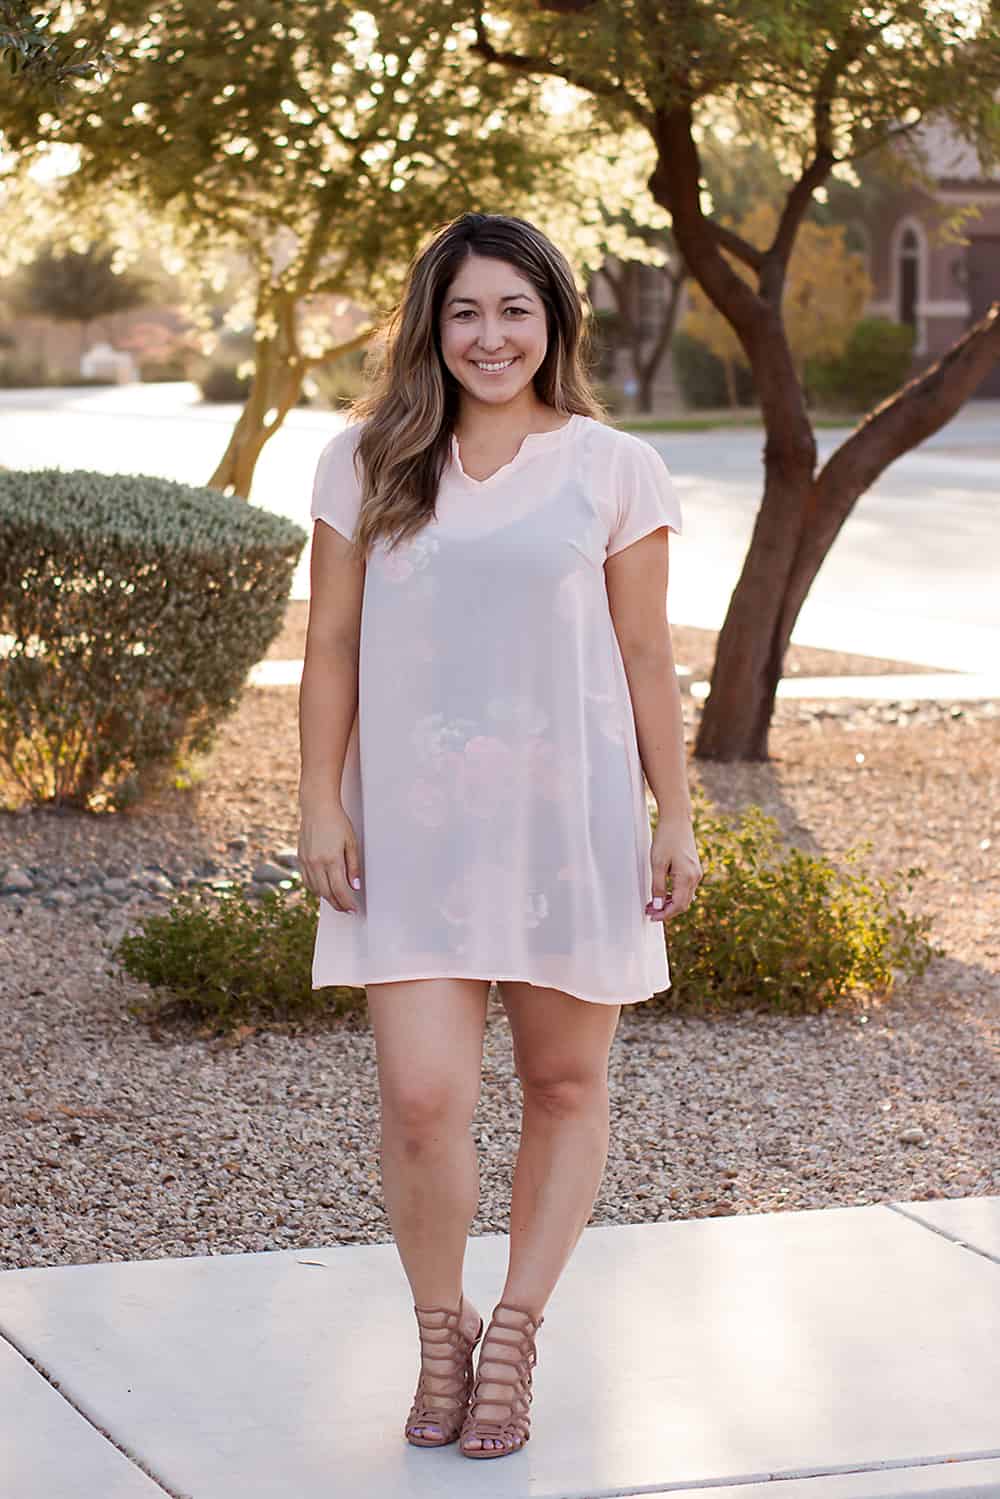
Note: I also shortened the dress length and opted for a straight hem vs the curved hem in the pattern. I used a semi-sheer chiffon and layered over a lengthened Cross my Heart Cami.
• • • • • •
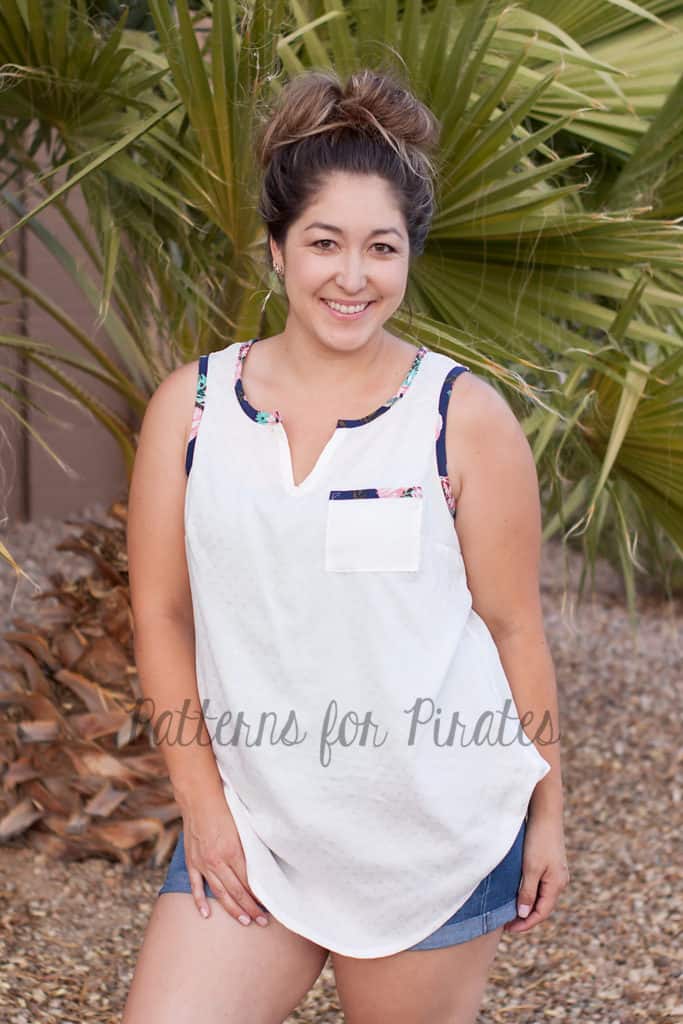
~ Sleeveless Tank ~
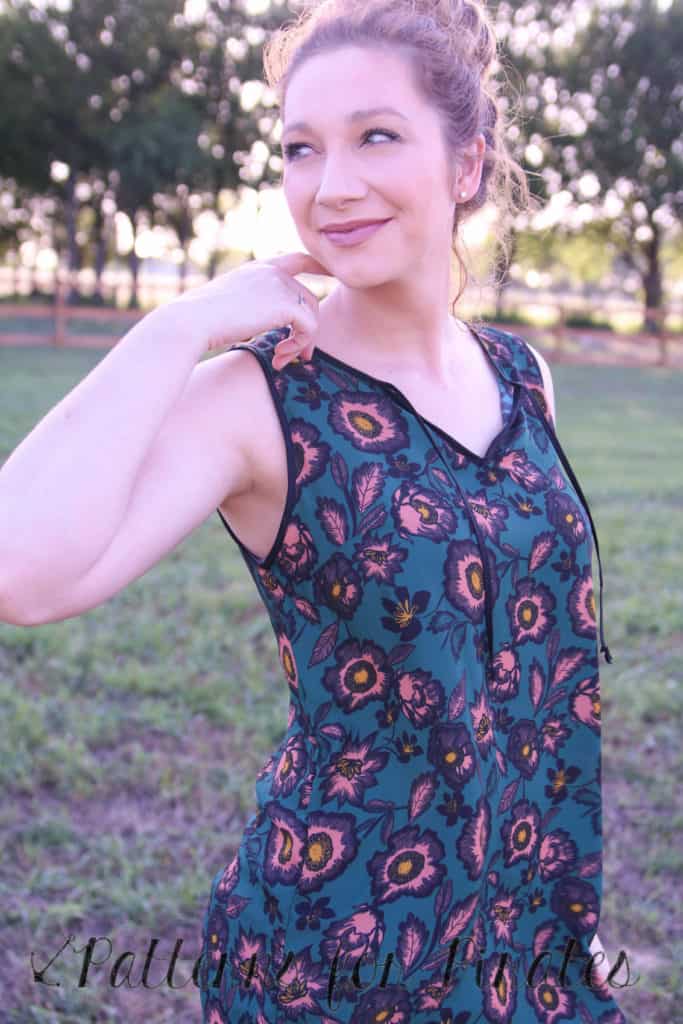
Trim about 3/4″ to 1″ off the entire armsyce to get a narrower shoulder and deeper armscye. Using the same bias binding method as the neckline and neckline V, finish the edges. Wah-Lah 🙂
• • • • • •
~ Adding Pockets ~
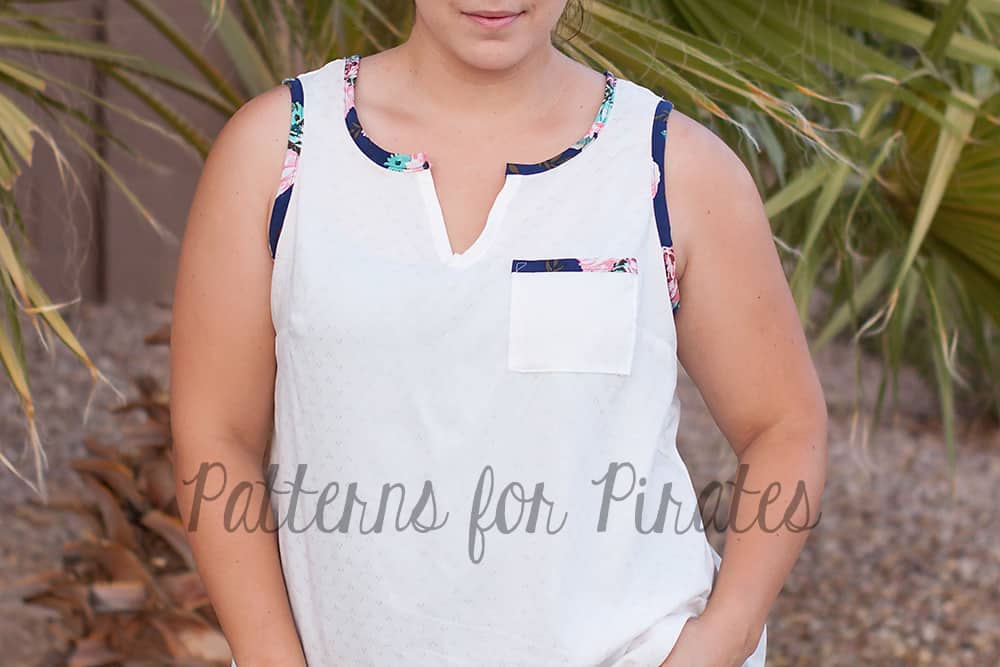
A quick embellishment to add to the Everyday Elegance is adding a chest pocket. I chose to only do one on the left side, but you could easily add one to both sides if you prefer.
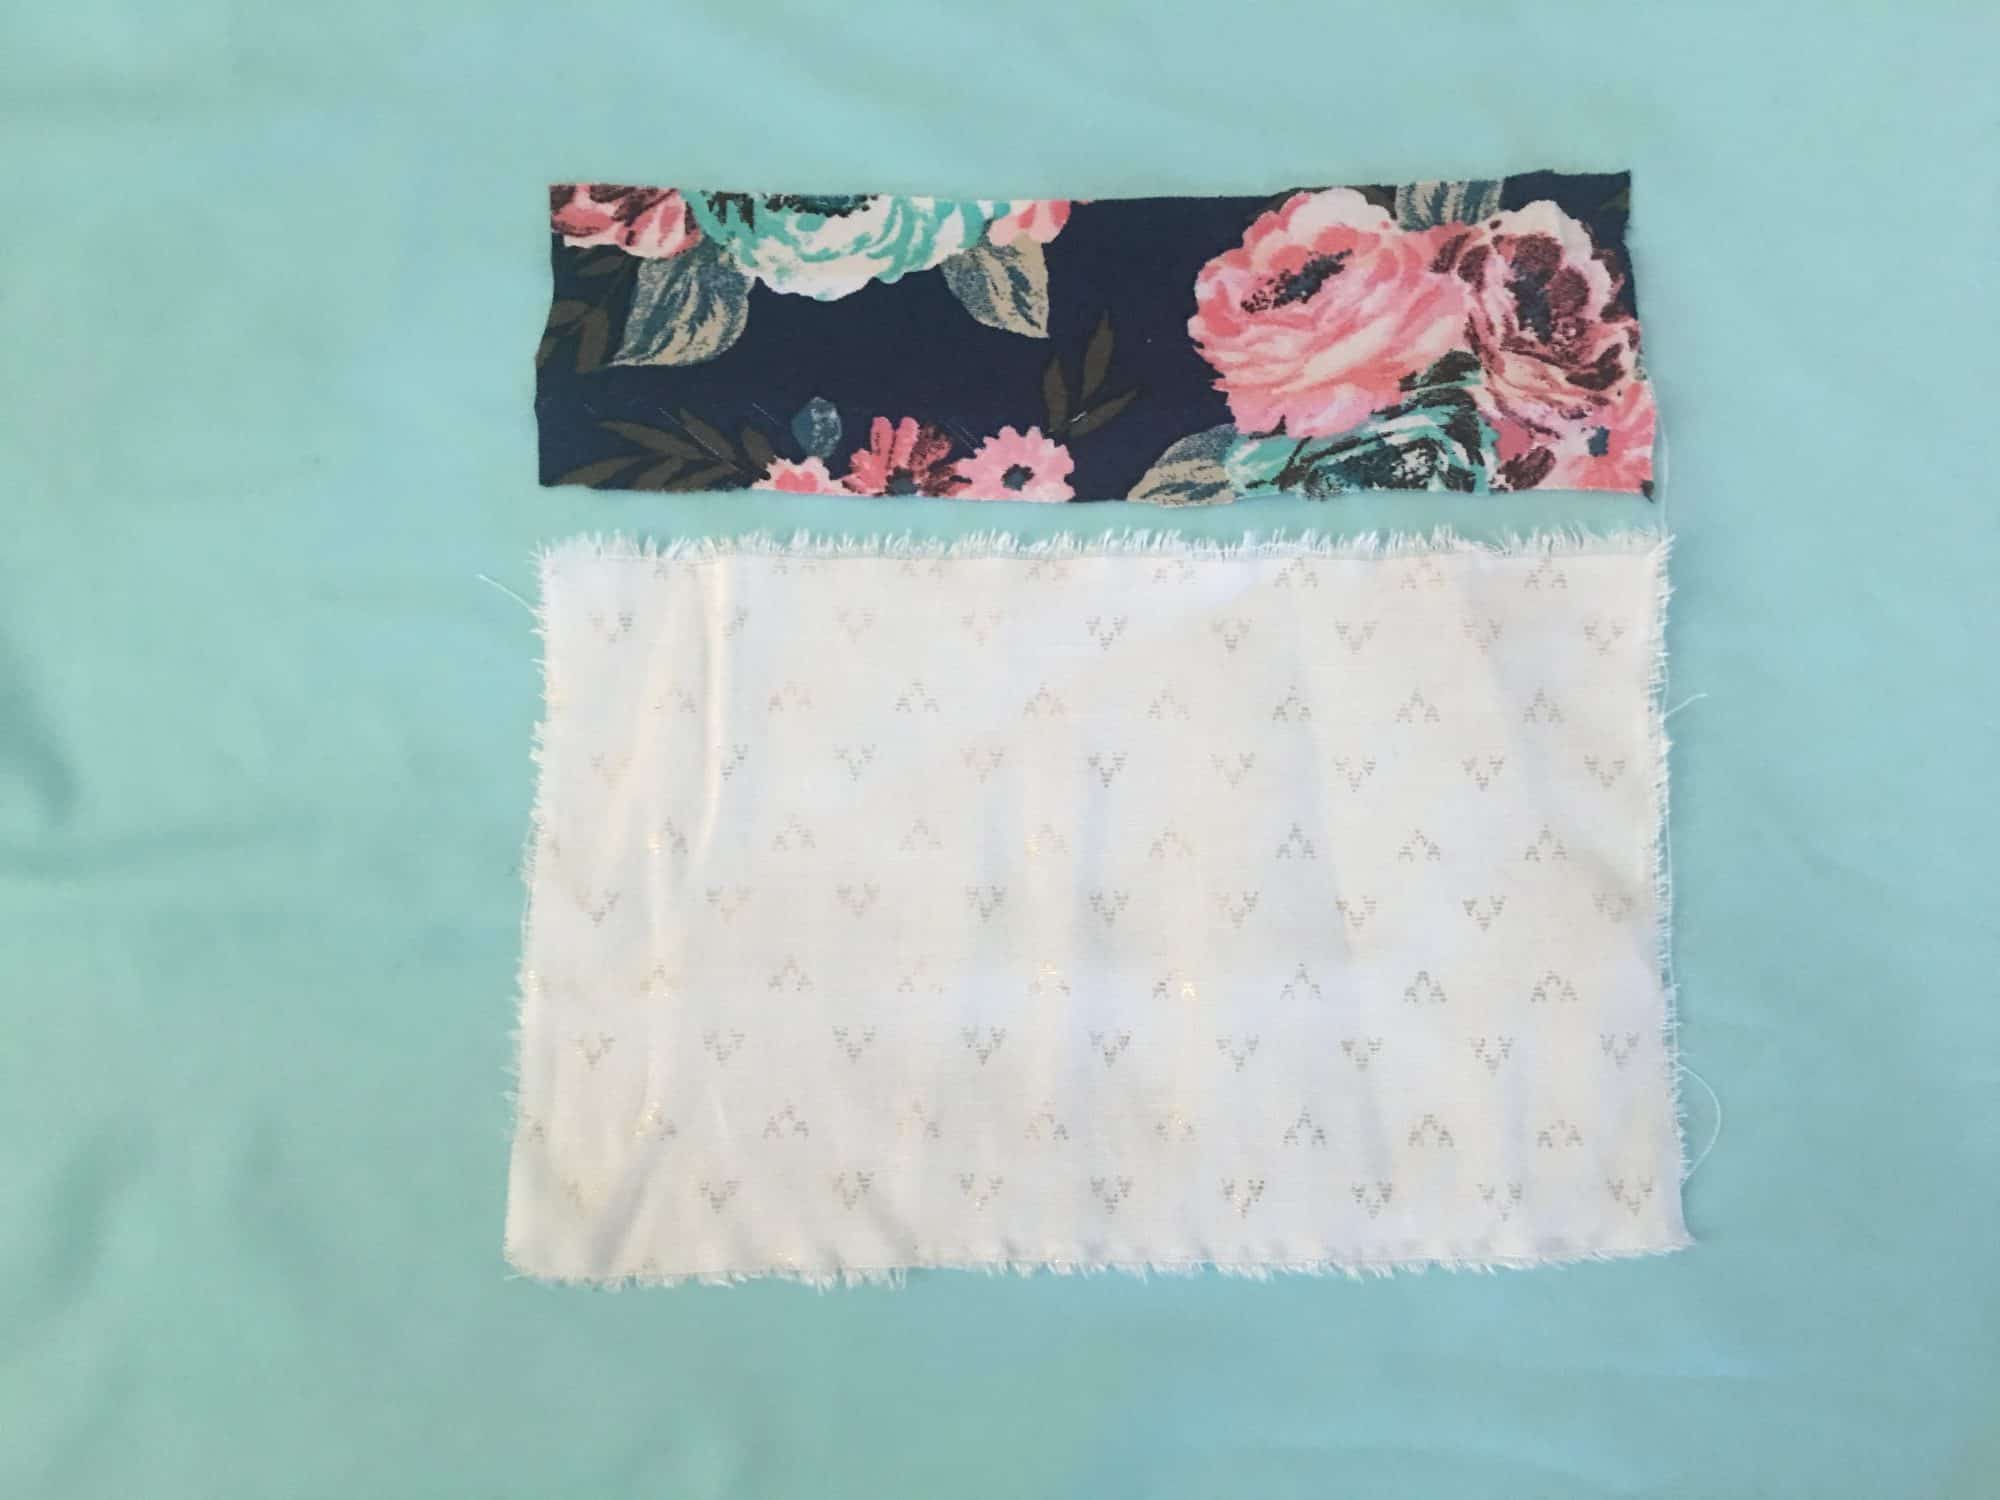
- Cut your pocket and binding for the top. For reference my pocket is 5″ wide x 4.5″ and used on a size Large. You may want to adjust your pocket size depending on how small or large you prefer it.
- Pin your pocket in place. I used the bottom of the V and the inside shoulder as a reference point to center the pocket.
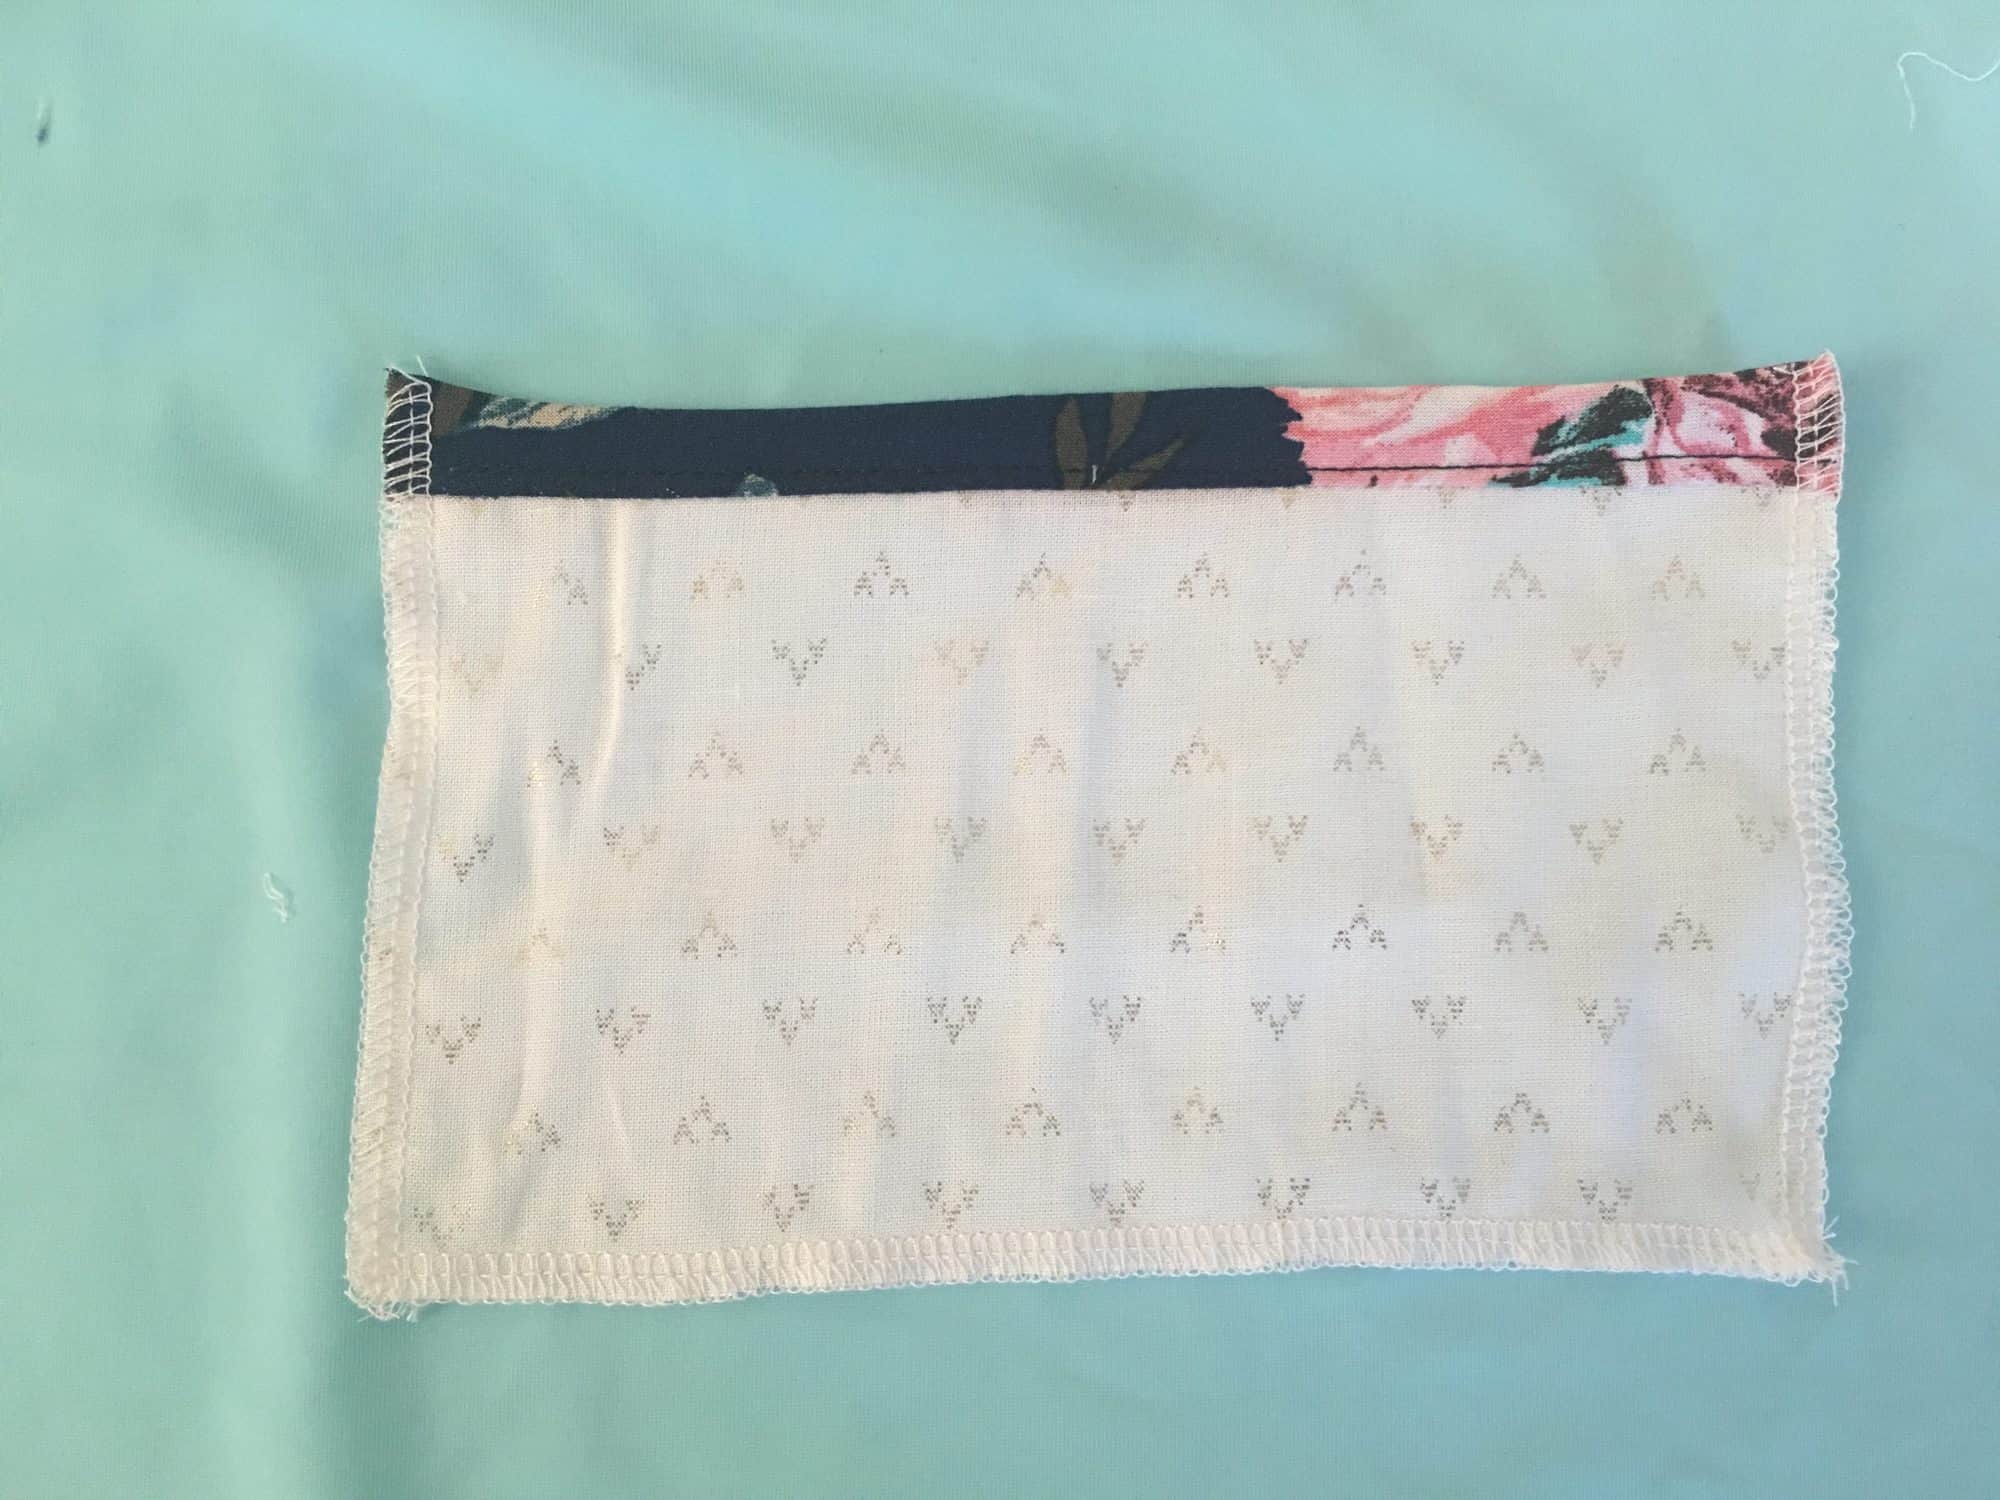
- Using the same binding method in the tutorial, bind your pocket top edge.
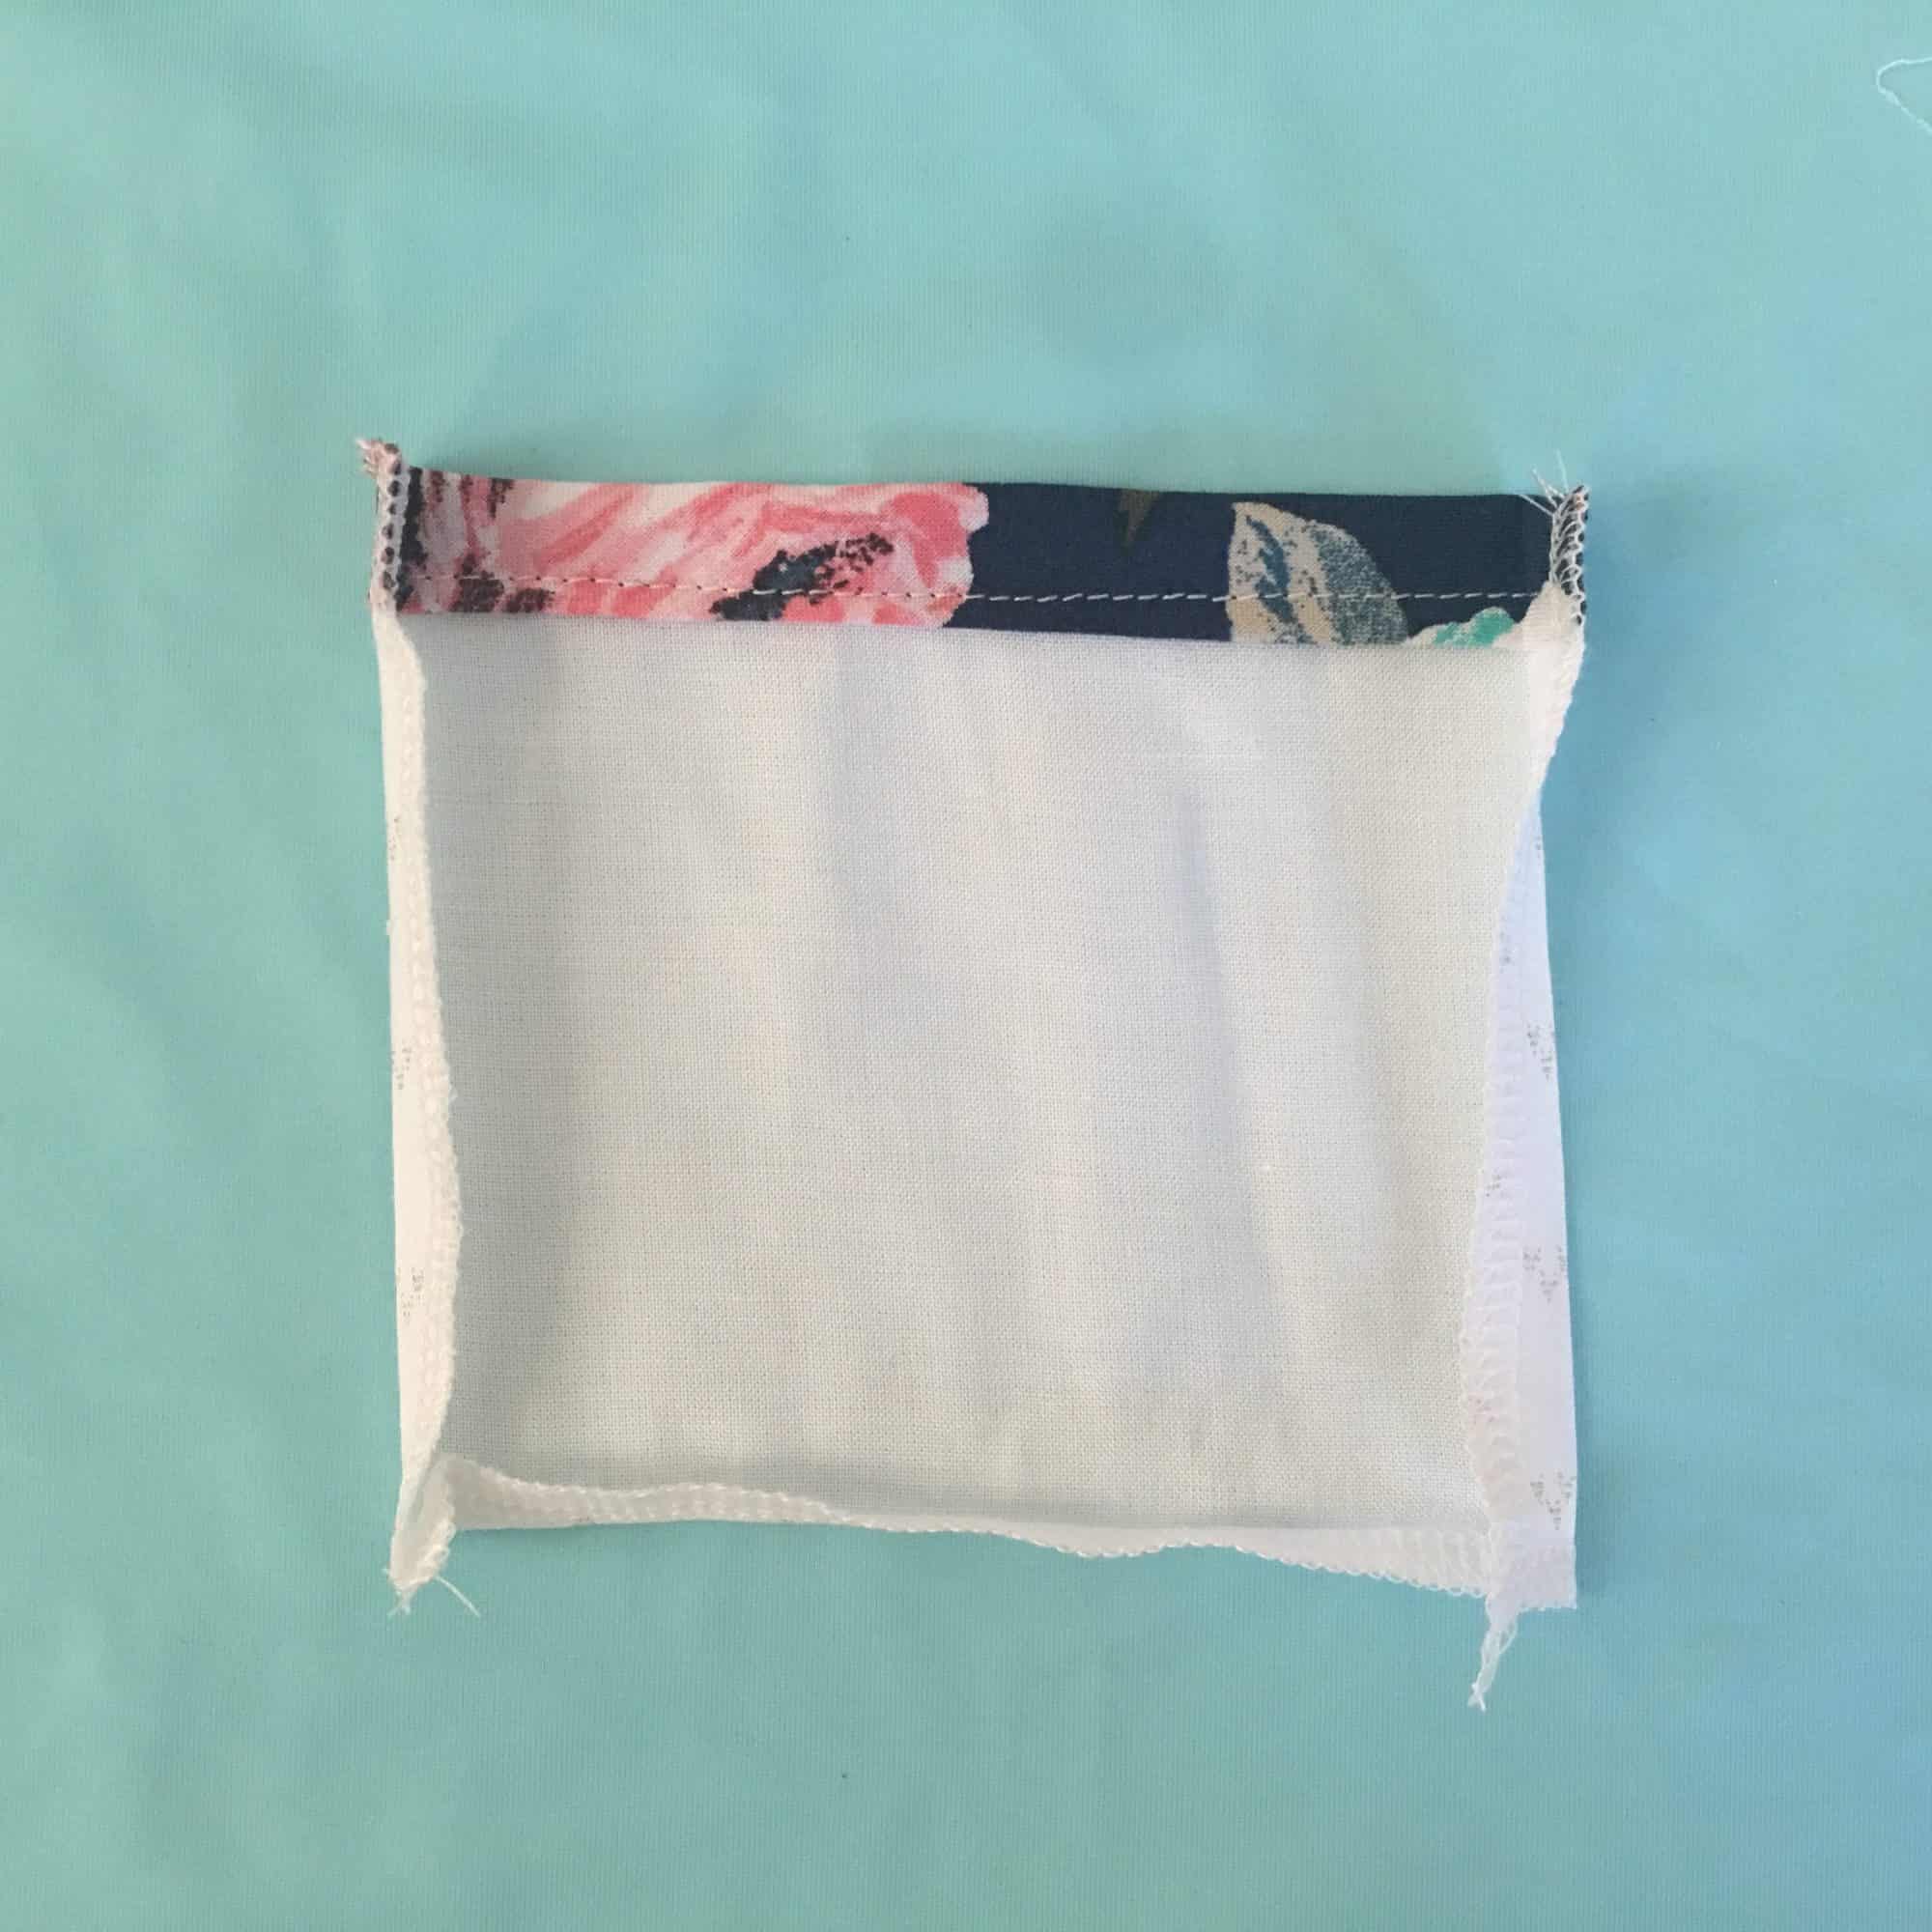
- Top-stitch in place.
- Serge or finish the remaining raw edges and press 1/4″ to the wrong side.
There you have it! We hope you love all the options as much as we do. If you’ve sewn up an Everyday Elegance or used one of these hack, we’d love for you to share with us! Hop on over to our Facebook Group and show us what you’ve created.
















Can you put bell sleeves in this blouse