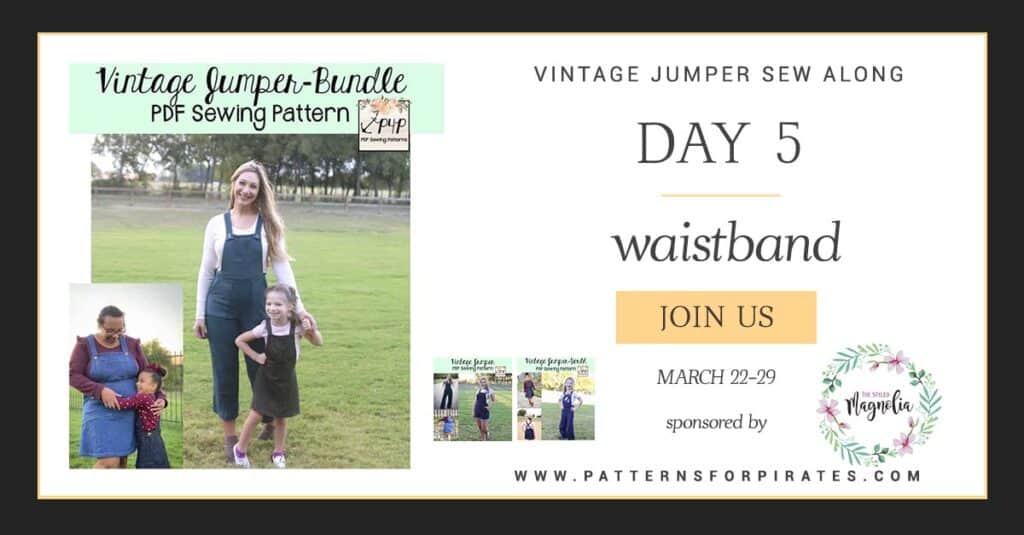
Hurray! Day 5 is here! By the end of today you will have a jumper, albeit without buttons and hems but a jumper nonetheless. Today we add the waistband that will be attached to the skirt/pants and bib/straps.
Start by interfacing the waistband main and lining with knit interfacing. If you did not add the notches when you cut the fabric, do your markings now! Don’t skip these steps, the markings will be very helpful when you sew up the waistband. Below you can see how Judy creates the youth one. Check it out!
In today’s video I show you how I add the adult waistband to my skirt jumper. My favorite part is that the band has no exposed edges! Everything is enclosed so it makes for more sensory friendly garment. When attaching the straps to the back waistband, make sure that the “pointy” side faces out. This will ensure that the straps will lay flat on the back.
After you finish today’s steps, try the jumper on. Check if you like the back pocket placement and where you will want the buttons on the straps. That’s the beauty of sewing for yourself! You get to customize it to your figure. Don’t forget to check in with your progress photo in the comments of day 5 thread in the Sew Along group on Facebook. See you back here tomorrow to finish up the Vintage Jumper!
Vintage Jumper SAL | DAY 1 (cut fabric)
Vintage Jumper SAL | DAY 2 (Back darts, front & back pockets, crotch & in seam)
Vintage Jumper SAL | DAY 3 (out seam)
Vintage Jumper SAL | DAY 4 (straps, front bib)
Vintage Jumper SAL | DAY 5 (waistband)
Vintage Jumper SAL | DAY 6 (button holes, buttons and hem)


Leave a Reply