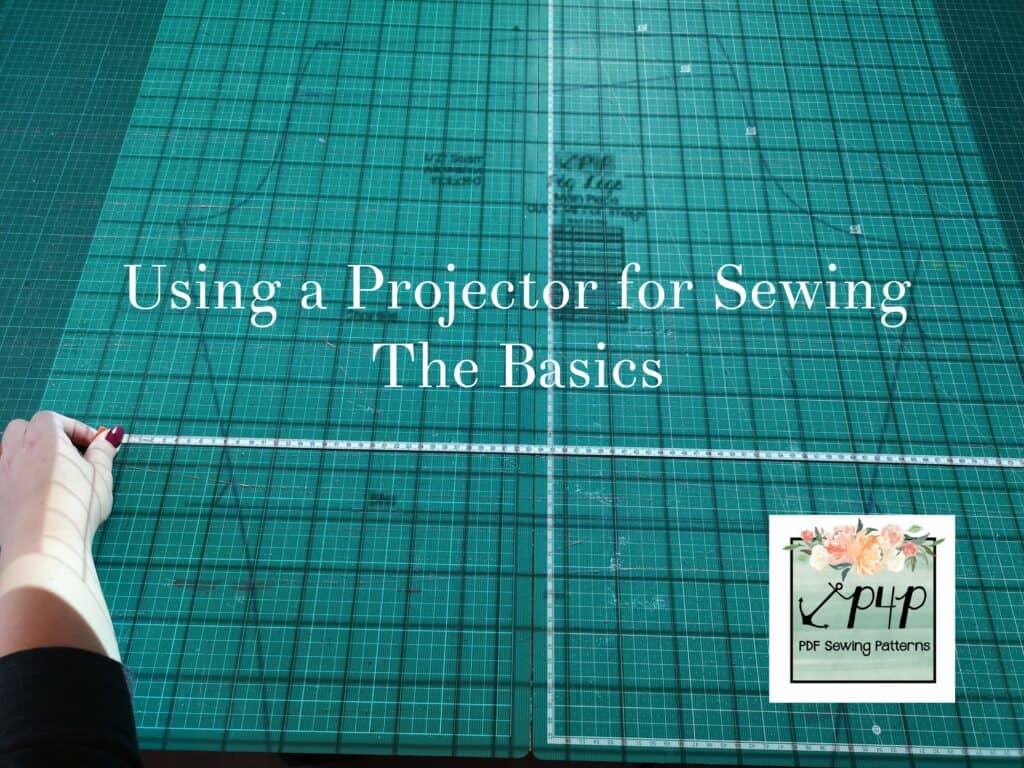
I am going to be spending some time today talking about how I use my projector for sewing. We’ll discuss what type I have, and why I chose it as well as discussing the other options available; how I link it up to the pattern itself; how I ensure it is projecting at the right size; and some of the pros and cons of projecting. Hopefully it will answer a few of the questions you may have about this new sewing craze, and maybe give you the confidence to get involved too!
I first heard about using a projector for sewing patterns a few years ago. The idea is that you link a projector up to your pattern, and then rather than printing out the paper pattern pieces to cut and use, you project those pattern images straight onto fabric, cutting out the middle man, so to speak.
I didn’t really give it much thought, it sounded like an interesting idea but presumed it would be a bit too technical for me, and perhaps a bit cumbersome, but I liked the idea of doing away with paper pattern pieces and so when I started to see more people using projectors I decided to dive in and see if I could work out how practical it might actually be.
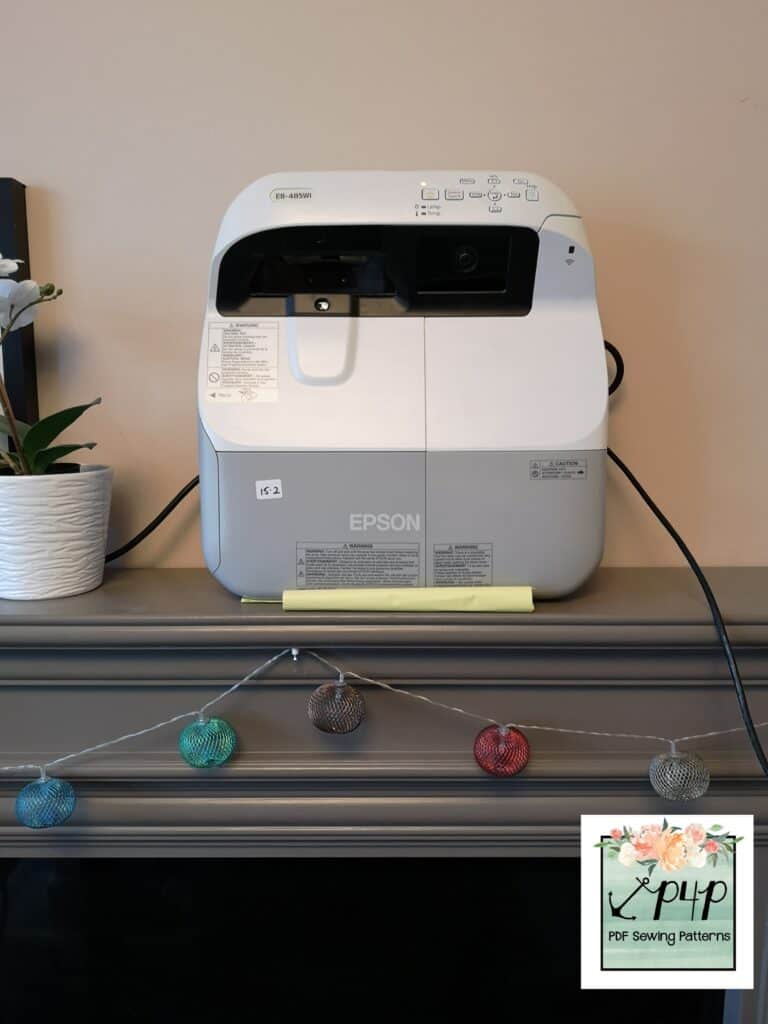
My projector is an Epson 485WI. I bought it in May 2020 after doing a lot of research about the kind of set up I would need for my own sewing room. I was lucky enough to find it reconditioned, on Ebay, being sold by a private school that was refurbishing its classrooms, and I have to say that it has been absolutely brilliant. Brand new, these types of projectors can be extremely expensive, but if you can find a reconditioned model like mine it’s a great way to make it more affordable. Things to be aware of are the seller’s returns policy and reviews, and the age of the bulb. Older bulbs will be dimmer, so a new bulb with fewer hours on the clock will give you a brighter image. Some less powerful projectors will need to be used in a darkened room, however mine can be used in the middle of the day, quite comfortably. The make and model you are looking at should be able to tell you the Lumens rating of the projector, that is it’s measure of brightness. My projector has a rating of 3100 lumens.
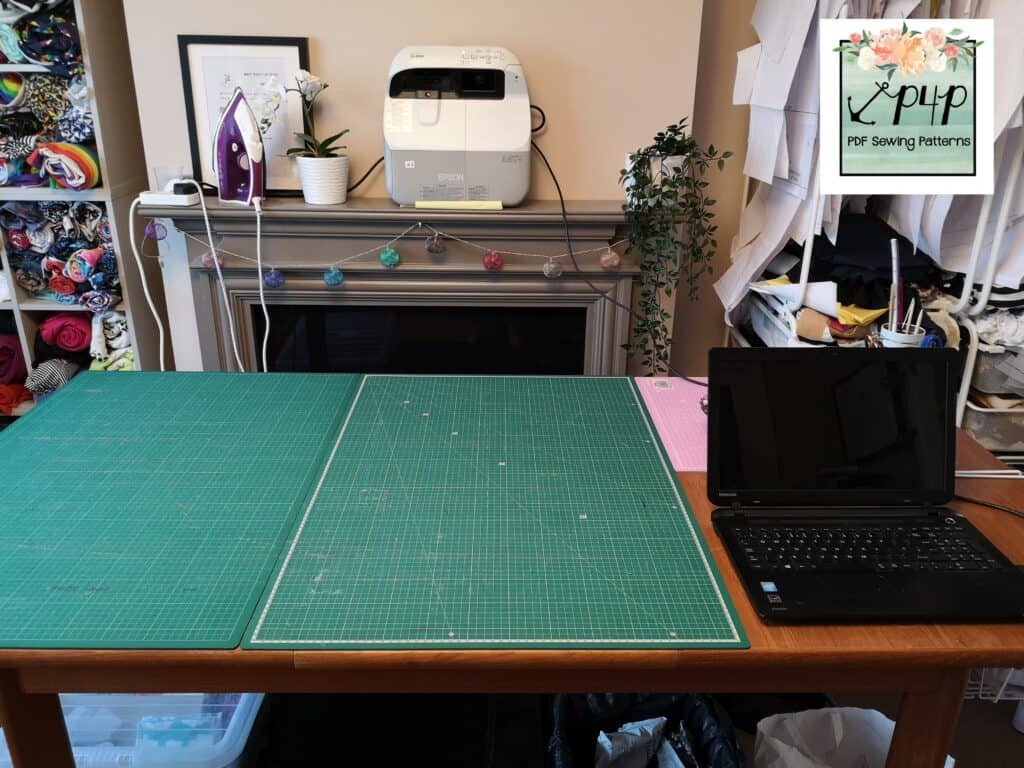
I chose it because it is an Ultra Short Throw projector. This means that you do not need to have a large distance between the projector itself and your cutting mat. I did not want to have to mount a projector on the ceiling, as we have a ceiling light right above my cutting table, so I had to look at other options. This type of UST projector sits next to the cutting table, raised slightly above it, and projects down onto the surface of the mat. I have a mantelpiece right behind my table (which is lifted up on risers to a more comfortable height for cutting), and I knew I would be able to sit the projector on the mantelpiece nice and neatly, away from my daughter and my dog – both crash hazards!
If you don’t have this set up, or you would prefer a ceiling mounted projector you can find them relatively inexpensively on Amazon or elsewhere online. You will need to measure the distance between your cutting mat/table and where your projector would be mounted to help choose the right projector for your space. The specifications for the projector you are looking at should detail the minimum distance needed and the size of projection this will give you. Generally speaking, the further away from the cutting mat the projector is, the bigger the projected picture you will get. If you want to get very adventurous, I have seen people setting up their projectors to reflect the picture down to the cutting mat via a mirror, to make a larger projected image, but I don’t have experience of dealing with this myself.
As well as the Ultra Short Throw projector that I have, you can also get Short Throw projectors that are specifically designed to project down from the ceiling but at a closer distance to the cutting mat. Again, the individual projector specs will give you details of how close you can mount the projector to the projection surface.
My projector is connected via an HDMI cable to the projector directly. Some people use a Chrome cast plugged into the projector and cast the image from their laptop or tablet and others have a cable tethered to the ceiling and wall that runs from their digital device to the projector. However, one way or another you need to be able to connect your projector to your pattern image being displayed on Adobe Acrobat. Some sewists using a tablet can use software called Zodo to display the pattern but I believe there are issues using the zoom function to accurately display the pattern at the correct size every time, so that may be something to do some further research into, if you don’t have a laptop/desktop computer to use.
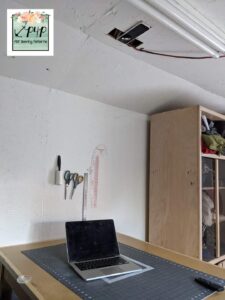
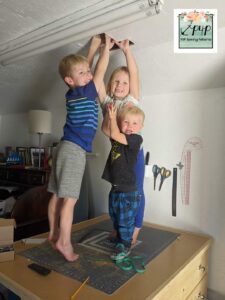
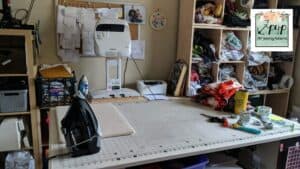
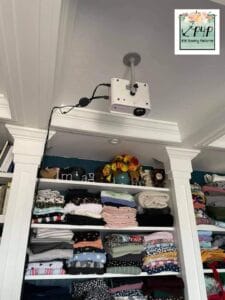
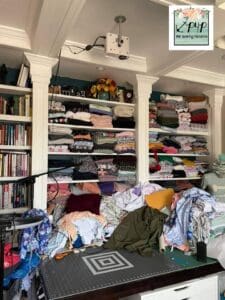
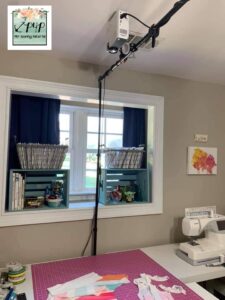
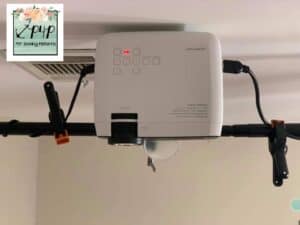
Some of the other admins at P4P have kindly taken some photos of their projector setups, to give you an idea of how people are using these new sewing tools!
• Bekah uses a GooDee Wifi mini projector, with a short throw. She has about 4ft from ceiling to cutting table and so she chose to sink the projector in a recess cut into the ceiling space of her sewing room. She gets a cutting space of about 24″ x 36″. Her installation team were very hard workers!
• Lizzy has an Ultra Short Throw Epson 585w Powerlite mounted on a stand at the back of her cutting table.
• Trissa uses a Vivimage Explorer 2 connected to her Mac laptop with a 3rd generation Chromecast.
• Rachel has an Apeman projector mounted on a backdrop stand, for a non-permanent setup option.
So you can see that there are lots of different options out there for you to consider. My thanks to all my Pirate shipmates for their help supplying pics and setup details.
Watch THIS VIDEO to see my projector setup in action as I go through turning it on, calibrating it, selecting options and demonstrate cutting using a projected image.
The most important thing about using your projector is that you will need to calibrate it to make sure it is projecting at the correct size. Otherwise you will find that your pattern pieces are too large/small and your garment will not fit.
First of all you will ensure that your projector is casting a correct rectangular shape, with 90° right angles at the corners. This shape can be adjusted by either moving the projector itself, or using the Keystone adjustments on the projector settings. You may also need to adjust the focus as well.
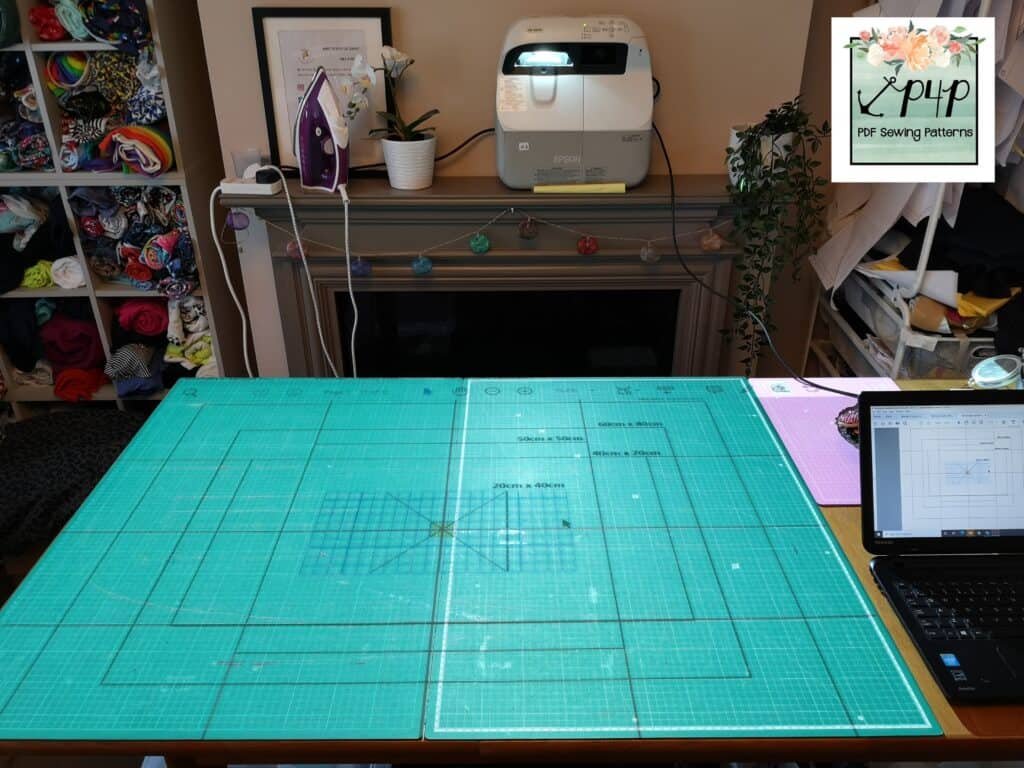
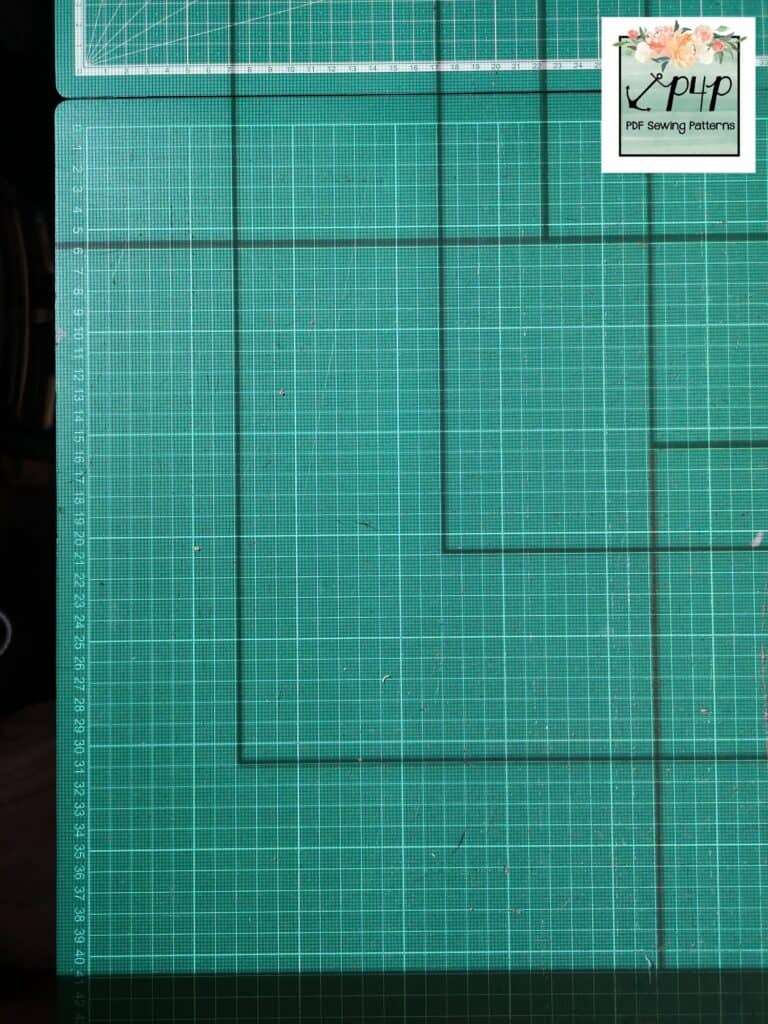
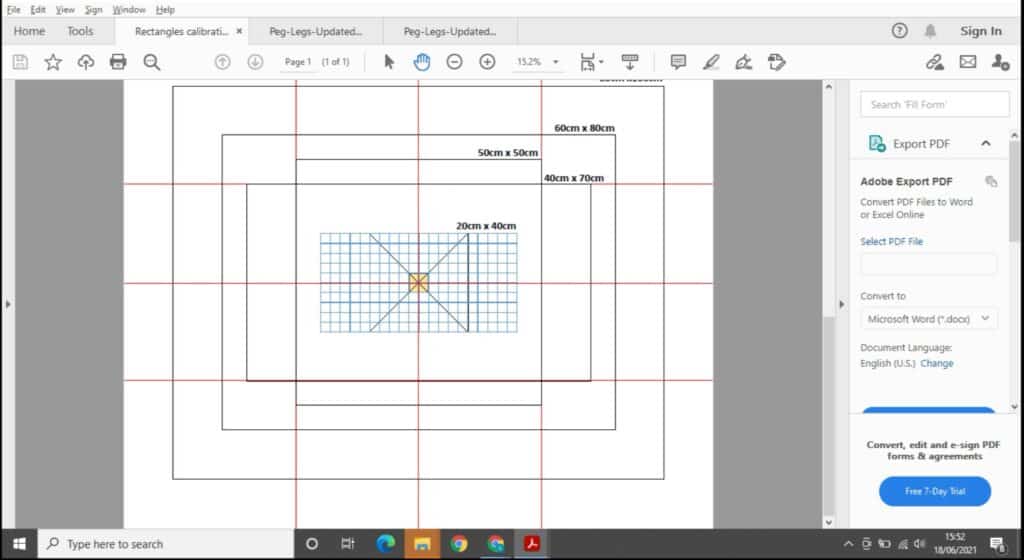
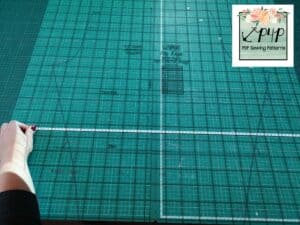
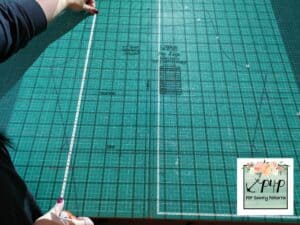
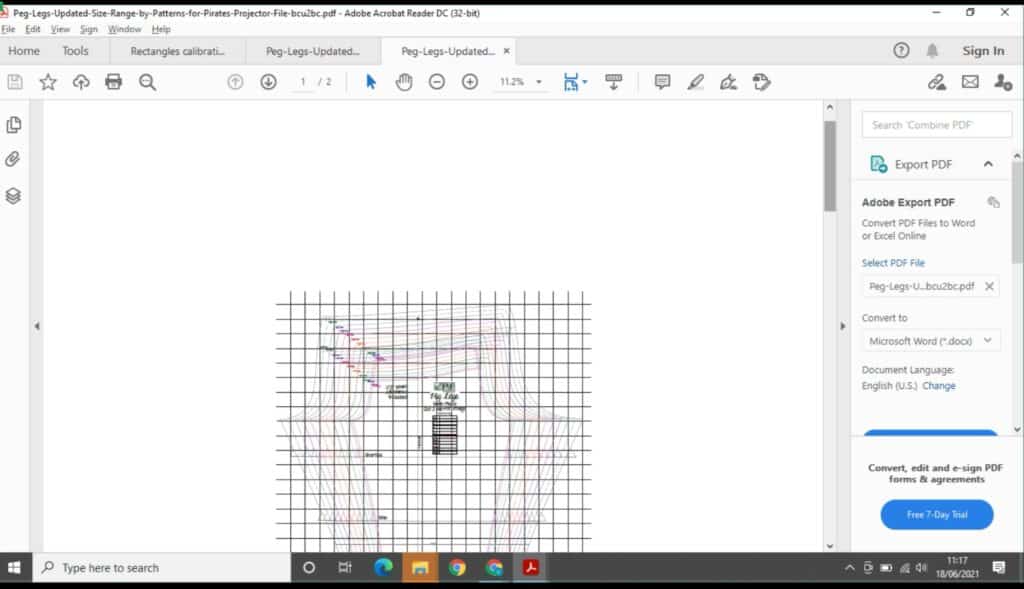
Next you will adjust the zoom on Adobe Acrobat to make sure that the pattern pieces being projected will be the correct size. The Facebook group, Projectors For Sewing has a lot of information that will help guide you through this process, which has kindly been provided for free by the page admins. It includes several calibration grid files, which you can download and bring up in Adobe Acrobat. Here is a screen grab of my laptop displaying one of the calibration grids that can be used. Each line is a certain length as indicated on the grid, and your projected image has to be adjusted so that the projected line measures at the correct length.
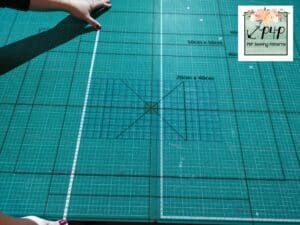
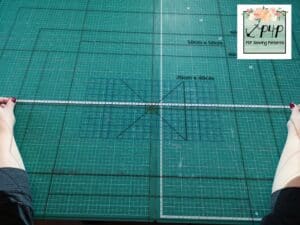
These calibration grids will help you adjust the zoom in Adobe to the correct scale, by measuring the lines on the boxes once they are projected onto your cutting table. If the projected line measures 90cm on your tape measure, for example, and the grid says it should measure 80cm, you will need to decrease your zoom to make the image smaller. There is a little trial and error to start with, but it’s pretty easy once you understand the logistics of it. Once all the lines measure the correct size, your projector is calibrated. I use a centimetre grid as I am in the UK and use metric, but there are also imperial options too. You can watch the video linked above to see me doing this live, and see some stills below:
My machine stays in place on the mantelpiece, so I do not have to re-calibrate every time I turn it on. I set the zoom to the correct setting (which for me is 15.2%) and then just measure off a couple of lines on the calibration grid to make sure nothing has shifted.
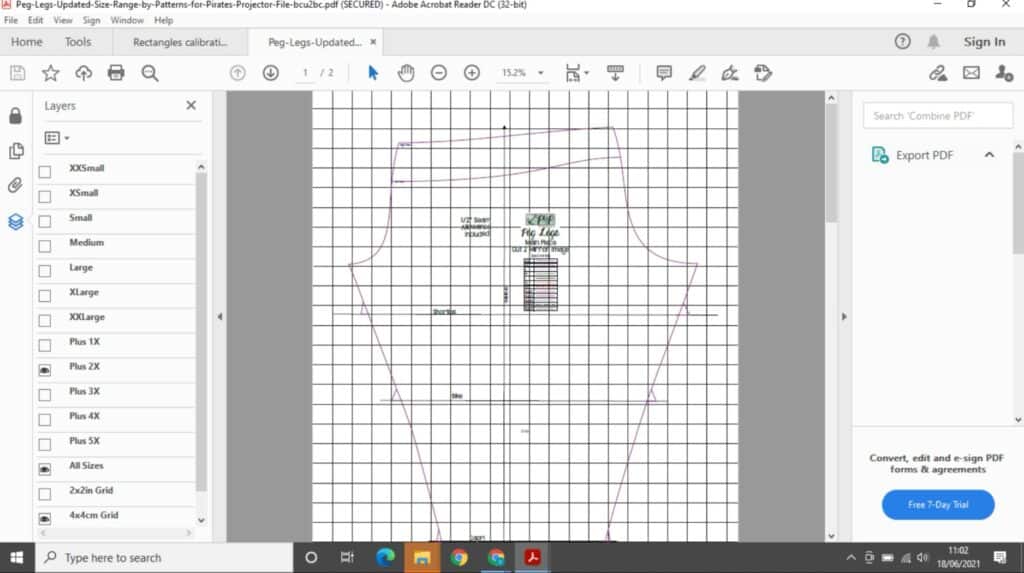
When you open your P4P projector file, you will see two options at the bottom of the size layers, 2x2in grid and 4x4cm grid. These will bring up a grid which measures either 2×2 inch squares or 4×4 centimetre squares, superimposed over your pattern pieces.
You can then sit your tape measure or quilting ruler next to these to ensure you have got the right setting on your zoom, also. It is important to check the measurements at the top, and the bottom of your projected image, in case the projection has tilted in some way.
You do not need a projector file, however; some of our older patterns produced before this new projector craze have a layered A0 file, and this can also be used to project your pattern very effectively. The differences will be that the A0 file will not have the sizing grid option included, and the lines on the projector file are a little thicker and easier to see.
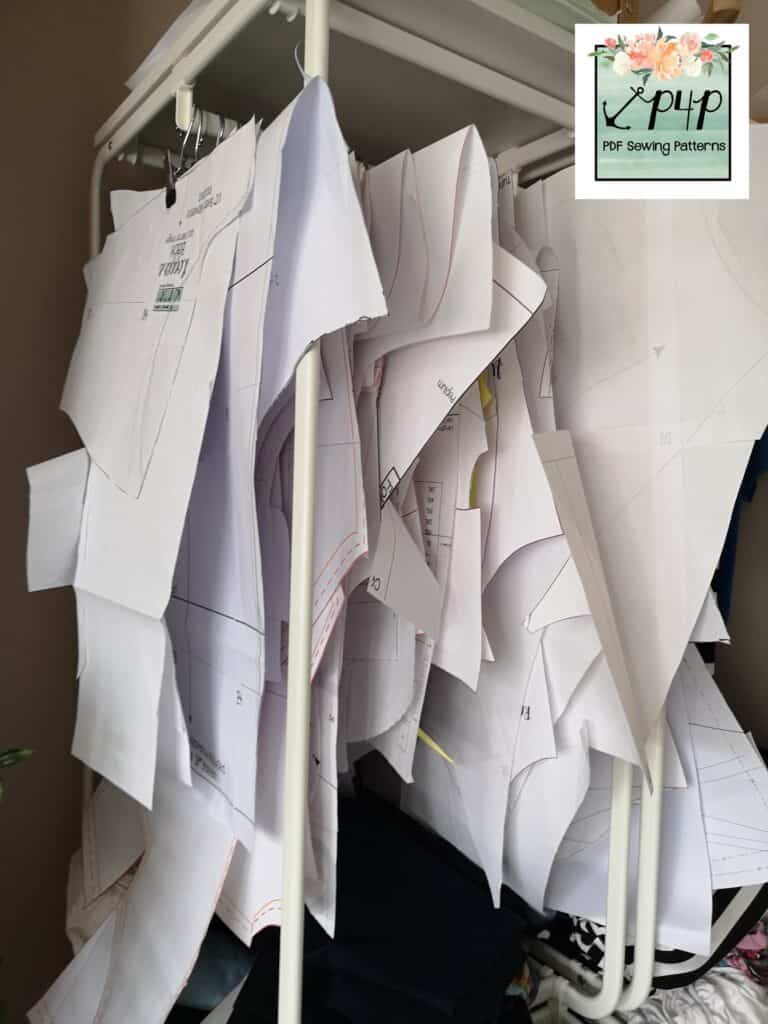
There are many great benefits that you get from using a projector for sewing. The time saving aspect of not having to tape/glue pattern pieces together or cut out paper patterns is astonishing. Plus you will be saving a massive amount of paper from your recycling bin. It’s great for being able to quickly cut out multiple sizes of the same pattern, for siblings etc.
You will save money on ink and paper too, and at £30 for a cartridge of ink for my printer every few months, it quickly adds up to a cost saving overall.
I find it easy to mash patterns by cutting/drawing part of the pattern out using one pattern image, and then flipping into the next pattern pieces to draw/cut the remainder.
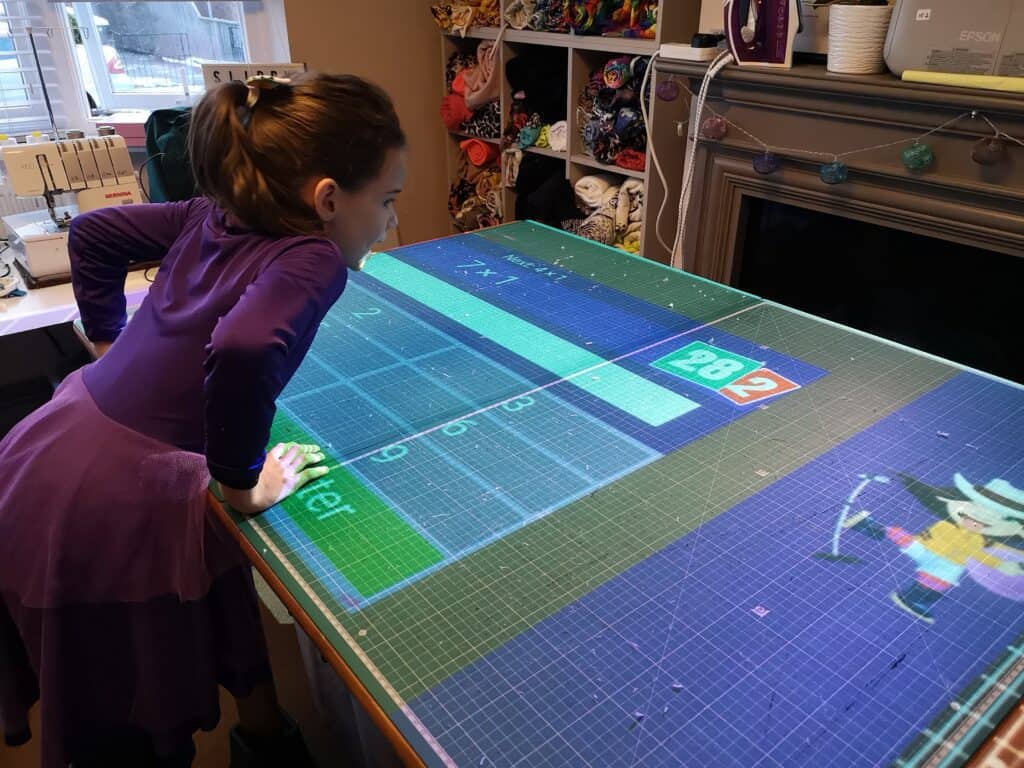
You can use it for other things too, we had great fun during homeschooling, projecting my daughter’s maths and spelling homework onto my cutting table, which she really enjoyed. A lot of people use their projectors for home cinema setups, too. Just remember you will need to re-calibrate it afterwards, once you get it back into position.
If you make lots of pattern alterations, like full bust adjustments, sway back adjustments etc, you may need to get to grips with a software called Inkscape, which allows you to make adjustments to the pattern pieces digitally. Alternately, some sewists like to use their projectors to project the pattern image onto tracing paper, and then make adjustments to the paper pattern pieces as they go. Some adjustments can be made on the fly as you project, just by marking the pattern in a specific location, and then sliding your cutting board along the table to a new position, and then cutting again, but more advanced adjustments will need to be done in one of the ways discussed above.
With my projector, because the projection area is so large, sometimes I have to add a buffer of blank space around my pdf pattern so that I can manoeuvre it into the right place on my cutting table. I use a website called sedja.com to do this, and you can find full instructions on how to do this in the helpful files on the Projectors for Sewing Facebook page. I like to add a 25 inch buffer on every side. If you’re not sure what I mean here, the video linked above will show you how this works.
The only other downsides I have so far come across, is that if you do not note what adjustments you have made to a pattern then when you come back to it later, because you may not have a hard, paper copy to refer to, you will have forgotten what you did. For example, my daughter is tall and slender, and I always have to grade sizes for her. At the moment she is an age 8 height, 5 waist and 6 hip. I might make something for her and love the fit, but if I don’t note down what grading I did, if I want to make another I will have forgotten. You can add notes to your pattern on Adobe Acrobat however, just remember to make them!
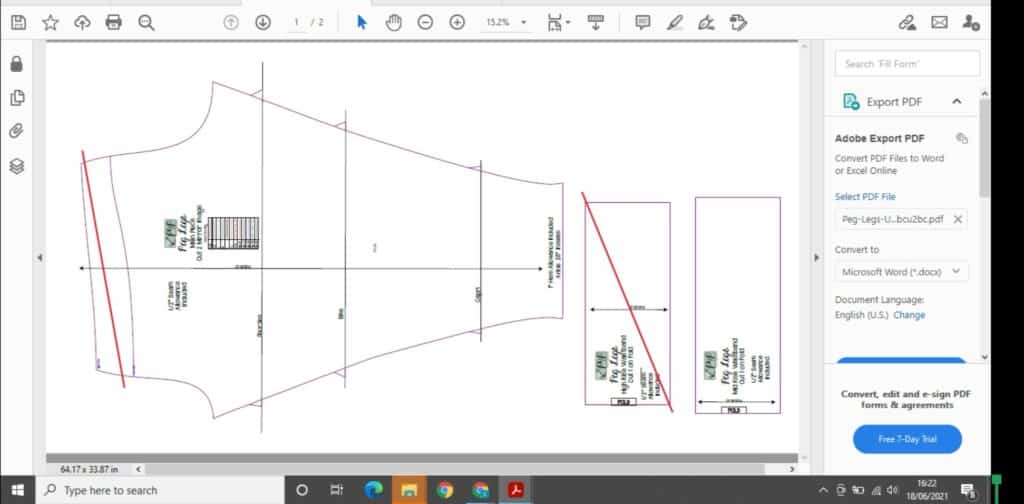
Sometimes it is also difficult to see which pieces to cut when looking at the projected image, as the text may be a little blurry. I find that if I turn on the tools and comments section, I can use a large red line to score out the pieces I don’t need to cut, so I don’t get confused when cutting out.
The only other downside? Sometimes, especially in the middle of summer, the fan on the projector can kick out quite a lot of heat. I cut out a pattern wearing a bikini during a particularly hot spell last year!
Overall, it’s a fantastic tool to have in your sewing arsenal, the time and money saving aspect alone is enough to make it worthwhile to give it a go. I certainly haven’t looked back.
I would recommend doing a lot of research before you dive in and make a purchase. There is a vast amount of information on the Projectors for Sewing page, and I would recommend joining and seeing what setups people have to get a little inspiration.
Hopefully this has helped you get an idea of how projectors can be used in your sewing room to help you and maybe inspire you to join this growing community.
Happy Sewing!
Dana x
Dana is a sewing teacher and fabric fancier living in Suffolk, UK. She specialises in plus size womenswear and funky kids clothes, and she loves testing and blogging for P4P. You can find her at The Slippy Chicken Company


Way to complicated will stick to buying paper patterns
I just bought the same one on eBay also from a school refurb today! Thanks for posting this Dana! I’m definitely coming back here to watch the videos for set up once I get mine!
Just got my projector fitted. This information is great. I will try it out now. Thanks!
Thank you for the detailed report. You’ve included information that helps me, a complete novice to projector printing, decide if this system suits my situation, and the things to think about when setting up a projector system. Thank you again.
Fantastic. Your explanation is good and simple.
Thank you thank you!