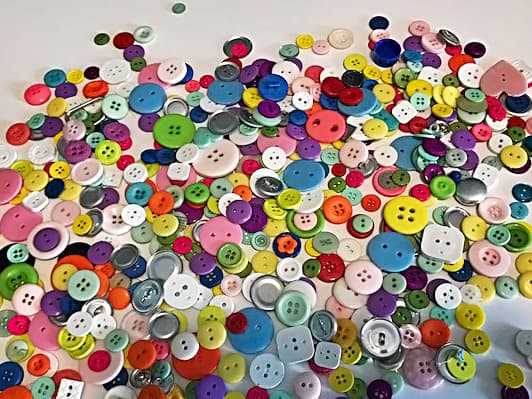
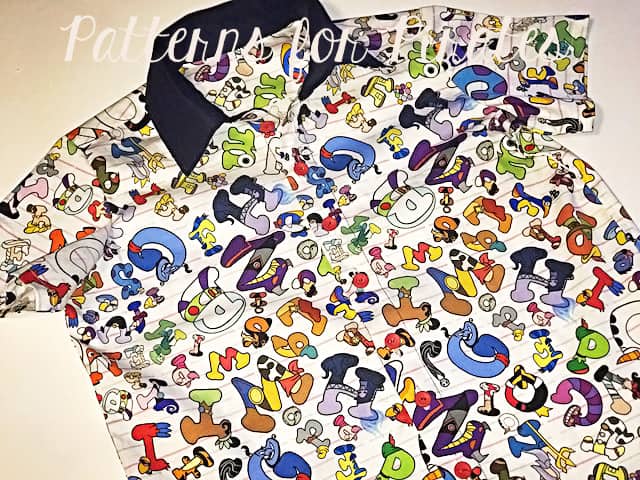
Ohh the dreaded buttons and button holes!!! Well…fear them no more. Today on the blog I wanted to talk to you about buttons and how easy it can be to add buttonholes to your projects.
Buttons
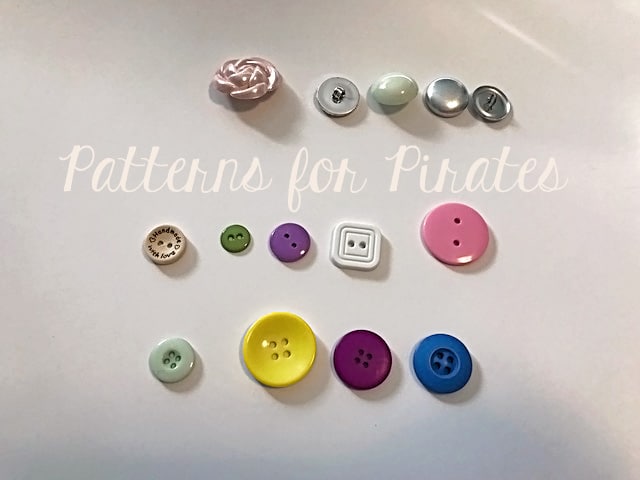
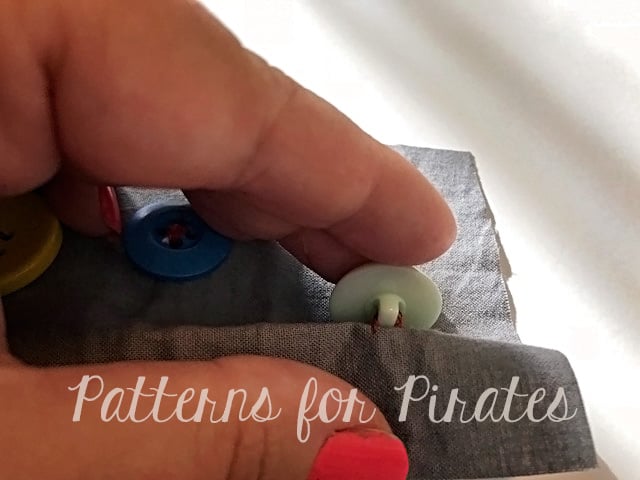
I am sure you noticed a few styles of buttons while walking around the notions sections of you favorite fabric store. The most commonly used buttons are 2-hole ones, 4-hole buttons and shank buttons.
- 2 hole buttons are usually used for decorative purposes or for items that will not require a heavy use of the buttons. That being said, I personally prefer the look of the 2 hole button for day to day wear so I just reinforce the stitching to make it more durable.
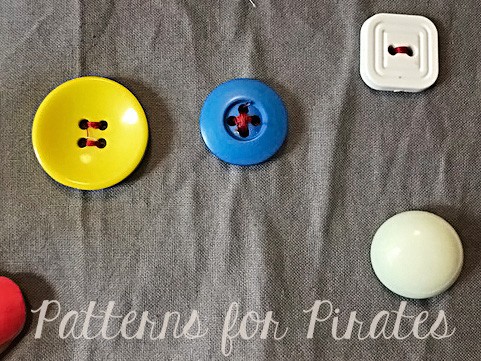
- 4 hole buttons will yield a sturdier construction. You can sew them on using an ” X “ style stitch or a ” = ” style. Either one of the methods can be done using a sewing machine or hand sewing.
- Shank buttons are buttons that once sewn will not lay flushed with the fabric. They have a shank that will allow for some space between the button and the garment. These style buttons can be used for decorative purposes but they are mainly used when adding buttons to coats or heavy jackets.
You can sew buttons by hand or using your sewing machine. All 3 types of buttons listed above can be sewn by hand while only the 2 hole and 4 hole buttons can be sewn with the machine.
Note: when using a 4 hole button it is generally preferred to add a thread shank so there is some space between the button and the fabric. That can only be achieved by hand sewing.
In the video below I am showing you how to attach two-hole buttons with your sewing machine and different button feet available.
Buttonholes
Now that we have added buttons, we need to add button holes. Here are some must-does when adding buttonholes.
Always interface!
The key to successful buttonholes is interfacing the fabric. Whether you are using knit, light weight of medium weight woven always interface the areas you plan on adding buttonholes. Light to medium weight interfacing would work best.
Chose the right buttonhole style for your fabric!
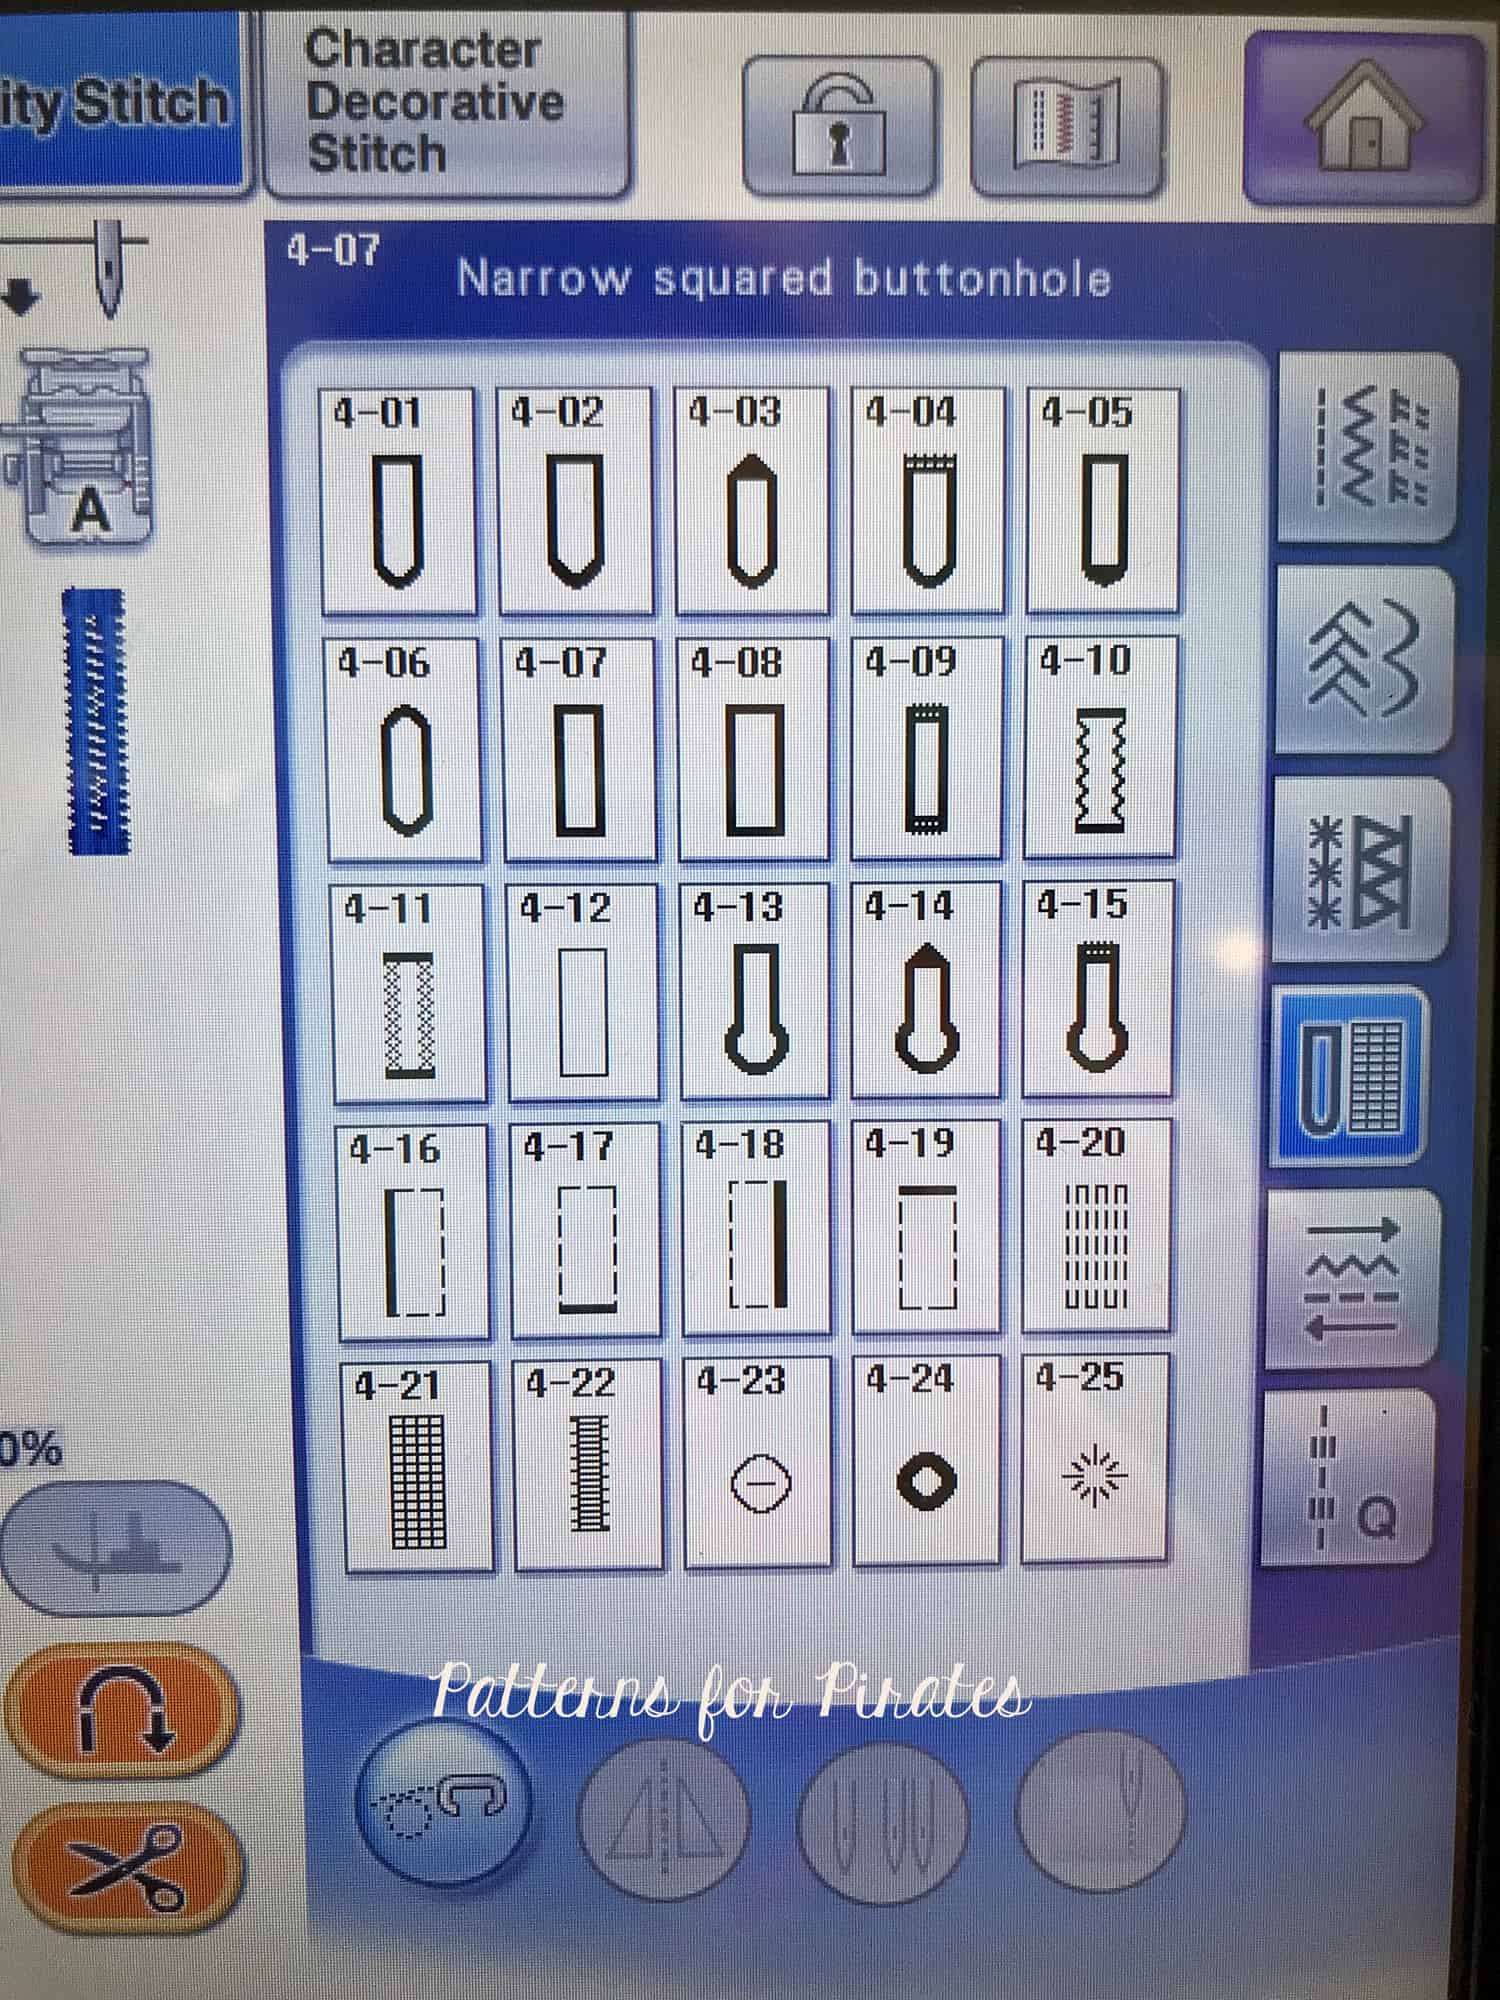
You might have noticed that your machine has quite a few options for button holes.
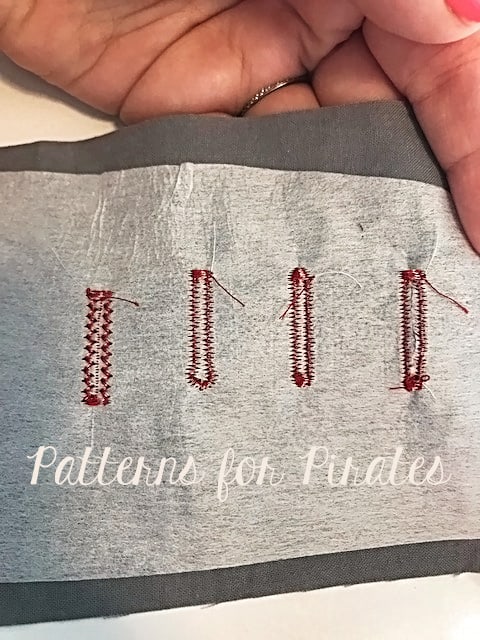
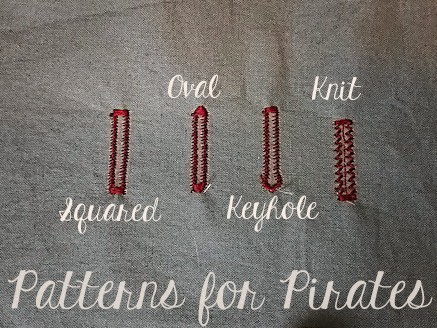
The one I use most is the squared one (as you can see in the video below) because I sew mainly medium weight fabrics. This buttonhole is also used for home decor sewing. If you use light weight fabrics, silks or chiffons, use the “oval” buttonhole, the one that has a round top and bottom.
If you are sewing coats or heavy weight jackets you will want to use a keyhole buttonhole because it will make pulling a thicker button through it much easier. When sewing knit outfits, if you need to preserve the stretch of the fabric around the buttonhole then the “knit buttonhole” is the one to use. It features a wider zig zag or a criss-cross stitch.
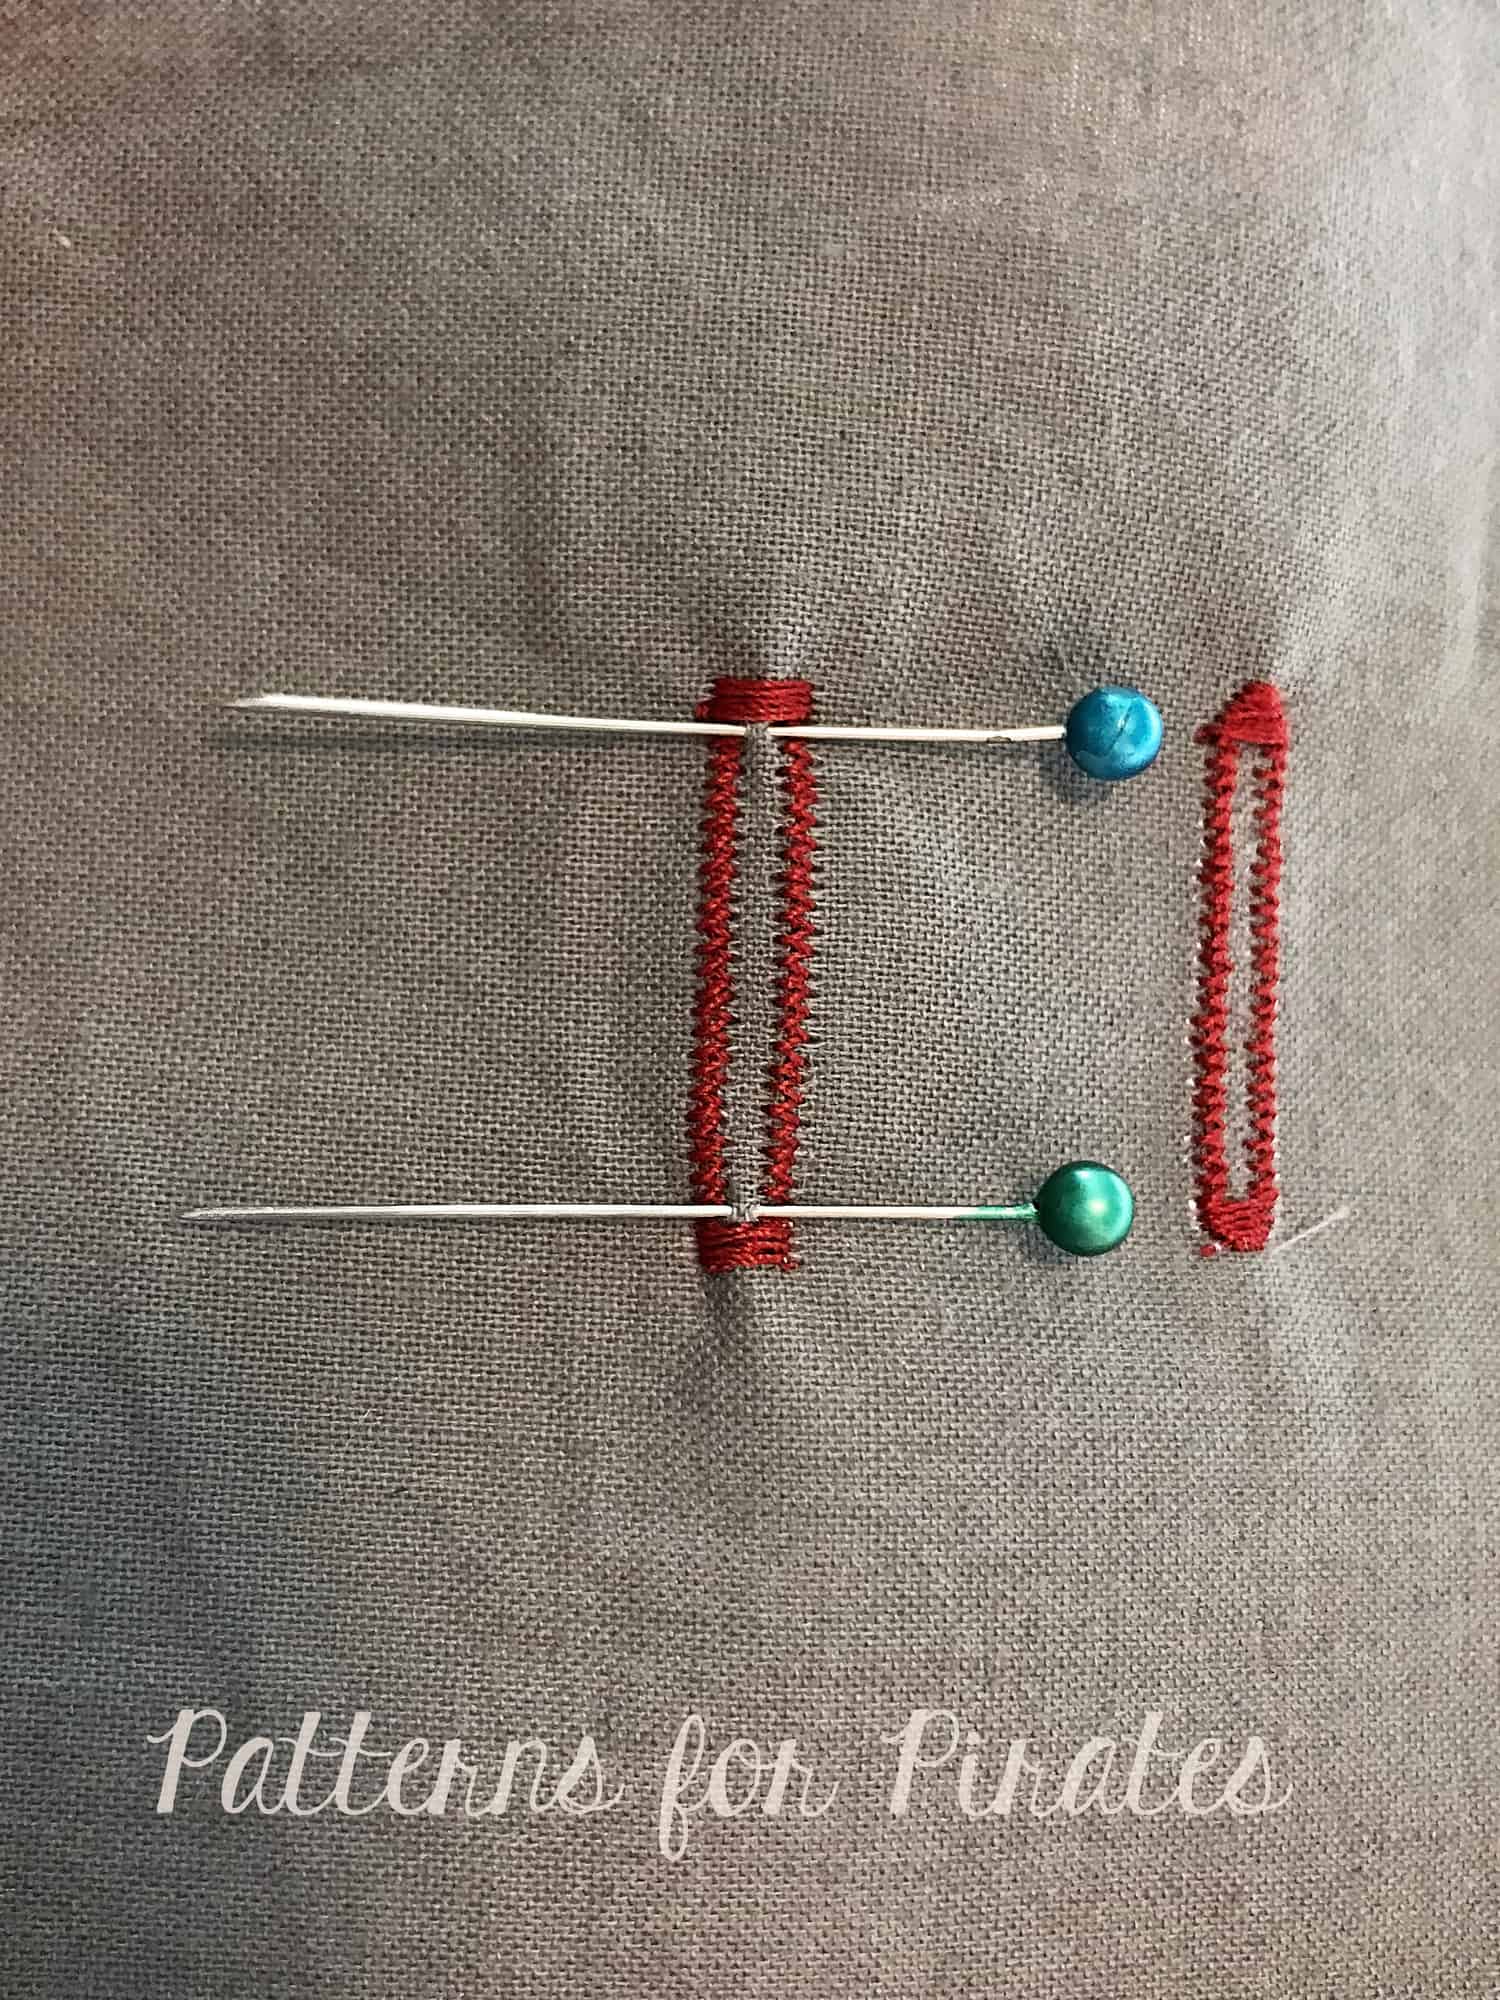
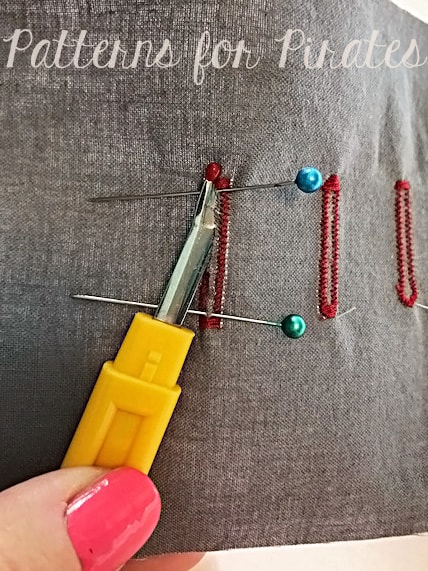
All you have to do now is make a slit in the fabric to allow for the button to pull through the hole. I like to use my seam ripper for that (make sure it’s not dull!!) and mark the top and bottom ends of the hole with pins as shown below.
This will help prevent any unwanted snips of the thread.
In the next video you can see the buttonhole foot in action.
Now that we have all that covered and hopefully you feel more confident sewing buttons and buttonholes, go sew some Henley and Lumberjack shirts and Brunch Blouses and be sure to show them off in the P4P group.
