From brrrrrr to ummmm! This cold days, stay nice and warm with the newest P4P pattern, the Sweater Weather! Our blog contributors team has put together some quick and easy hacks to give you even more options to the pattern. Dana is showing you how to make a wonderful Sweater Weather dress, Jody ditches the side seams for a classic banded look and I took the sweater from winter to summer. Let’s get started!
…..
Dress
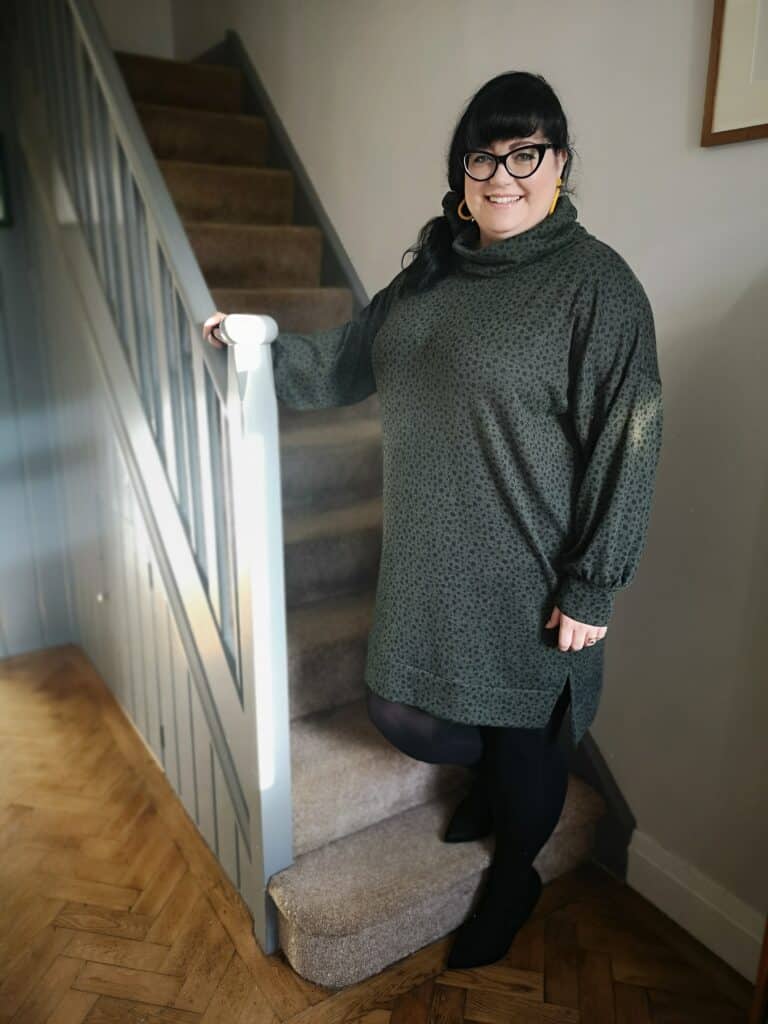
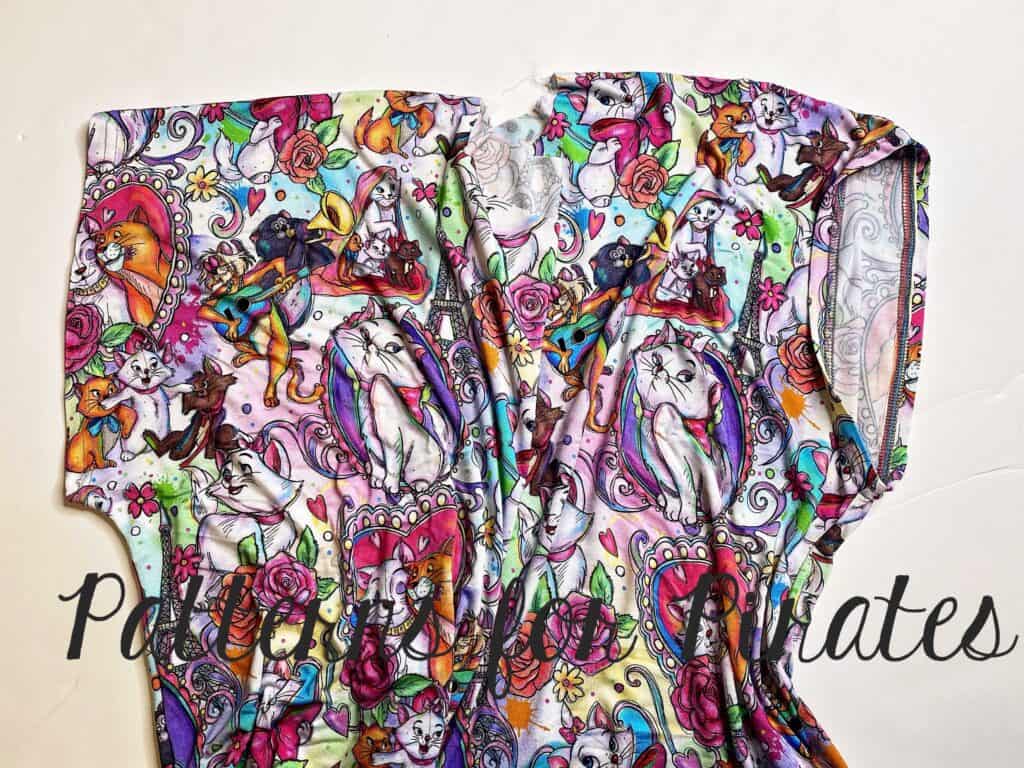
I live in sweater dresses in the winter months because it gets cold in the UK. I couldn’t resist doing a little hack to the new Sweater Weather length to recreate a Pinspiration I’ve had on my to-do list for a while.
I measured the front pattern piece and then held the tape measure up to myself to decide how much length I wanted to add. I decided to go with 6 inches extra added to the tunic length, which is a little more that I would normally add but there is a hi-low cutline, and so I wanted to make sure the front would be long enough for decency.
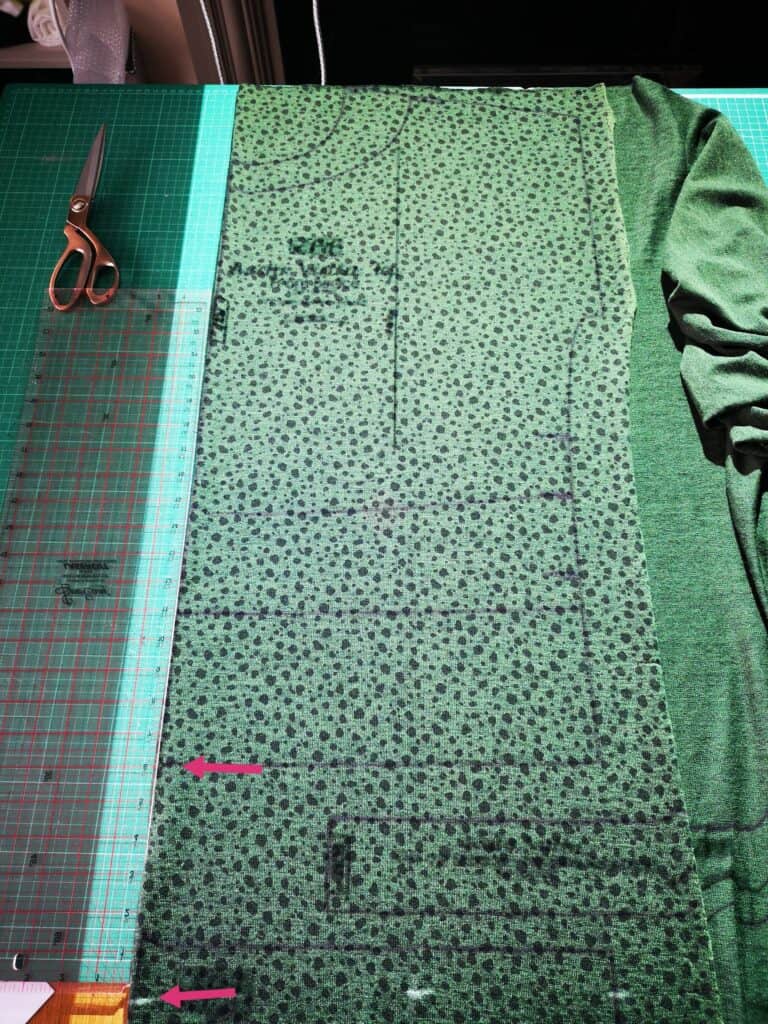
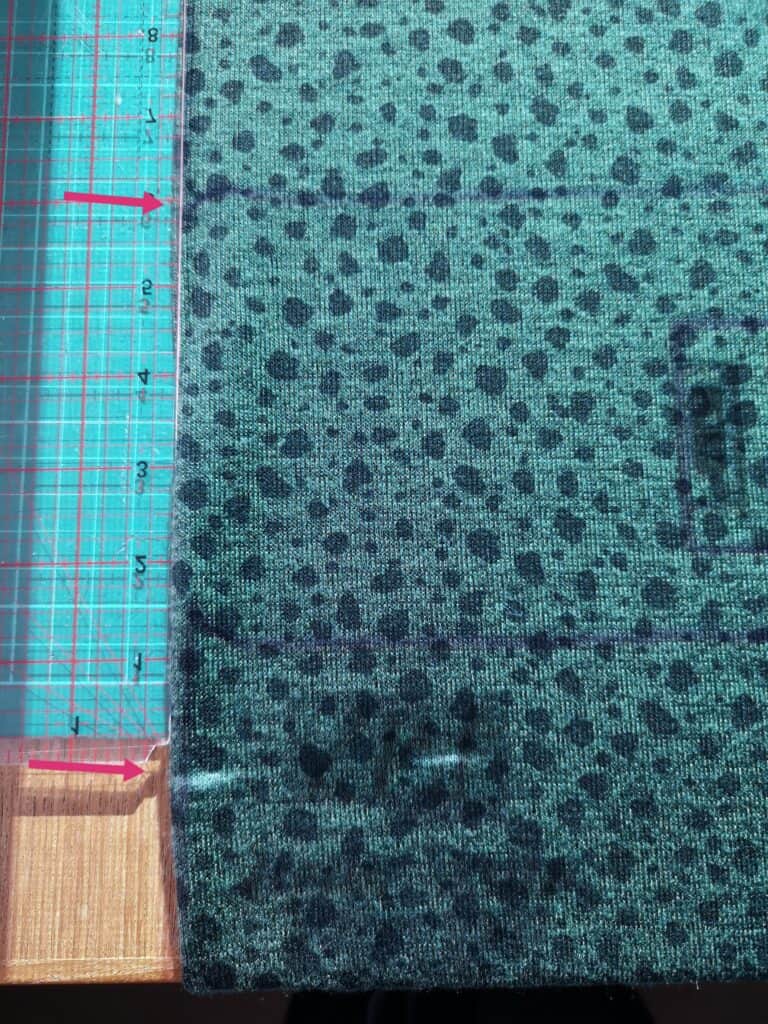
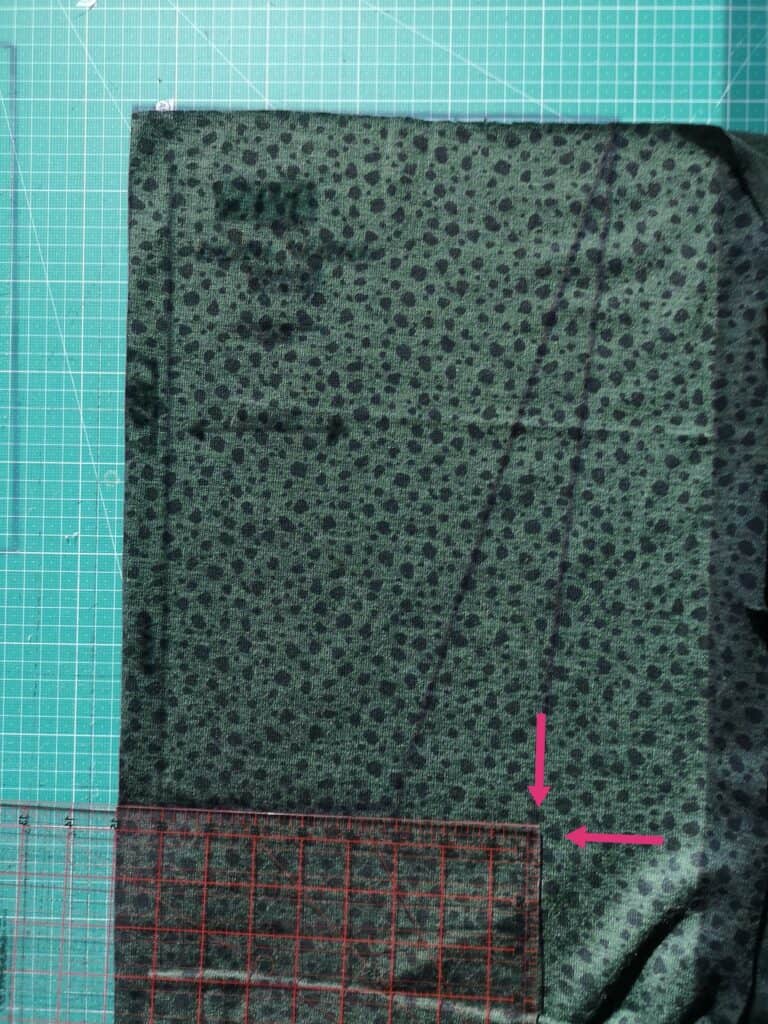
I use a projector these days and it was as simple as adding 6 inches extra length to the bottom of the front and back bodice pattern pieces, which I did on the fly with my perspex quilting ruler and rotary cutter.
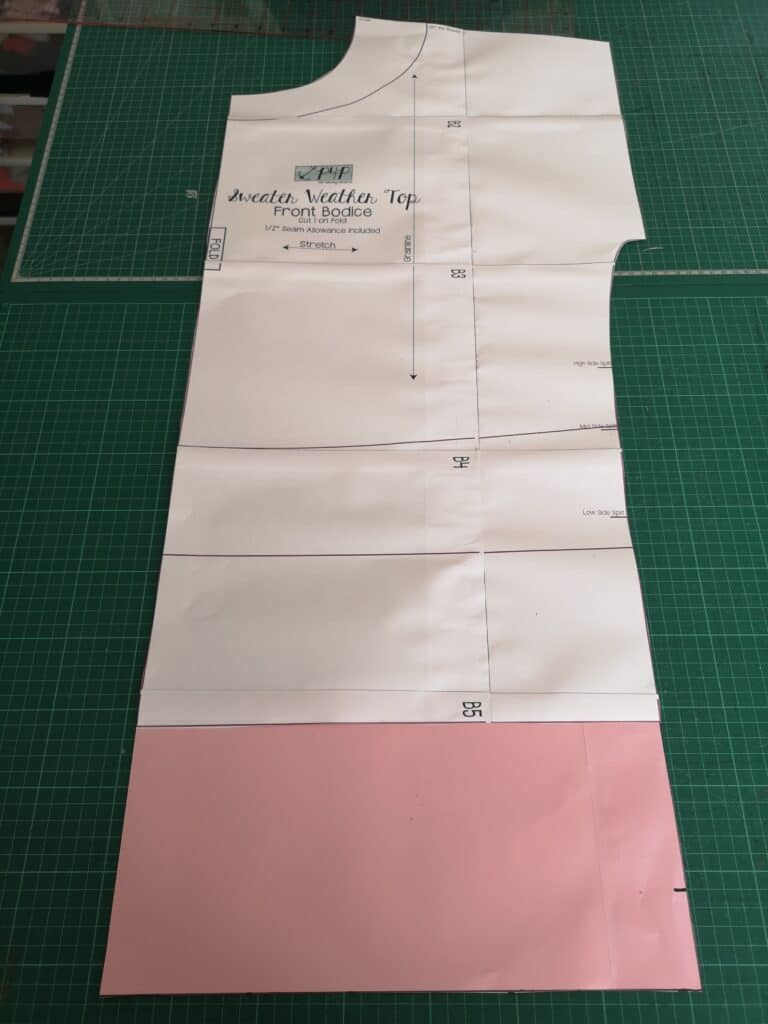
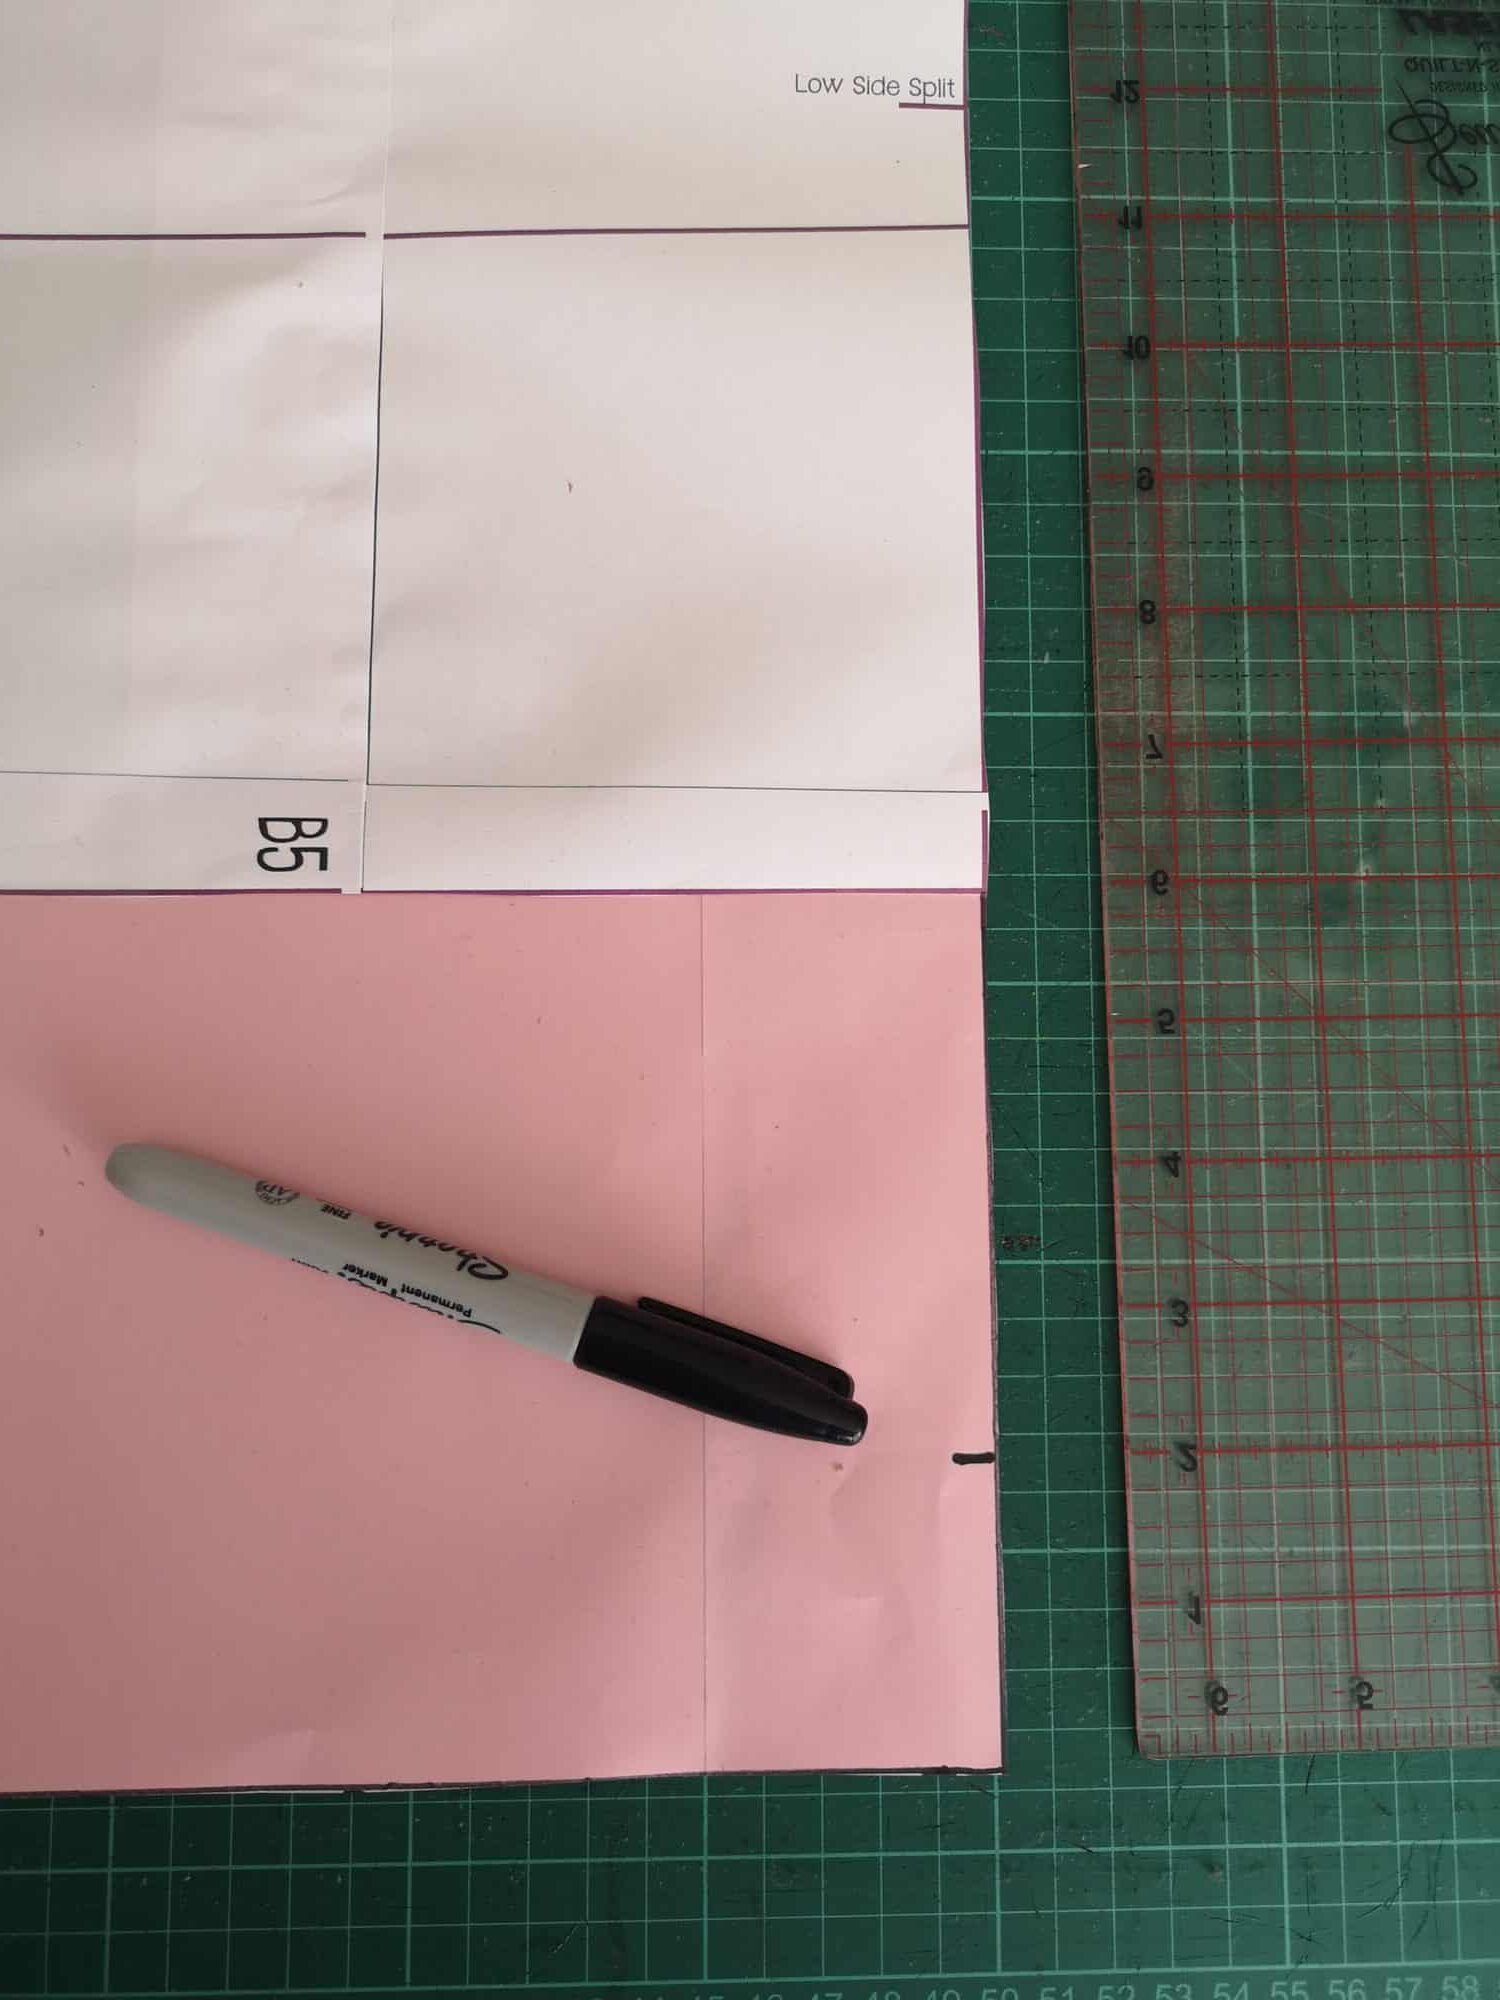
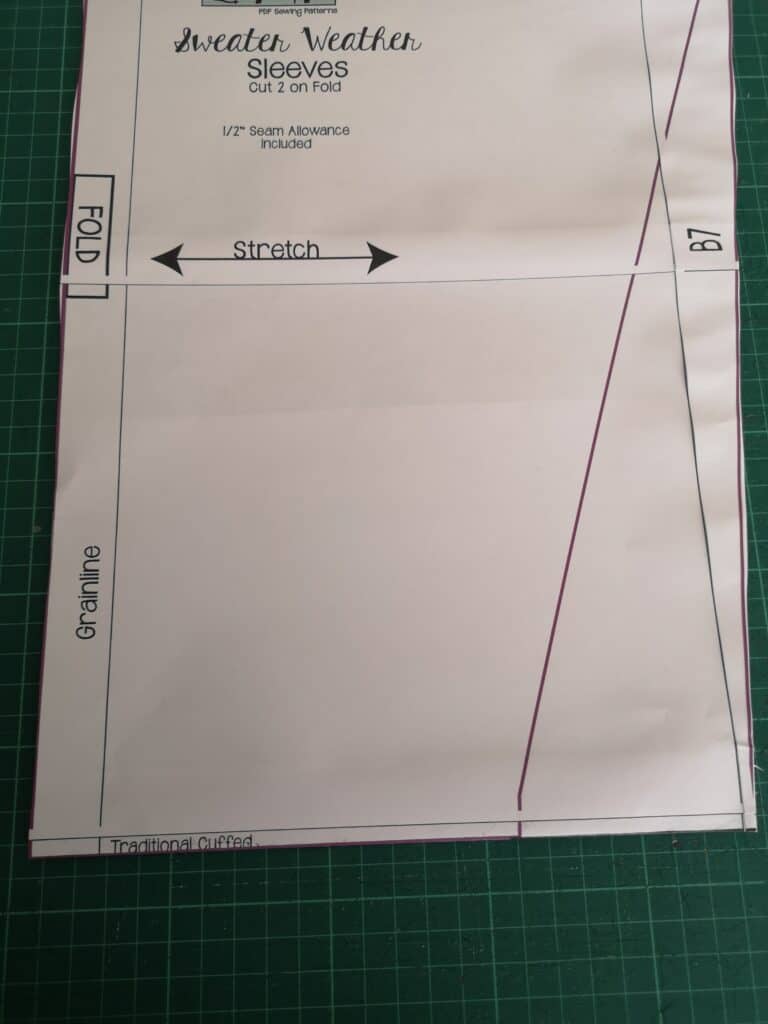
However I also printed out the pattern piece so you could see how it would work on paper too. The pink paper is the added section. I then decided to mark the notch for my side slit 2 inches up from the bottom edge of the pattern, but this would be up to you. I chase a 7 year old and a puppy around all day so I didn’t want that side split going too high, but you could go with whichever height you choose. Then repeat for your back piece.
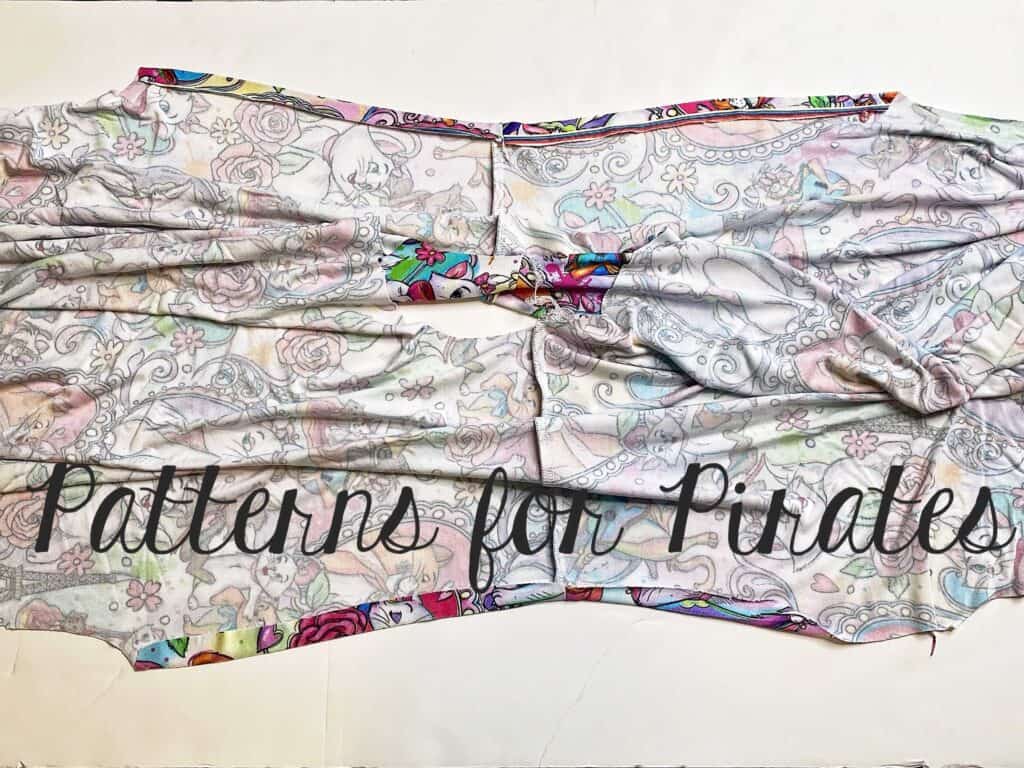
The only other change I made was to copy the bishop sleeve look from my inspiration pic, and I did that by just cutting the bell sleeve width to the slim cuffed sleeve length. Projector and paper pattern piece pictures below:
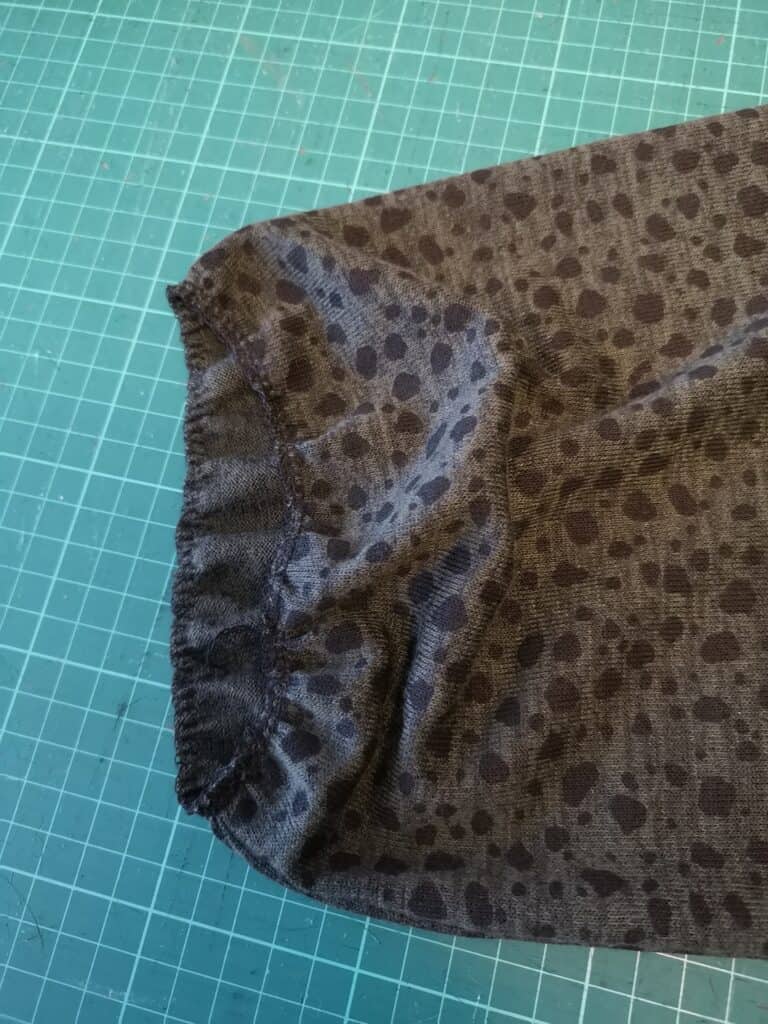
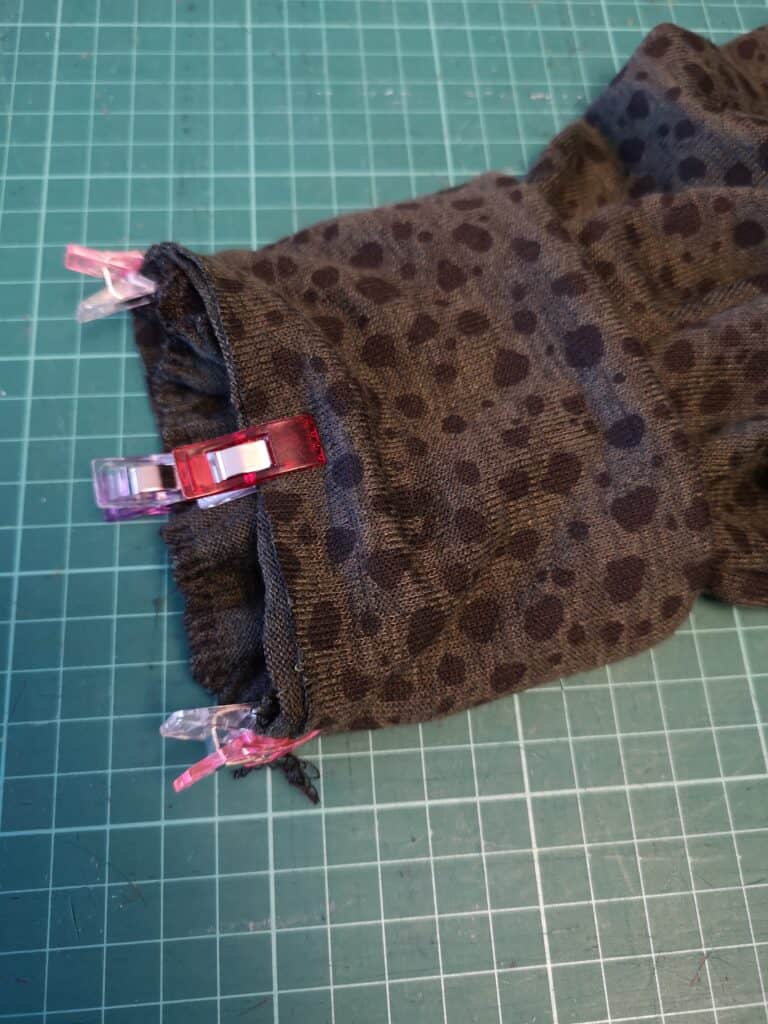
Then I cheekily used my overlocker/serger to gather the bottom of the sleeve by increasing my stitch length and differential feed to their highest setting and whipping round the bottom of the sleeve piece, which gathered it in just enough to fit the cuff. Perfect!
Finally just construct the rest of the garment as per the instructions in the tutorial, and you’re done!
Happy Sewing!
Dana x
…..
No side split
Hey everyone! I have another super quick hack for you. As fun as that side split is that comes in the pattern, I was wanting a most basic top, so I decided to do without the side split for this! It’s as simple as adding a bit of length to the front bodice piece, and sewing the two waistband pieces together in a circle! I’ll break it down for you below.
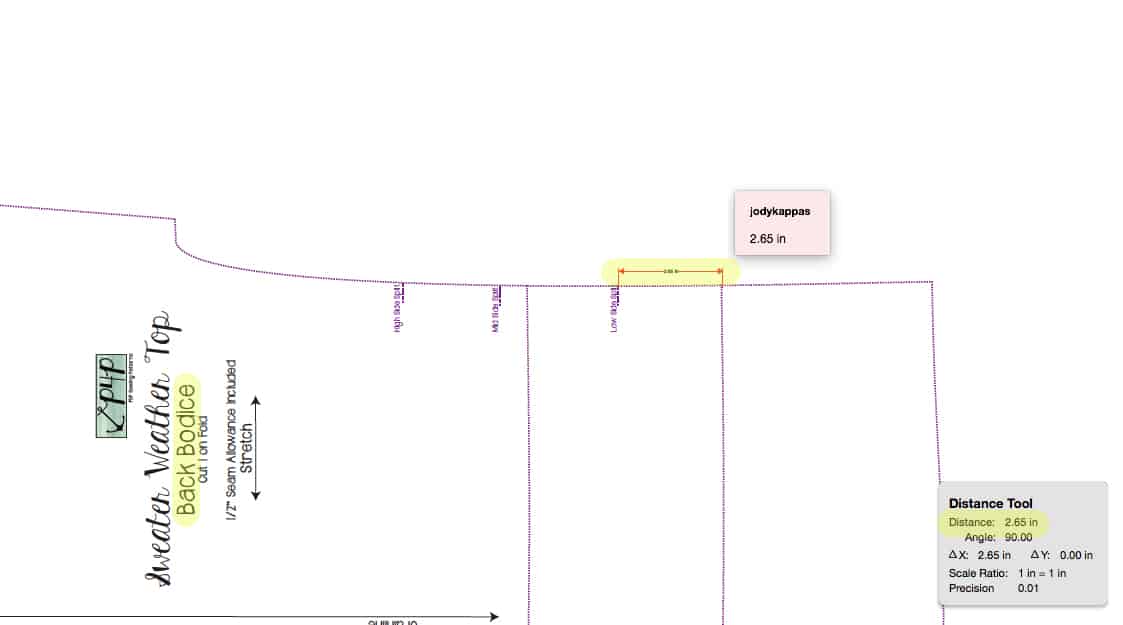
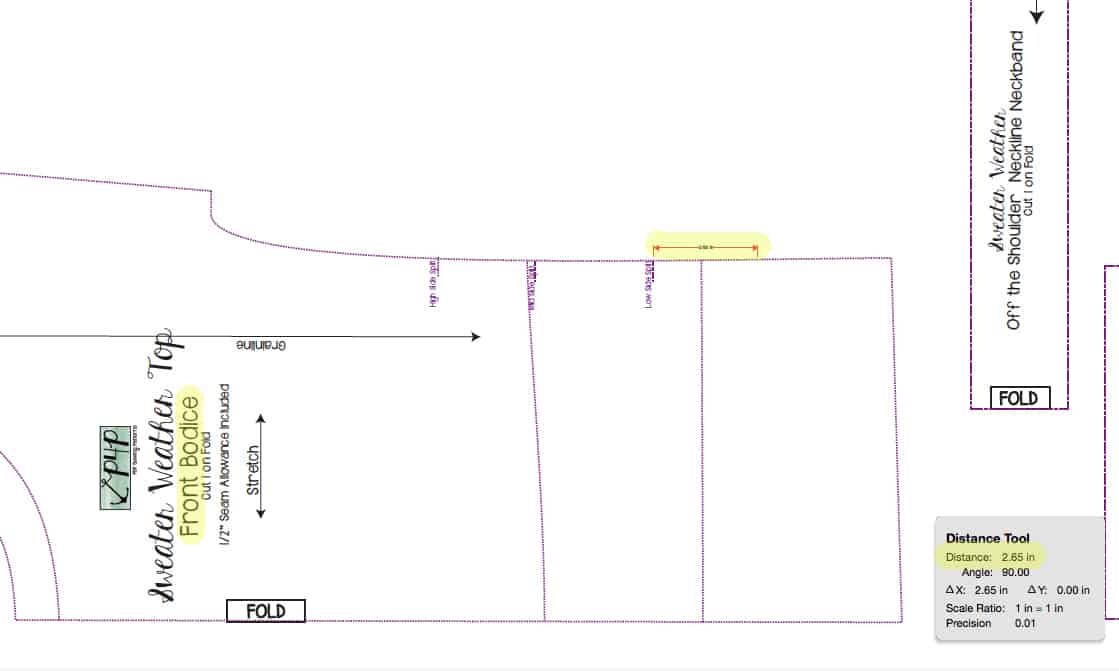
First, you’ll need to make your front and back bodice pieces the same length. I chose to do Top length for this one, and the front bodice piece was about a little over an inch shorter than the back. Since I also use my projector and don’t print out the pattern pieces, I marked the new Top cut line digitally on my PDF file on my computer. In order to figure out how much length to add, I measured from the Split Marking on the side seam down to the Top cut line on the BACK bodice piece. For my size, that distance measured 2.65 inches.
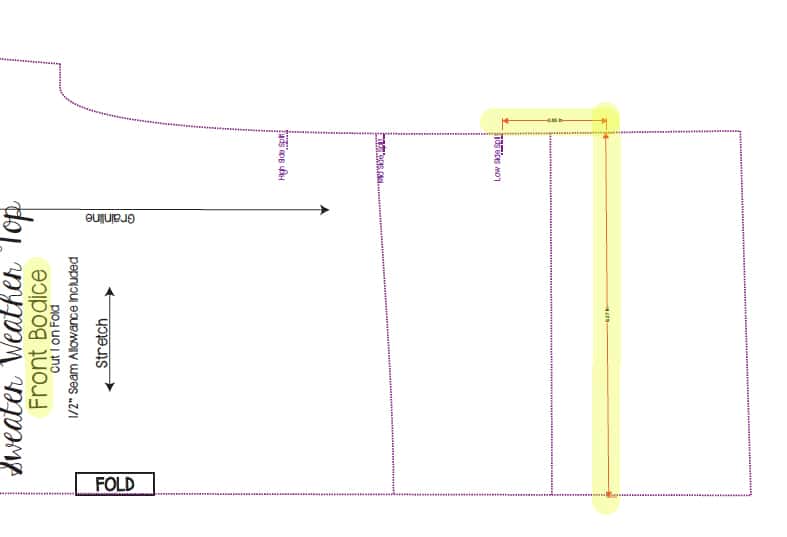
I then measured down from the Split Marking on the side seam of the FRONT bodice piece and marked where the new Top cut line should be. (Doing this with Paper pattern pieces, you would simply lay the back bodice piece over the front piece and see how much extra to add to the bottom of the front!)
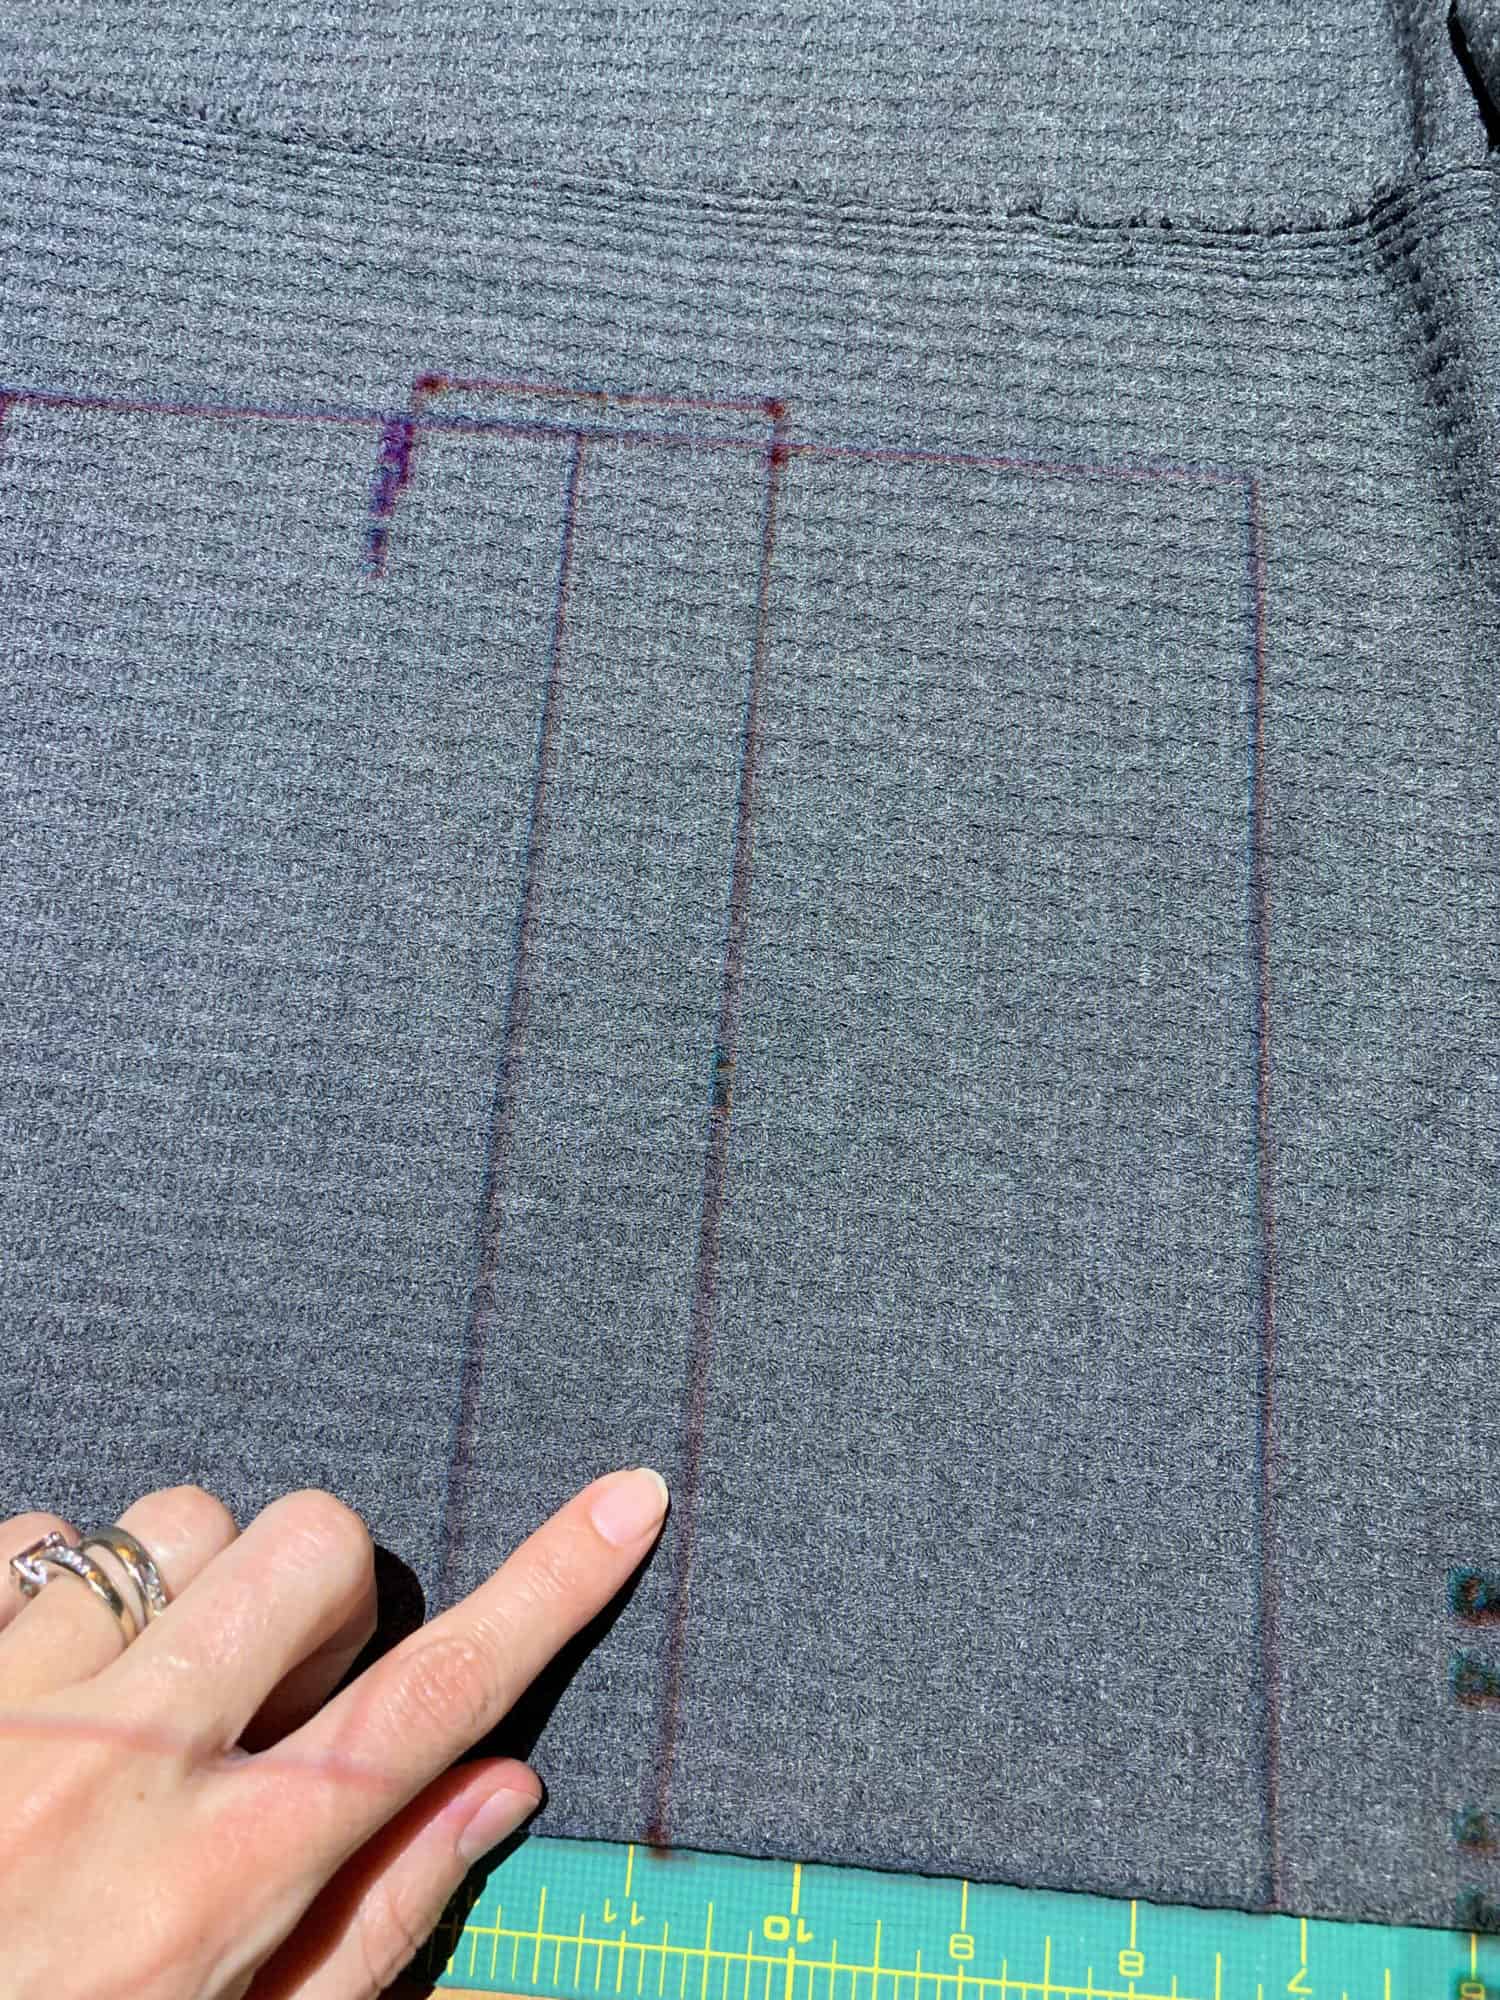
This is what the new digitally measured cut line looks like when projected.
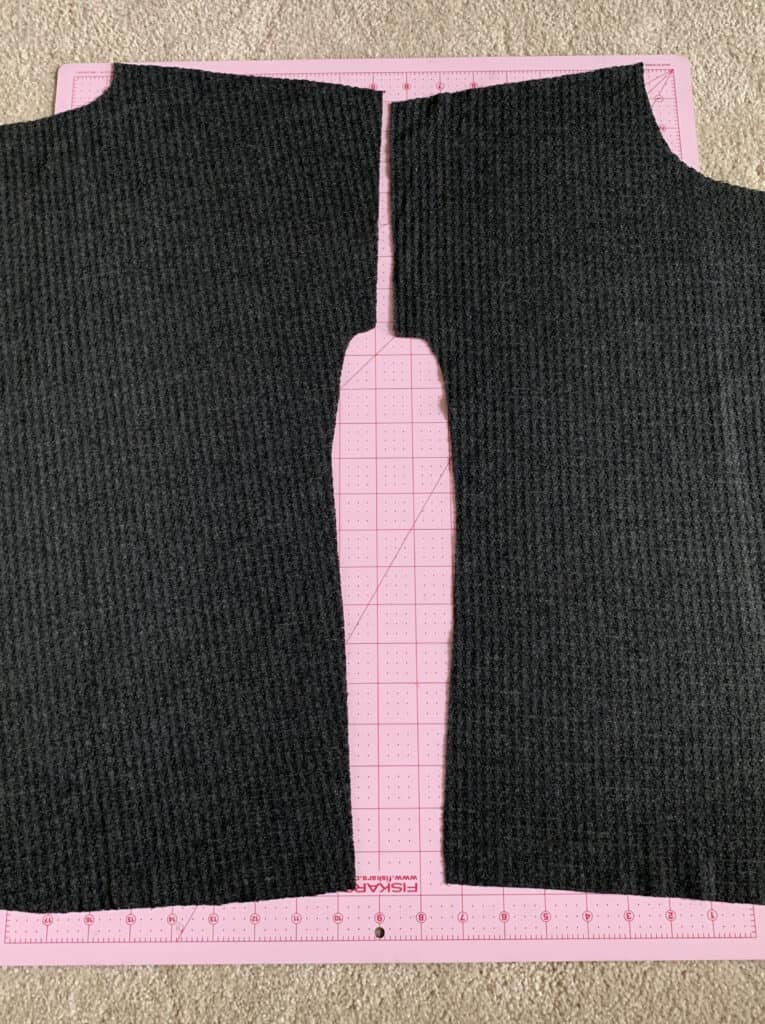
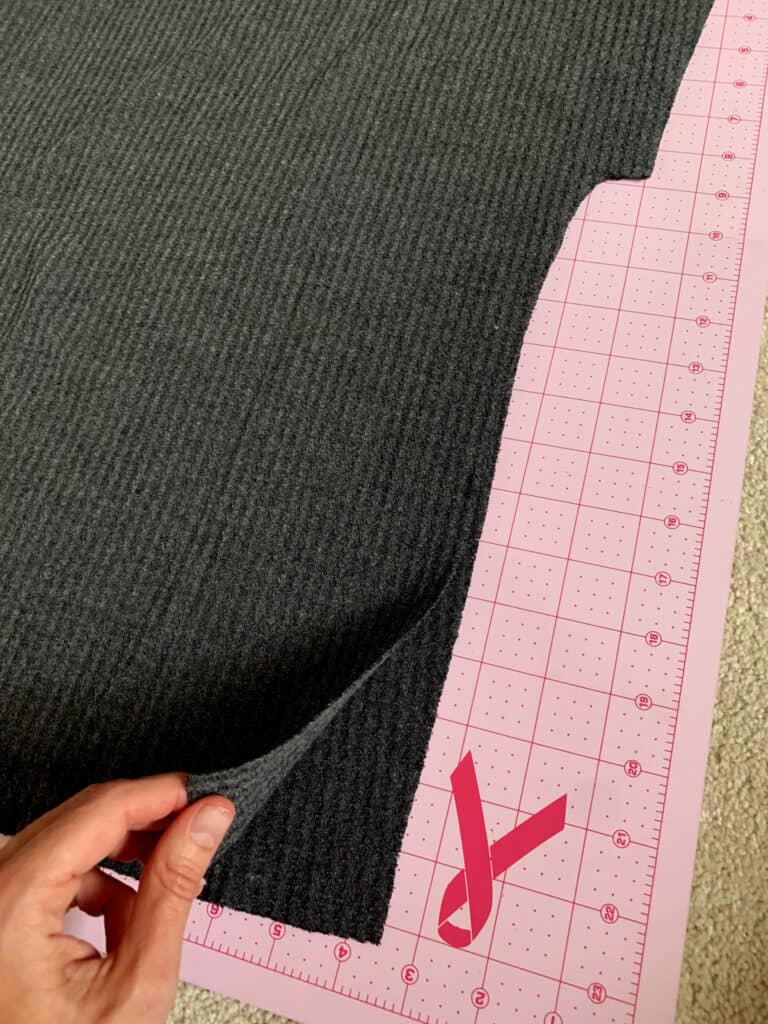
Once I cut my bodice pieces (following the newly marked cut line for the front bodice!) You can see that my front and back bodices are the same length now!
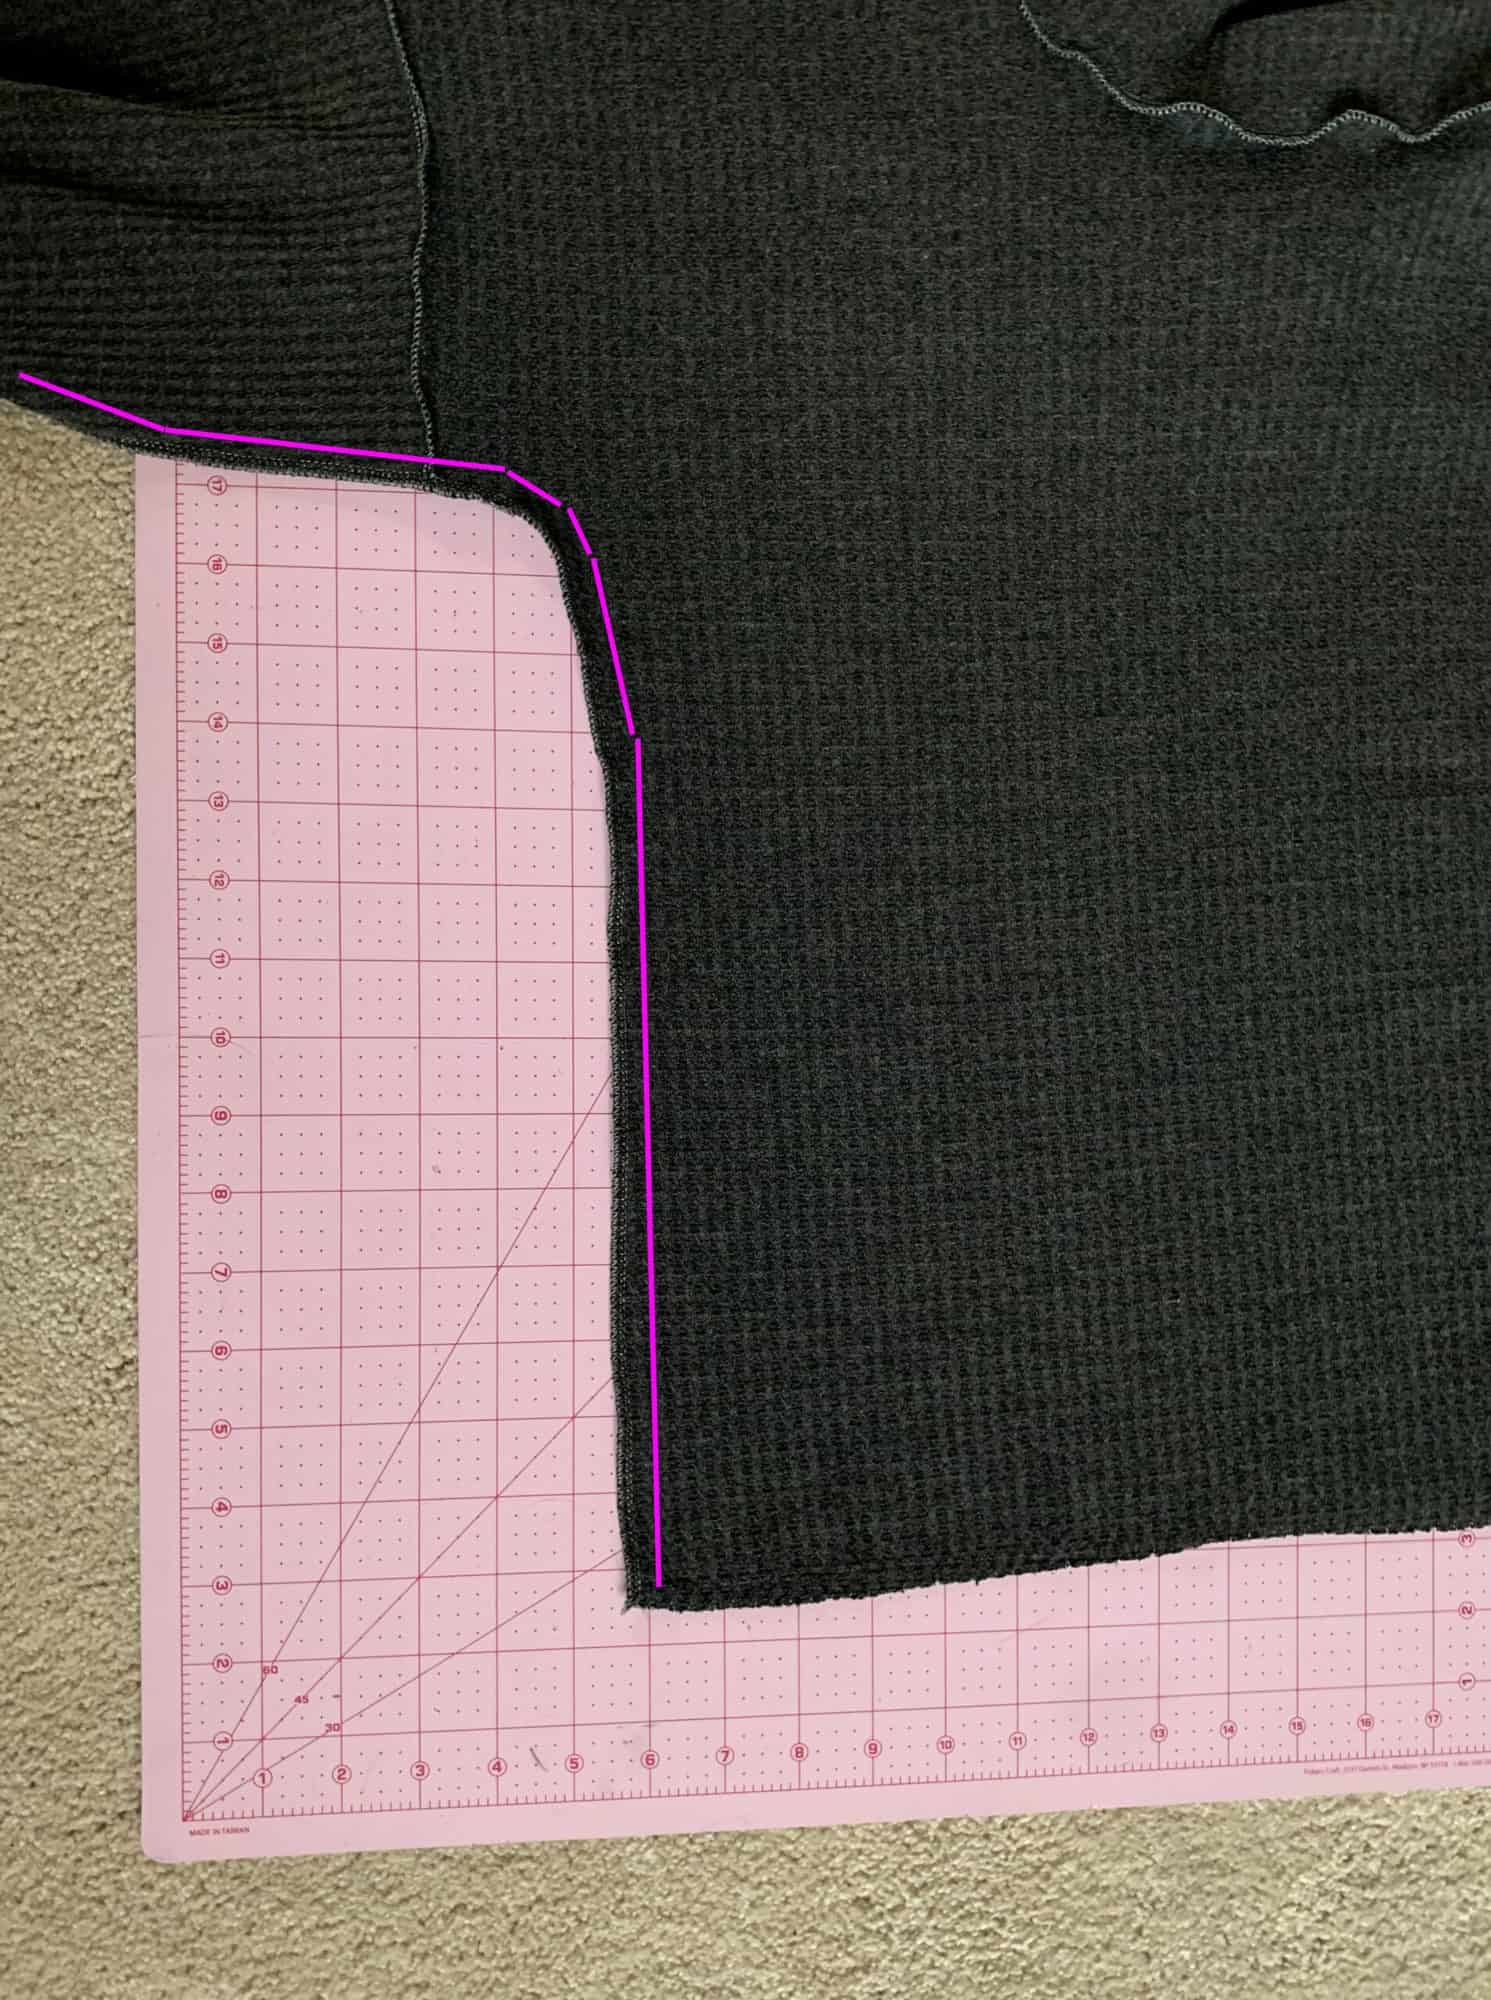
Next, you can sew up your shoulder seams, add the sleeves, and then sew your side seams. When sewing the side seams, instead of stopping your stitches at the split marking like you would have to do if you were making the side split, you can just keep on keeping on and sew right on down to the bottom! Like so:
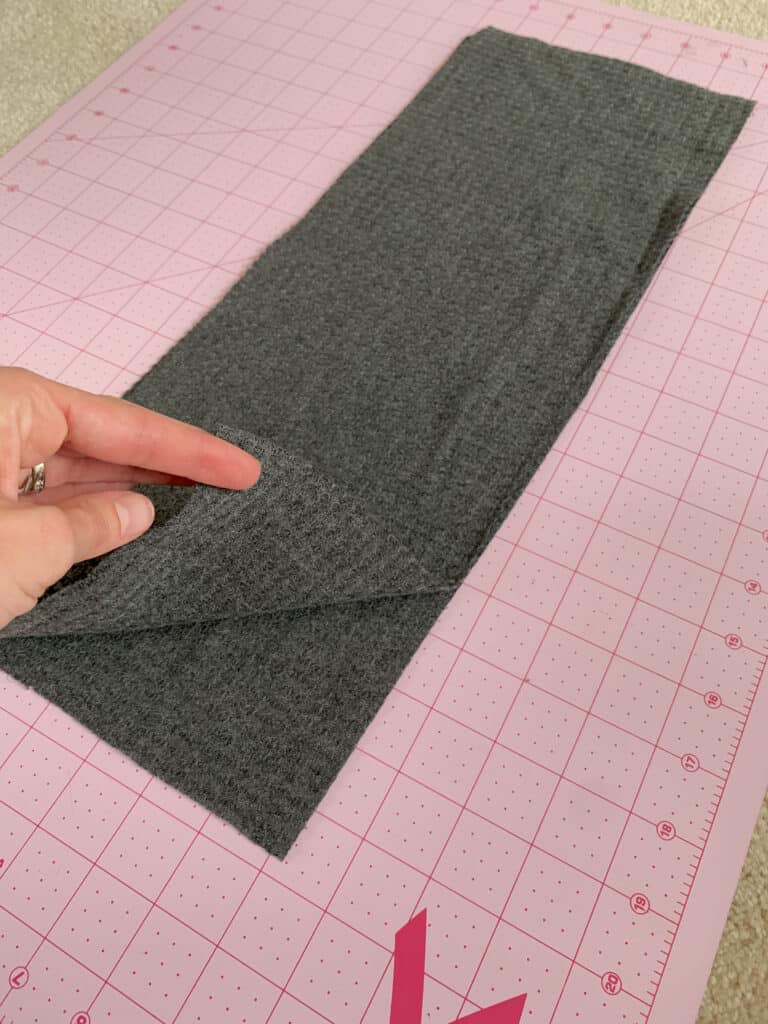
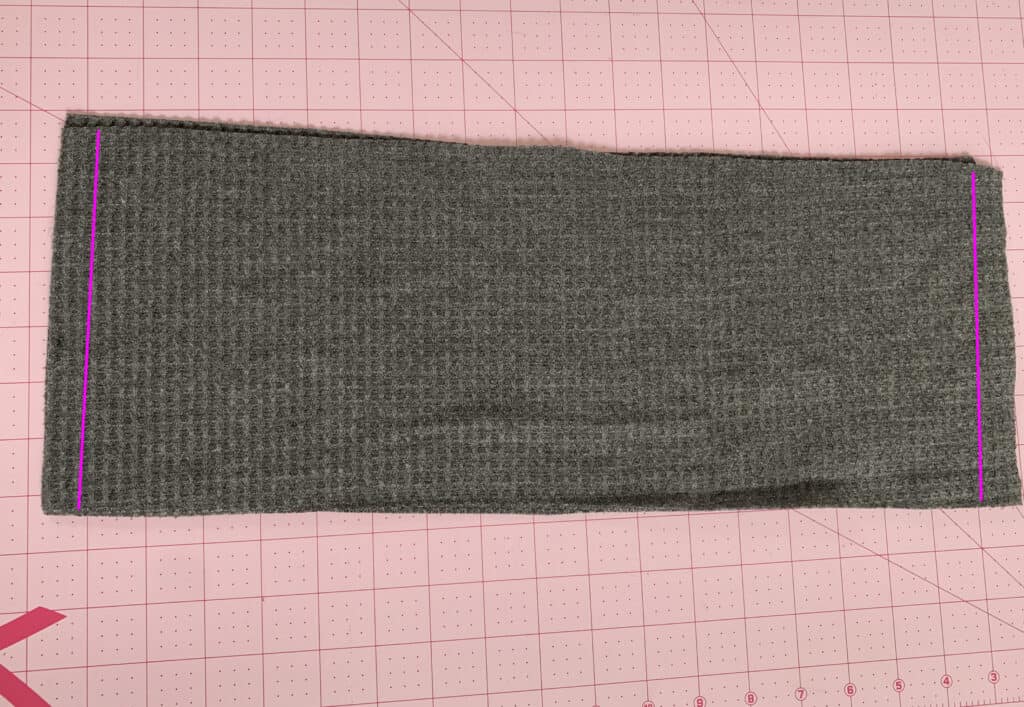
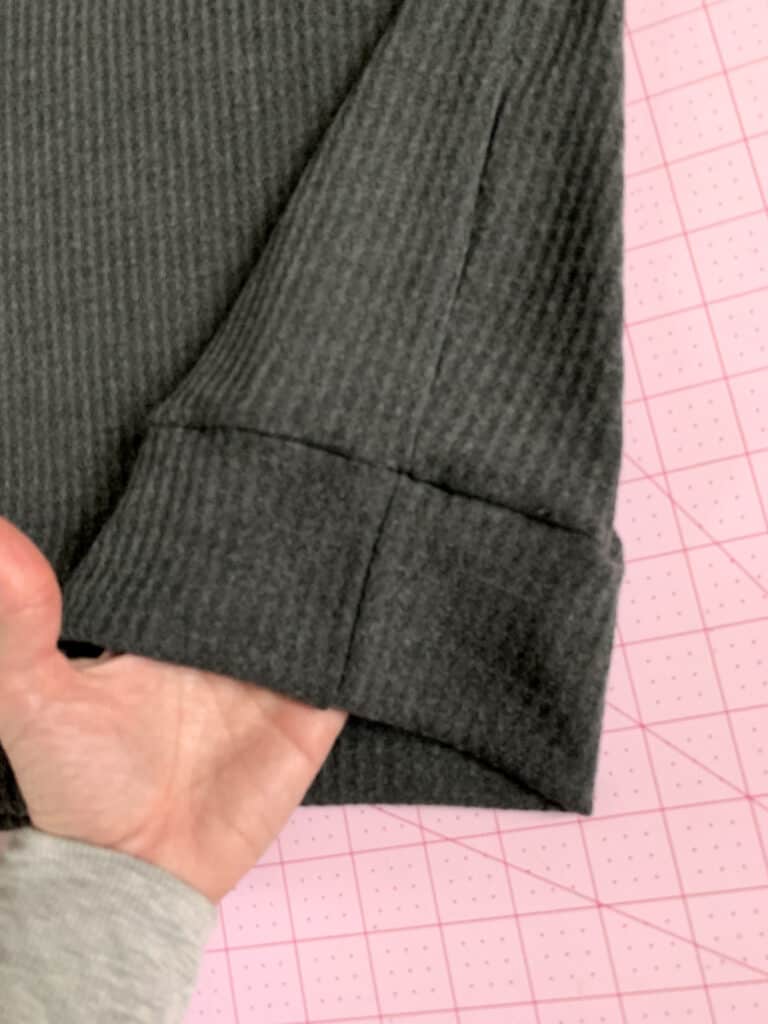
Lastly, you’ll need to create and attach your waistband. Take your two waistband pieces and place them right sides together. Stitch them together along the short ends.
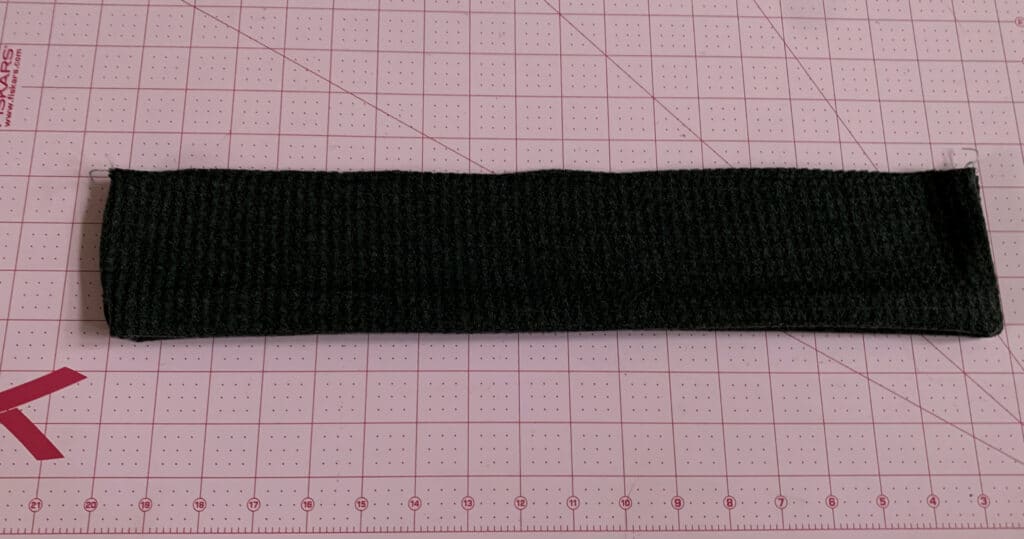
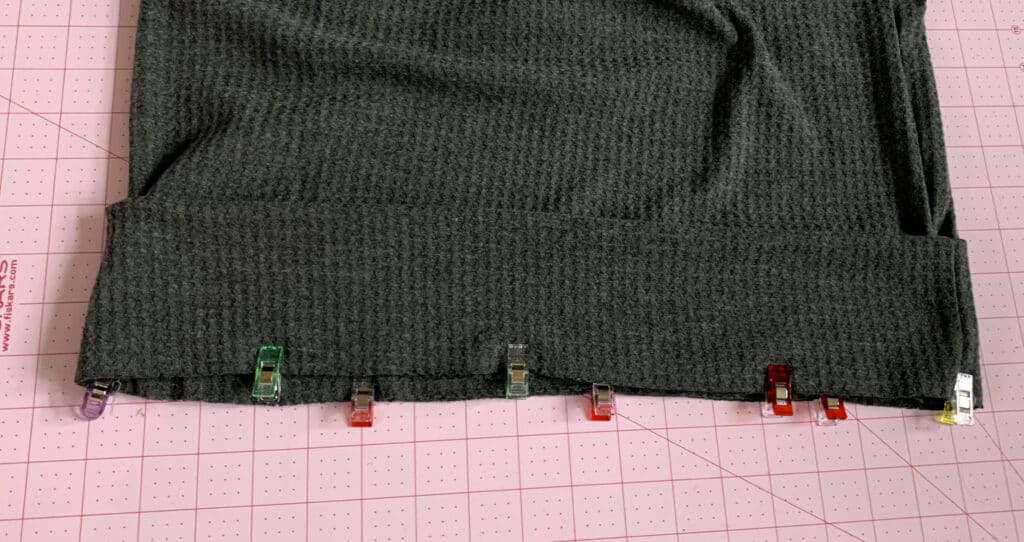
Now fold the waistband circle wrong sides together aligning the raw edges. You can now slip the waistband on the bottom of the sweater, aligning raw edges, and sew in place.
Now you have a comfy sweater without the extra side split!
Happy Sewing!
-Jody
….
Short sleeves
Last but certainly not least I wanted to show you how easy it is to take the Sweater Weather from chilly months to hot summer days. It’s as simple as using lighter fabric and making it short sleeves. For my example, I used custom bamboo spandex (my favorite fabric base!). There are not many modifications you need to do to get the look. Simply skip cutting the sleeves and sleeve cuffs when you gather your pieces.
Sew the shoulder seems and instructed. Press the sleeve opening 1/2″, wrong sides together as shown below. This will create a memory hem.
Sew the shirt side seams. Using your favorite stretch stitch (I used my coverstitch) hem the sleeves 1/2″. Press again for a crisp look.
Tadah! Easiest hack ever! Continue sewing your Sweater Weather top as per the tutorial.
ALTERNATIVE HACK: If you prefer a longer short sleeve, you can band it instead of hemming it. Before sewing the side seams, measure the opening. Cut two bands 4″ tall by the measurement you just did. Sew each band in a loop (at the short ends) using 1/2″ seam allowance. Press length wise, wrong sides together. Sew the shirt side seams. Attach the cuffs to the sleeve opening, matching the side seam. Press and optionally top stitch the seam allowance towards the sleeve. There you have it! A cuffed short sleeve.
How adorable is Teri? She tested the Sweater Weather top and made herself a tie die short sleeve one too.







[…] wrote up a Blog for P4P showing you how to get the same look when the pattern was released. I actually went back […]