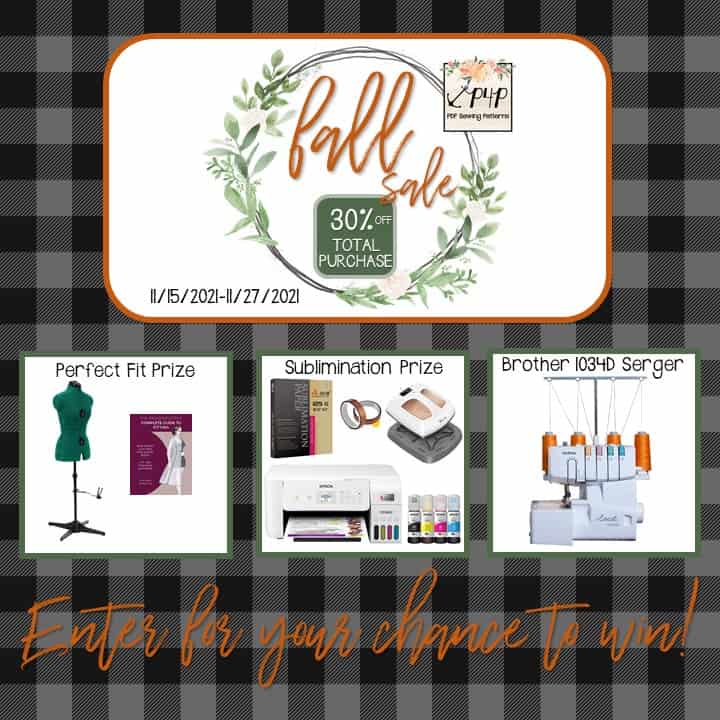
What’s more fun than being able to create the exact garment you or a loved one is aching for? I’ve included a “Sublimination Bundle” as a prize in our Fall Sale and Giveaway this year, so I can gift the joy of making something even more custom to a lucky sewist. Since it’s not directly sewing related, I thought I would explain a bit more about it!
I recently got a teeny tiny bit into sublimination and I can’t help but share how fun it is with my fellow sewist! The quick run down is sublimination is the process of using special sublimination ink and sublimination paper to dye polyester. So, it is limiting to what fabrics you can use… the higher the polyester content, the better print you will get. Don’t mind a more “vintage, worn look”? Then you can get away with as low as 50% polyester. Other than that, if you want a crispt image… poly, poly, poly.
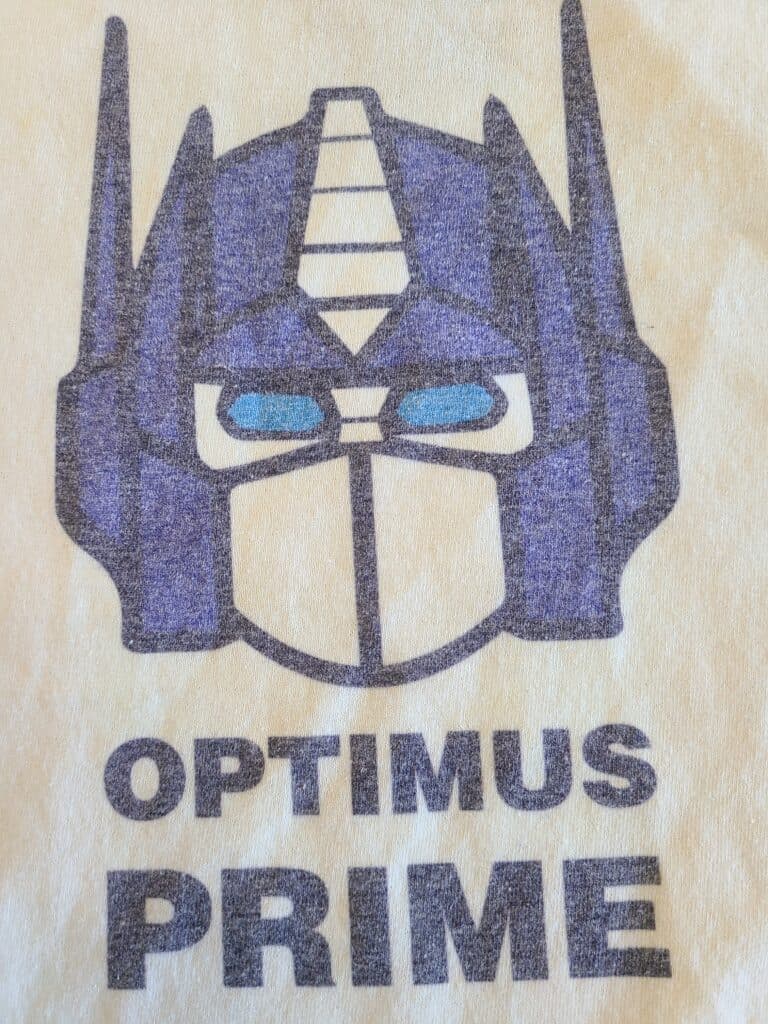
Here is a 50% poly after a wash. So you can see the difference.
If you’re a double brushed poly fan… good news 😉 Works great! So do performance fabrics, ITY, sweatshirt, sweater, waffle, french terry, that are polyester with a little bit of spandex. The lighter the fabric, the better the image will look as well. Since we’re printing with an ink jet printer, we have black, blue, yellow, and pink inks to mix. No white. So, sine we can’t print white… we can’t dye white onto the poly. Got a dark fabric and want a snowman? Sublimination ain’t going to work lol… You can get away with lighter, pastel colors as long as you’re not wanting anything white on the image. Here I’m using a white poly sweater knit knit, which is perfectly soft and cozy and will give me a nice, crisp image.
Lets go over what you need to do this process first. *These are affiliate links.
First and foremost, you’ll need a printer with sublimination ink… YouTube has told me that these Epson Ecotank printers are the easiest for someone just wanting to craft at home.
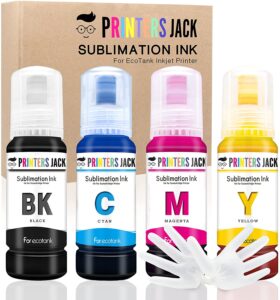
Don’t you put that ink that comes with it in the printer though! Don’t do it! Instead, you’ll need to fill it with sublimination ink… luckily I’ve found ink that matches the ink refills perfectly, meaning they’re super easy to use!
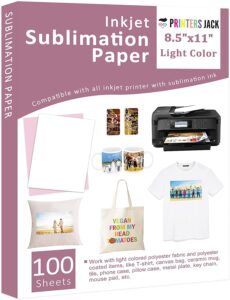
You’ll need sublimination paper as well. There are a lot of brands, and I haven’t used hardly any yet… so I’m no expert on which is the best! I’ve used this one and it worked great for me so far.
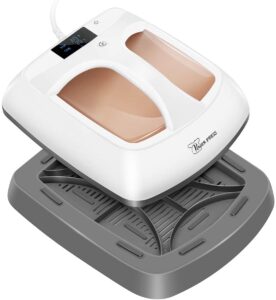
Next big item you’ll want is a heat press. Some can be pretty big, bulky and hard to store. But, I found this smaller one that will still cover a 12×10″ area and I think it would be perfect for a home crafter! Want a bigger one? Here is the one I have.
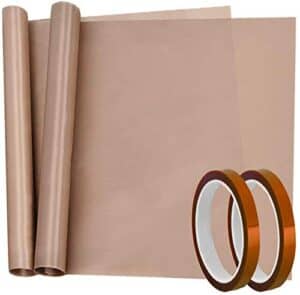
I like to use this heat tape to hold my image in place when I press as well, so I included it in the Sublimination Bundle Prize in the Fall 2021 Giveaway! Along with some teflon sheets to keep from scortching fabrics and giving a nice even heat. You’ll also want some plain paper. You can use the plain paper to put inside a shirt if it’s already sewn up so the ink doesn’t go through to the back piece and on top so it doesn’t go through to your teflon sheet or heat press.
Okay, now we have our supplies we can jump into how to do it!
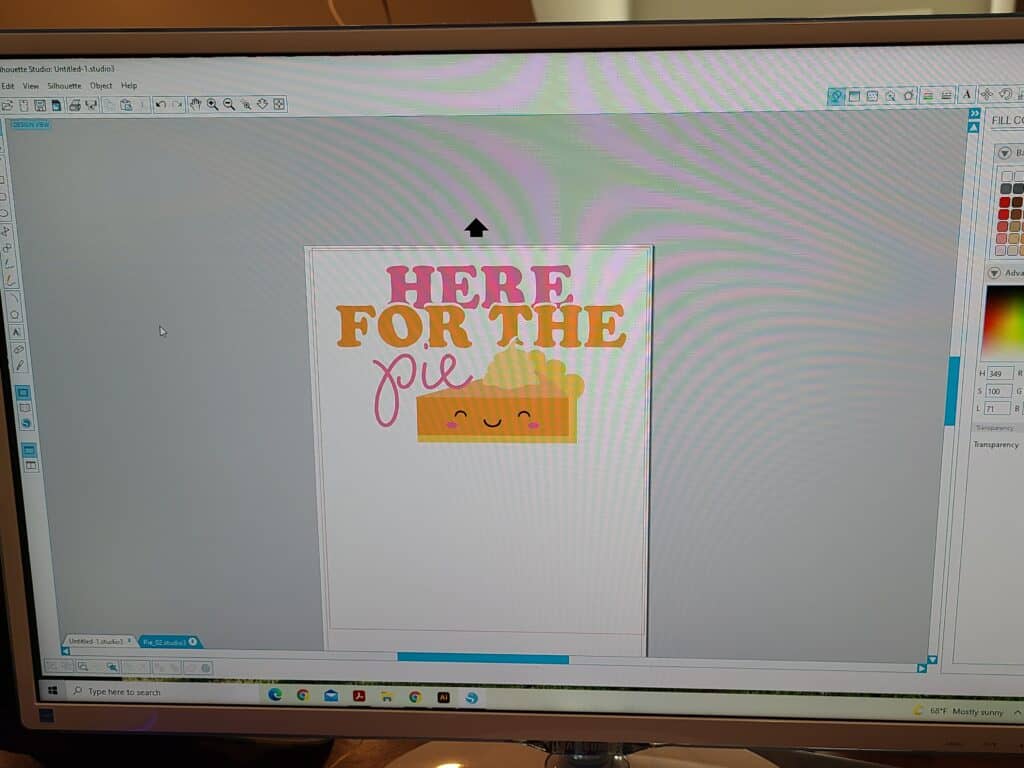
First up you’ll want an image… anything you’d like on the garment. I usually create mine in my Sihlouette Studio, because it’s an easy to use software (that’s free for everyone). You can also use photoshop or Illustrator if you’re an Adobe fan. Anything you can print from.
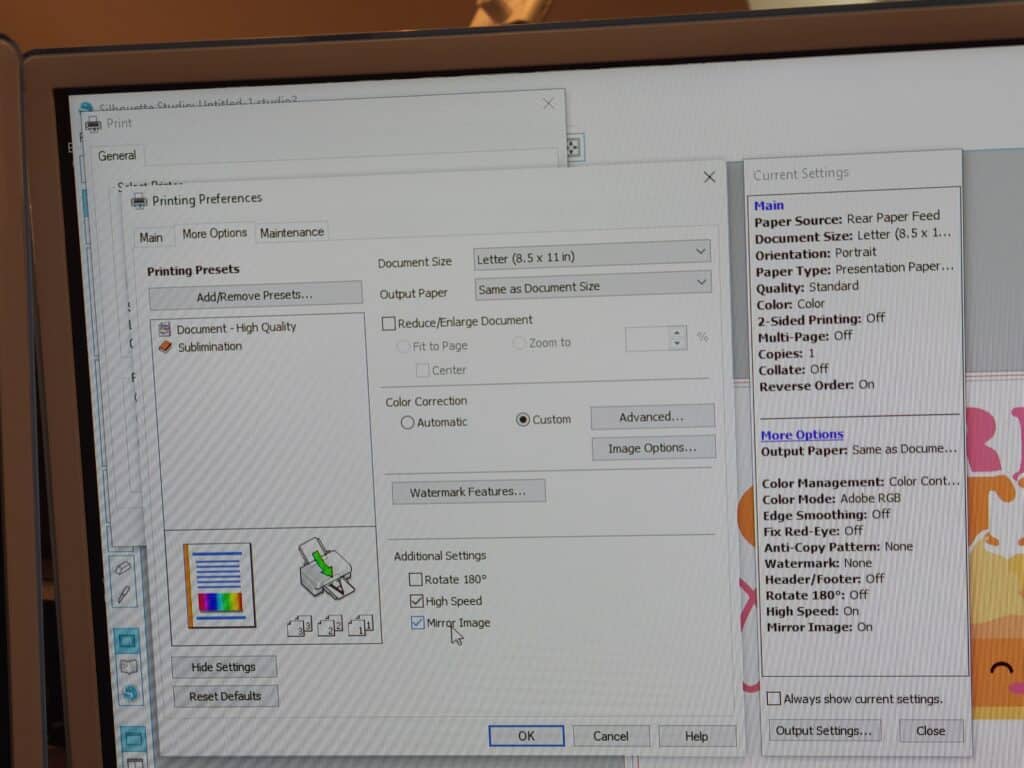
You’ll want to set up your printing settings to mirror the image (or mirror it before you print). And to have a high quality print, with true colors… here is a screenshot of my printer settings. Some of these settings you’ll need to click through the advanced section.
Print out your image. Don’t worry if the colors look a little dull, they will brighten up when you press it… unless you’re not using an all poly content 😉 Tear around your image. You heard me… tear it instead of cutting it. The tearing helps blend that “edge” instead of a crisp line.
Place your image where you’d like on the fabric, already cut pattern piece, or finished garment. (Note… if you’re using a finished garment you’ll want to place a sheet a paper between so the ink doesn’t bleed through to the back… I’ve actually never had it bleed though to the paper yet… but you never want to cry over that and you can re-use that piece of paper over and over!) Use the heat tape to keep your printed image in place.
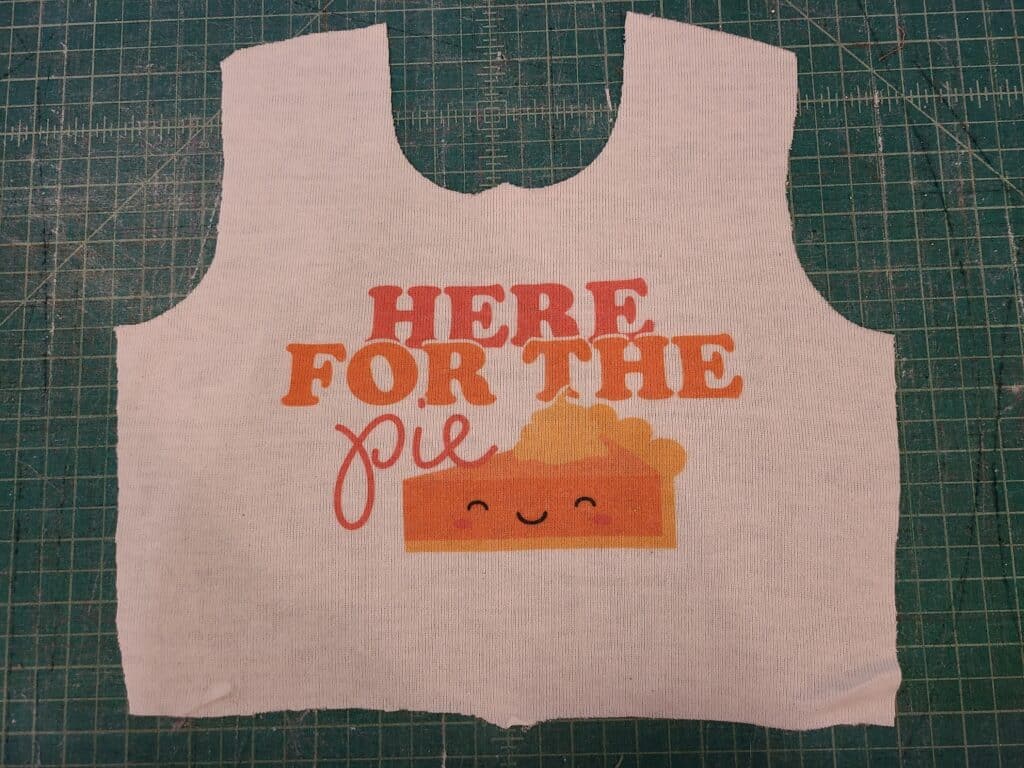
Set your settings as the paper instructs. Although, this paper suggests 356-374 degrees F at 25-30 seconds… and after searching the internet, asking other crafty friends, and experimenting… I suggest 400degrees at 60 seconds. It’s what has worked best for me. Now for the magic…press that sucker!
https://youtu.be/ygQAiSzwcyE
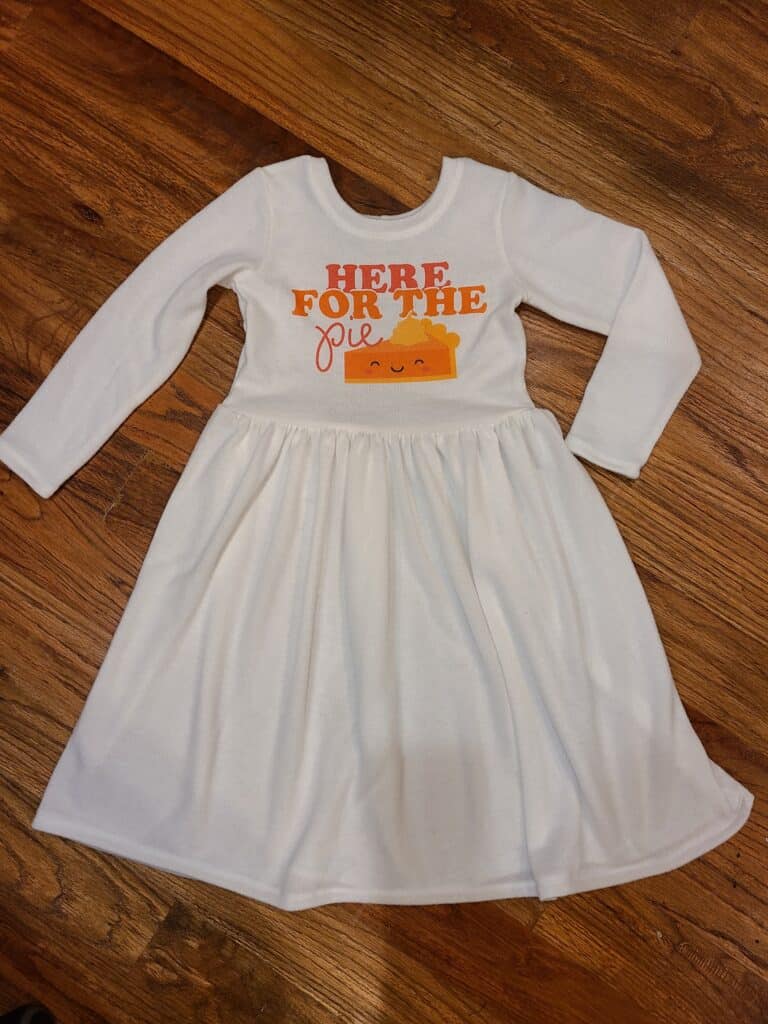
Peel off tape and image and look at your beautiful, custom design. How fun is that? My Baby Boy has REALLY enjoyed being able to ask mom to make him some special shirts of characters we can’t normally find in his size! And now Baby Girl can have all the rainbow unicorns on her things that are 2 sizes down in width than height that fit her best too.
Once you have all your things set up, this is such a quick process for adding something fun, custom and unique to a garment! Now when my kids let me know about that spirit day they’d like a custom, mom-made shirt for the NIGHT BEFORE… I can do that and not stay up half the night 😉


Would it be possible to have your posts in black rather than gray? It would make it easier for old eyes to read with that little extra contrast. Thank you!
Hi- I have all font on the site set to black <3 I'm not sure why it looks grey for you. I'm sorry about that!