I have two patterns that I suggest using a lightweight woven with a very soft drape (Everyday Elegance Top and the Summer Cover Up). I often get asked for “tips and tricks” to working with this kinds of fabrics! So, here is a compiled list of a few tips I have for working with slippery wovens like chiffon, peach skin, rayon, satin, challis, ect.
I think the most difficult part of sewing something up in this fabric is the cutting. I almost always use pattern weights like these:

But with any kind of slippery fabric they’re a MUST! If you don’t have any, use any kind of paper weight, heavy object that isn’t too tall. The silver paper weights are from this Etsy Shop if you’re looking to buy. She has several options in her shop, I prefer the shorter version to be able to get my scissors closer to them! The pink were hand-me-downs from my mama <3.
Some specialty wovens are harder then others– if you’re cutting anything that needs to be precise (collar piece) then I recommend only cutting ONE layer at a time. With something as loose and forgiving as the kimono though, I don’t personally bother with it. 🙂
So, lets get started sewing! I recommend using a nice, new, sharp needle for these.
I also like to tighten my stitch length down one notch to keep away from puckers.
When sewing my BIGGEST TIP is to not OVERWORK the fabric. Although it is a non-stretch woven they will get “wonky” and pull out of shape if you do. Don’t pull or “man-handle” the fabric to make anything match! If your pieces aren’t lining up perfectly it is almost always a cutting mistake (remember I said that was the most difficult part!).
The good thing is most clothing made from these drapey fabrics are loose fitting and forgiving :). Trim and let it go 😉
After I sew, I PRESS. It takes a little more time, but it makes your end product much more professional.
French seams:
I had a lot of questions about using french seams. I don’t tend to care what the inside of my clothes look like a TON. But for nicer items in specialty wovens french seams would be nice. Here is my quick how to:
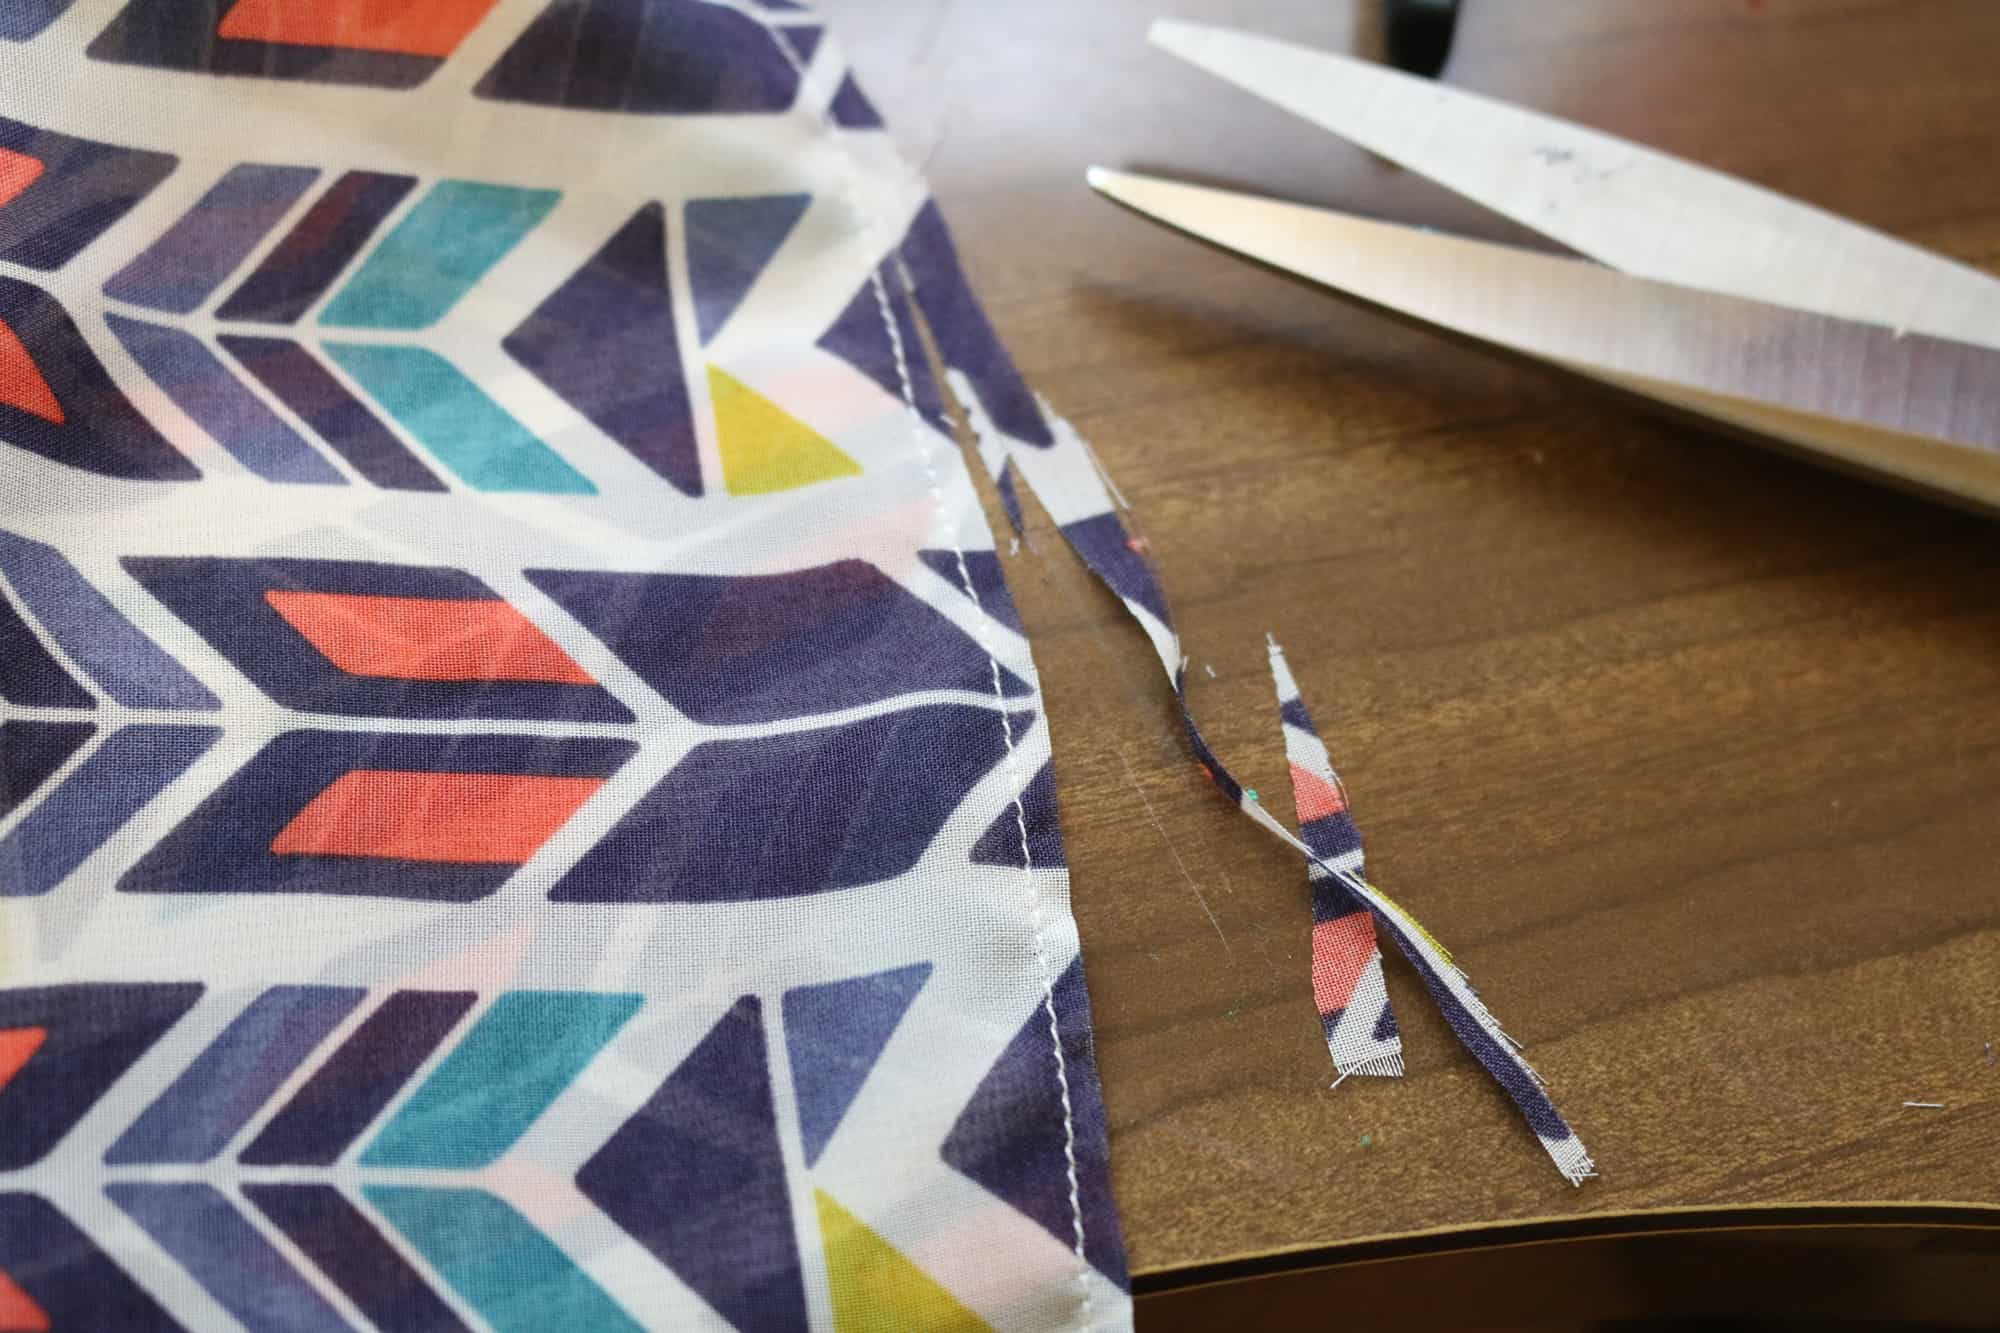
You will place your pieces WRONG side together and make the first stitch. For my patterns with 1/2″ seam allowances I do the first stitch at 1/4″. Then trim it to 1/8″. I press the seam on both the wrong and right sides of the garment flat, then fold at the seam and press again.
Now with RIGHT sides together and first seam pressed inside stitch again at 1/4″ from fold/seamline. This should enclose your raw edge from the first seam allowance and put you at your 1/2″ seam allowance total for the seam.
Again press from wrong and right sides of garment. I tend to always press to the back. You can top-stitch here if you prefer. I do lengthen my stitch length back out to 3 for top-stitching. Press again 🙂 Do you see an important trend in this? lol!
Hemming:
My prefered way to hem is to serge the edge—- I loosen my tension a tad to fight the puckering.
Then I press the serged edge over twice for a nice even narrow hem. Okay, most the time I don’t press…but you SHOULD press, I can hear my mom telling me to take my time and press every time I don’t 😉
Now I DO press after EVERY TIME! I see a lot of seamstresses complain their hems are “wonky” on specialty wovens, two things cause this- over working your fabric/pulling it as you sew and not pressing! A good press after can really change the way your hem looks!
I got asked to show how to hem without a serger; so here is how I hemmed without a serger. I pressed WITH LOTS OF STARTCH (don’t be scared to use some or lots 😉 ) a 1/2″ to wrong side.
Then I opened the 1/2″ hem and folded the raw edge to the fold line. This creates a 1/4″ narrow hem fold. Press again.
Tada! You can sew with specialty wovens! The biggest tips are: cut carefully, don’t pull your fabric as you sew and press, press and press again 🙂


Great tips!! I knew about the starch but not about why the sheer fabrics get wonky. Thank you!
Great tips! I knew about the starch but not about why the sheer fabrics get wonky. Thank you!