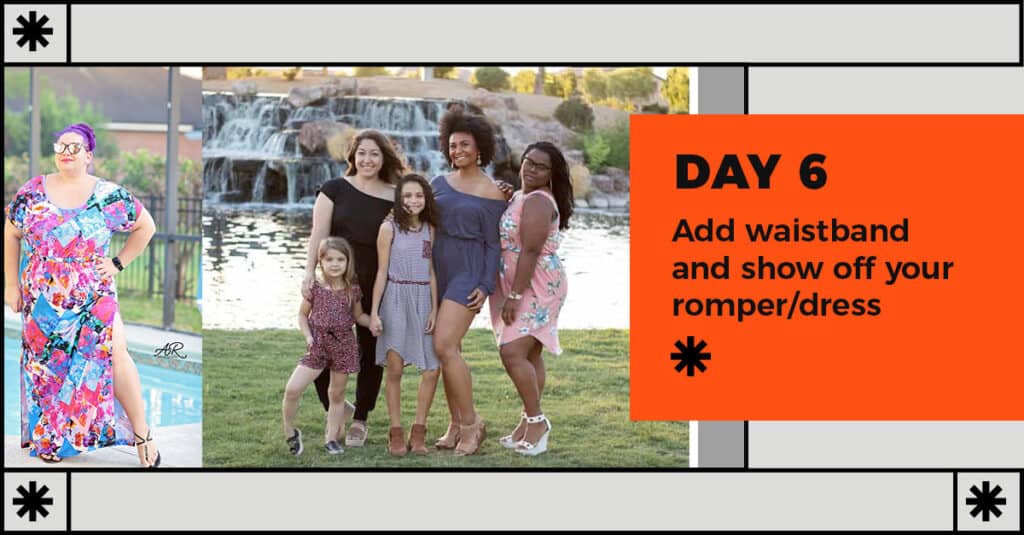
Ahoy, pirates! Last sewing day is here! Today we create the waistband and attach the bodice to the skirt, shorts or joggers. Start by adding the grommets to the center of the main front waistband. These are for the faux drawstring. This step is completely optional but it yields a very cute result. I wouldn’t skip it.
Tip: if you don’t have any grommets handy, you can make two big buttonholes instead.
Once you finish the decorative steps, sew the waistbands main and lining in a loop. You will notice that the waistband has 2 main pieces for sizes 2x and up. This is only to accommodate the most common width of fabrics. You will see in the video below how I create the elastic opening. You will proceed to pin together the waistband main and lining wrong sides together. Attach the waistband top to the bodice and bottom to the skirt/shorts/joggers, matching the center and side seams.
All you have left to do now is thread the elastic through. All done!!!
You can see the last sew along video here. Once you finish your outfit, snap a picture and post it in the comments of day 6 photo of the Runabout Romper and Dress. We will be picking our two winners on Monday evening and announcing them here on the blog. Great job, everyone!
Runabout Romper & Dress SAL day 1 | Print pattern and cut fabric
Runabout Romper & Dress SAL day 2 | Add chest pocket, sew shoulder seams and add neckband
Runabout Romper & Dress SAL day 3 | Sew side seams and add tank armband/dolman sleeves
Runabout Romper & Dress SAL day 4 | Add pockets, side seam skirt or shorts/joggers and inseam
Runabout Romper & Dress SAL day 5 | Hem skirt/shorts or add cuffs to joggers
Runabout Romper & Dress SAL day 6 | Add waistband and show off your creations


Leave a Reply