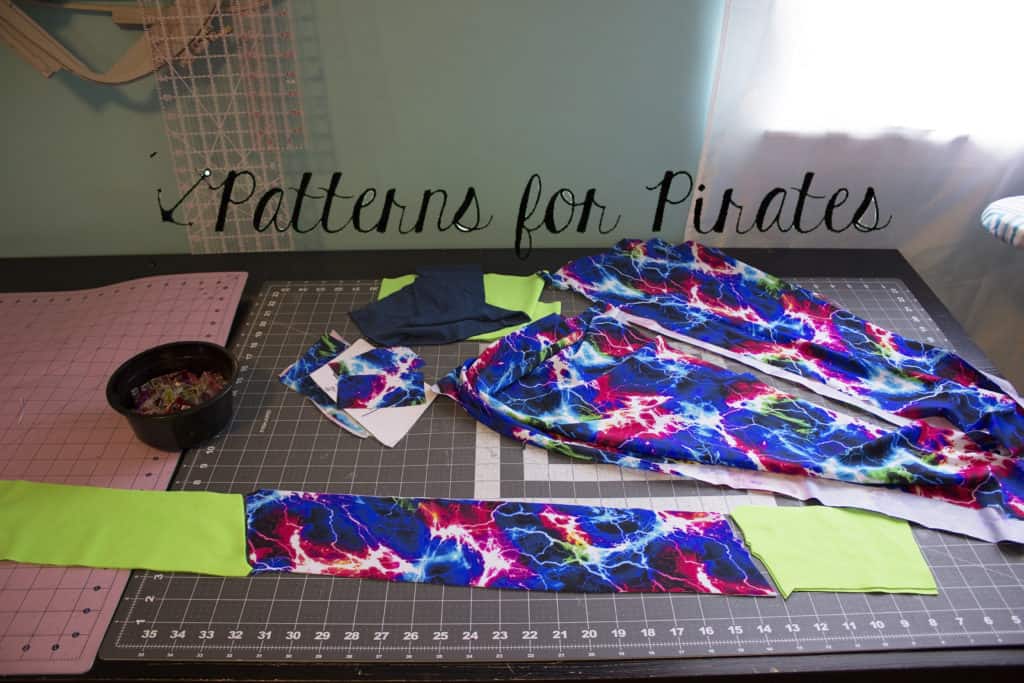
Welcome to day 3 of our Peg Leg sew along. So far we have picked the fabric(s) we will use, measured for accurate sizing and printed the pattern. Today we will be cutting the fabric so grab those sharp scissors or rotary cutter and let’s get started.
It is imperative that you cut your fabric following the grain/stretch recommendation. Do not cut your pegs against the grain even if you feel that it may save you some fabric. The final product will not look as nice and you will notice sagging and misshaping.
Don’t forget to cut MIRROR pieces for both your main part and the color block ones! The easiest way to make sure you cut all the fabric correctly is to fold the fabric and make only one cut instead of two mirrored ones. Check out day 3 video here!
TIP: Cut all pieces of the same fabric before cutting the pieces of the coordinating fabrics.
Once you cut your fabric post a picture of the pieces in the Peg Leg SAL Event and hashtag it #pegsalday3. See you back here tomorrow!


I am working on the original peg leg pattern. The pattern does not include the waist band. Where would I get the pattern for the waistband? Or would I use the waistband pattern included with the add on pattern??? Please help
Hello, the measurements are in the cutting chart in the tutorial.
Hi, I’m late to the party, just getting ready to try and make my first pegs. I cannot find on the pattern pieces where it is labeled for the cut lines for “High Rise?” Wondering if I have missed something somewhere? Thanks
Hi- there are 2 rises/cut lines. The higher one will be the high rise (ending at natural waist) and the lower one is a low/mid rise ending closer to high hips.
ah, okay, I think I see. I was confused because there are no notes on the pattern pieces labeling the lines. I’ll write them in on mine. Thank you so much.
ah, I understand. Thank you! I was confused because there are no notes on the pattern pieces labeling the lines. I’ll write them in on mine. Thank you so much.
For the life of me, I cannot find that “top band” to add to the top edge the patch pocket! It’s not on the pages I printed out, and I don’t see it on the pdf anywhere, and I feel like I’ve searched every page thoroughly! What am I missing!
It’s a measurement, provided in the measurement chart in the tutorial. 🙂 We used to only include rectangular pieces on a cut chart to save ink + paper, but now include them because our community requested otherwise. So older patterns like this one doesn’t have it as printable but as length x width measurements.