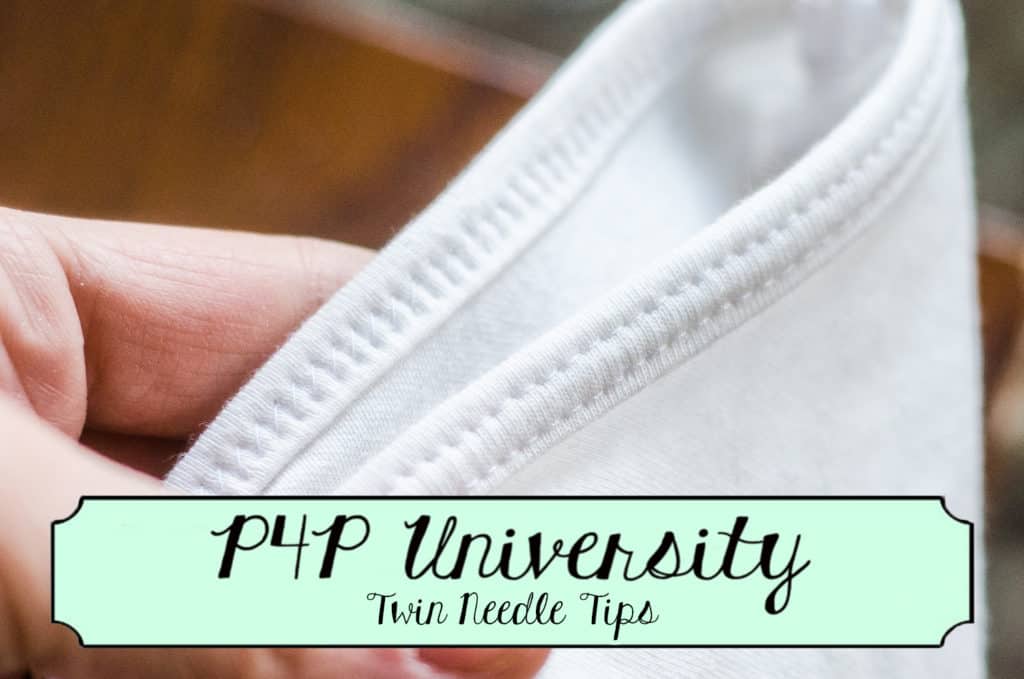
Hello Pirates! Today I’ll be walking through some tips on using a twin needle for topstitching as an alternative to a coverstitch machine. The end goal (of either twin needles or a coverstitch) is two lines of parallel stitching on the right side of the fabric, with the ability to stretch and not break threads when pulled. This is usually used when hemming, but these tricks will especially come in handy when topstitching binding on our new cami pattern!
1. Stretch Needles
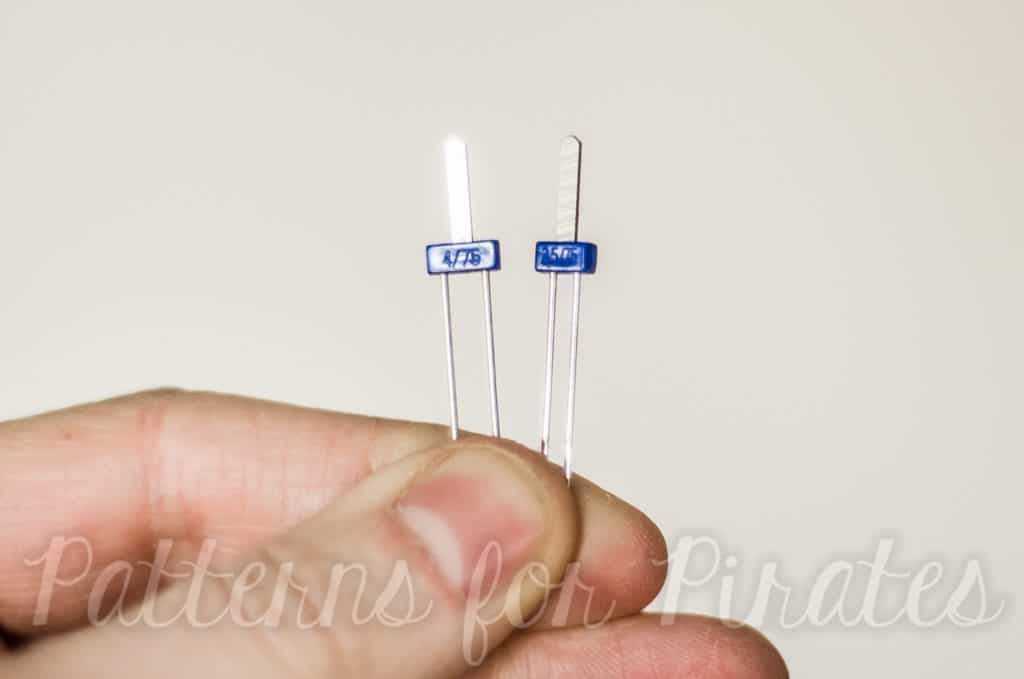
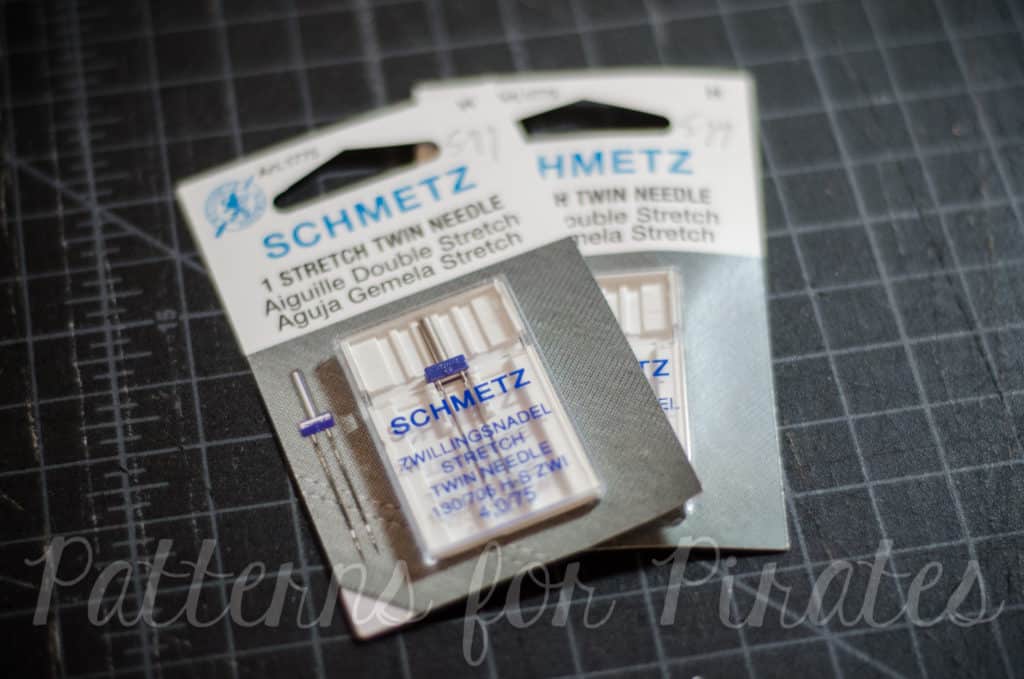
The most important point is to make sure you buy stretch needles. Schmetz is the most common brand that people tend to use, they are available on Amazon. I prefer the wider 4.0 width the best because it works better for me; it also comes in a 2.5 width. These are both 75/11 needle size.
2. Threading
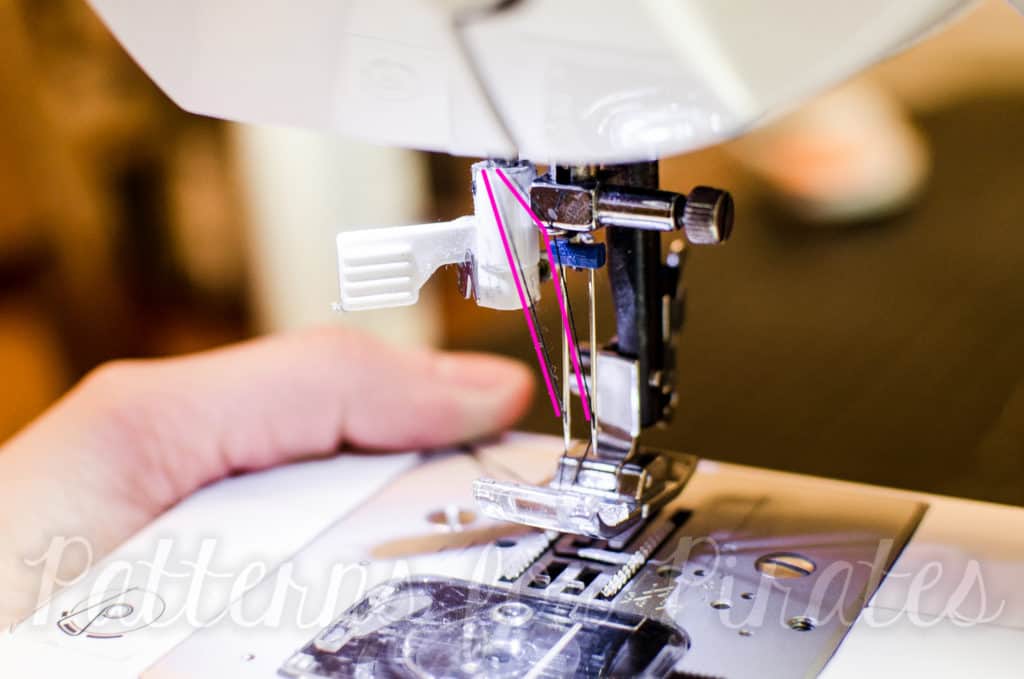
When threading, it helps to thread as shown in the below picture. This helps stop the threads from twisting when sewing. Also, make sure your threads are not caught on anything (or each other) at the top of your machine.
5. Stitch Type
Use a regular straight stitch for this; no need to use a triple stretch stitch (|||) or any other stretch stitch like that.
4. Tension
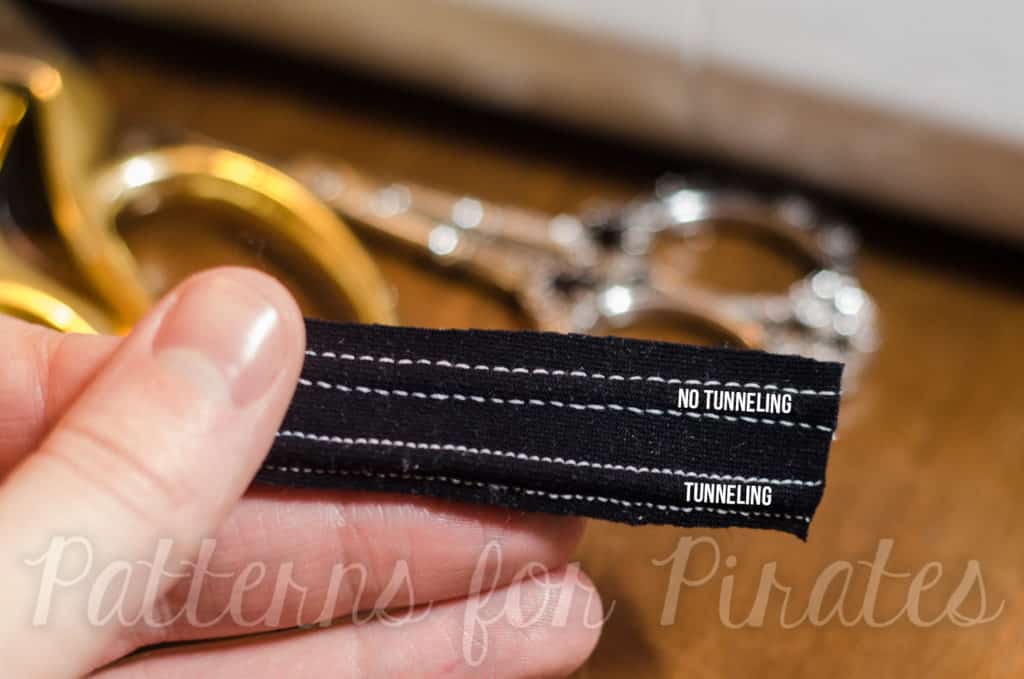
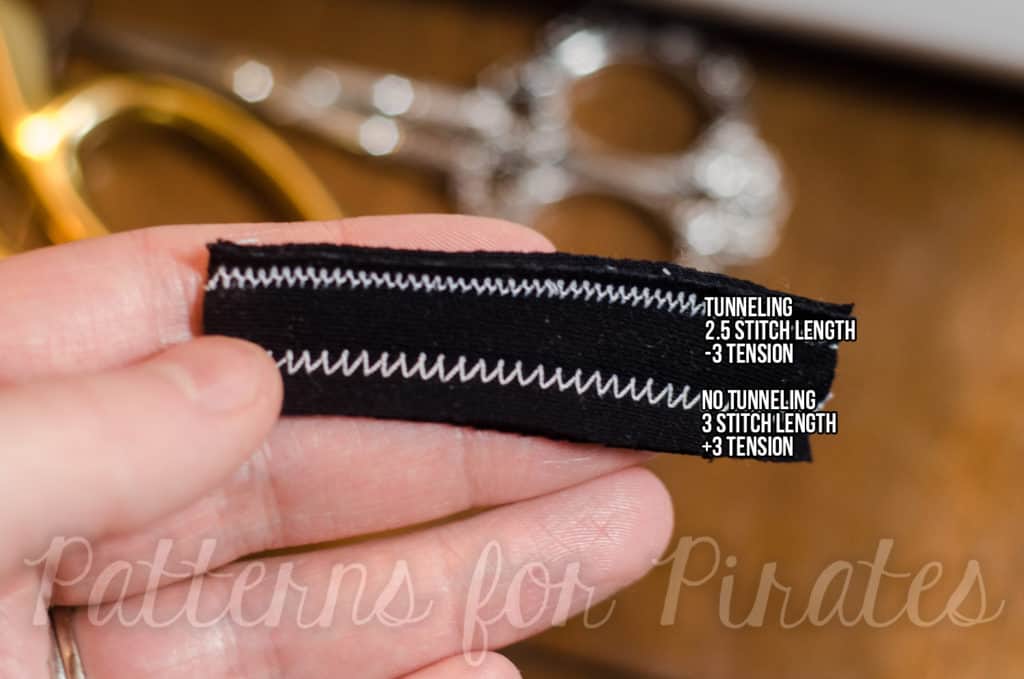
Tunneling is what happens when there is a large bump in between your two rows of stitching. To avoid this, I’ve found it helps to increase your top thread tension. Your machine may vary, but I usually set my tension to 3. If possible, you should also decrease your bobbin tension as well.
5. Stitch Length
Increasing stitching length usually also helps with tunneling, especially on trickier, slipperier fabrics. Your machine may also vary on this too, but I set mine between 3.0 – 4.0, depending on fabric. The lower number will help things stretch more though, so you may need to find a happy medium.
6. Go Slowly!
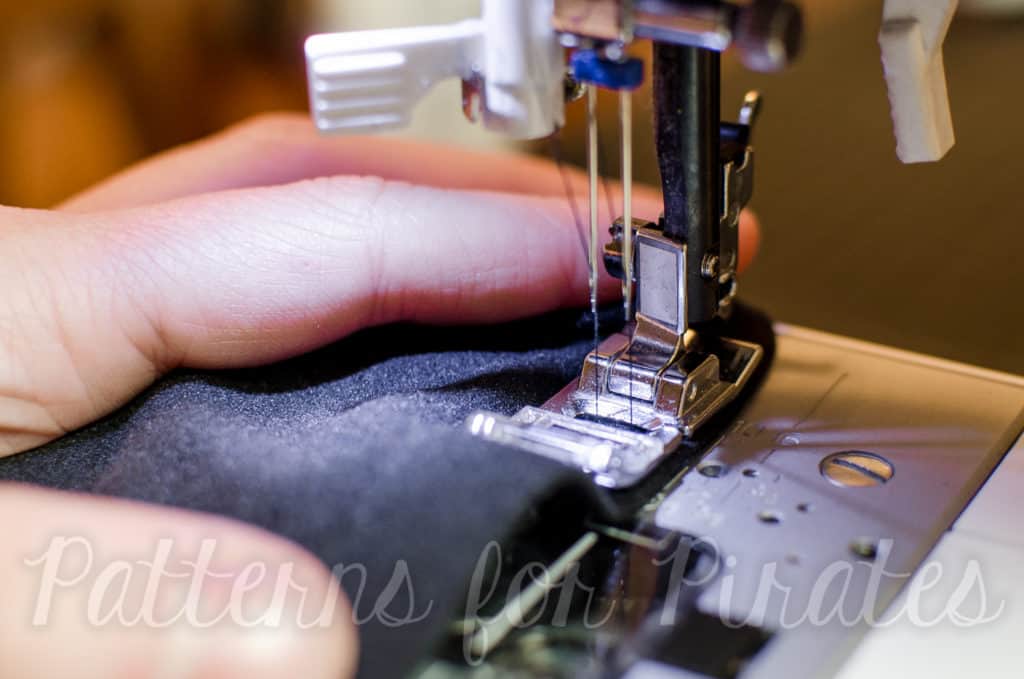
This is a huge one. It’s so tempting to go full steam ahead, especially if you using a twin needle to hem. You’re almost done with your project, but don’t ruin it with a sloppy hemming job! Going slowly can make all the difference between a wavy hem and a perfectly flat one. If you encounter any thicker areas of fabric, it may also be a good idea to use the hand crank on your machine, turning it slowly to ensure no mistakes as you pass over the thicker area.
7. Don’t Stretch as You Sew
This applies to all knit fabric projects, but especially when using a twin needle. Don’t pull or stretch the fabric as you feed it into the needle area. I’ve found that even creating a little extra negative tension as you guide the fabric can help to avoid any pulling as you sew.
8. Top vs. Bottom
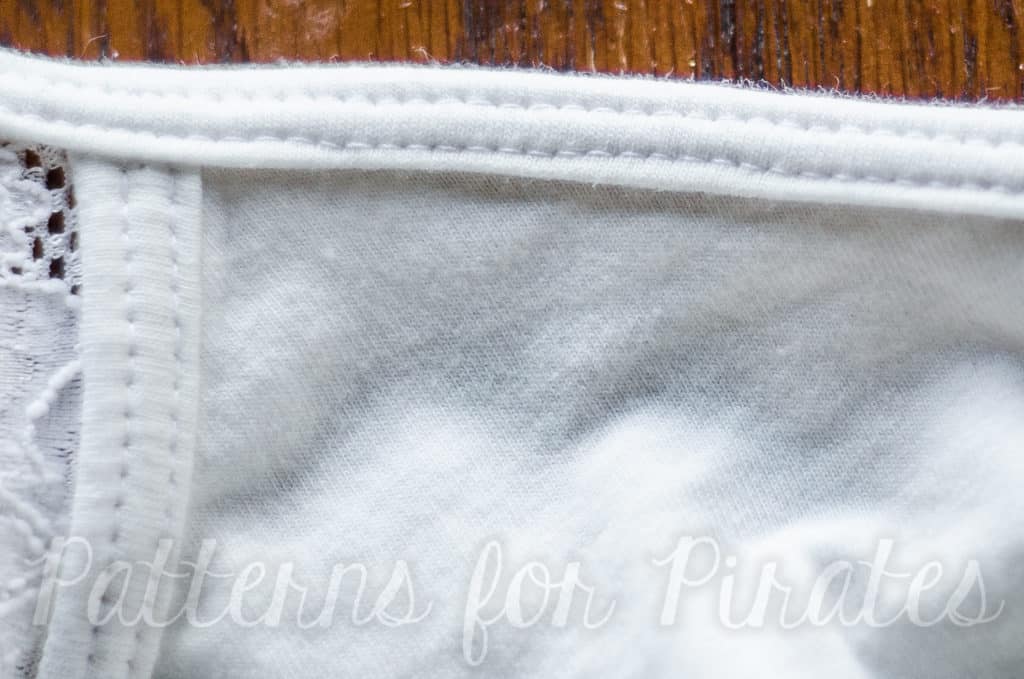
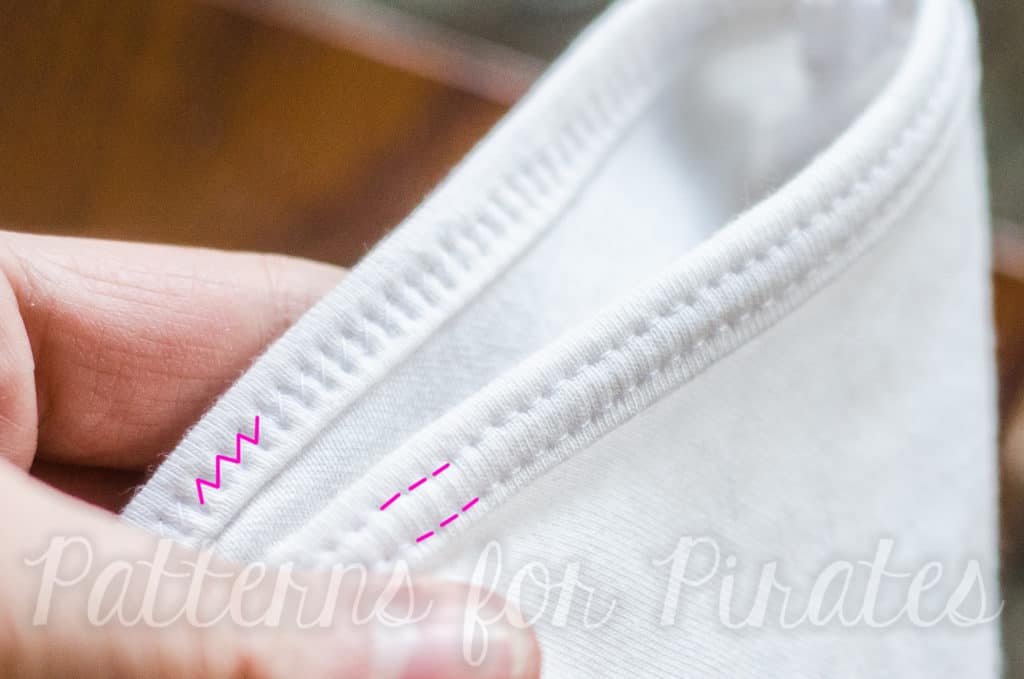
When everything is done correctly, you should have two parallel lines on the top of your fabric, and a perfect zigzag on the back. The zigzag is what allows your fabric to stretch after it’s sewn, so if you have super tight or non-existent zigzags, then you likely need to adjust (likely increase – confusing, I know) your top thread tension. Here’s how it should look, the underside of the fabric is at the top of the picture and the right side is on the bottom. Note the zigzags!
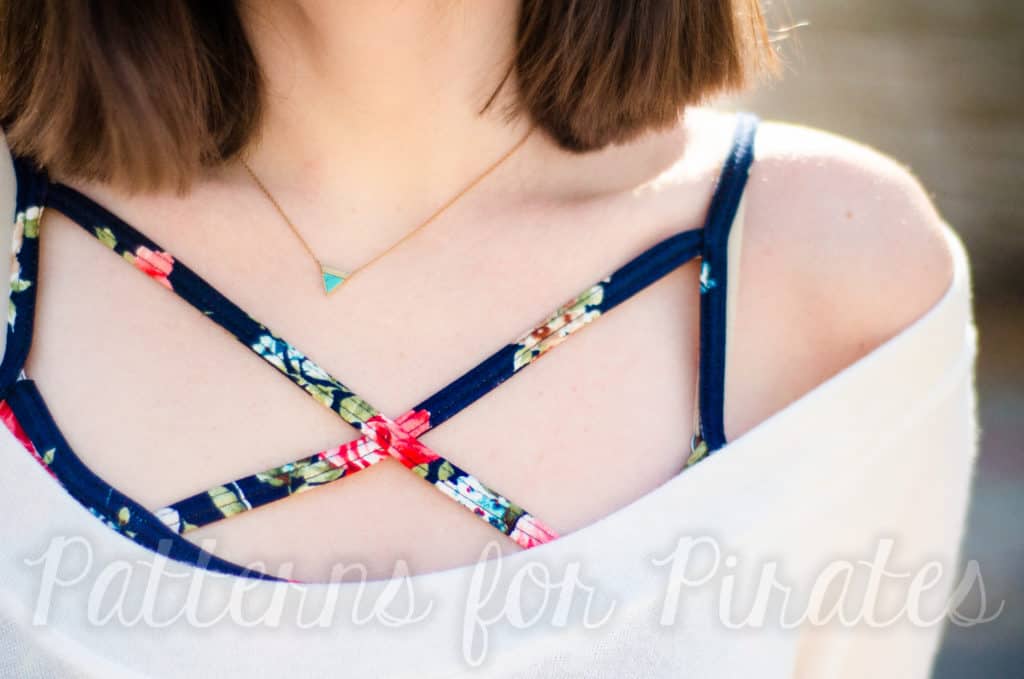
I hope these tips help you as you prepare to topstitch lots of fun binding or finish up a fancy new garment with a twin needle hem! Let us know in our Facebook group or here in the comments if you have any questions about twin needles!
Elisabeth


I’m new to sewing and I’m not sure where to do my Topstitch. Is it right along the seam or is the seam in the middle of the twin needles. I appreciate any help I can get.
That’s completely up to you. You usually want to sew the seam allowance with one line of stitching, but the position of the topstitch is really just whatever you prefer the look of for that seam and garment.
This is such a helpful article. I had about given up trying to figure out tension and tunneling issues, but this saved me. Thank you very much!