We recently covered the tips and tricks to using a knit binding (HERE) but what about woven fabrics? One of the many finishing options for necklines, sleeve hems and armcyes for woven fabrics is bias binding. Unlike knit, woven binding should be cut on the bias (45 degrees from the grain-line) so that it bends and curves and allows it to lay flat. Some patterns will include a pattern piece, which makes it easy to line up and cut the strip on the bias, however, it can eat up quite a bit of fabric and we all know how much we hate to waste pretty fabric, right? You can also use pre-made bias binding, but many of times it’s nice to use the same fabric as the your garment, so we’re going to show you how make a continuous bias strip from a small square of your fabric. This is also perfect to use up your scraps.
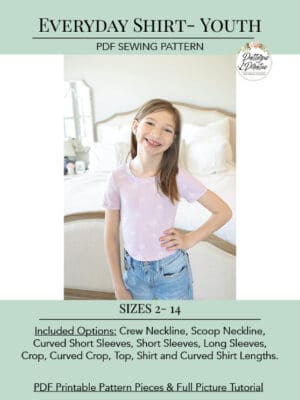
For this example, I used a 15″ x 15″ square which makes about 100″ of 2″ bias binding. A 12″ square makes about 60″ which is plenty for the bias binding neckline option of the Everyday Elegance.
-

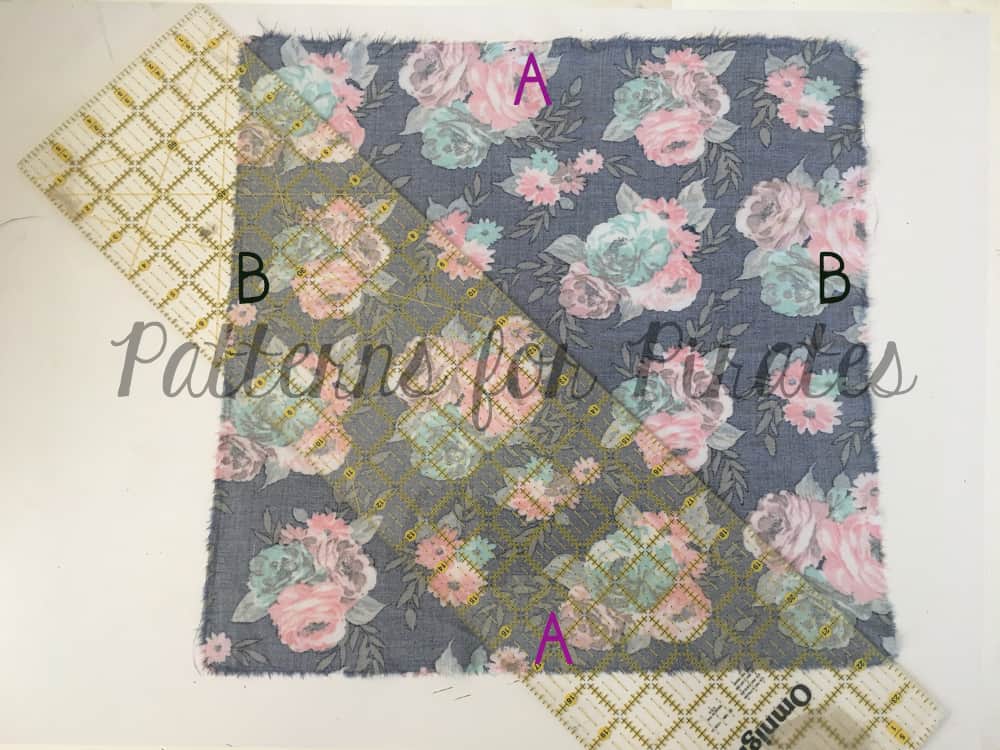
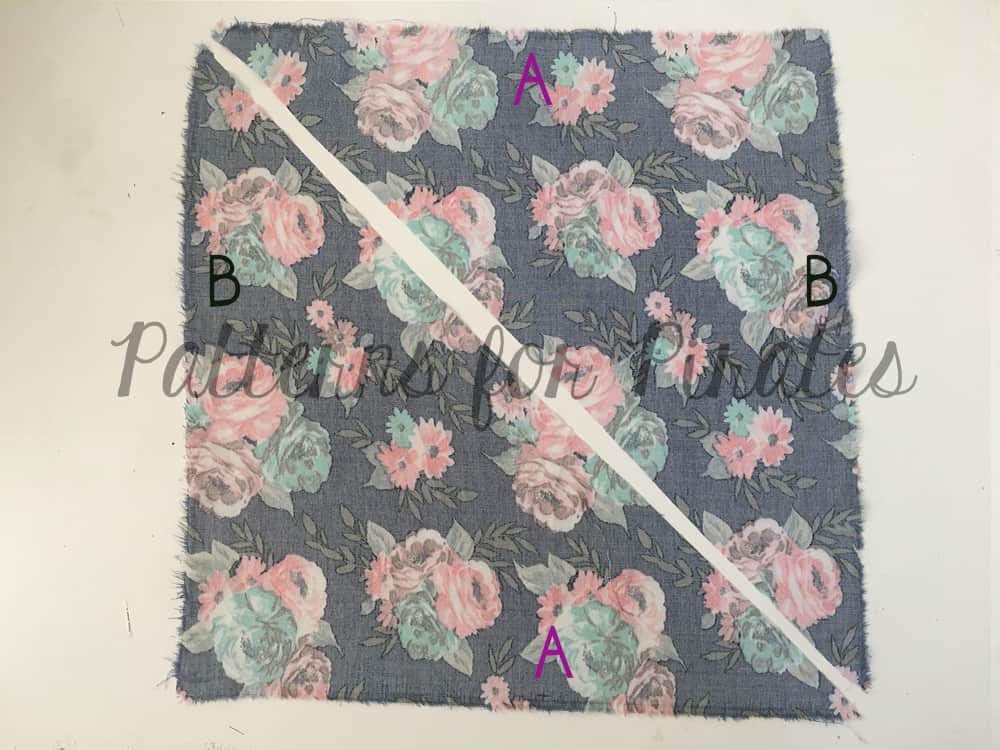
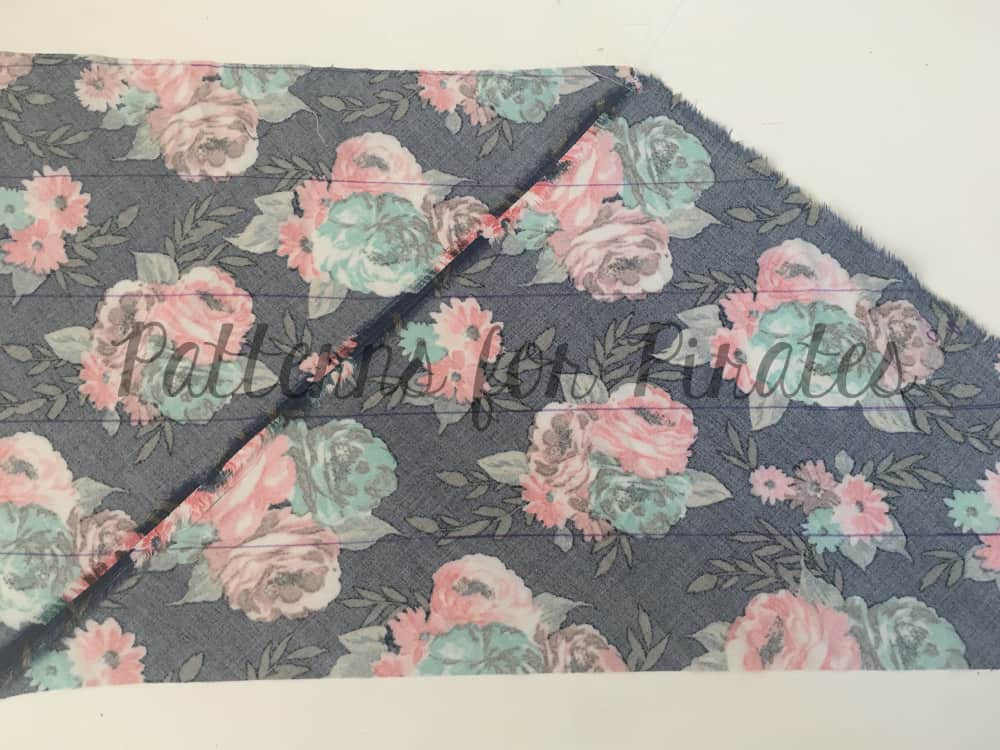
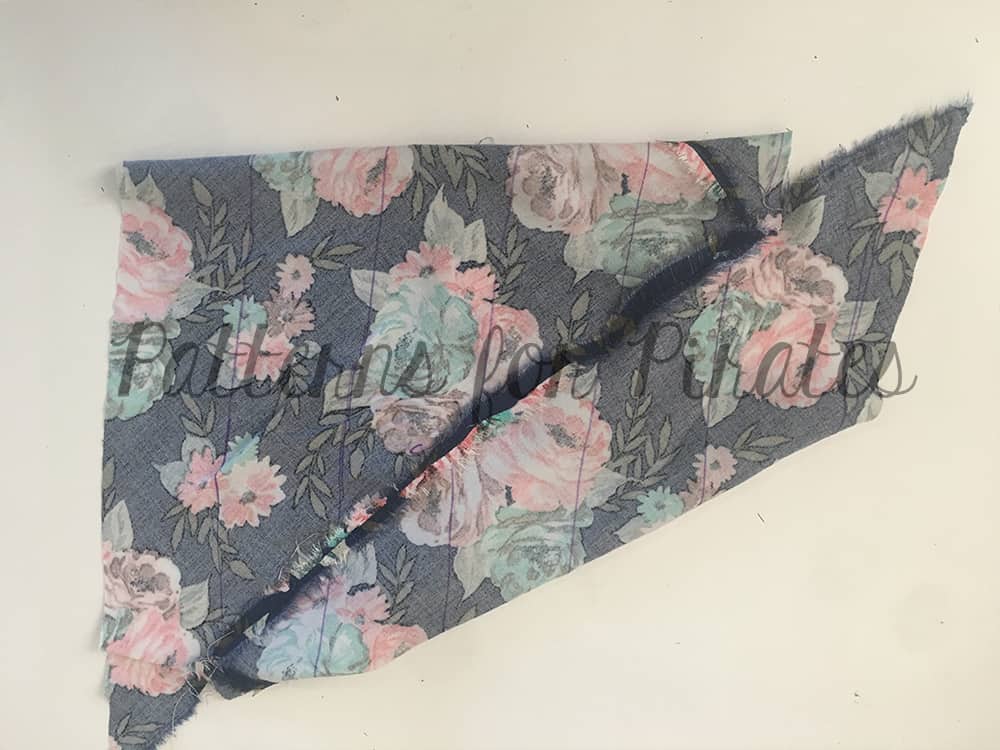
- Cut and prep the square. Mark opposite sides with A/B and draw a diagonal line from one corner to the other.
-
- Cut the square across diagonally.
-
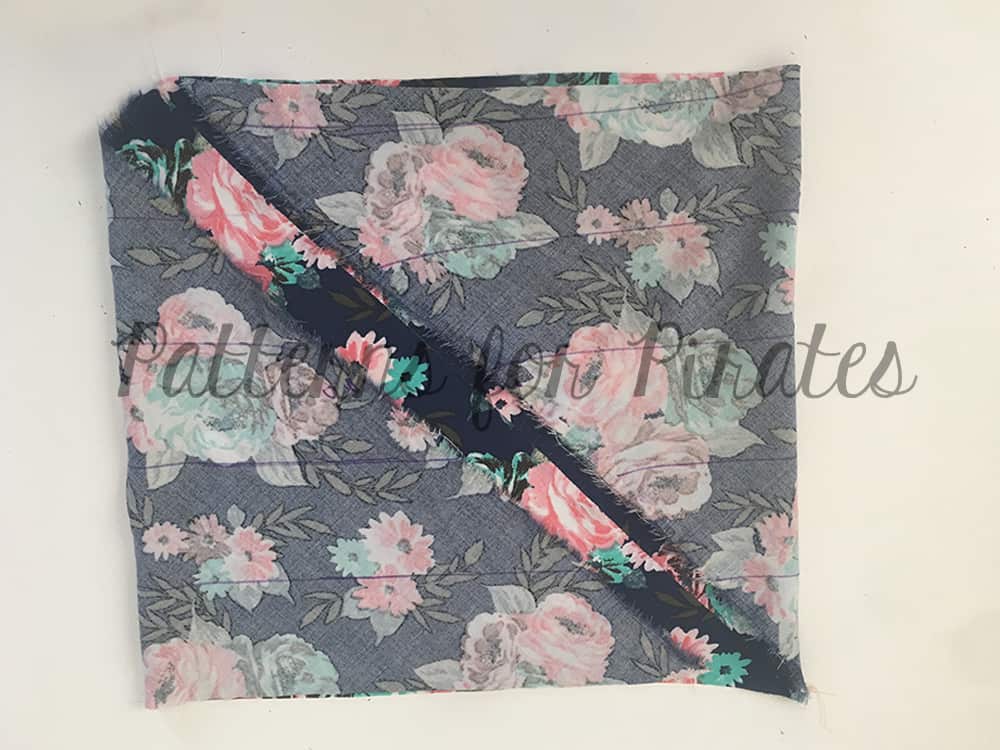
- With right sides together, match the ‘A’ side and stitch together using a 1/4″ seam seam allowance.

-
- Press seam allowance open.
-
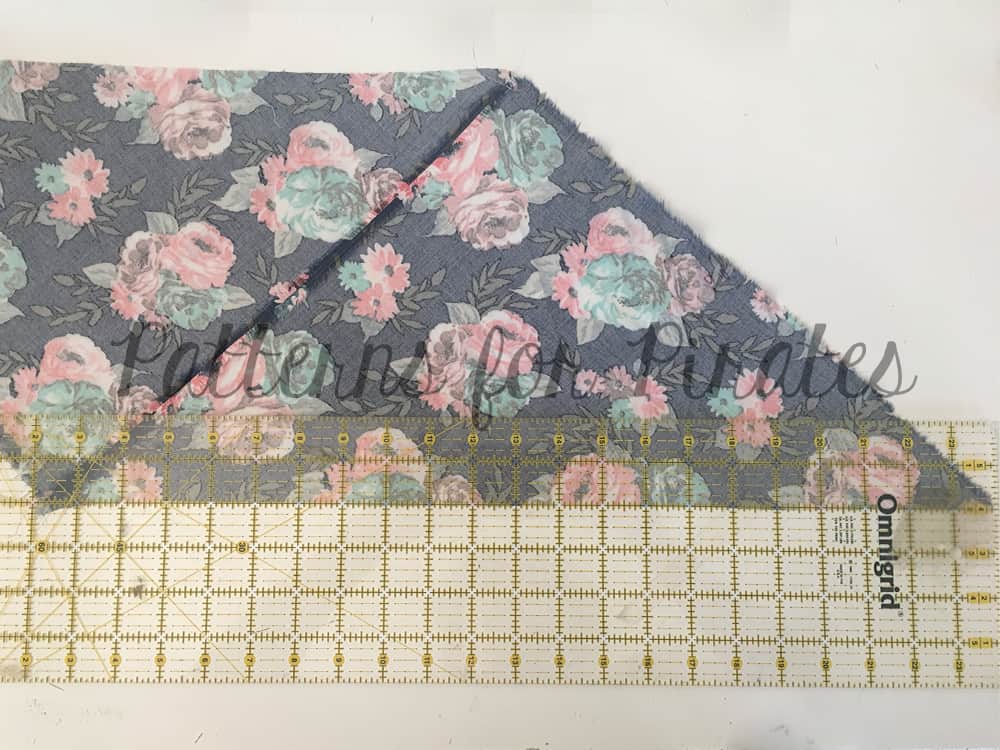
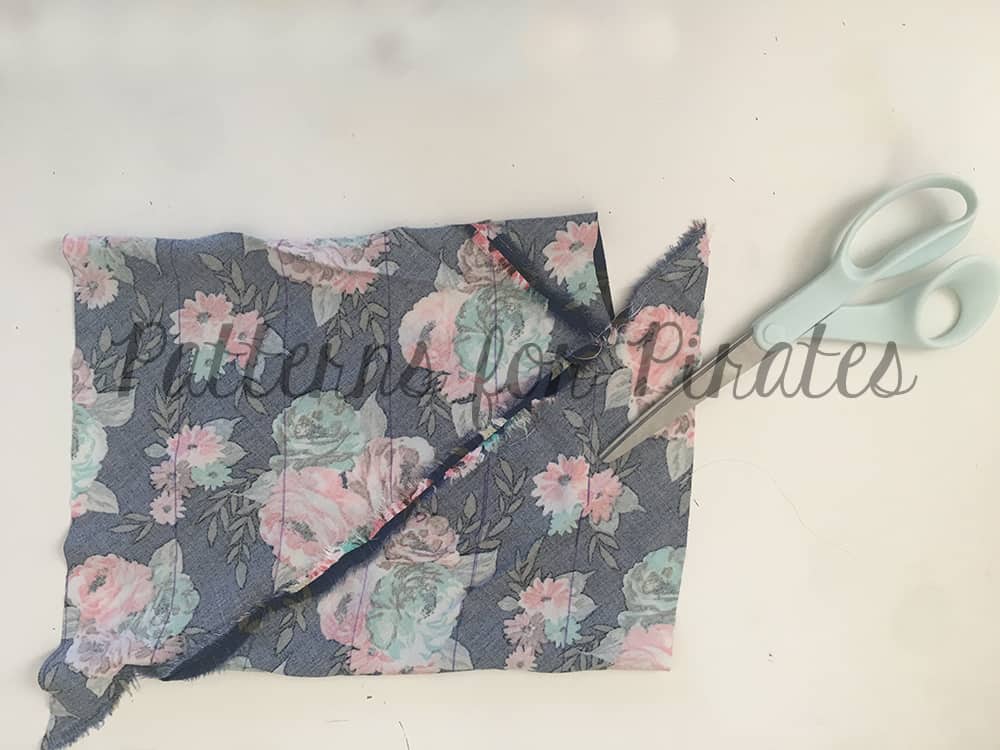
- Starting at the bottom, draw 2″ lines parallel to the bottom edge. If there is any excess that does not complete a full 2″ row, just trim it off.
-
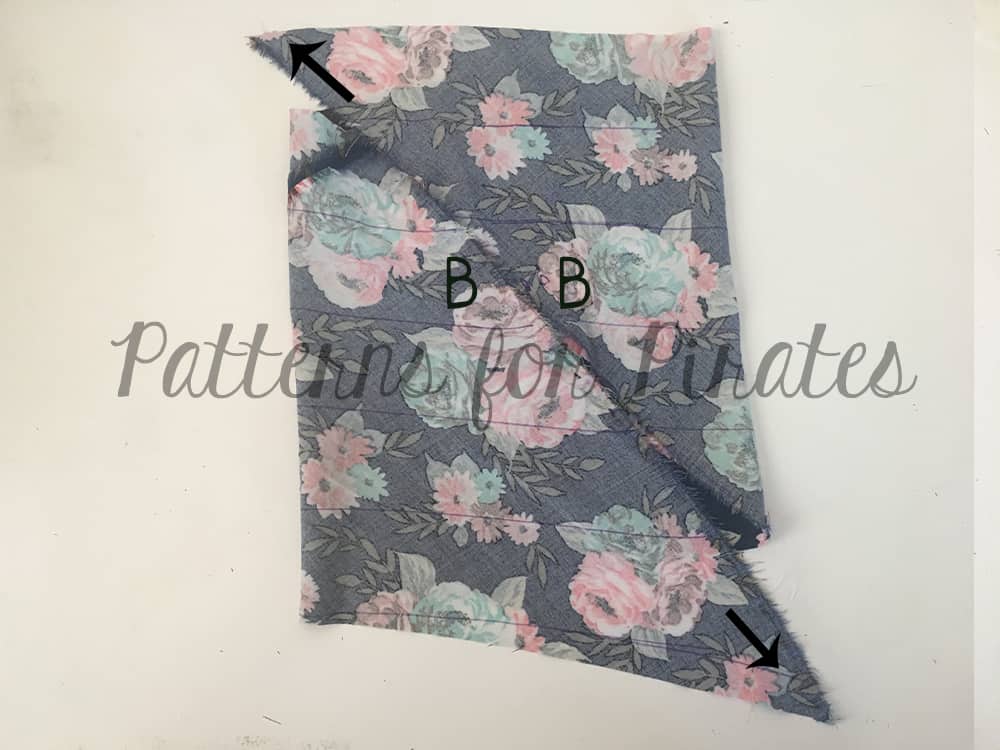
- With right sides together, fold the ‘B’ side toward one another. Your fabric should be a square, with your drawn lines still parallel with one another.
-
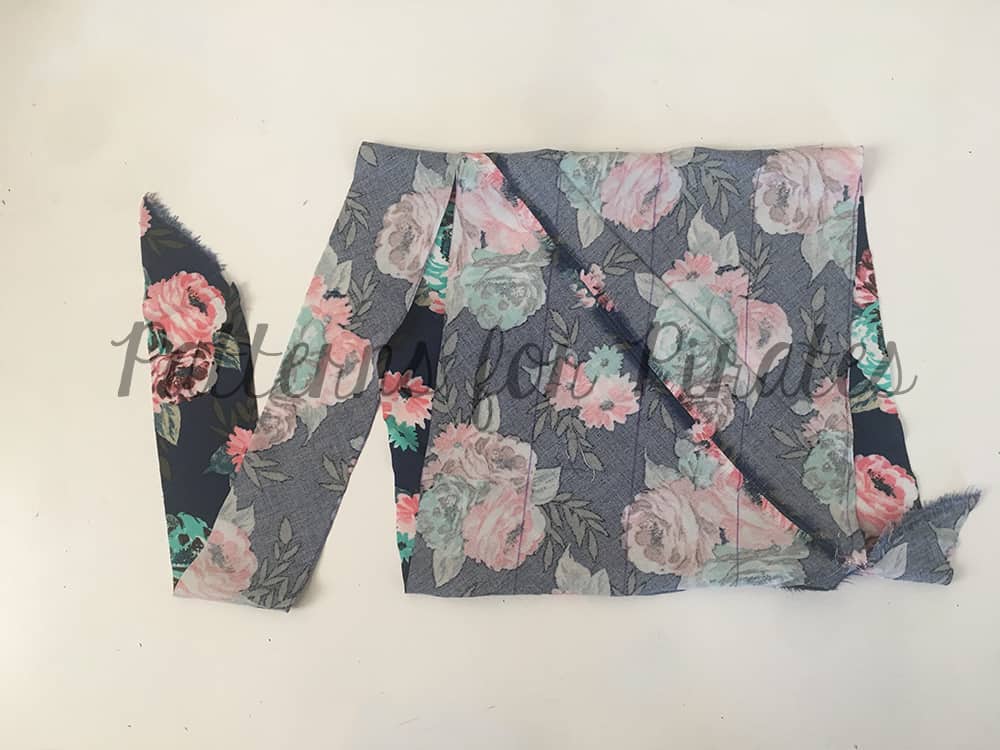
- Pull the pointed corners in opposite directions and match up the next row of lines.
-
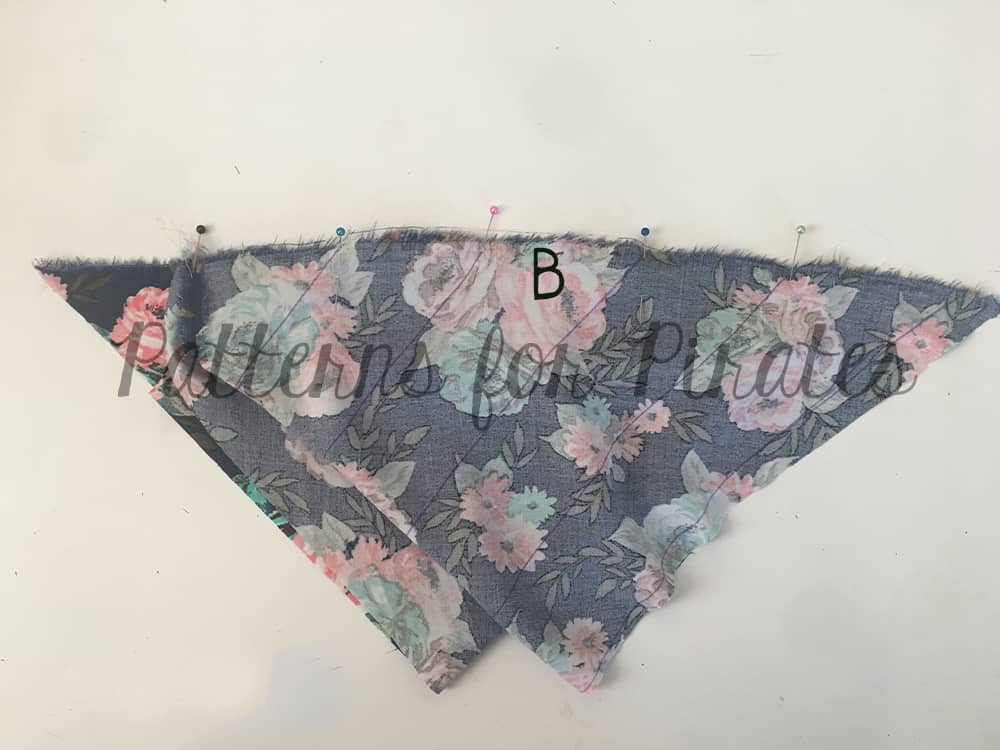
- With right sides together, pin and stitch using a 1/4″ seam allowance.
-
- Press seam allowance open.
-
- Starting at one end, cut along your previously drawn lines.
-
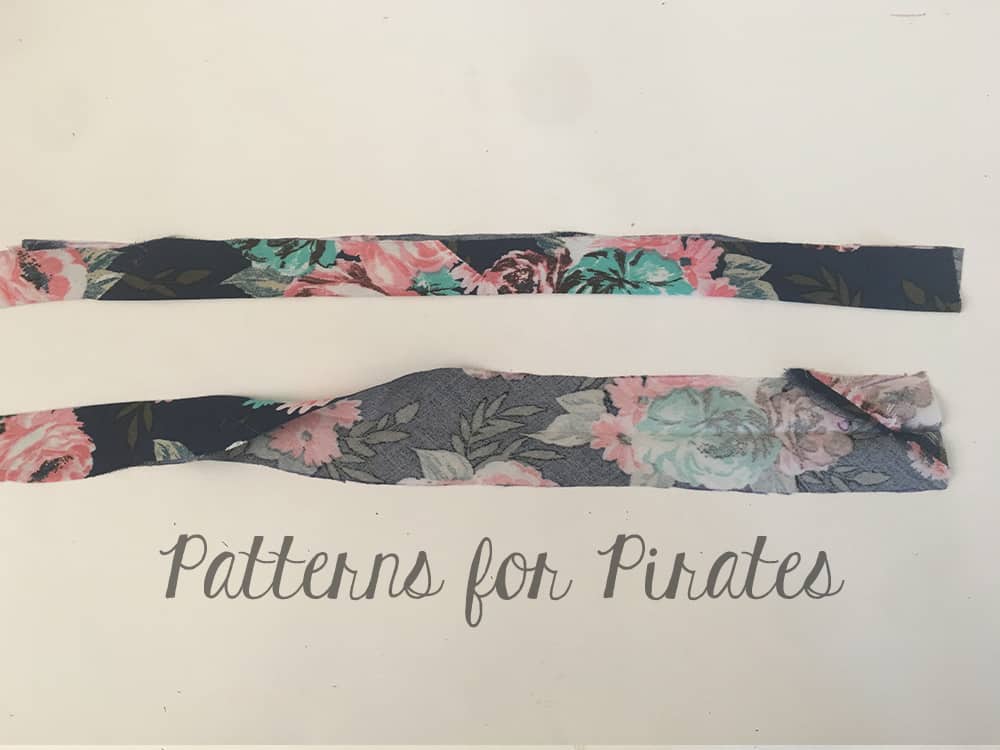
- Continue cutting around the circle and voila! You now have a continuous bias strip.
At this point, you can set your binding aside or you can continue to pre-press to finish preparing it to be sewn to your garment. A 2″ binding strip will create 1″ single fold or 1/2″ double fold bias tape. The above method also works for various widths and single or double fold bias tape.
-
- Fold bias strip in half toward the wrong side. Press.
-
- Unfold and re-fold the raw edges toward center.
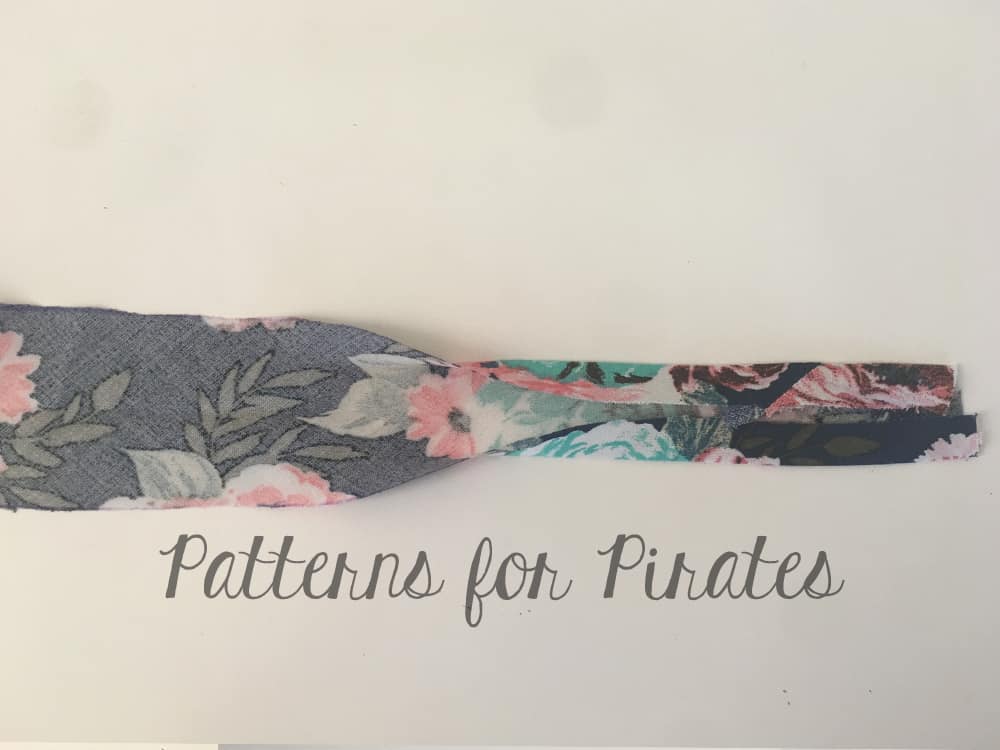
-
- Fold again and press.
There you have it! Creating your own bias tape from woven fabric is as simple as a couple of seams and cuts.
Check out the video below as Judy walks you through a quick demonstration on sewing with bias binding.
We’ve added another quick video with SINGLE FOLD BIAS BINDING 🙂 Enjoy!
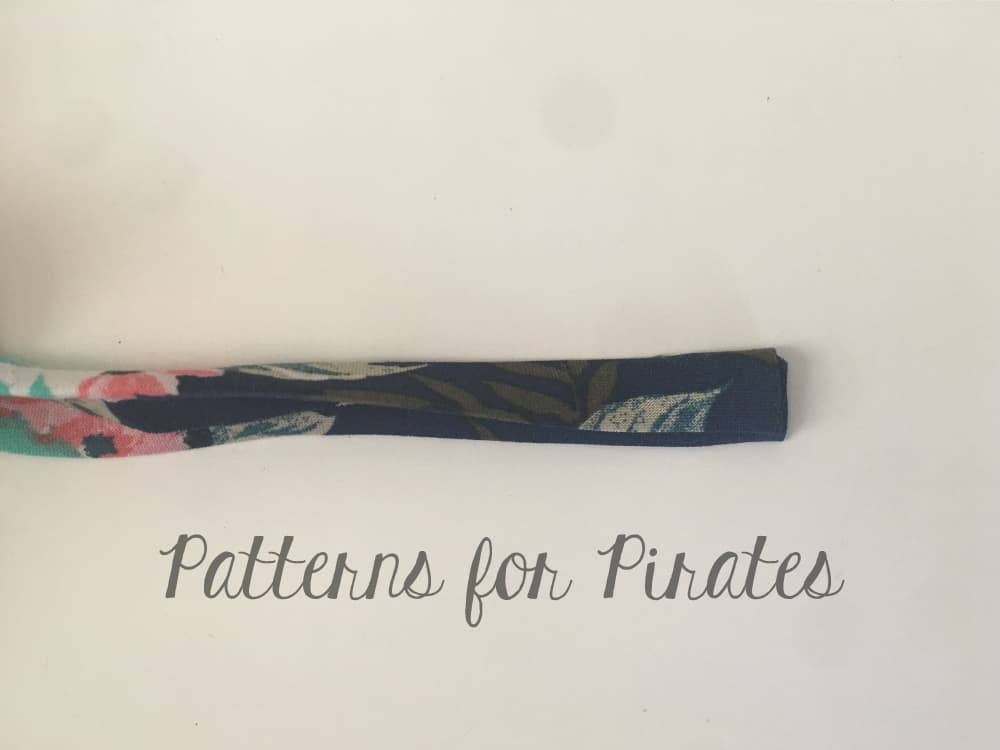
As promised in the video here are a couple pictures to entice you to PRESS and stay stitch to help get a great finish.
Finished single fold bias:
Happy Sewing!!


This is great! Is there a formula to figure out how much binding you get out of what size square?
It’s like magic! Thank you!!