So you spent an hour picking the perfect fabric, perfect coordinates and matching thread. You’ve sewn your favorite P4P shirt and you only have one step left…the dreaded neckband. That’s when you start panicking and getting nervous about attaching the neckband and finishing your outfit. Fear no more!
Today on the blog I will give you 5 tips that will help you achieve that perfect neckband you are striving for all the time.
1. Choose the right fabric for your neckband!
Neckbands will be stretched when you attach them, they will be stretched when you put on or take off the shirt, so it is very important that fabric you use for the neckband has great stretch and great recovery. My favorite type of materials for neckbands are cotton spandex, rayon spandex, ribbing and rib knit. You can get away with using some brushed poly as long as the recovery is good. Avoid, scuba, french terry and 2 way poly blends.
2. Always cut the neckband cross-grain!
Never cut your neckbands along the grain. Even if your fabric has 4 way stretch (which it should) the vertical stretch is not going to be as much as the horizontal one. If you don’t have enough of the main fabric to cut the neckband is best to use a coordinating fabric than cutting the neckband along the grain.
3. Mark the quarters of your neckband and neck opening!
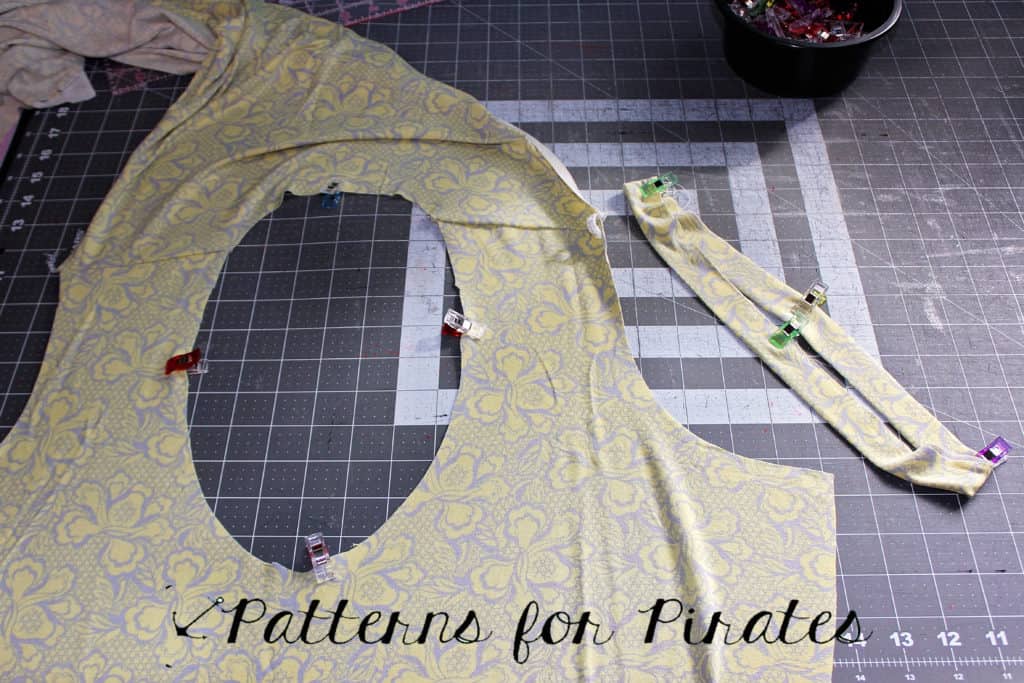
It’s very important that you find and pin (or clip) the quarter points of the neckband and neck opening. After you have sewn the neckband RTS at the ends so you have a loop, fold it length wise and mark where the seam is. This will be the back of your neck band. The center front of the neckband will be on the opposite side. Now fold it in half bringing the center front and back markings together. The fold will mark your two quarters.
To find the front and back neck opening centers, bring the shoulder seams wrong side together. Where centers will be where the folds are. Mark them with a pin, a clip or a small snip. With the fabric still laying flat, bring the center front and back together. Your quarter marks will be at the folds. Mark them as well. You will see that the side neck opening quarter marks are NOT at the shoulder seam. The front opening is larger than the back opening.
For all you visual learners, here is a video of the process.
4. Use the right stitches!
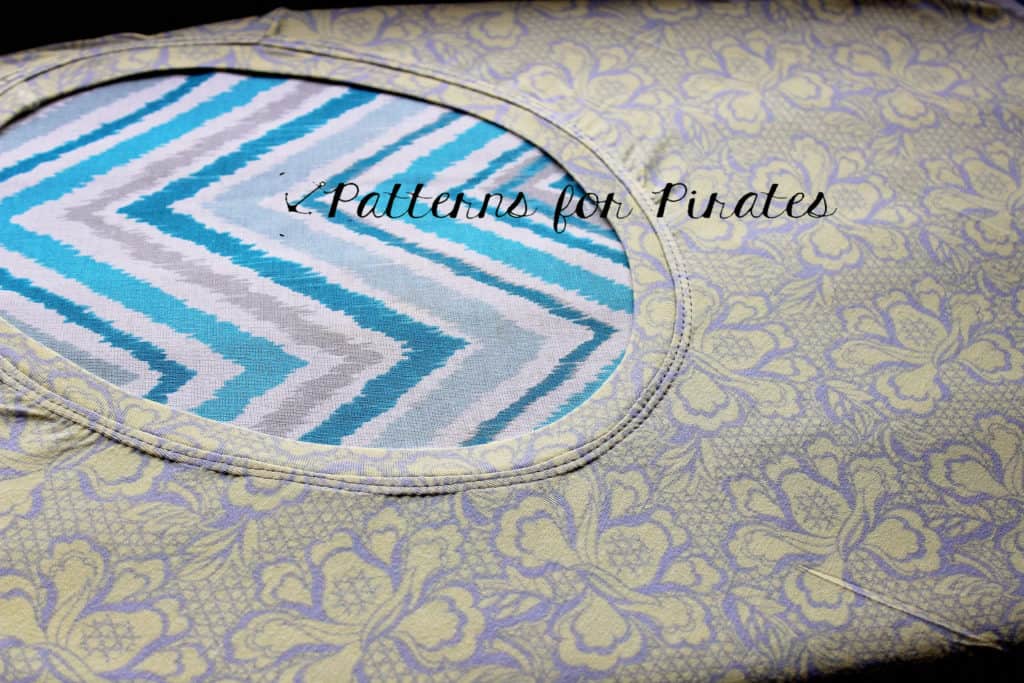
Avoid using a straight stitch when attaching the neckband. As I mentioned earlier, the neckband will be stretched and pulled so you want to make sure the stitches are up to the job. If you are using only your sewing machine, attach the neckband with either a stretch stitch or a narrow zig zag stitch. I prefer to use my serger for this step but it is not mandatory. Once you attached the neckband, press the seam allowance towards the shirt. You will now be top stitching it down with your coverstitch machine or your sewing machine. You can top stitch with a wide zig zag stitch, a stretch stitch or twin needles. Be sure to check out our Twin Needles tips and tricks blog too.
You can see how I attached the neckbands here:
5. Press, press, and steam some more!
If you’ve followed the tips I gave you and notice a slight waviness, don’t panic. It’s normal when sewing knits especially if they are on the bias (as is part of the neck opening). Go back to your ironing board and give the neckline a good hefty steam press. Most of the times my neckbands are cotton spandex based and I crank up my ironing machine all the way to the “linen” setting. Make sure you test the heat of your iron on a scrap fabric first. If your shirt is poly based you will need a lower ironing temperature, you do not want to melt your fabric 🙂
There you have it! 5 easy to follow steps to achieve a perfect neckband all the time!
Happy sewing, pirates!


Where do you buy your ribbing? I’ve fallen in love with the 100% cotton interlock prints at a certain big box chain store (who shall remain nameless); but I don’t know where to find coordinating ribbing. I even tried the ginormous (real!) fabric store in town and they only had a few colors.
Joann has ribbing, I believe Hobby Lobby might do too.
This is a stupid question about the neckband. So when we cut it we want the long length to be the stretchiest, correct?
That is correct <3