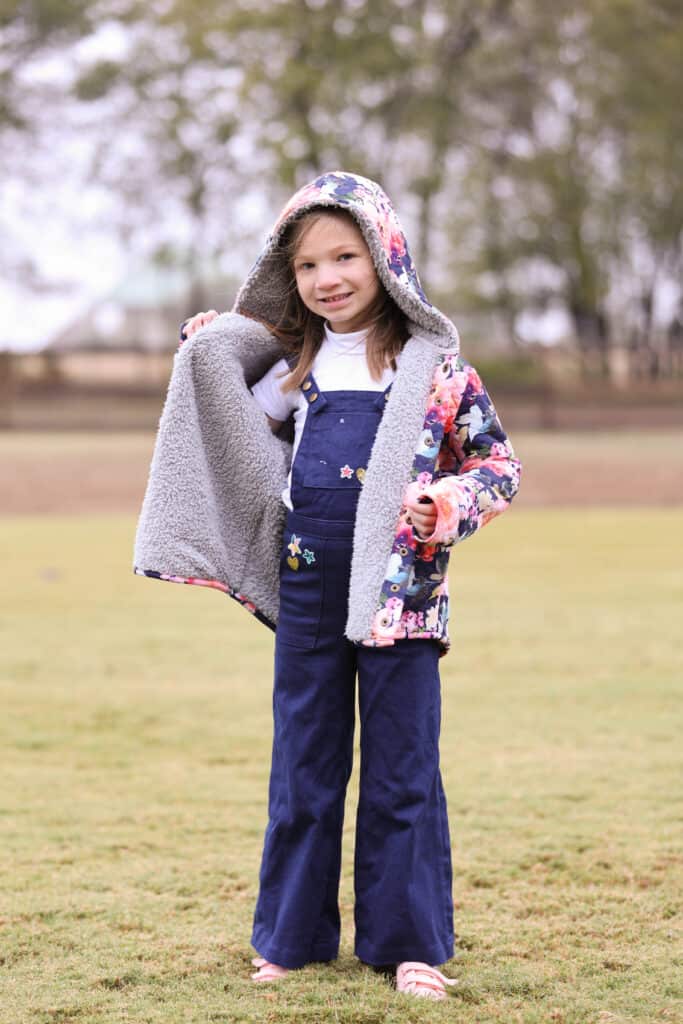
Hi- We have a beautiful inside finish to the Lumberjack and just to show you one more way to make the inside just as beautiful as the outside I’m going to show you how to hide the knit cuff seams if you’re lining your Lumberjack. It is simple, but you need to put together your Lumberjack in a bit different order than the tutorial- which is why we have it here on the blog (to keep the tutorial nice and streamline).
You will follow the tutorial for the lined Lumberjack until you get to the Side Seams. Don’t sew those side seams yet!! 😉
Instead, grab your knit cuff pieces. Sew your knit cuff onto your lining fabric wrist. Right sides together, stretching the cuff to fit the wrist. Or gathering your wrist to fit the knit cuff if your cuff doesn’t have enough stretch. Repeat with opposite wrist and knit cuff. Now open up your Lumberjack right sides up all flat, making sure nothing is twisted.
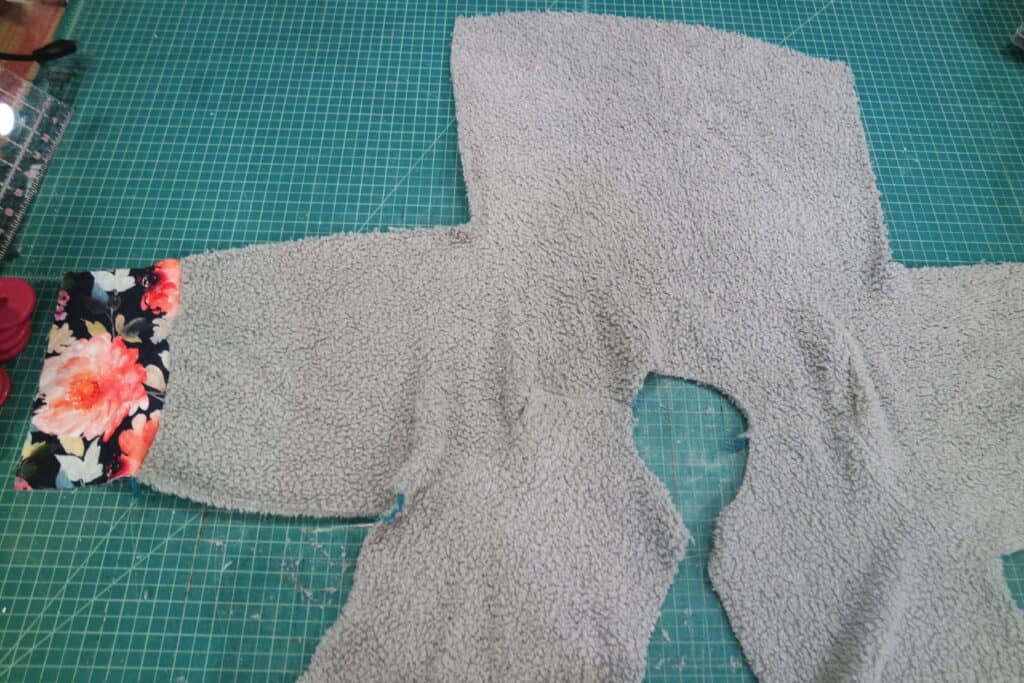
Lay your main piece right sides down on top your lining, matching areas (back to back, fronts to fronts, sleeves on top sleeves). Now align and sew your knit cuffs to the main (they are right sides together), again stretching the knit cuff to fit to the wrist. Make sure you don’t get anything twisted up here.
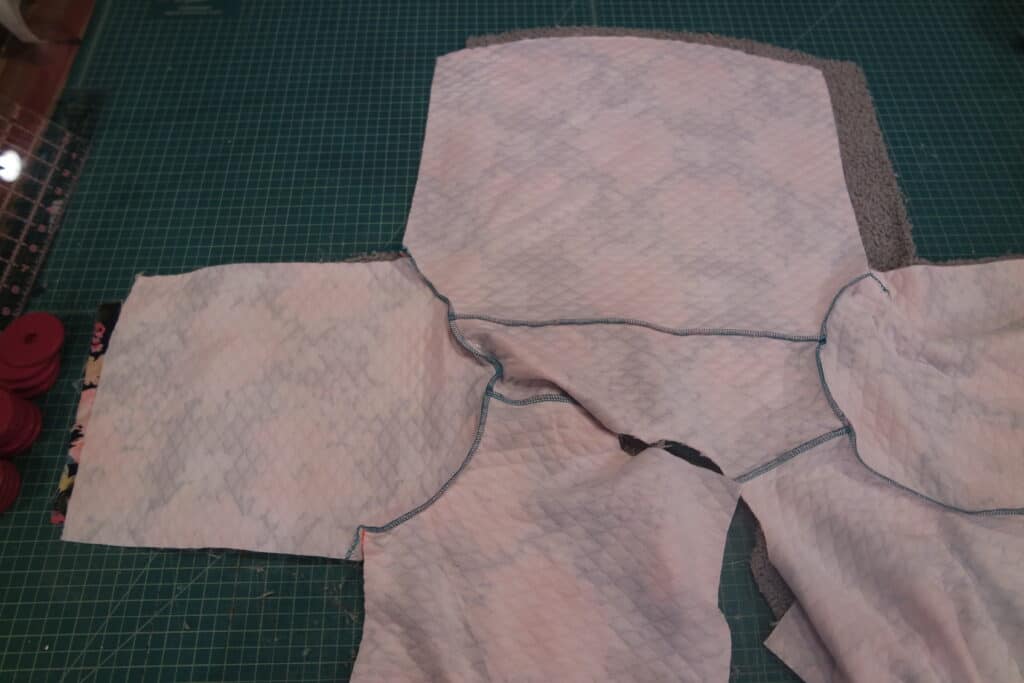
Now align your side seams down the main and lining of your Lumberjack with right sides together. You’ll stitch from bottom hem of main fabric, up through main armpit, up main sleeve, through knit cuff, down the lining sleeve, down the side of the lining to the bottom of the lining side seam hem. And repeat on the opposite side seam. (This was very difficult to take a picture of LOL).
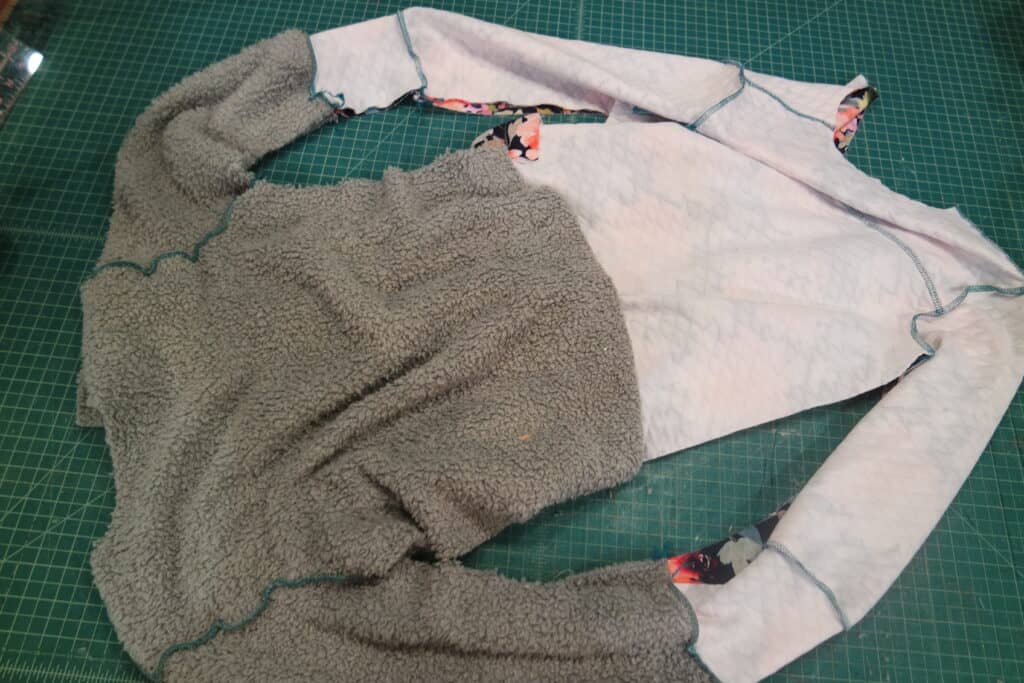
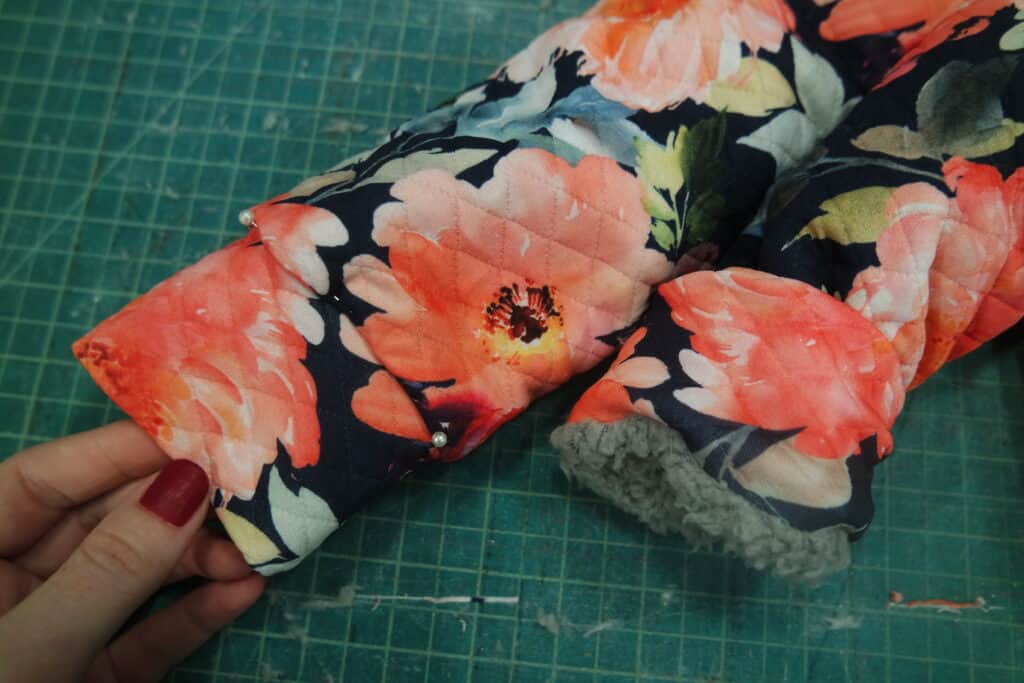
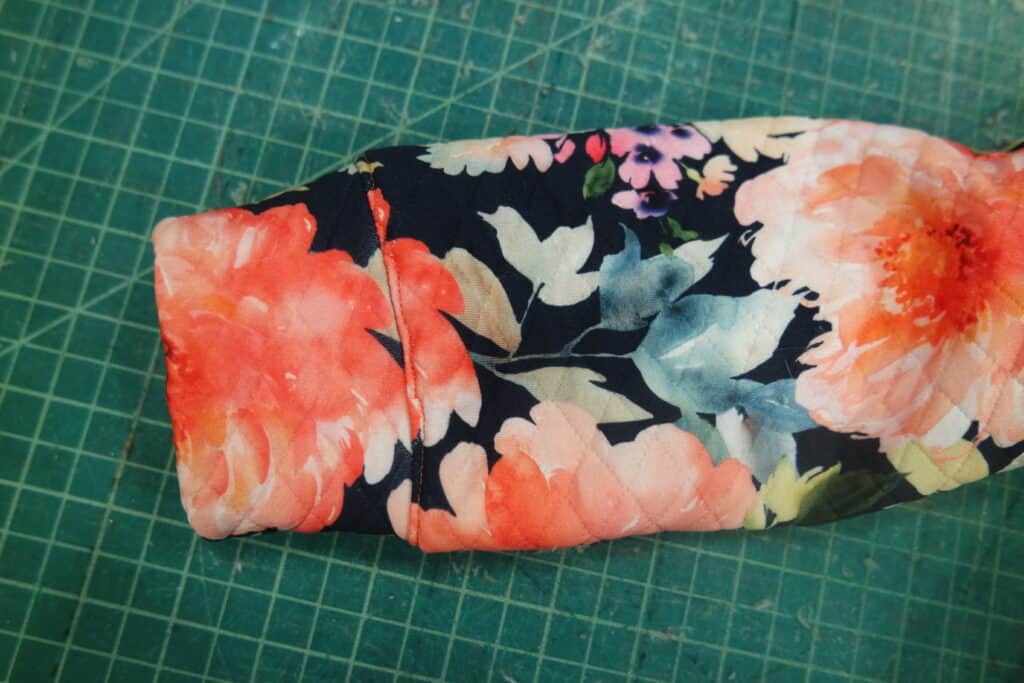
Here’s the magic part. Put your arm through the main sleeve and grab the knit cuff. Pull knit cuff through main fabric sleeve until the wrist seams of both main and lining are aligned with knit cuff folded in half. TA-DA… doesn’t that always feel so cool?
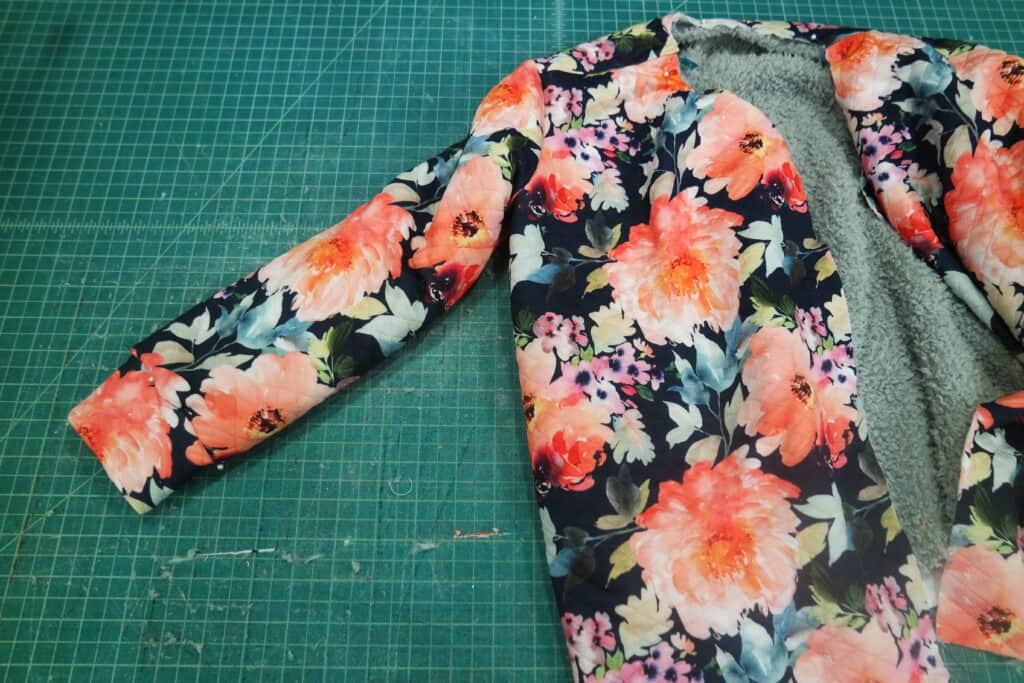
You can carefully pin seams and top-stitch the seams to keep the lining from shifting around. I recommend taking the time to do this, otherwise you might go crazy trying to keep the knit cuff folded perfectly in half when you take on/off the Lumberjack.
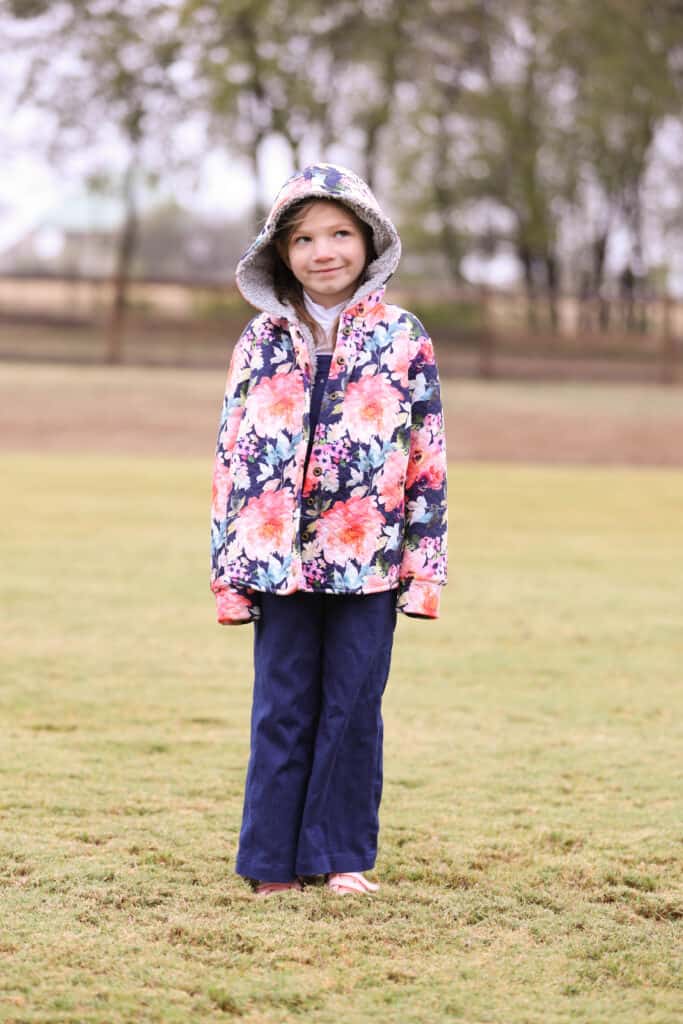
Continue on through the rest of the tutorial as normal. I hope you like this little trick to give you no exposed seams there at the wrists!


Thanks for the great tutorial add-on and tips. One question though (you know me by now, easily confused and always I have questions): after the first part where you say to sew the knit cuffs to the lining wrists, then lay lining flat and match outer on top, right sides together, it says “align and sew your knit cuffs to the lining.”
Didn’t I just do that already? So confused
That second one should say main fabric 🙂 sorry about that!
Got that updated and corrected, thank you!