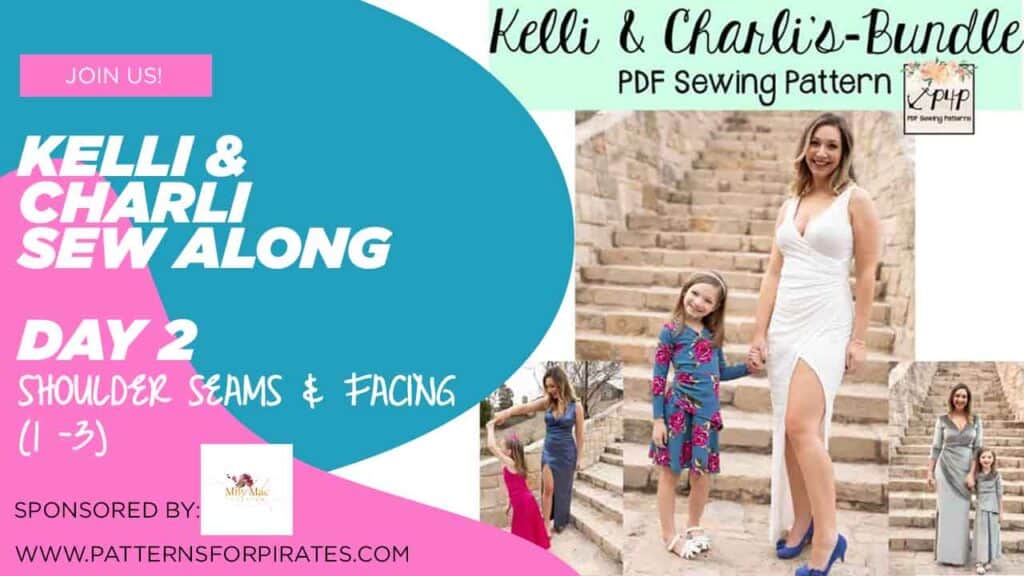
Ahoy, pirates! It’s time to start sewing our beautiful Kelli and Charli dresses. Today we work on the bodice. Start by sewing the back pieces, right sides together. Kelli has a seam down the back so the it fits those beautiful hourglass shapes perfectly.
TIP: sew this project on the sewing machine if you are going for a very elegant, luxurious look. Press all your seams open as you go.
Sew the shoulder seams right sides together. You can add clear elastic in the seam allowance for a very good hold. I encourage you to do that if the fabric you are using is on the heavier side or you are making the floor length dress. If you opted for the facing style, repeat the steps with the facing pieces.
As you saw in yesterday’s video, I am sewing the elastic neckline finish for my Kelli dress but I know some of you prefer the facing style. In the bonus video below I show you how to create the facing sleeveless tank using the “burrito roll” method.
If you opted for the elastic neckline, start by “exercising” your 1/4″elastic. You will now stitch the elastic to the wrong side of the neckline, at the raw edge. I like to do this step using a ride zig zag stitch. Fold the elastic over towards the wrong side and sew down with either a zig zag stitch, an overcasting stitch or a coverstitch.
In day 2 video I show you these steps using exclusively my sewing machine. Once you complete the steps, post a picture of your progress in the comments of day 2 photo of the Kelli and Charli sew along album. See you back here tomorrow for day 3!
Kelli and Charli sew along – day 1 | cut fabric
Kelli and Charli sew along – day 2 | shoulder seams and facing
Kelli and Charli sew along – day 3 | gather front and sew side seams
Kelli and Charli sew along – day 4 | add sleeves
Kelli and Charli sew along – day 5 | create skirt
Kelli and Charli sew along – day 6 | attach skirt and hem


Leave a Reply