Alas, we have arrived to the final day of the 2019 Holiday Freebies. But do not fret, my friends. Because what we’ve got in store for you today is super fun!
Blankets are a hot commodity in our household. At least between my son and I. We love to snuggle on the couch under all the cozy blankets that we can, while catching up on our favorite Netflix movie or series. I mean, who doesn’t? We upped the blanket coziness a little by adding a hood. And some hand pockets. And then gave them some ears so we could be cute and cuddly at the same time. It’s really the best thing ever!
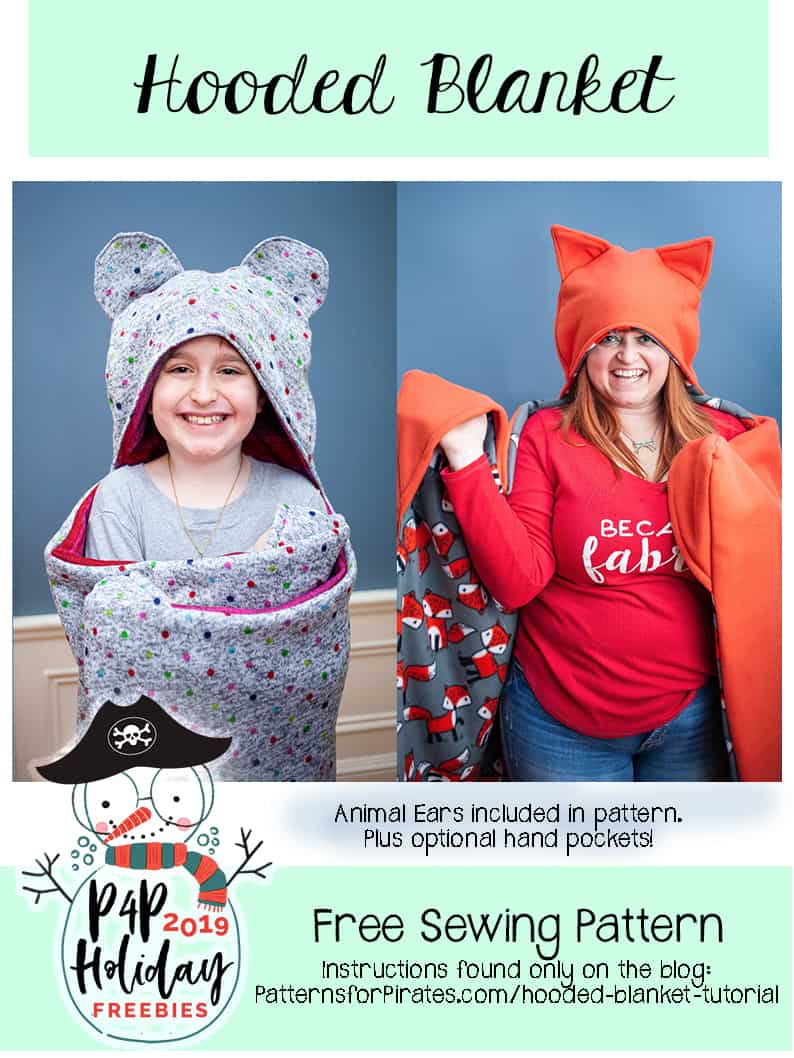
Grab your “HOODED BLANKET” pattern pieces here!
Fabric Requirements (Most fabrics work great for this! My favorites are fleece and minky.):
- 1.5 yards of lining
- 1.5 yards main fabric
For blanket pieces, you will need 1 main + 1 lining fabric 54″w x 40″t
The great thing about this pattern is that you can adjust the height and width of your blanket to your own liking! If you want it larger or smaller….go for it! Just remember that you may need additional yardage if you do.
1. Hem long, angled edge of hand pockets by folding under 1/2″ (toward wrong side) and edge stitching.
2. Align at top two corners of blanket lining piece and baste in place. Both lining and hand pocket fabrics will be right sides facing up.
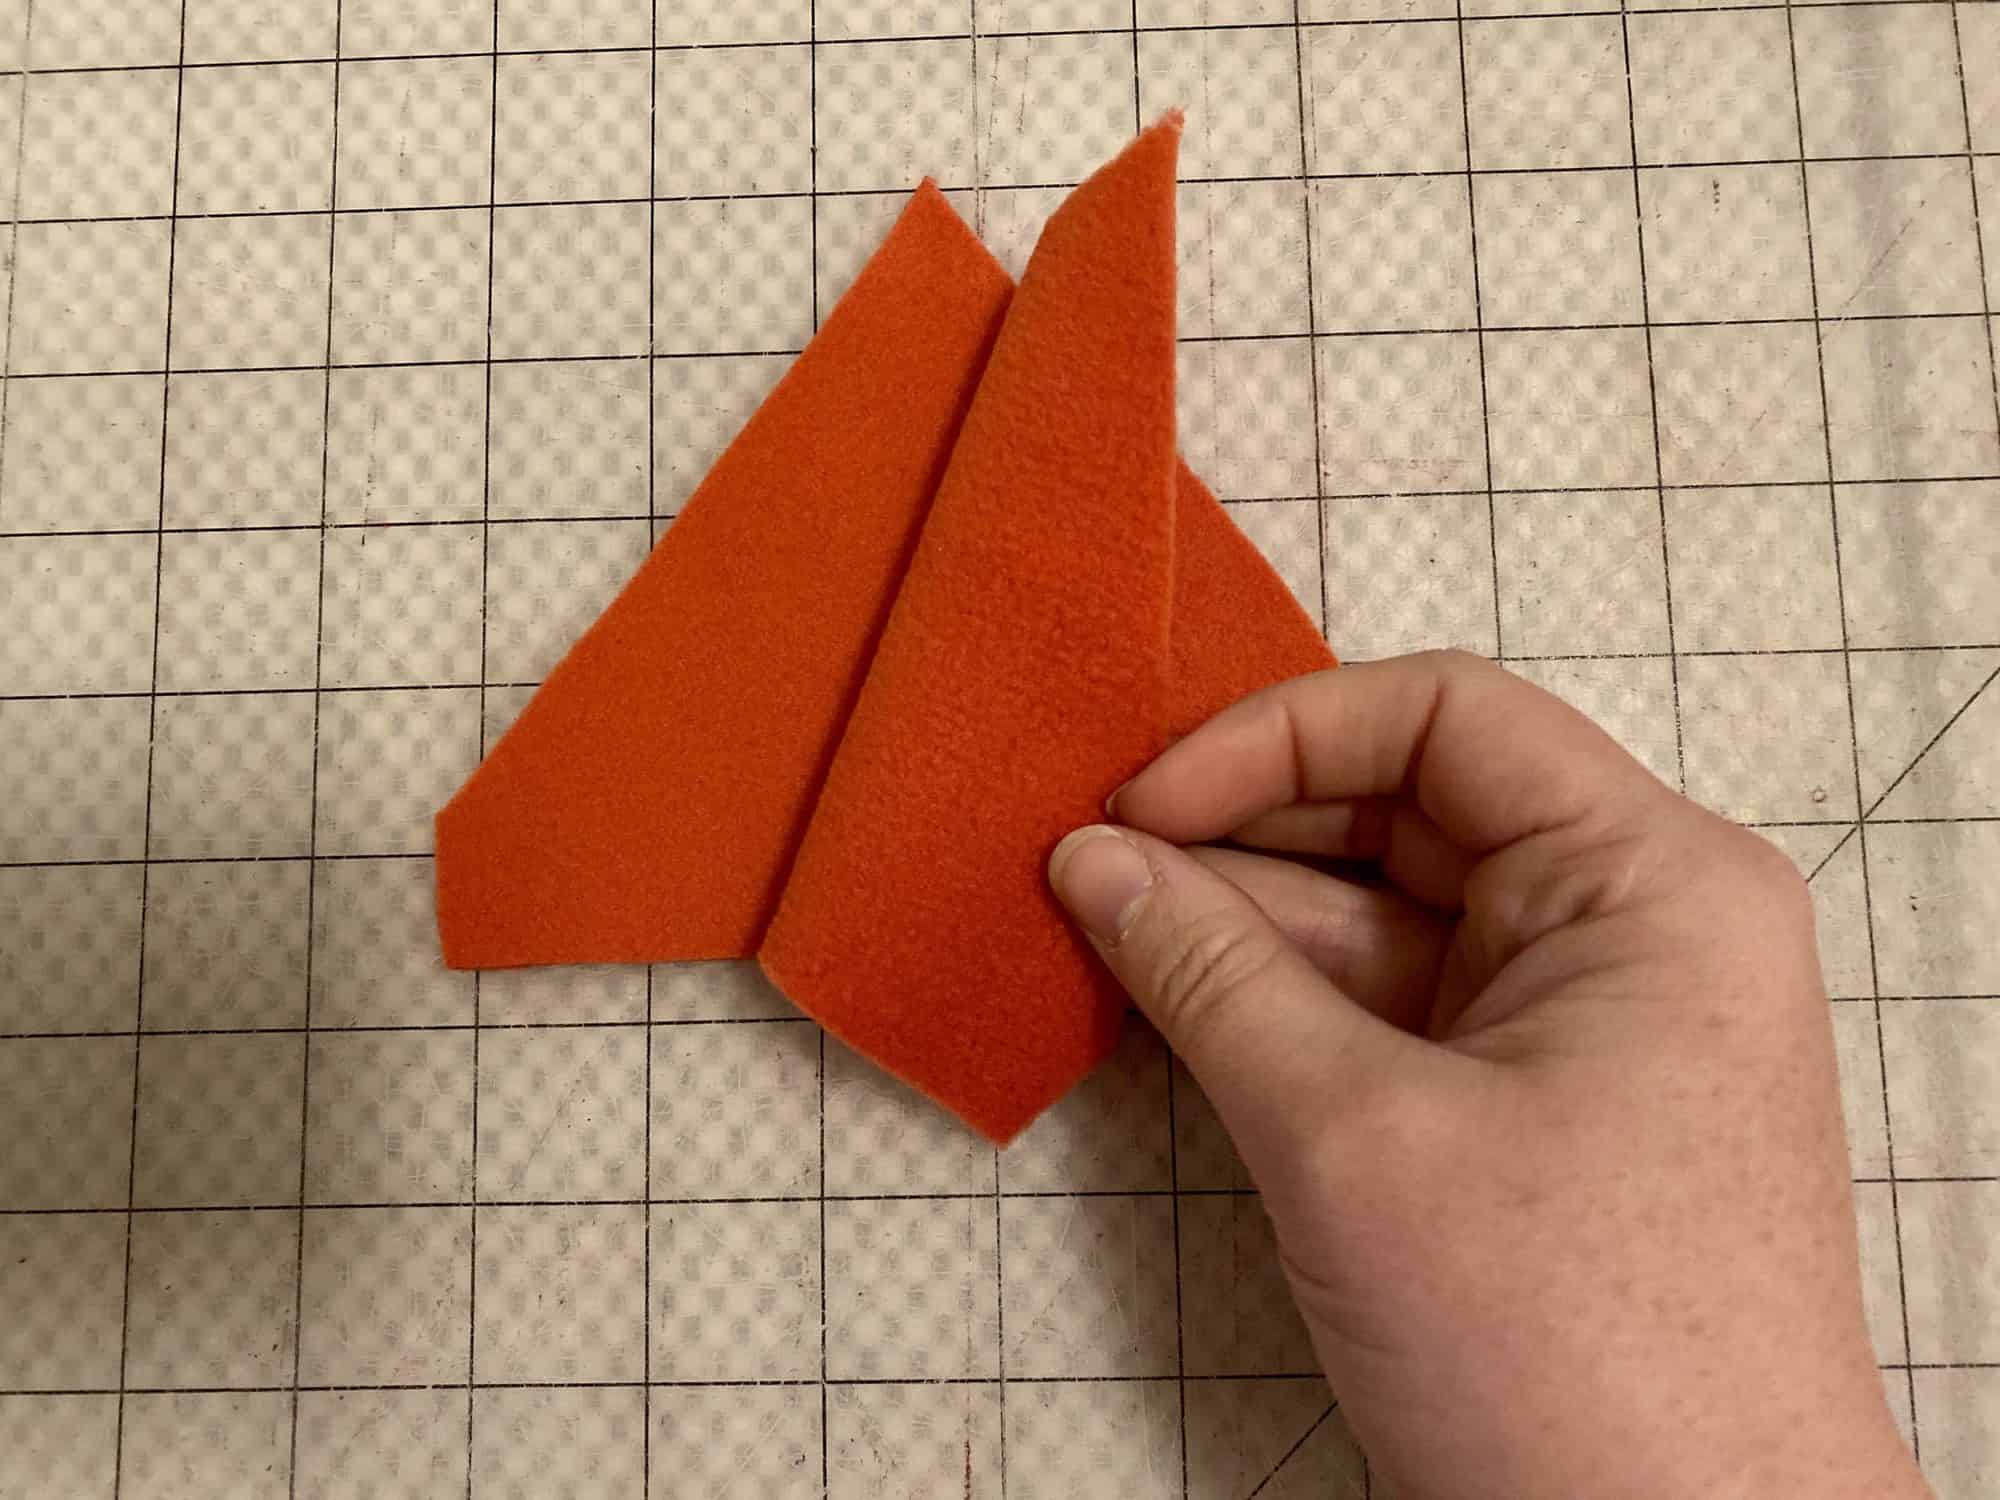
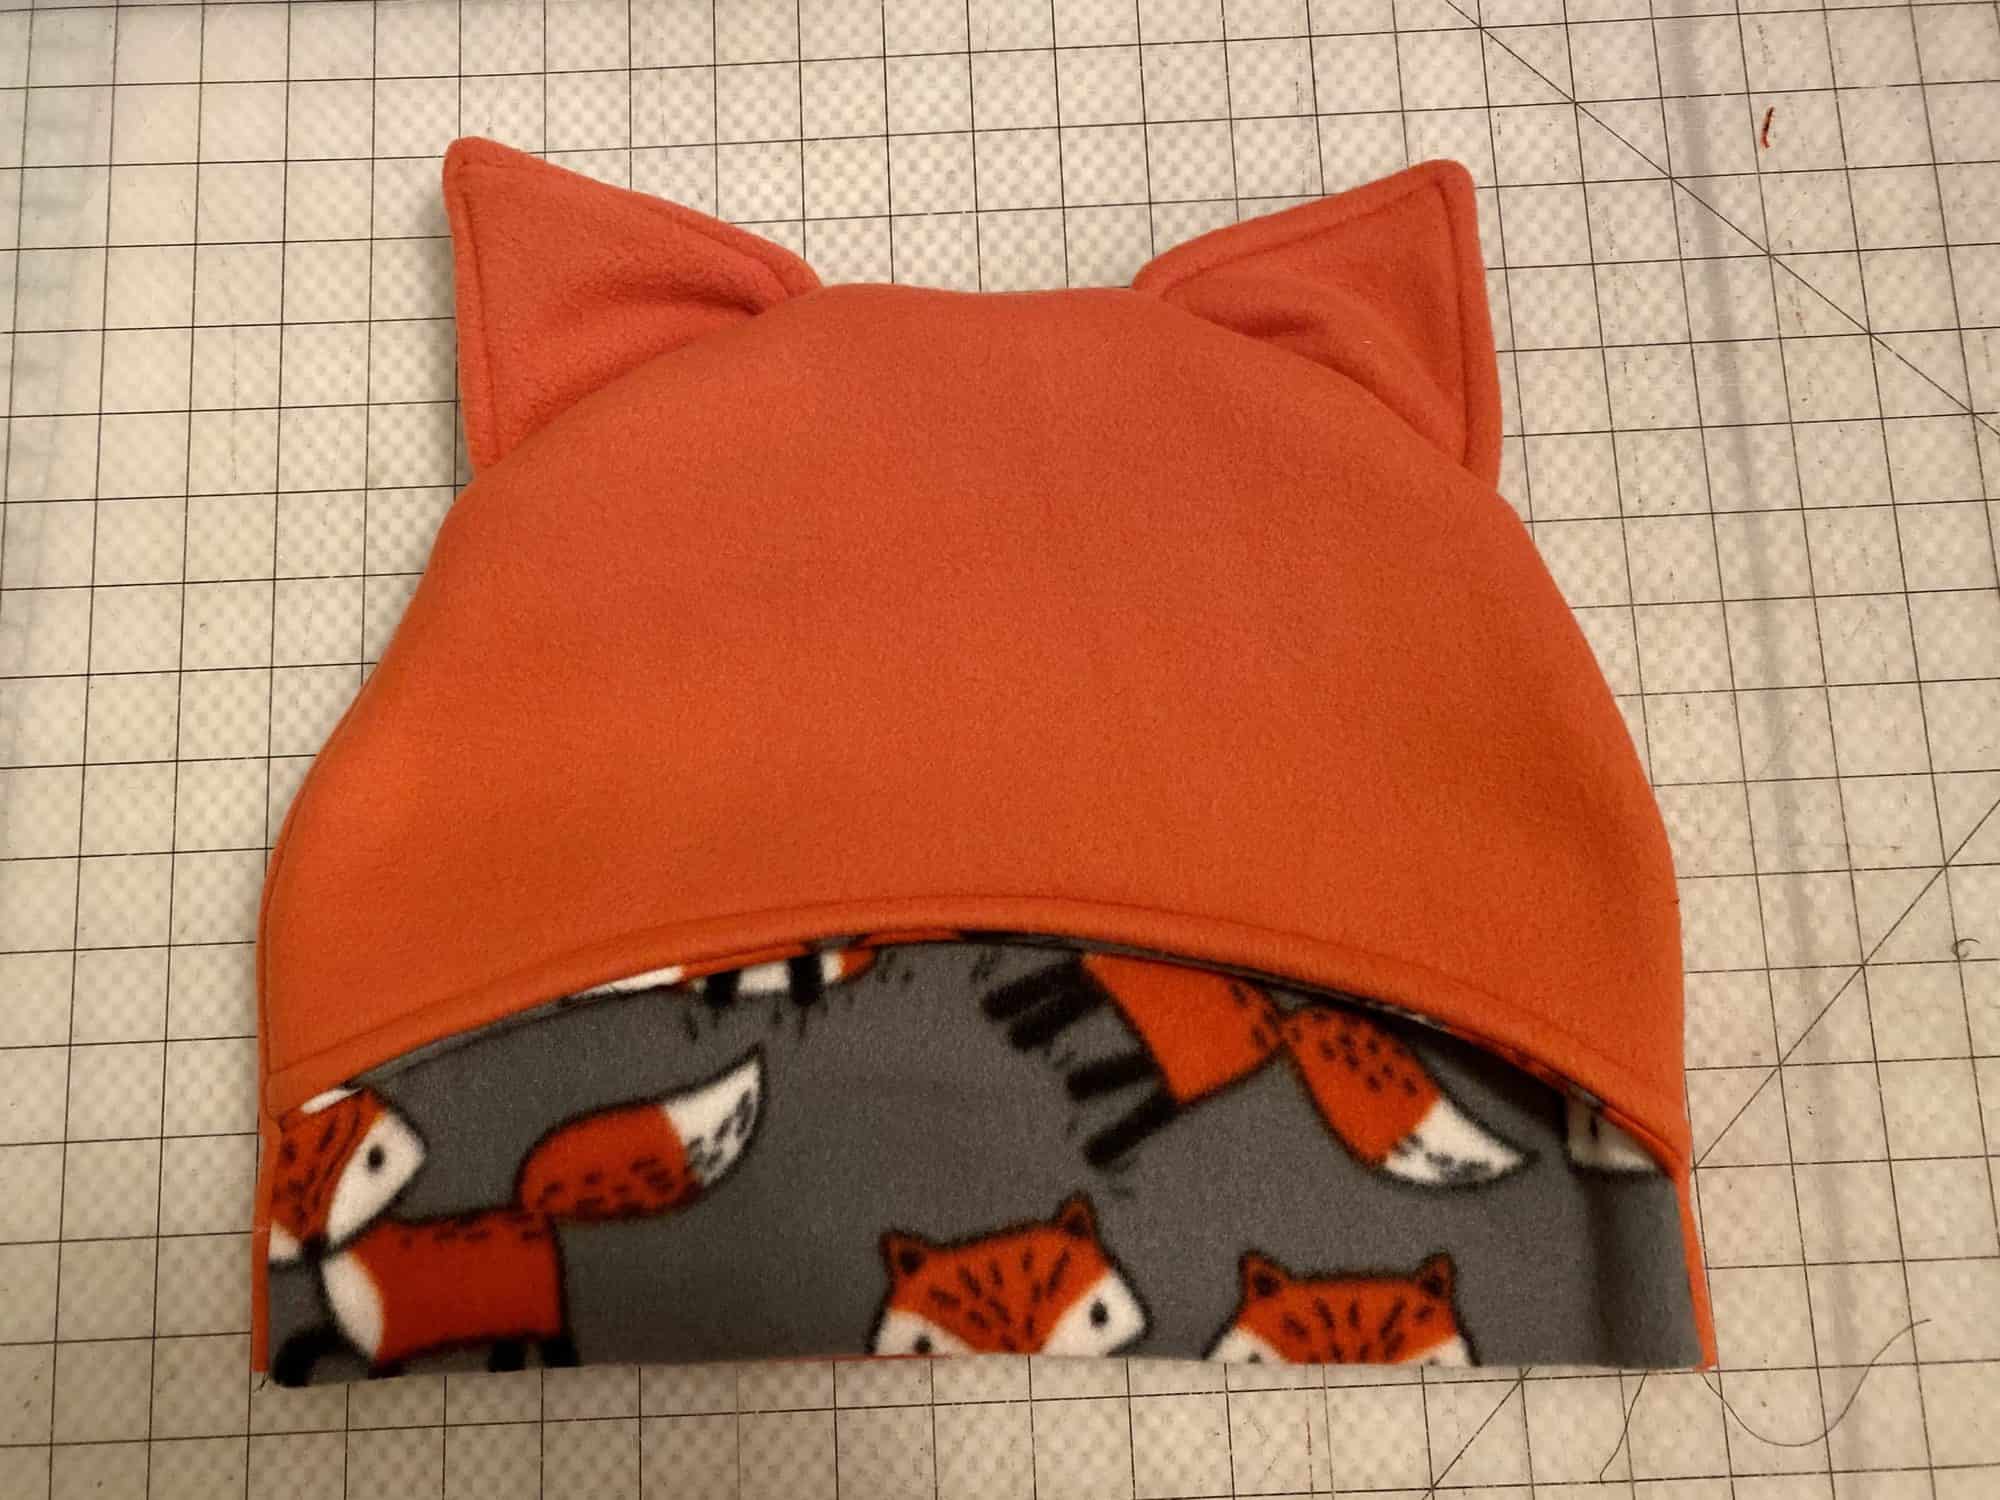
3. Optional ears: Sew ear pieces, right sides together, leaving bottom edge open. Repeat with other ear. Turn right-sides-out and top stitch if desired.
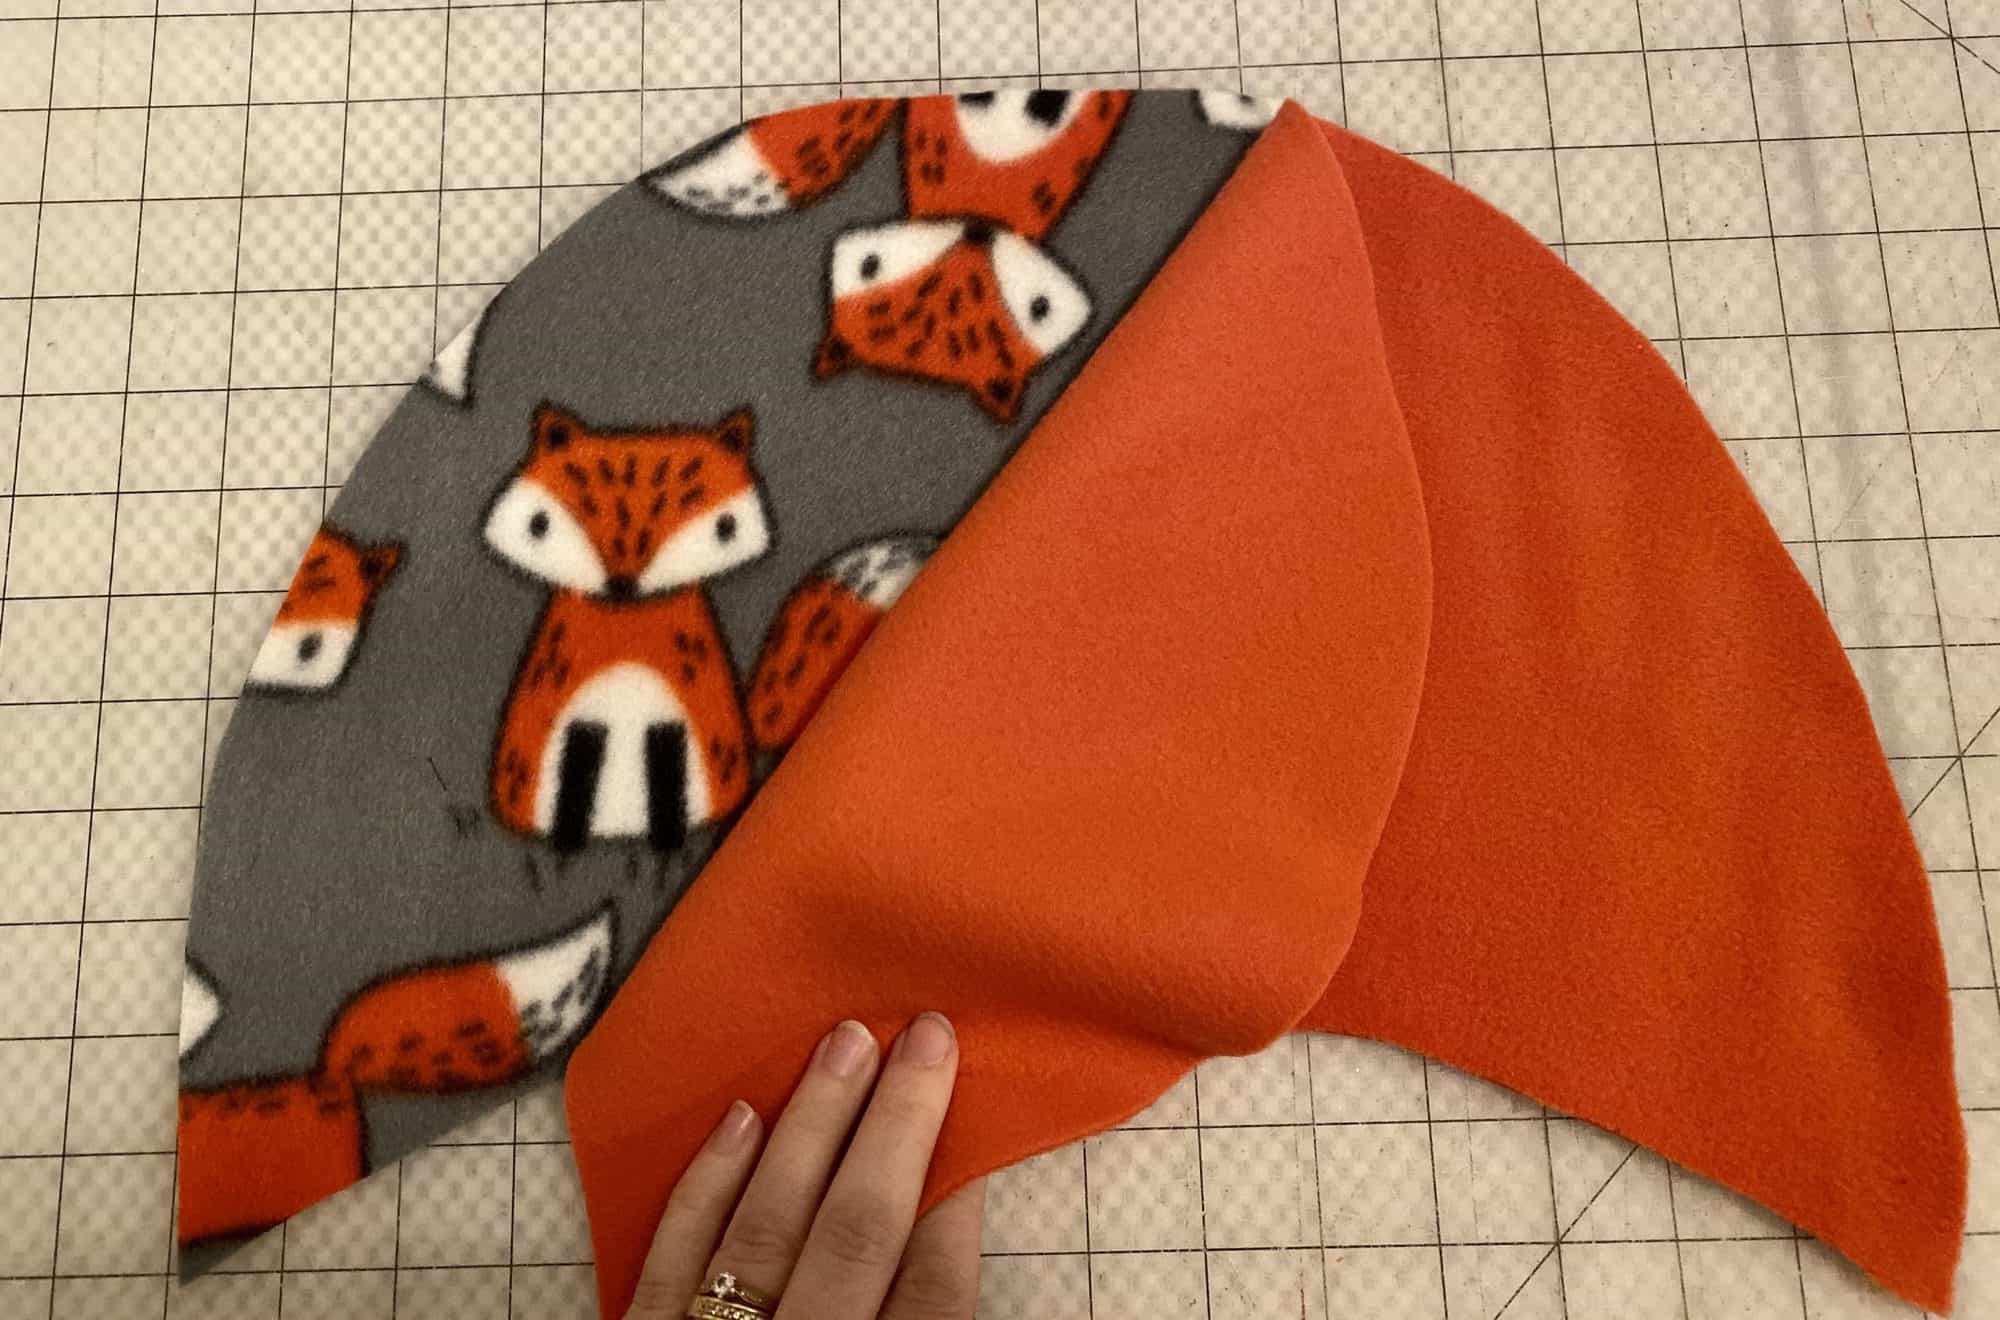
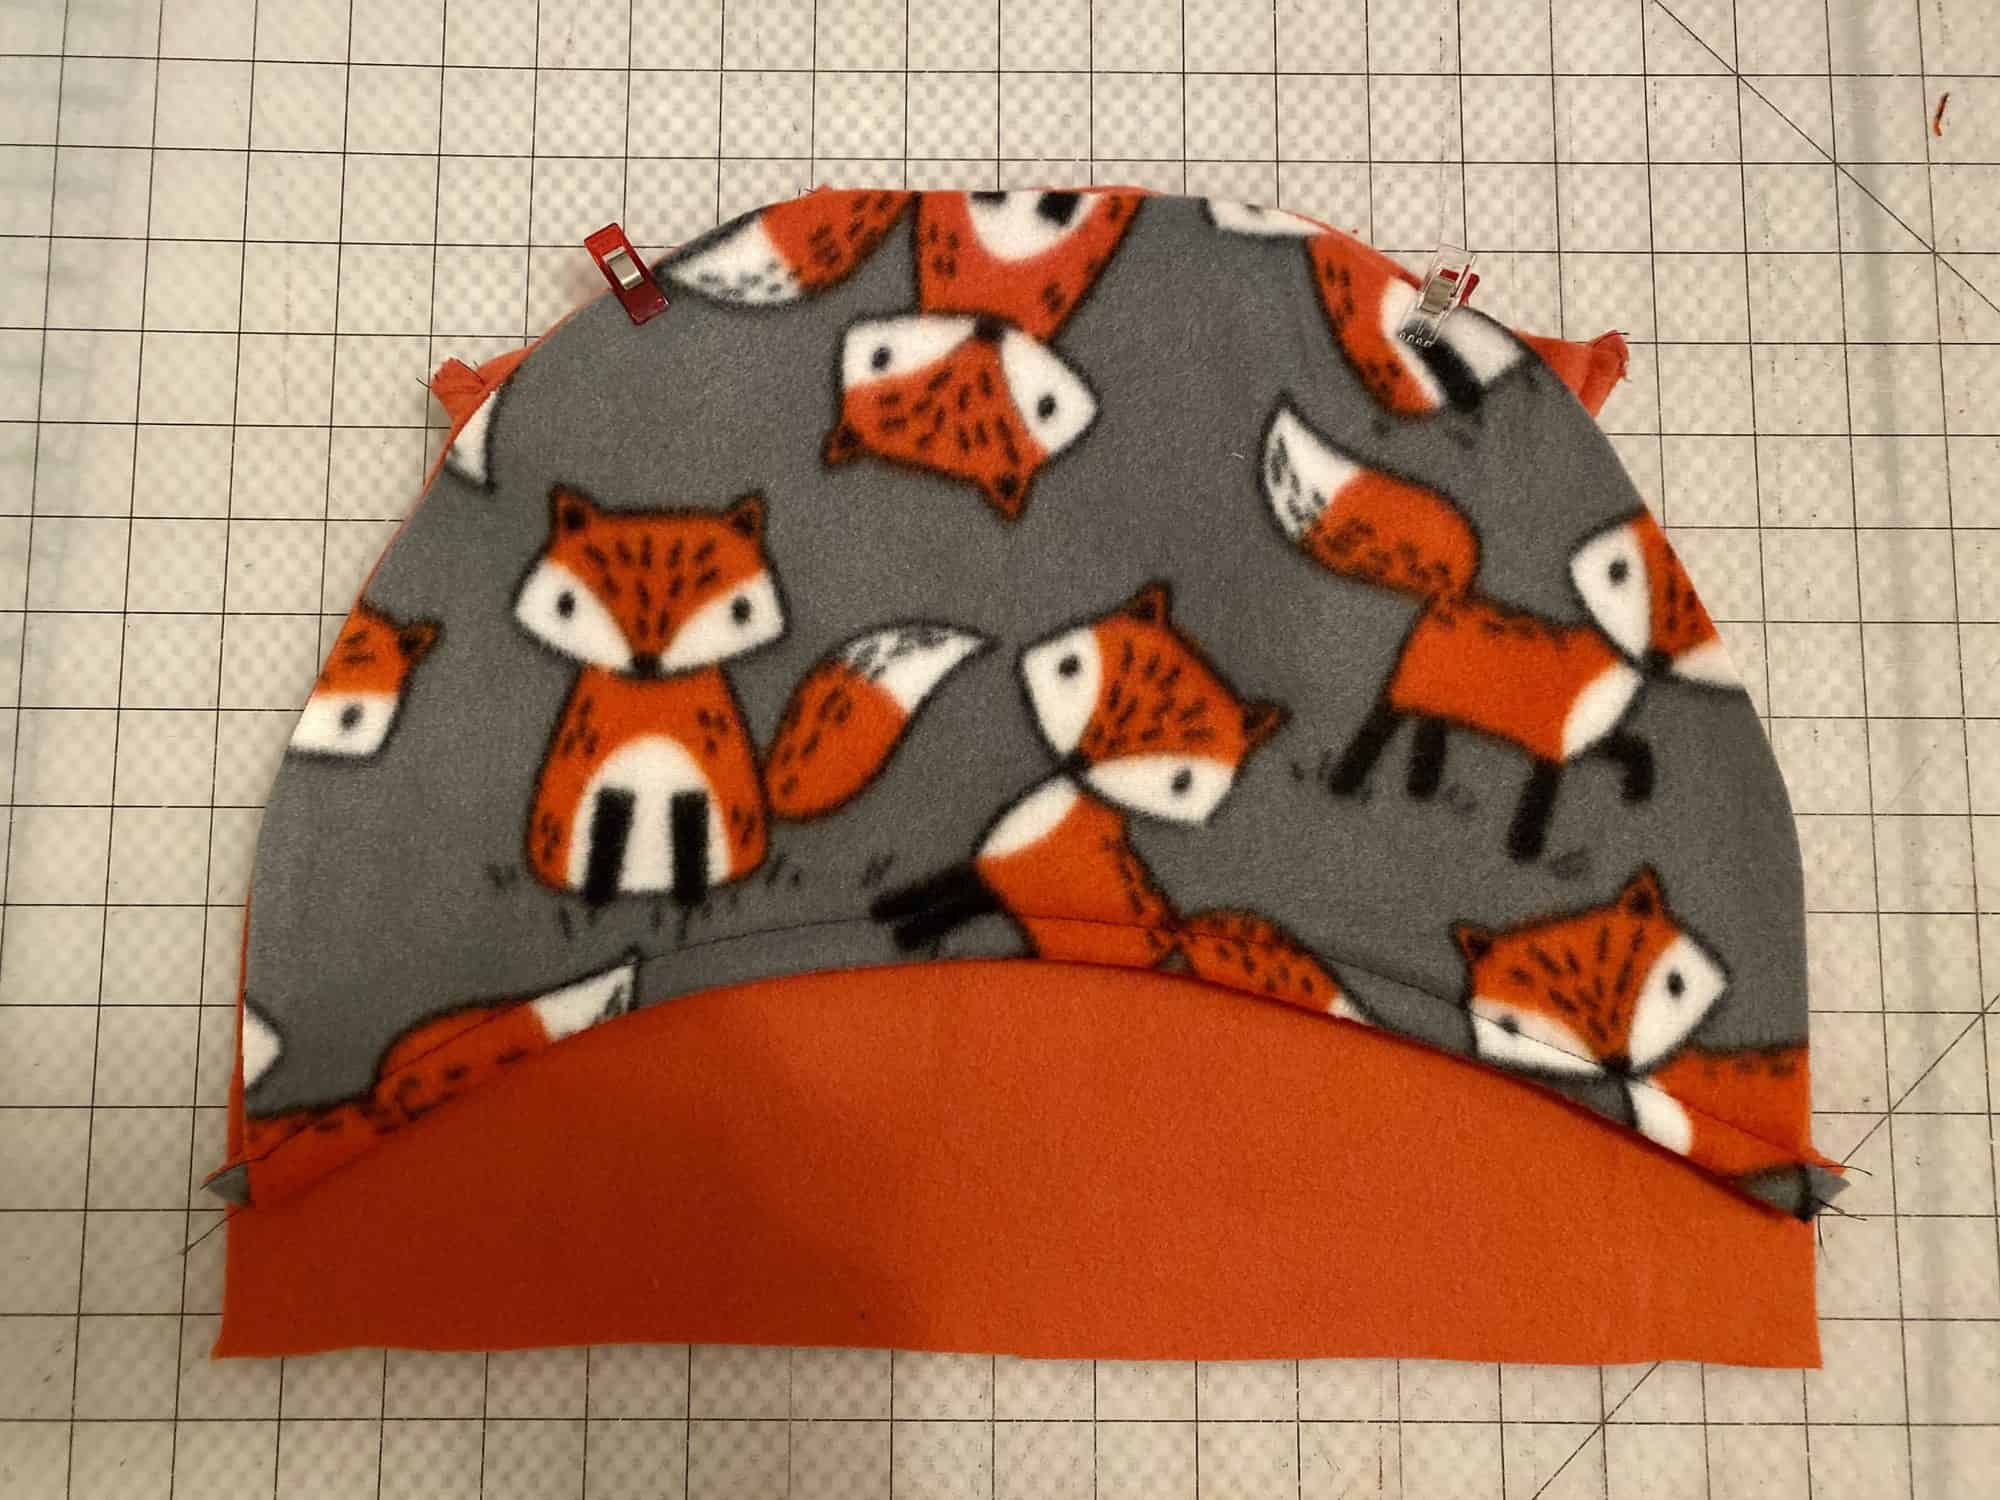
4. Place front hood pieces, right sides together. Stitch along bottom curve.
5. Turn right side out. Top stitch if desired.
6. Align ear notch to marked point on the hood front. Baste place. Repeat with second ear.
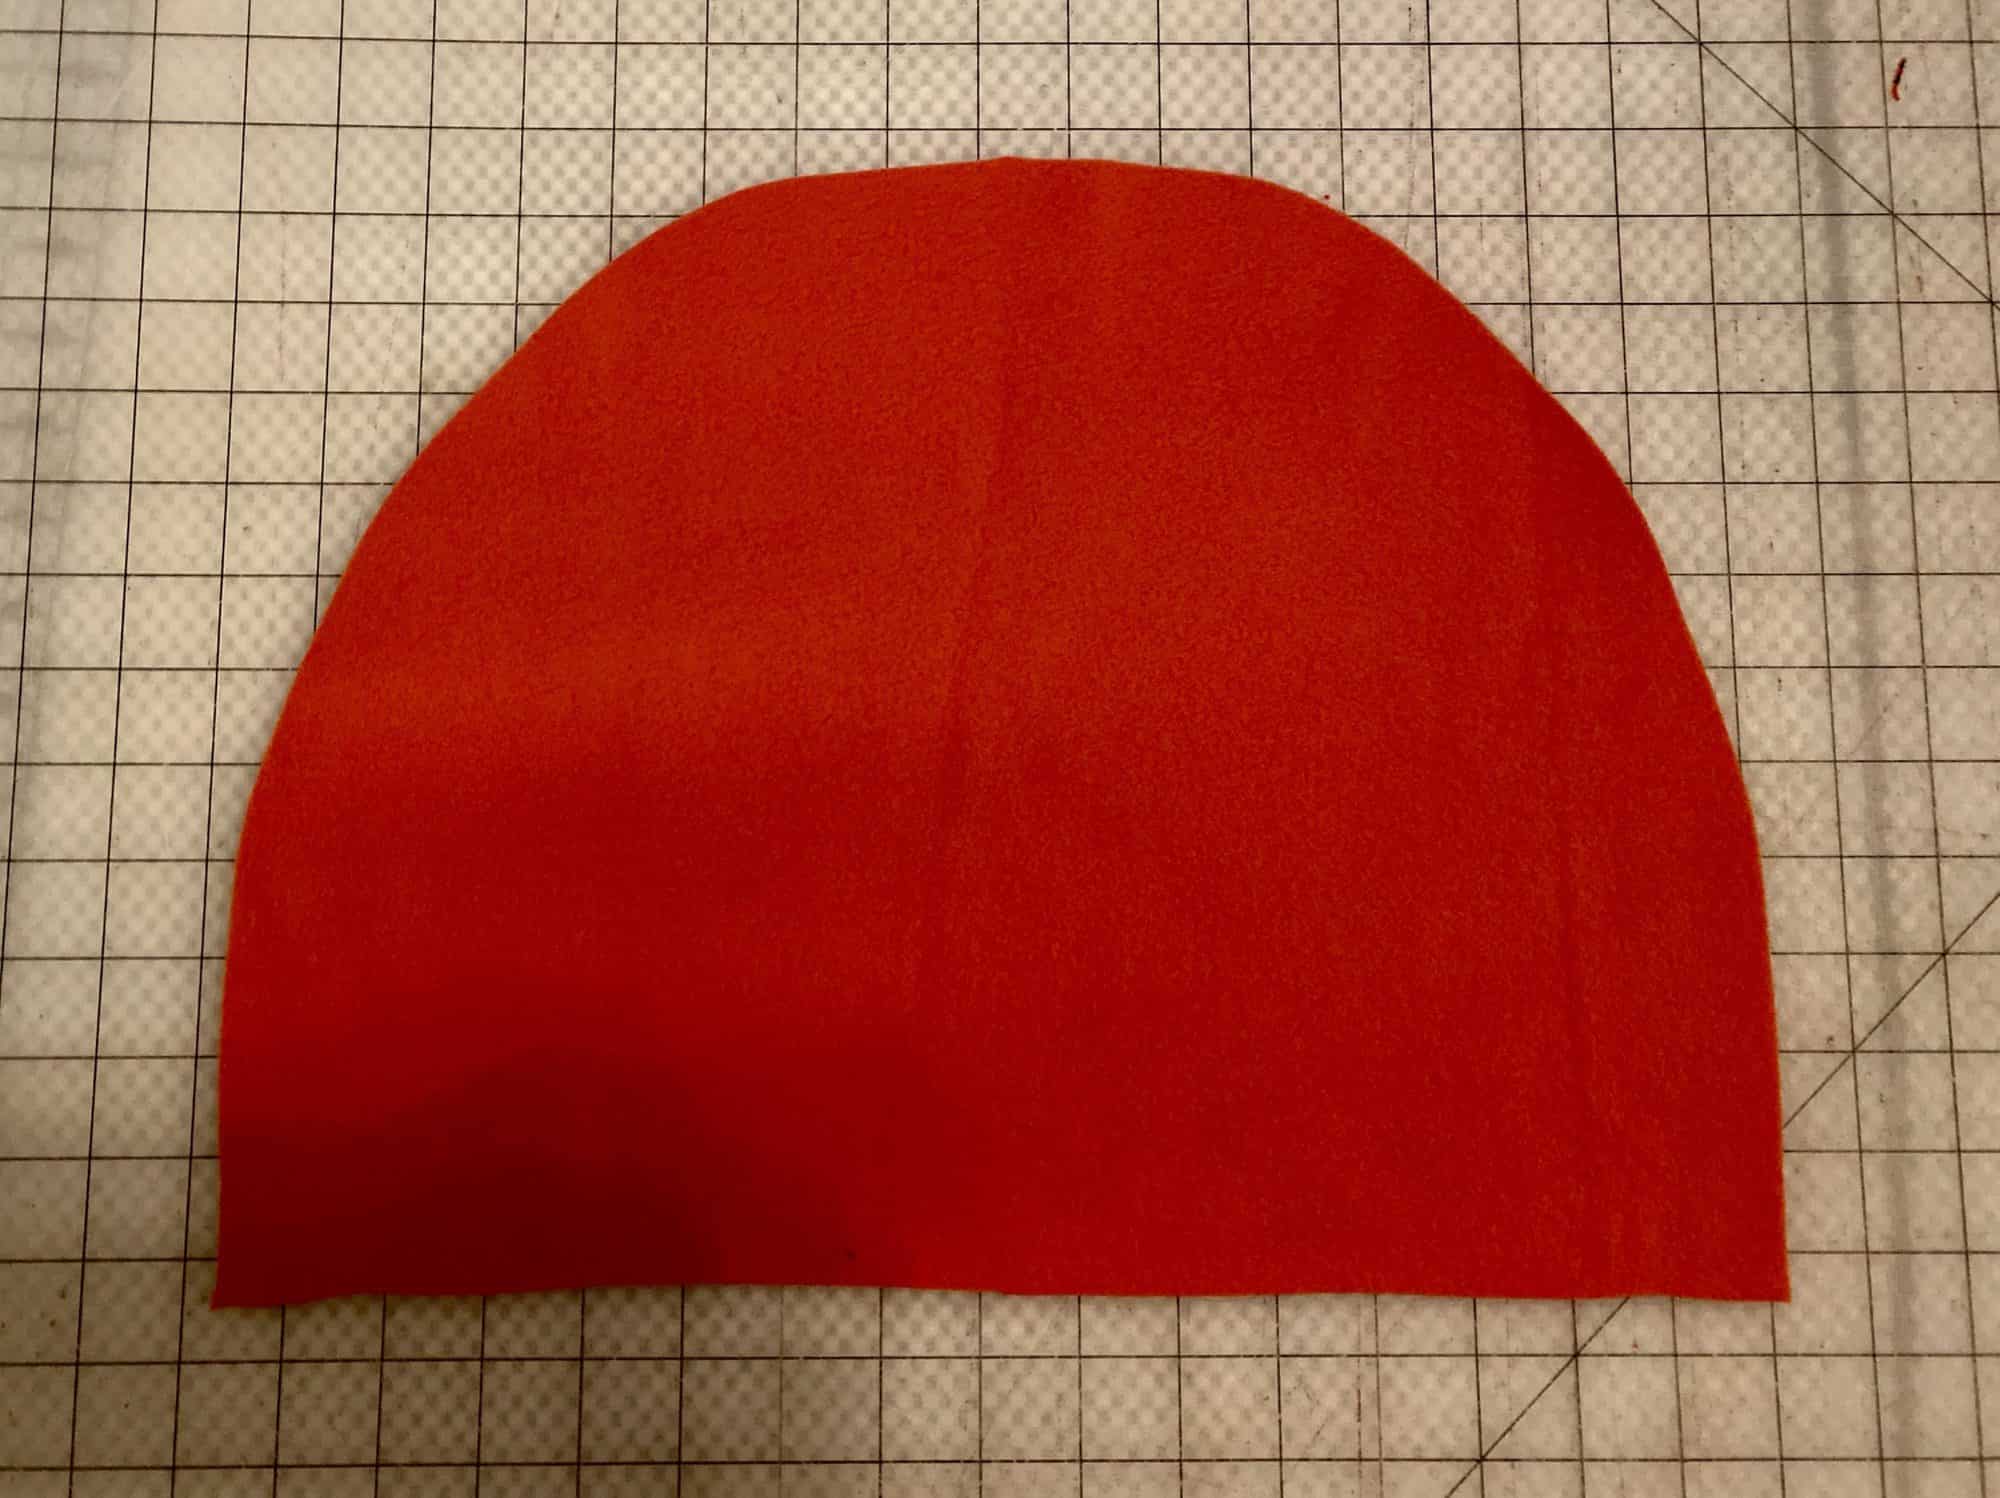
7. Place the main back hood piece, right sides up.
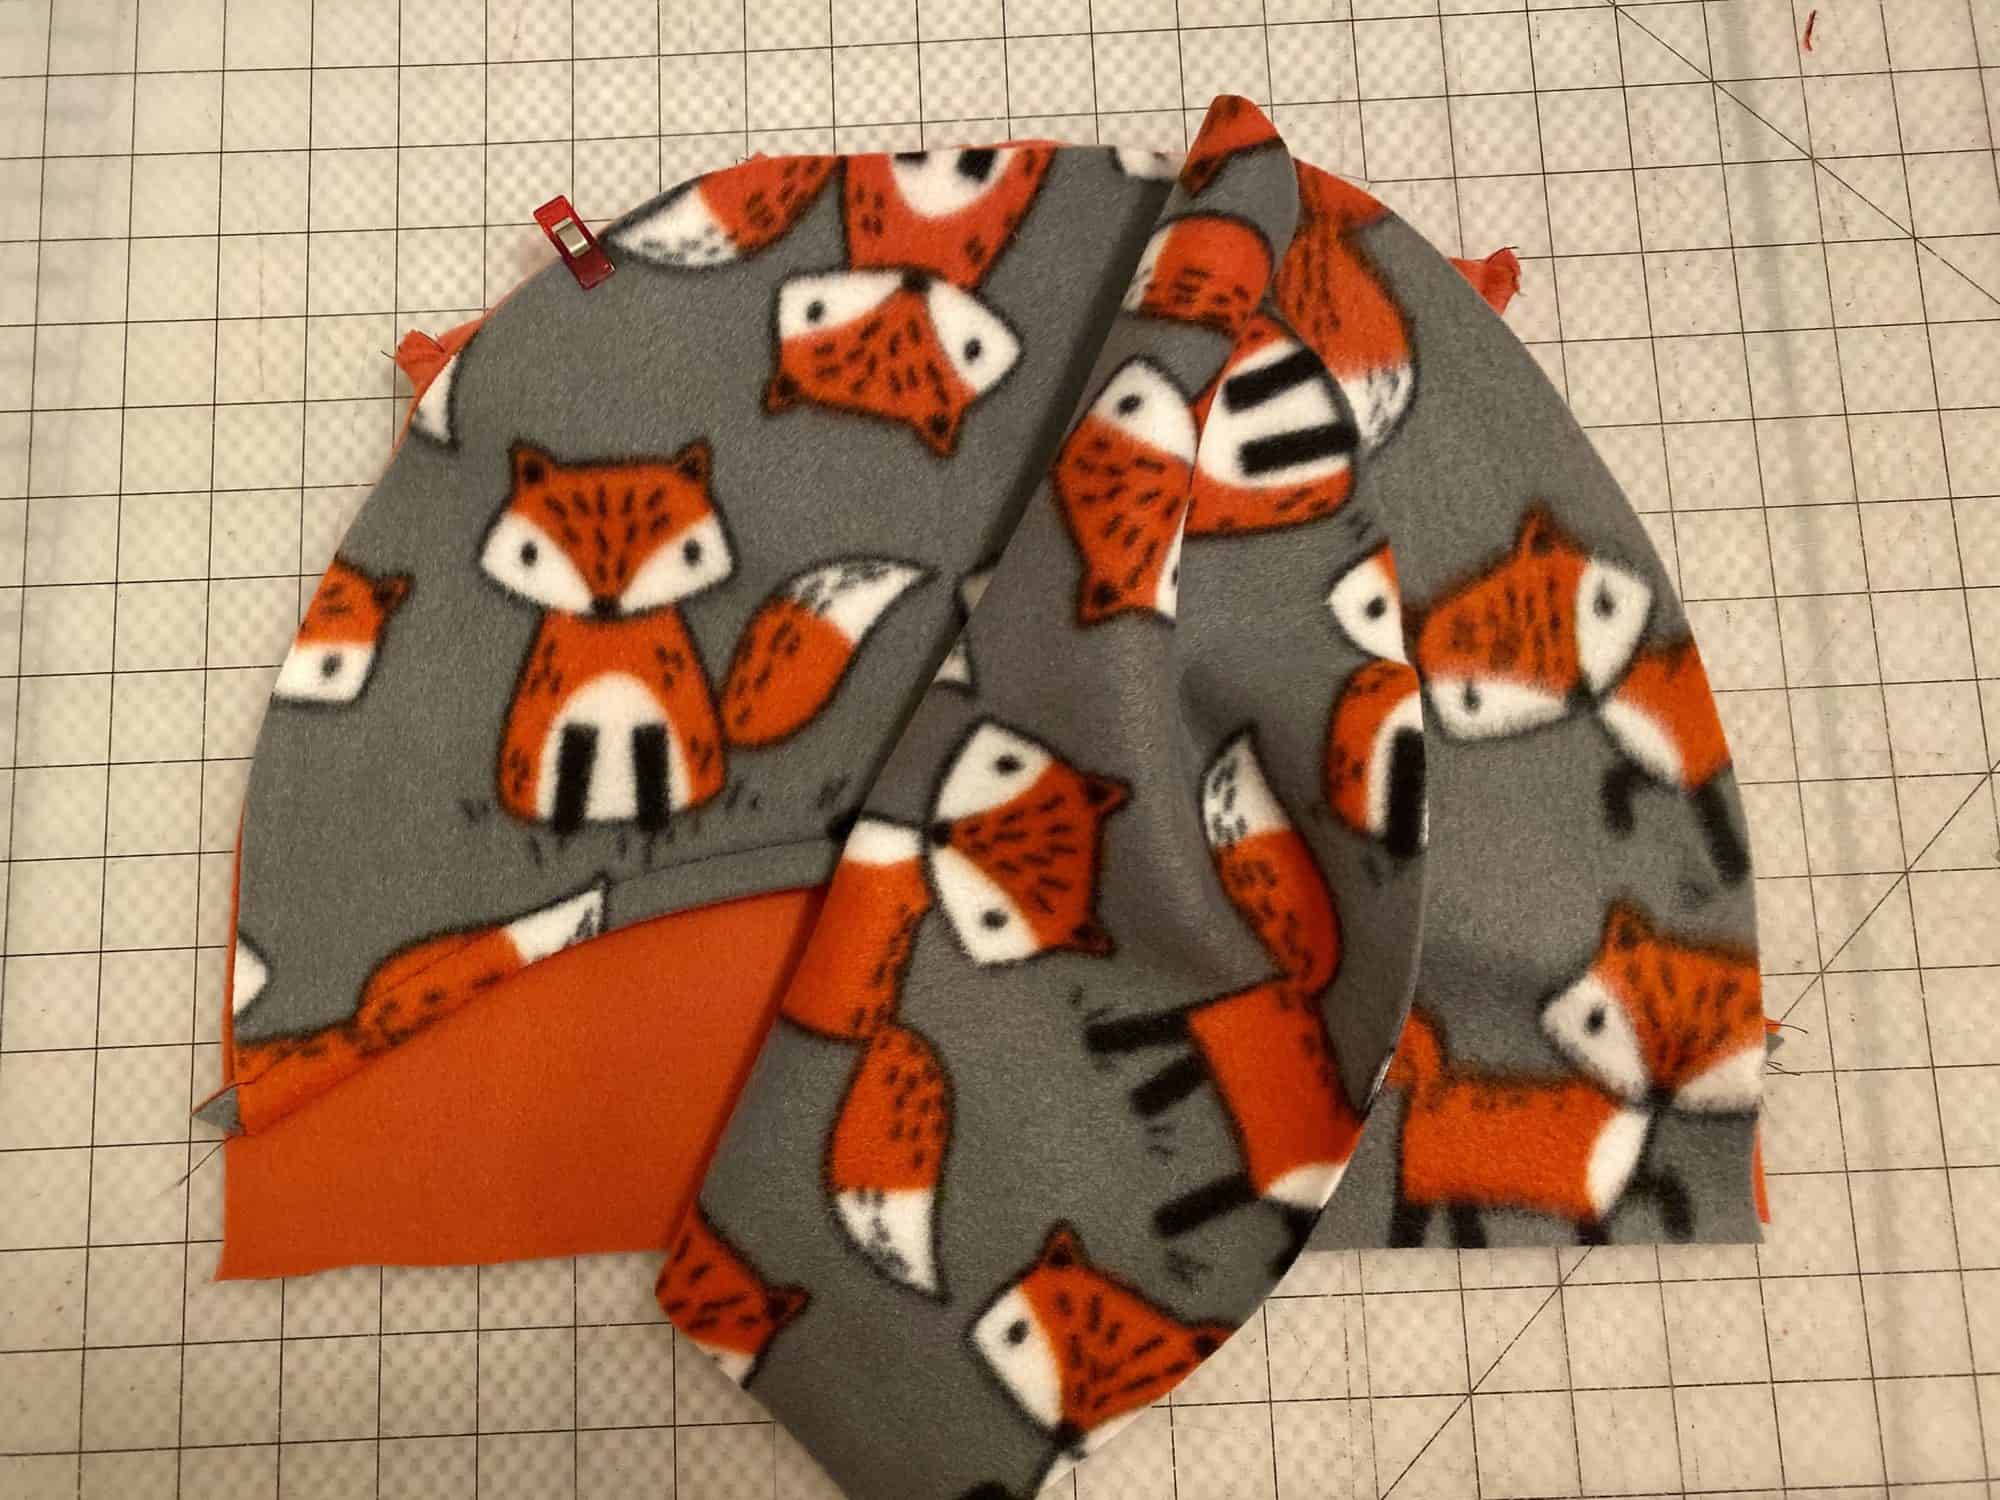
8. Place the front piece sections on top, main fabrics together.
9. Place lining back hood on top, right sides down. Sew along entire top curve.
10. Turn right sides out.
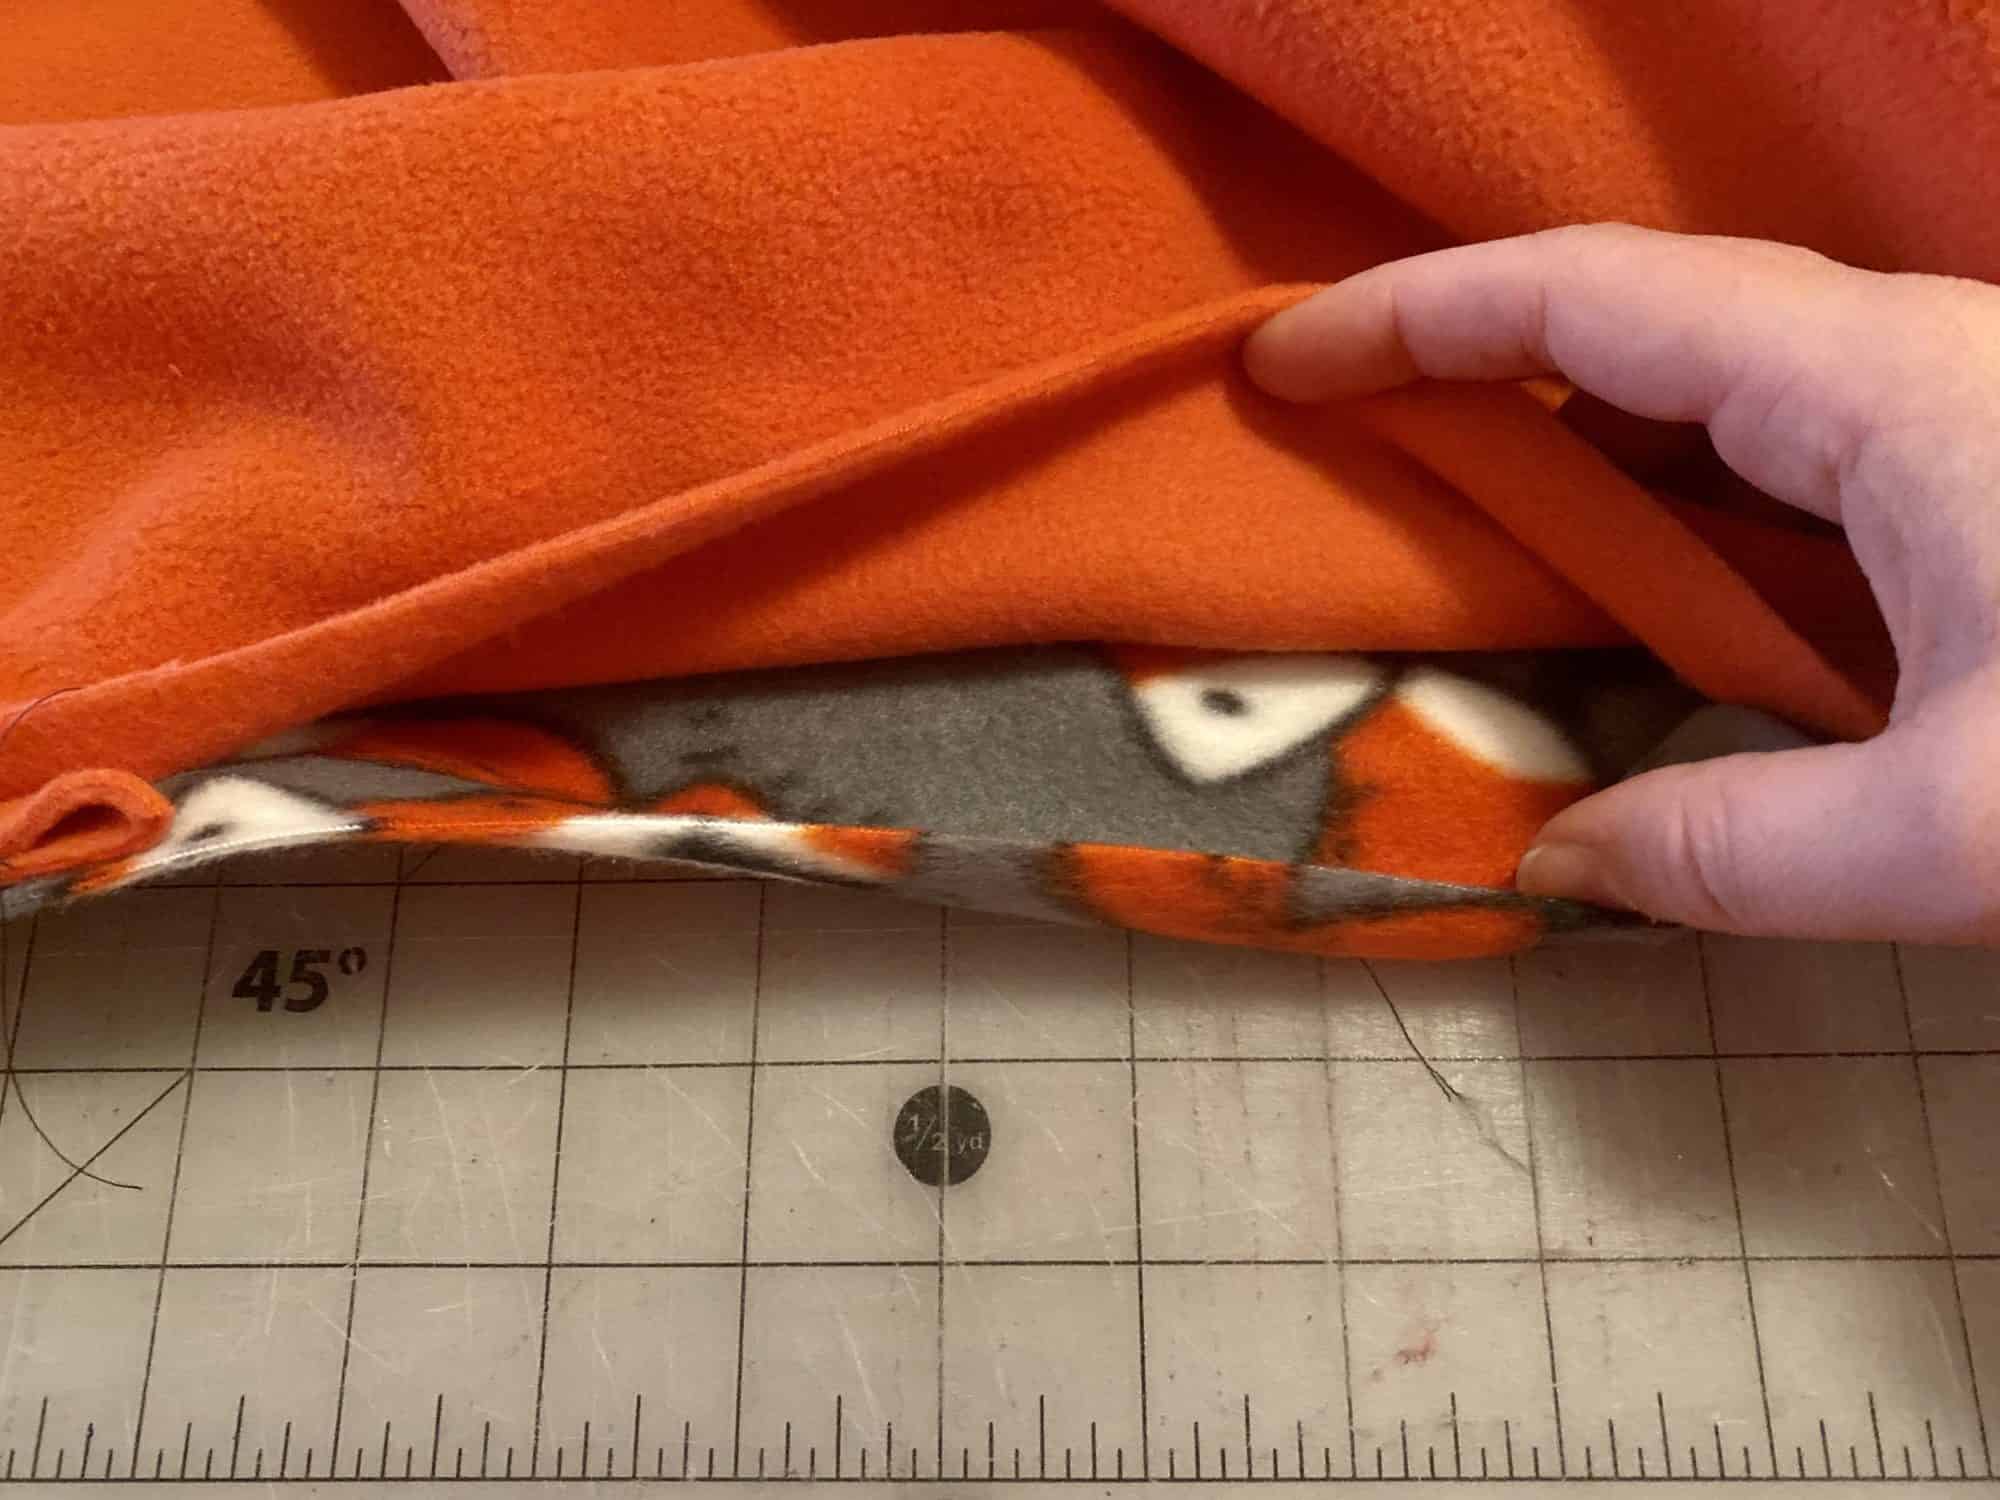
11. Mark middle points of hood and blanket lining piece. Baste hood in place, with hood opening facing down towards lining piece.
12. Place main blanket piece on top, right sides facing down. Sew along all four outer edges, leaving 6-8″ opening for turning.
13. Turn right sides out. Press. Sew the opening closed, using your favorite method.
Optional: Top stitch along entire outer edge.
Need some inspiration for your very own Hooded Blanket? Check out what our testers sewed up for themselves:
I la-la-love when you share your photos with me! Head over to the Patterns for Pirates Facebook Group and show us what you’ve made!
Happy Holidays, Pirates!









Hello.
I have tried printing out the pattern on the A4 and letter and it’s still not lining up. The 2×2 and 4cm squares are perfect when measured put the pattern pieces itself are off. I’m going to adjust it myself but wanted to see if anyone else was having this problem. Thanks again for all the wonderful patterns
Okay, nevermind I was having a real slow moment when putting my patterns together. Sorry, it’s user error. LOL!
Hey I’m not sure if this is because I’m a newbie sewer or not. Love this idea and pattern my only issue I’ve ran into is when cutting out the pattern pieces the left over fabric I feel wasn’t big enough for a blanket. I followed the instructions on cutting with the grain line. when doing the pieces on the fold I was only folding it far enough over to fit the pattern pieces so not sure where I went wrong. I was only left with 41” and 30” so my only thing I’d say if there’s other newbies like me wanting to try it out but doesn’t know the best way to cut the pieces like me, maybe take a picture showing how you are cutting out your pieces with instructions?? Idk just a suggestion I guess.
Merry Christmas! I just finished my first hooded blanket for my eight year old grandson. He and his mother love animals, so one side is a dinosaur print, and the other side is marine life. I had such a good time with this project. Hanks you for the freebie!