Happy Holidays, Pirate Friends! We are excitedly back for another year and another round of holiday freebies to share with you! Since 2016, we’ve compiled different tutorials and patterns that we think would make *perfect* gifts for your friends and family. Curious about what we’ve already released in the way of holiday freebies? Head right here to see all of them: Holiday Freebies Roundup.
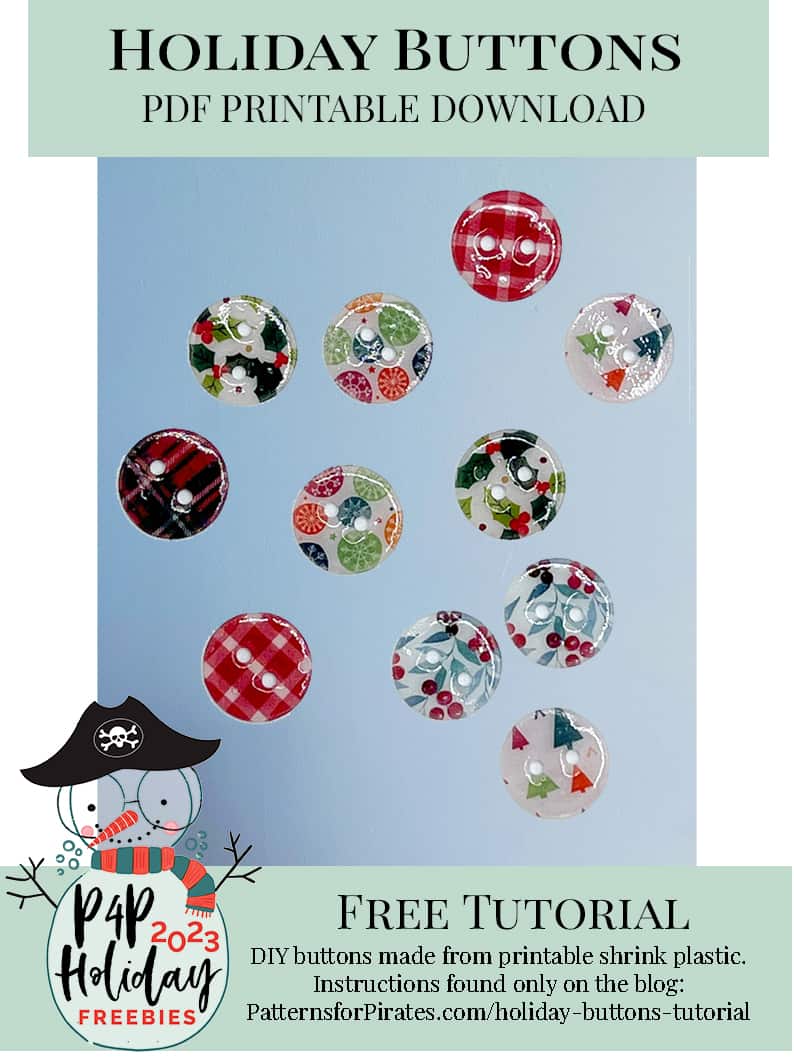
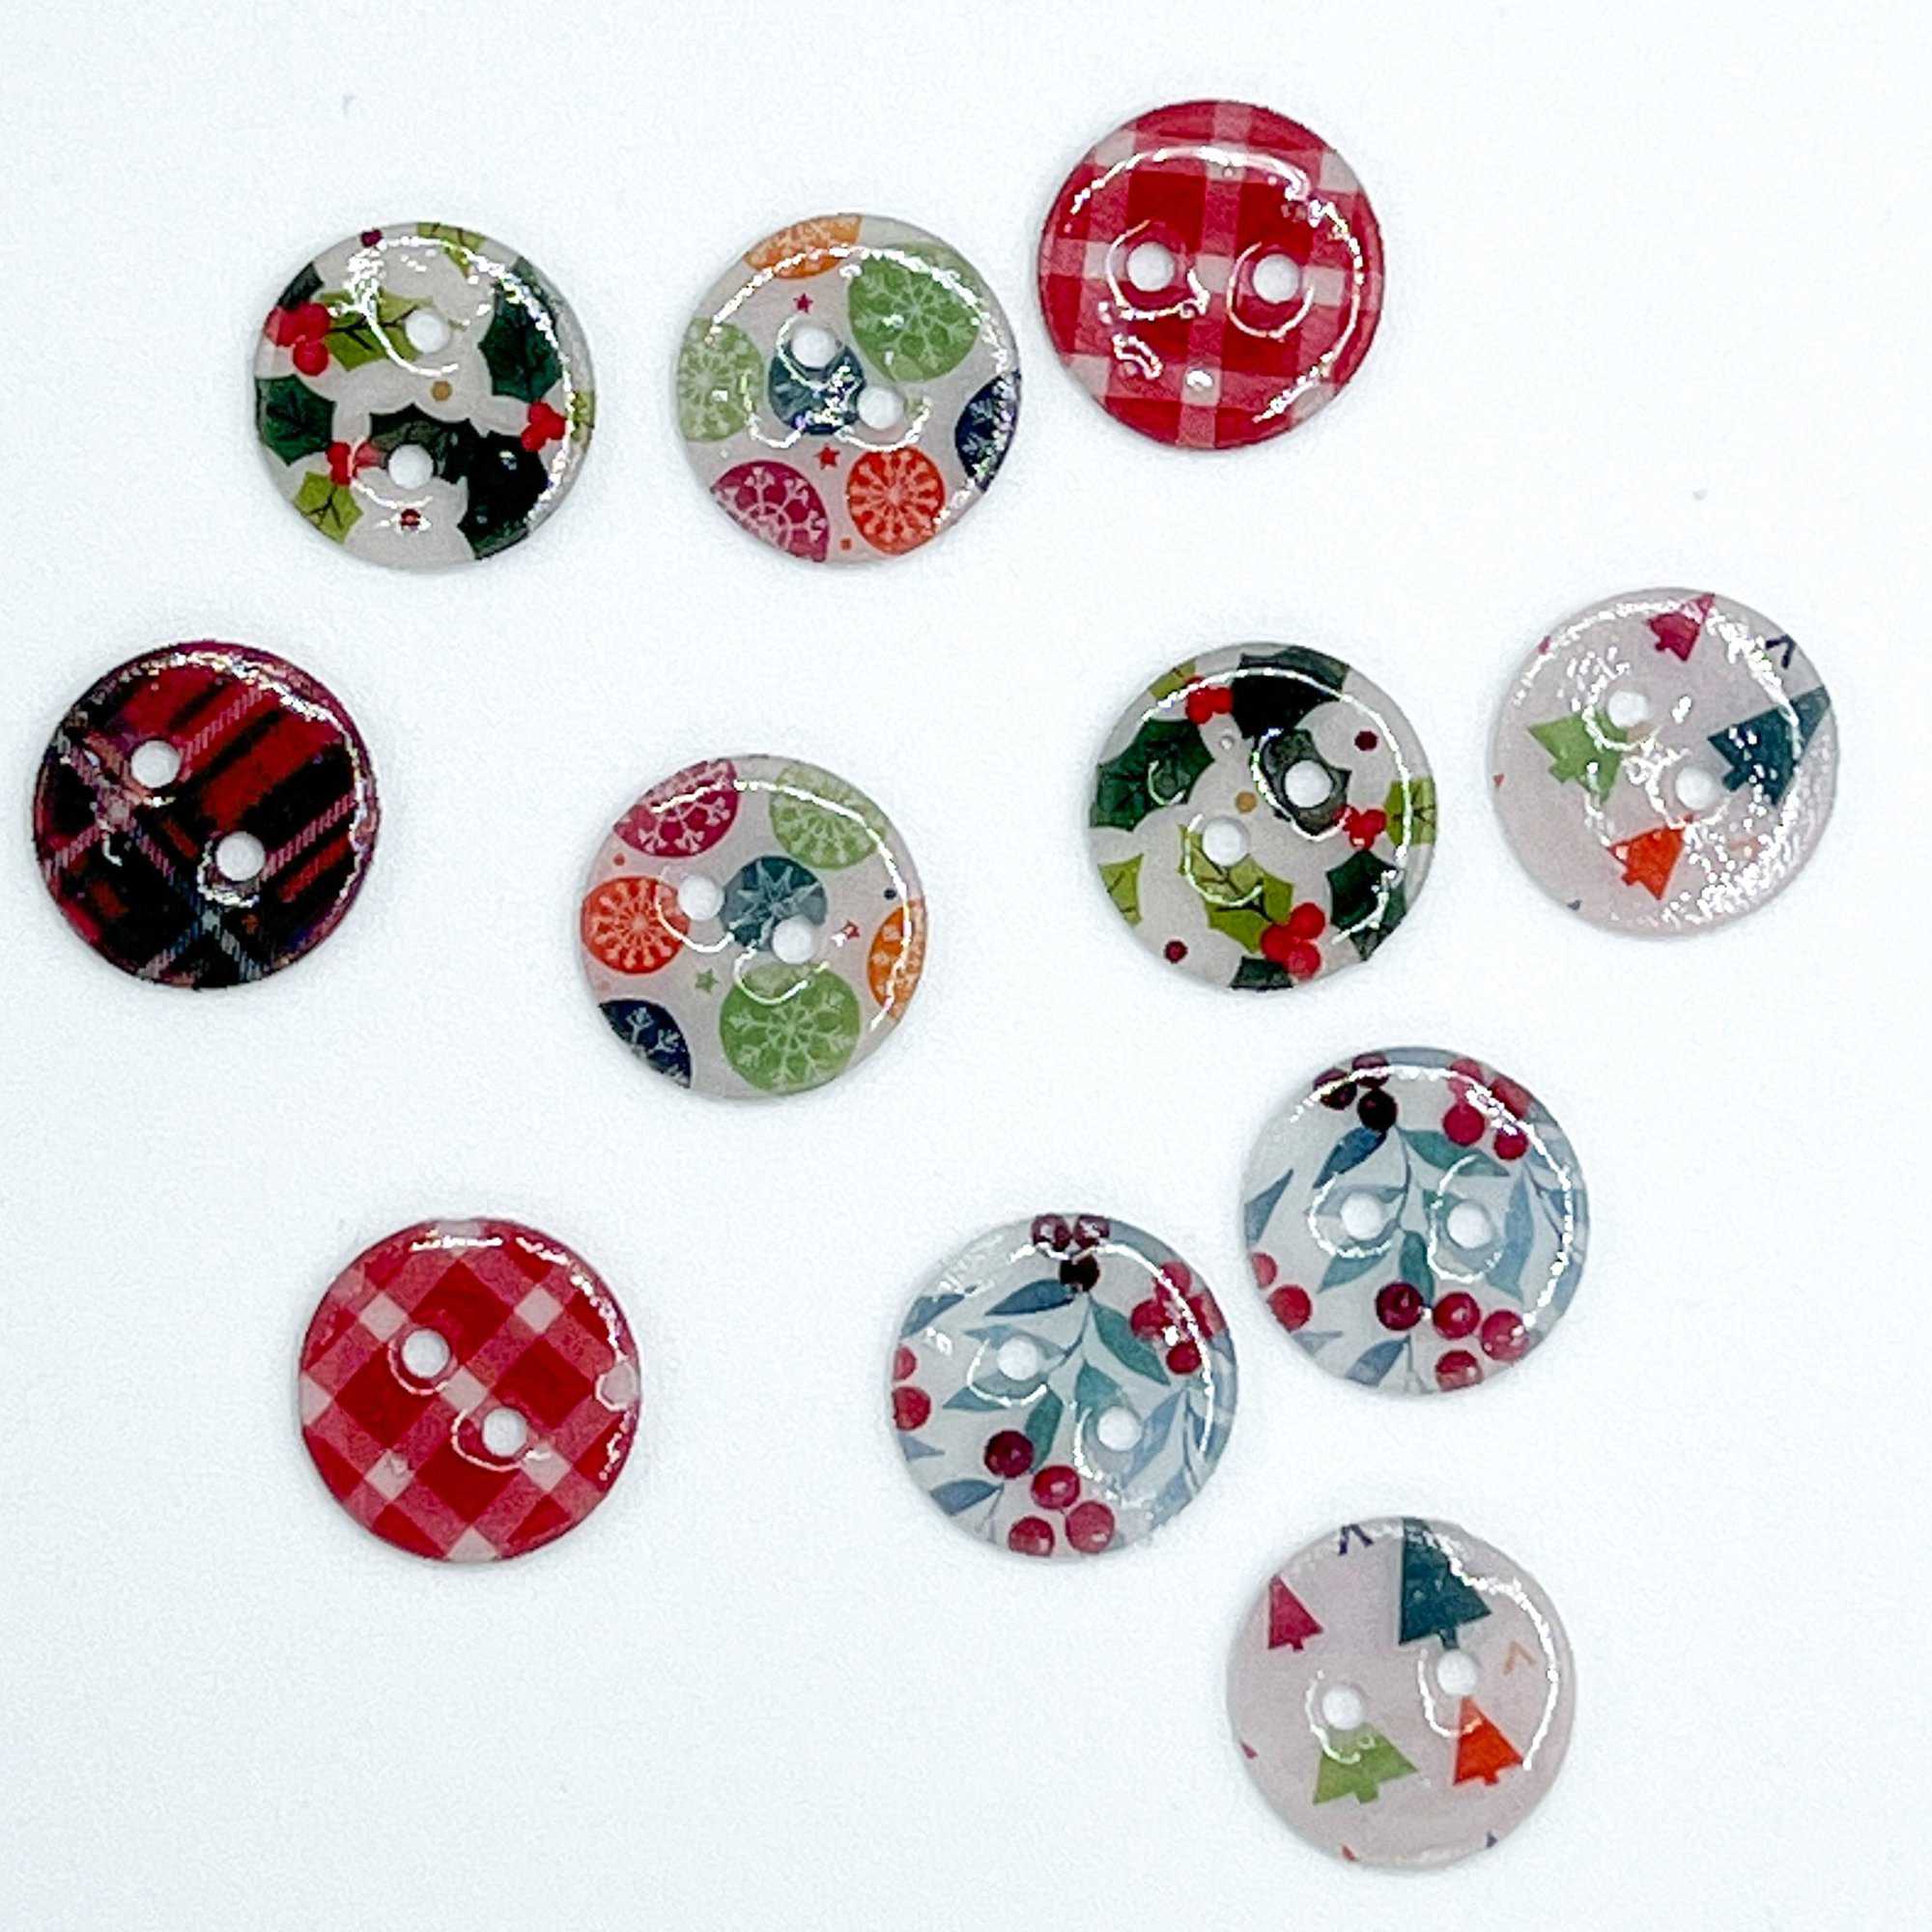
Today, we are bringing you the: Holiday Buttons!
Do you remember playing with Shrinky Dink material when you were younger? You’d draw on plastic film, cut it out and then watch magic happen in the oven as it shrunk down. Well did you know that they make ::printable:: shrink plastic?
You can relive your childhood memories, make something cool, AND have it be sewing related. What beats that?
NOTE: I wouldn’t recommend using these for clothing that will be worn frequently. They aren’t as strong as the buttons that you buy! However, they would be cute for accents on stockings or garments. You can even make wine glass charms or pendants.
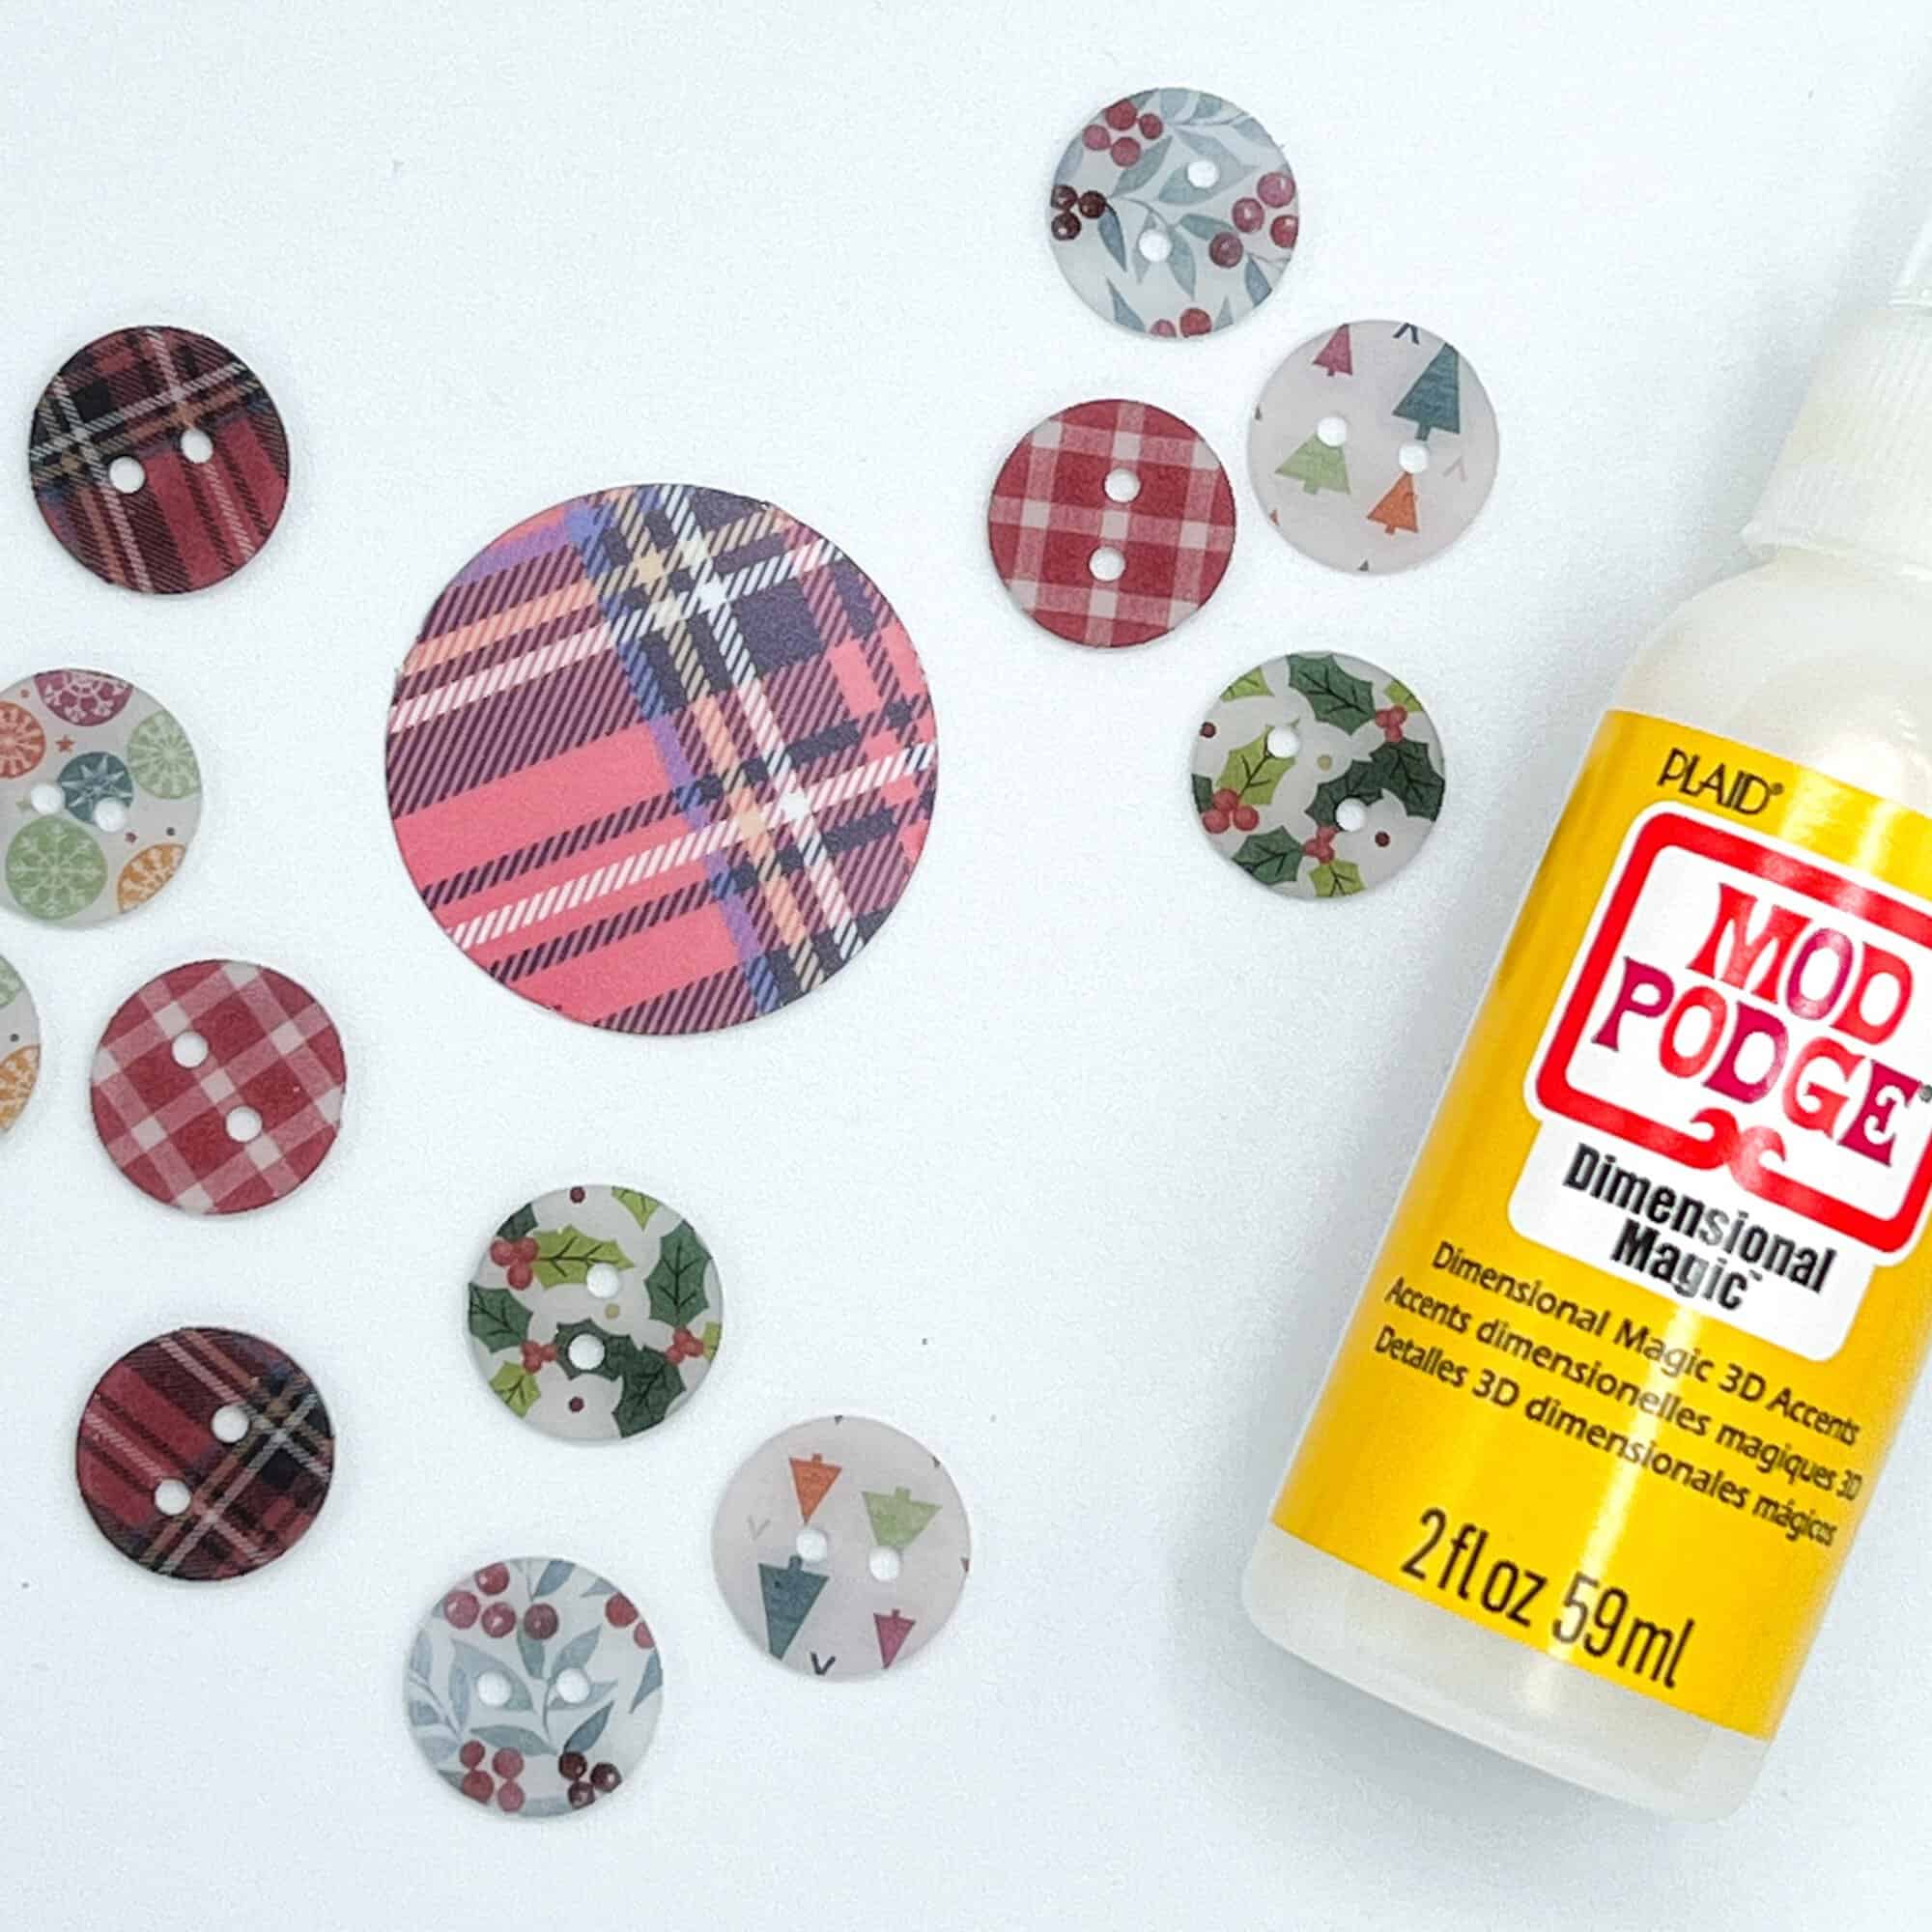
Material Requirements / Recommendations: Printable Shrink Film (Grafix is a great brand, but sometimes harder to come by) + Mod Podge Dimensional Magic
Grab Your Printable Button Download Here: Holiday Buttons graphics
TUTORIAL:
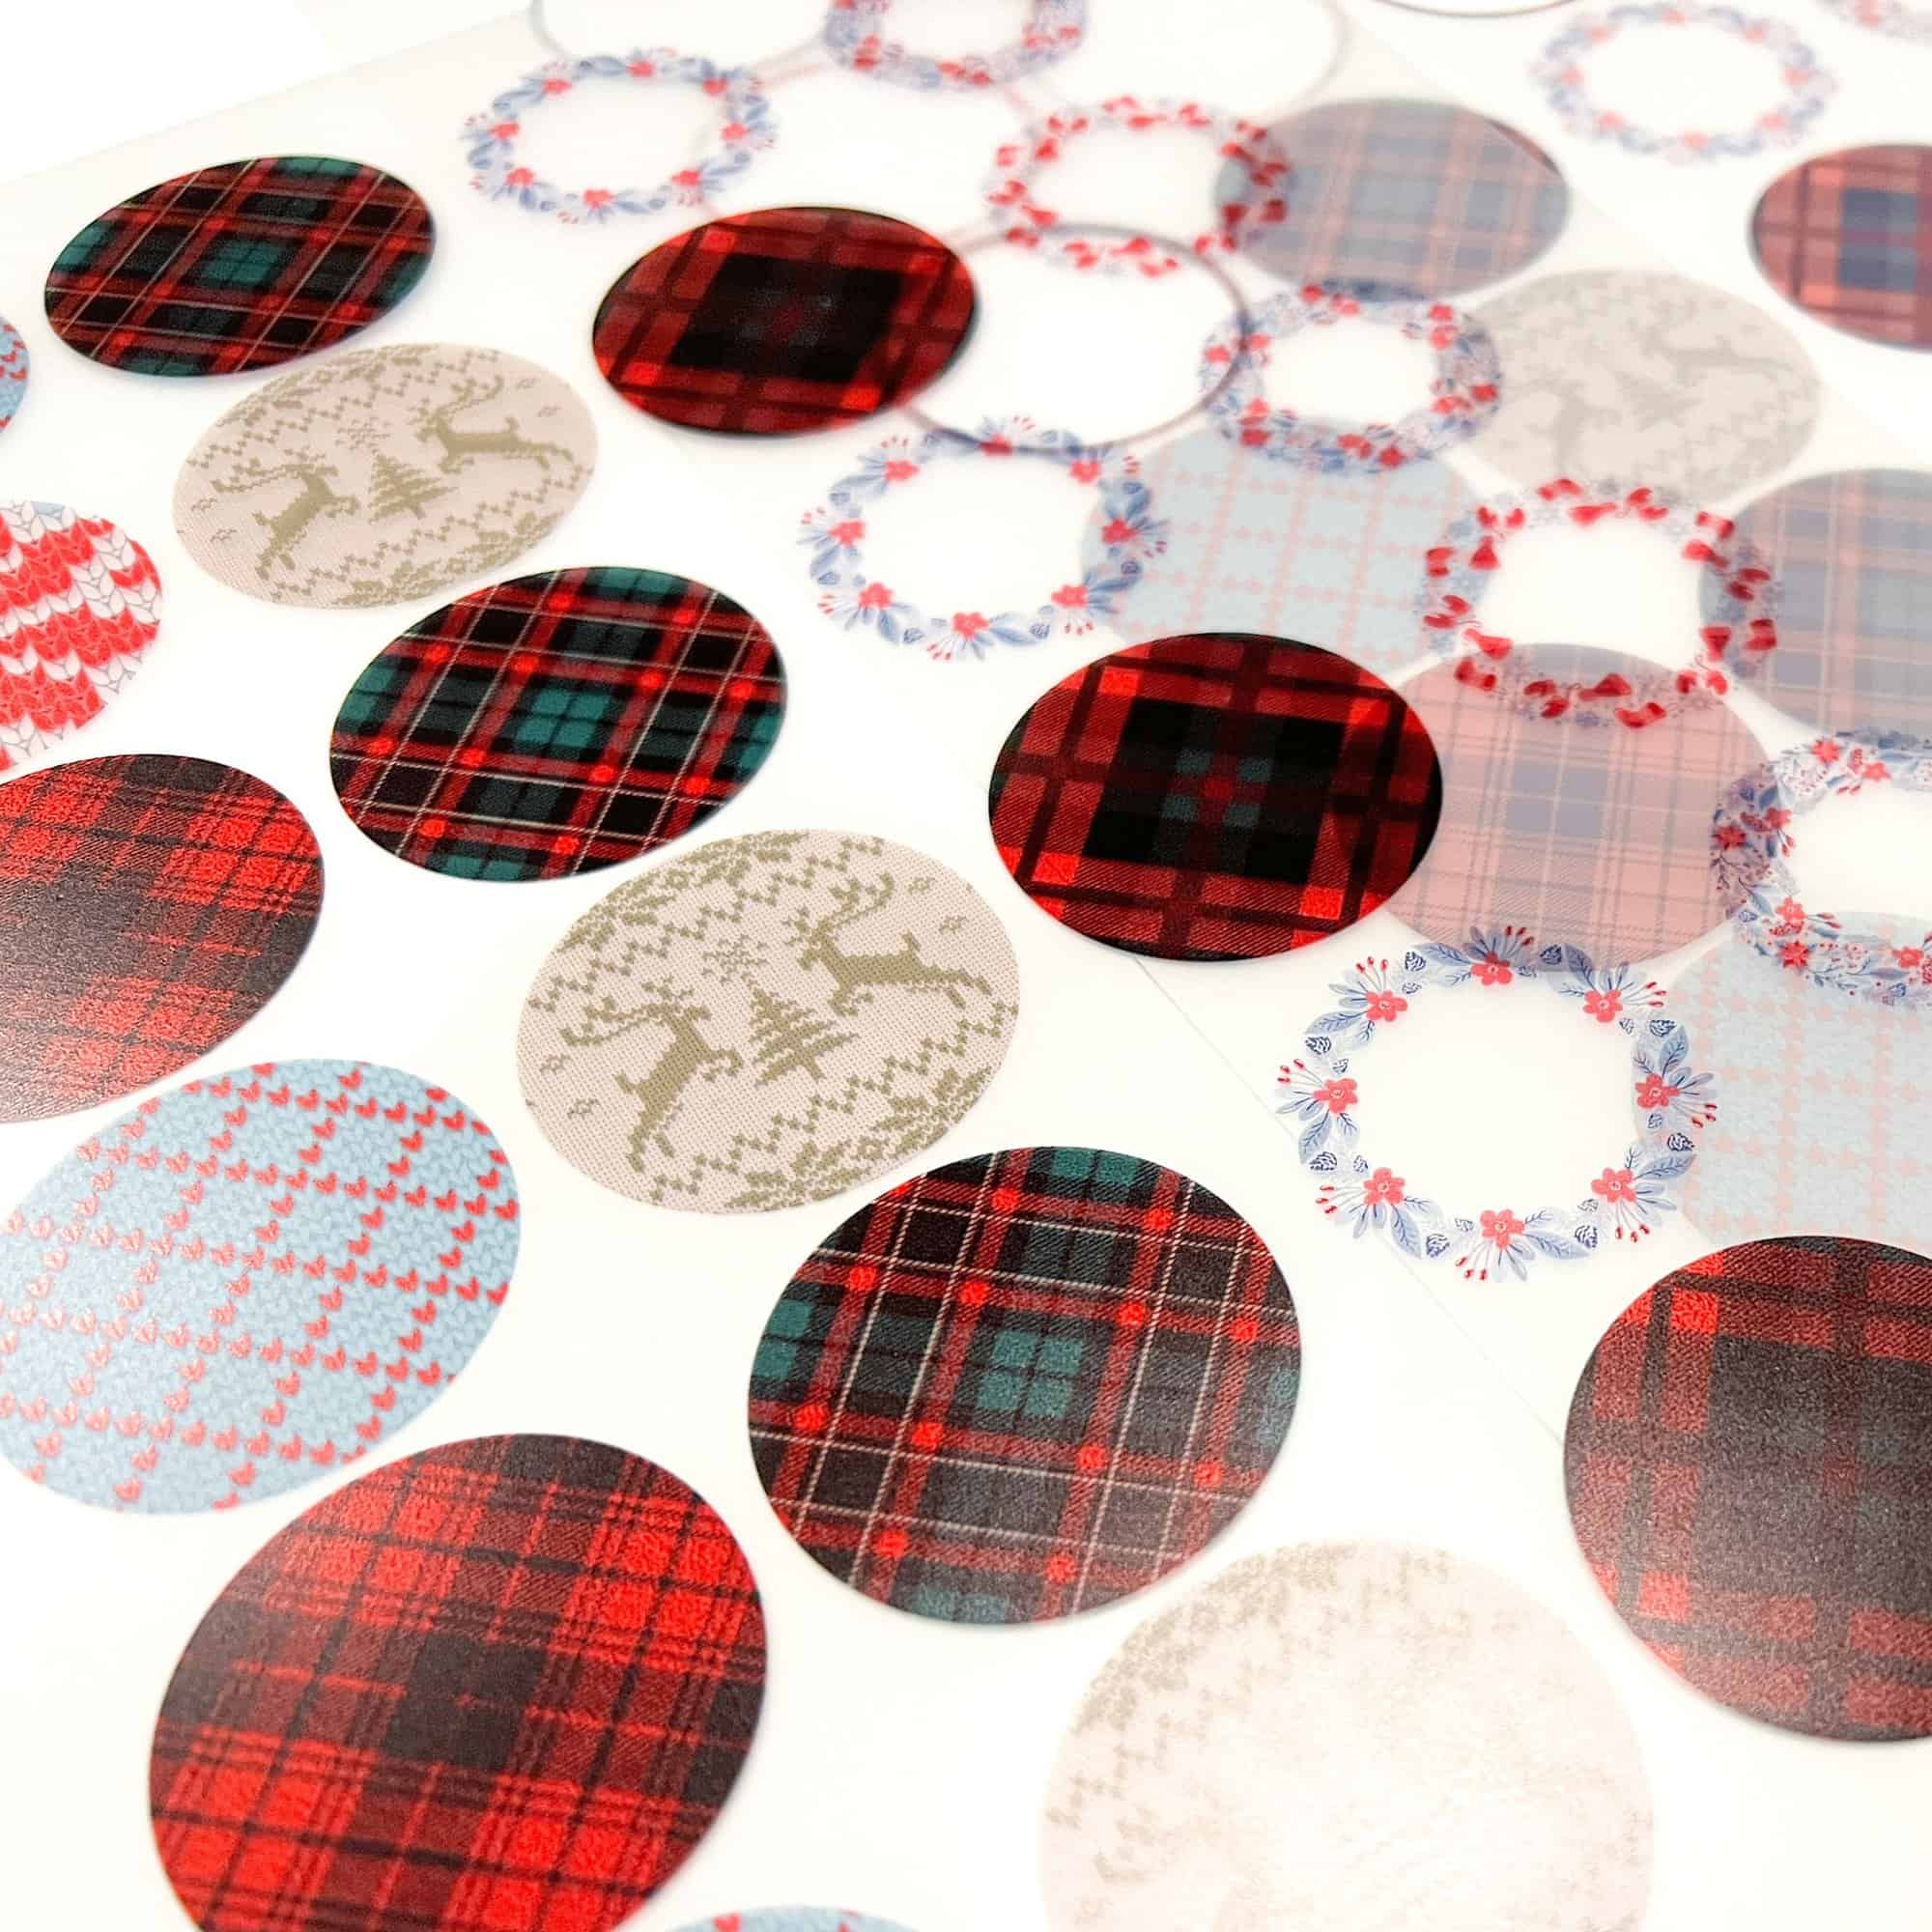
Layout button graphics in your design software of choice – Canva, Silhouette, Word, etc. Set the design transparency to 75%. Colors will become more vibrant when the buttons shrink.
Buttons will shrink to 20% of their original size – so determine how large you want your final button to be and calculate accordingly. My examples started at 1 1/2″.
Print each button slightly larger than your hole punch size, if not using scissors or a cutting machine. That will make it a bit easier to punch your buttons with edge-to-edge designs.
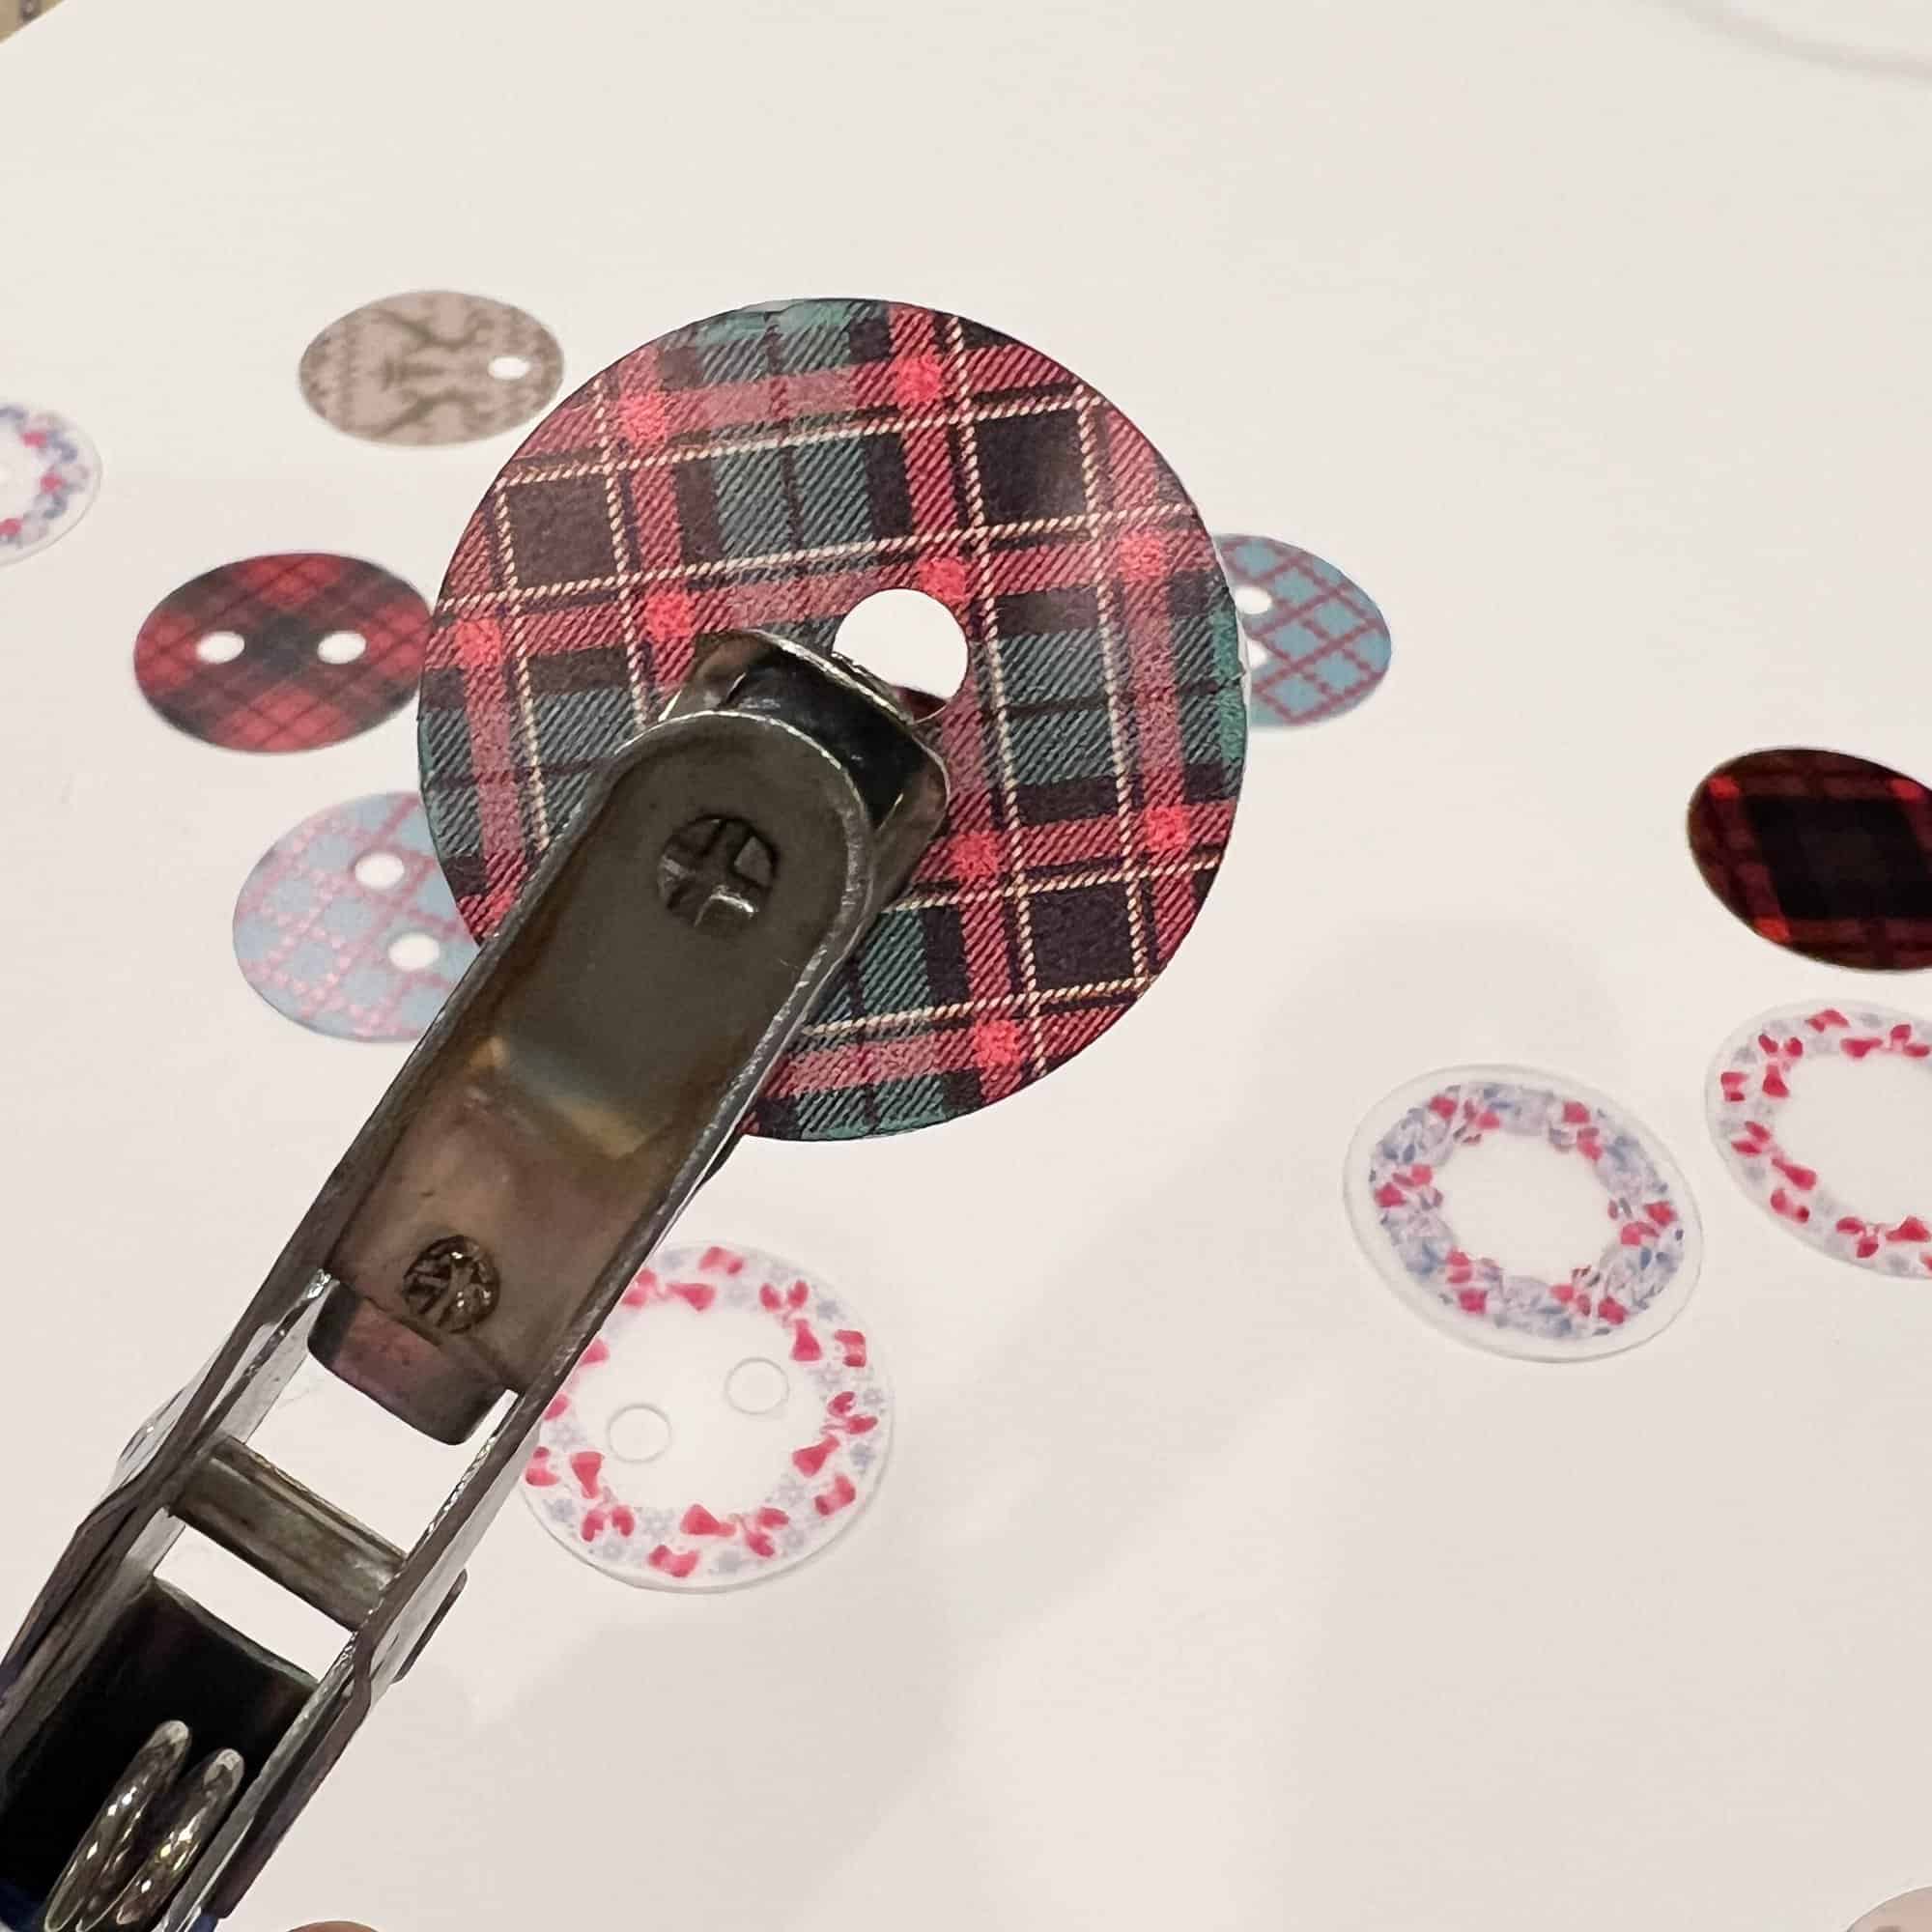
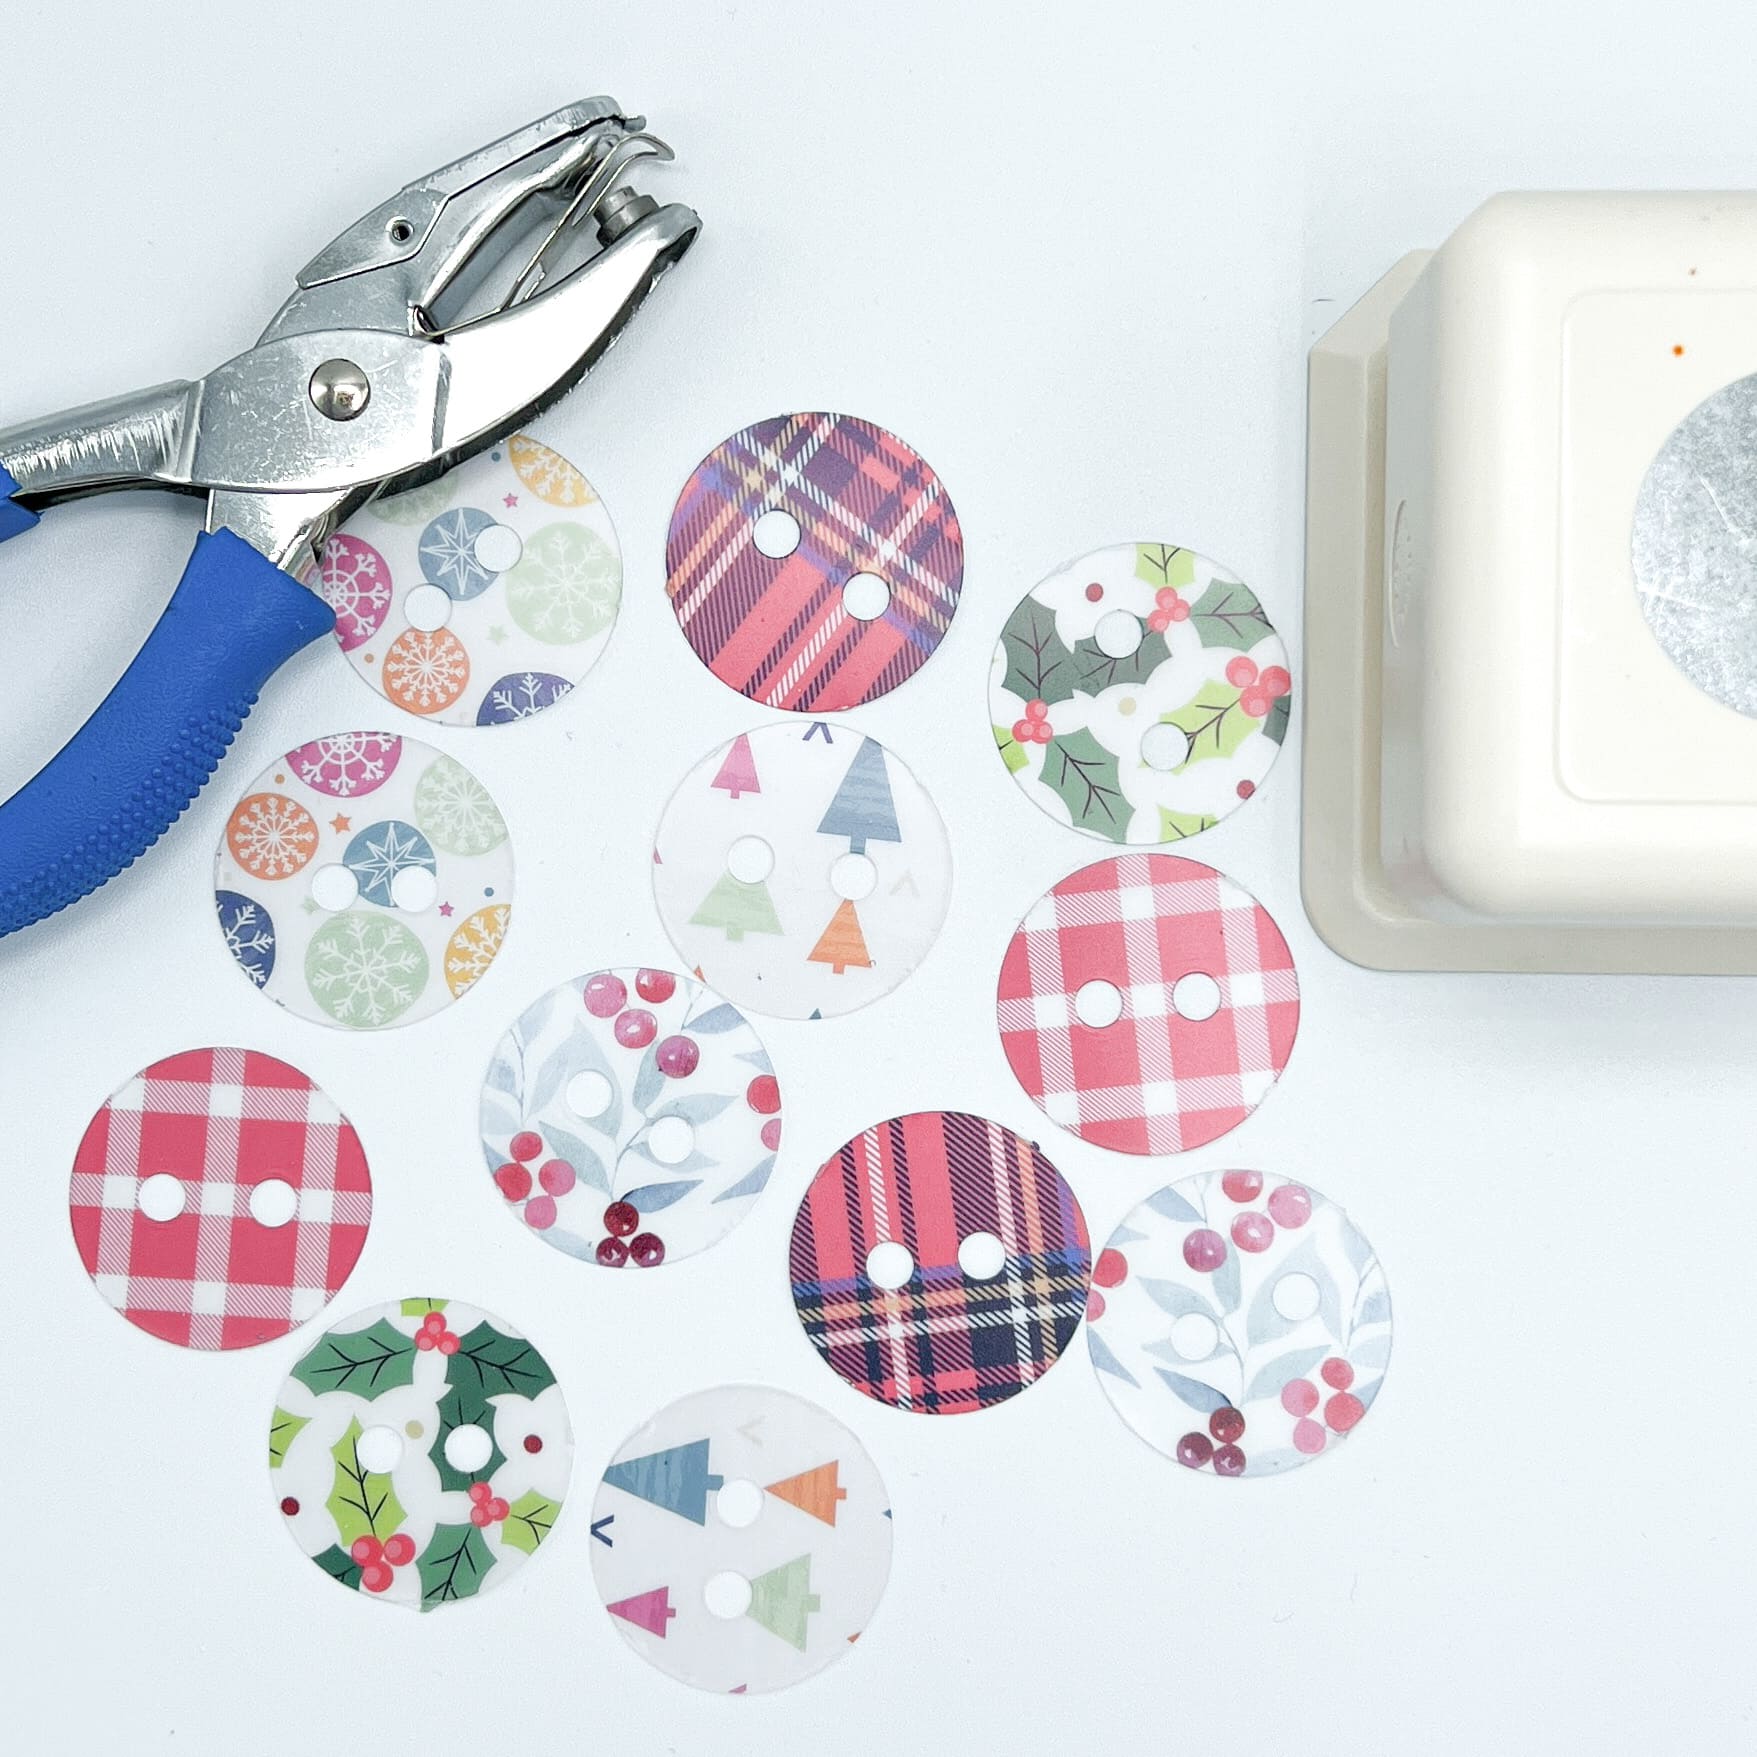
Use a smaller hole punch for your button holes. You can also make charms for a necklace or wineglasses – just punch one hole closer to the edge, rather than 2.
I used a 1 1/2″ hole punch and a 6mm hole punch.
Shrink according to package directions. TIP! Place a heavy book on top of your buttons immediately upon removing from the oven to help flatten them out.
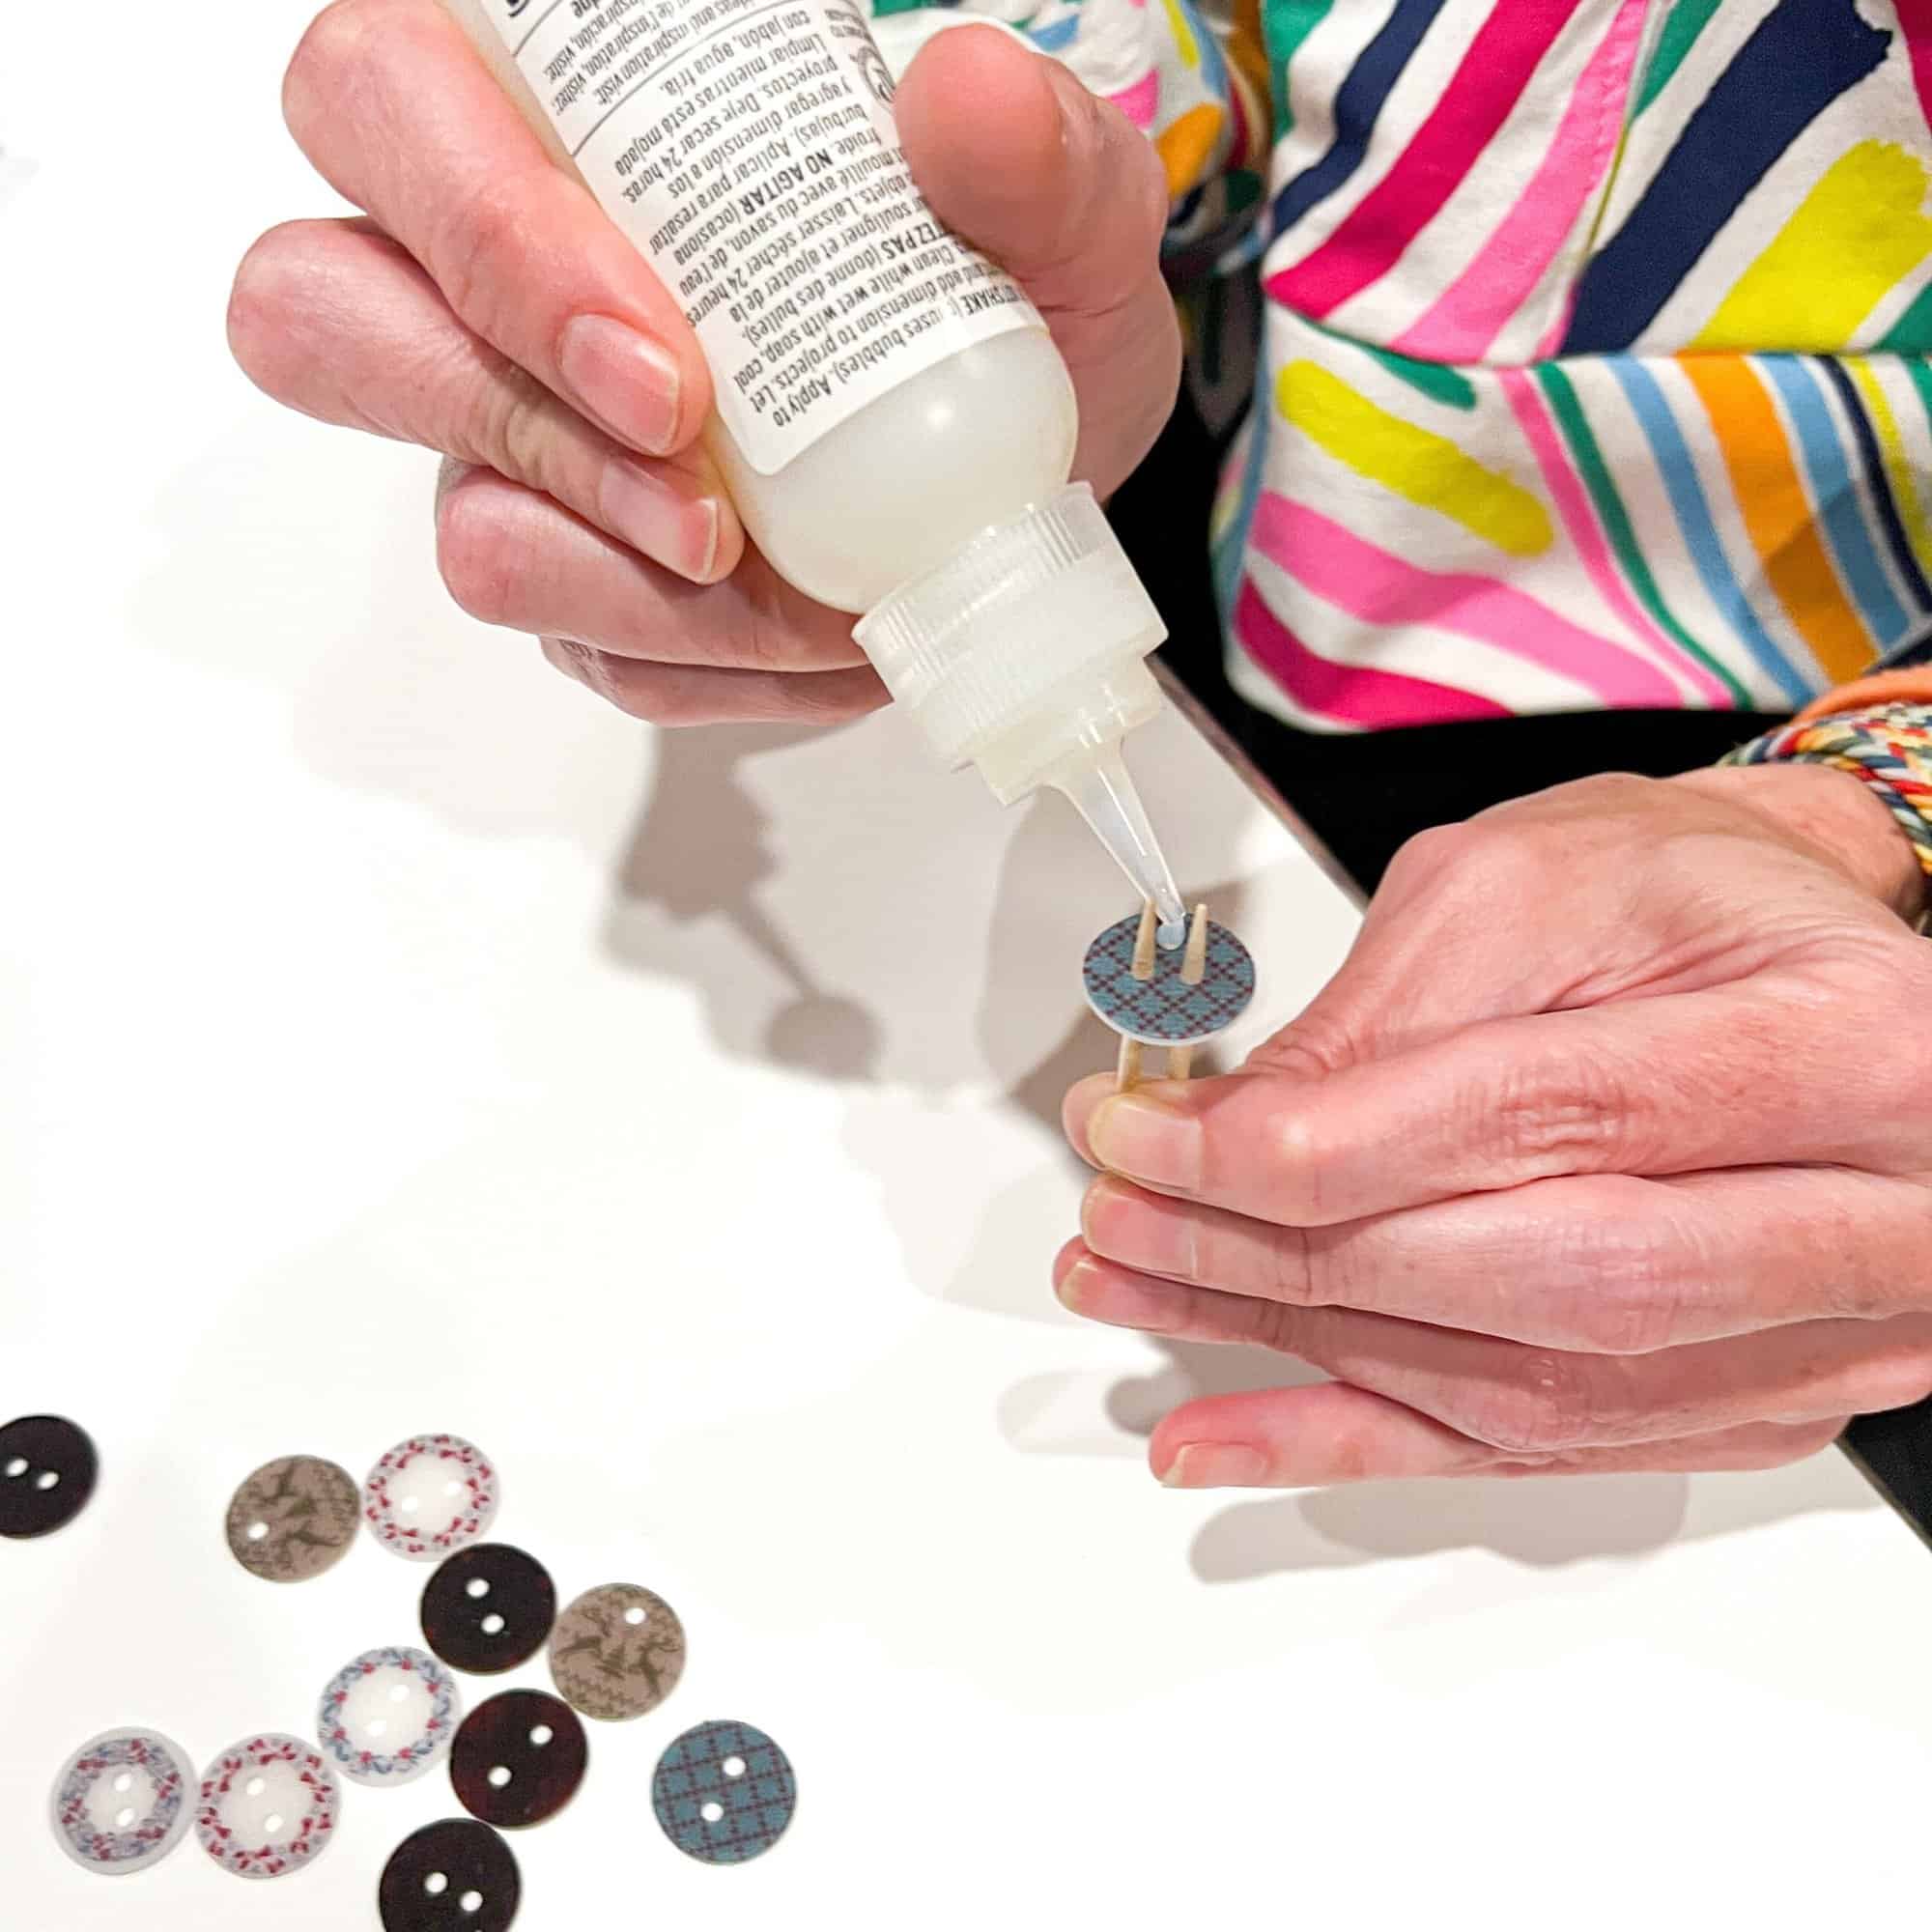
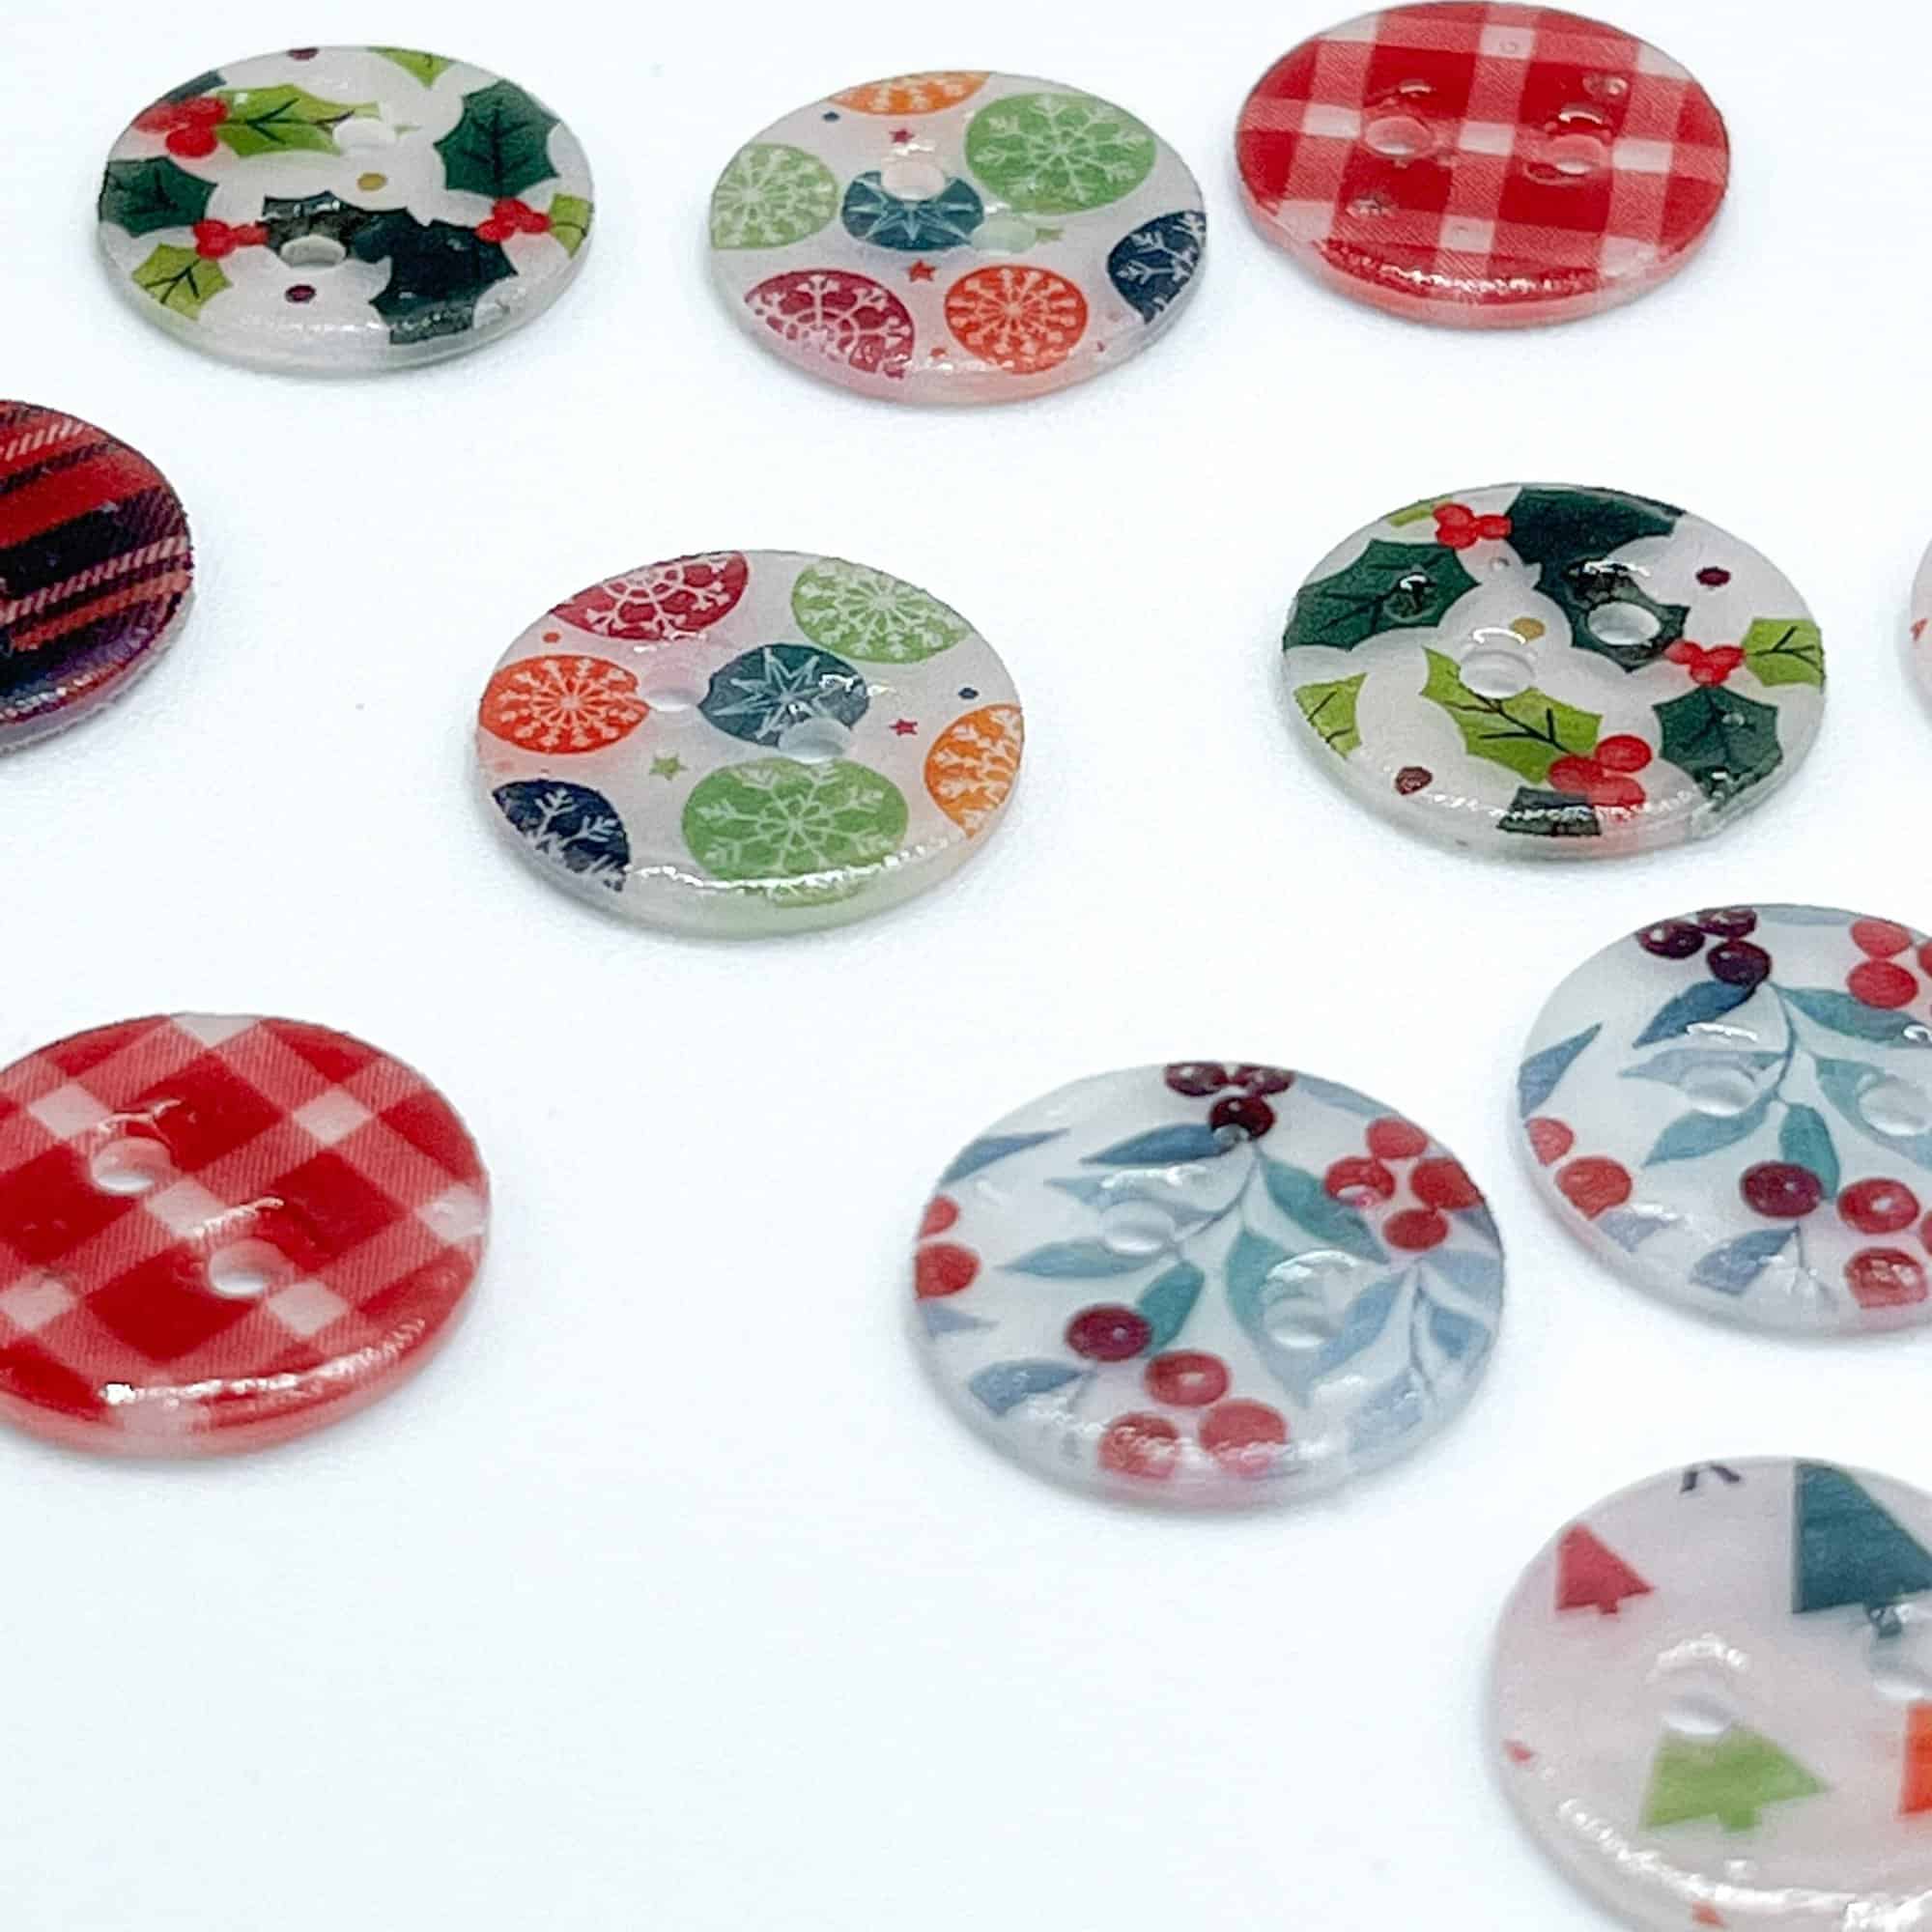
Use Mod Podge Dimensional Magic to seal and glaze your buttons.
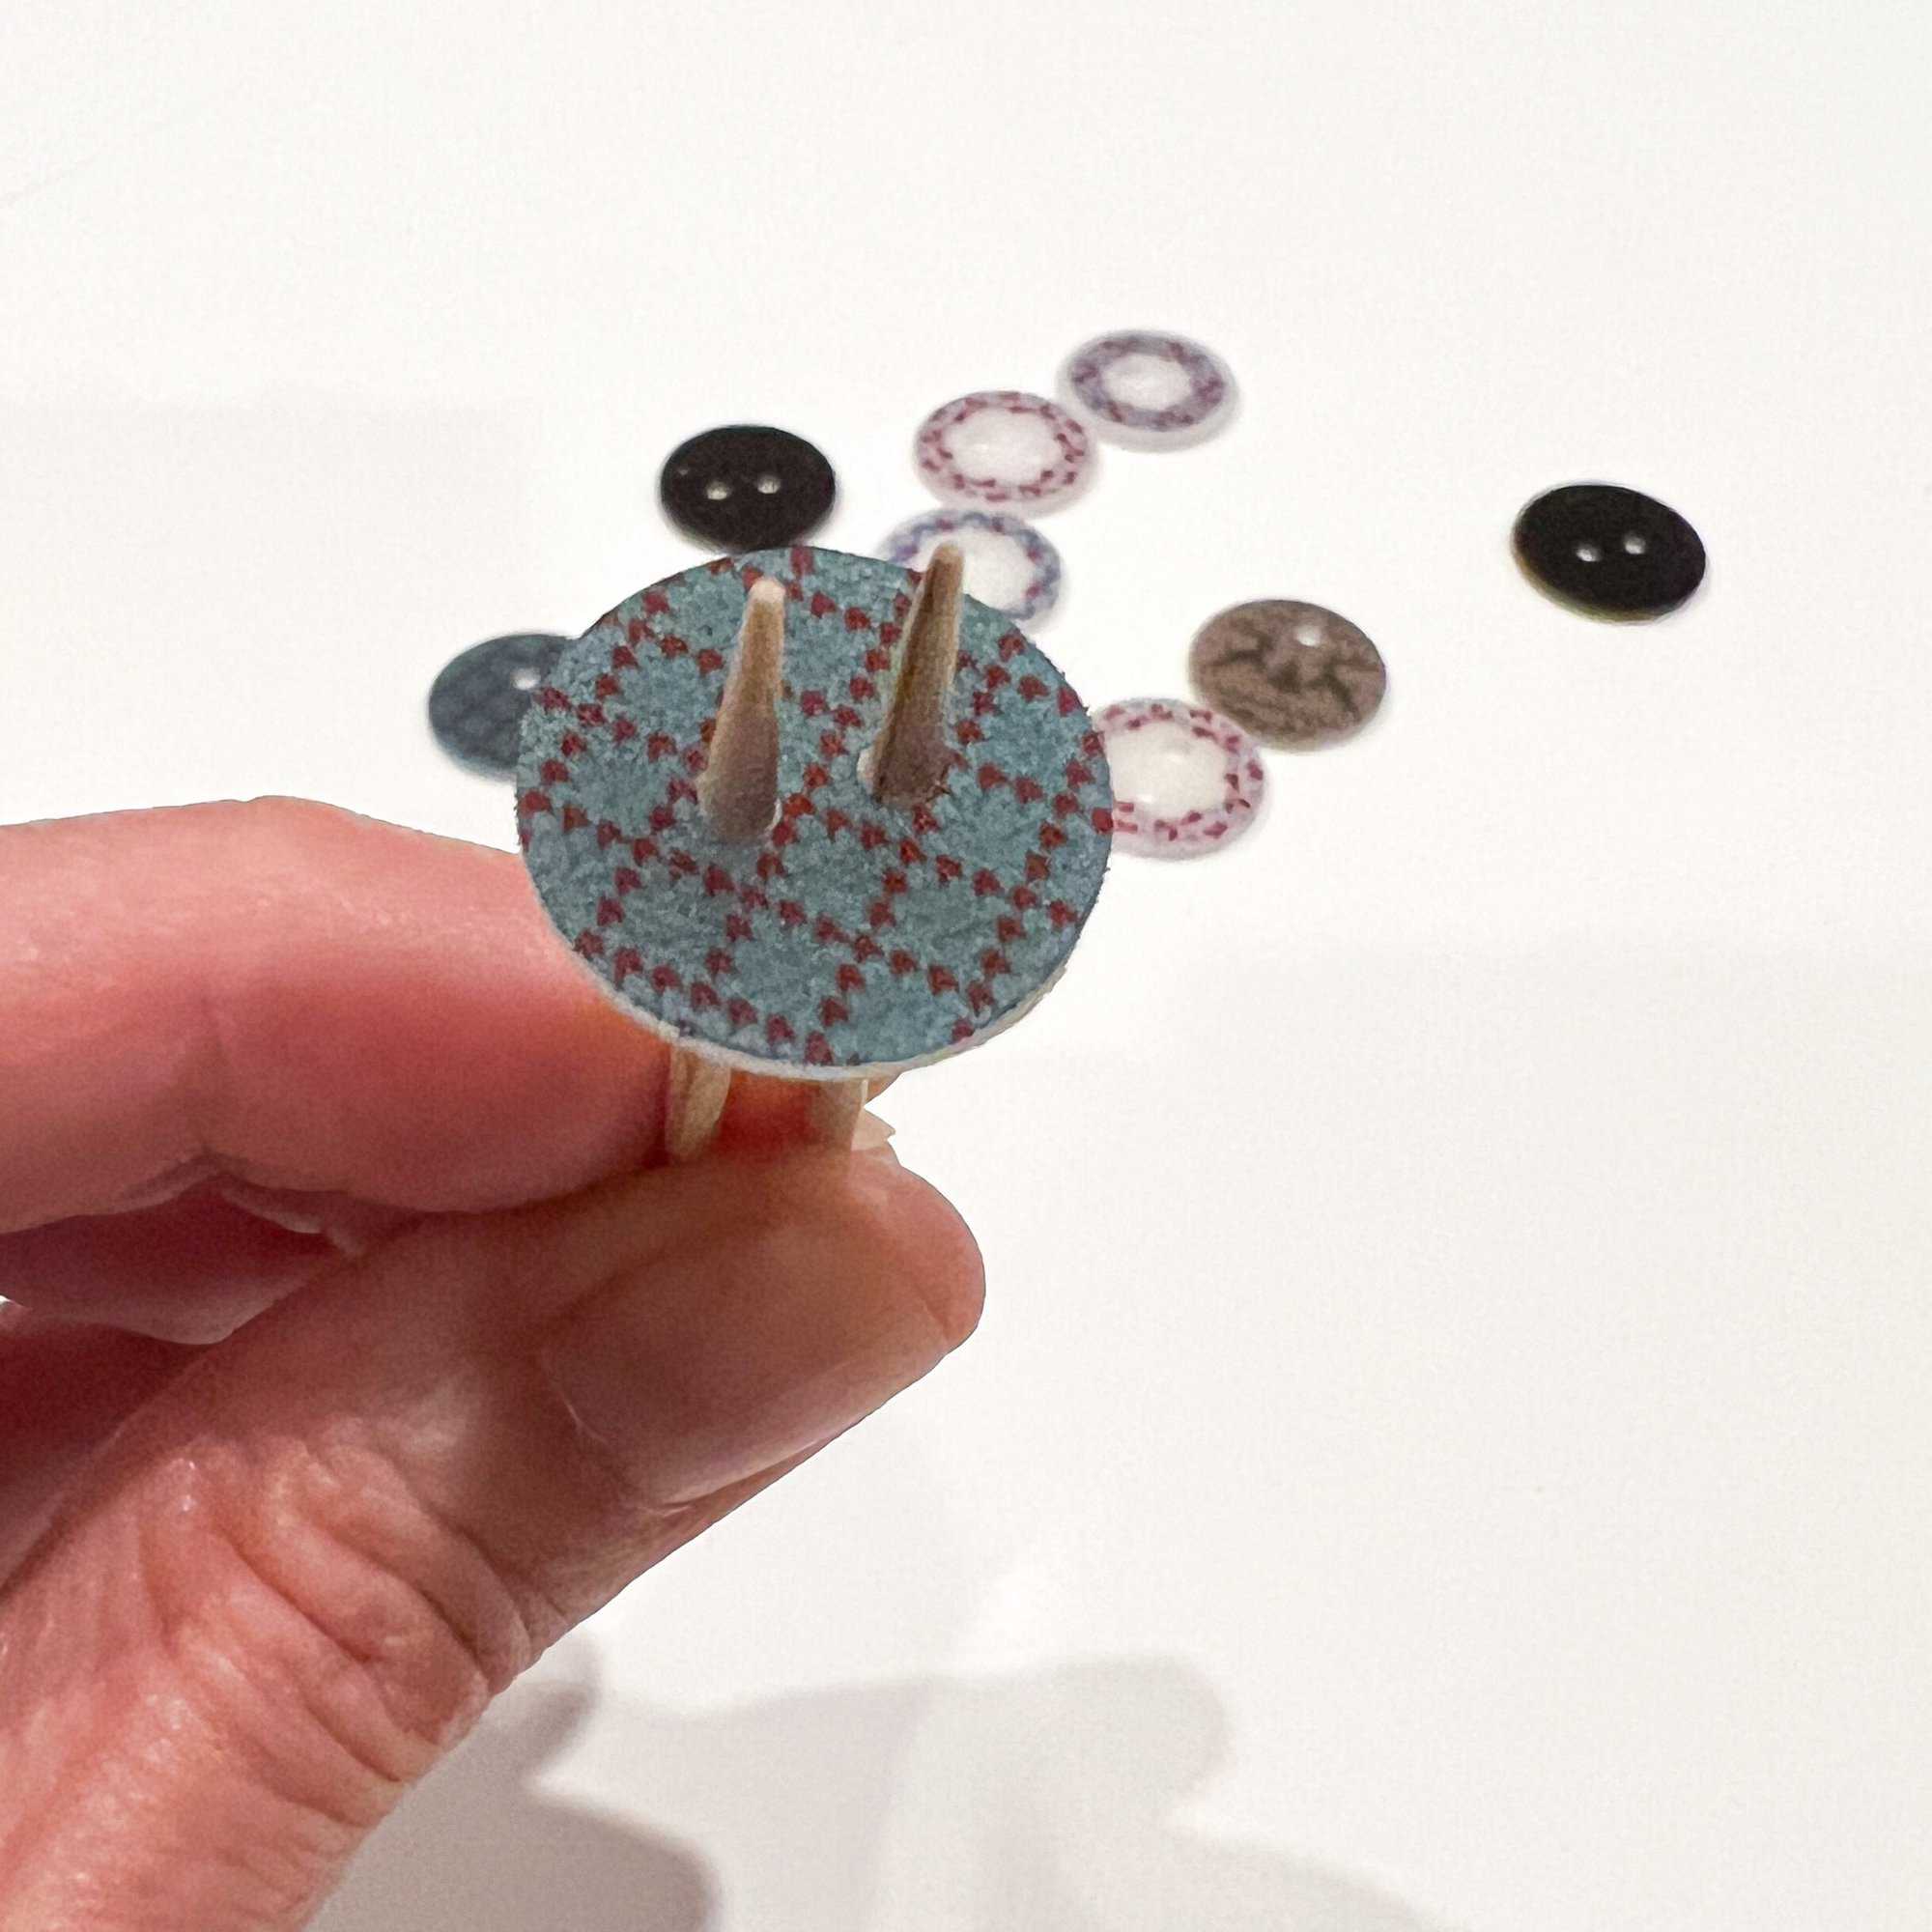
Use 2 toothpicks to hold your button and keep the holes free of Dimensional Magic.
Don’t over apply Dimensional Magic! It will flow into the holes and clog them as they dry.
Carefully remove from toothpicks and allow to dry for 24 hours.
Enjoy your festive buttons!
I la-la-love when you share your photos with me! Head over to the Patterns for Pirates Facebook Group and show us what you’ve made!
Happy Holidays, Pirates!



This looks so fun! Can’t wait to try it!
have you ever had cut circles turn into ovals when baked? I have my Cricut cutting circles and when I bake them, I get ovals! what!!