Happy Holidays, Pirate Friends! We are excitedly back for another year and another round of holiday freebies to share with you! Over the years, we’ve compiled different tutorials and patterns that we think would make *perfect* gifts for your friends and family. Curious about what we’ve already released in the way of holiday freebies? Head right here to see all of them: Holiday Freebies Roundup.
Today, we are bringing you the: Hickory Hat!

The Hickory Hat is a classic “aviator” or “lumberjack” style cap. It is available in four sizes, for head circumferences 18″ – 24″ and was drafted for non-stretch fabrics. Grab all of your favorite fun furs + fleeces, because this pattern is perfect for those!
**If using a super plush / thick fabric, you may want to size up — as those fabrics take up a bit more space and leave less room for your noggin.
Supplies Needed:
- Hickory Hat pattern pieces
- 1/3 yard fabric each (outer and lining)
- Optional Buttons
TUTORIAL
Cut all of your pieces. The assembly for the lining and outer cap will be the same for the first few steps.
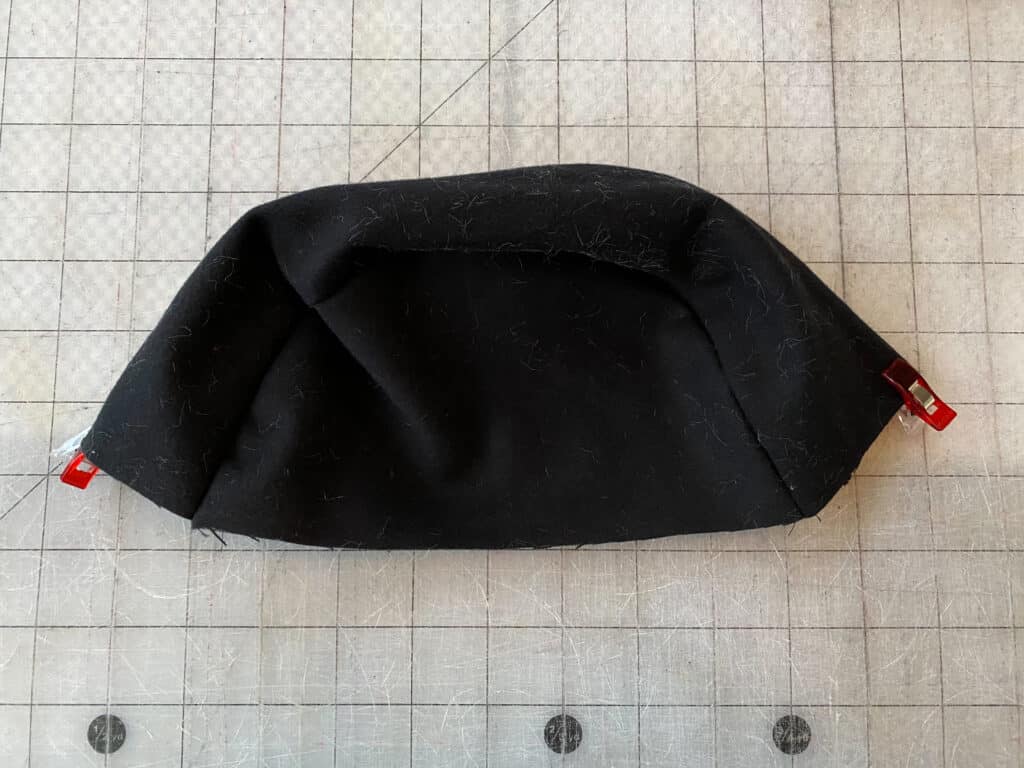
With a pin or clip, mark the middle points of the curved side cap pieces, and both sides of the middle cap of your lining fabric.
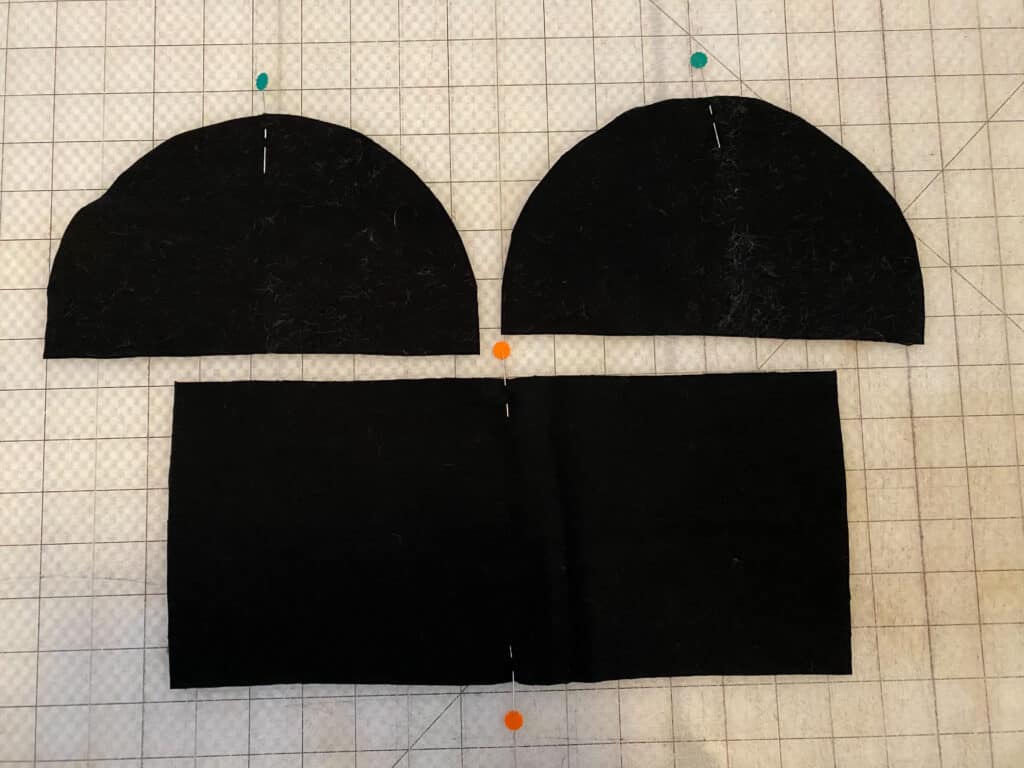
With right sides together, place the side cap piece on top of the middle cap. Aligning them at the center points.
Ease the pieces together, and sew using 1/2″ seam allowance.
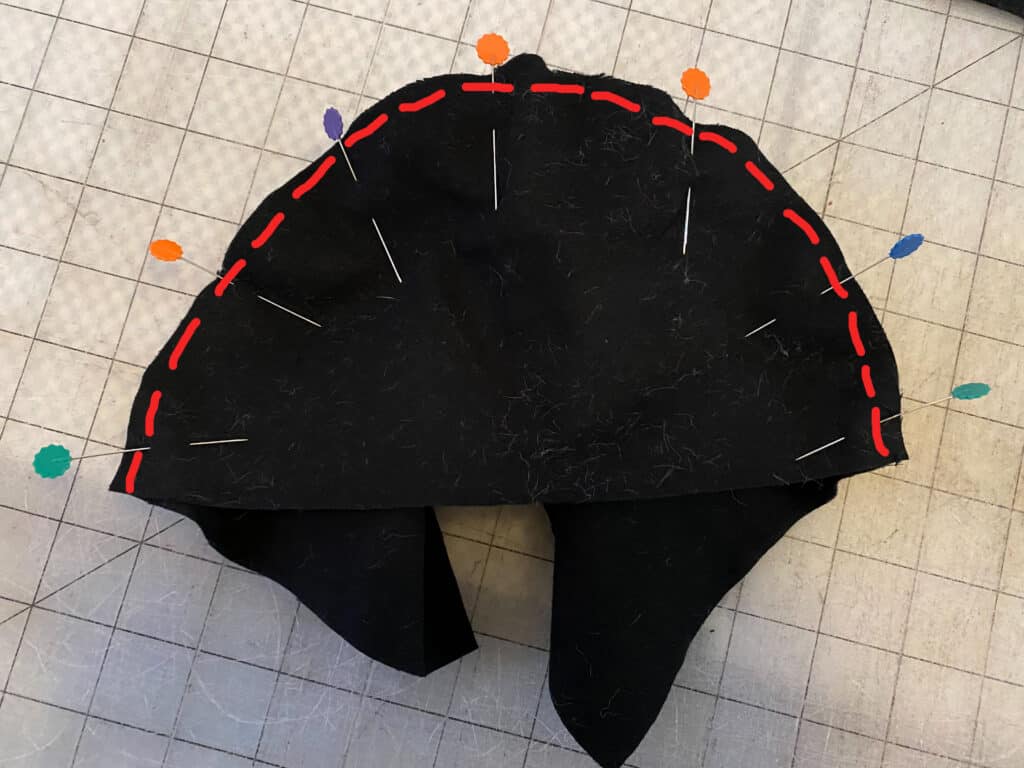
Using pinking shears, or cutting with a “v”, trim excess fabric along curved edge.
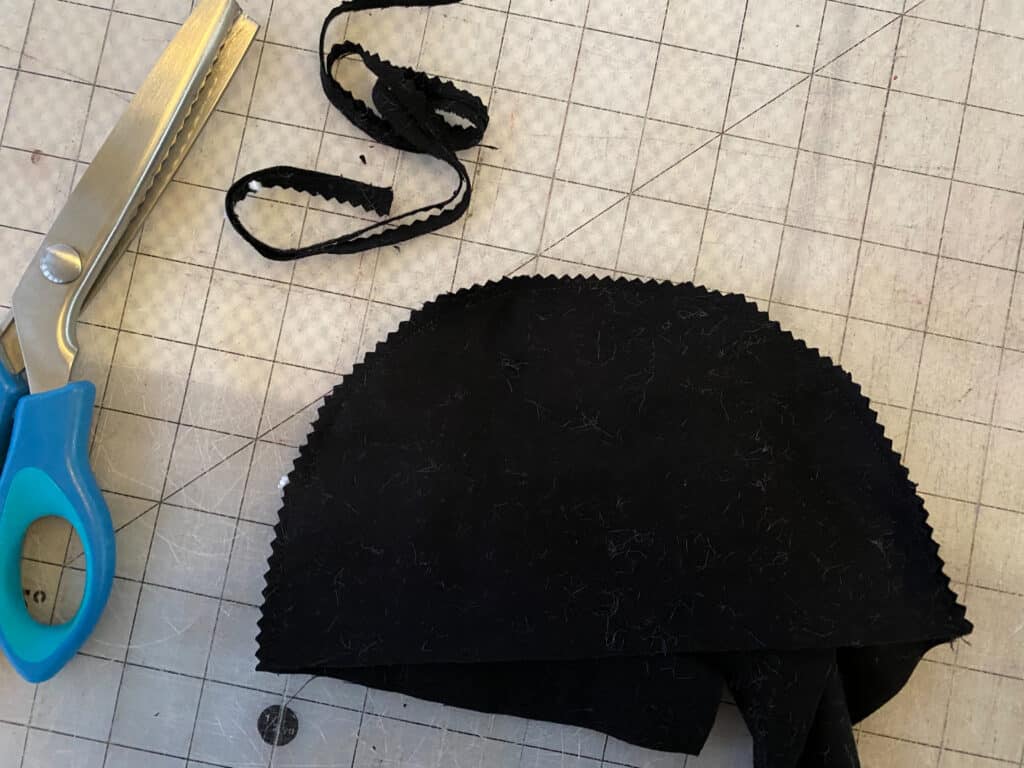
**Repeat with second side cap piece. And repeat all steps with outer fabric.
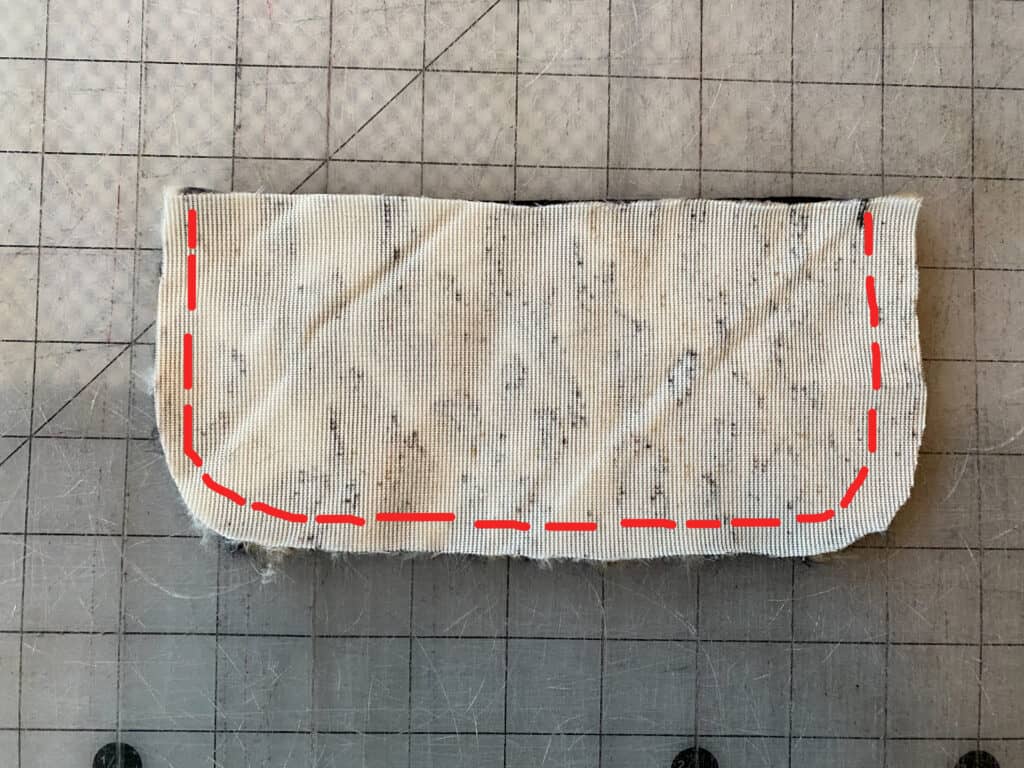
Place the ear flap pieces with right sides together.
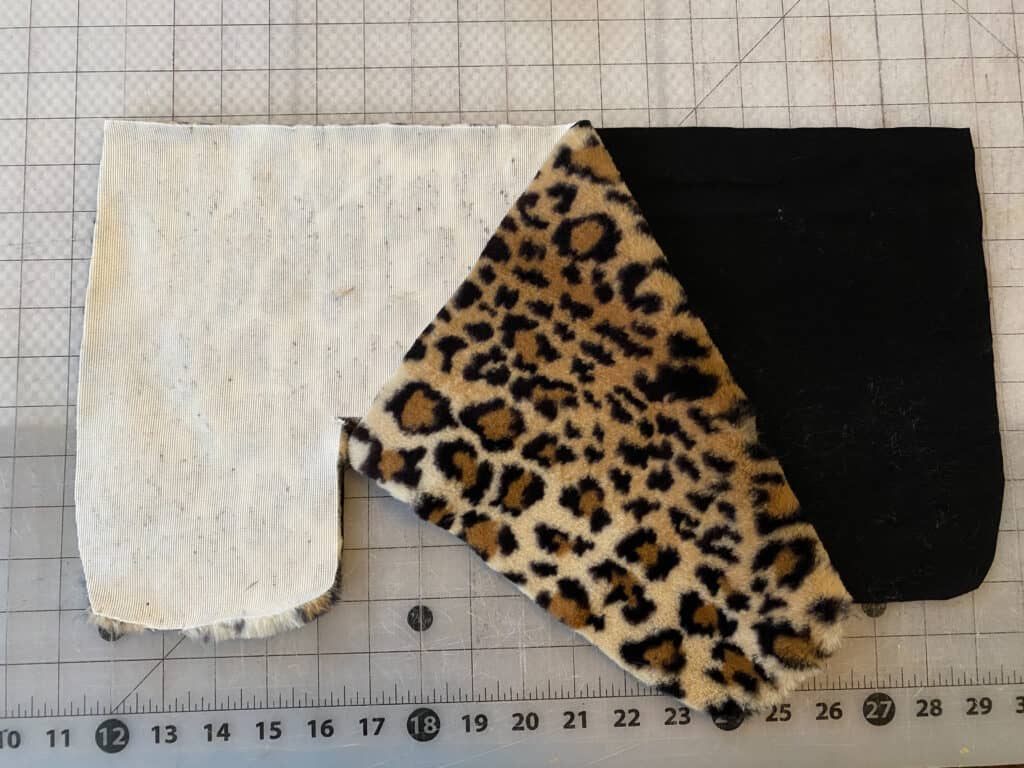
Using 1/2″ seam allowance, sew along entire side and bottom edges. Leave the top, straight edge open.
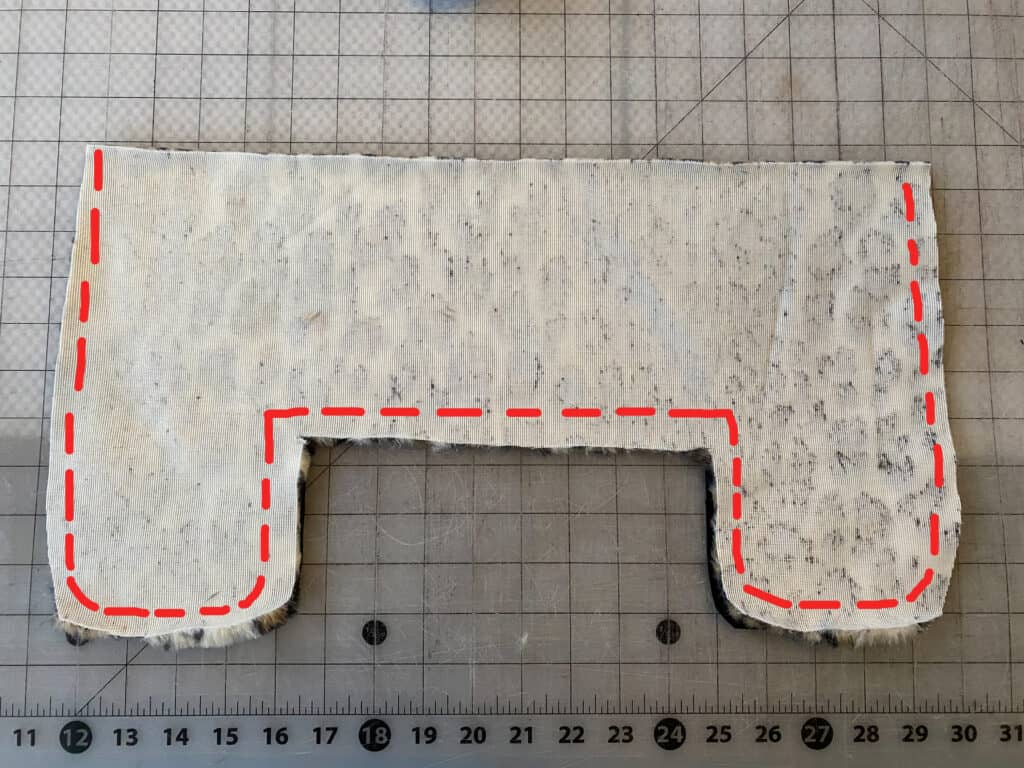
Trim all excess seam allowance, making sure to pay special attention to the corner points. Clip as close to your stitches as you can, without going through them.
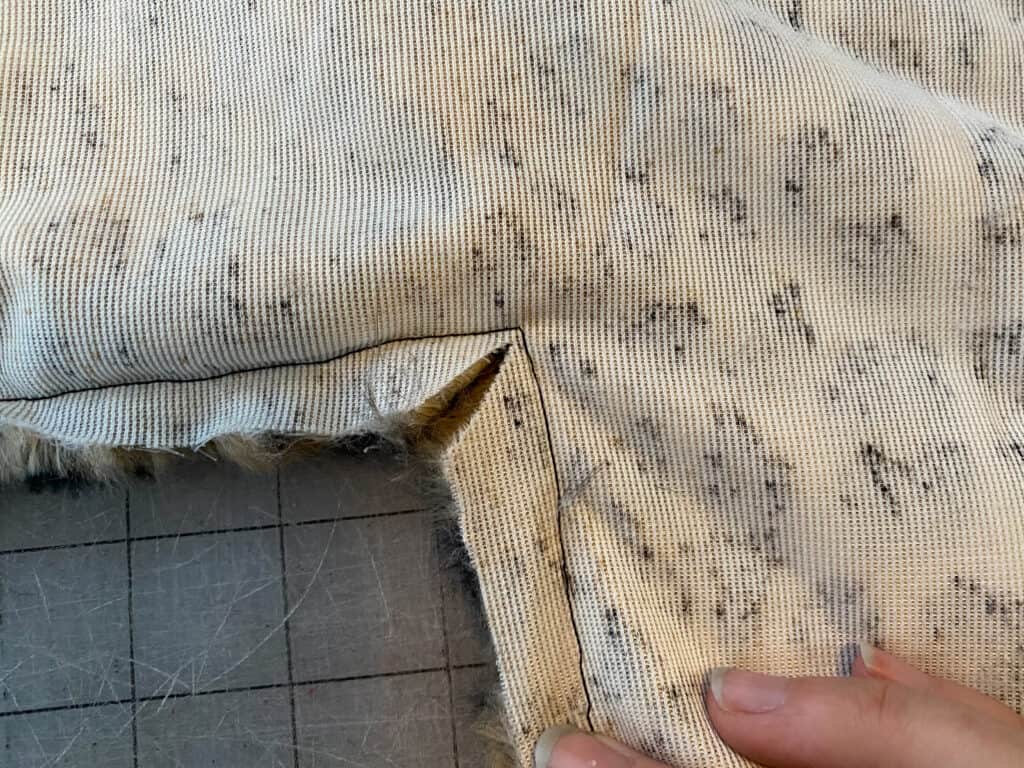
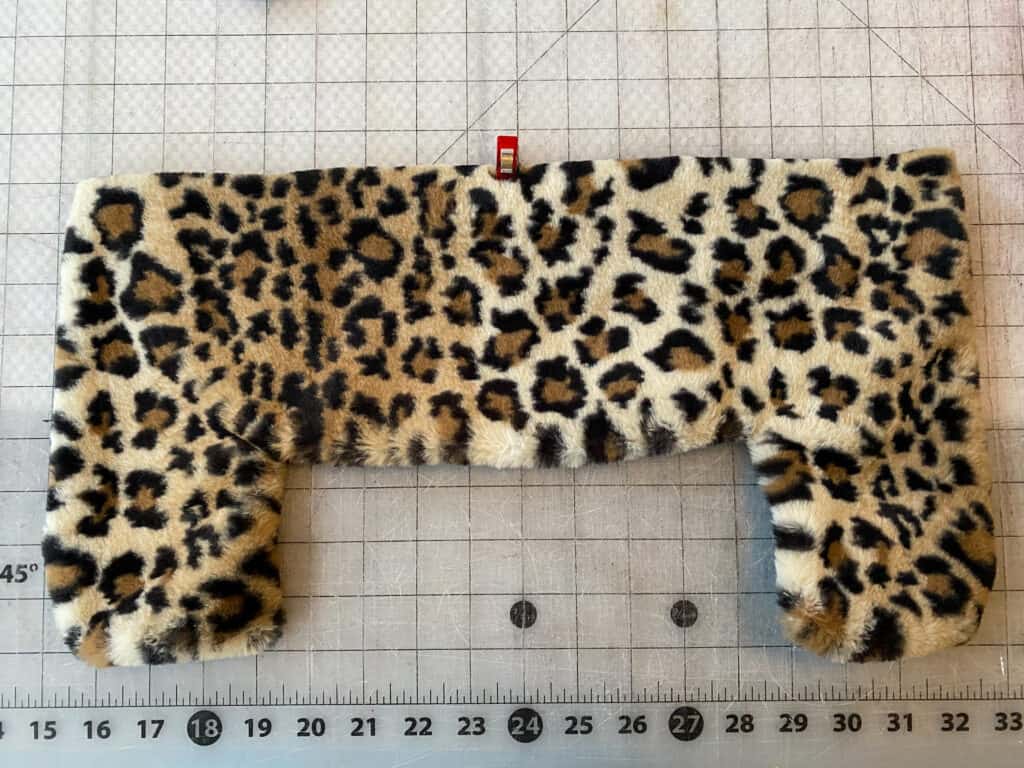
Turn right sides out. With a pin or clip, mark the middle point of the top, raw edge.
Place the brim flap pieces with right sides together.
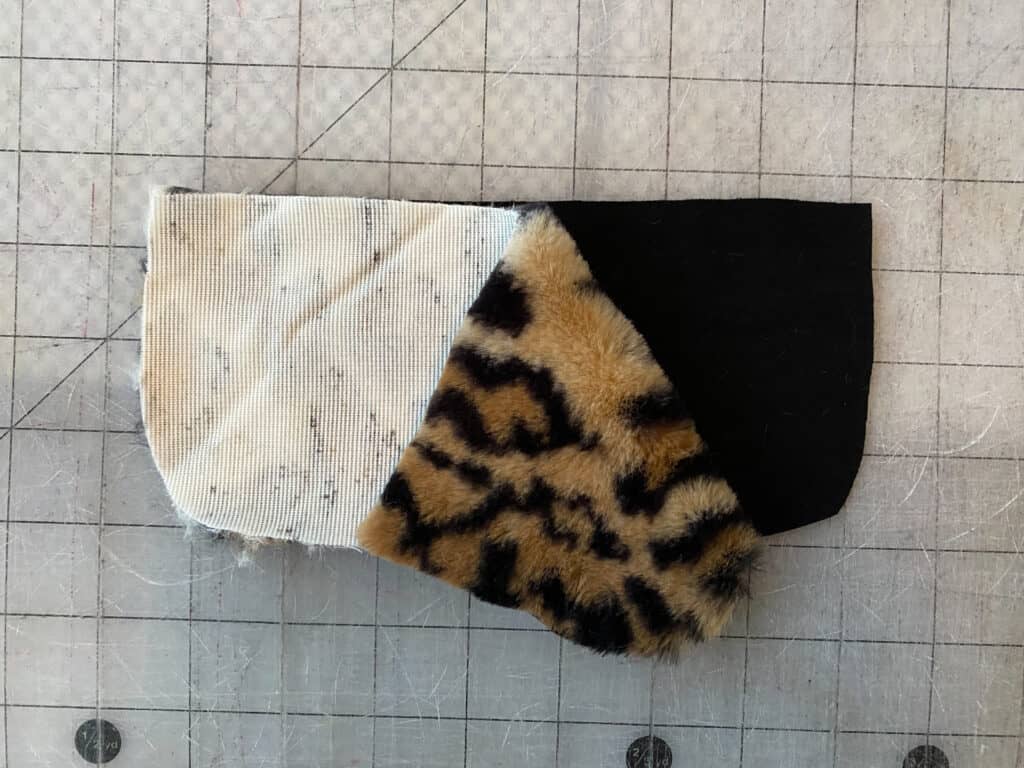
Using 1/2″ seam allowance, sew along entire outer edge, leaving the top, straight edge open.
Clip excess seam allowance. Turn right sides out.
Locate the middle front and back of the cap lining piece and mark with clips / pins.
With lining fabrics right-sides-together, match the ear flap piece to the lining cap piece.
Baste in place.
Repeat with the front flap piece. With lining fabrics right sides together, match front flap piece to the lining cap piece at the middle front point.
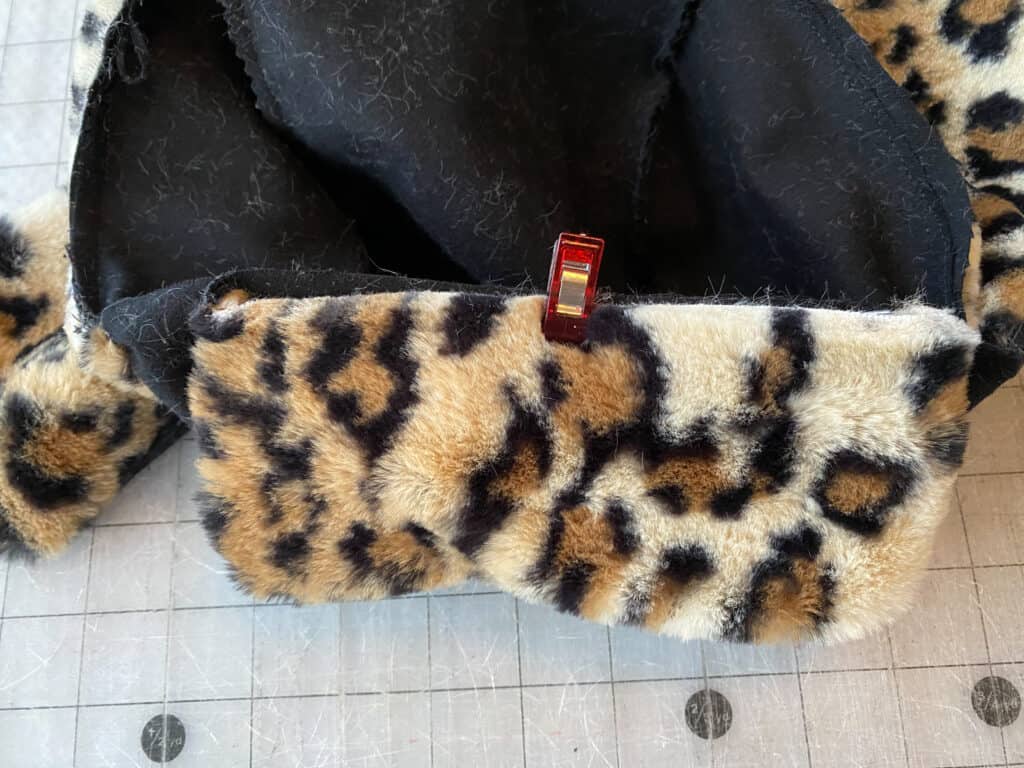
Baste in place.
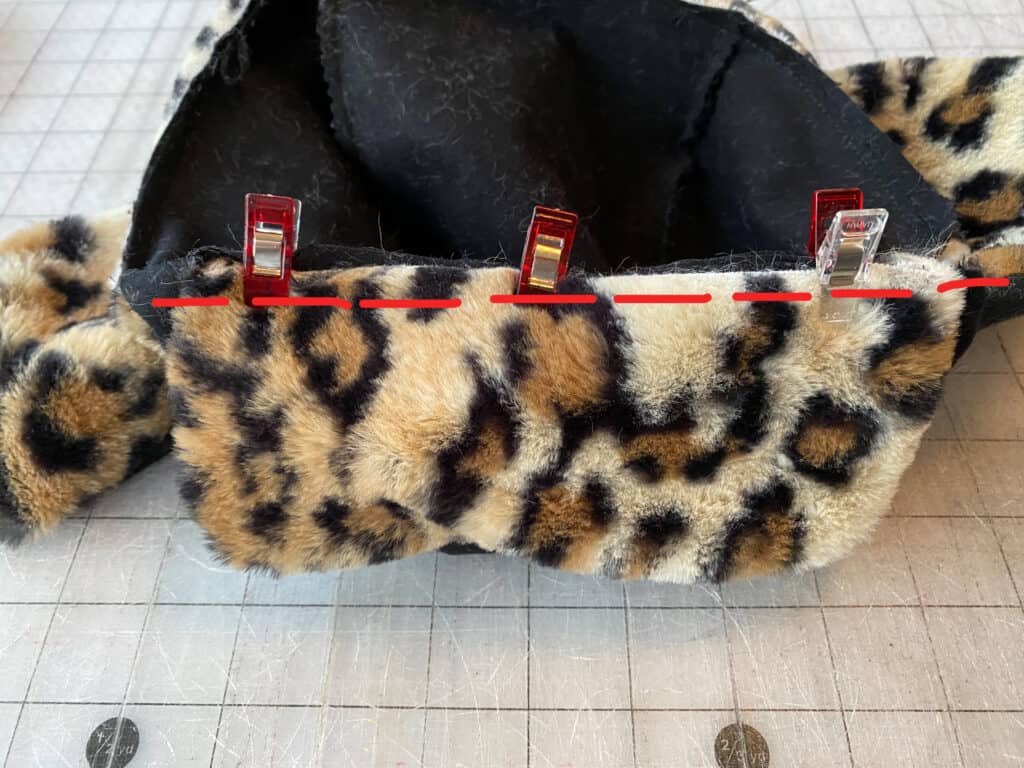
Locate the outer cap piece. Place it in front of you, wrong sides facing out.
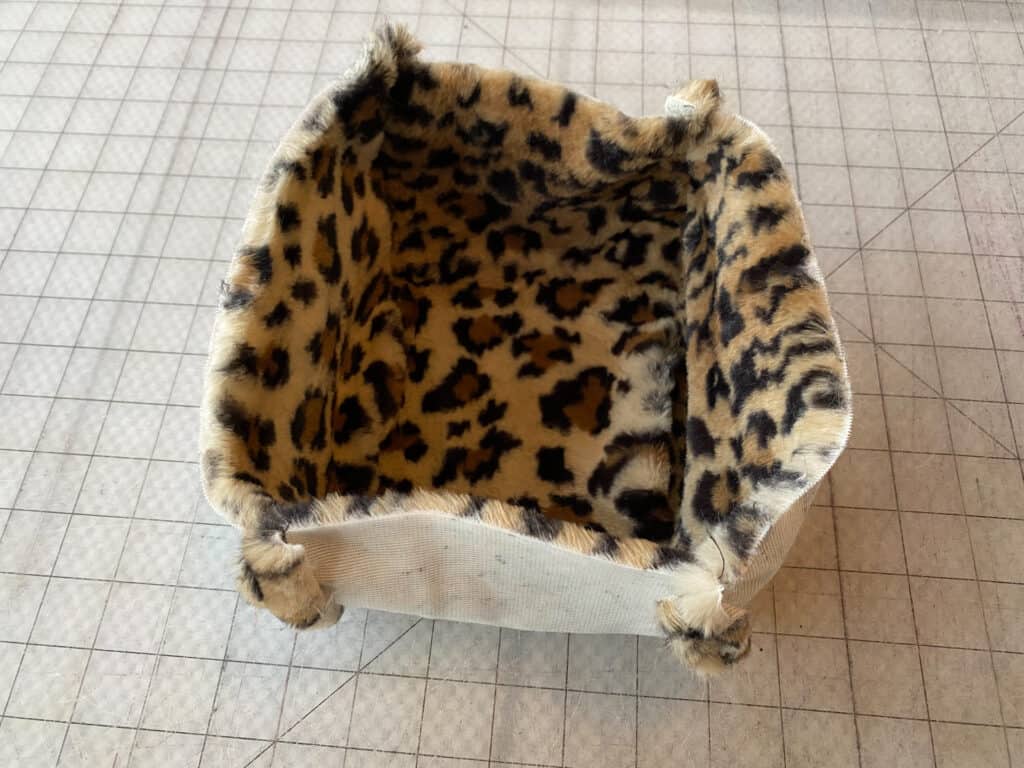
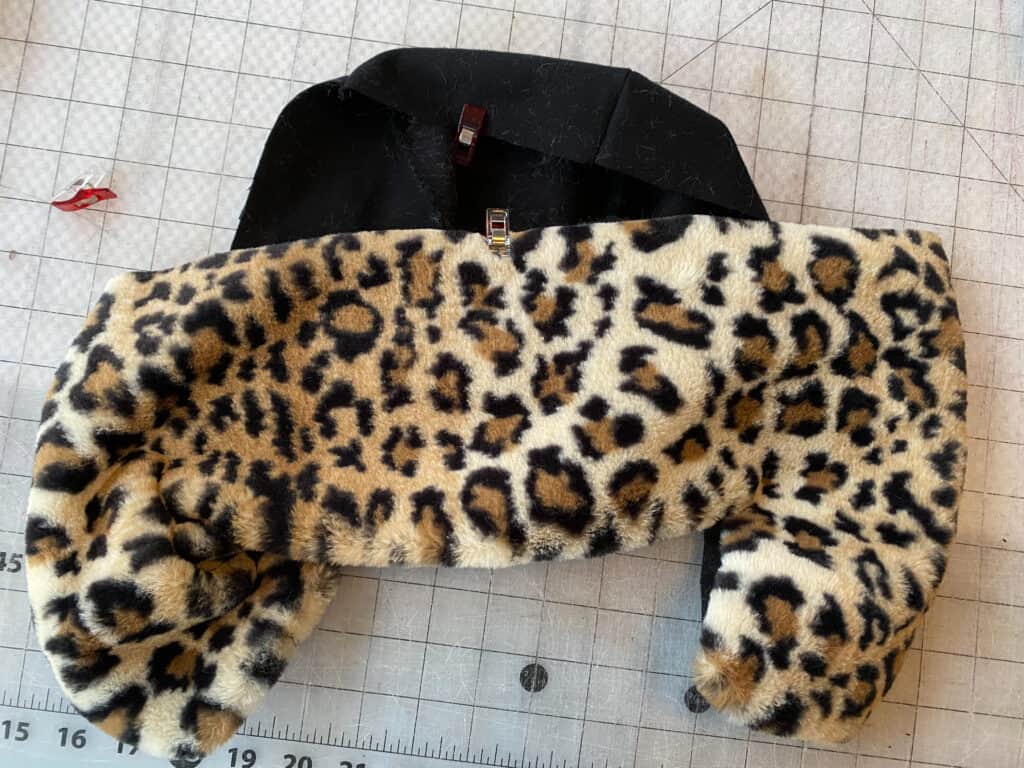
Place the lining piece (with the ear flap and front flaps basted onto it) inside of the outer cap. Tuck the flap pieces inside and align the seams against each other.
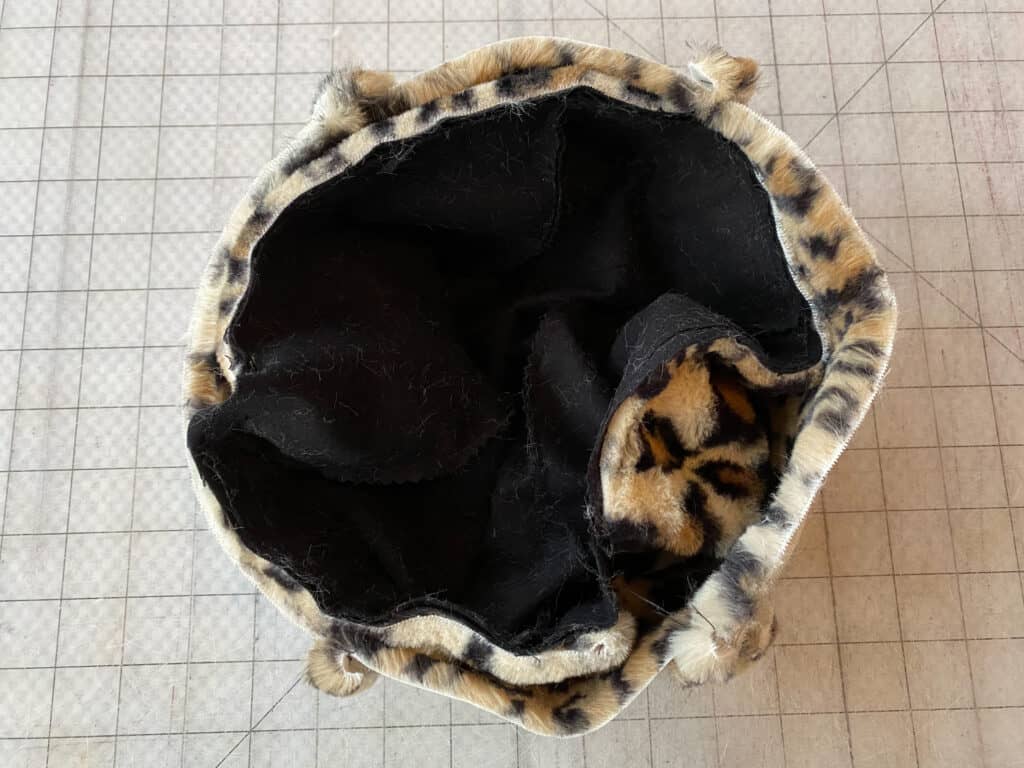
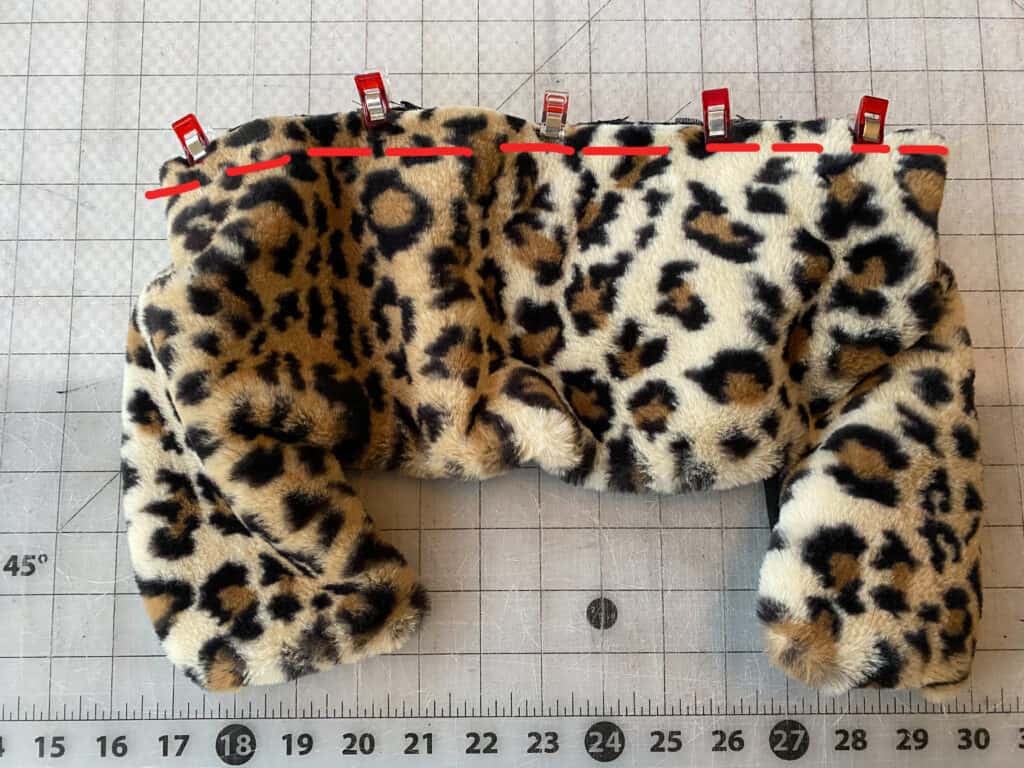
Using 1/2″ seam allowance, sew along entire circle, leaving 3″ opening for turning.
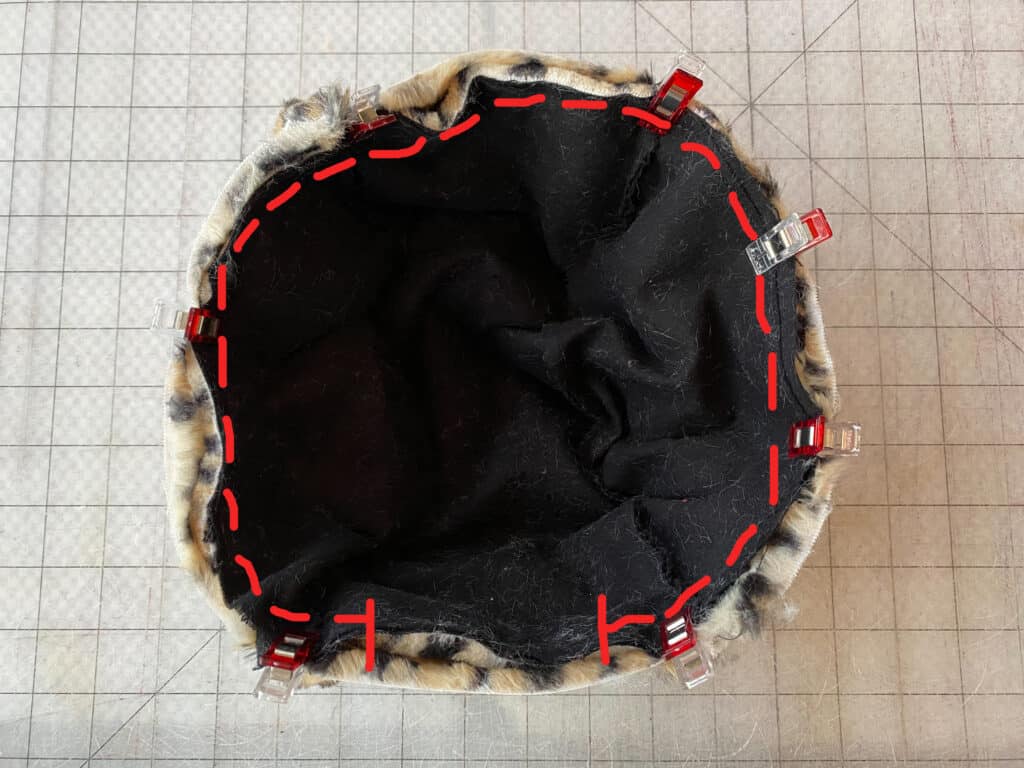
Turn right sides out. Tuck opening seam allowance in. Pin, and blind stitch the opening shut.
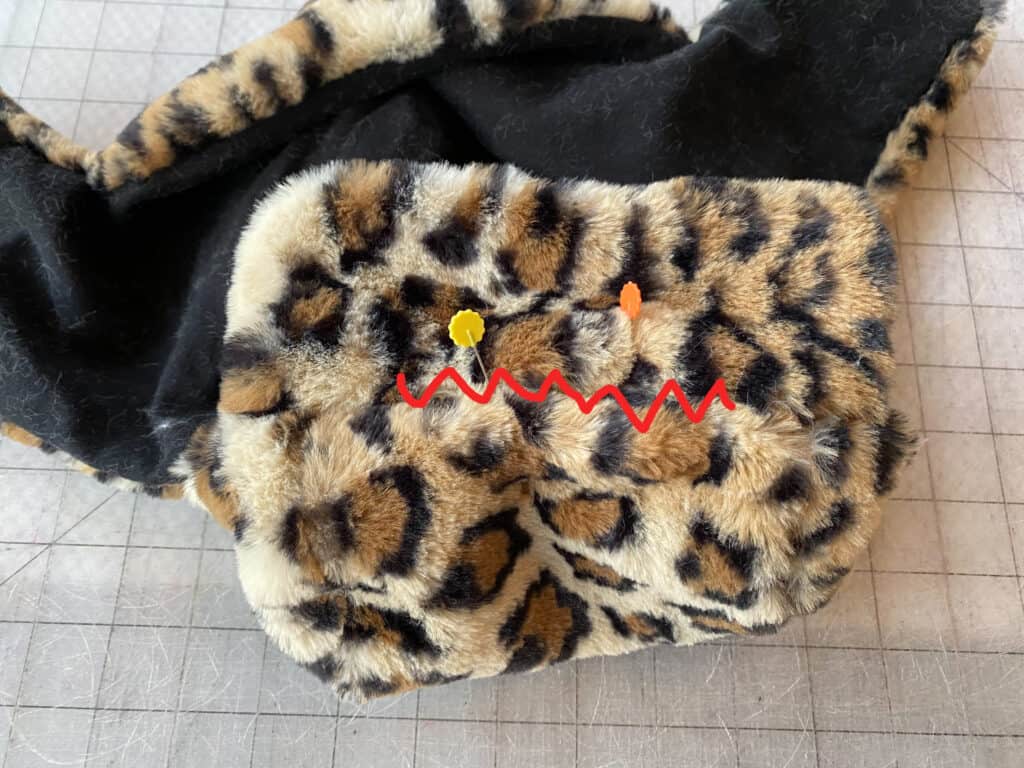
If desired, tack the front flap up — using buttons or a quick hand stitch.
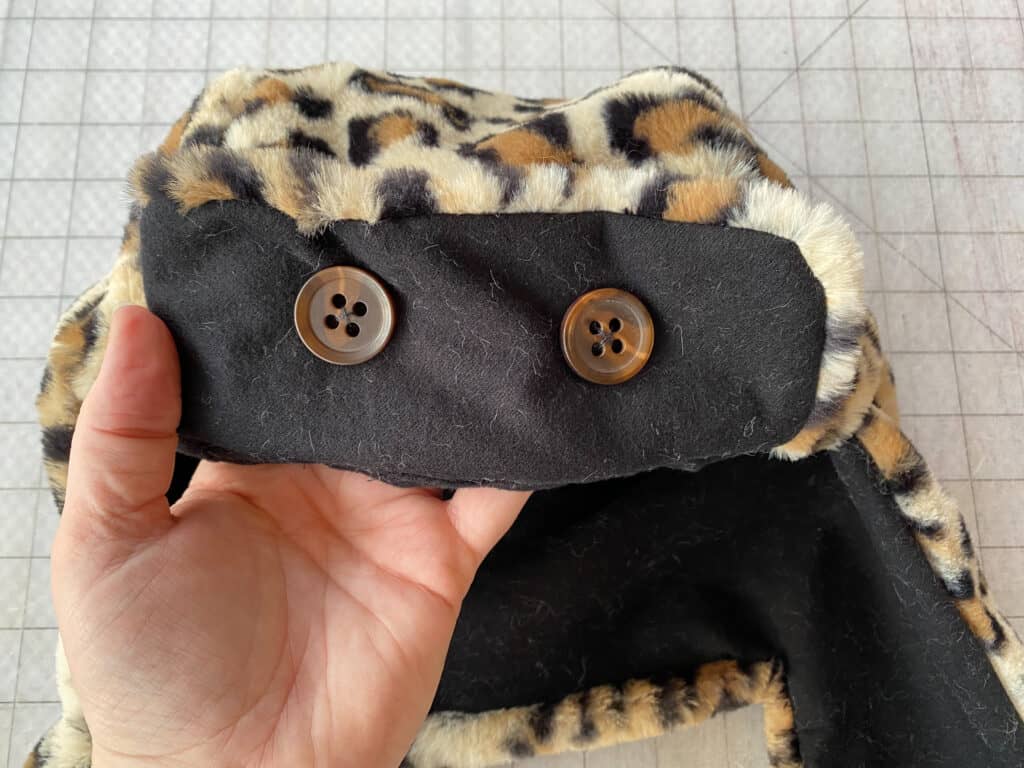
You’re finished! Go wear your new Hickory Hat and then make 10 more. You know you want to!
——–
In case you consider yourself a more “visual learner” here’s a video tutorial that walks you through the entire tutorial, start-to-finish.
Check out what our fabulous testers were able to create with this very same tutorial!


I la-la-love when you share your photos with me! Head over to the Patterns for Pirates Facebook Group and show us what you’ve made!
Happy Holidays, Pirates!


Leave a Reply