Have we told you (our Pirate family) lately that we love you? We love you so much, that we are giving our hearts to you this Valentine’s Day.
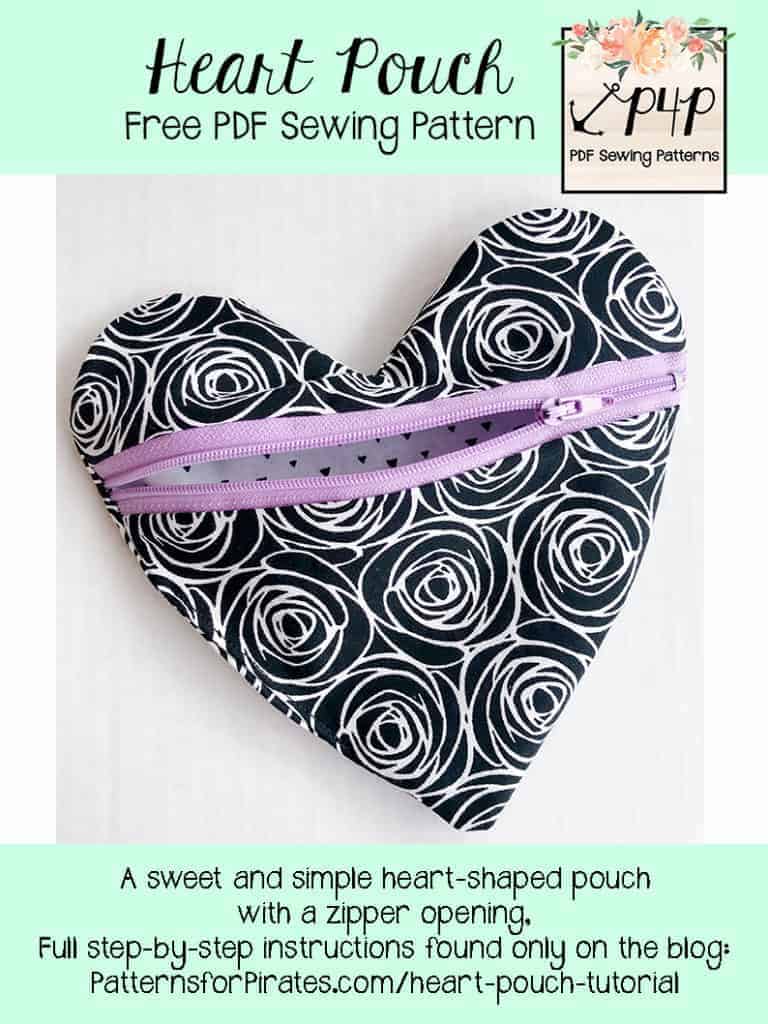
Well, maybe not our actual hearts…but a Heart Pouch sewing pattern. And it’s free!! This zipper style pouch is super easy, quick, and fun to make, and takes very little fabric. (Plus maybe you have some 9″ zippers laying around from the scarfs that you never got around to making this past holiday season?? It’s a perfect way to use up that stash!)
**Stick around all the way to the bottom of this post for a video tutorial of the assembly of these sweet little pouches as well!
— Heart Pouch PDF free pattern pieces (found HERE)
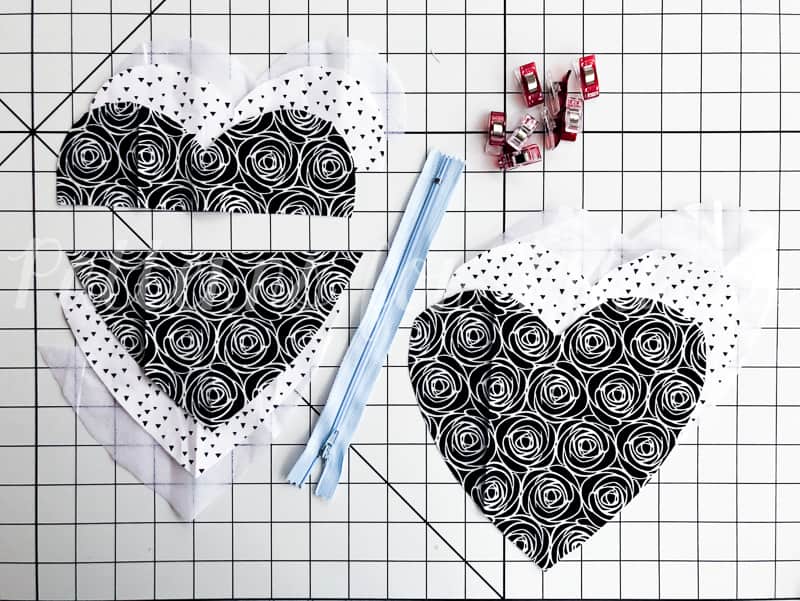
— 2 – 8″x8″ pieces cotton woven for main + lining fabrics
— Lightweight Fusible Interfacing: I like Pellon SF101, or Heat & Bond 3336 (aff links)
— 1 – 9″ zipper
Recommended fabrics: quilting cotton, kona cotton, etc.
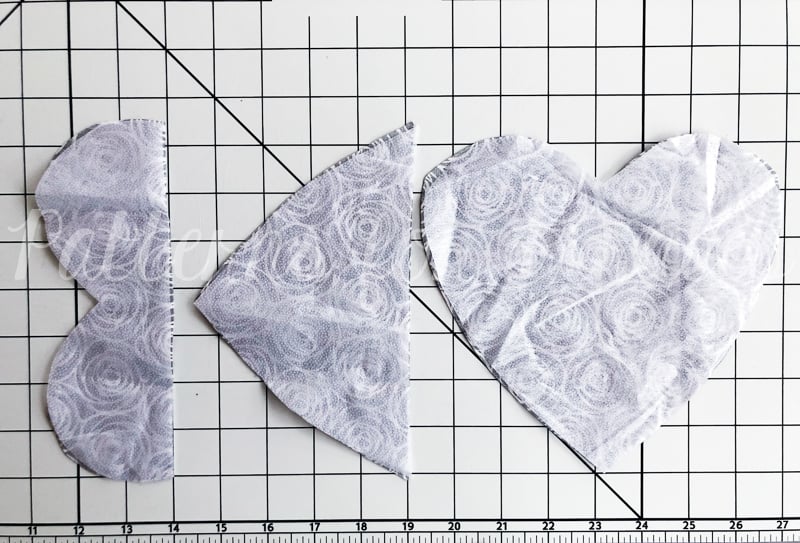
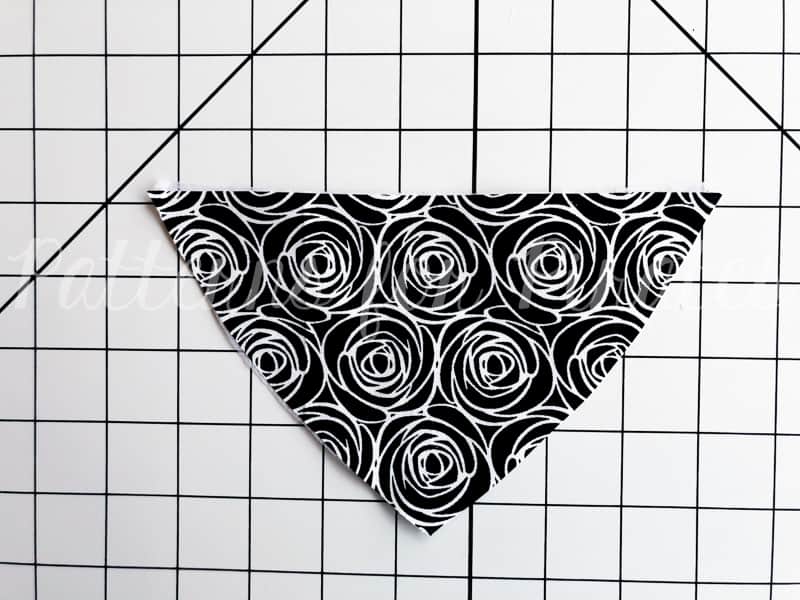
Step 1: Prepare your pieces. You will need one each of the pouch back, pouch upper front, and pouch lower front; in your main, lining and interfacing fabrics.
Step 2: Following the instructions from the manufacturer, iron the interfacing to your main fabric pieces.
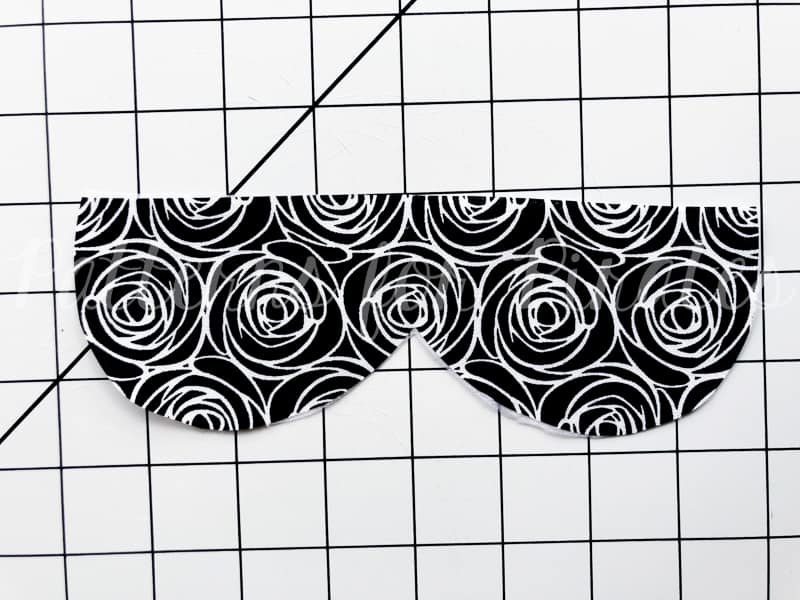
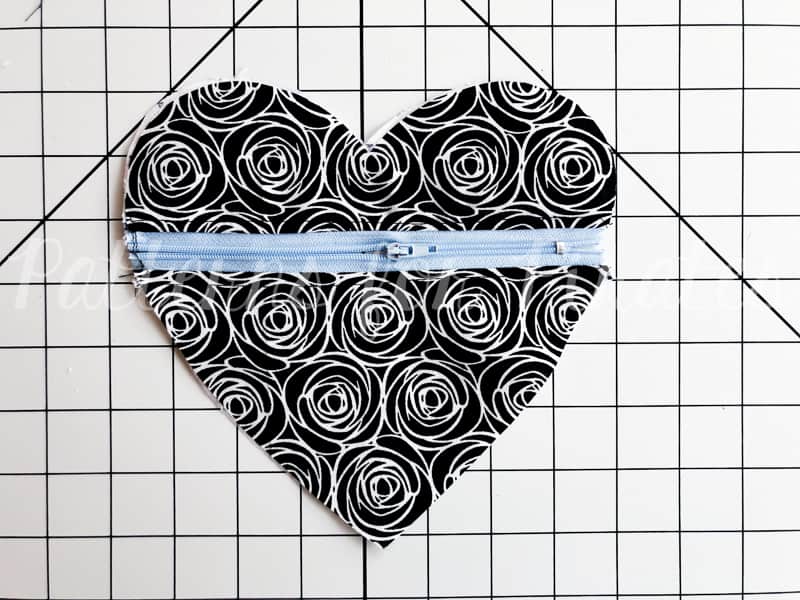
Step 3: Locate the upper front piece in your main fabric, and lay it with the fabric face up.
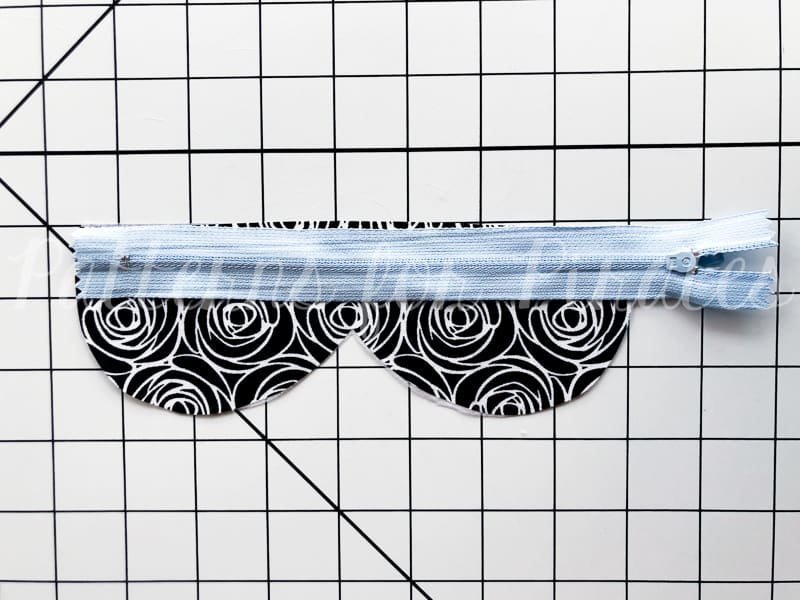
Step 4: With the zipper face down, align it against the straight, raw edge of your pattern piece.
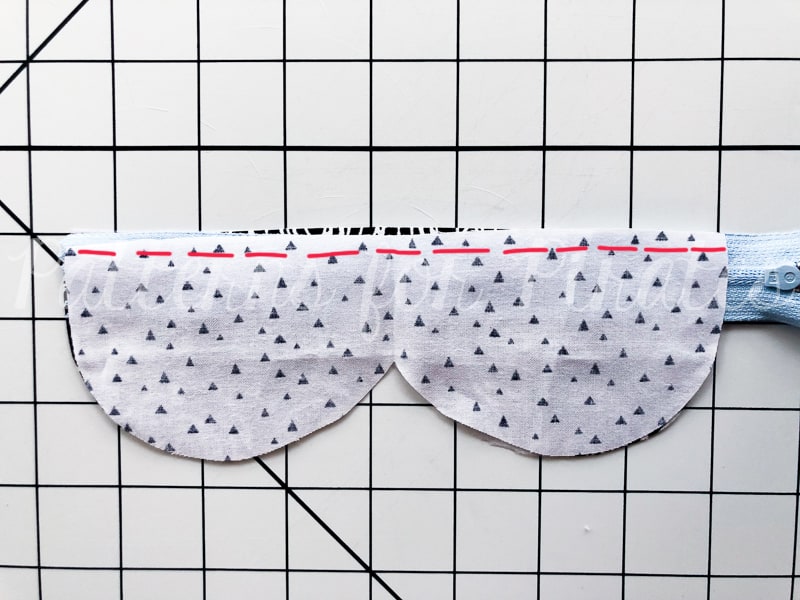
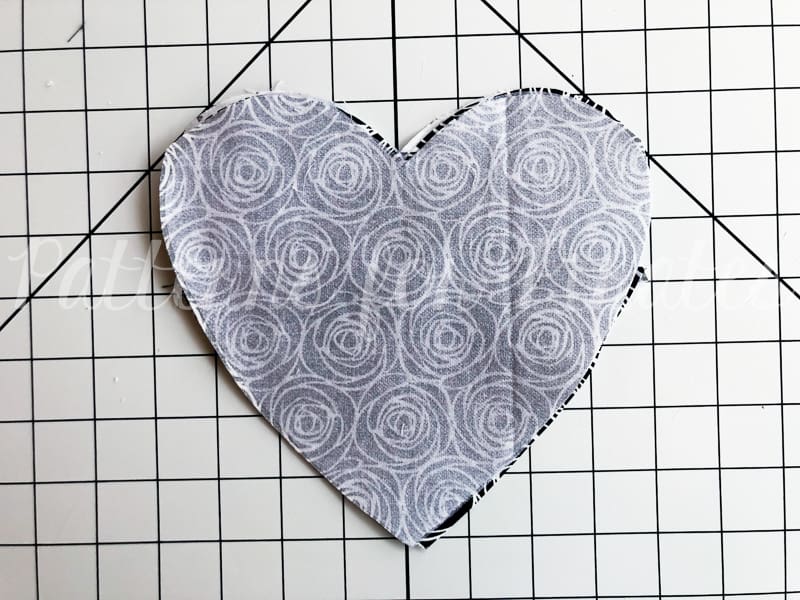
Step 5: With your upper front lining piece face down, align it along the straight edge, sandwiching the zipper between the two pieces of fabric. Sew with 1/4″ seam allowance.
Step 6: Flip open the upper front pieces, so they are now touching with wrong sides together, and your zipper is exposed. Press and topstitch, if desired.
Step 7: Locate your lower front piece in your main fabric, and lay it with the fabric face up.
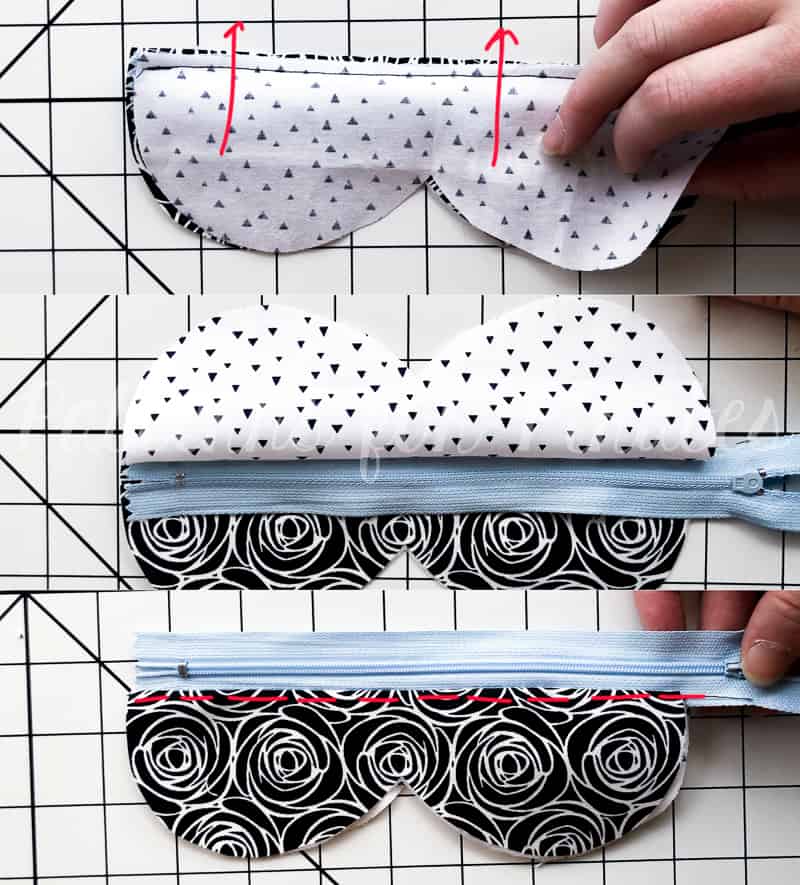
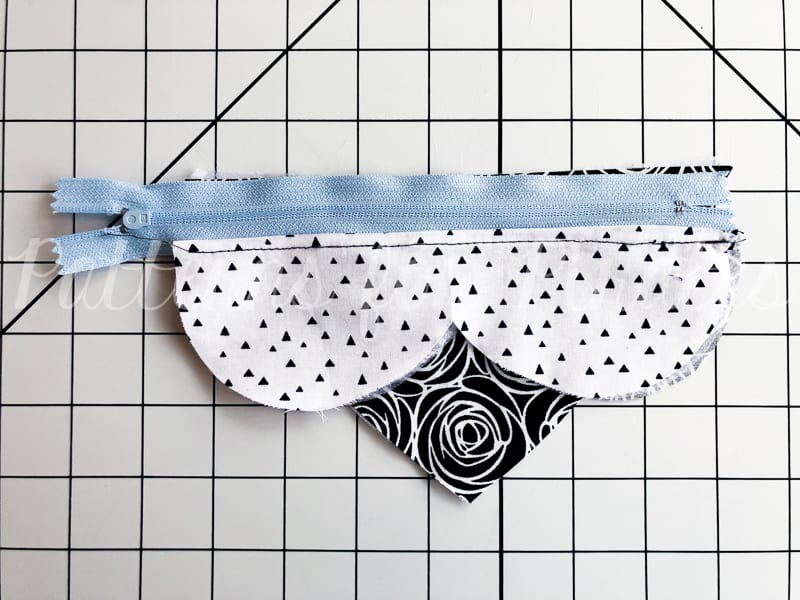
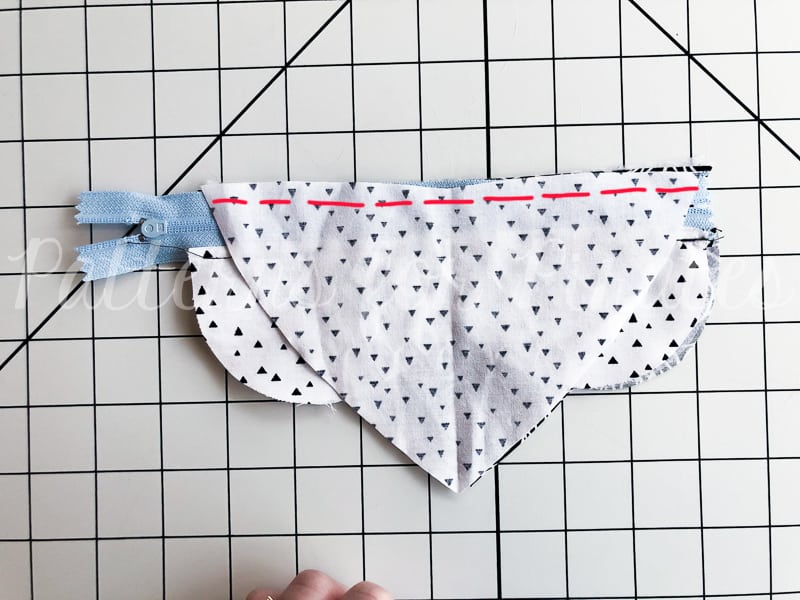
Step 8: Lay your upper front pieces with the main fabric face down, aligning the zipper to the long straight edge of the lower piece.
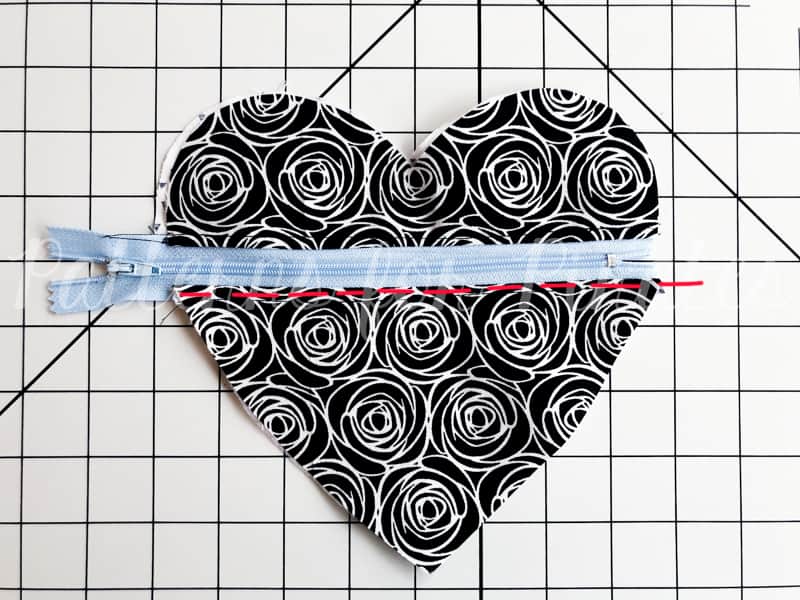
Step 9: Similar to step 5, align the lower front lining pieces along the straight edge, sandwiching the zipper between the two pieces of fabric. Sew with 1/4″ seam allowance.
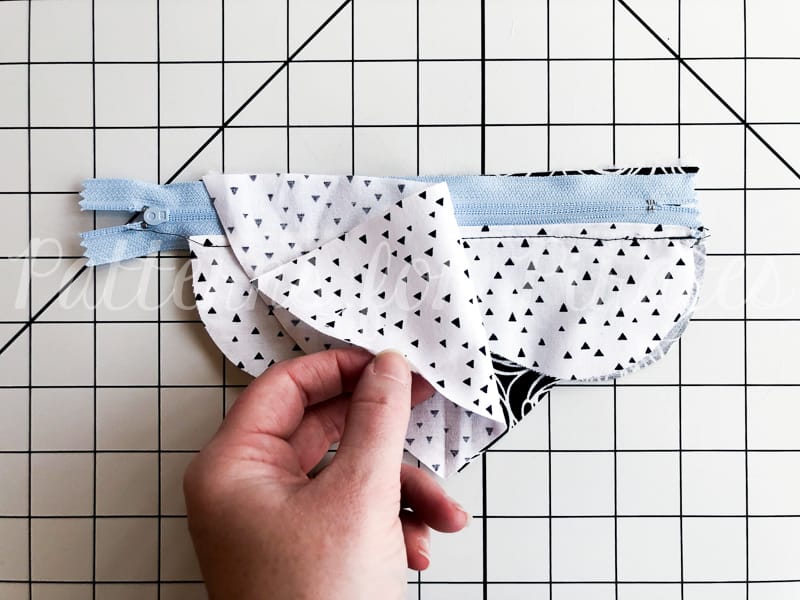
Step 10: Flip open the lower front pieces, so they are now touching with wrong sides together, and your zipper is exposed. Press and topstitch, if desired.
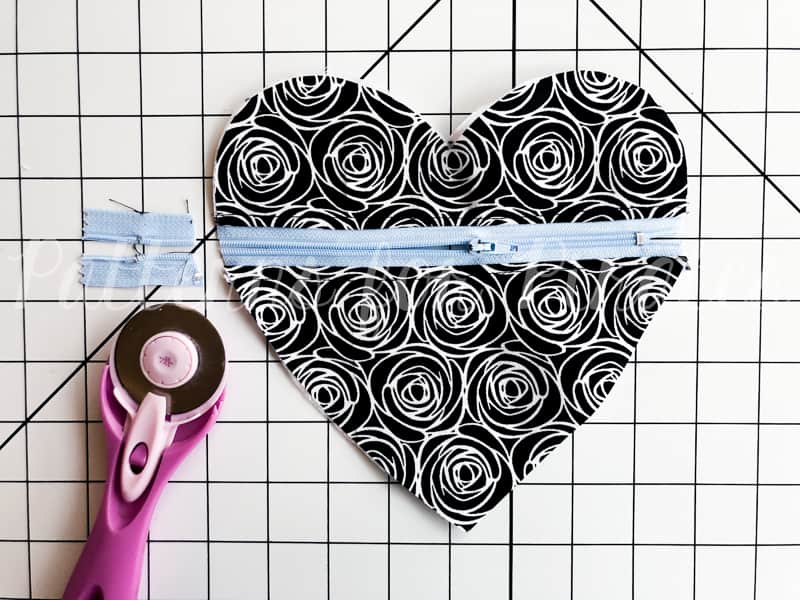
Step 11: Open up your zipper, and trim any excess length if needed.
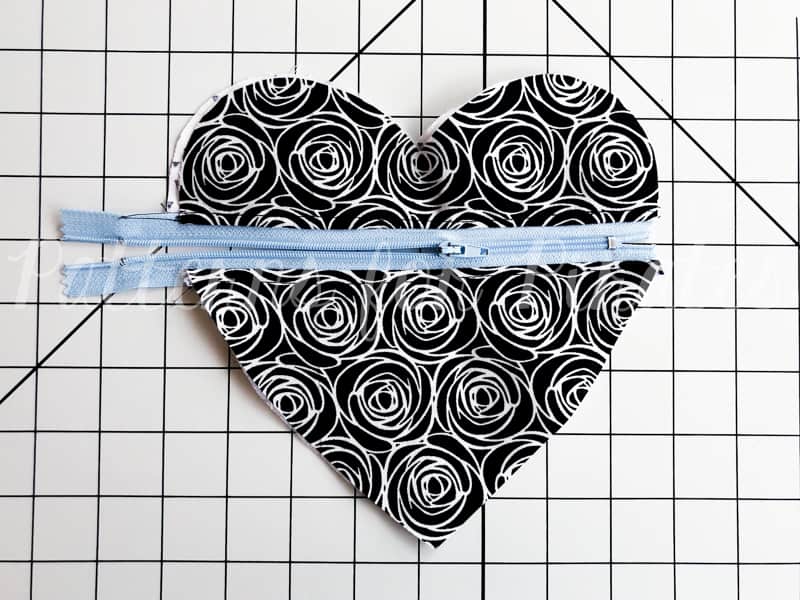
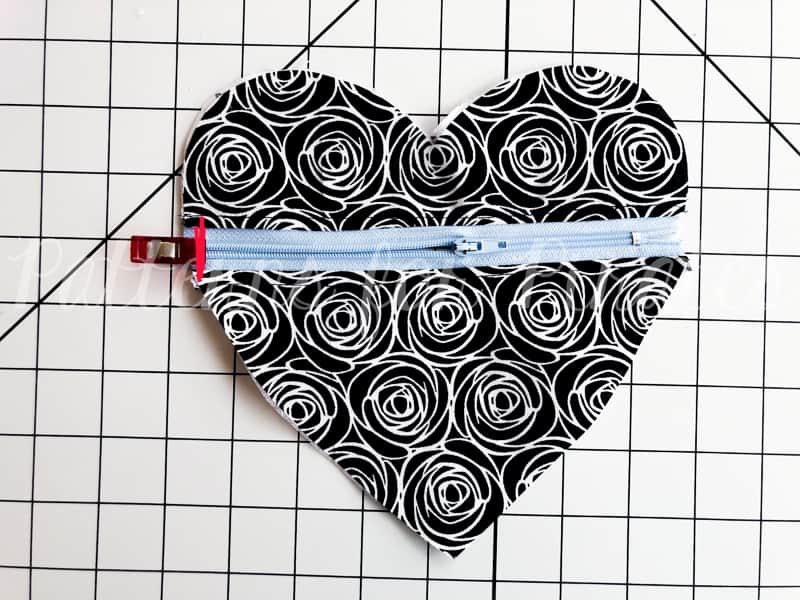
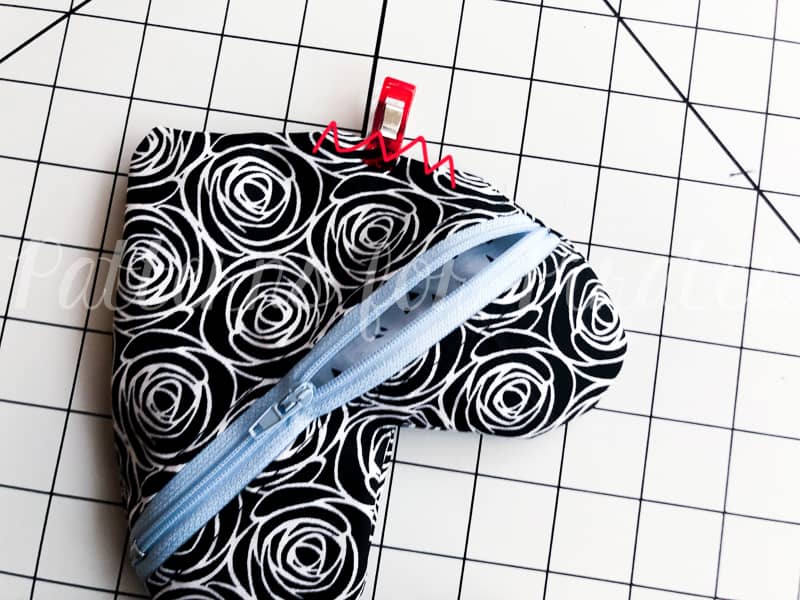
Step 12: Clip your zipper opening together and zigzag stitch to baste the edge shut.
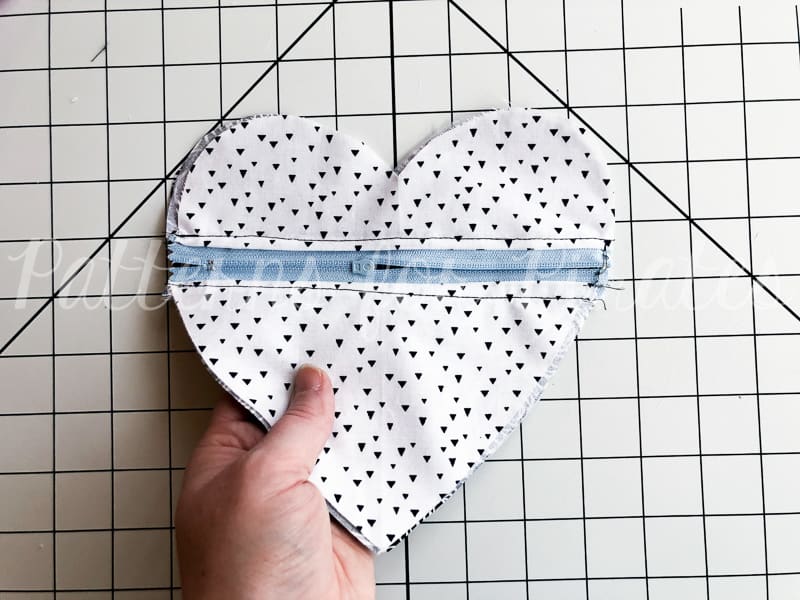
Step 13: Lay your completed front piece with the main fabric face up.
Step 14: Place your main back piece on top, with right sides together.
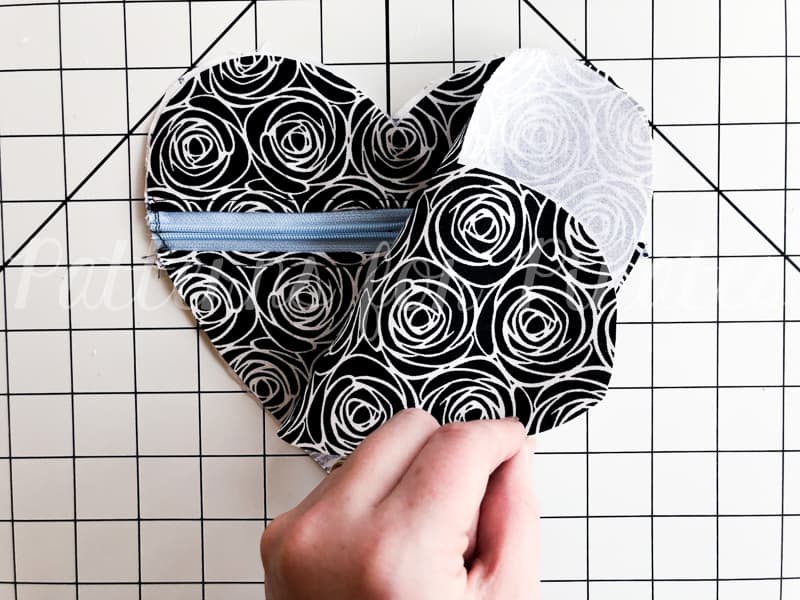
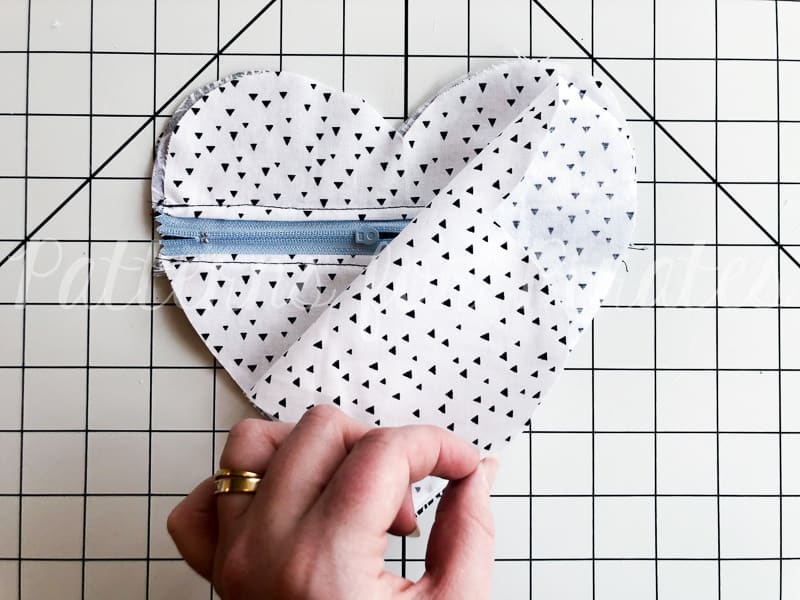
Step 15: Flip the entire group over, so that now the lining side is face up.
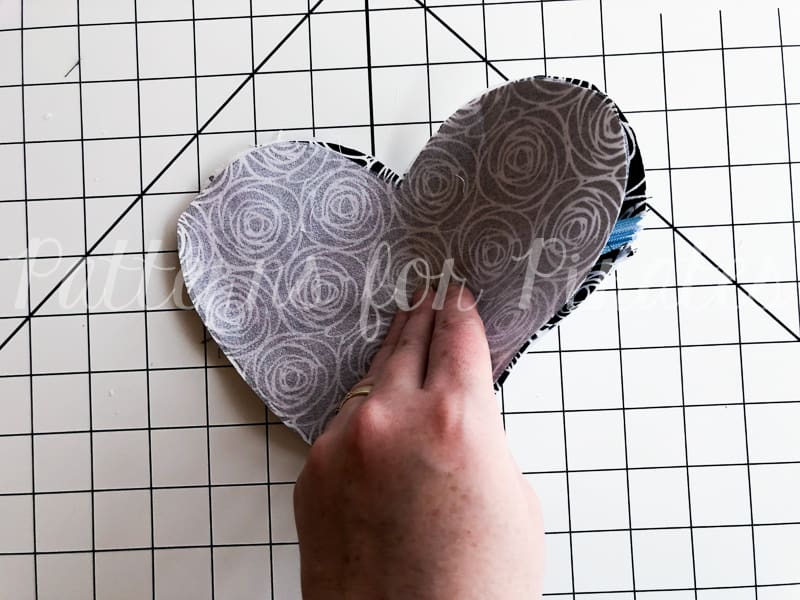
Step 16: Place your lining back piece on top, with right sides together.
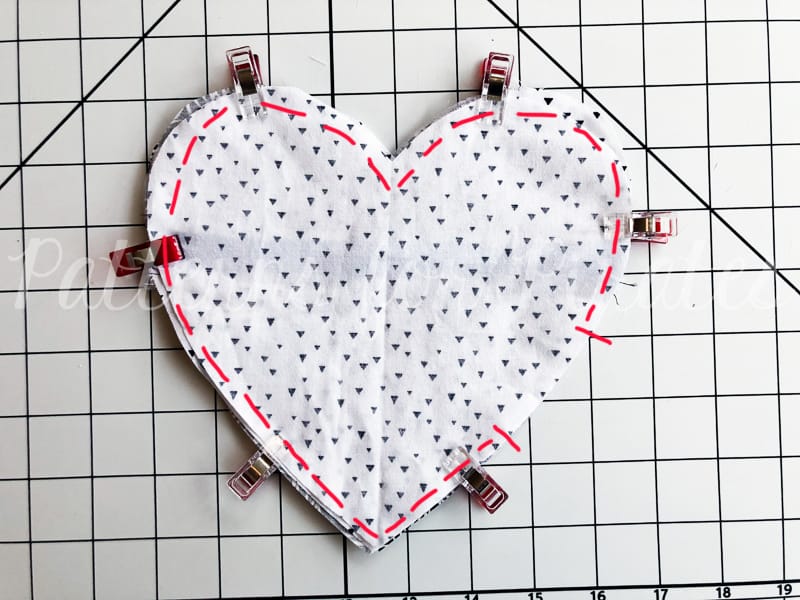
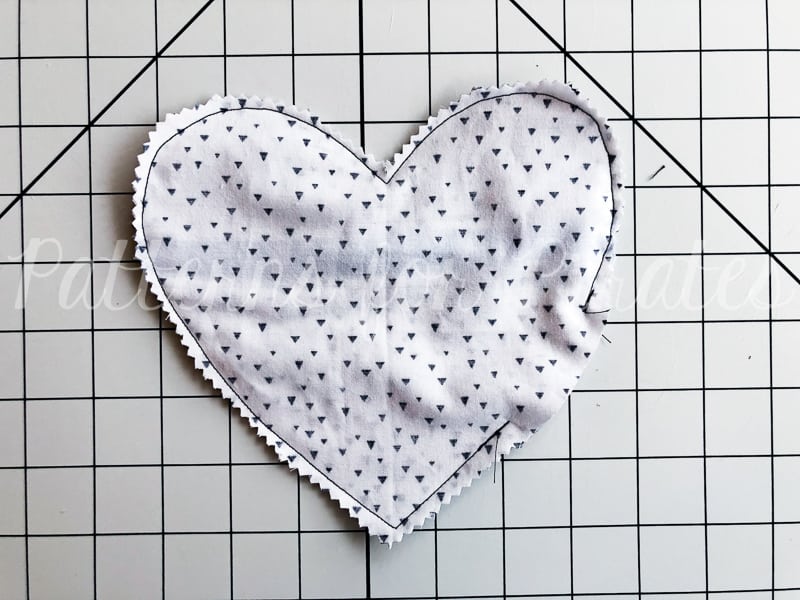
Step 17: Pin/clip and sew entire outer edge with 1/2″ seam allowance, leaving a 2″ – 3″ opening along one of the straighter sides.
Step 18: Clip into the top point seam allowance as closely as you can, without clipping through your stitches. Trim around entire outer edge, for easy and cleaner turning.
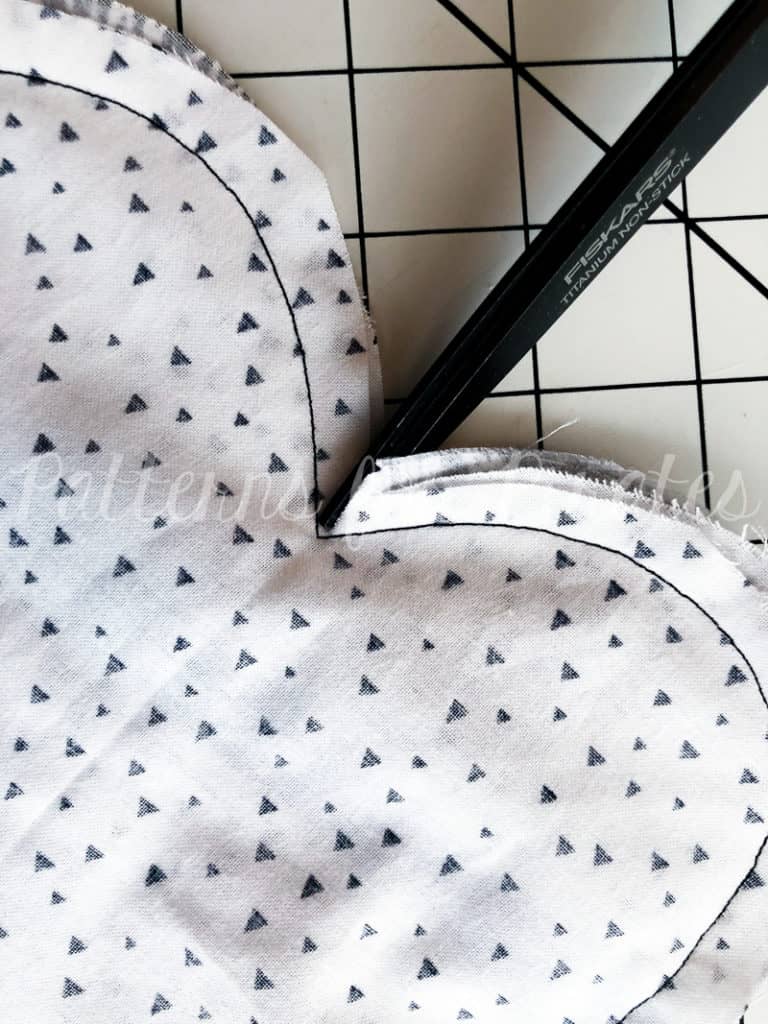
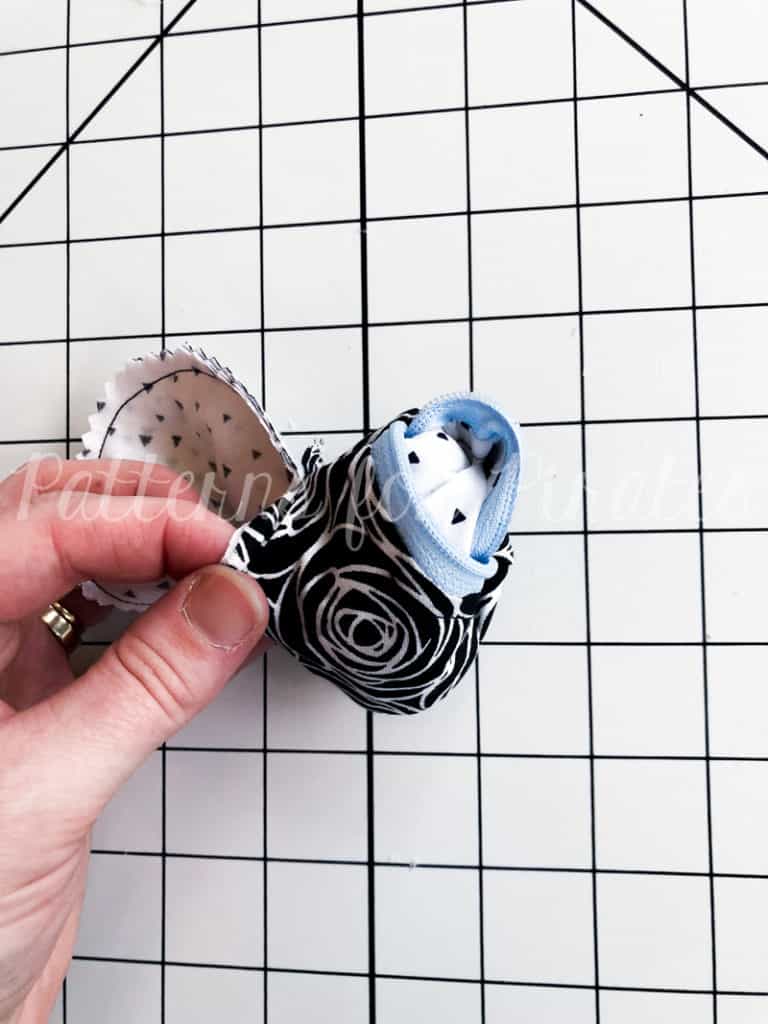
Step 19: Turn your pouch right sides out, through the opening of the main fabric pieces.
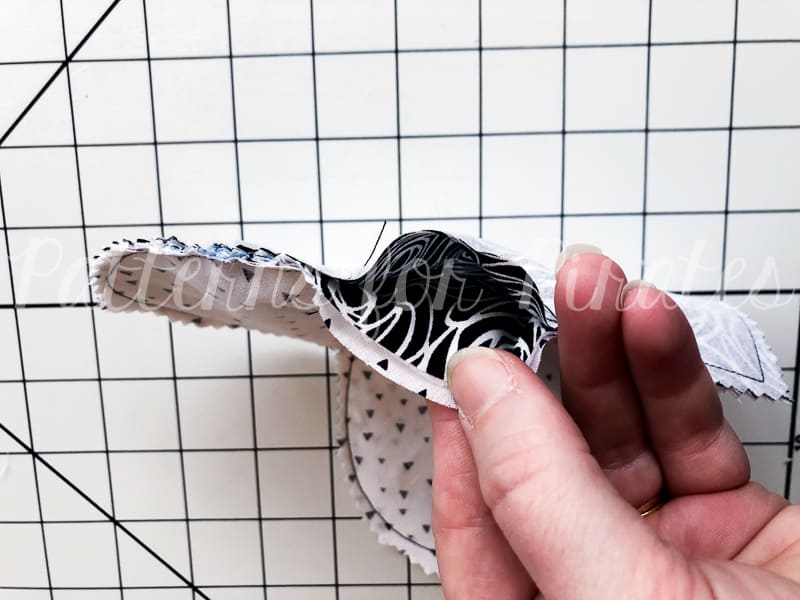
Step 20: Press and smooth out all corners, round edges and bottom point.
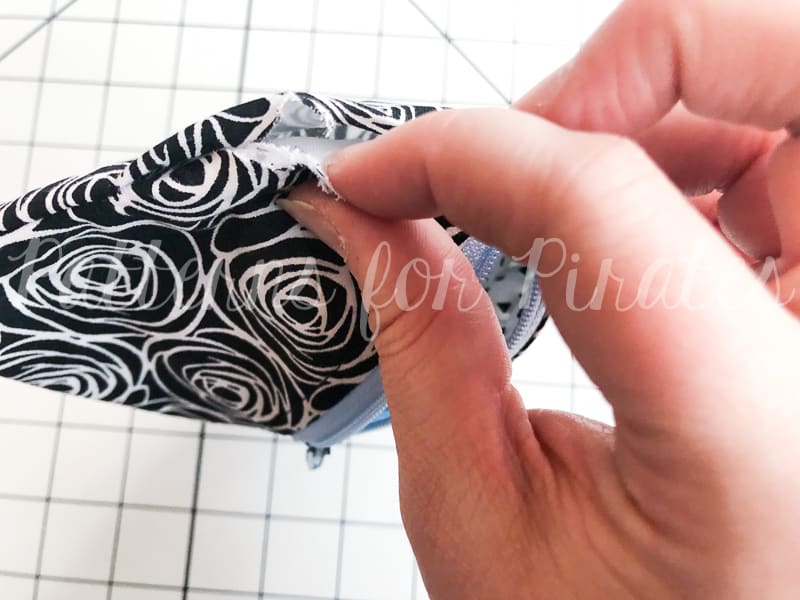
Step 21: To close up your opening with no raw edges showing, pinch three of the raw edges together…treating them as one. And the fourth raw edge as it’s own.
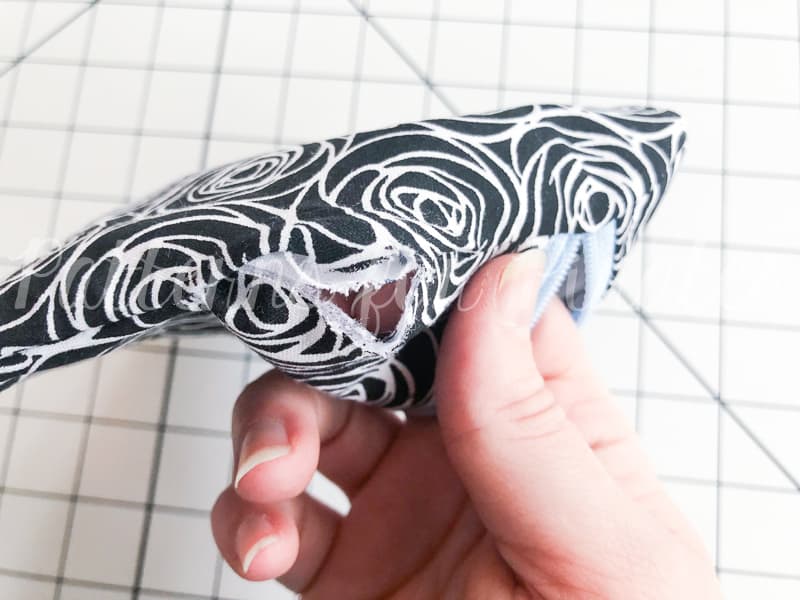
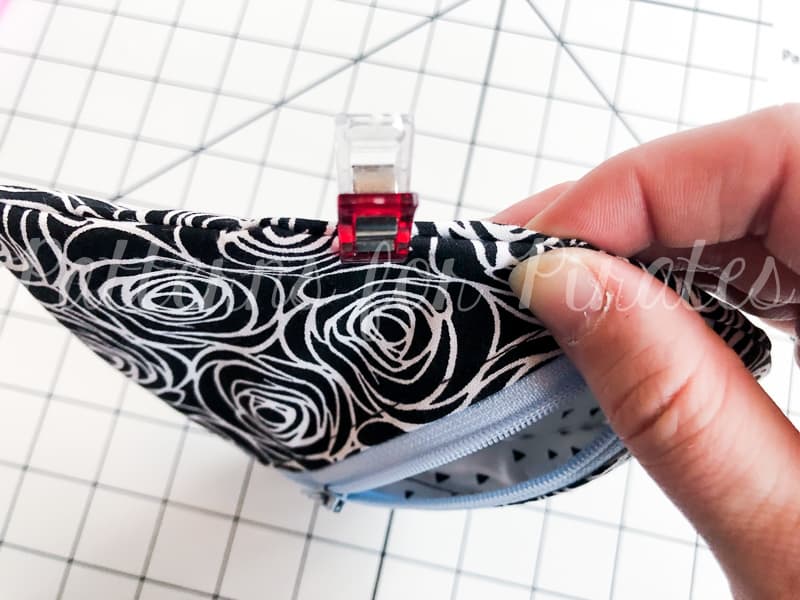
Step 22: Tuck raw edges in and pin/clip.
Step 23: Using your favorite blind stitch, close up the opening.
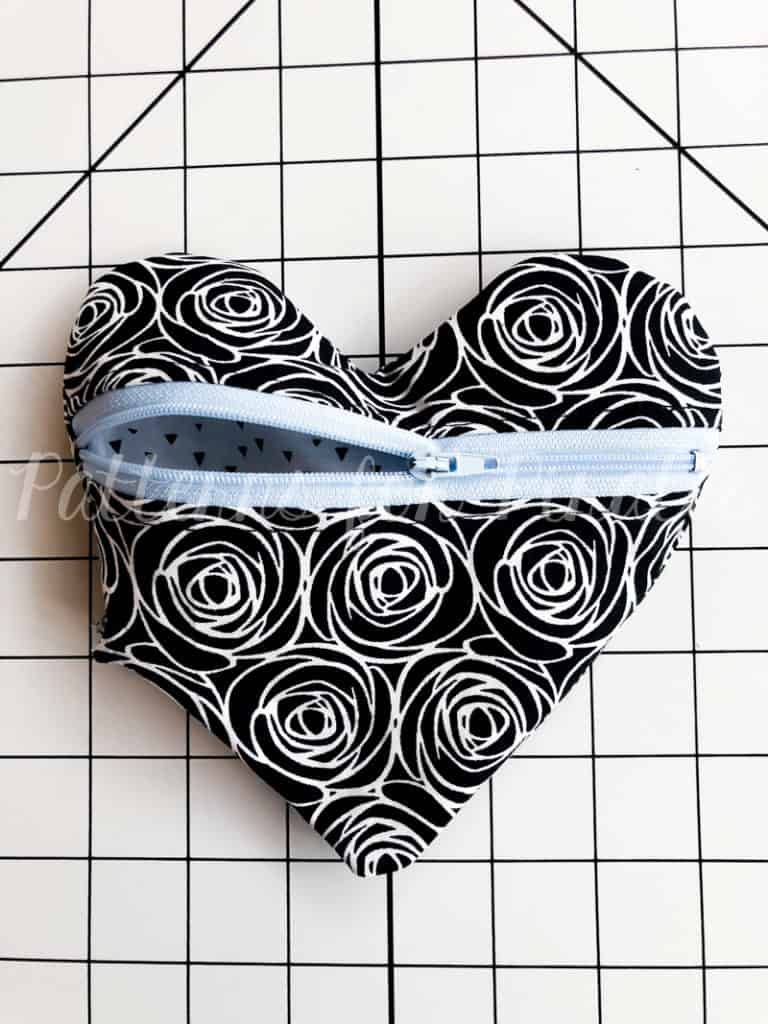
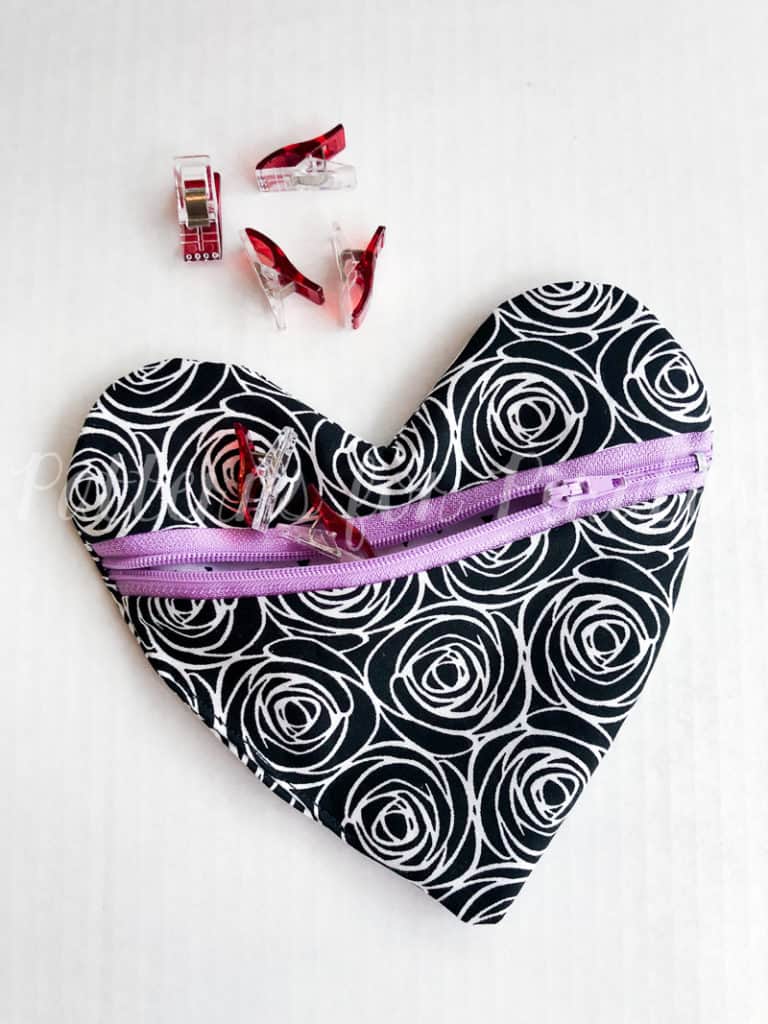
Step 24: You’re finished! Go fill your new heart pouch with whatever goodies will fit in it, or gift it to someone who will do the same.
Are you someone who considers themselves to be more of a visual learner? Here’s a video that walks you through all of the same steps above. Hopefully it helps!
As always, we love when you share what you’ve made with us. Head over to the Patterns for Pirates Facebook group and show off the fabulous Heart Pouch that you’ve managed to make from our freebie pattern! Happy Valentine’s Day, friends!


I like this idea,.Is there a string cored or a strap to go with it ?
I didn’t include it with the instructions but it would be an easy thing to add!
I appreciate a well written set of directions w/pics for projects since I can read at my speed. But for involved complicated sewing a video w/captions is nice. However, many videos end up not showing the important procedures, (hands get in the way) poor lighting, etc. Bottom line I prefer written directions w/pics. Thank you for sharing.
Why not turn it right side out through the zipper?
Because of where the zipper is located. If it were along the edge, you could turn it through the zipper. But because it’s in the middle, and wanting to have all of your seams enclosed, this is the cleanest way to do it. You could have all of the pieces aligned, sew the entire outer edge and then turn through the zipper — but you’d have raw edges on the inside of your pouch. Which is totally fine, but just not my vision for it. It can be yours though!
LOVE this. With a small strap, it could be used as a coin purse in your regular purse, or a catch for small items.
For sure! I like mine without any attachments so I didn’t add it. But it’s a super easy adjustment for your liking. 🙂
For straps, would you sew the straps between the right sides of the exterior fabric during the construction?
I am just trying to download patterns not instructions how do I do that. I want to make some purchases but don’ t want to download all instructions.
The pattern pieces are linked above. But here’s a quick link for you: http://www.patternsforpirates.com/product/heart-pouch/
You just need to “purchase” the free pattern and it will load into your account as a download.