Ahoy pirates! The newest P4P pattern is here and it’s a must have. The gorgeous Grace dress features so many sleeves options but we just had to show you one more. We couldn’t let this release happen without showcasing probably the easiest hack in the history of hacks…the Grace flared sleeve.
Djem here, with another simple hack for some cool flared sleeves! Can’t decide between the flutter sleeve or the bishop sleeve? Want a mash of the two? Flared sleeves is the answer!
This can be done using either the 3/4 sleeve or long sleeve bishop options. Simply omit the elastic and then finish the hem using the narrow hem instructions for the flutter sleeve. Voila!
Facing Hack
If you, like me, are getting ready to cut out the fabric for your Grace Dress and realise that you have forgotten to buy your lining fabric, you can very easily make a facing instead. It won’t work if you are using a translucent fabric, like a chiffon (as you will be able to see the facing through the main fabric) but for the crepe I had picked out for my Grace, it worked perfectly.
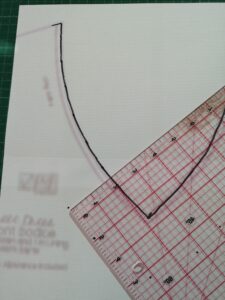
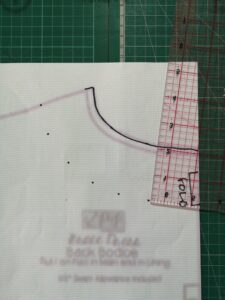
First of all you will start by taking your main bodice front and back pieces, and drafting your facing pieces. I use a projector these days, but if you have a paper pattern you can use a tracing paper or just re print the pages that give you the necklines of both bodice pieces.
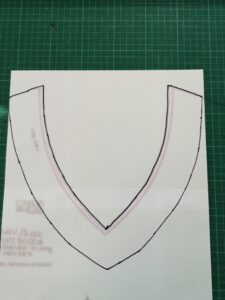
Take your front bodice and trace off the original neck cutline, then using a measuring tape or ruler mark 2 inches away along the length of the neckline. Then join the dots. You can use a French curve to help you here.
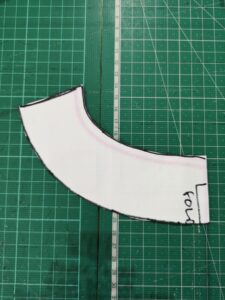
Do the same for the back bodice neckline. These will be your facing pieces.
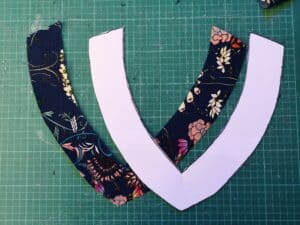
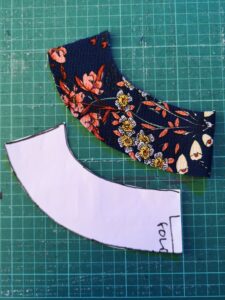
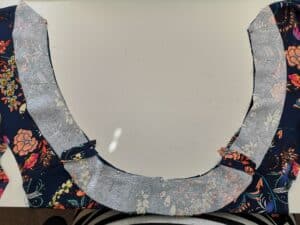
Cut these out of your fabric and you will have two pieces that look like this.
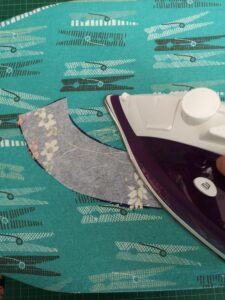
Then cut out the same facing pieces from a light weight interfacing. This will help stabilise the neckline and give a better finish. Apply the interfacing to the wrong side of your facing pieces following the manufacturers instructions.
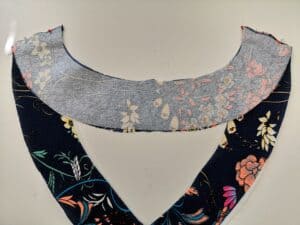
Sew them together, rights sides together, at the shoulder seams.
If you haven’t already, sew your front and back main bodice pieces together at the shoulder seam. Then lay your facing pieces, rights sides together with the main bodice pieces, matching the fronts and backs together and matching the shoulder seams. Sew them together around the neckline. Making sure not to stretch the fabric as you sew.
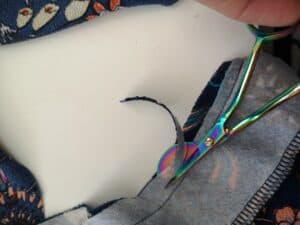
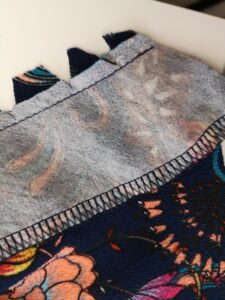
Finish the raw edge (the long, outer curved edge you haven’t just sewn to the bodice) of your facing using a serger or your preferred method. Using a sharp pair of scissors, like these duck bill scissors, CAREFULLY trim down your facing seam allowance only to a ¼”. This will layer the seam allowances and reduce bulk. Then clip along the neckline, up to, but not through, the seam line. Turn through and give it a good press.
You now have two options. You can use a hemming tape, like this Wundaweb, to fuse the facing to the outer which stops it flipping out, or you can top stitch the facing down. I did both!
That’s it. You can now finish the rest of your garment as per the tutorial.
Enjoy your beautiful new frock.
Happy Sewing!
Dana x




[…] also did a little hack for this pattern, which is drafted for a bodice lining, by making a facing instead. I just […]