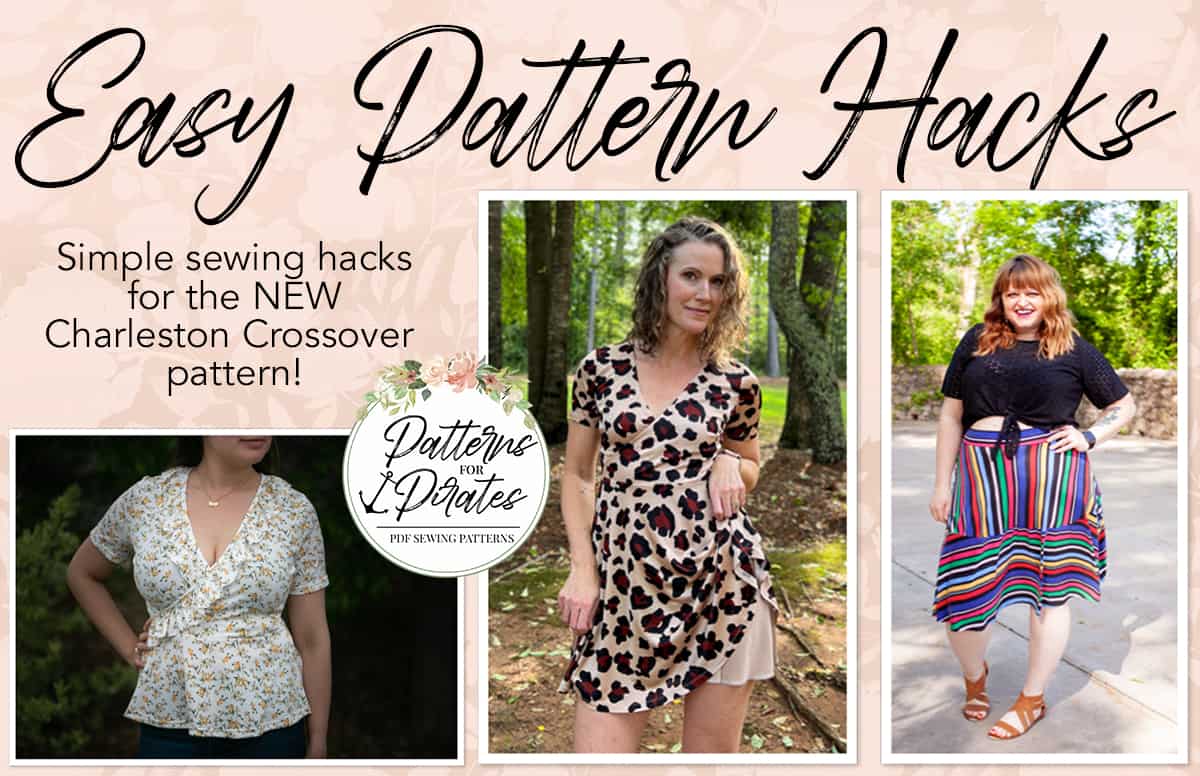
Sometimes there are things that we want to show you how to do with our new pattern releases, that we just can’t figure out how to add to the main pattern without making it a mile long. So instead, we create these fun “easy hacks” blog posts, and help you take your pattern one step further.
Or in the case of this blog post, THREE steps further!
Today we are going to show you:
- How to add a lining (for those sheer fabrics in your stash).
- How to add a ruffle neckline.
- How to add a waistband and make a separate skirt.
HOW TO ADD A LINING
Don’t discount sheer fabrics when deciding which to use for the new Charleston Crossover! I’ve been saving this gorgeous (and spendy) silk jersey for just the right pattern and it was just a *touch* too sheer for my comfort.
No worries! Just add a lining!
I lined the bodice and skirt using a slinky cupro that matched the feel of my silk jersey.
Here’s the how-to.
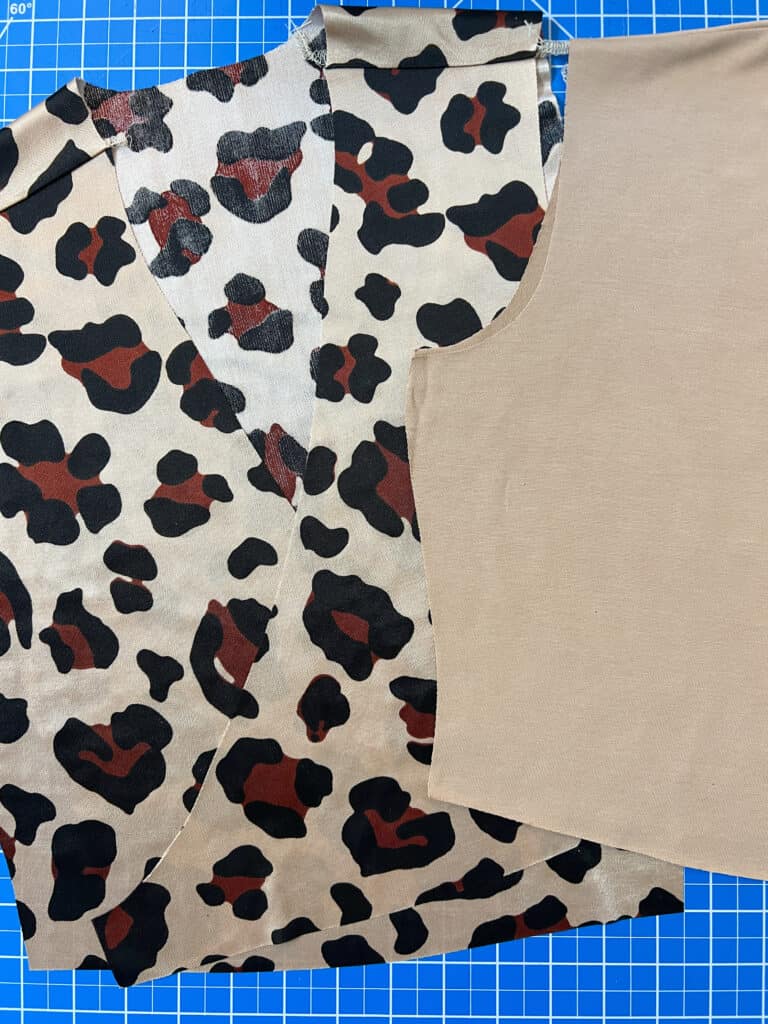
Cut a set of your front and back bodice and skirt pieces out of your lining. Your skirt lining will need to be a few inches shorter than your main fabric. I cut mine 3 inches shorter.
Sew your bodice main pieces and bodice lining pieces at the shoulder seams.
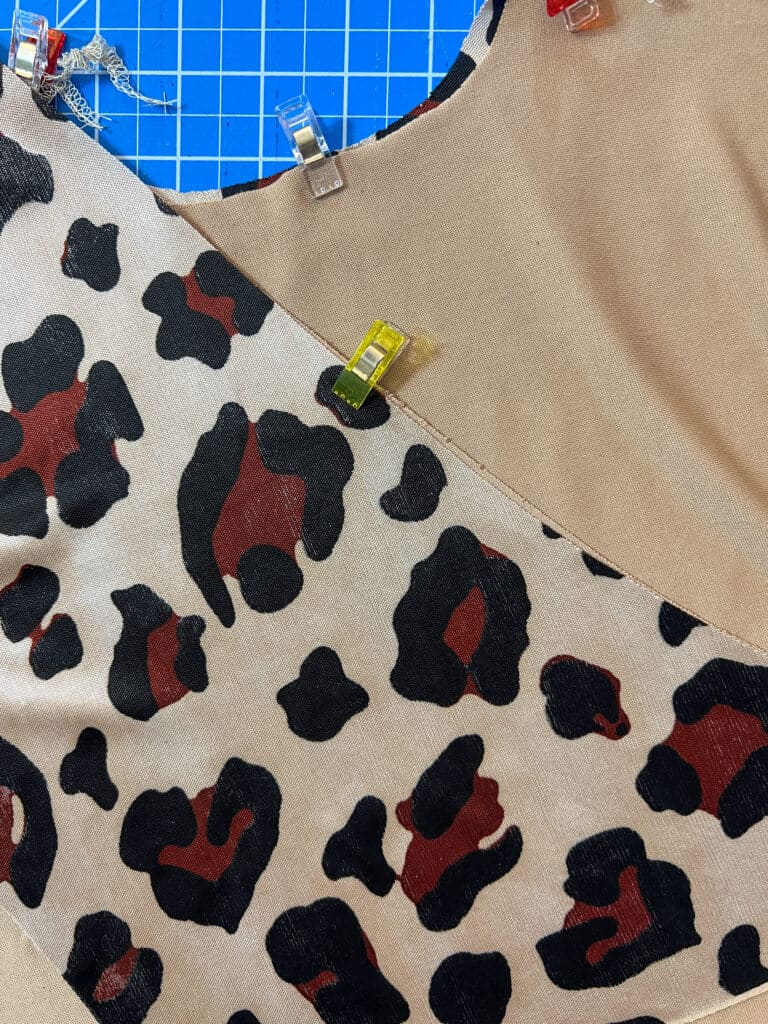
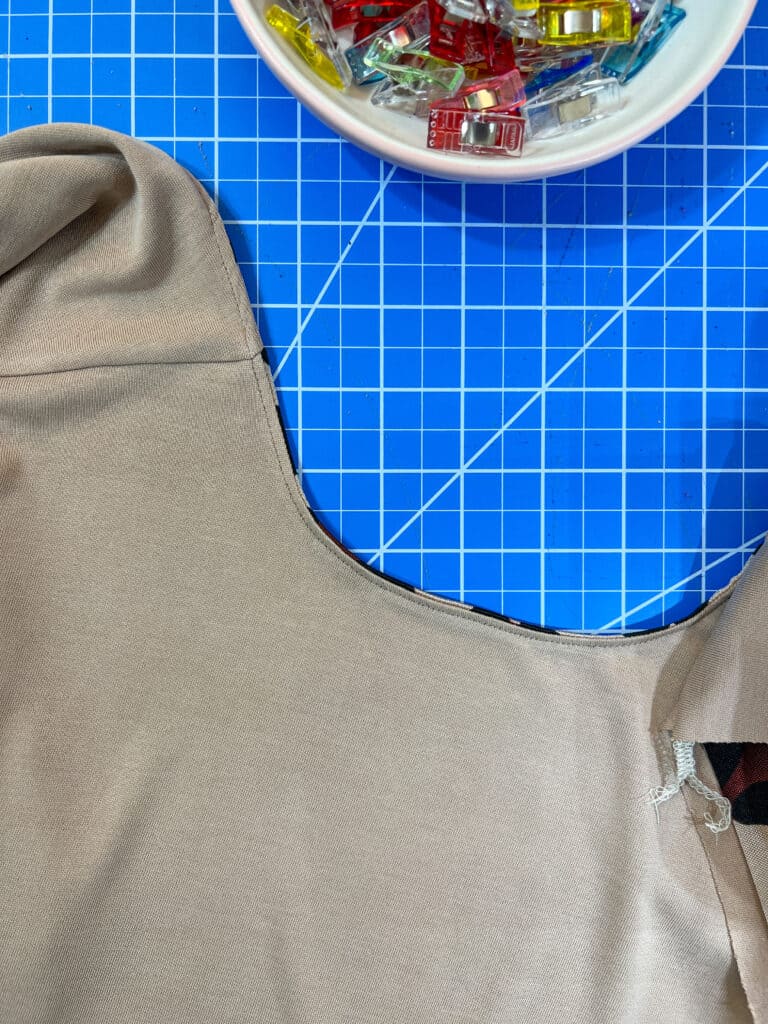
With right sides together, pin and sew your bodice lining and main together along the neckline.
I added clear elastic to my seam because both of my fabrics have a lot of drape. You may find that your fabrics have enough recovery to skip the elastic.
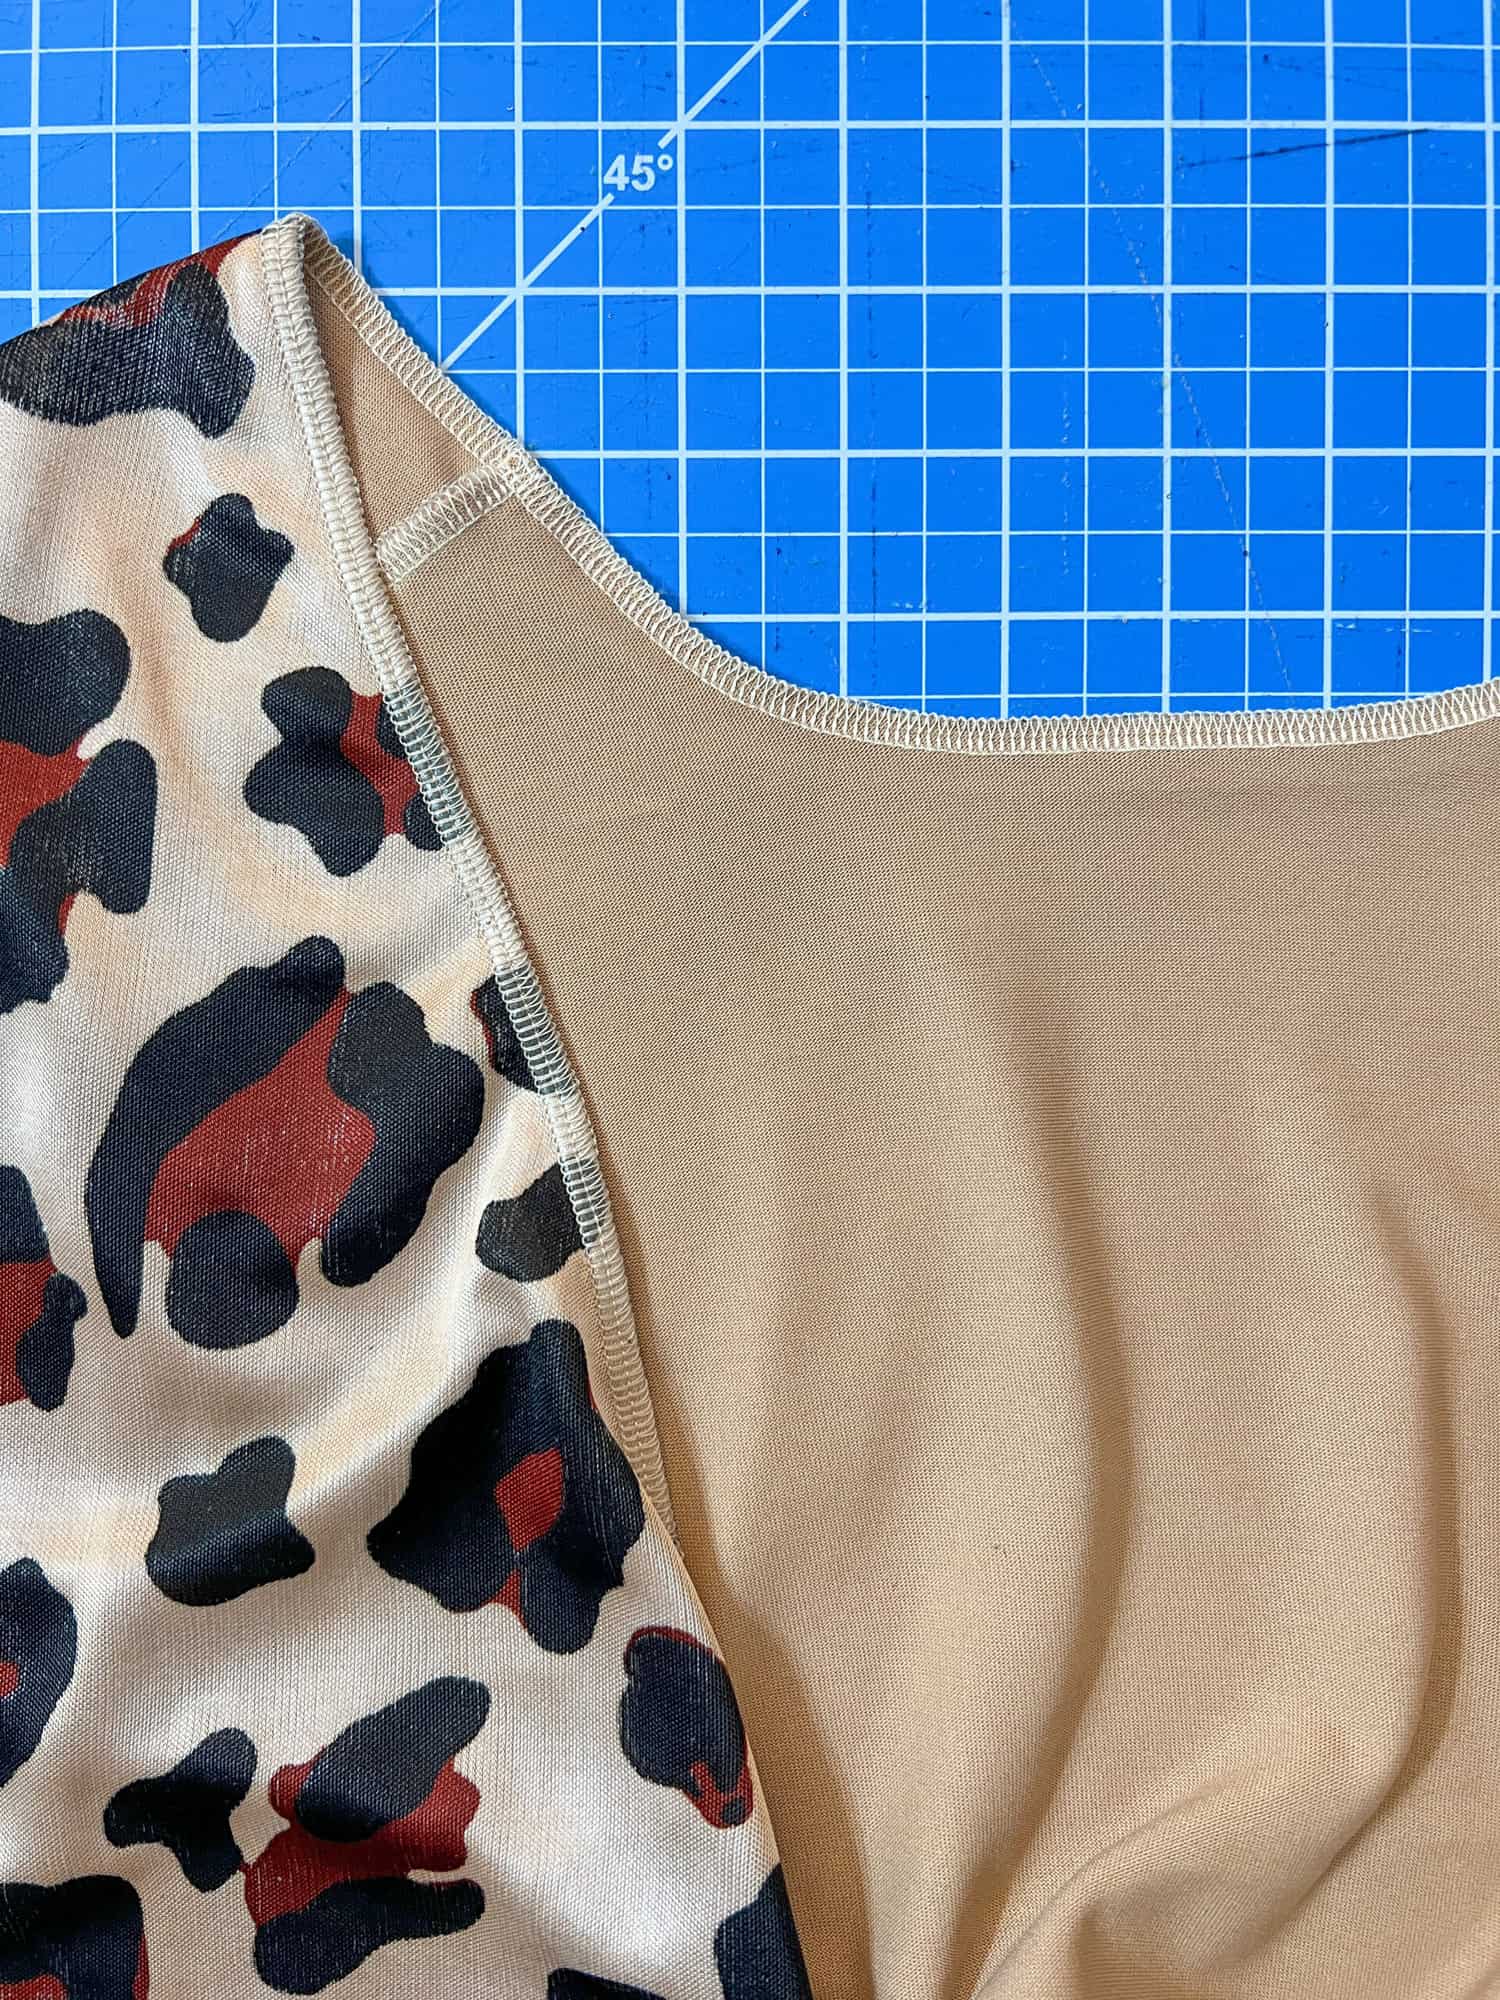
Understitch your seam allowance to your lining.
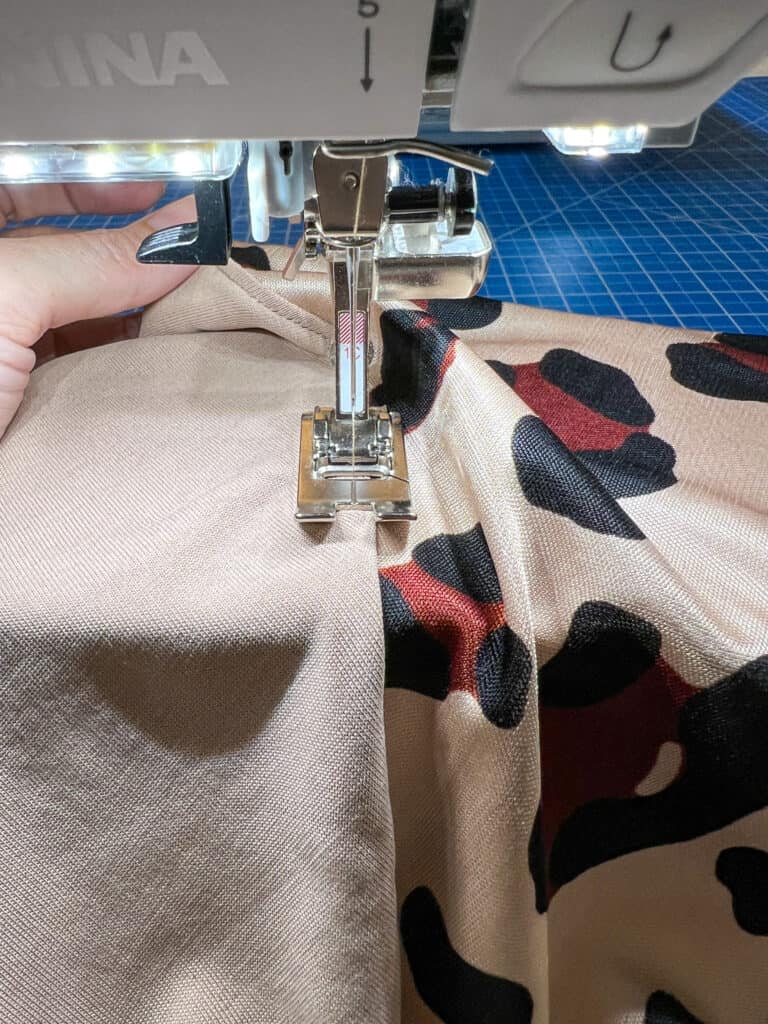
From this point, assemble the bodice per the pattern instructions, treating the bodice main and lining as one piece. I highly recommend basting your seams before sewing them. You are handling several layers of fabric in the side seam.
Next, sew your skirt side seams together on both the main and the lining pieces.
You have options after this point. You can baste the skirt and lining along the waistline with wrong sides together or with lining right side to main wrong side.
I chose to do the latter because I didn’t want my seams to rub against each other. If you prefer a cleaner look on the inside of your skirt, sew with wrong sides together.
Again, baste your skirt and lining together at the waistline and complete the construction of your dress per pattern instructions.
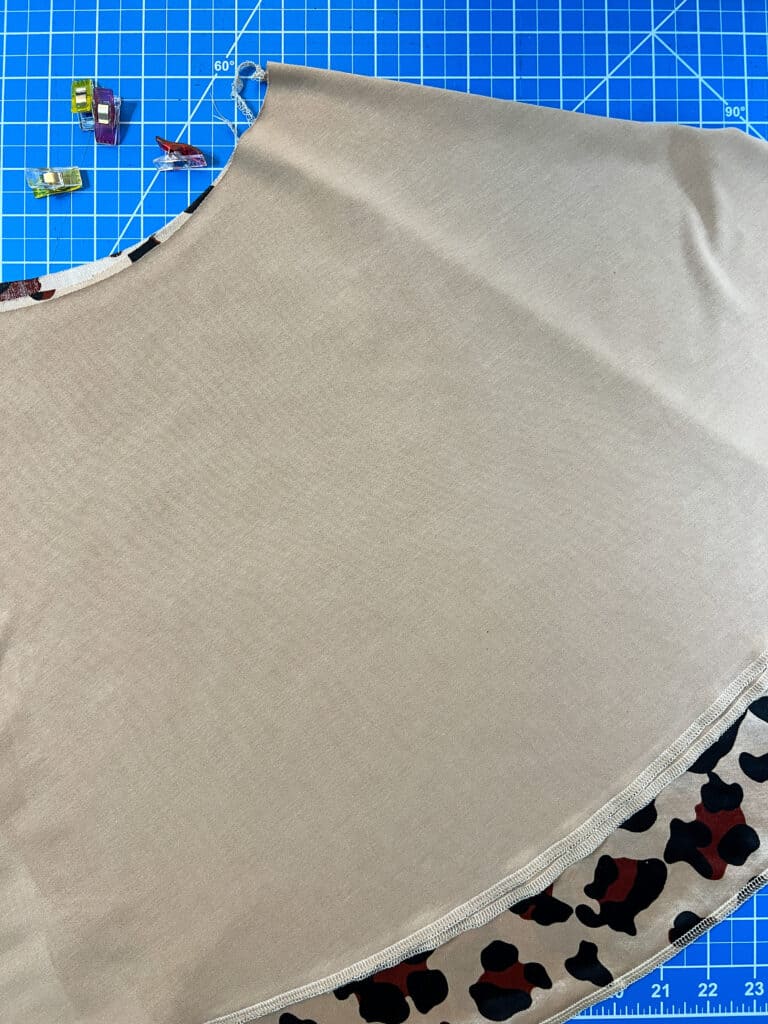
Another note of personal preference… I chose to serge the hemline of my lining and left it as is. I didn’t add a proper hem. It seemed unnecessary!
Enjoy your pretty new dress! It requires a lot of twirling when you wear it!
HOW TO ADD A RUFFLE NECKLINE
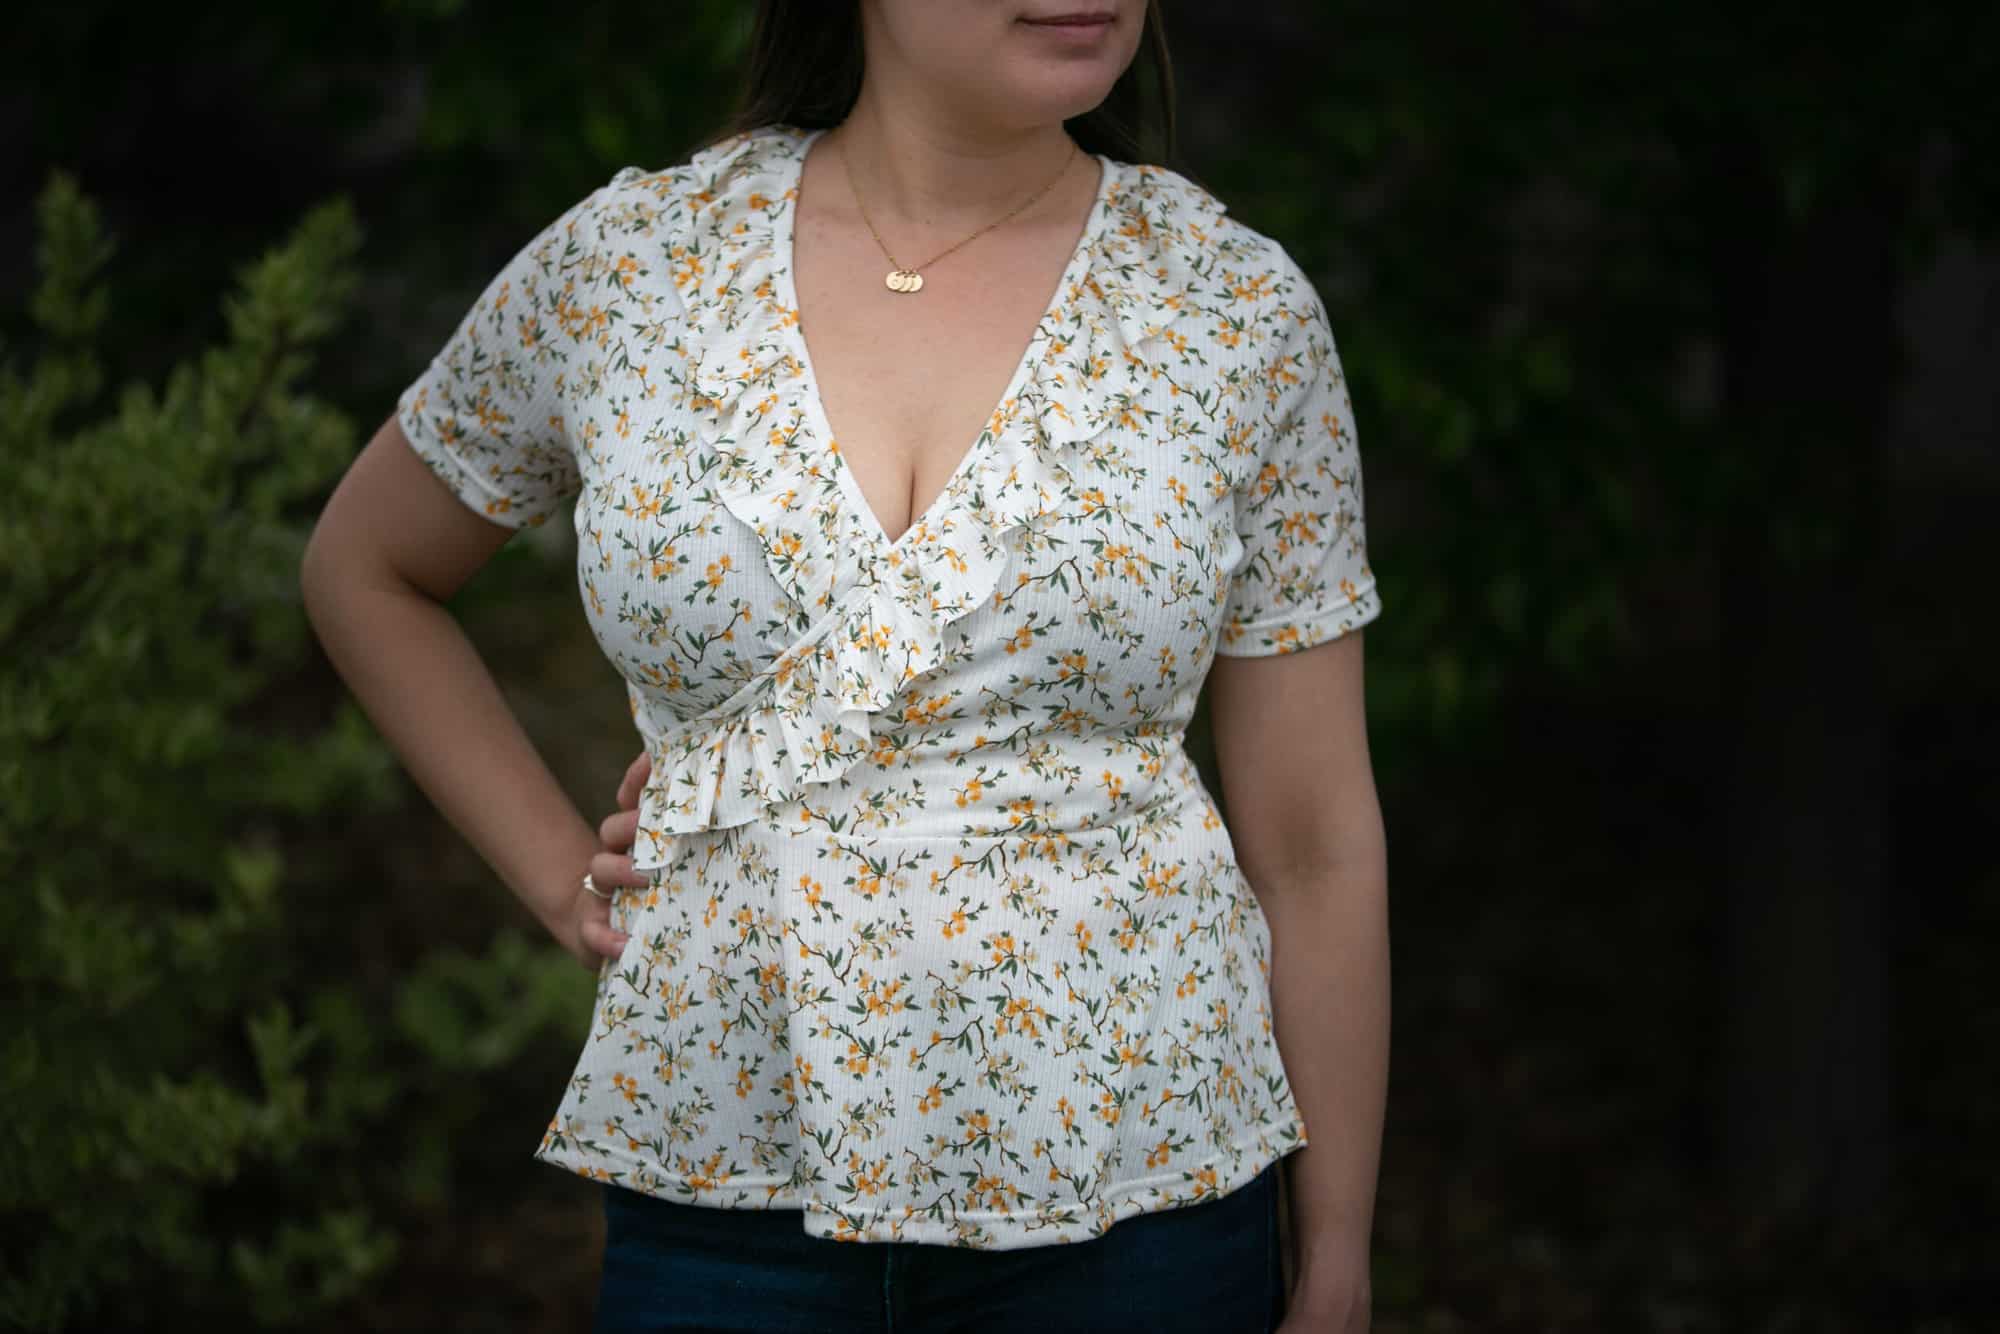
This pattern just calls for adding a little something extra to the neckline!
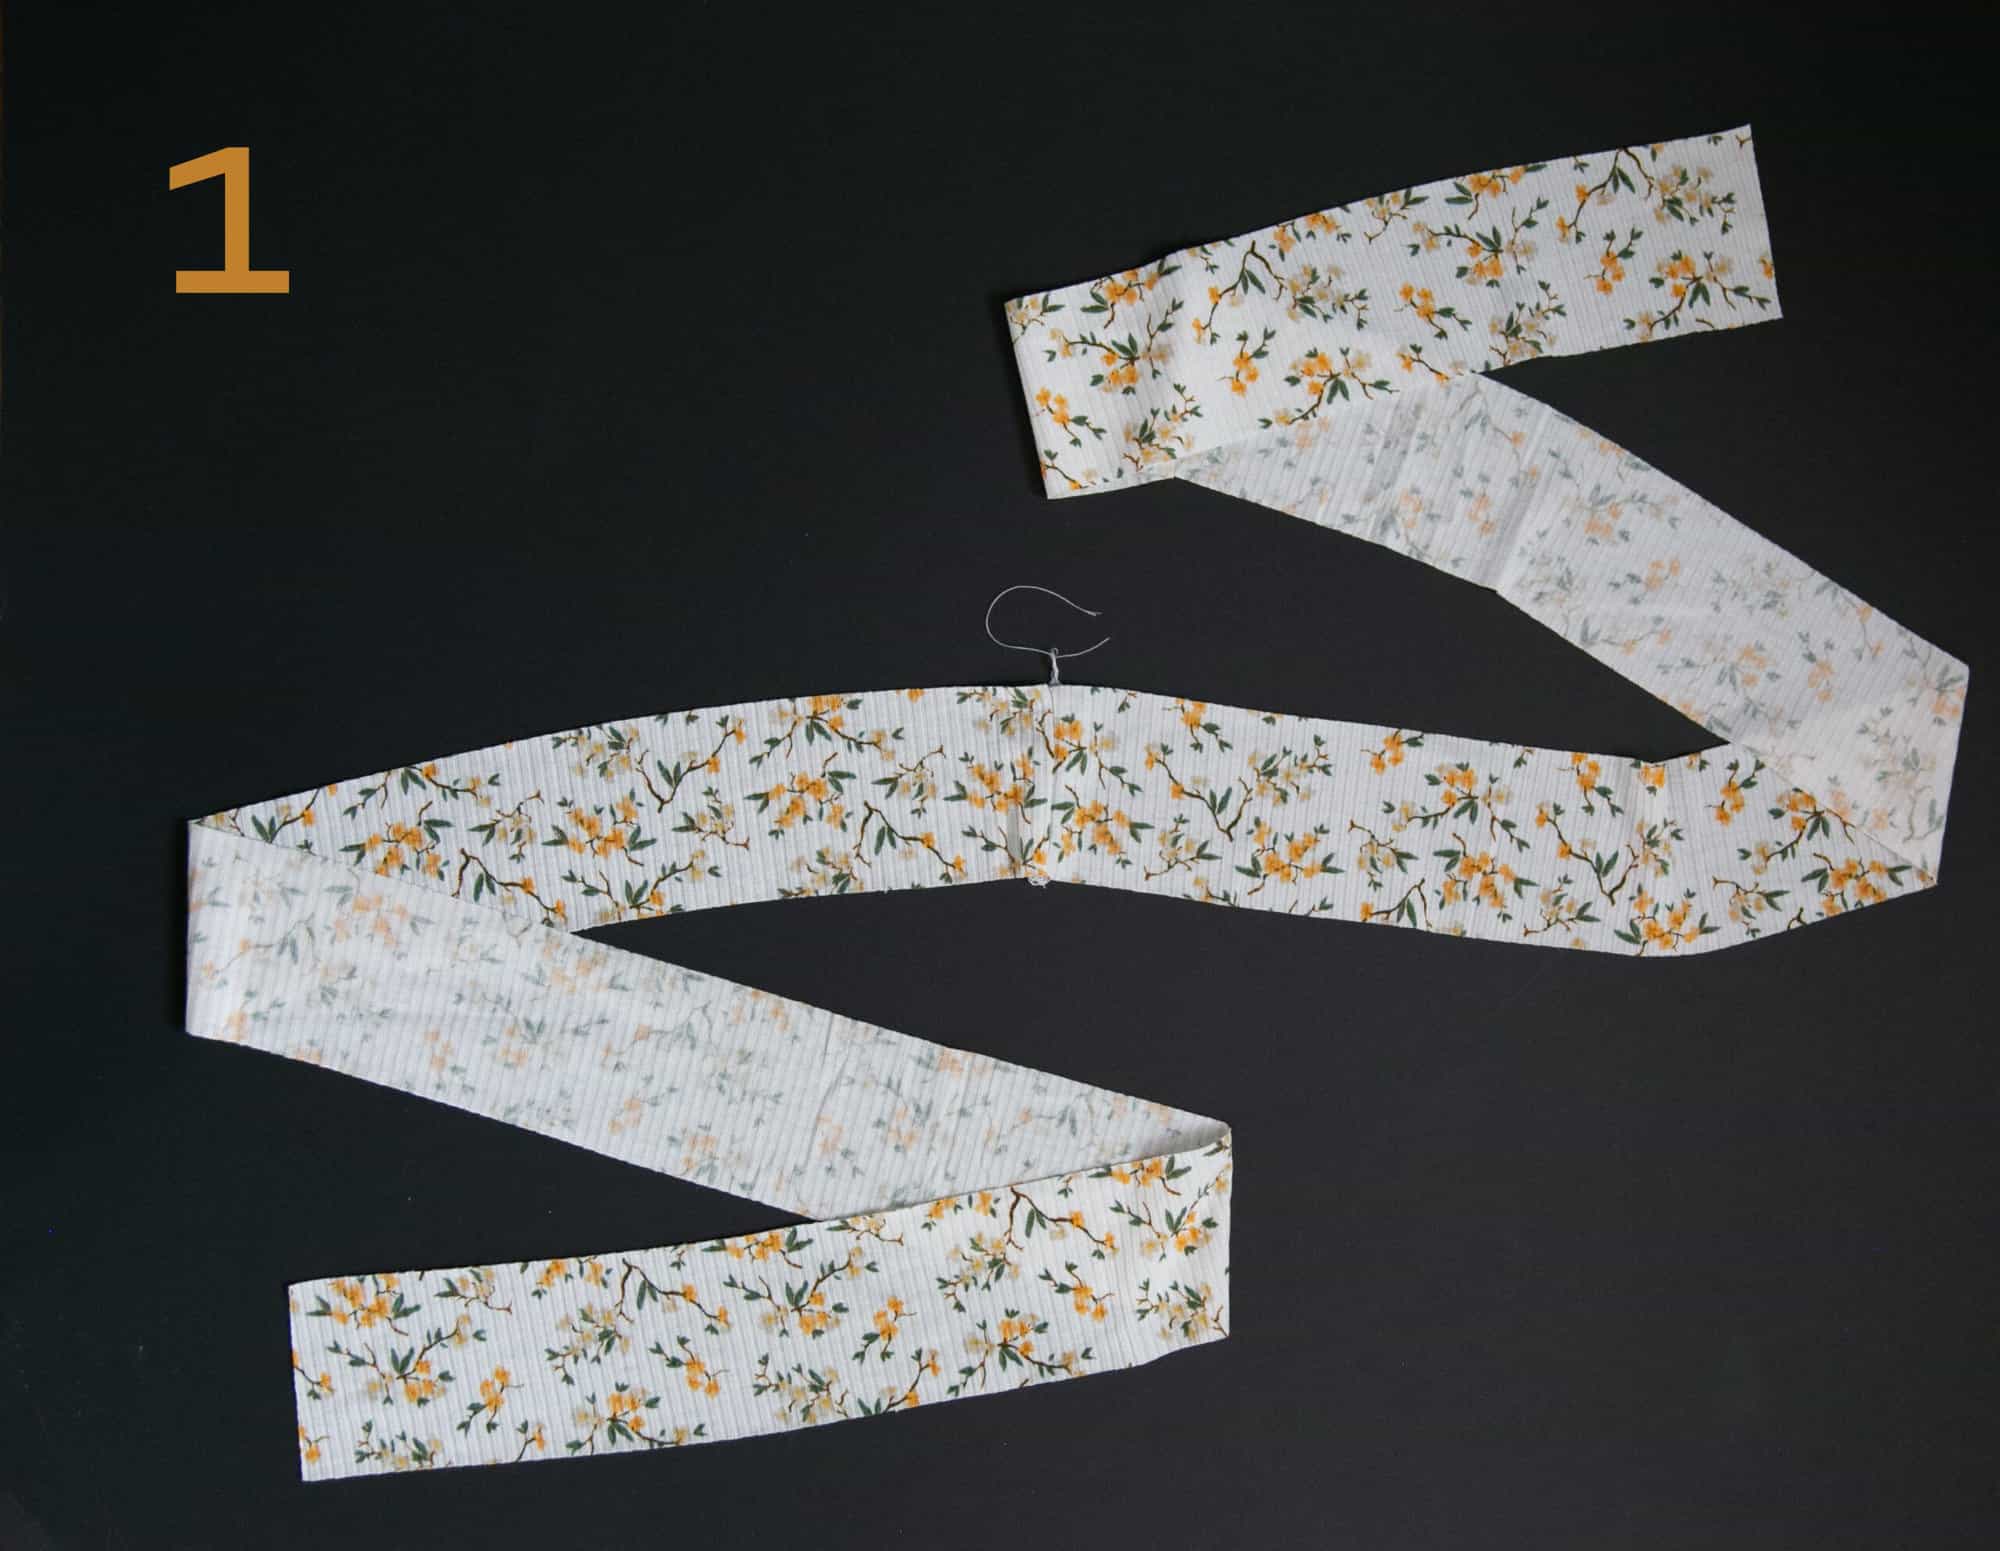
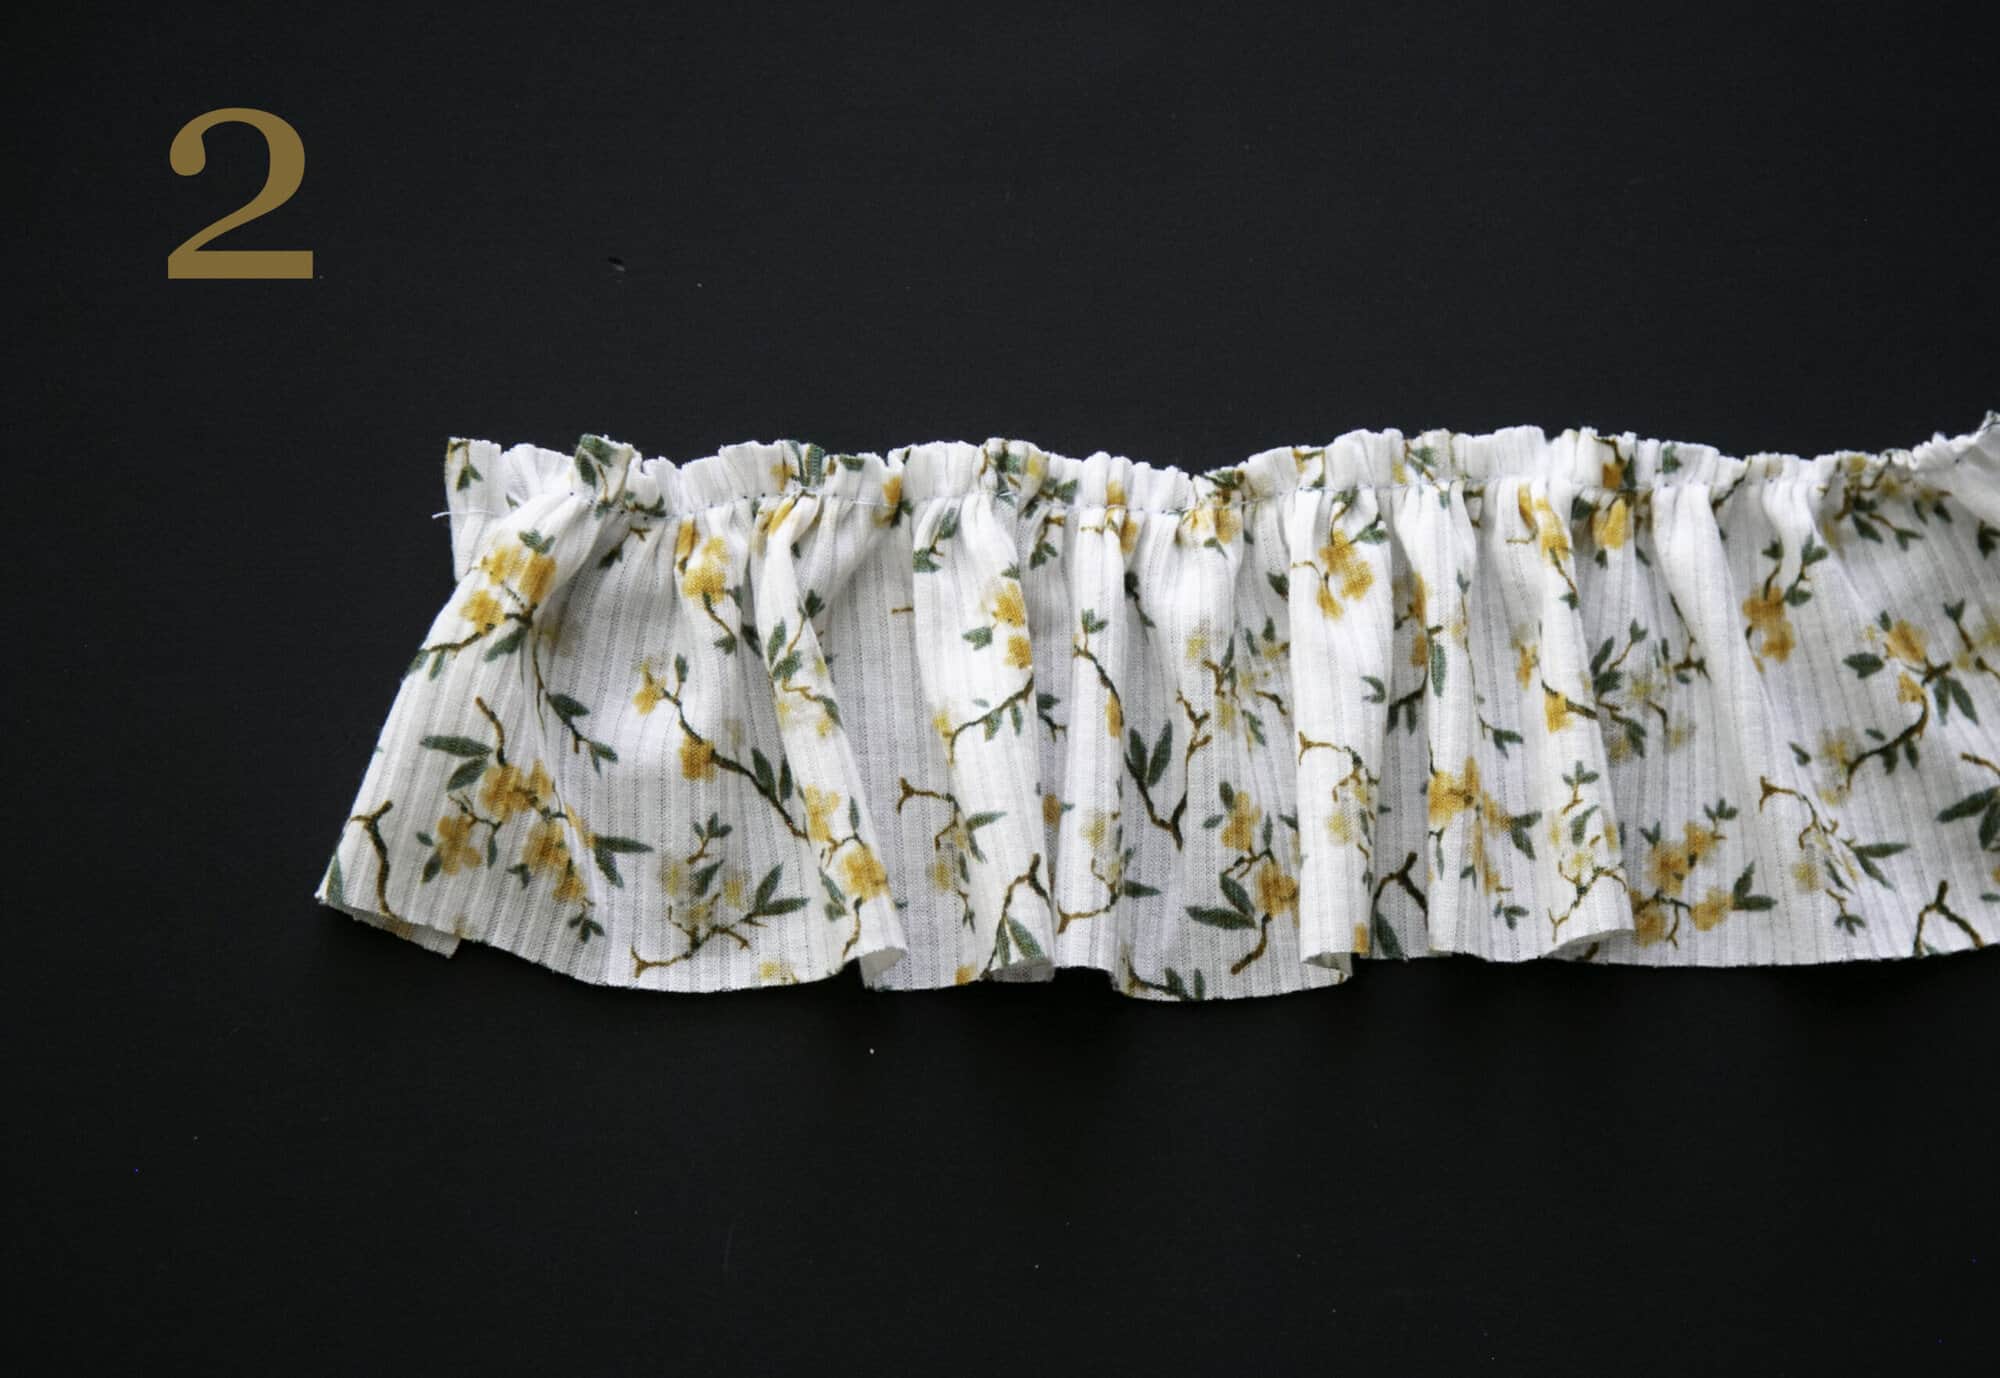
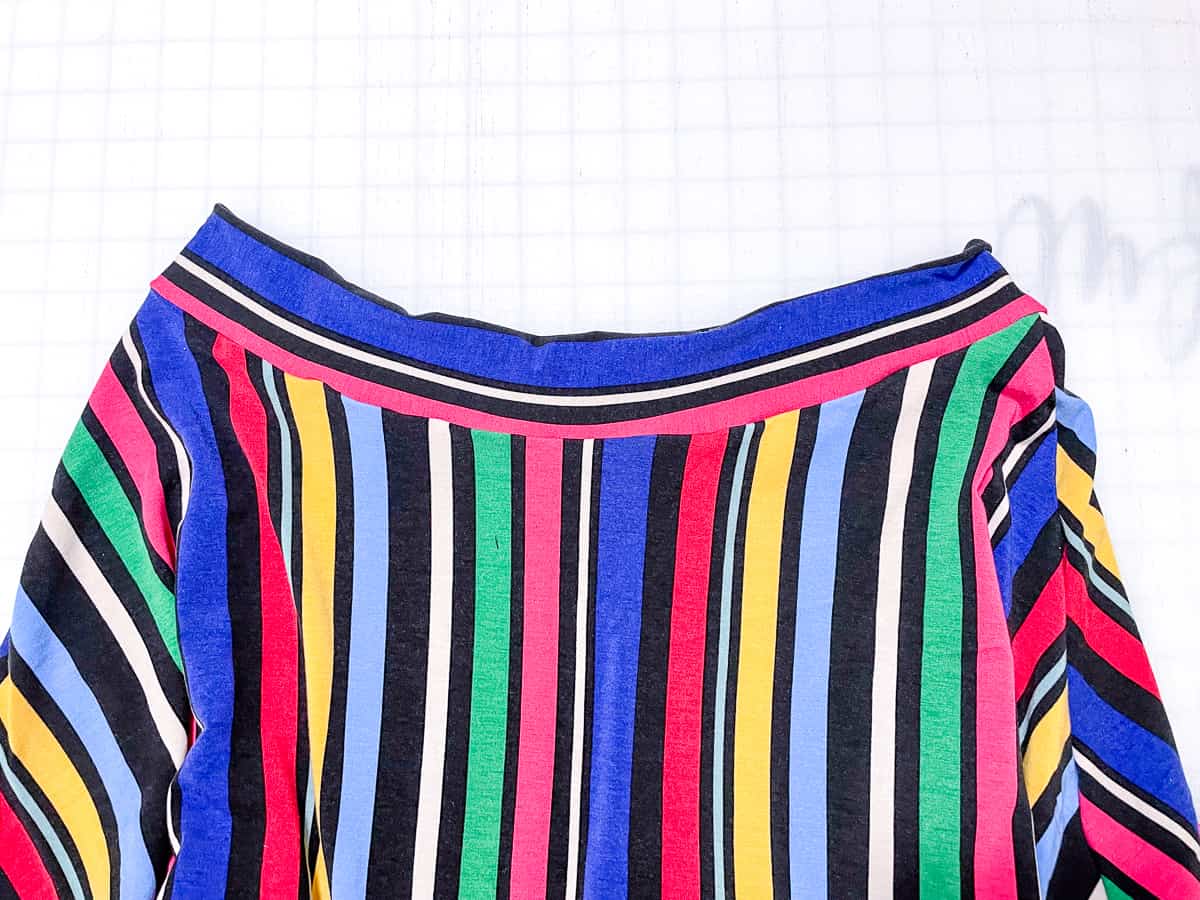
Step 1: Cut ruffle piece. I cut my ruffle at 2.75″ tall by 4x the binding piece. I wanted less seams, so I cut 2 long strips at 2x the width of the neck binding strip.
Step 2: Gather your ruffle.
Step 3: Sew shoulder seams of bodice, then find quarter points.
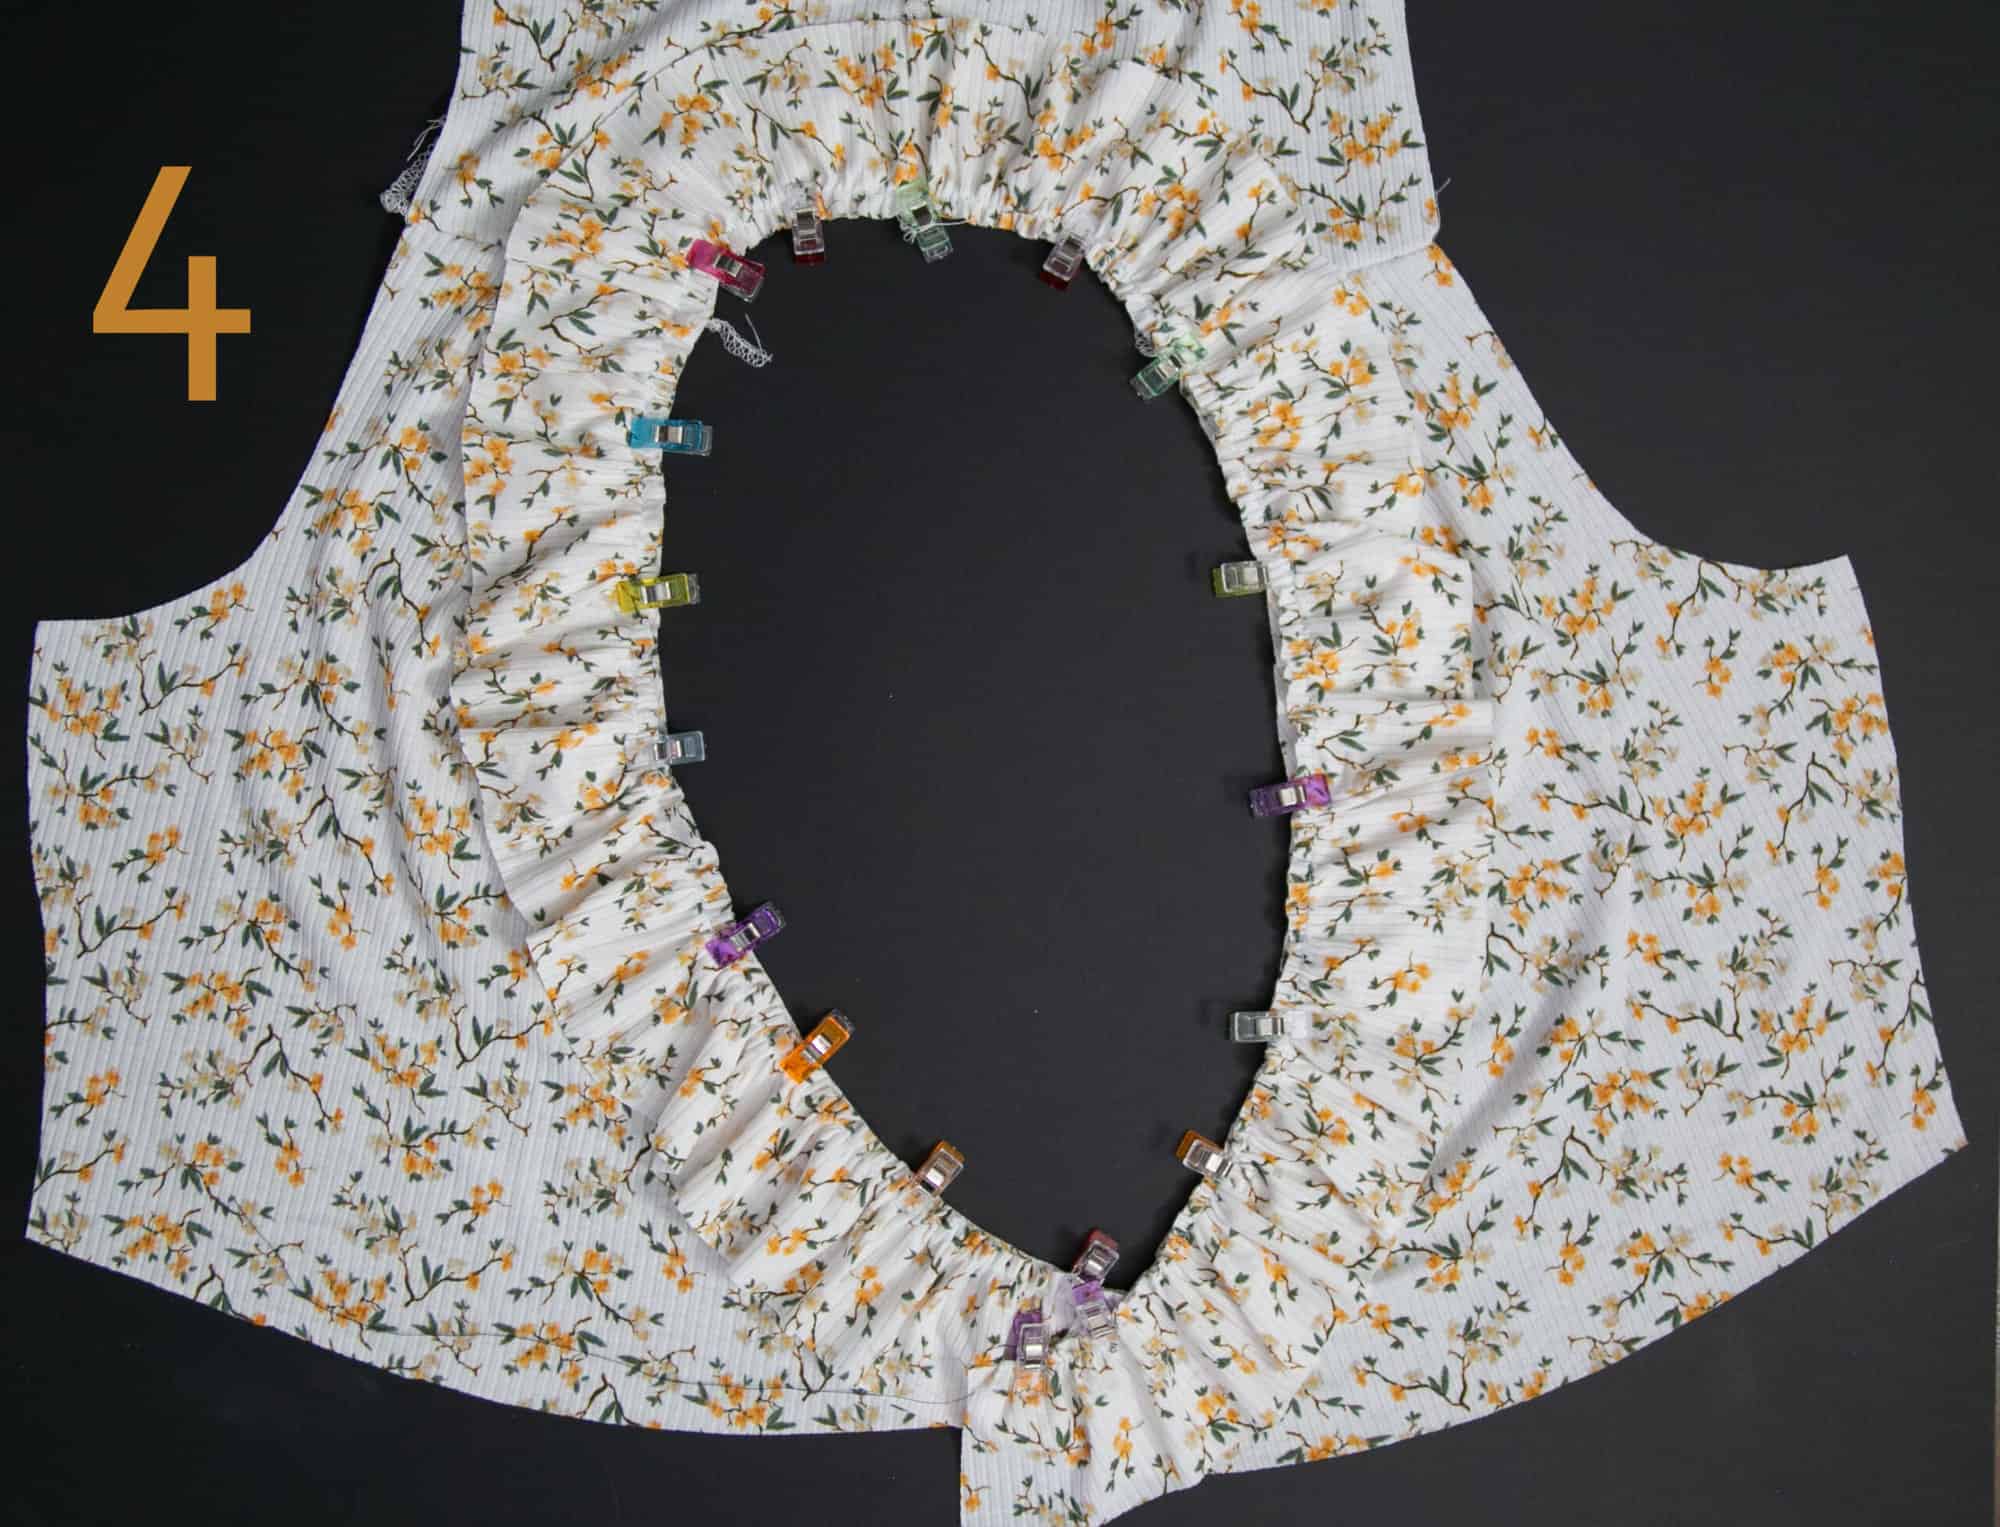
Step 4: Find the quarter points on your ruffle AND your bodice neckline. Pin/clip gathered ruffle to front neckline, wrong side of ruffle to right side of bodice. Add a basting stitch if you’d like. Pin/clip ruffle 1/2″ away from the edge of the bodice on the side that will face out.
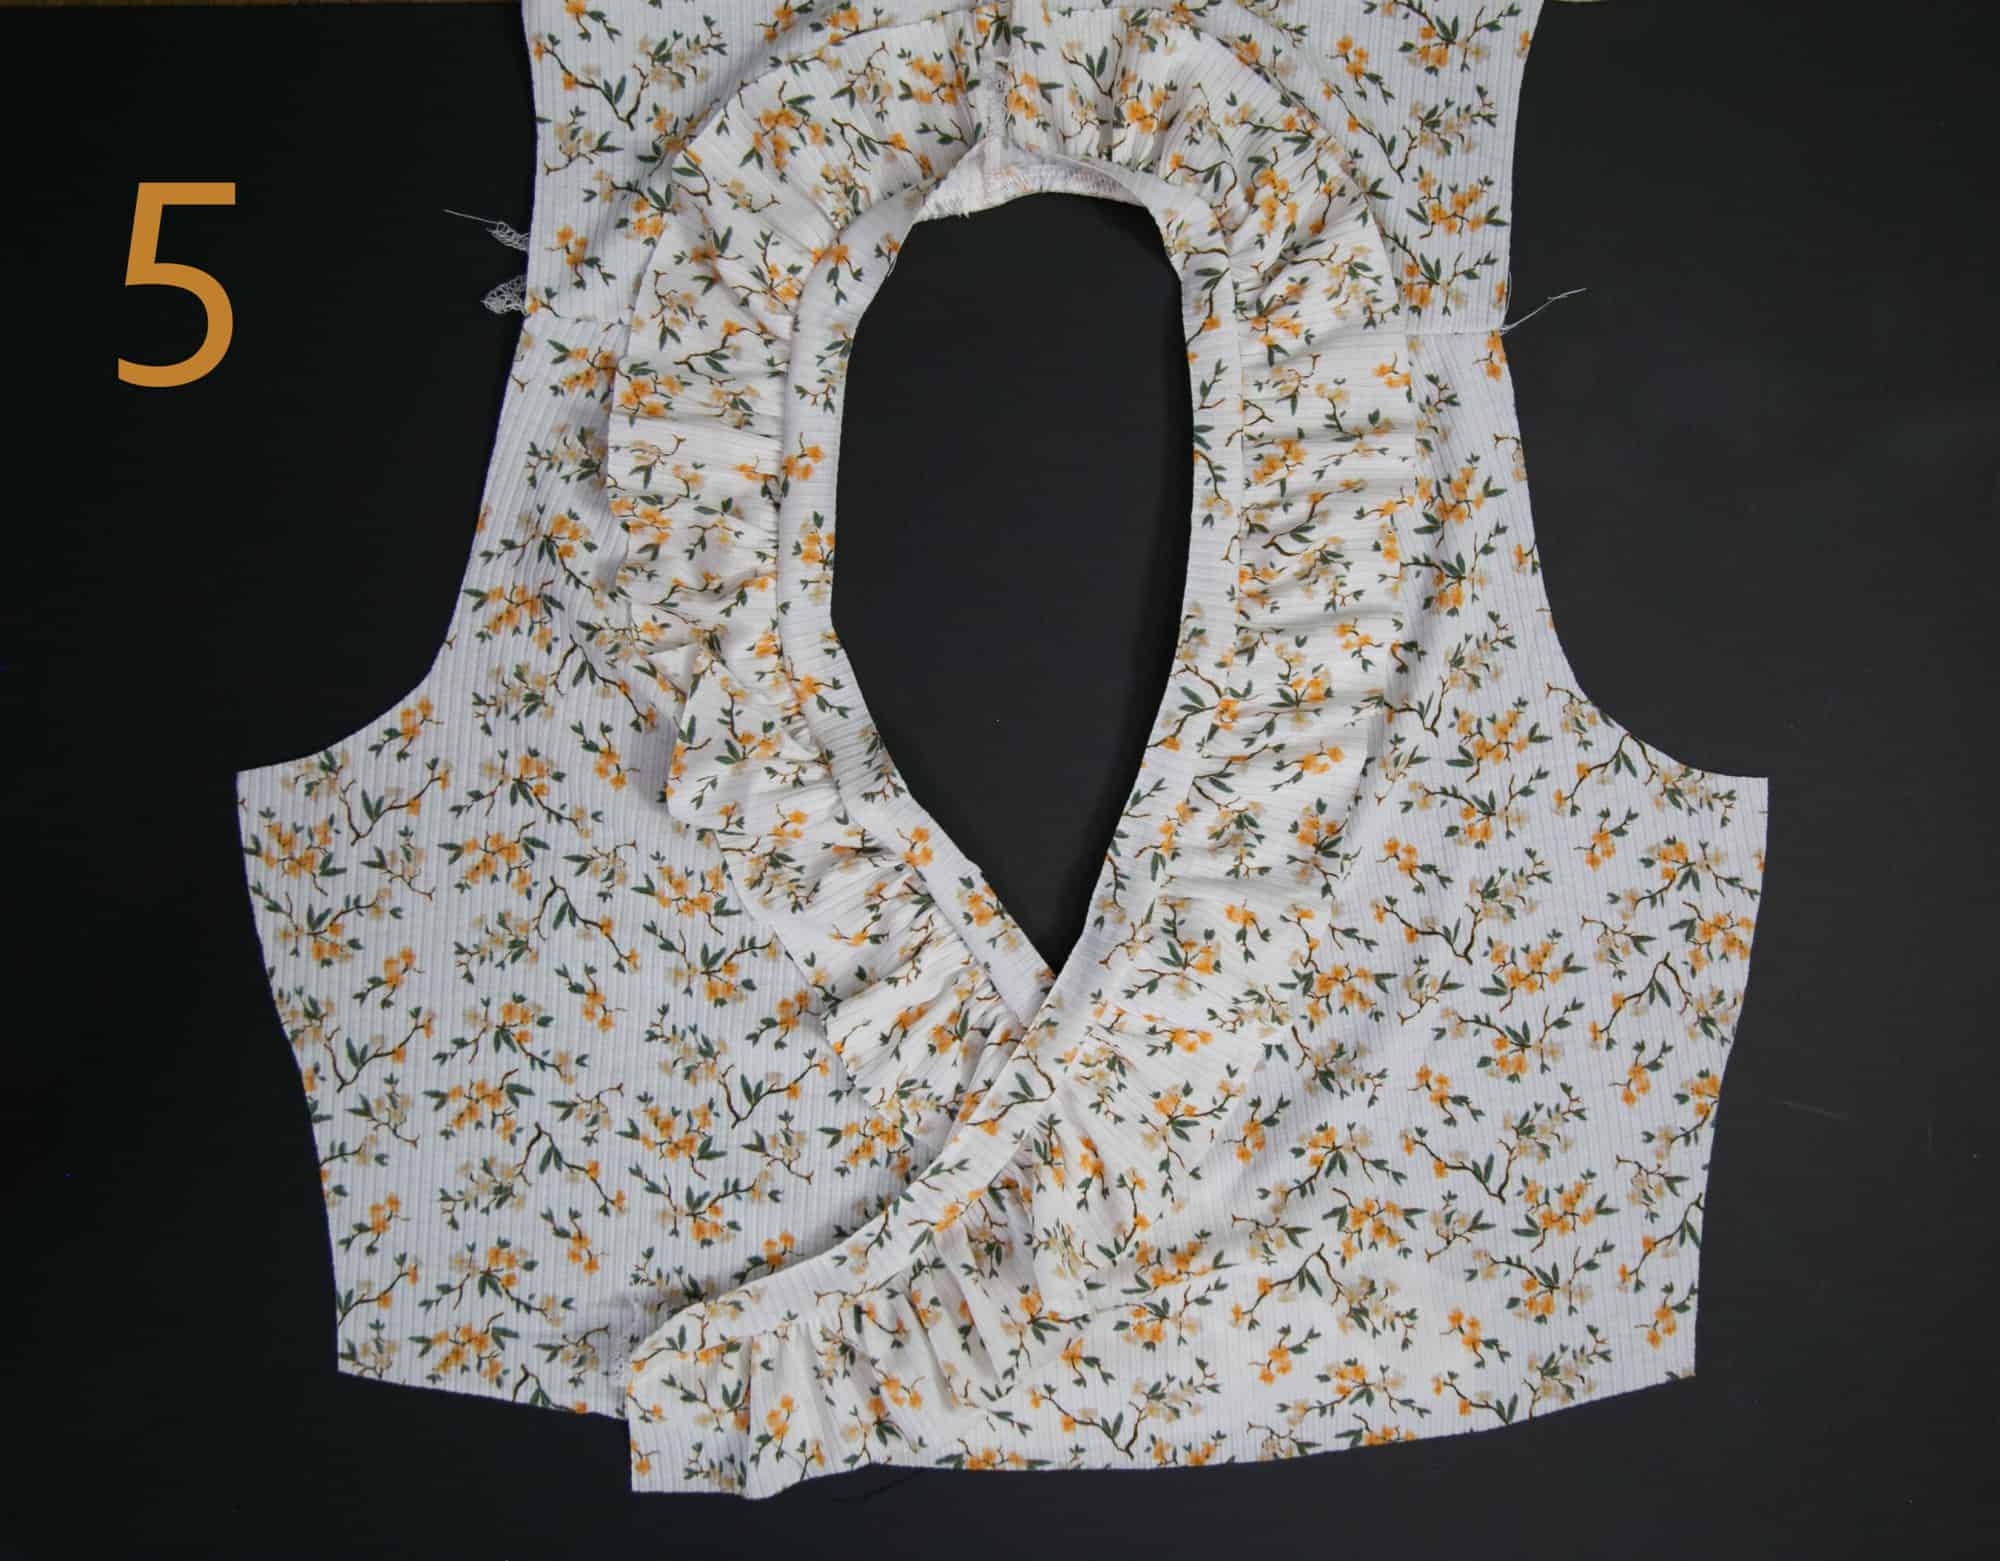
Step 5: Pin/Clip binding piece right sides to right sides on top of the gathered ruffle, and sew.
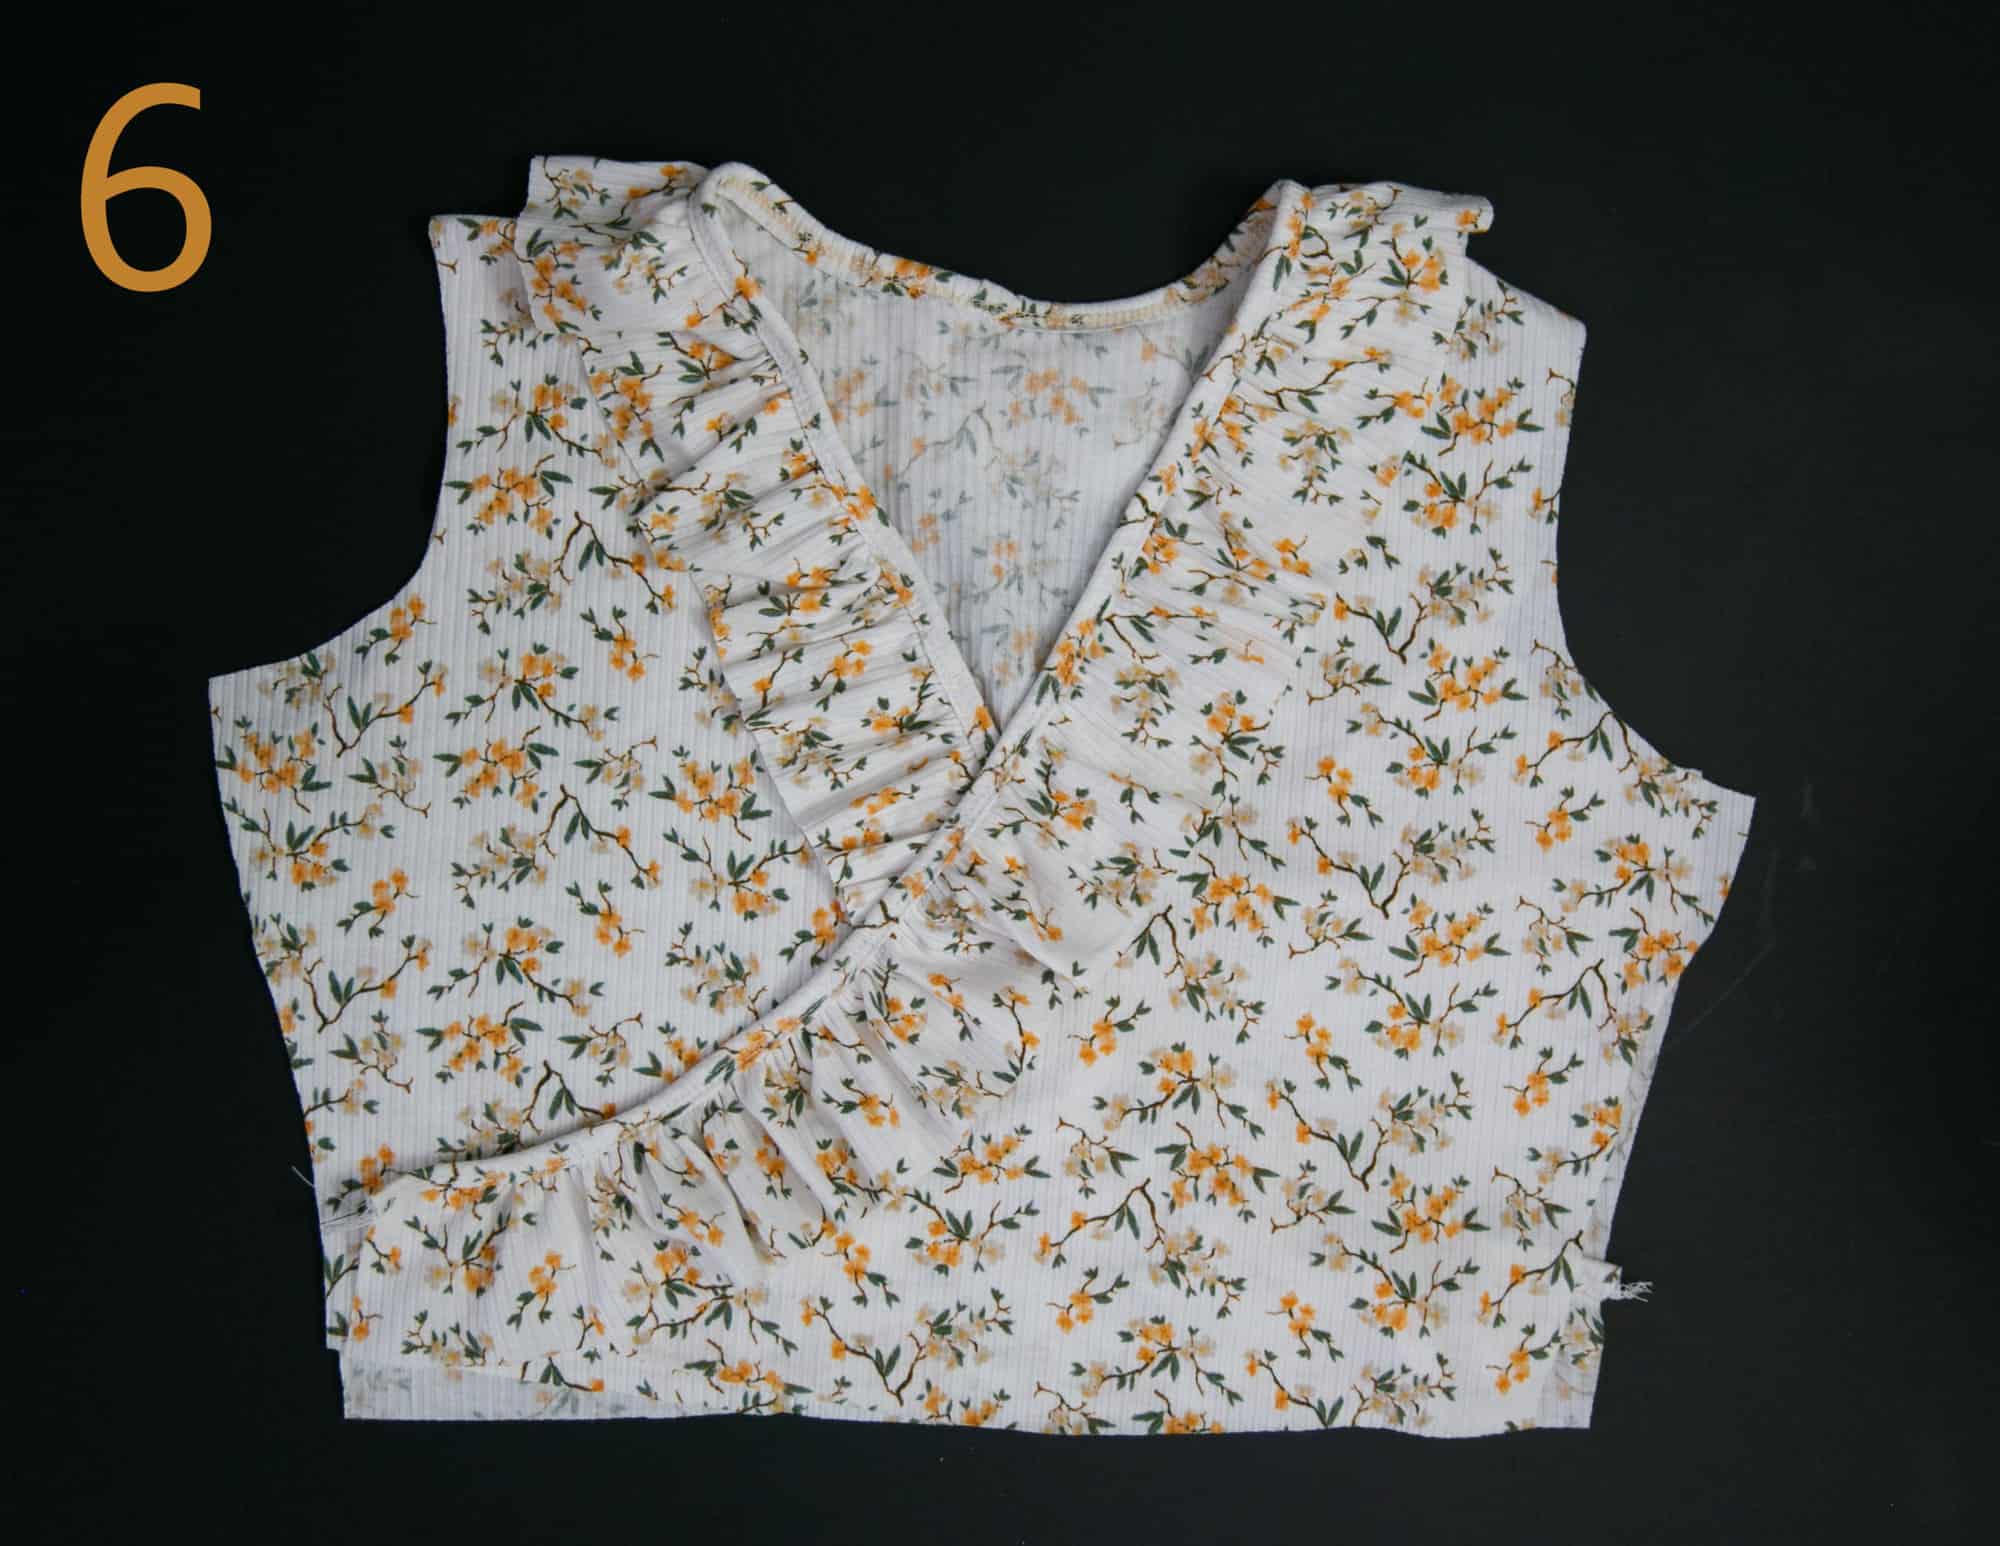
Step 6: Topstitch binding, and construct the rest of your top/dress as normal.
What you end up with is an incredibly adorable (ruffle added) Charleston Crossover!
Thanks for sharing with us Jessica!
HOW TO ADD A WAISTBAND + MAKE A SKIRT
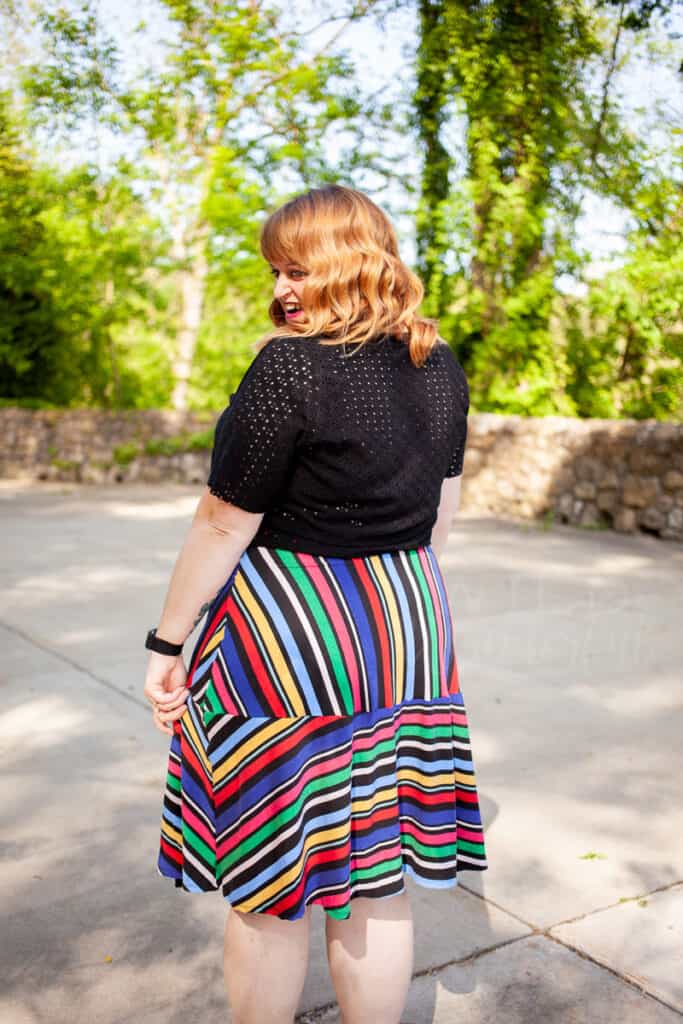
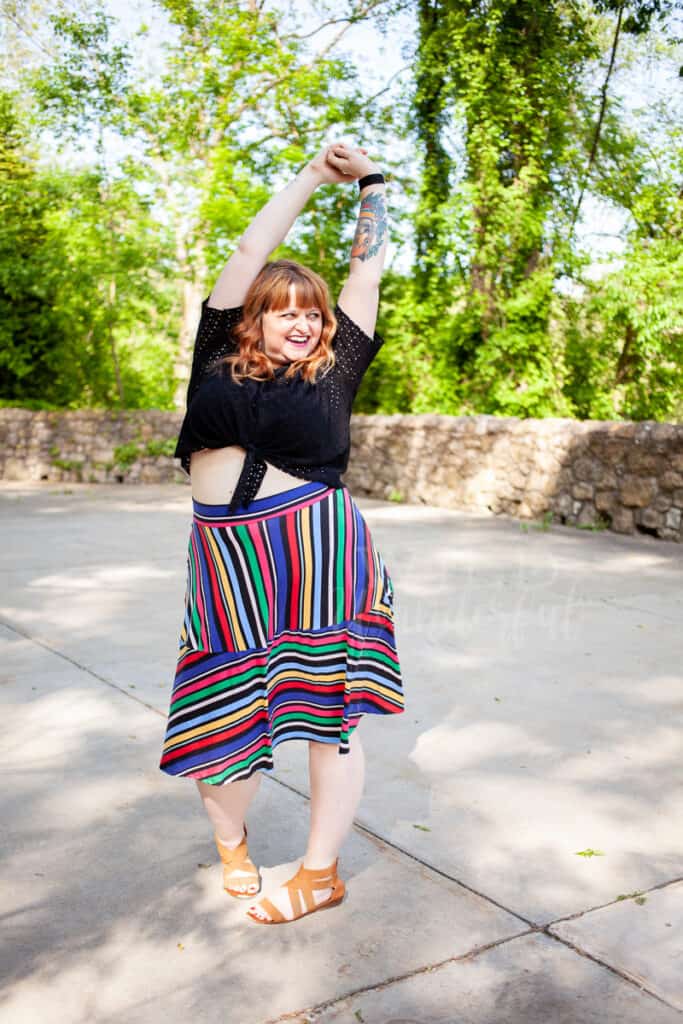
Have you been eyeballing the skirt from the Charleston Crossover but want it on it’s own, as a separate piece? Same. SAMEEEEEE.
Well let me tell you: it’s super easy to make happen.
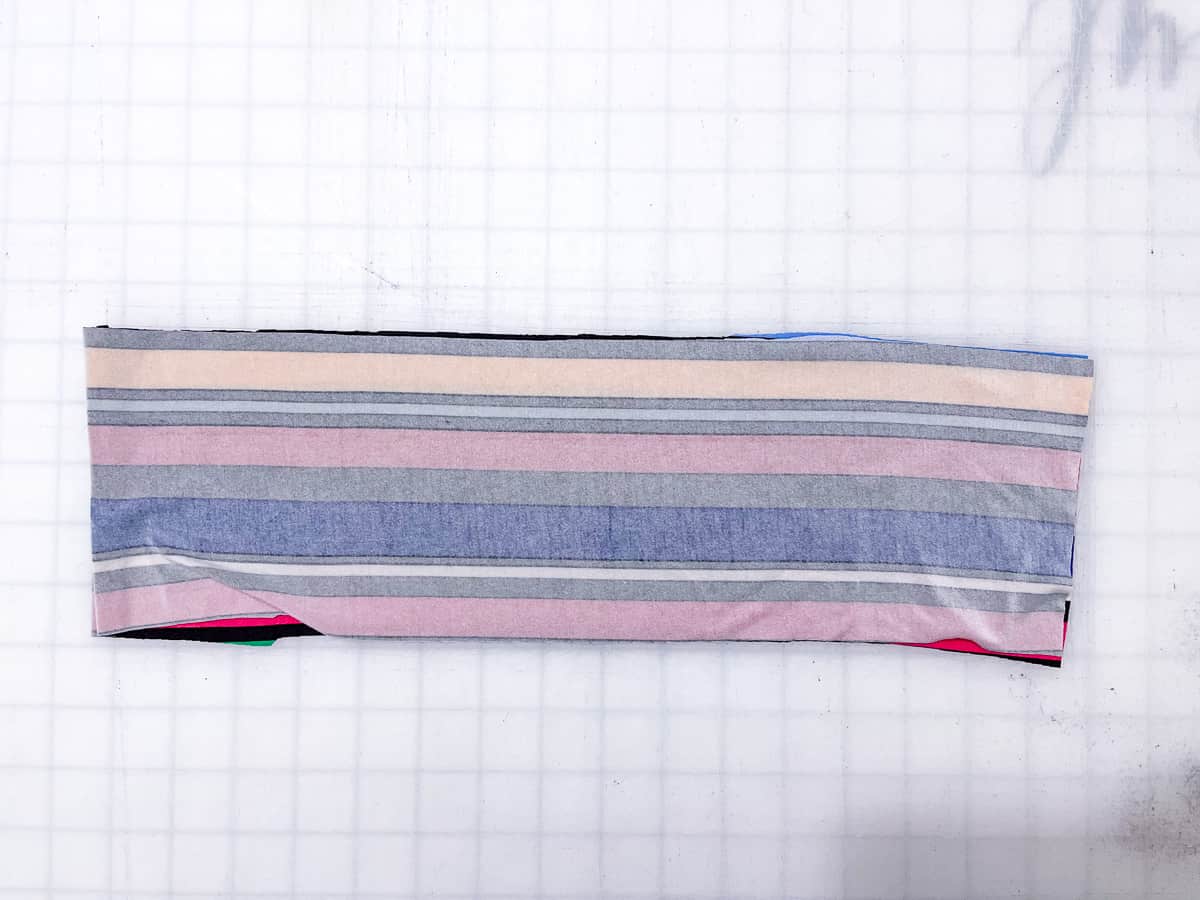
Simply follow the skirt construction portion of the Charleston Crossover tutorial. Completely omit the bodice, as we won’t need it for this sewing project. What we will need is a waistband…so here’s a quick cut chart for that.
The measurements below are included as LENGTH x WIDTH. (Width = stretch of fabric) Inches are rounded to the nearest .25, Centimeters are rounded to nearest .1
Assemble skirt as instructed in Charleston Crossover tutorial.
Fold waistband in half, right sides together, matching along short side.
Stitch along short side, using 1/2″ seam allowance.
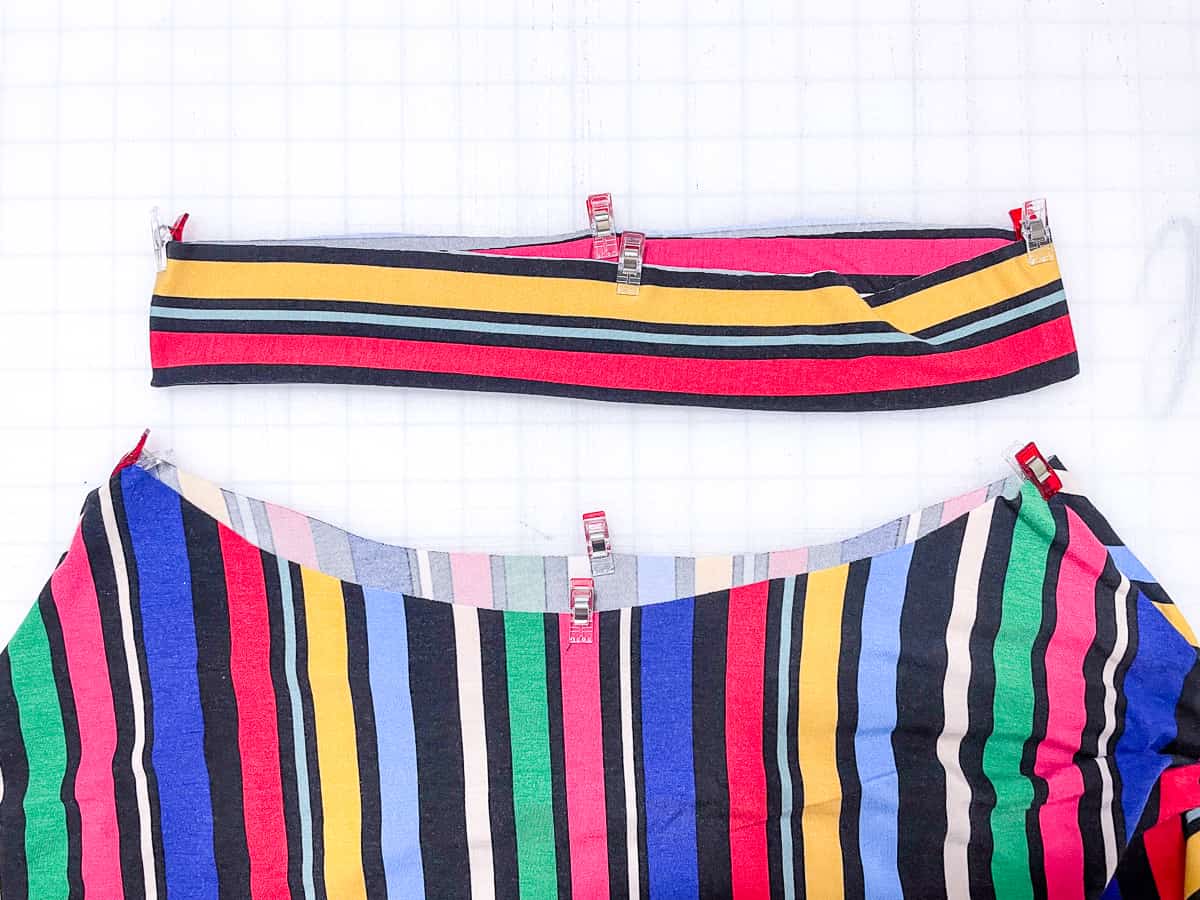
Flip waistband piece, with right sides together, creating loop.
Mark quarter points on waistband and skirt.
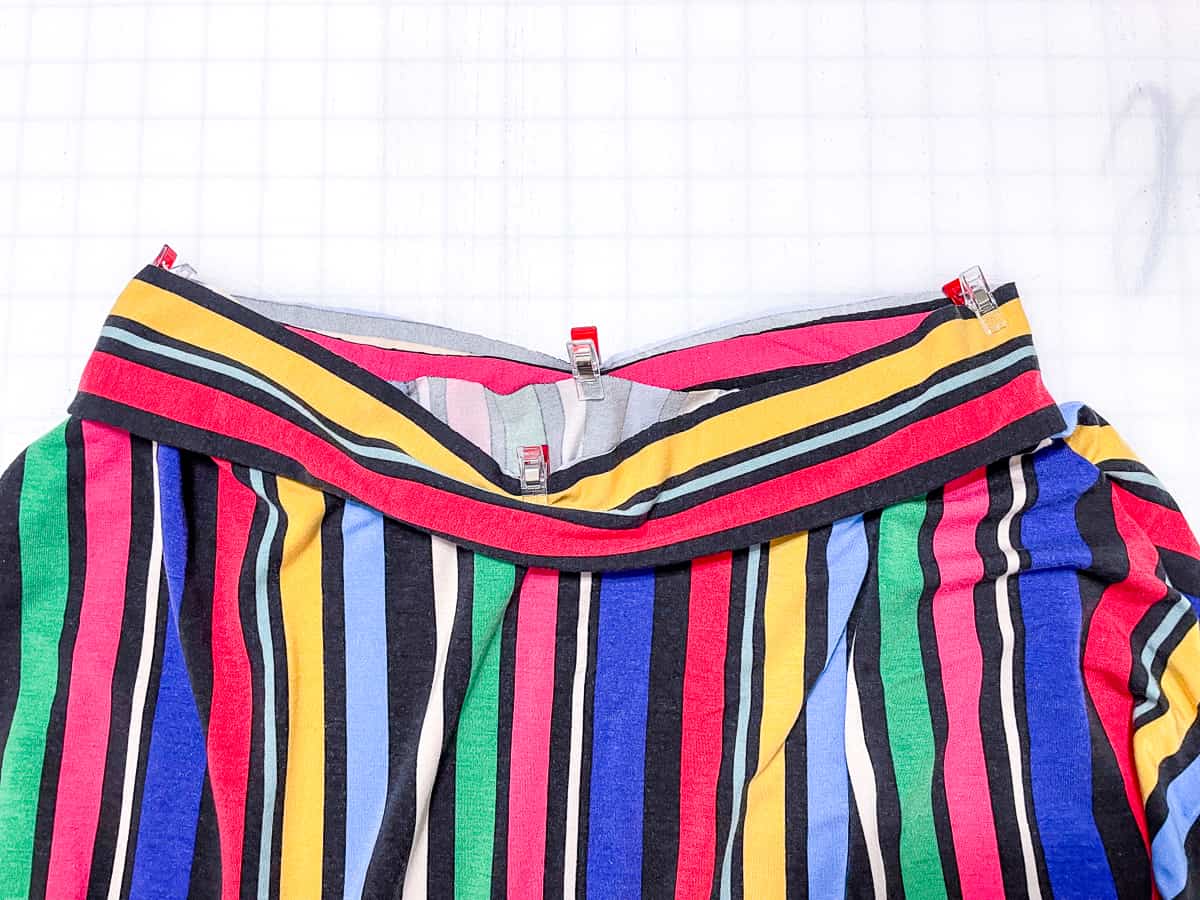
Match quarter points on waistband and skirt.
**Waistband is slightly smaller than skirt opening. You’ll need to stretch waistband to fit when sewing.
Stitch, using 1/2″ seam allowance.
Flip waistband up, away from skirt. Steam + press.
Wear the heck out of your new skirt because it’s the cutest!
We hope you love the easy hacks we provided, and are thrilled to see what you sew for yourself using the Charleston Crossover pattern! It is available on sale (no code needed) through 11:59pm CST, May 24, 2023.







This pattern is super cute, but I have a large bust and I don’t want to deal with doing a full bust adjustment on a wrap bodice. What cup sizes can the Charleston handle?
Hi, If you take a look at the size chart you’ll take your upper bust and full bust to see if you fit into the sewing cup size each size is drafted for. Our curvy figure size chart the cup sizes get larger as the sizes go up.
I see the size chart on this particular listing didn’t include the upper bust… Here is a listing with those measurements for you! http://www.patternsforpirates.com/circe
Thank you, I was confused!