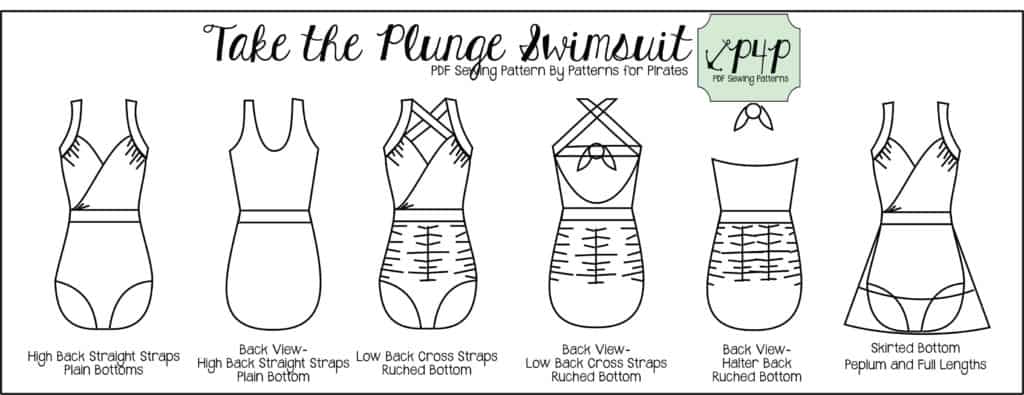
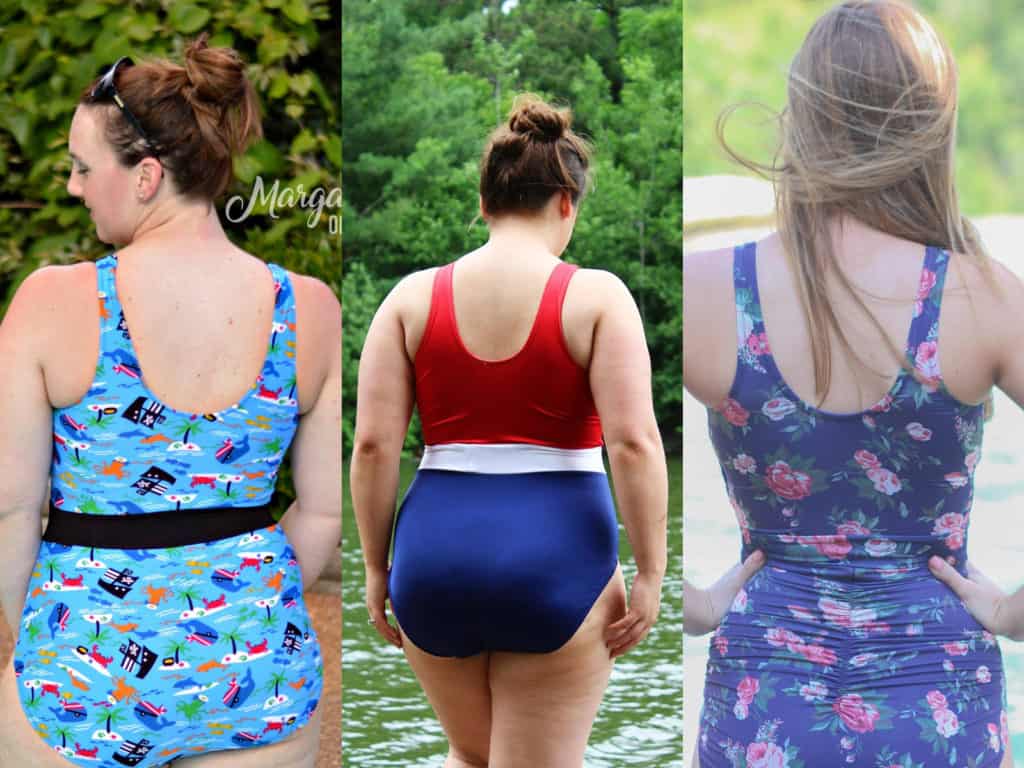
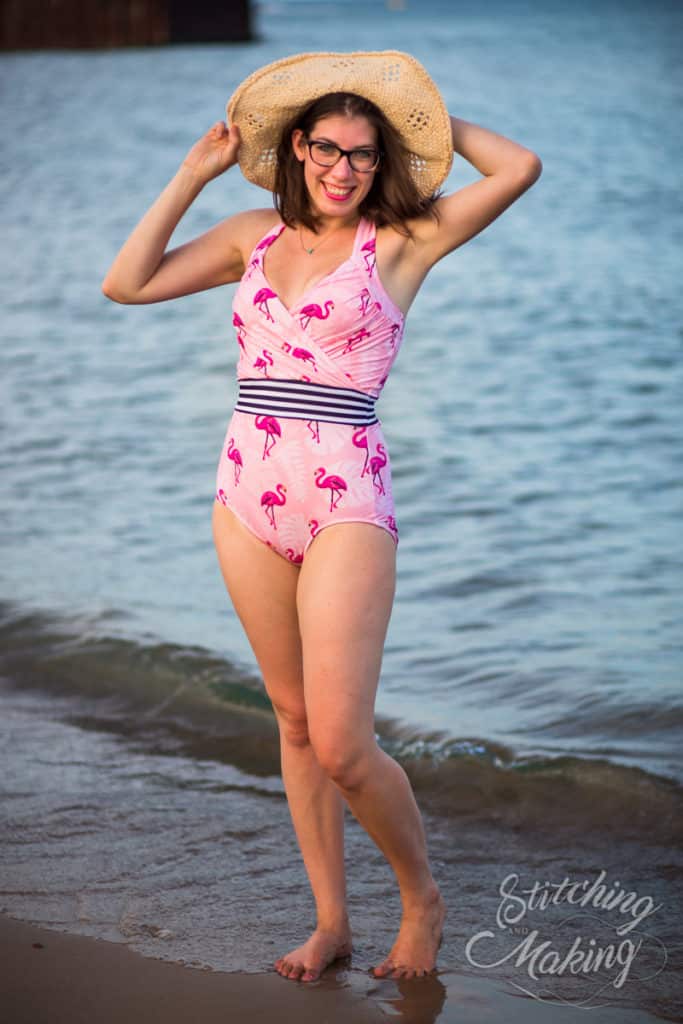
The ultimate one piece swimsuit is here and it’s packed with so many options. Mix and match the halter, low back or high back with any of the bottoms styles for a unique look every time but in true P4P fashion we could not have released this pattern without some easy hacks to get you even more looks out of your Take the Plunge Swimsuit.
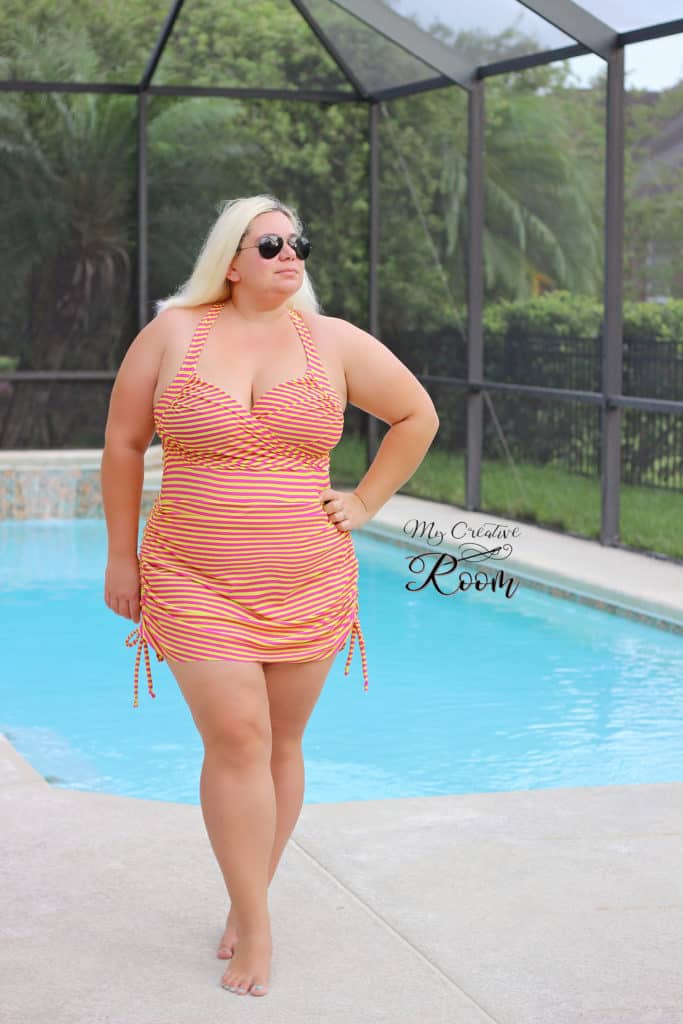
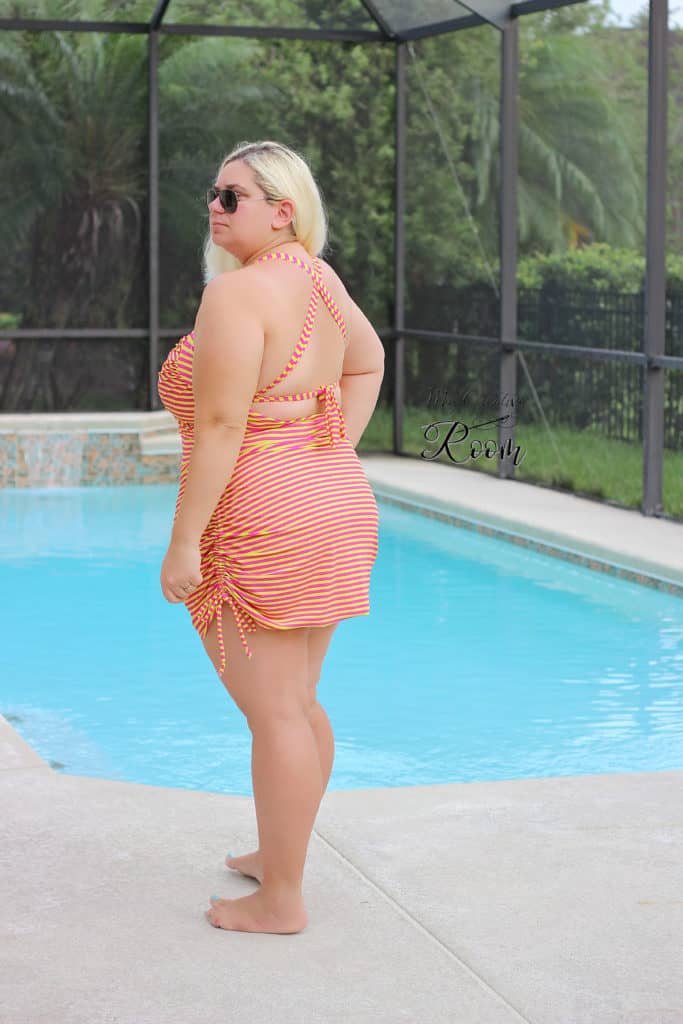
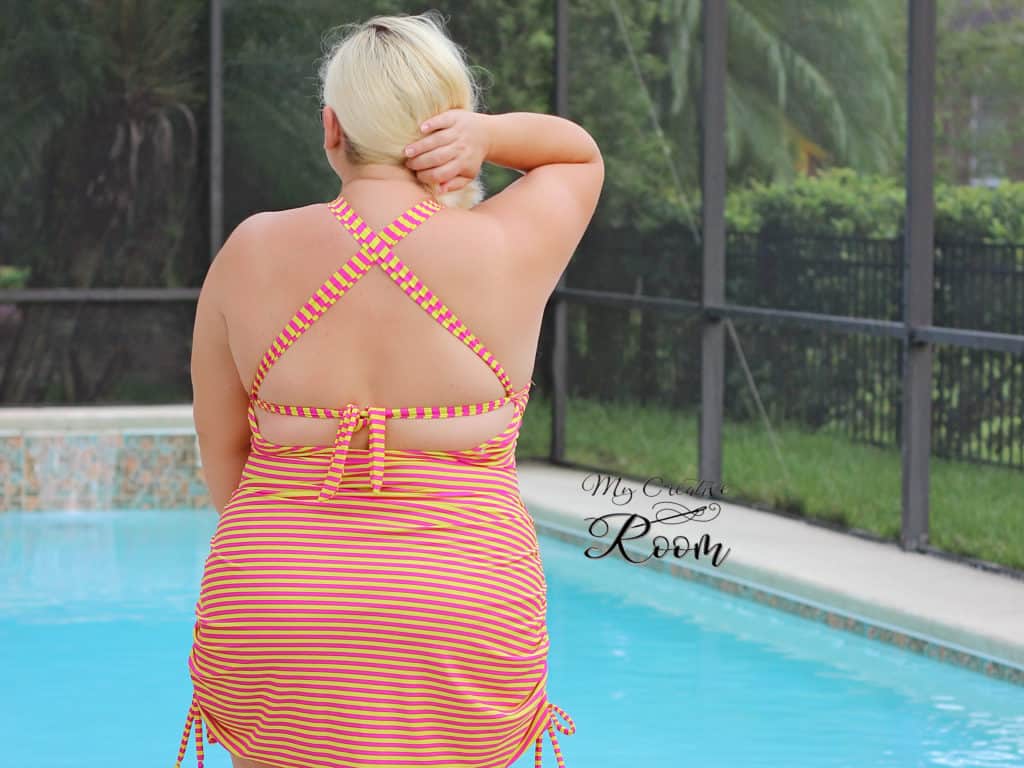
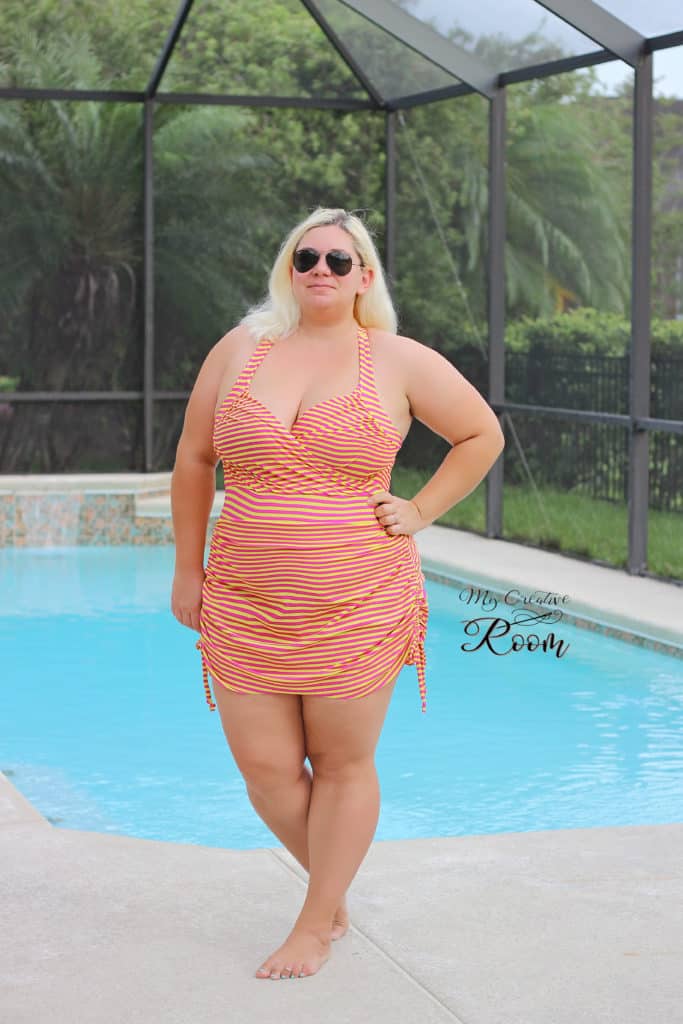
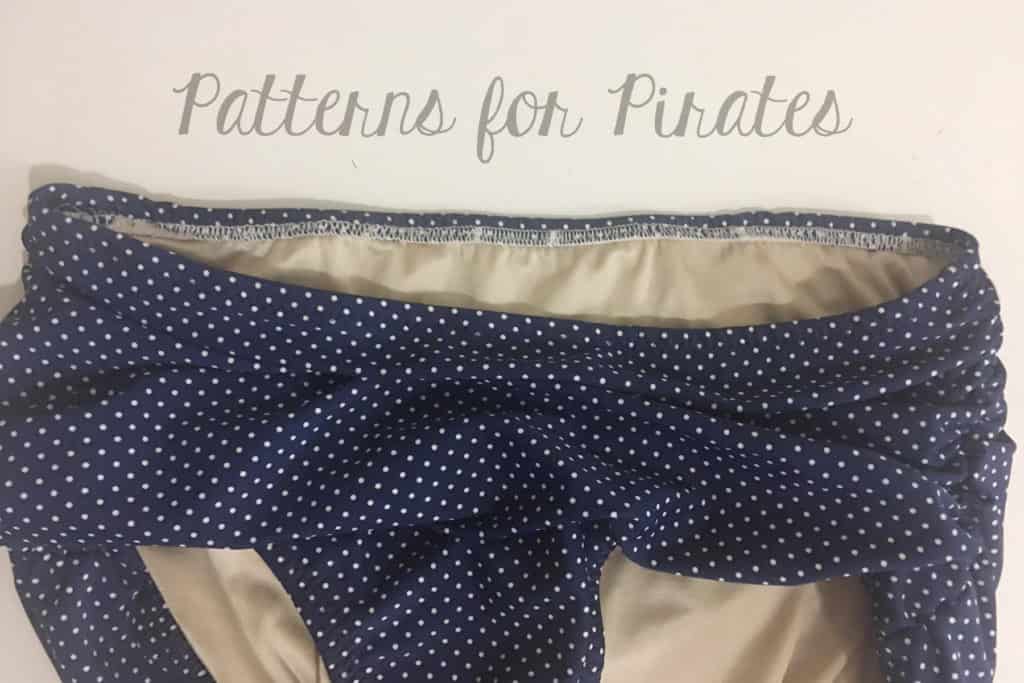
First on the hack line up is a super easy swicharoo! 🙂 Simply switch the half circle skirt included in the Take the Plunge swimsuit with the rushed skirt of the Hello Sailor Swim Bottoms.
This “retro” look is so easy to achieve when using the ties option of the Hello Sailor Swim Bottoms. If you prefer to use the elastic rushing option included in the tutorial you can certainly do that too.
I used the low back option of the Take the Plunge swimsuit but either one of the other tops would look amazing with the skirted bottoms. Make yourself a high back option and you’ll be ready to chase your little ones at the beach this summer. 🙂
There was no alteration needed to make to the pattern. Follow the tutorial for the Take the Plunge swimsuit and replace the skirt included with the Hello Sailor Swim Bottoms skirt. Easy peasy!
Alex
—
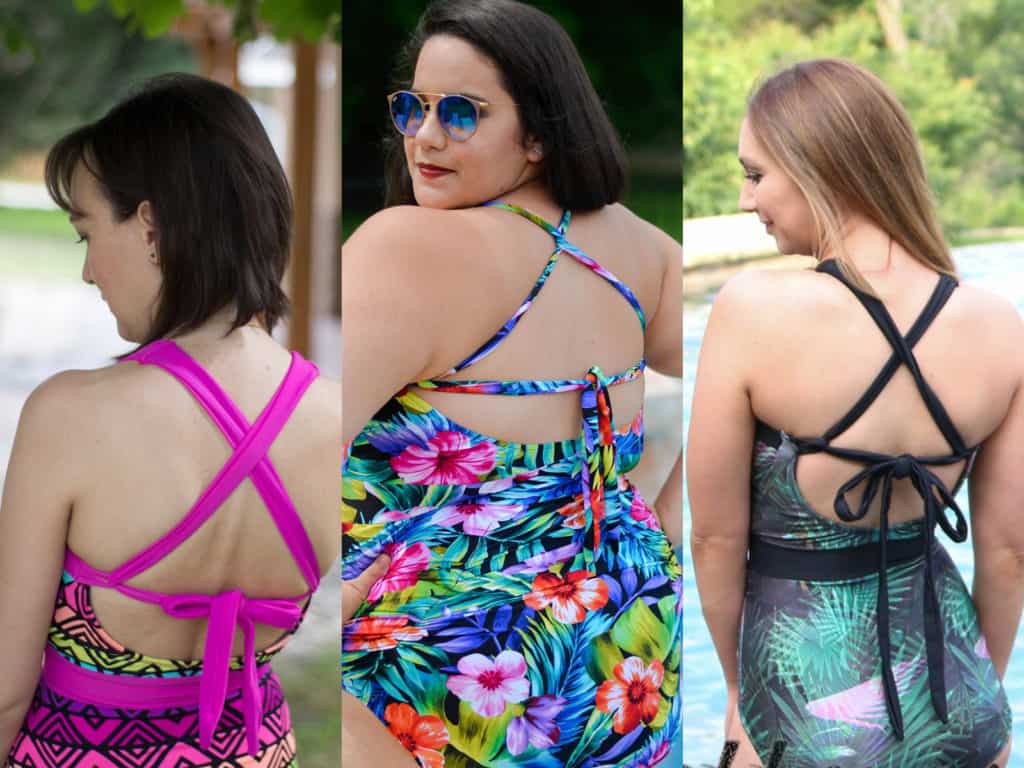
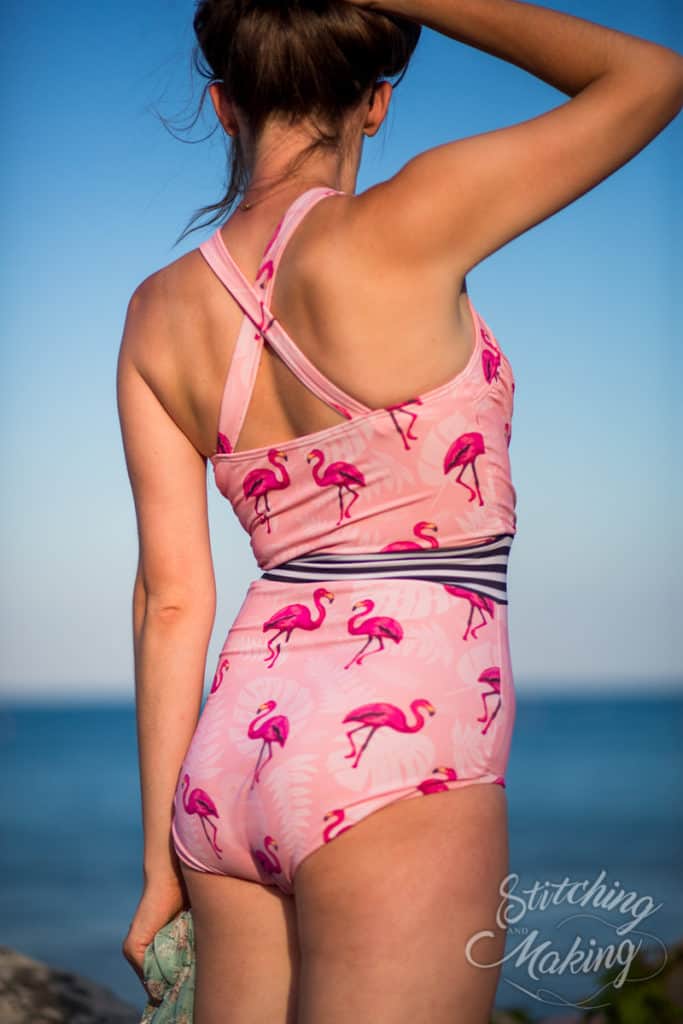
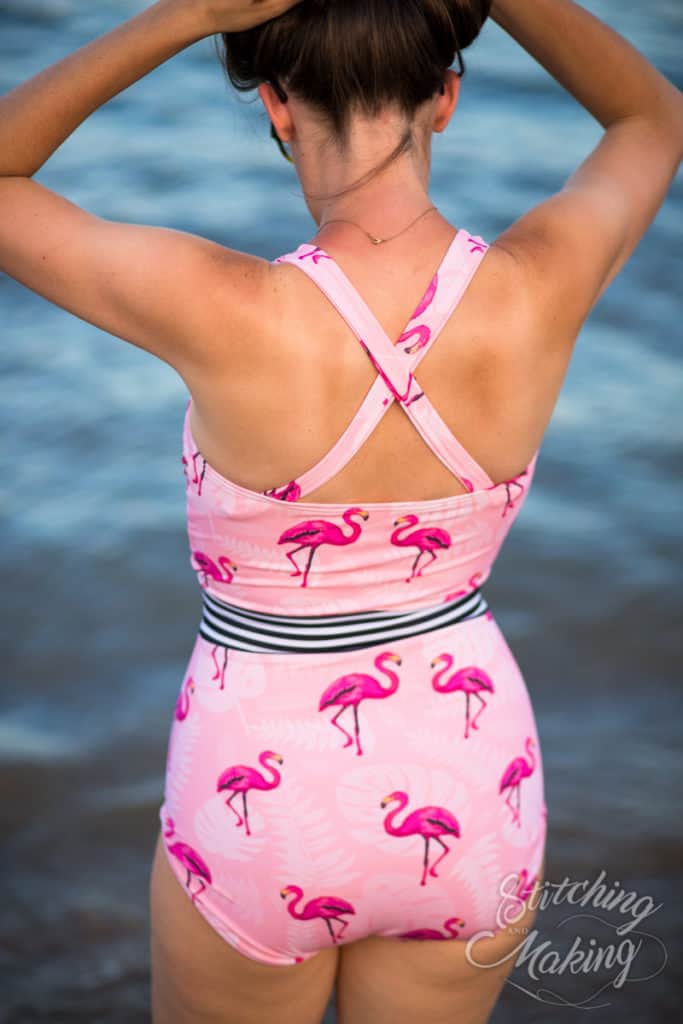
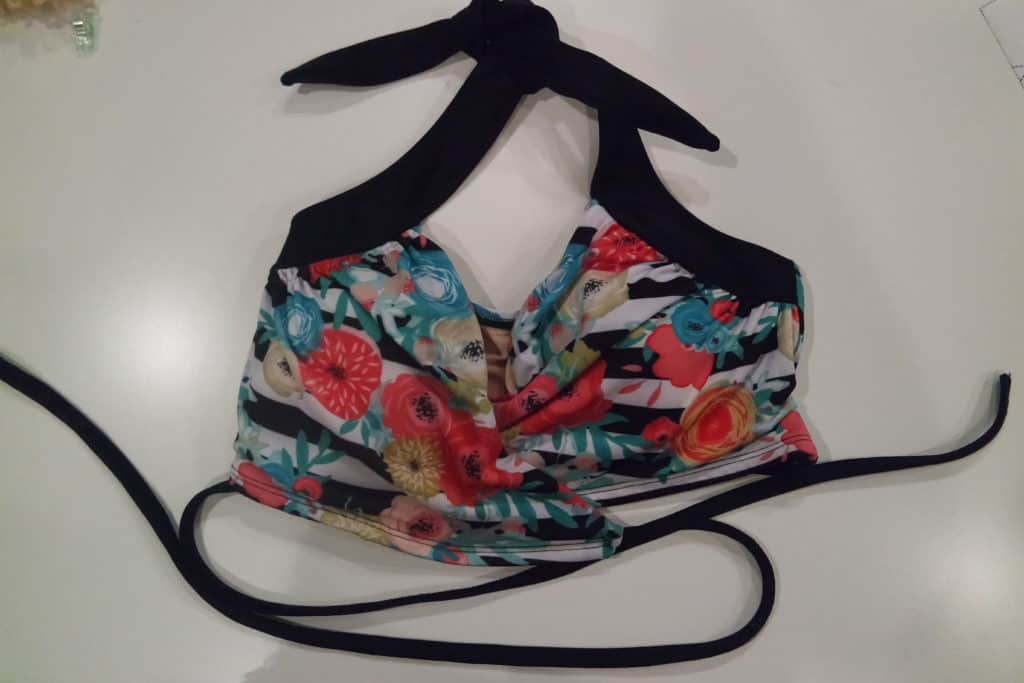
For another quick and easy way to mix up this pattern, try modifying the straps! In this example, I’ll show you how to hack the halter back and straps into a trendy criss-cross.
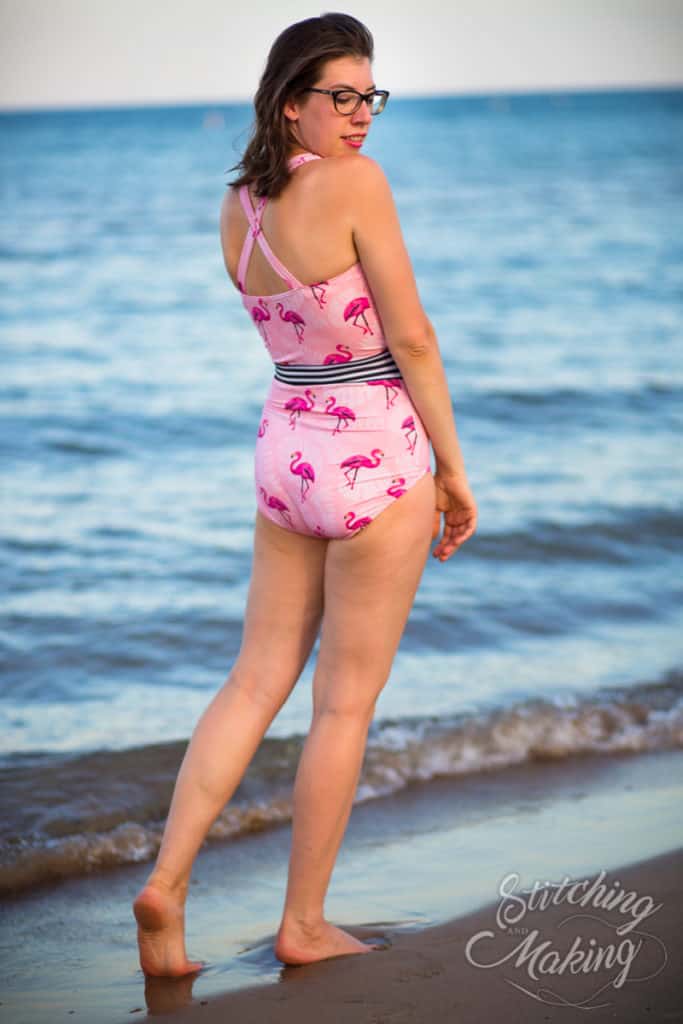
1. When cutting out your halter straps, you don’t need to cut the pointed tip. Just straight across is easier. For me, the length worked as-is, but if you are extra tall (I am 5’8″), you may want to cut a couple extra inches just to be safe.
2. Assemble the pattern as the instructions direct, until you get to the step for adding the elastic in the back.
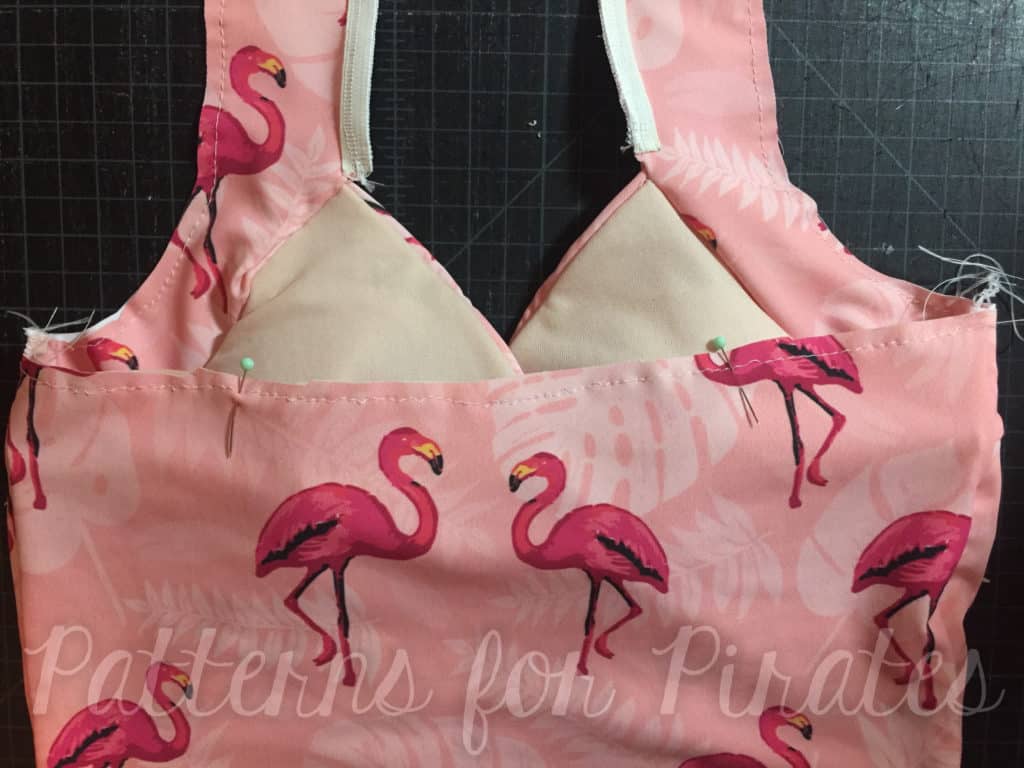
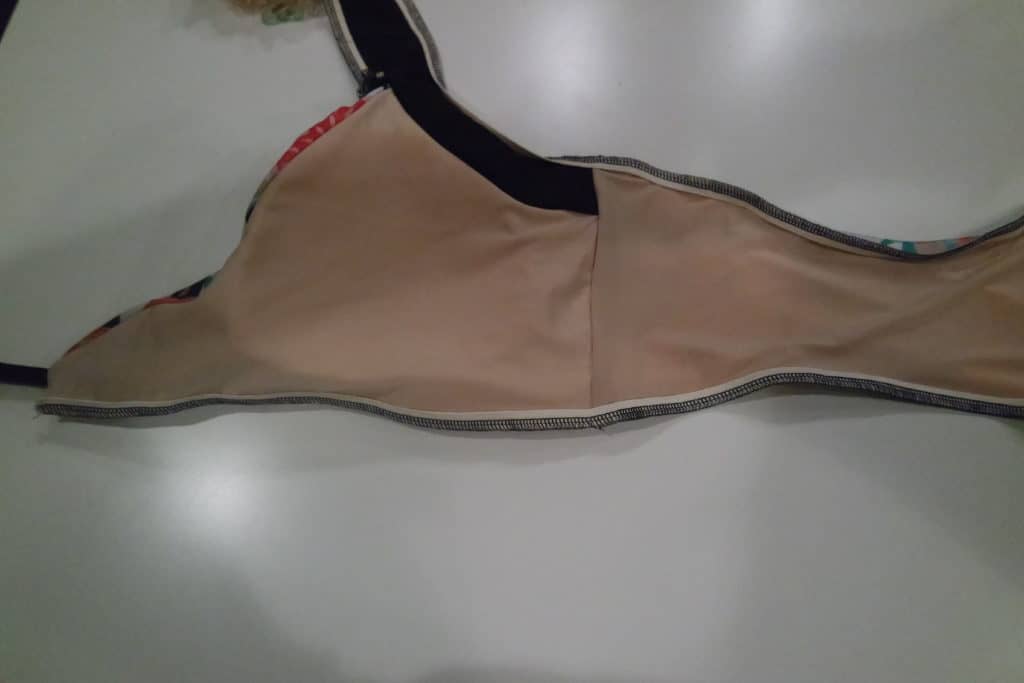
3. After you’ve added the elastic, on each side, mark the middle point between the center back and the side seams. (I happened to take this picture before I added the elastic, don’t be confused by that part!)
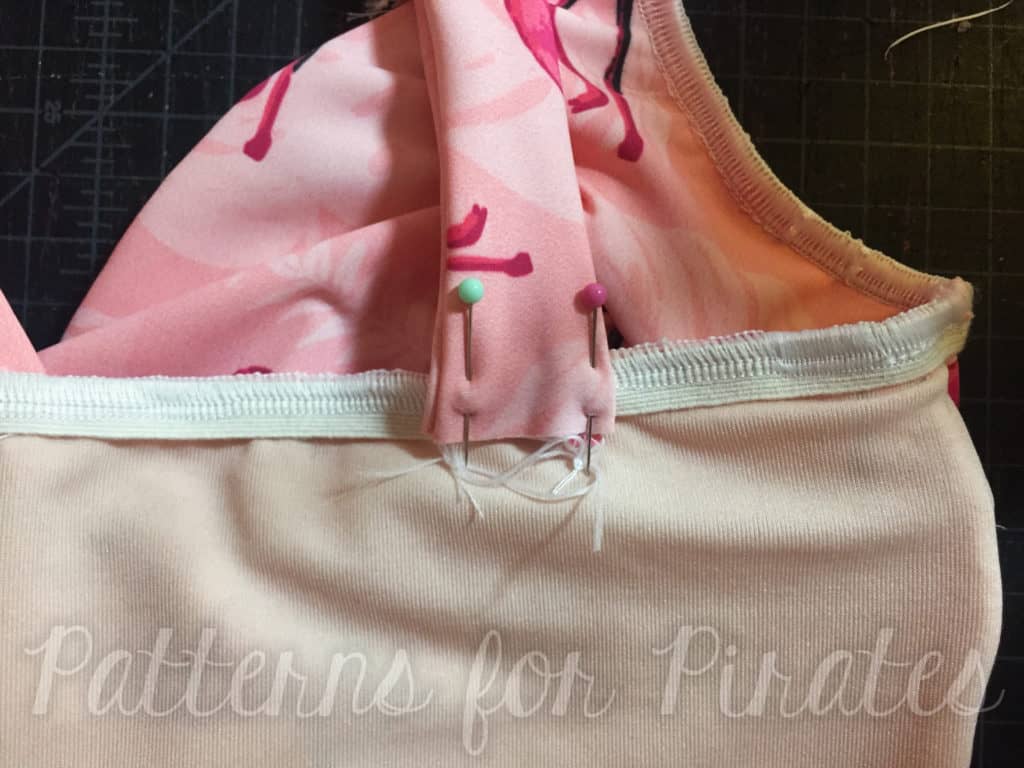
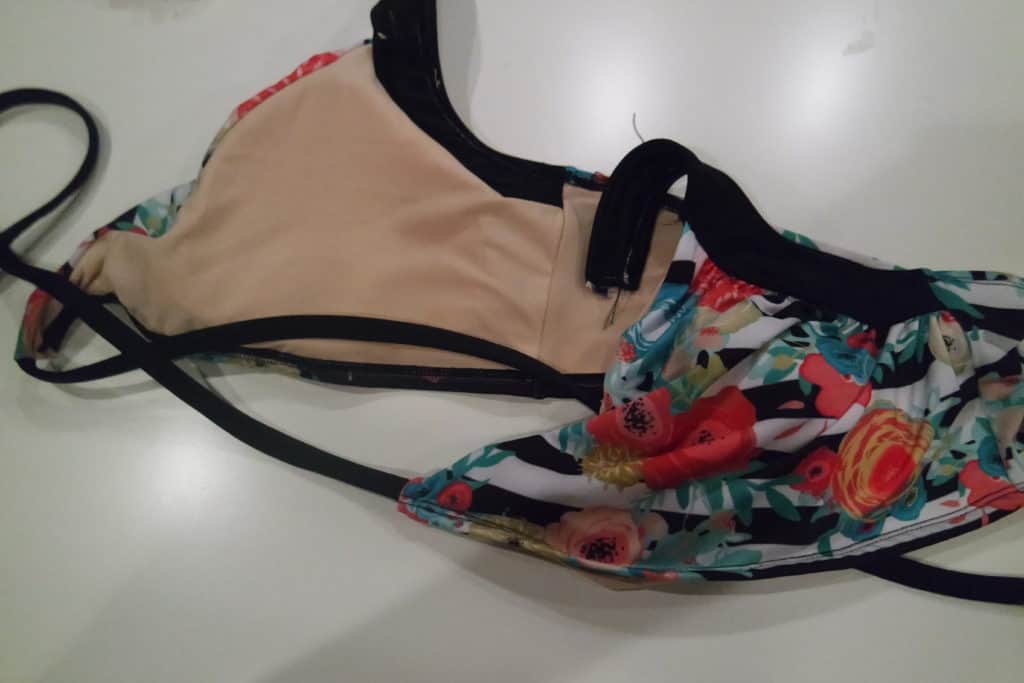
4. Pin/clip (or baste) the straps in place where you’ve marked – make sure to cross them and that they aren’t crooked. You’ll want to try it on at this point to make sure the strap lengths are comfortable. I found that I needed to attach the straps about 1.5″ from the end.
5. Once you know exactly where you want the straps placed, now you’re ready to sew them down. There’s multiple ways you could do this, but I found this method reduced bulk the most.
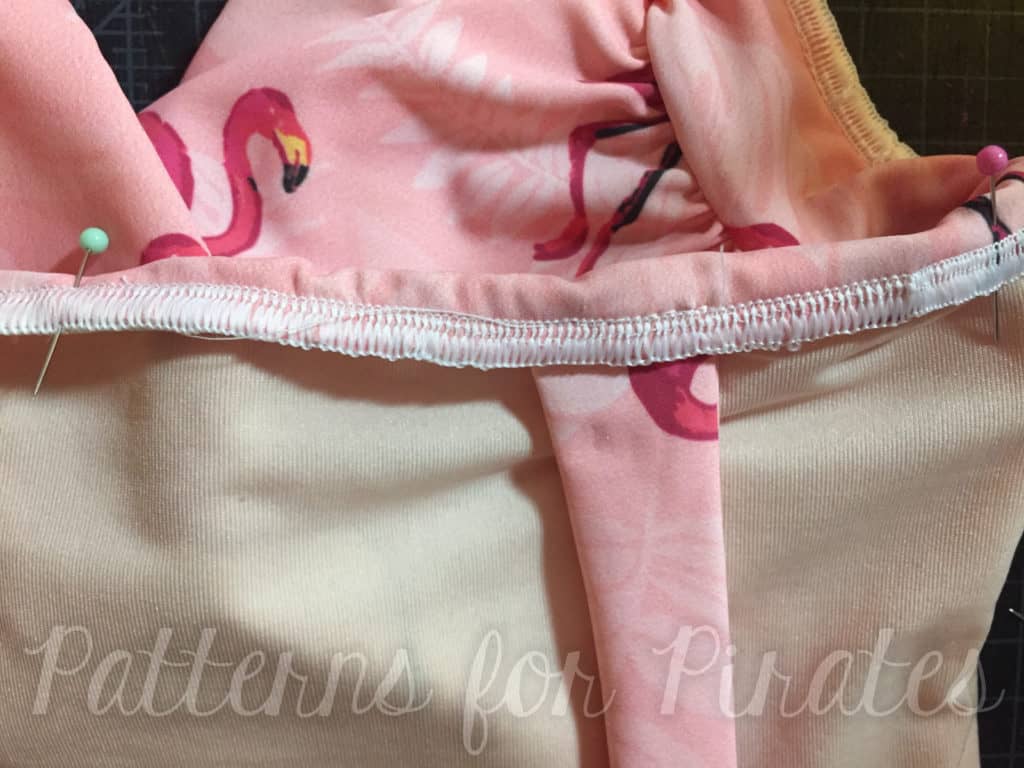
6. With your strap facing up, sew it through the elastic on the back. This area will receive a lot of stress so make sure to use a good stitch – I like the triple stretch stitch or zigzag.
7. Now turn your elastic edge down to get ready to top-stitch along the edge as the pattern instruction indicate.
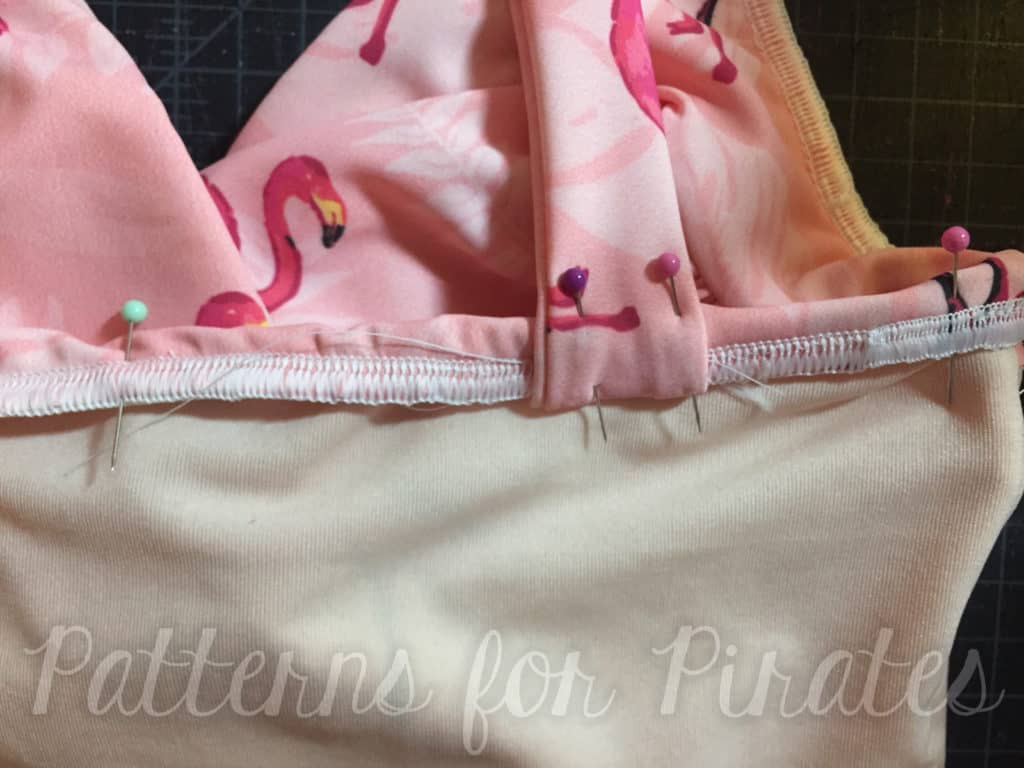
8. Before you top-stitch, pull the straps upwards again. Now, you’ll also catch the strap as you top-stitch along the back of the suit.
9. That’s it! Now finish the suit as usual.
Have fun experimenting different ways to change up these straps. You could try using the low back option instead of the halter, double or even triple straps on each side, or even weave them together for a completely different look!
– Elisabeth
—
Not really a one piece kind of girl? Whether you like to rock a bikini or prefer a little more coverage of a tankini, with a few minor changes you can Take the Plunge to new depths (or looks 😉 )
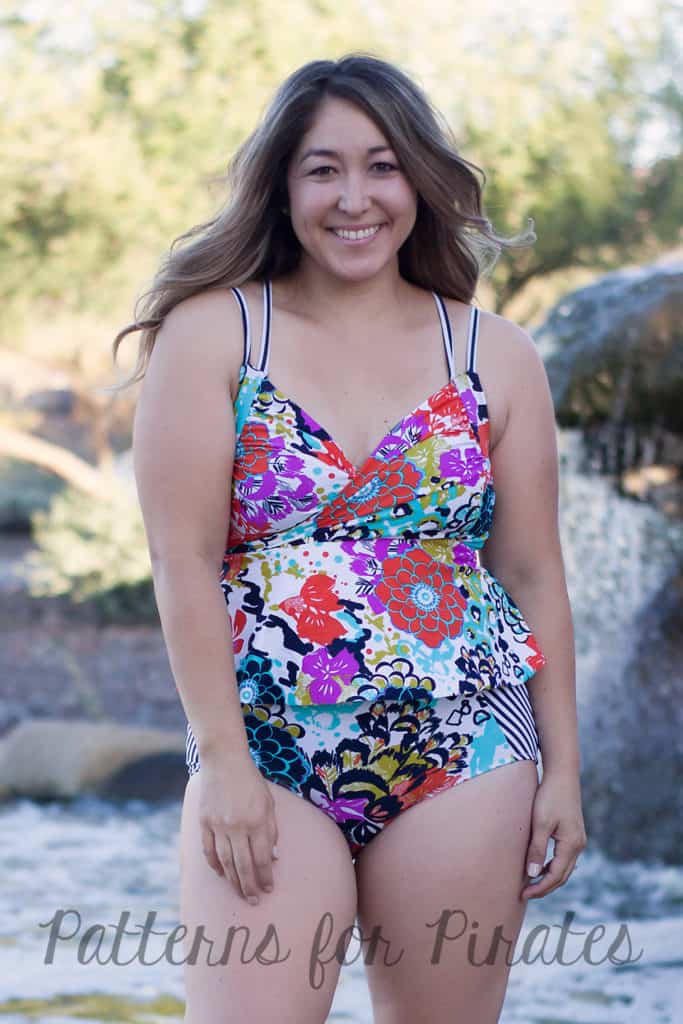
First up, the Peplum Tankini. I also had some fun and played with the straps a little and might blog those later but for now we will focus on the peplum.
Instead of attaching the skirt to the bottom portion of the waistband as directed in the pattern, you will attach it the to the bottom edge of the bodice. Using a 1:1 ratio, add 3/8″ elastic and stitch together! This will give you some extra stability and help keep the top in place. I wanted the skirt to hit just about my high hip so shortened the peplum length in the pattern by 1″. You can choose any length of your preference though. I paired this with the Hello Sailor Swim Bottoms, however you could easily use the bottoms in the Take the Plunge Swimsuit (I’ll show those later too!)
Now for the Bikini option… Not one, but two!!
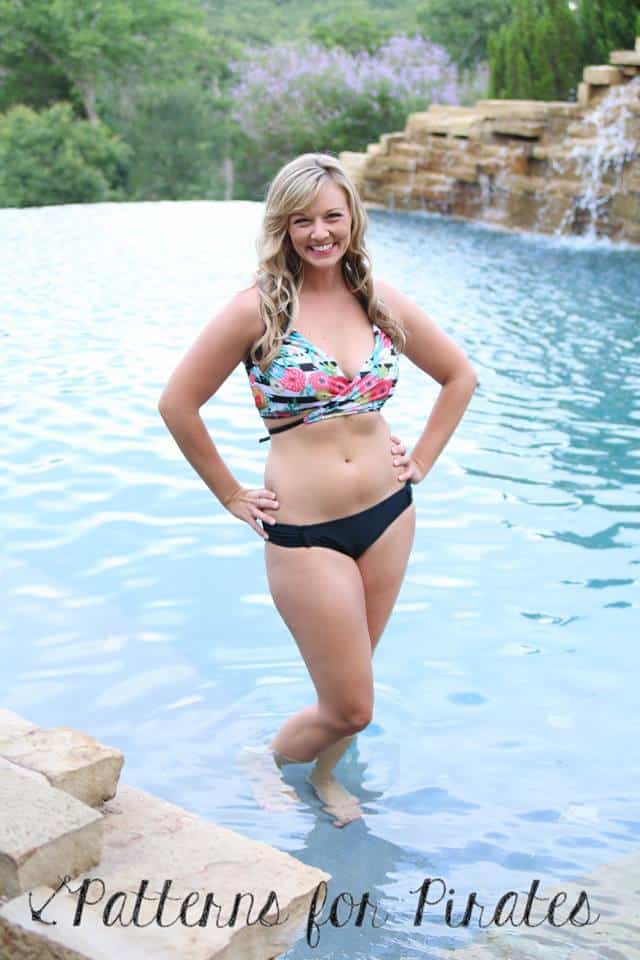
For this version, you will construct your top exactly as the pattern instructs and need to choose the low back crossover version. You will also need a 3/4″ swim bra hook.
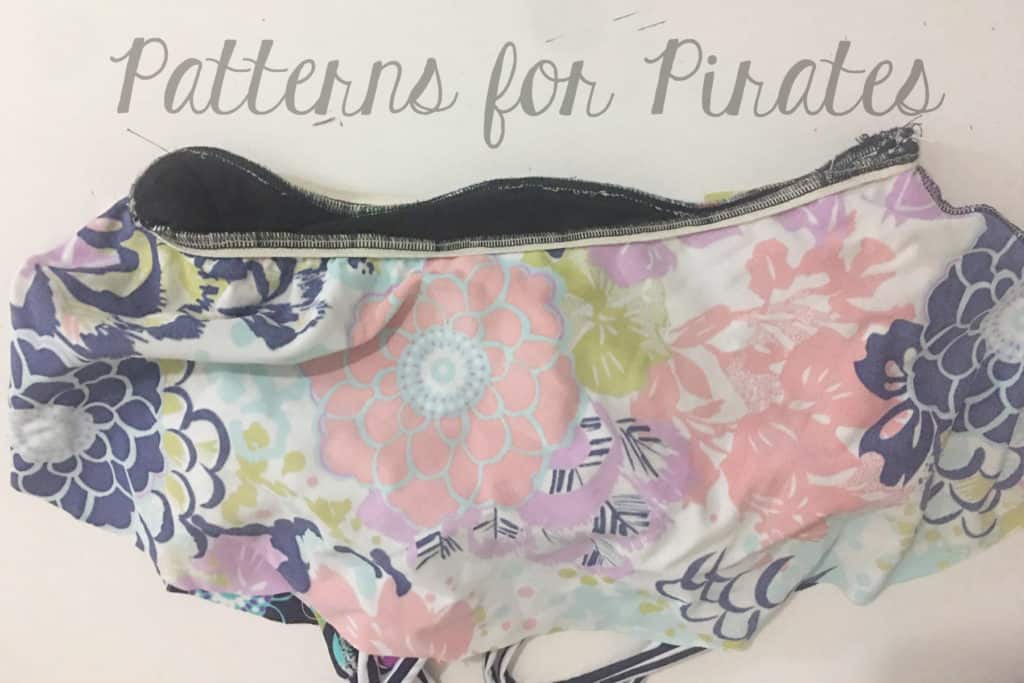
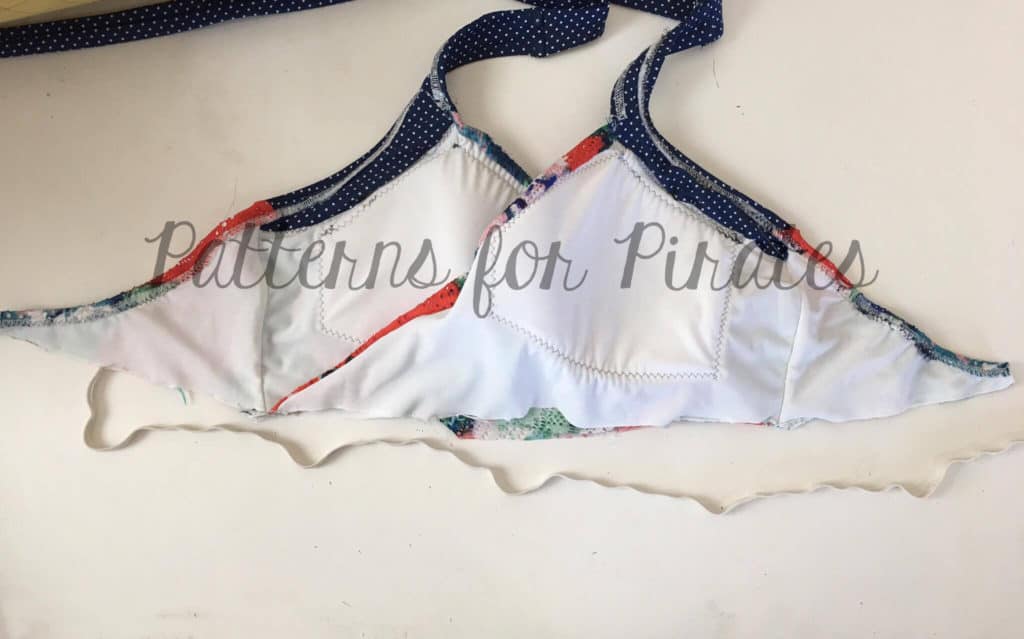
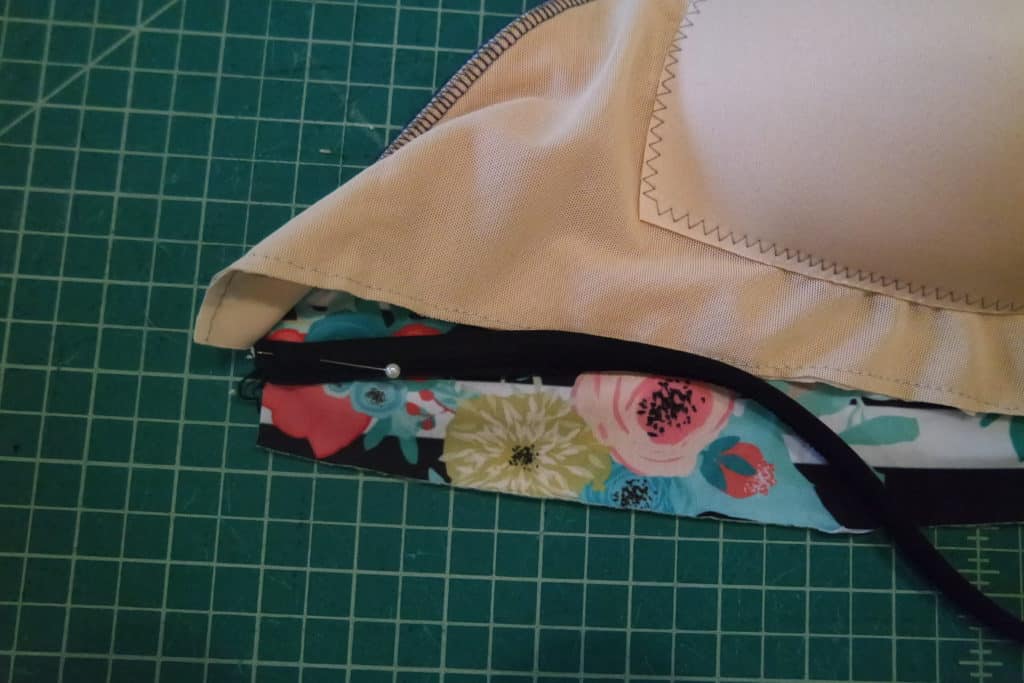
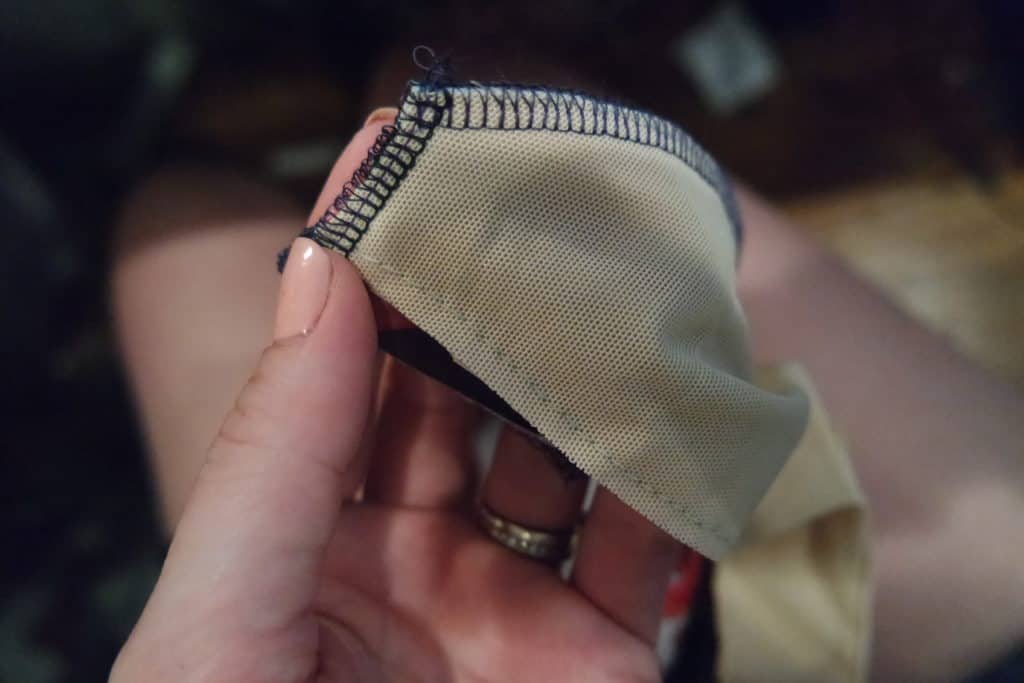
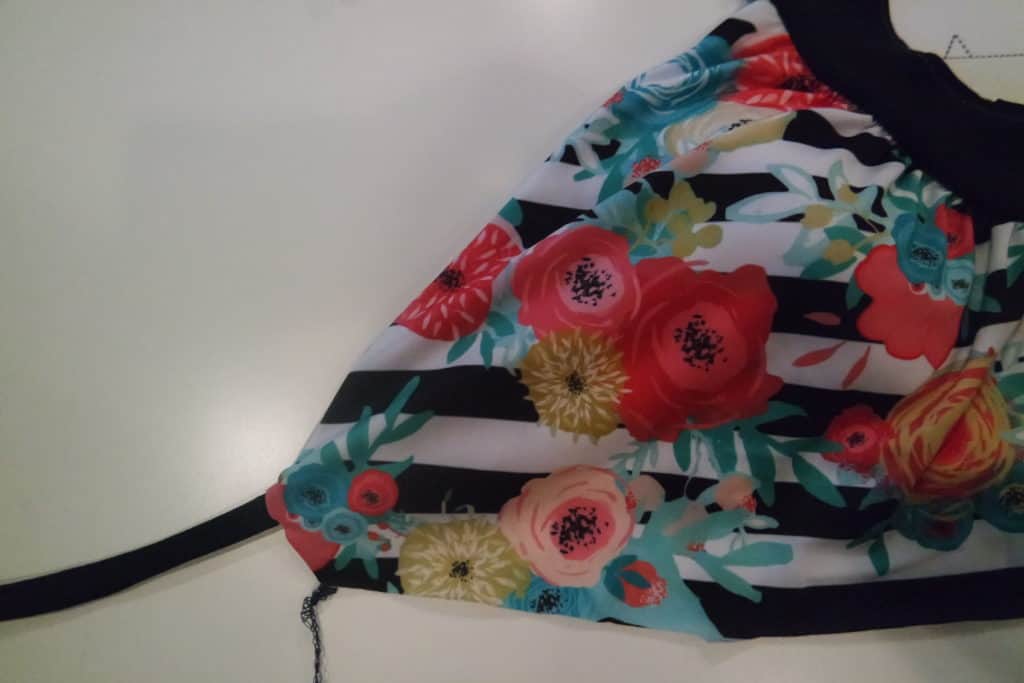
Construct your top exactly as you would in the pattern. Once you have completed your top, find the center back and clip. Be sure to baste the bottom edge of your bodice to ensure it is aligned correctly at the center notch and side seams. (Note: bottom edge has not been basted in this pic)
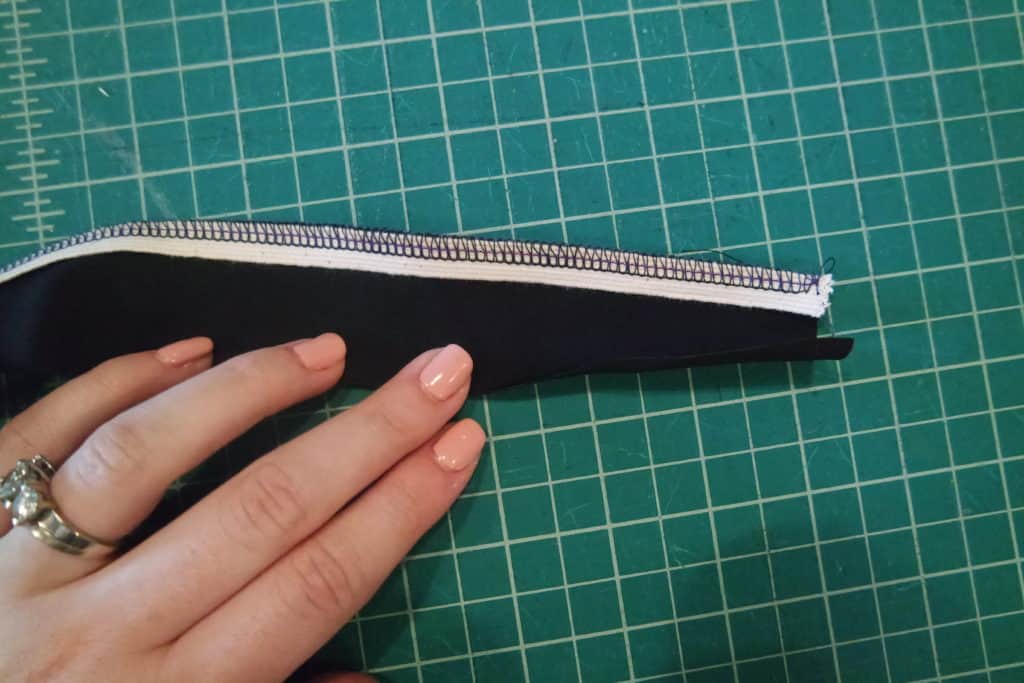
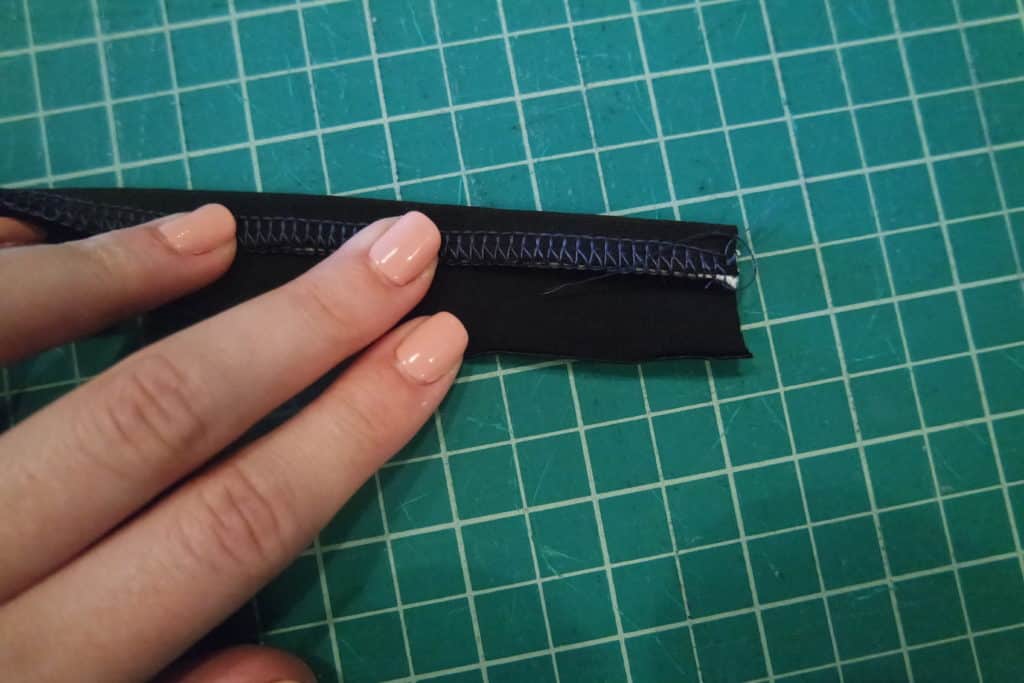
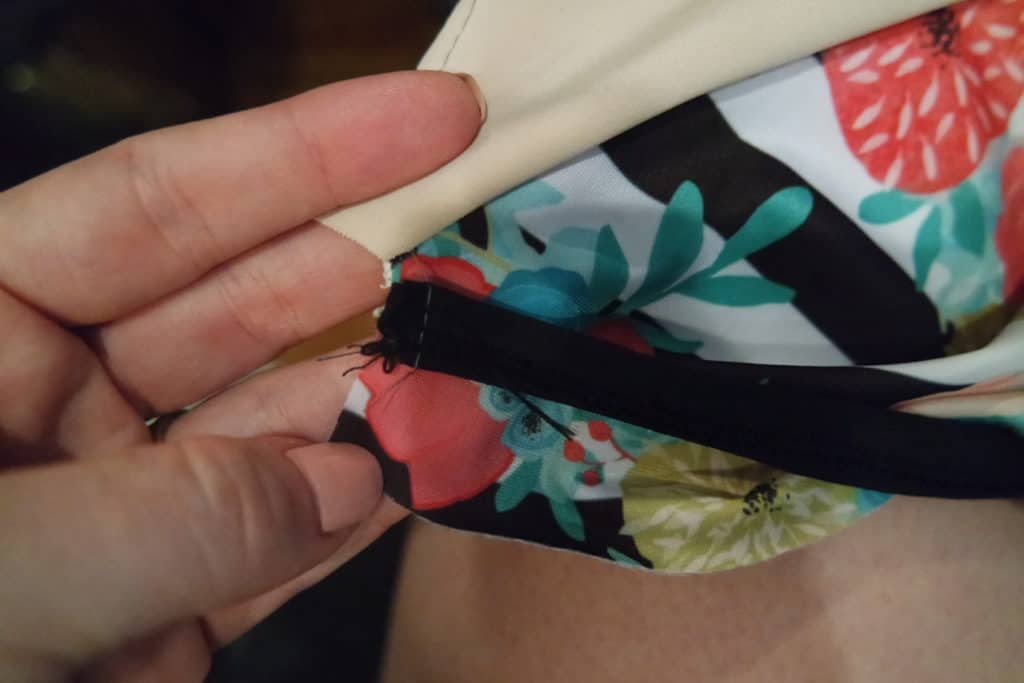
Using a 1:1 ratio, stitch elastic to the lining side along the bottom of the bodice edge. Flip up and top-stitch.
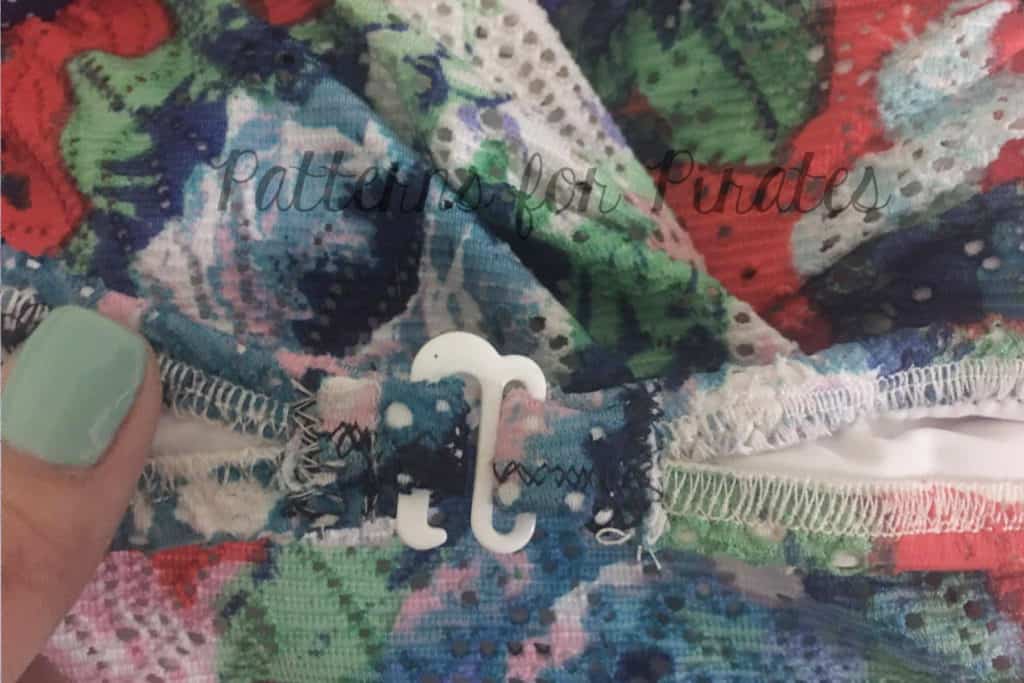
Slide one end in to the swim bra hook and stitch. Fold over opposite end and stitch, creating a hole for the hook to go through.
To create the separate Take the Plunge bottoms, construct as the pattern indicates. Using a 1:1 ratio, stitch 3/8″ elastic to the lining side of the top edge of the bottoms. Flip down and top-stitch. I used the ruched version here with only the side elastic and omitted the front and back elastic ruching.
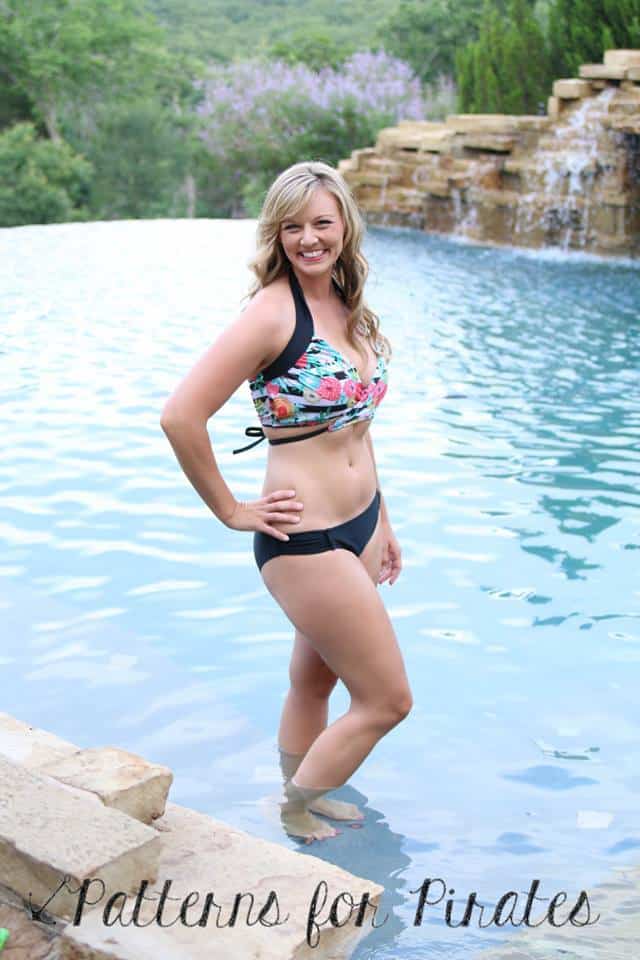
Our second bikini hack is super cute and ties around the back. You will want to use the Halter back (or even the full back) option for this version.
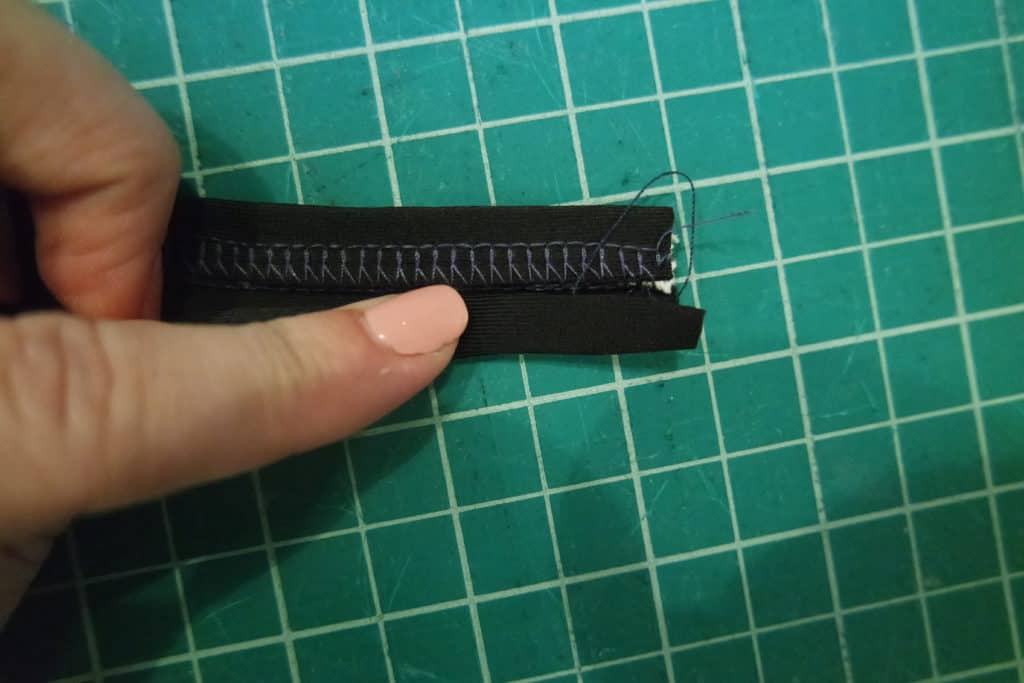
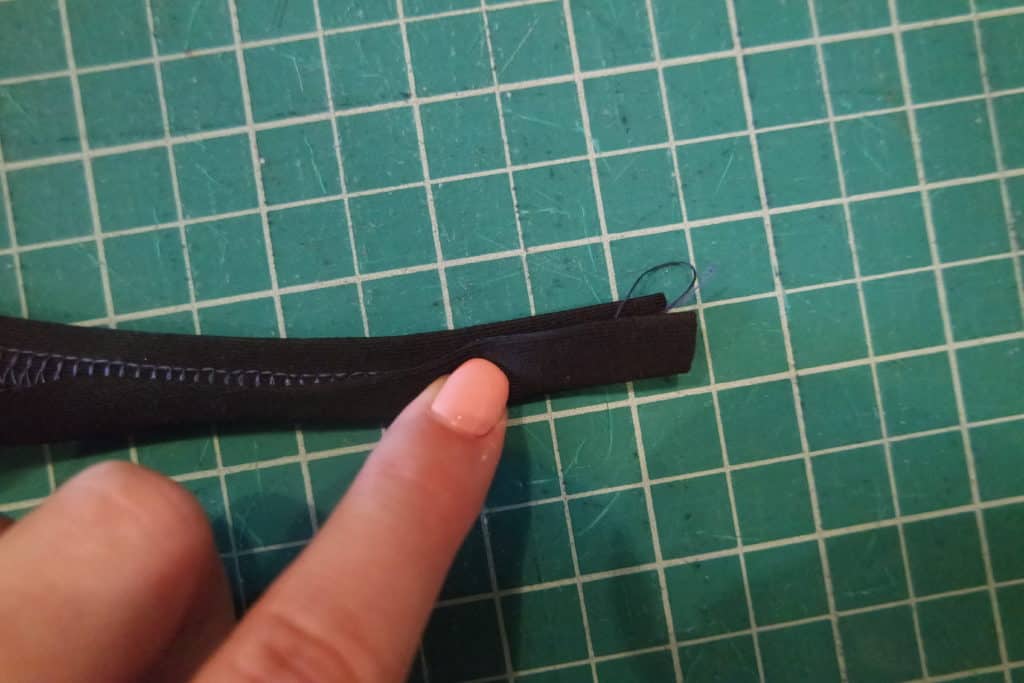
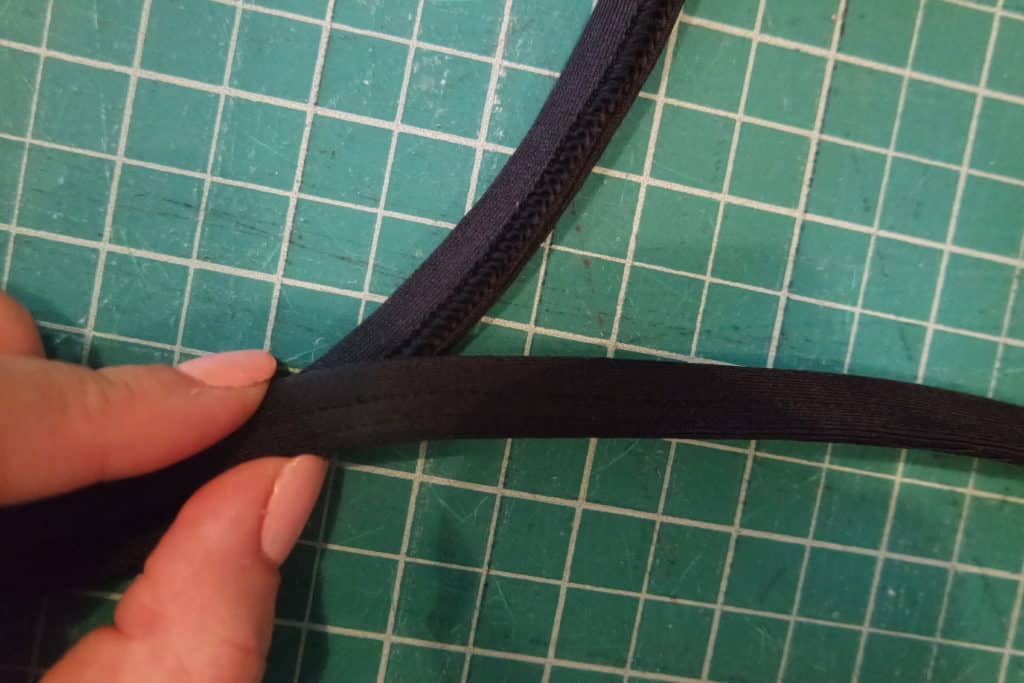
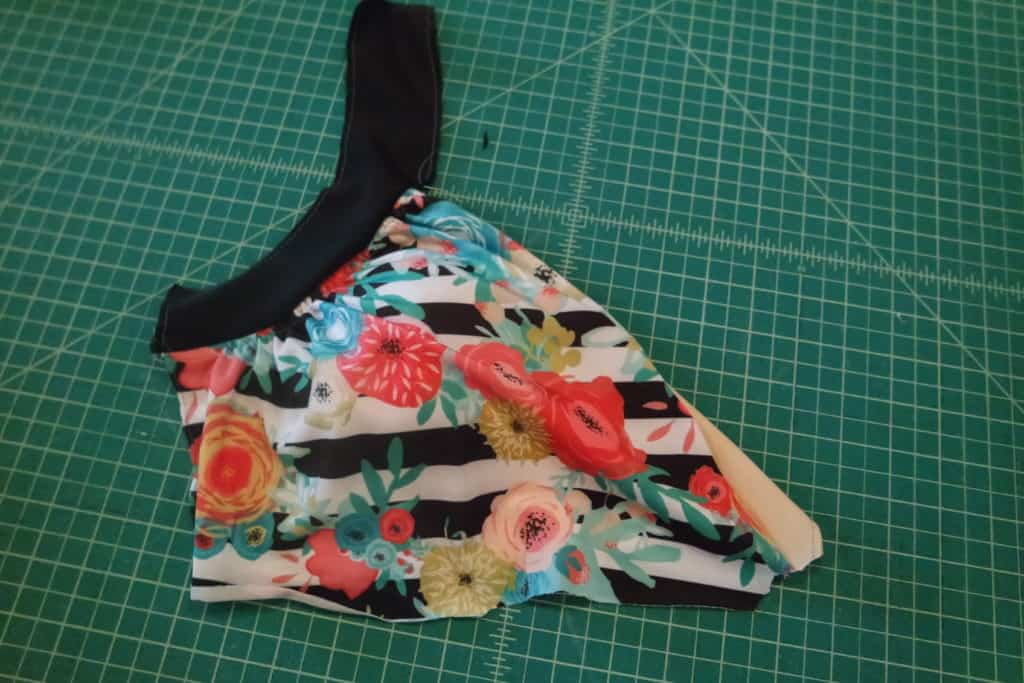
First, create your bikini straps. Cut a 1.5″ x 15″ strip. You can adjust the length to your preference depending on how long you would like your ties.
Now, on to the bodice. I trimmed the bottom 1″ off the bodice before beginning.
Looking for more inspiration? Be sure to check out our Facebook album with all the lovely tester pics and how to take the pattern one step further and turn it in to a gorgeous top or dress HERE!