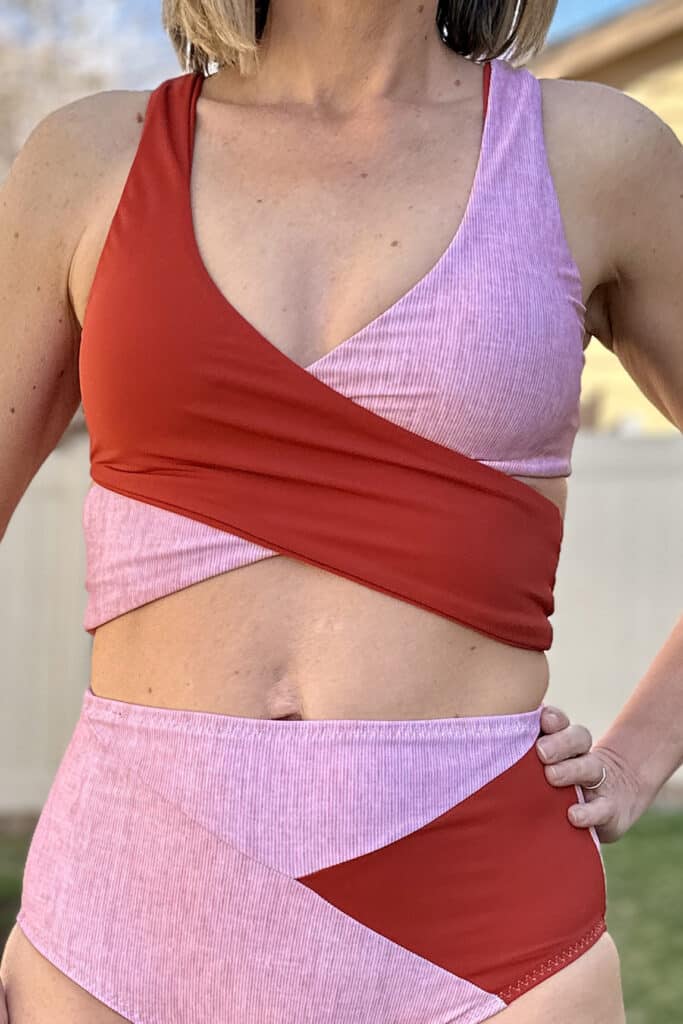
We always have fun showing off a few ways to modify our new patterns to give you even more options! Here are some quick and simple hacks to the new Circe Swim Top and Brizo Bikini Bottoms!
CIRCE-ADDING THICKER UNDERBUST ELASTIC
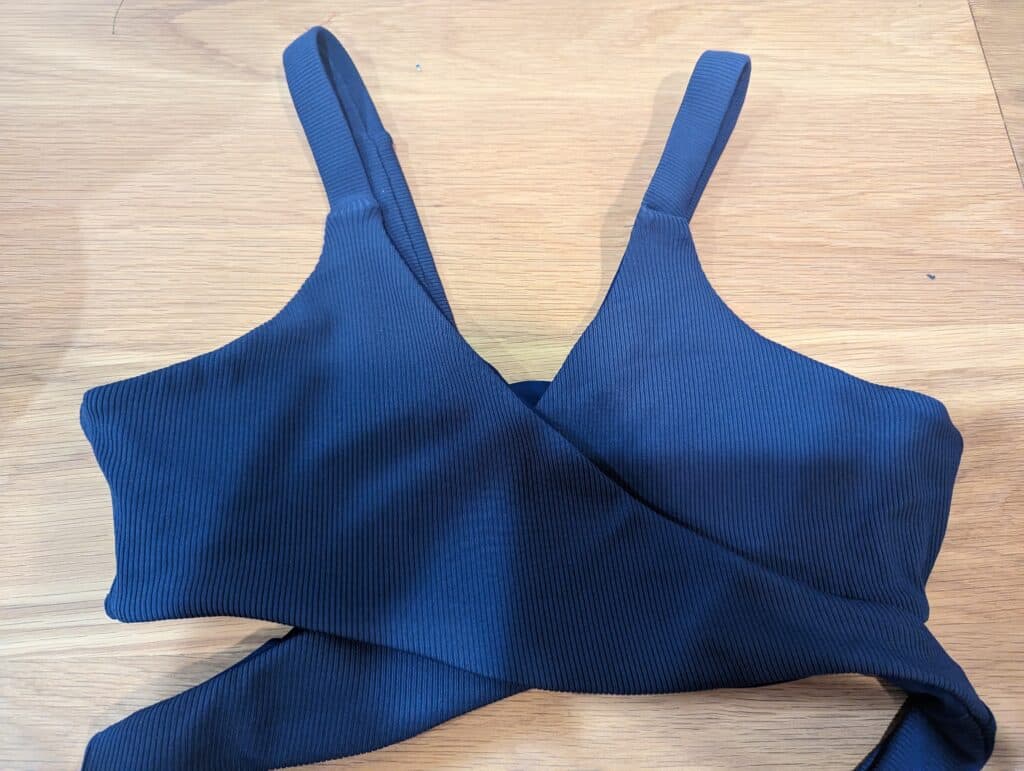
If you’re looking for a bit more underbust support, here is the hack for you. Since this add a lot more support and stability, you might consider sizing up as it will feel much tighter wrapping around you that the normal sizing. Cut and assemble your top until the step where you stitch elastic into the bottom edge.
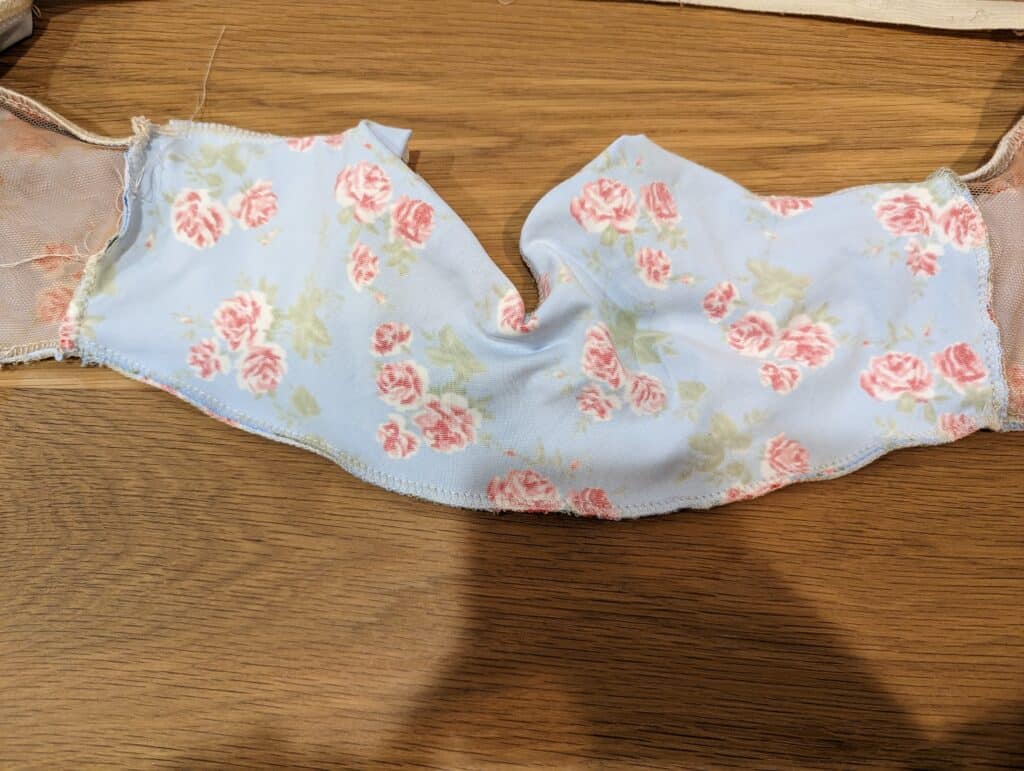
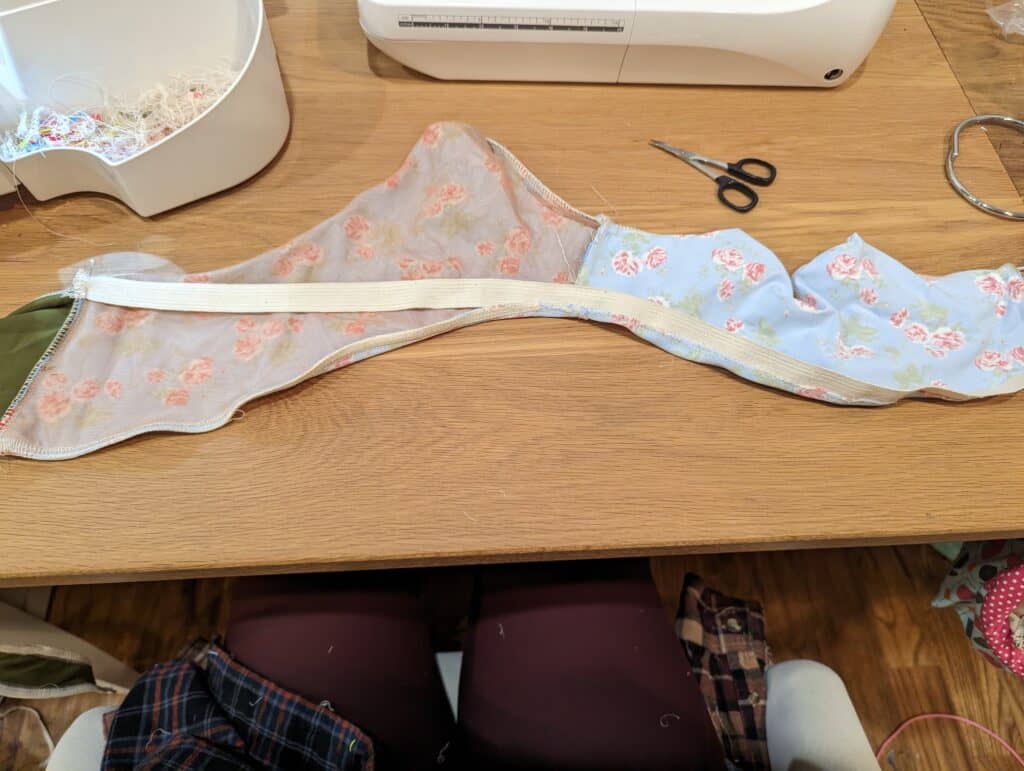
You’re going to not attach elastic along the back and just an inch or two into the front bodice. Just baste or stitch together with no elastic on this center section.
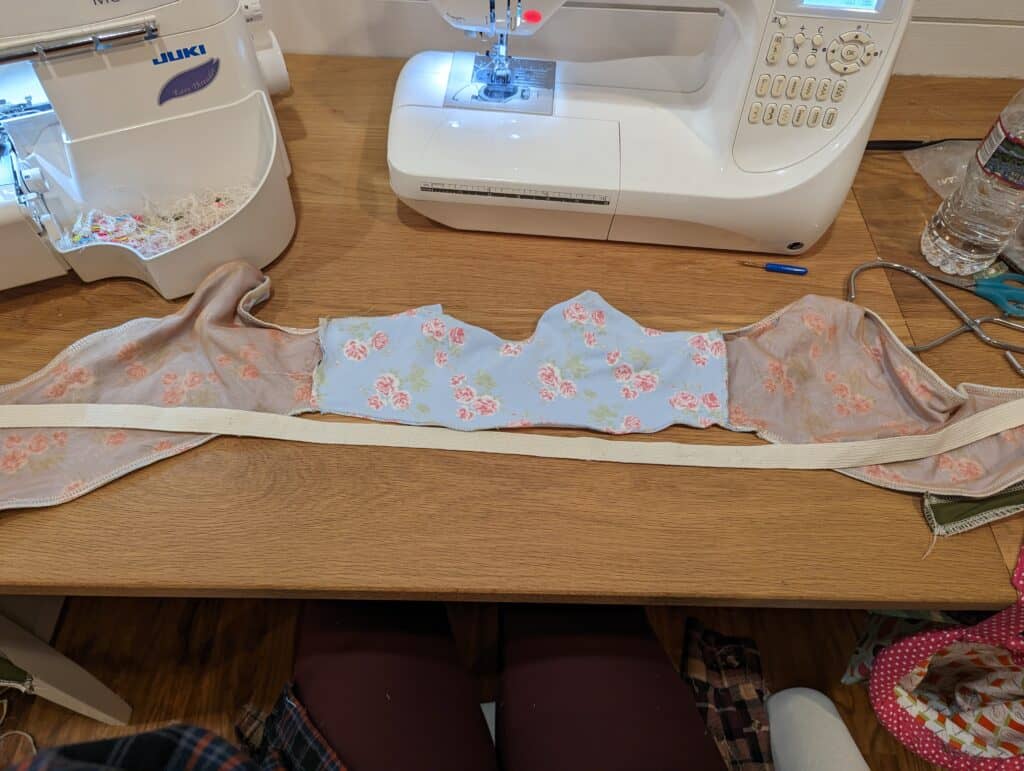
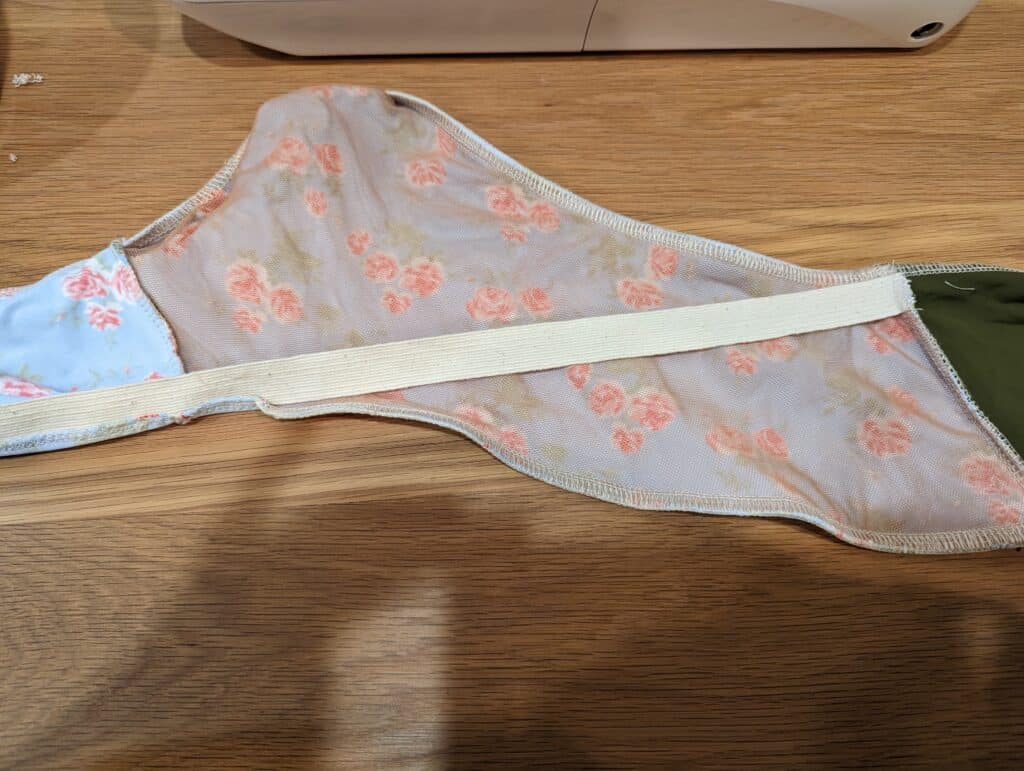
We’re going to cut our thicker swim elastic (I have 3/4″ here) from the front wrap section (the top corner) to the bottom side seam of the bodice, around the back and to the opposite side.
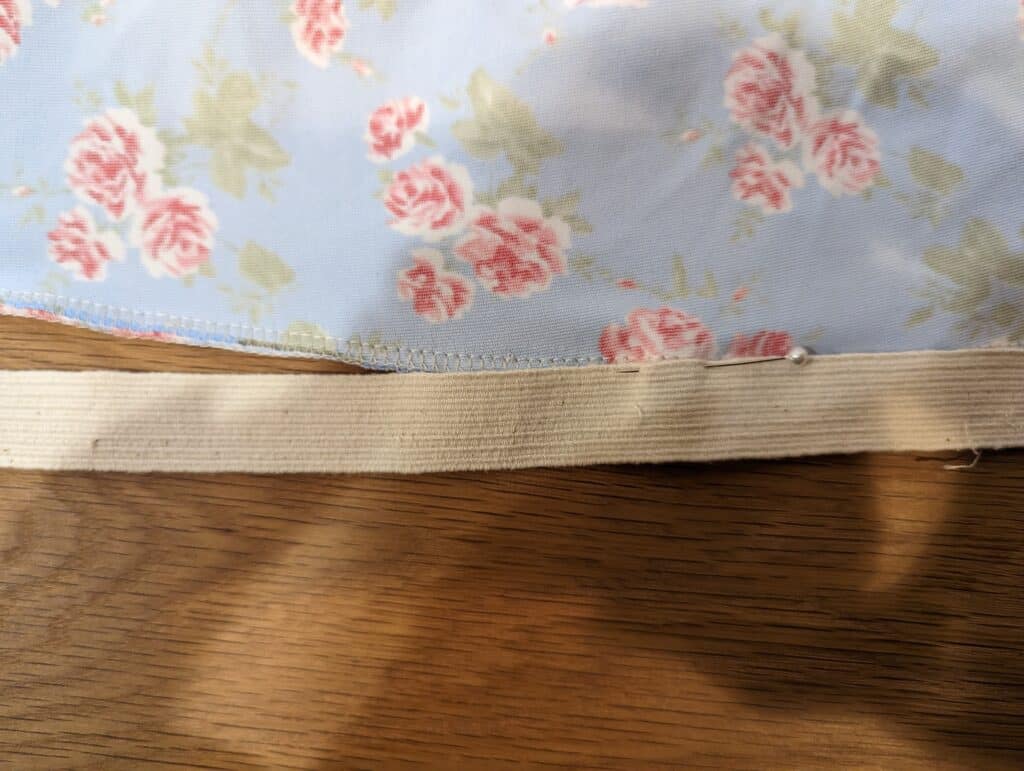
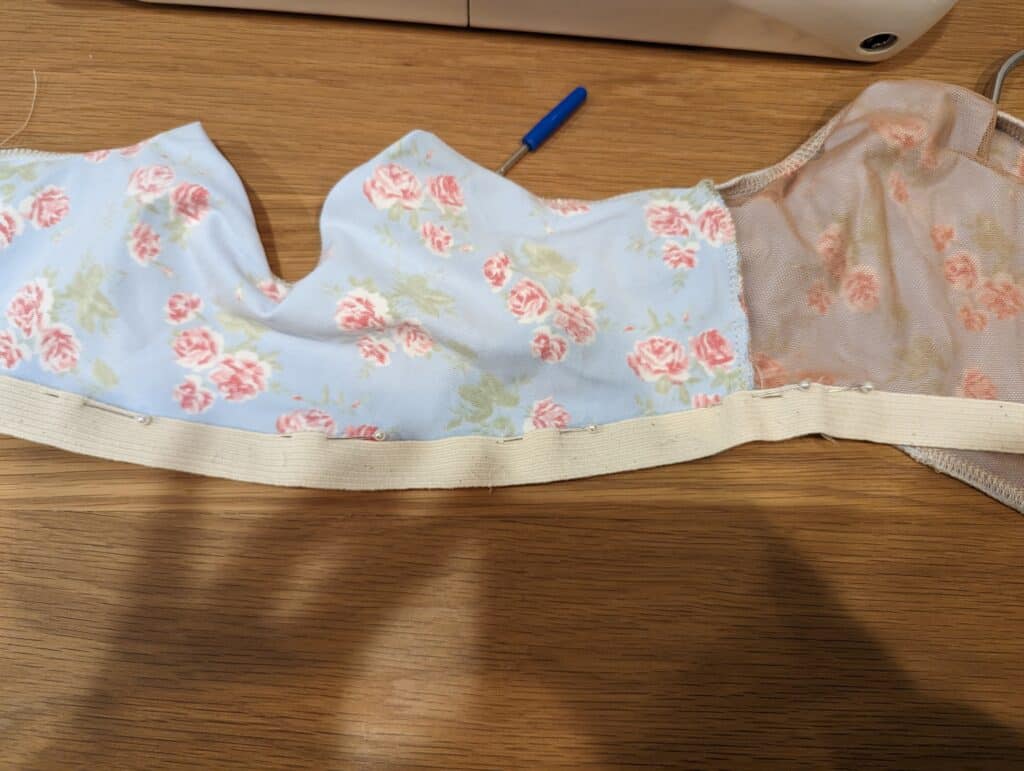
Making sure to match center backs, we’re going to pin the elastic to the seam allowance along the section we left with no elastic.
Stitch elastic to the seam allowance along this section. Make sure to use a stretch stitch. After stitching the center back section, flip the seam allowance like it will be once the top is flipped right sides out. Pin end of the elastic to the seam allowance at the top corner of the bodice. Stitch end of elastic to the seam allowance here.
Repeat on opposite side.
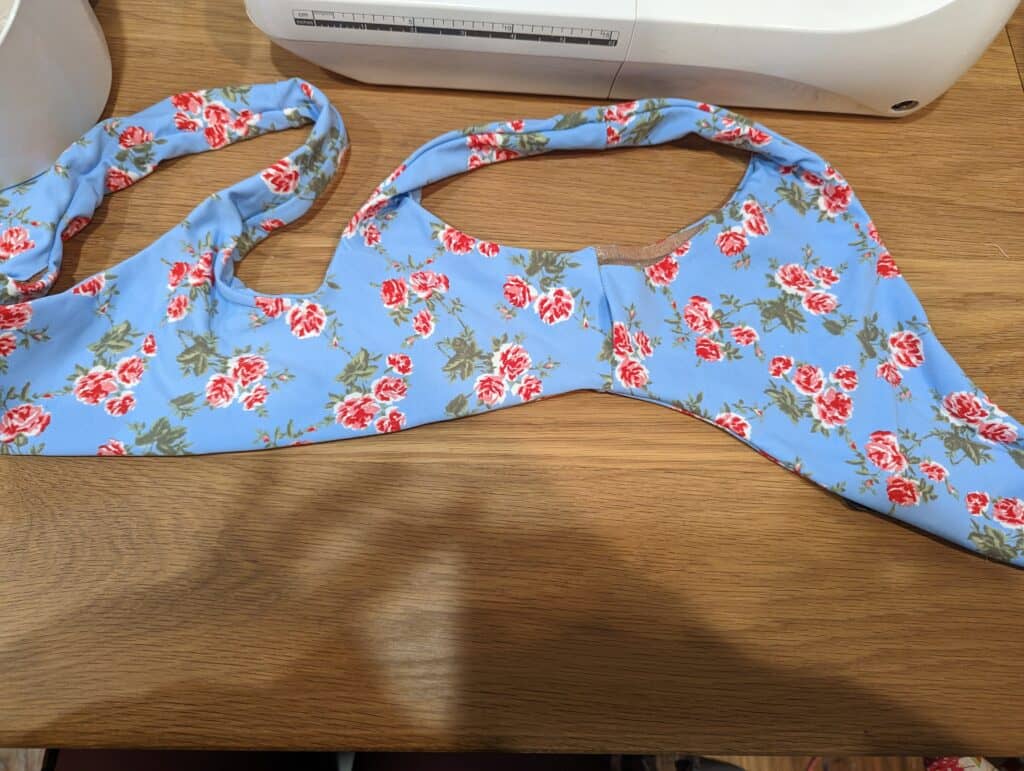
Continue the rest of the top as the tutorial instructs. Flipping rights side out, closing side seam hole and optional top-stitching.
Enjoy the extra support and stability.
CIRCE- THICKER STRAP ELASTIC
If you’re looking for a bit more support on the shoulder straps, but love the look of the thin strap option… here is perfect hack for you! You can up the elastic in thin strap easily. Here I’m using 3/4″ swim elastic instead of the 1/4″, but you can use whatever width you’d like. Remember, this will make the straps feel tighter, so you may need to slightly adjust the length.
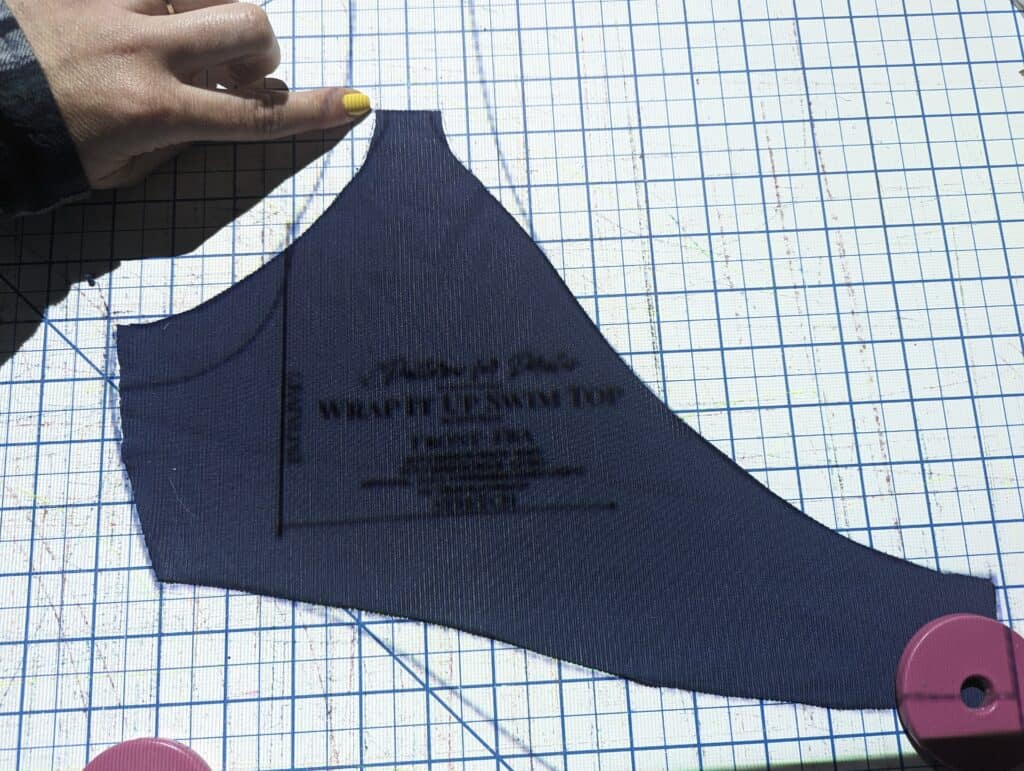
Do a little math… whatever width you choose add double the difference from the 1/4″ to the strap pieces. I used 3/4″, which is 1/2″ wider than the original. So, I added 1″ to the strap width pieces.
You will also need to add a little width to pickups on the main front bodice pieces. You will add the width split on each side of the pick up. So, I needed to add 1/2″ total to my pick up width. I added 1/4″ on each side of the pick up.
Sew up the Circe just like the tutorial has you sew up the thin strap option and enjoy your thicker straps 🙂
CIRCE- RING HACK
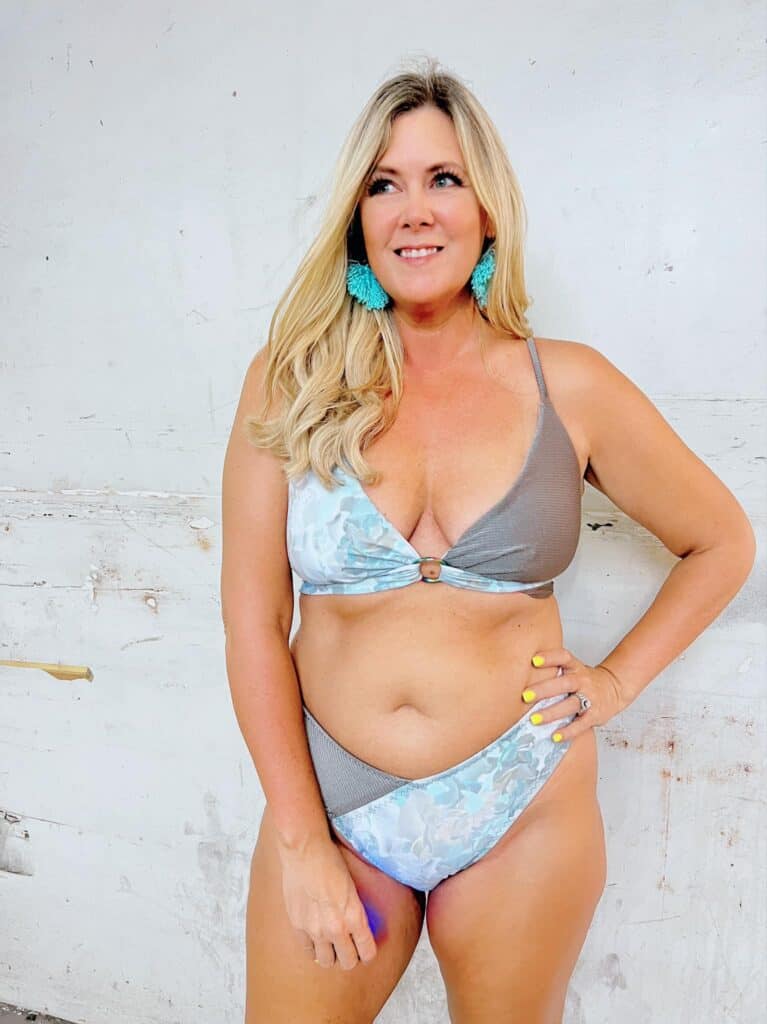
Sew up your Circe all normally, but grab a gate ring and have a new, fun way to wear your top!
CIRCE- CLASP HACK
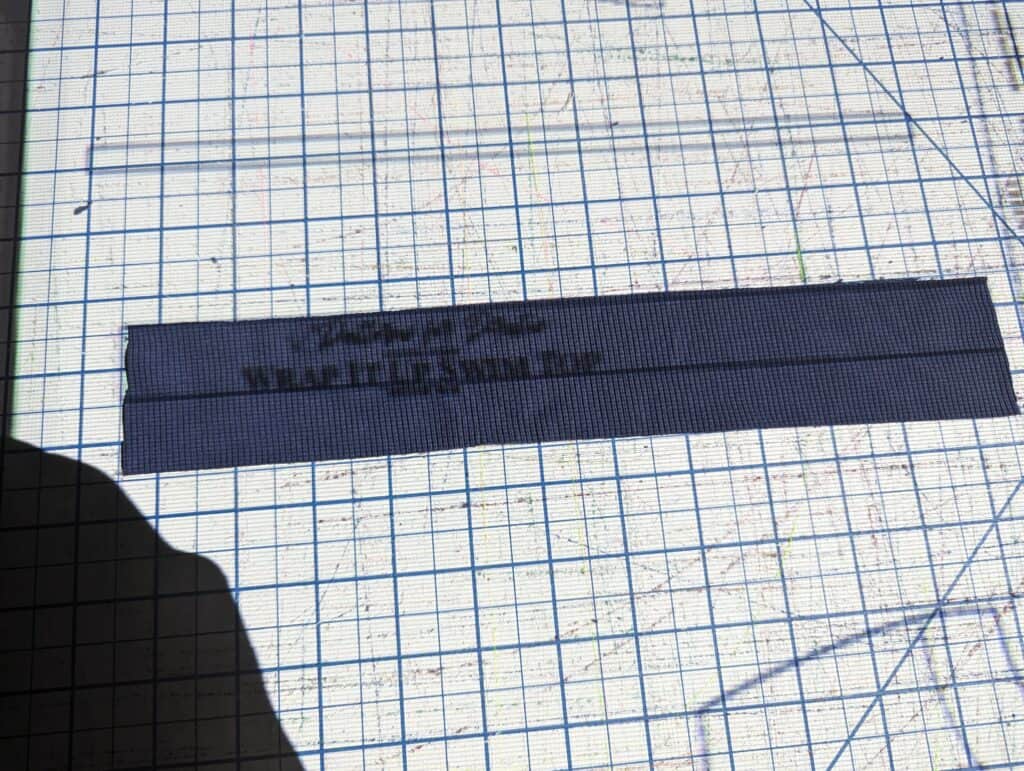
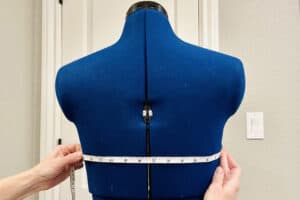
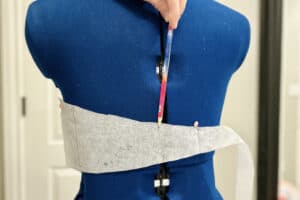
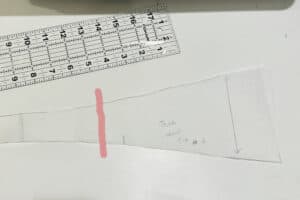
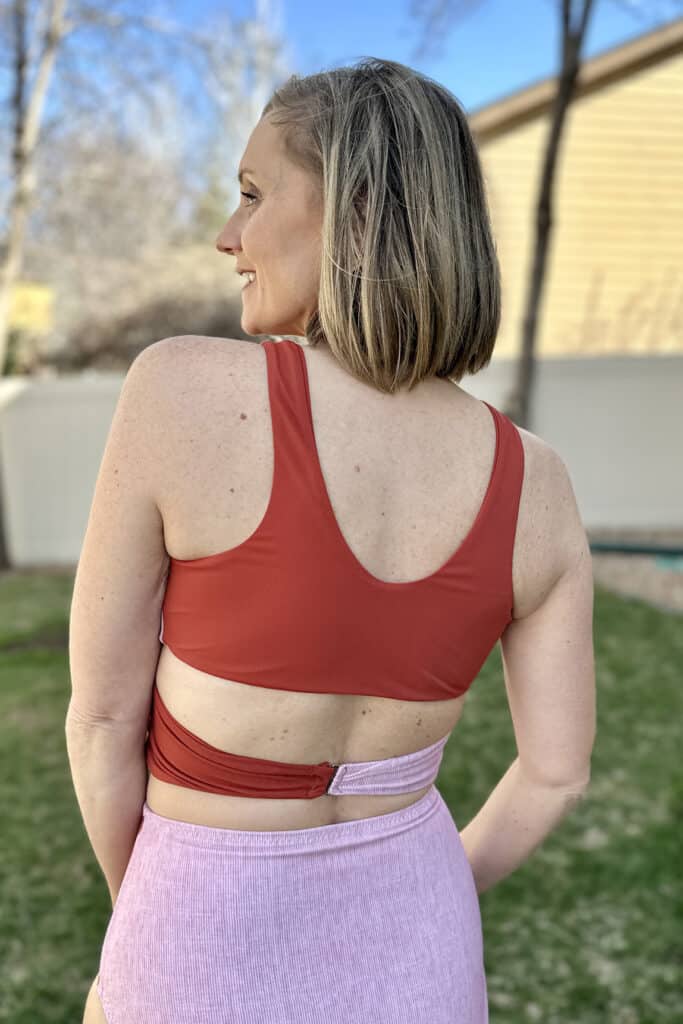
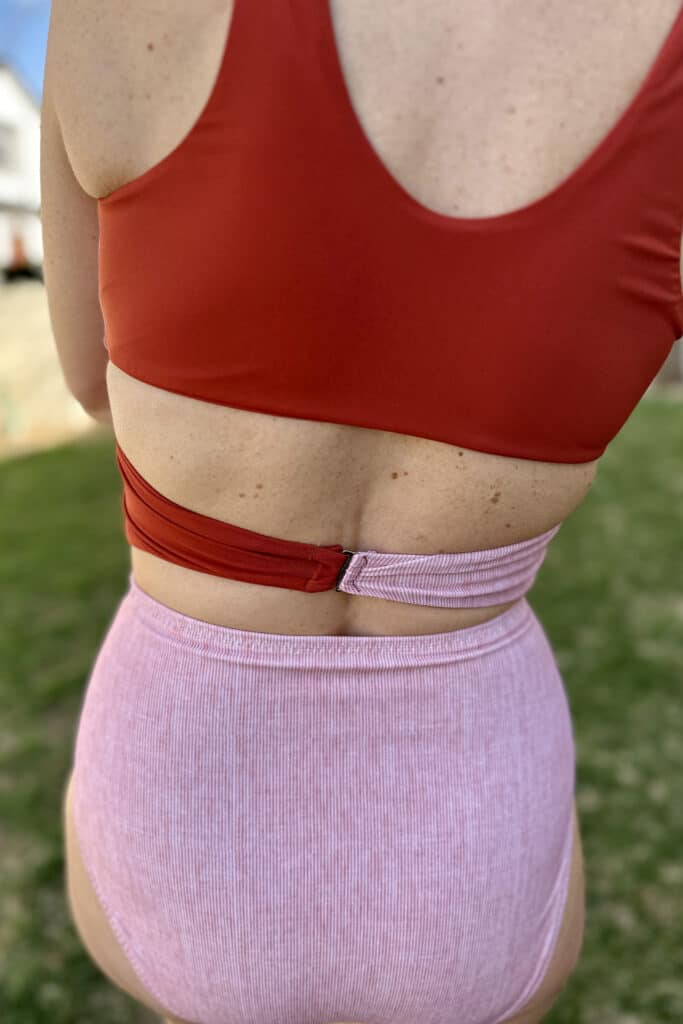
Want a different look instead of the back waist ties? Try adding a swimsuit clasp. For this hack, you will need to begin by finding your center back measurement. Measure from the side seam to the center of your back either using a tape measure around your back and splitting the measurement in half, or using the tie pattern piece pinned to mark the center back. Mark this new line on the tie pattern and cut four shorter ties (2 lining and 2 main) from the new piece. (For this hack, I am using the thick tie option. If you are using the thin ties, your pieces will not need much modifying and you may want to use a smaller clasp.)
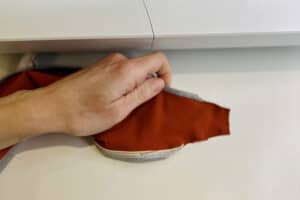
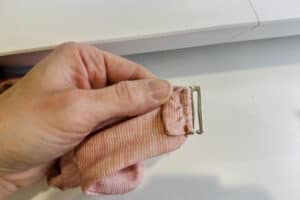
Follow the sewing tutorial as written, except I recommend sewing the last two inches of the tie with your sewing machine and leaving off the elastic. This will help reduce bulk and allow you to easily add your swim clasp. Once you get to the step of basting your ties closed, it is a great time to turn it right side out and check the fit. You may find you need to shorten your ties to get the fit you like. Make any needed adjustments. You can see here I modified the thick tie to better fit my 1 inch swim clasp. I tapered down the tie so that it would fit into the clasp without too much gathering of the fabric.
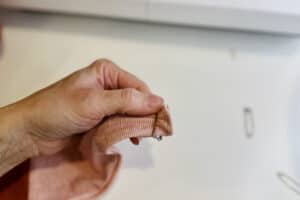
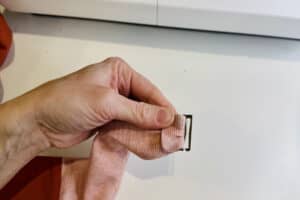
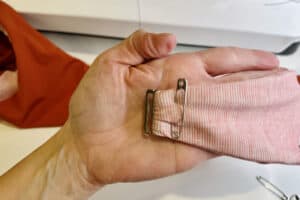
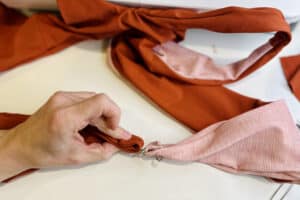
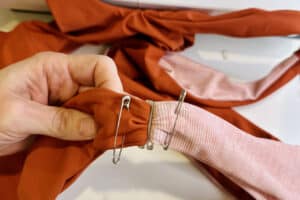
Add your swim clasp by taking one tie and sliding the end of the tie through the closed portion of the clasp. Make sure the hook is pointed down. Wrap the fabric around the clasp towards the back of the suit. The fabric may gather slightly to fit. Place a safety pin where the stitching line will be. Next, create the loop portion by taking the opposite tie and folding the suit back on itself. You need to create a small tube for the clasp to enter. Place a safety pin where the stitching line will be. You want this line about 1/2 inch from the edge. It needs to be large enough for the clasp to fit into, but not so large that the clasp shifts too much with wear. Try the suit on and check the placement of the clasp. Make any needed changes. Then stitch closely to the clasp with a stretch stitch and on the opposite tie to create the loop.
And now you have a swim top with a clasp closure.
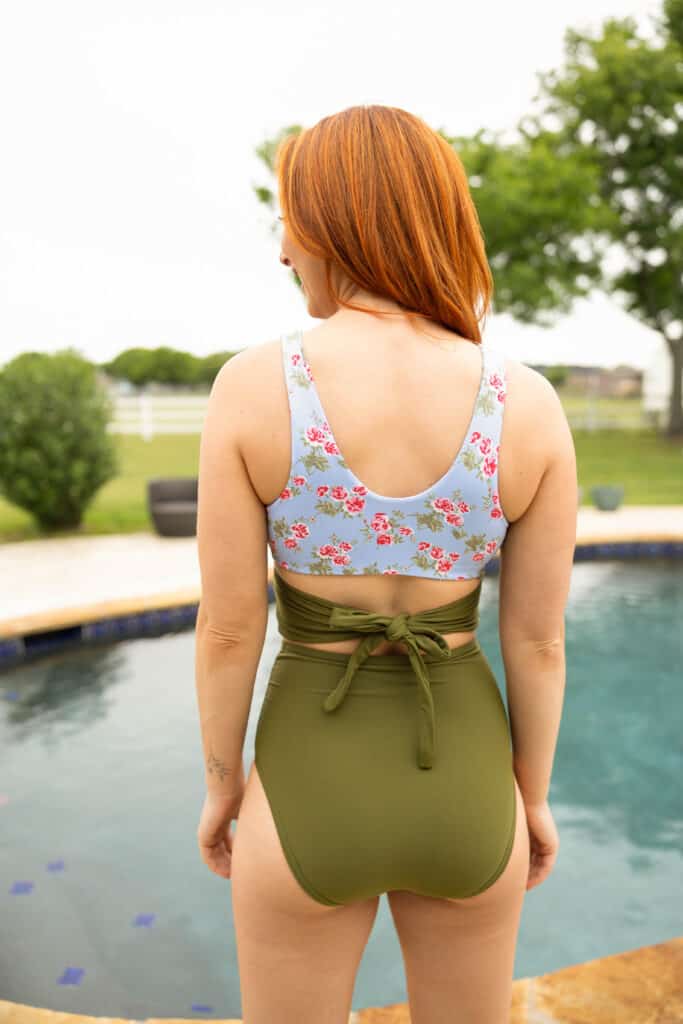
SOLID FRONT BRIZO BOTTOM
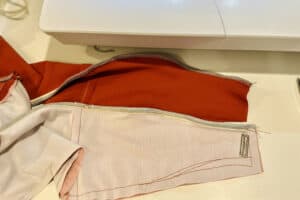
Don’t have coordinating fabrics for your Brizo Bikini Bottom? Just grab the full lining front piece on either the high rise or the v rise and sew them up with a solid front!








Leave a Reply