So. You’ve printed your pattern, figured out your size, and now cut your fabric. What’s next?
Let’s get to sewing! Today is about the top half of your pattern. We are going to stitch your bodice together. And we’ve got a trick to get a lower neckline (if that’s what you’re wanting in your pattern) as well as a sleeveless option for the Me Hearties pattern. Let’s get to it!

There are a ton of options for the bodice part of the Sweetheart/Me Hearties dresses. You can colorblock, do an overlay, choose your sleeve lengths, use FOE (fold over elastic)/trim/t-shirt neckband bindings, etc. Pick your poison when it comes to how you want to style your dress. The sky is the limit!
But let’s say that you wanted a lower neckline than what the pattern calls for. Can we do it? YES WE CAN!
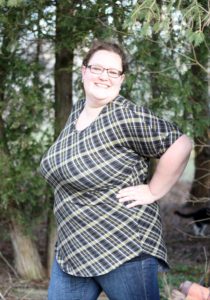
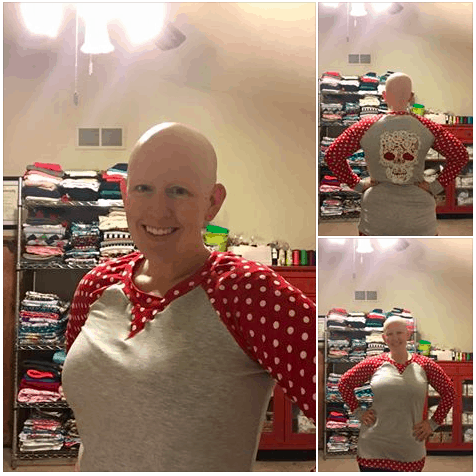
I have a larger than average bust and tend to like a lower neckline on my shirts. Luckily, when you sew for yourself, this is super simple to do. Cut your front bodice piece out and determine where you’d like the neckline to sit.
**Keep in consideration your neckline finishing. For this particular top, I used a standard tshirt binding for the neck. But using FOE or trim will give you a wider neckline opening. So just make your adjustments according to your final vision for your top/dress.

Because we are adjusting the actual size of the opening, we will need to figure out new measurements for the neckband. Once your front and back bodices are pieces are sewn together at the shoulder, fold your piece out flat at the neckline. Without stretching your fabric, lay it flat and measure the opening. Multiply that number by 2. This is your new neckline circumference.

But what is your new neckband/FOE length requirements?
Neckline circumference X .85 + 1″ (for seam allowance) = Neckband/FOE length
Use your new length and finish the neckline however you’d like!

~SLEEVELESS AND OPTIONAL NECKLINE AND ARMHOLE FINISHING METHODS~
The girls Me Hearties does not have a tank option in the pattern but we are going to show you how to hack it… two ways! You can also apply these methods to the Sweetheart if you want a wider sleeveless option as well.
For both methods, you will calculate the bands the same. For consistency and as shown in the pattern, I did the bands in the flat. You can do it in the round if you prefer but will need to adjust your band measurements to include a seam allowance (like the neckband measurement shown above). If using the Trim Method, trim your pattern pieces first, then calculate your armbands.
How to calculate armband measurements: Sew one shoulder seam with 1/2″ seam allowance. Measure the armscye (as shown below) and multiply by .85.
TRIM METHOD: For this method, you will use your existing pattern pieces for the bodice (either the full front and back bodice or the top front and back of the color-block) and trim 1/2″ off each armscye. Proceed with the instructions in your pattern and use your favorite method to finish the neckline and armholes. (FOE, traditional knit binding, or lingerie elastic)
HIDDEN SEAM TURNED FACING ARMBANDS:
(I also used the same method on my neckline. Note: This will lower your neckline by 1/2″)
ay 1: Fabric Selection.
Day 2: Printing + Measuring.
Day 3: Cutting Fabric.
Day 4: Bodice + Sleeves.
Day 5: Skirt + Hemming.
Day 6 & 7: Catch-Up Days.
Day 8: Recap + Winners Announced!


