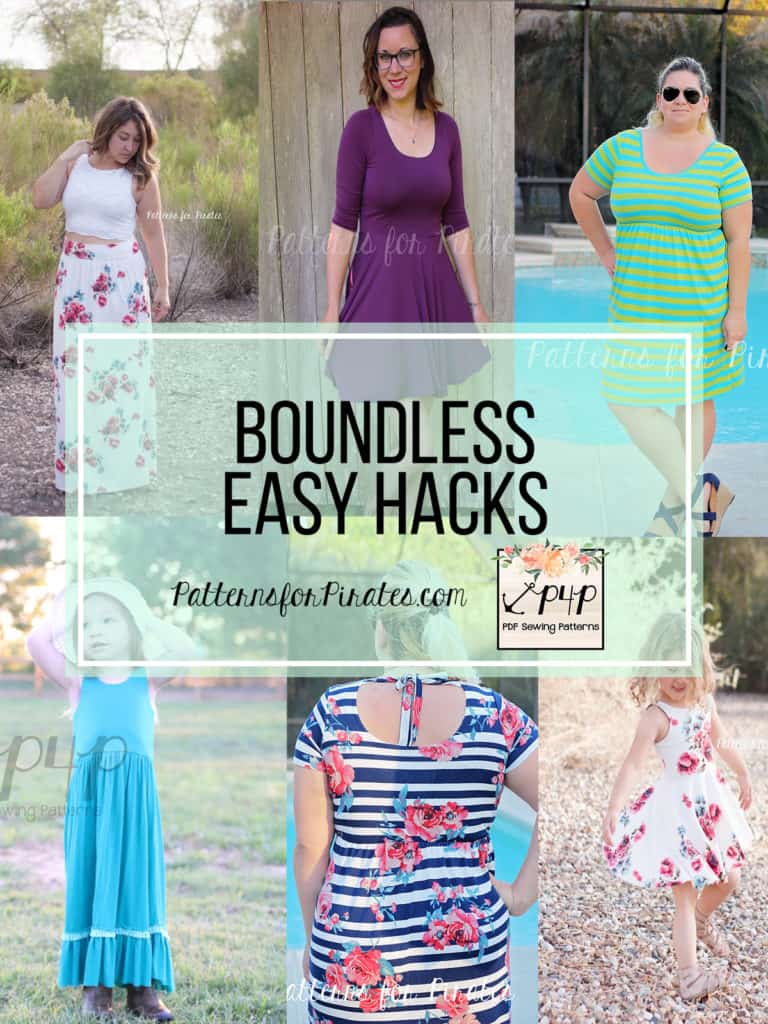
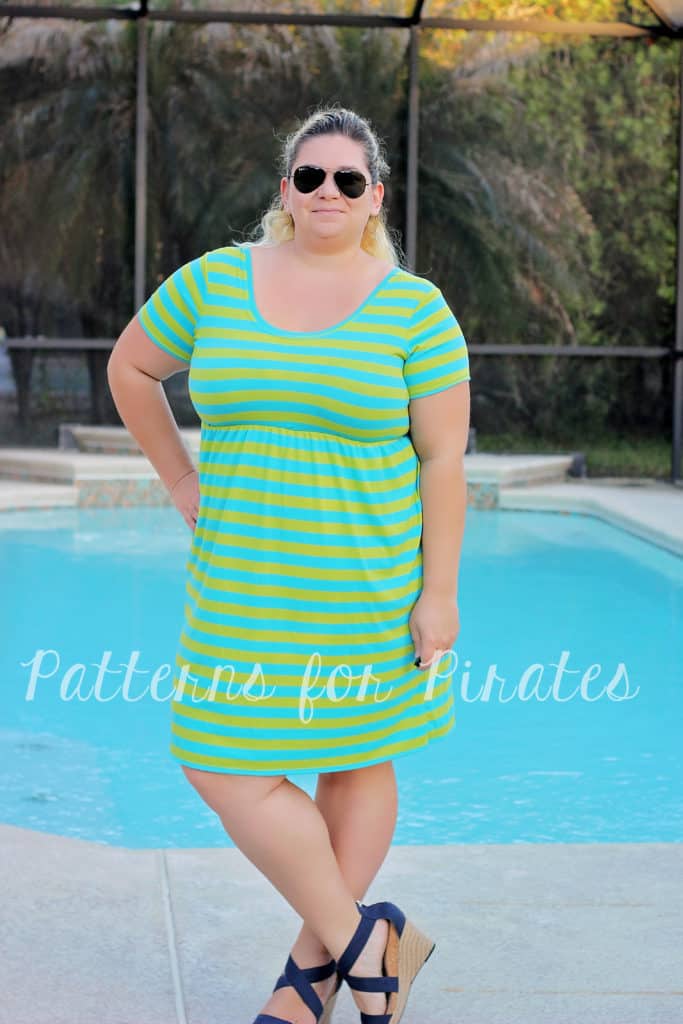
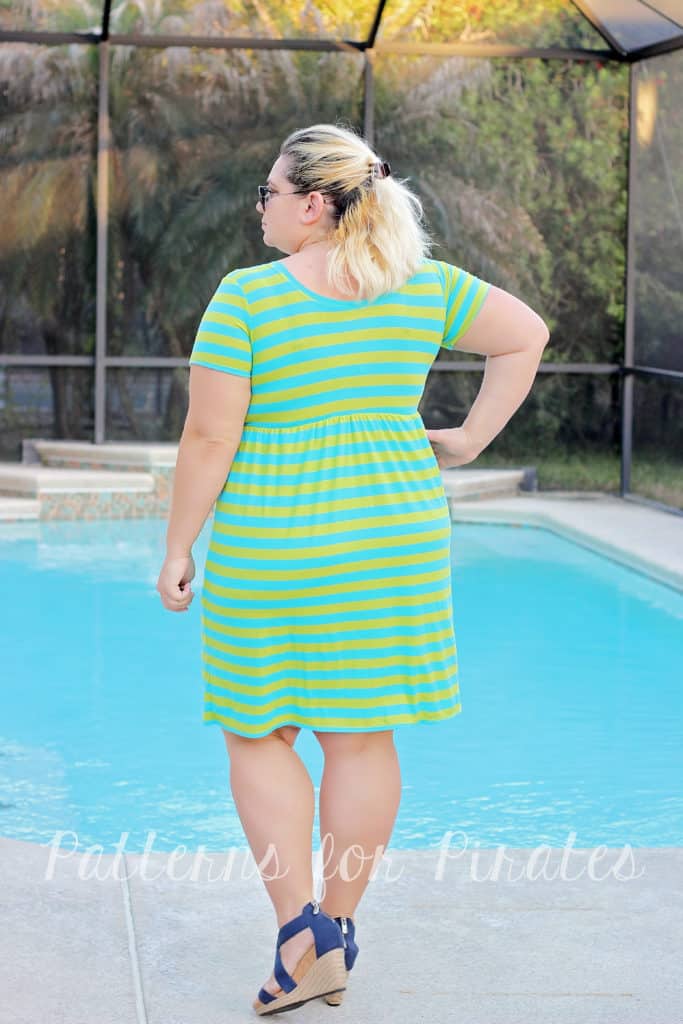
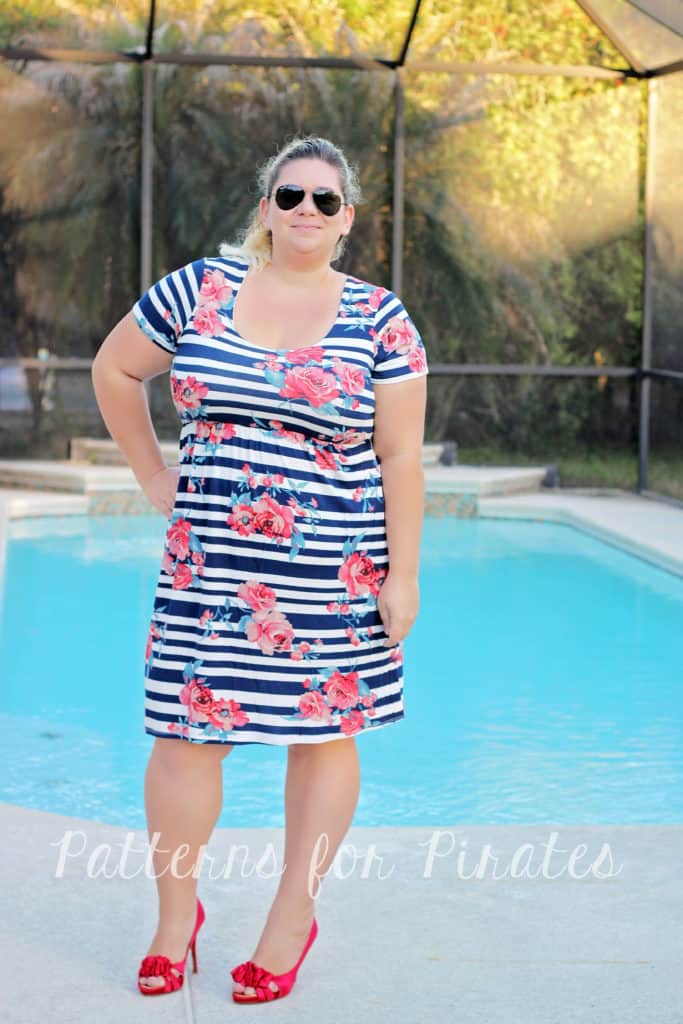
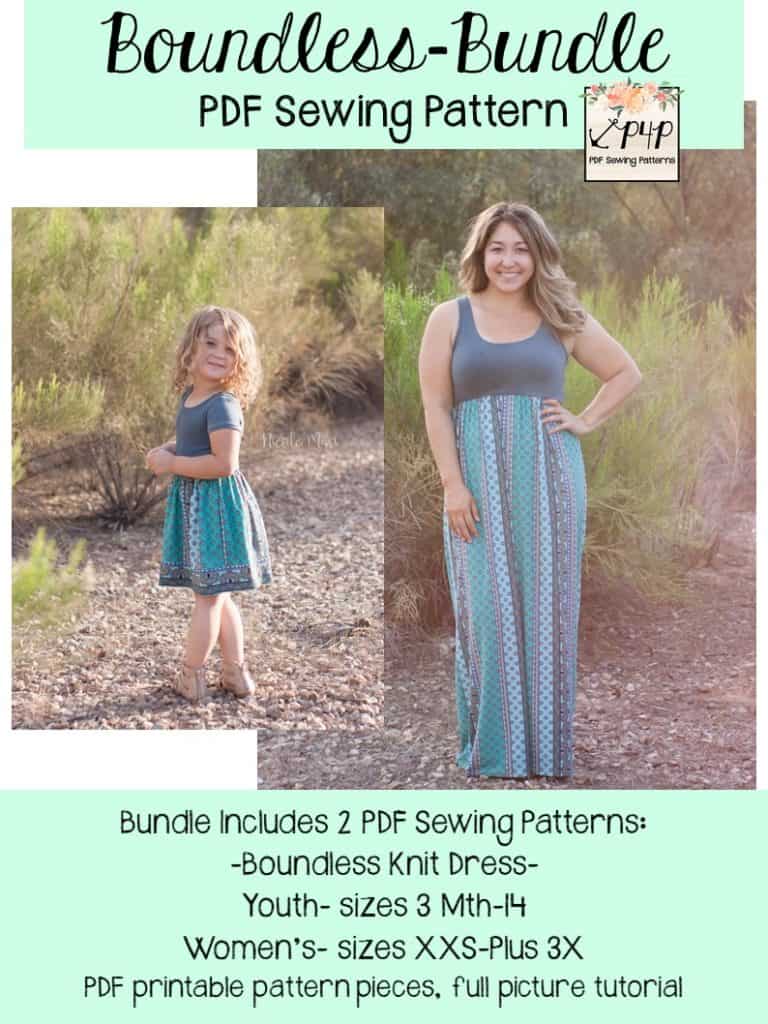
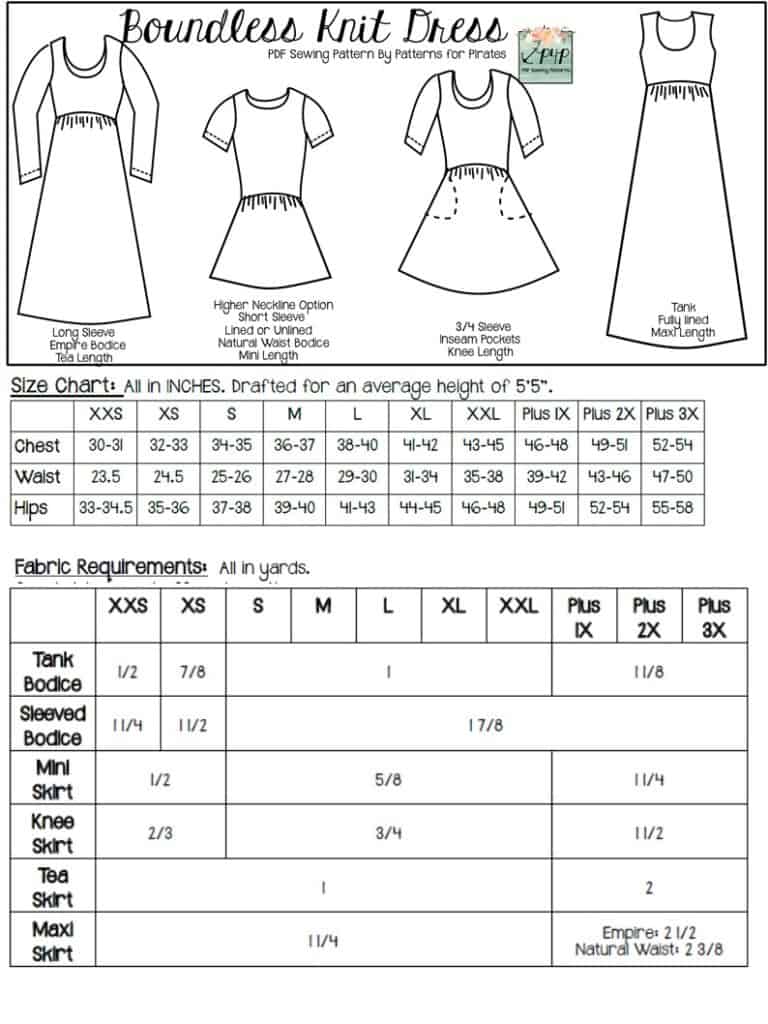
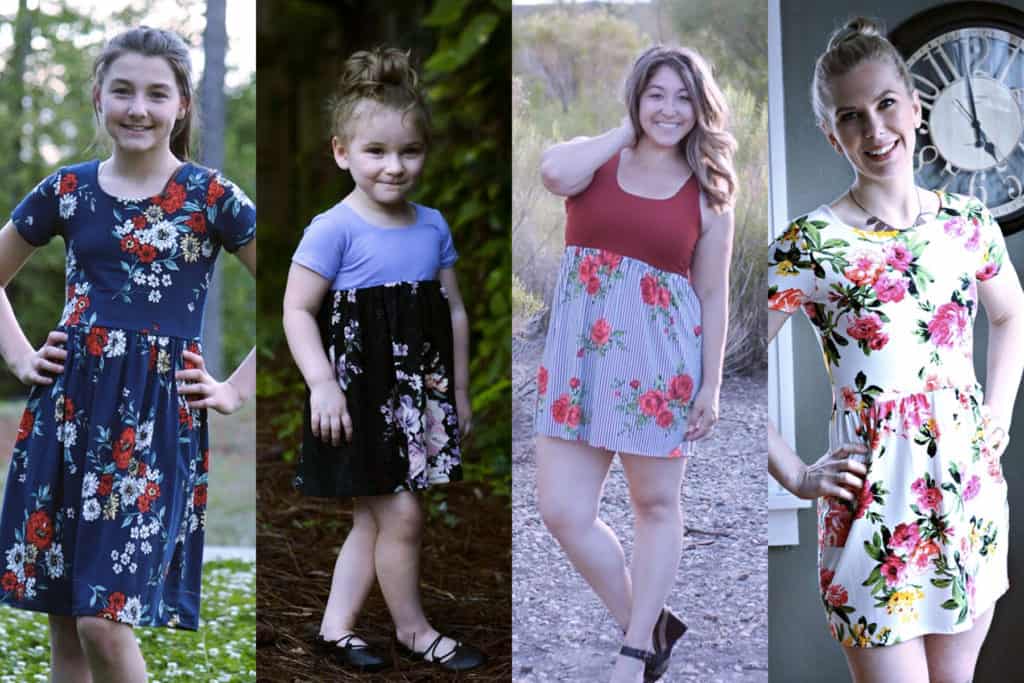
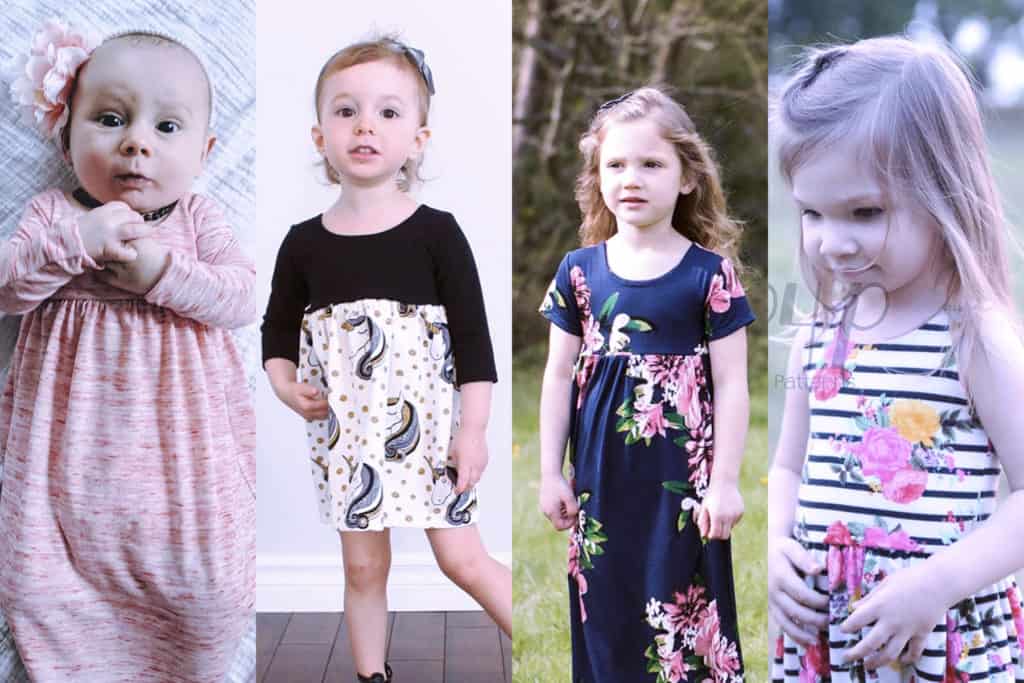
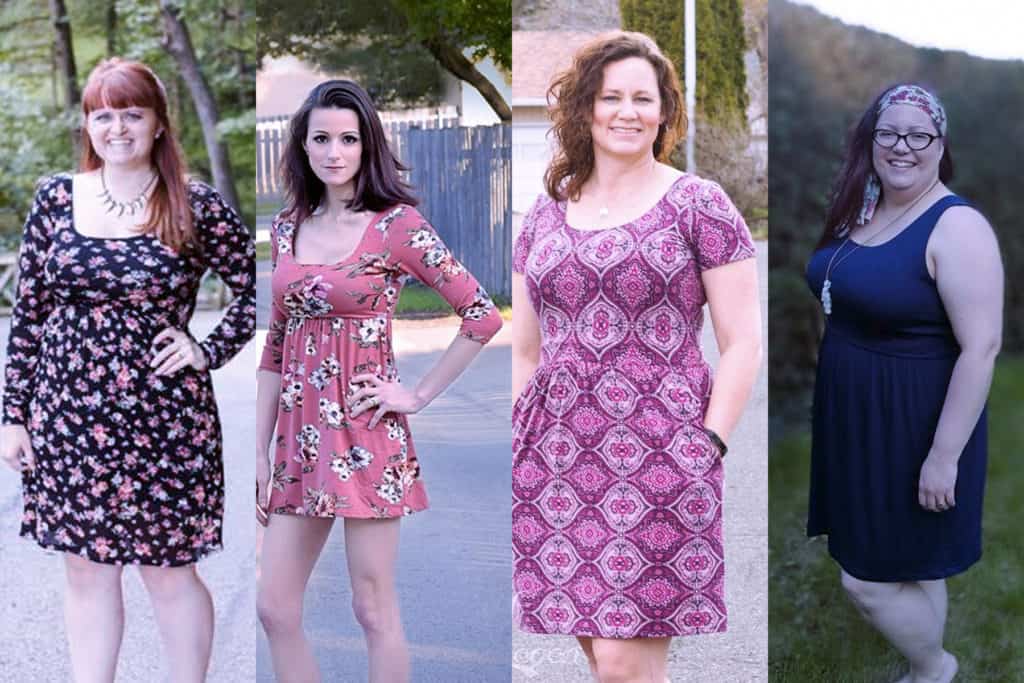
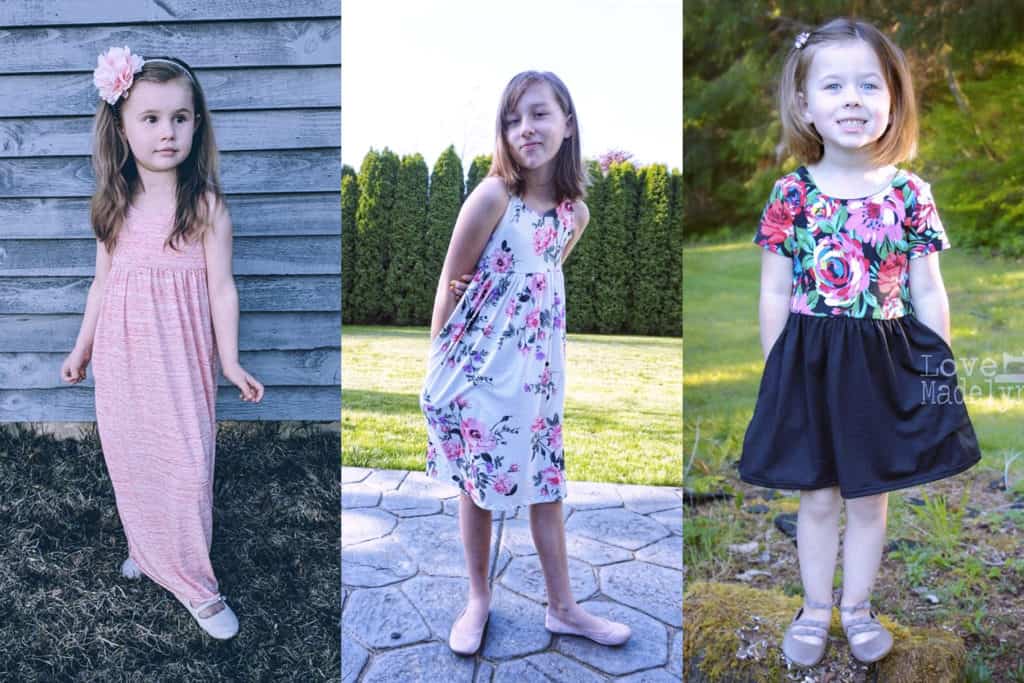
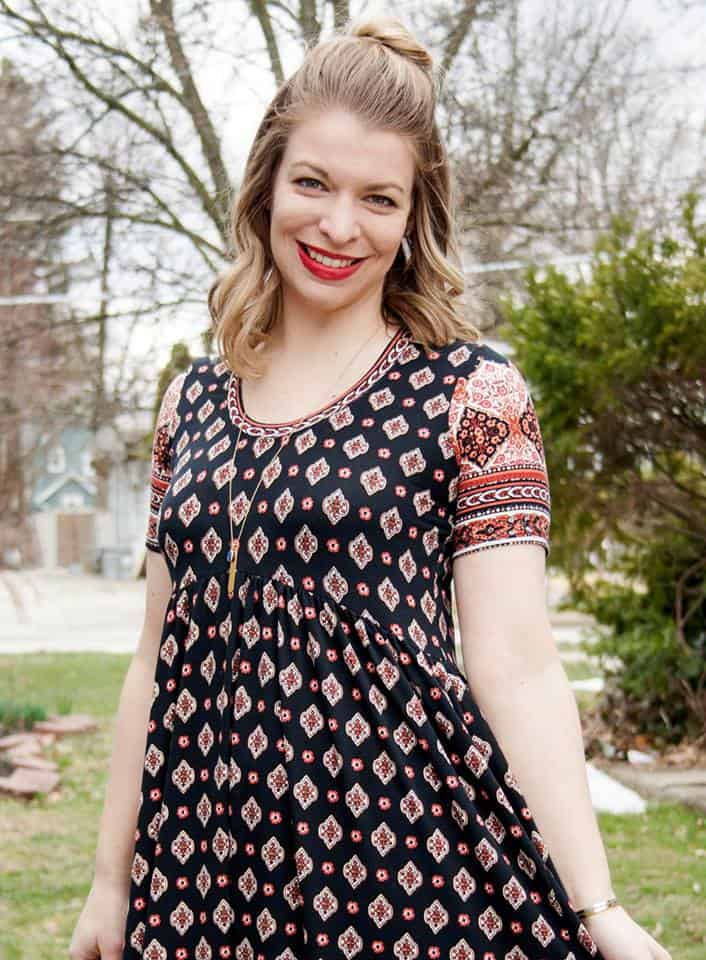
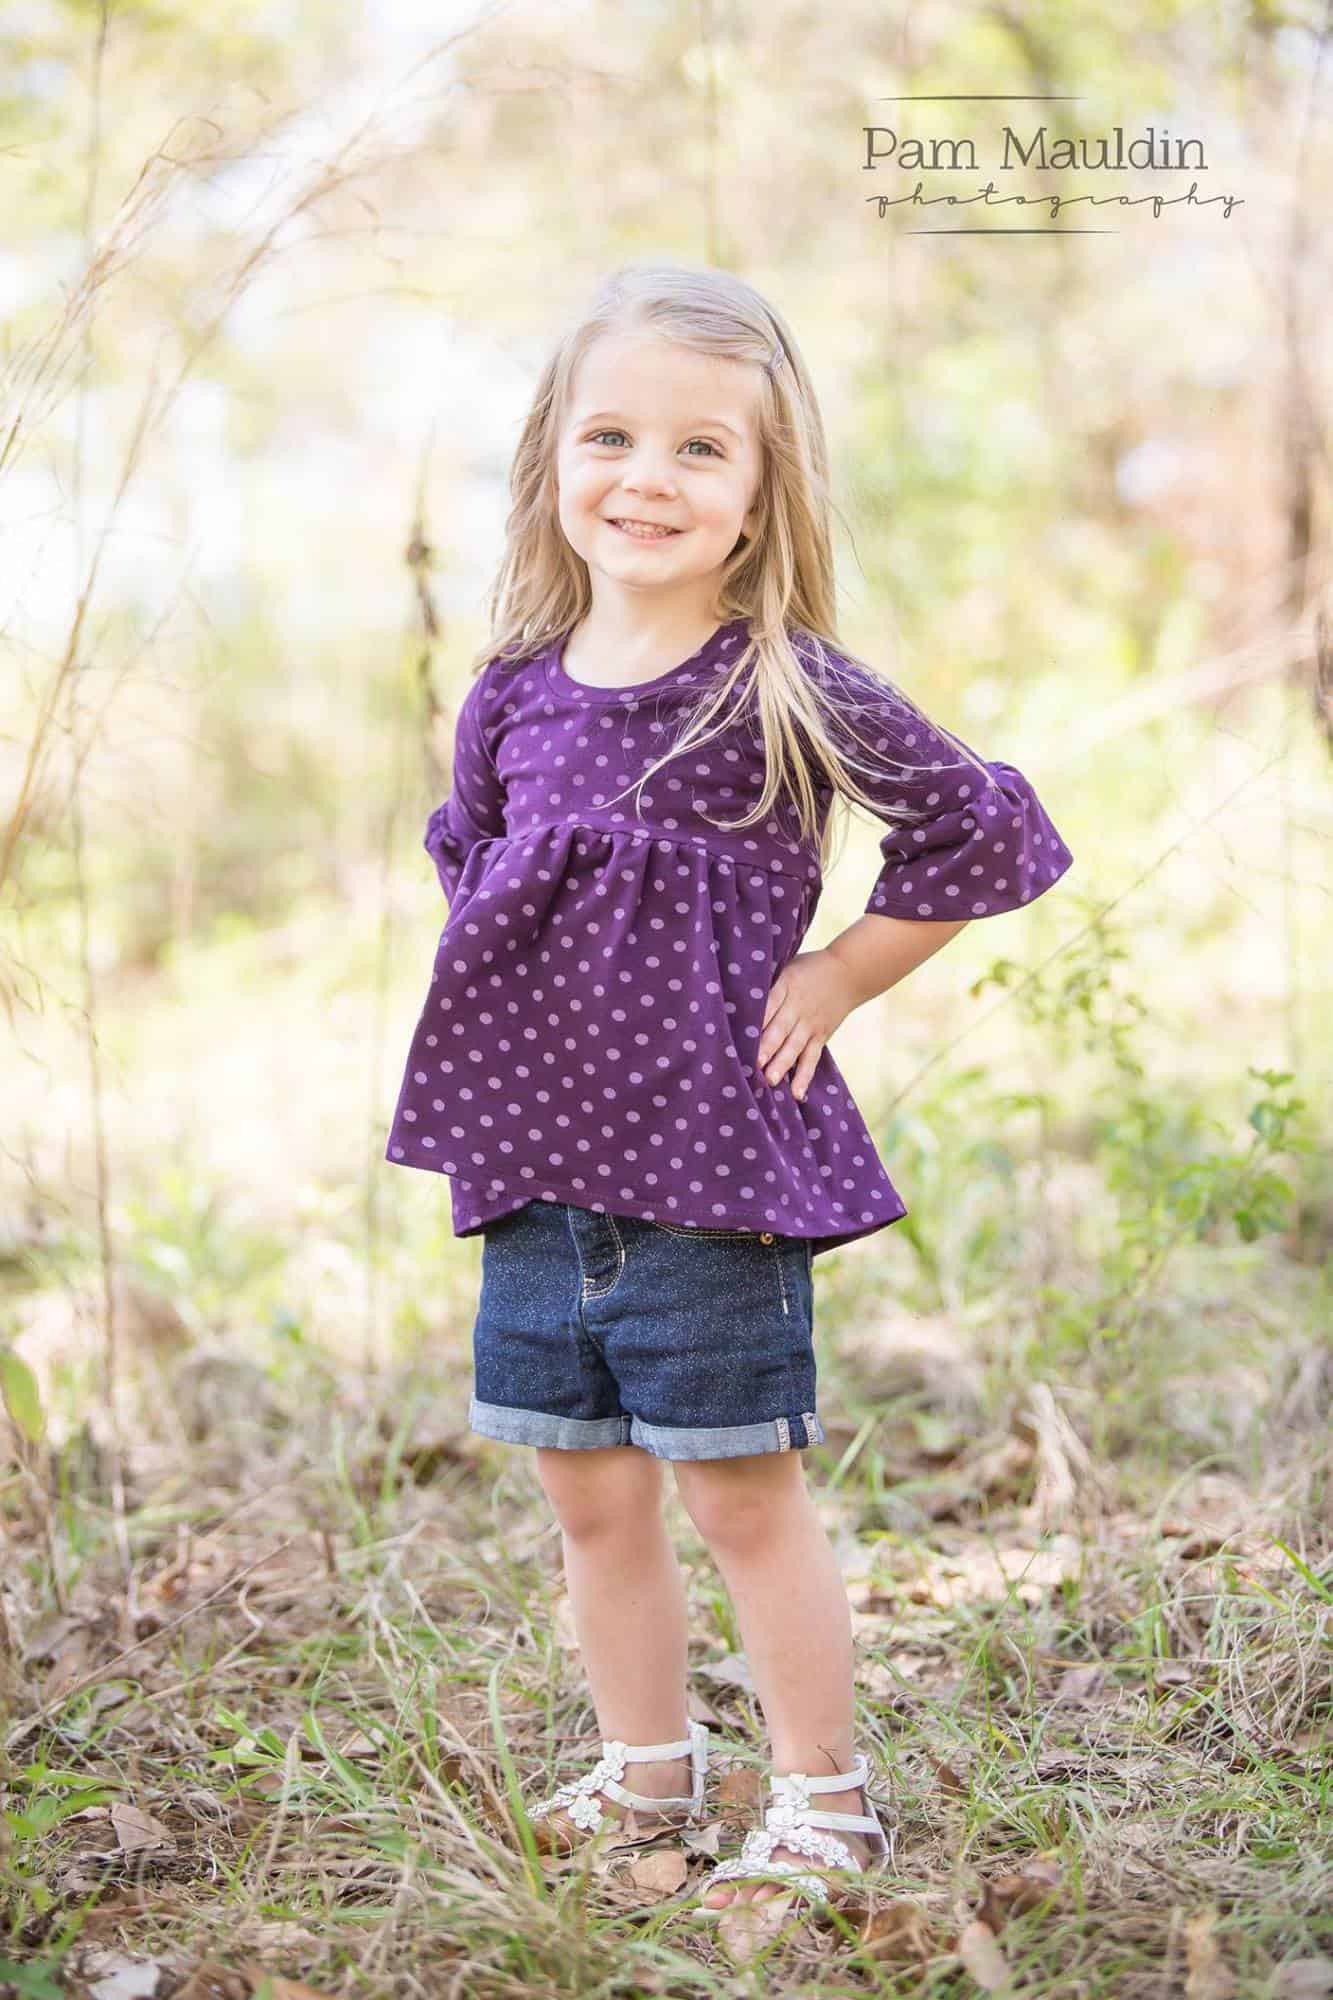
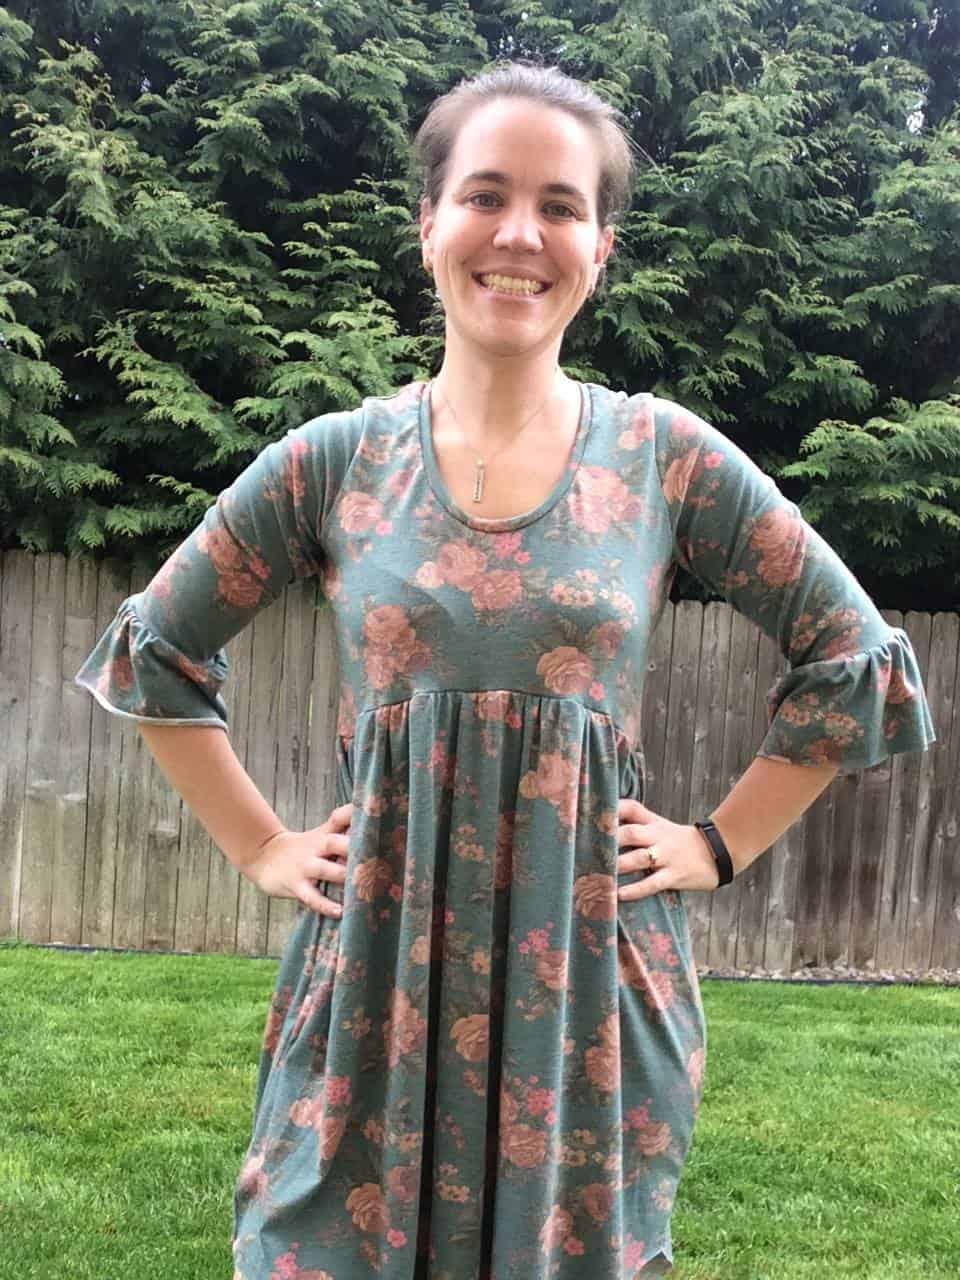
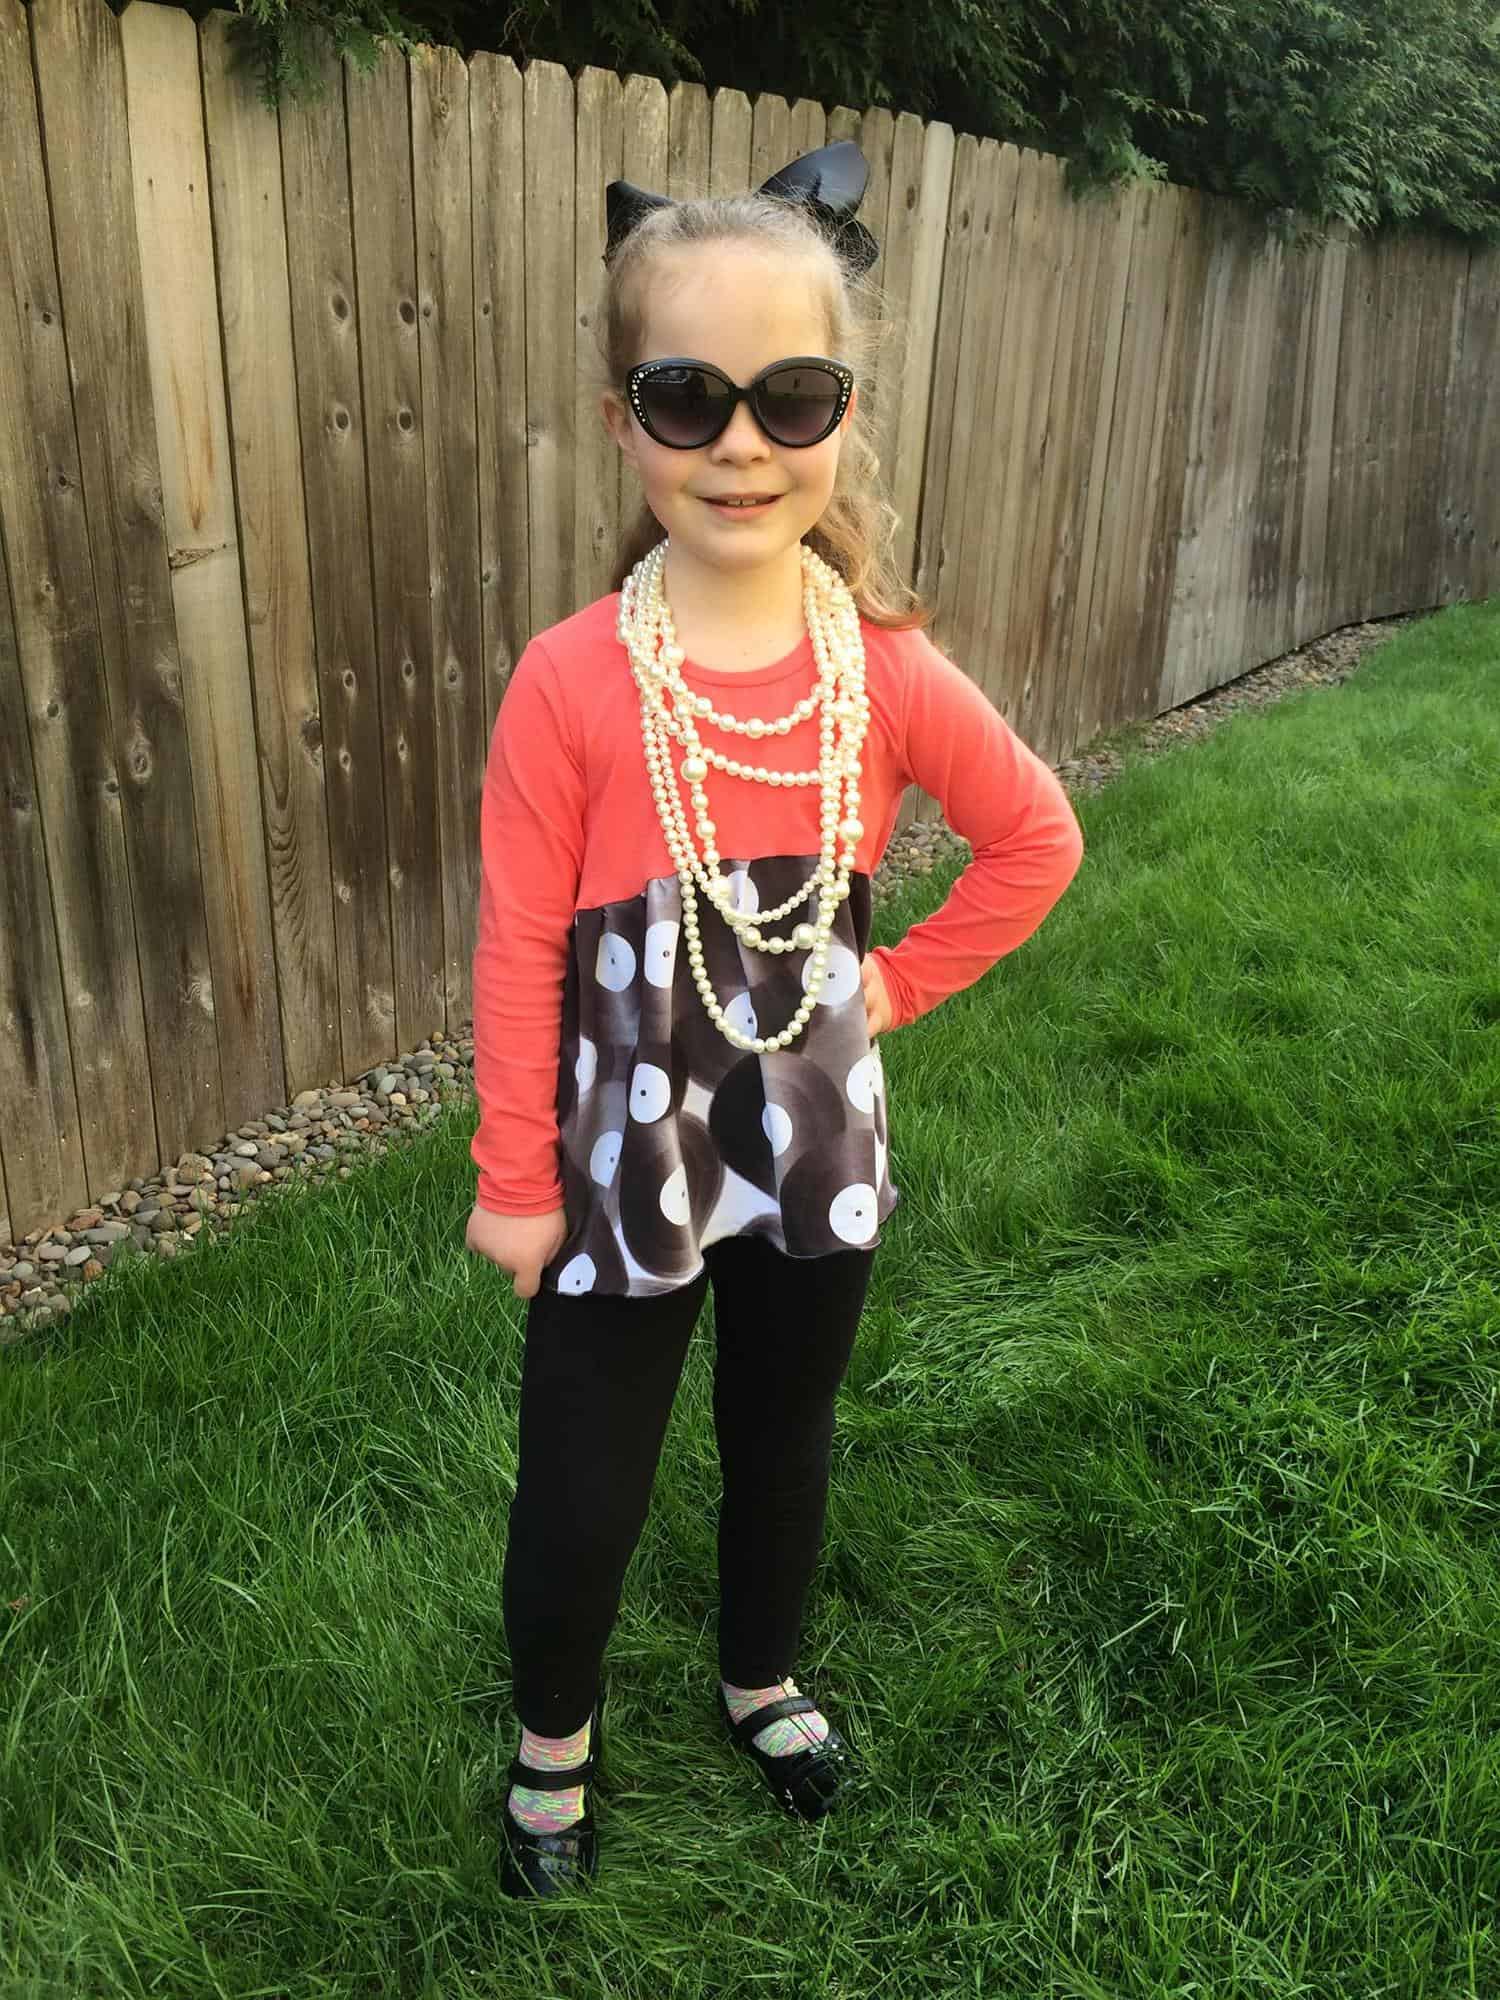
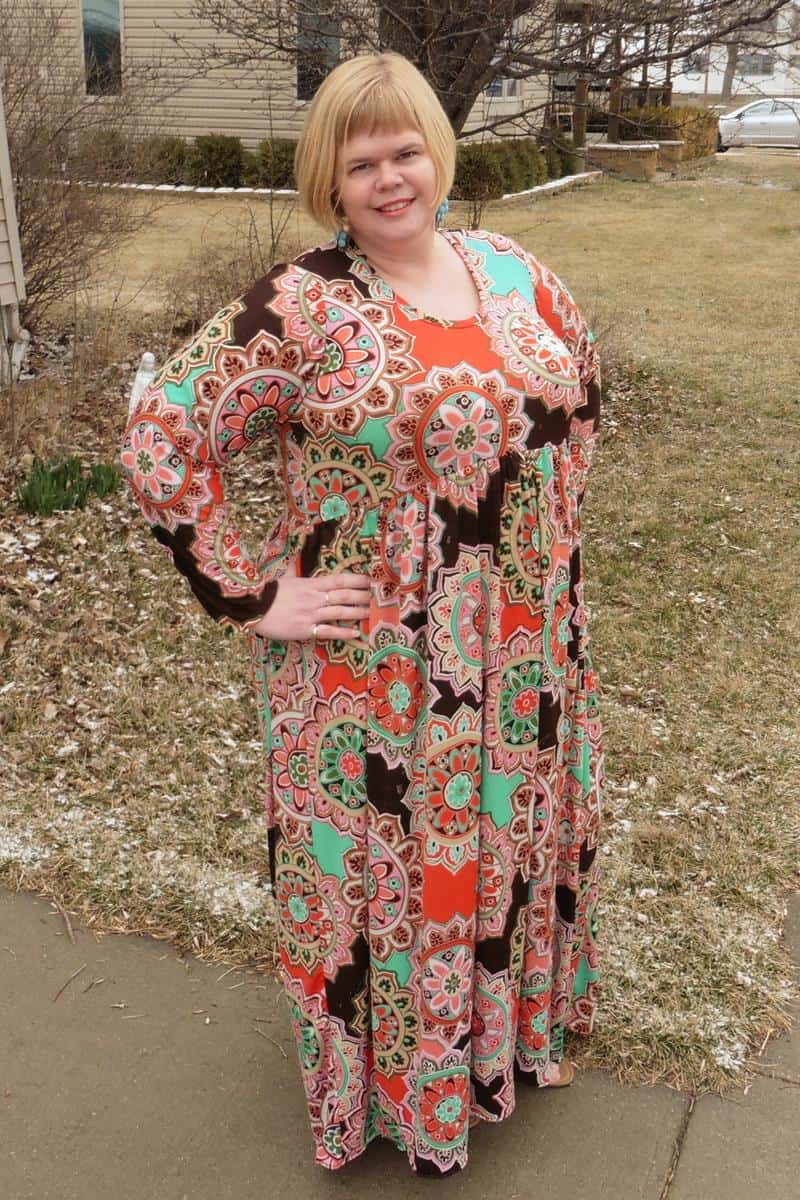
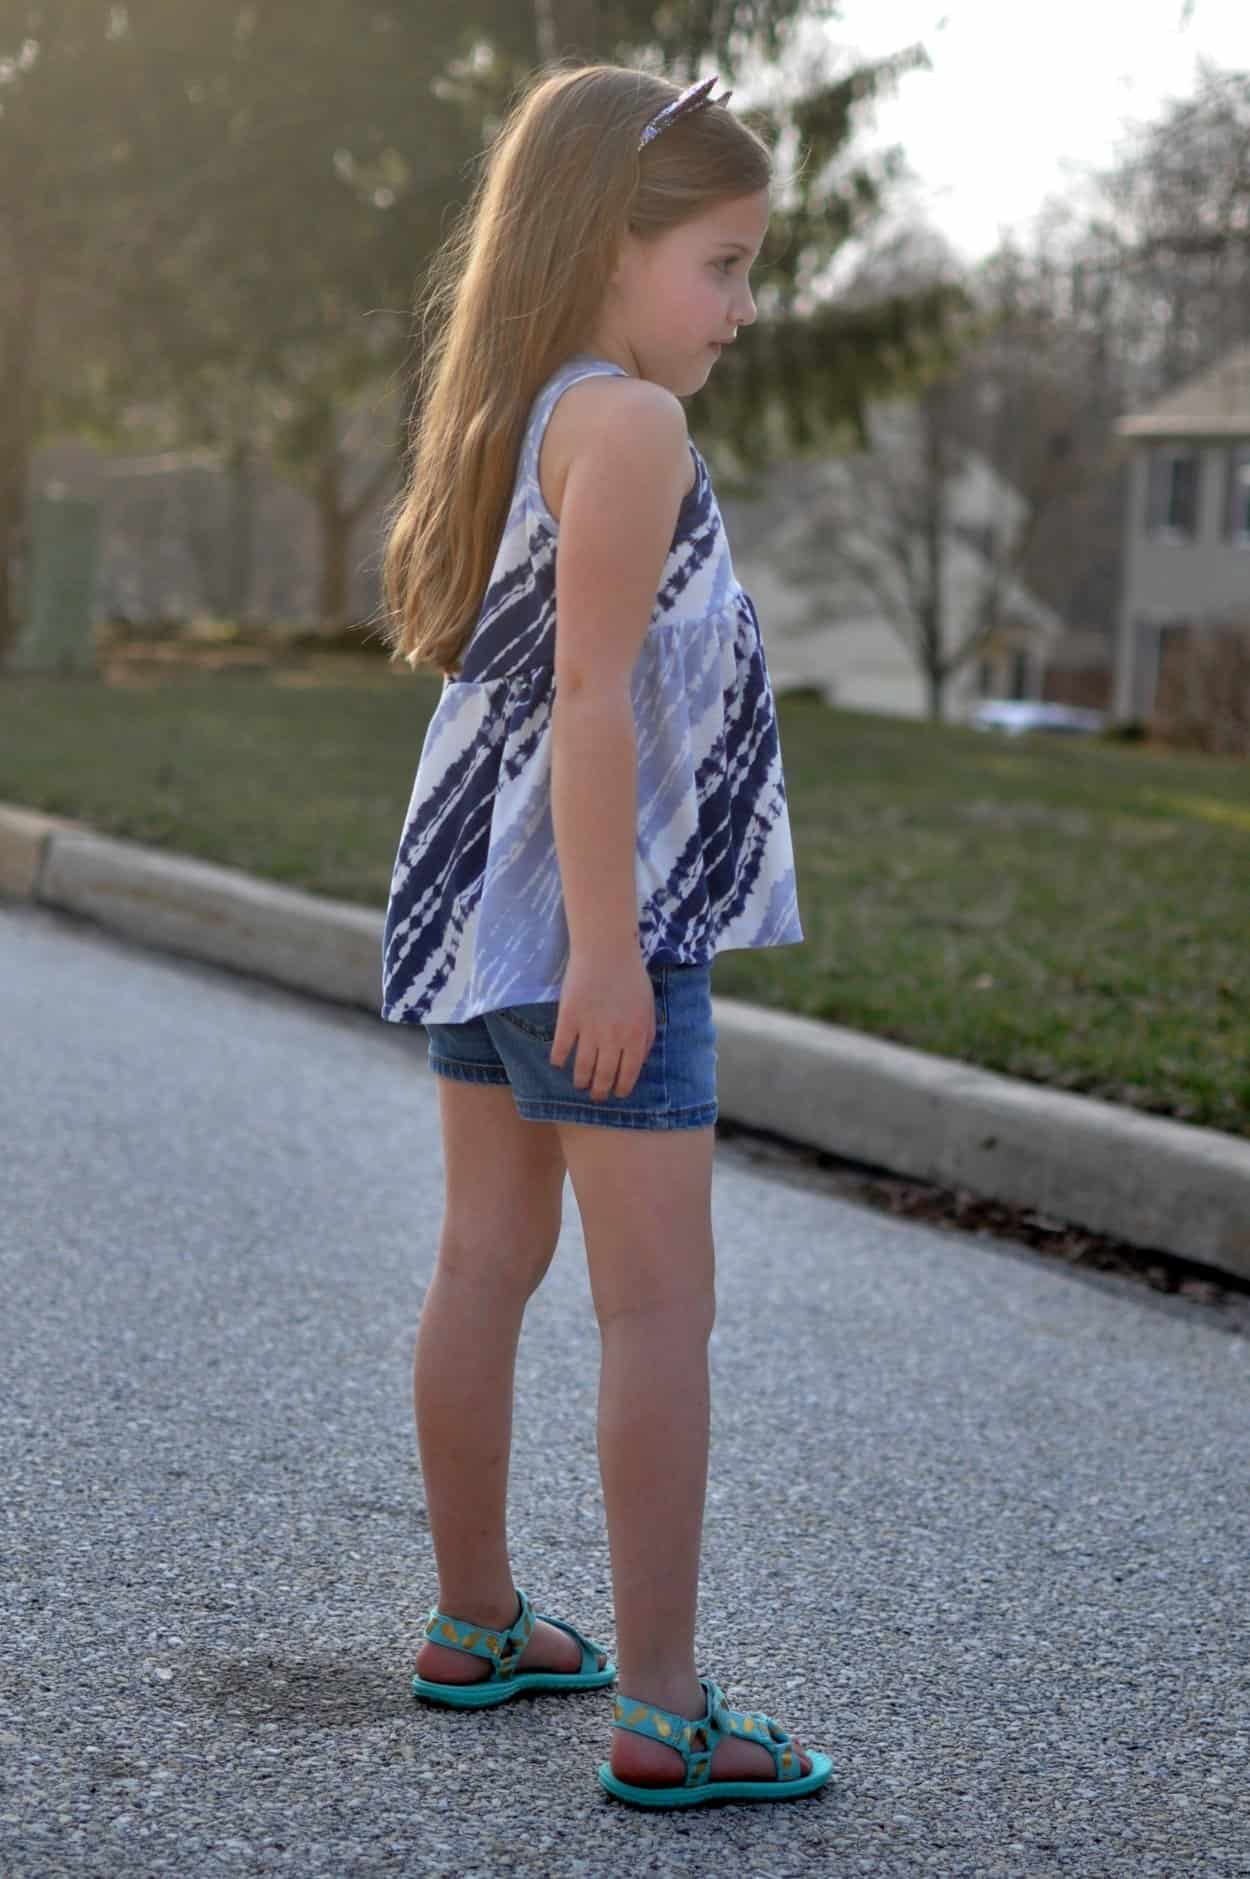
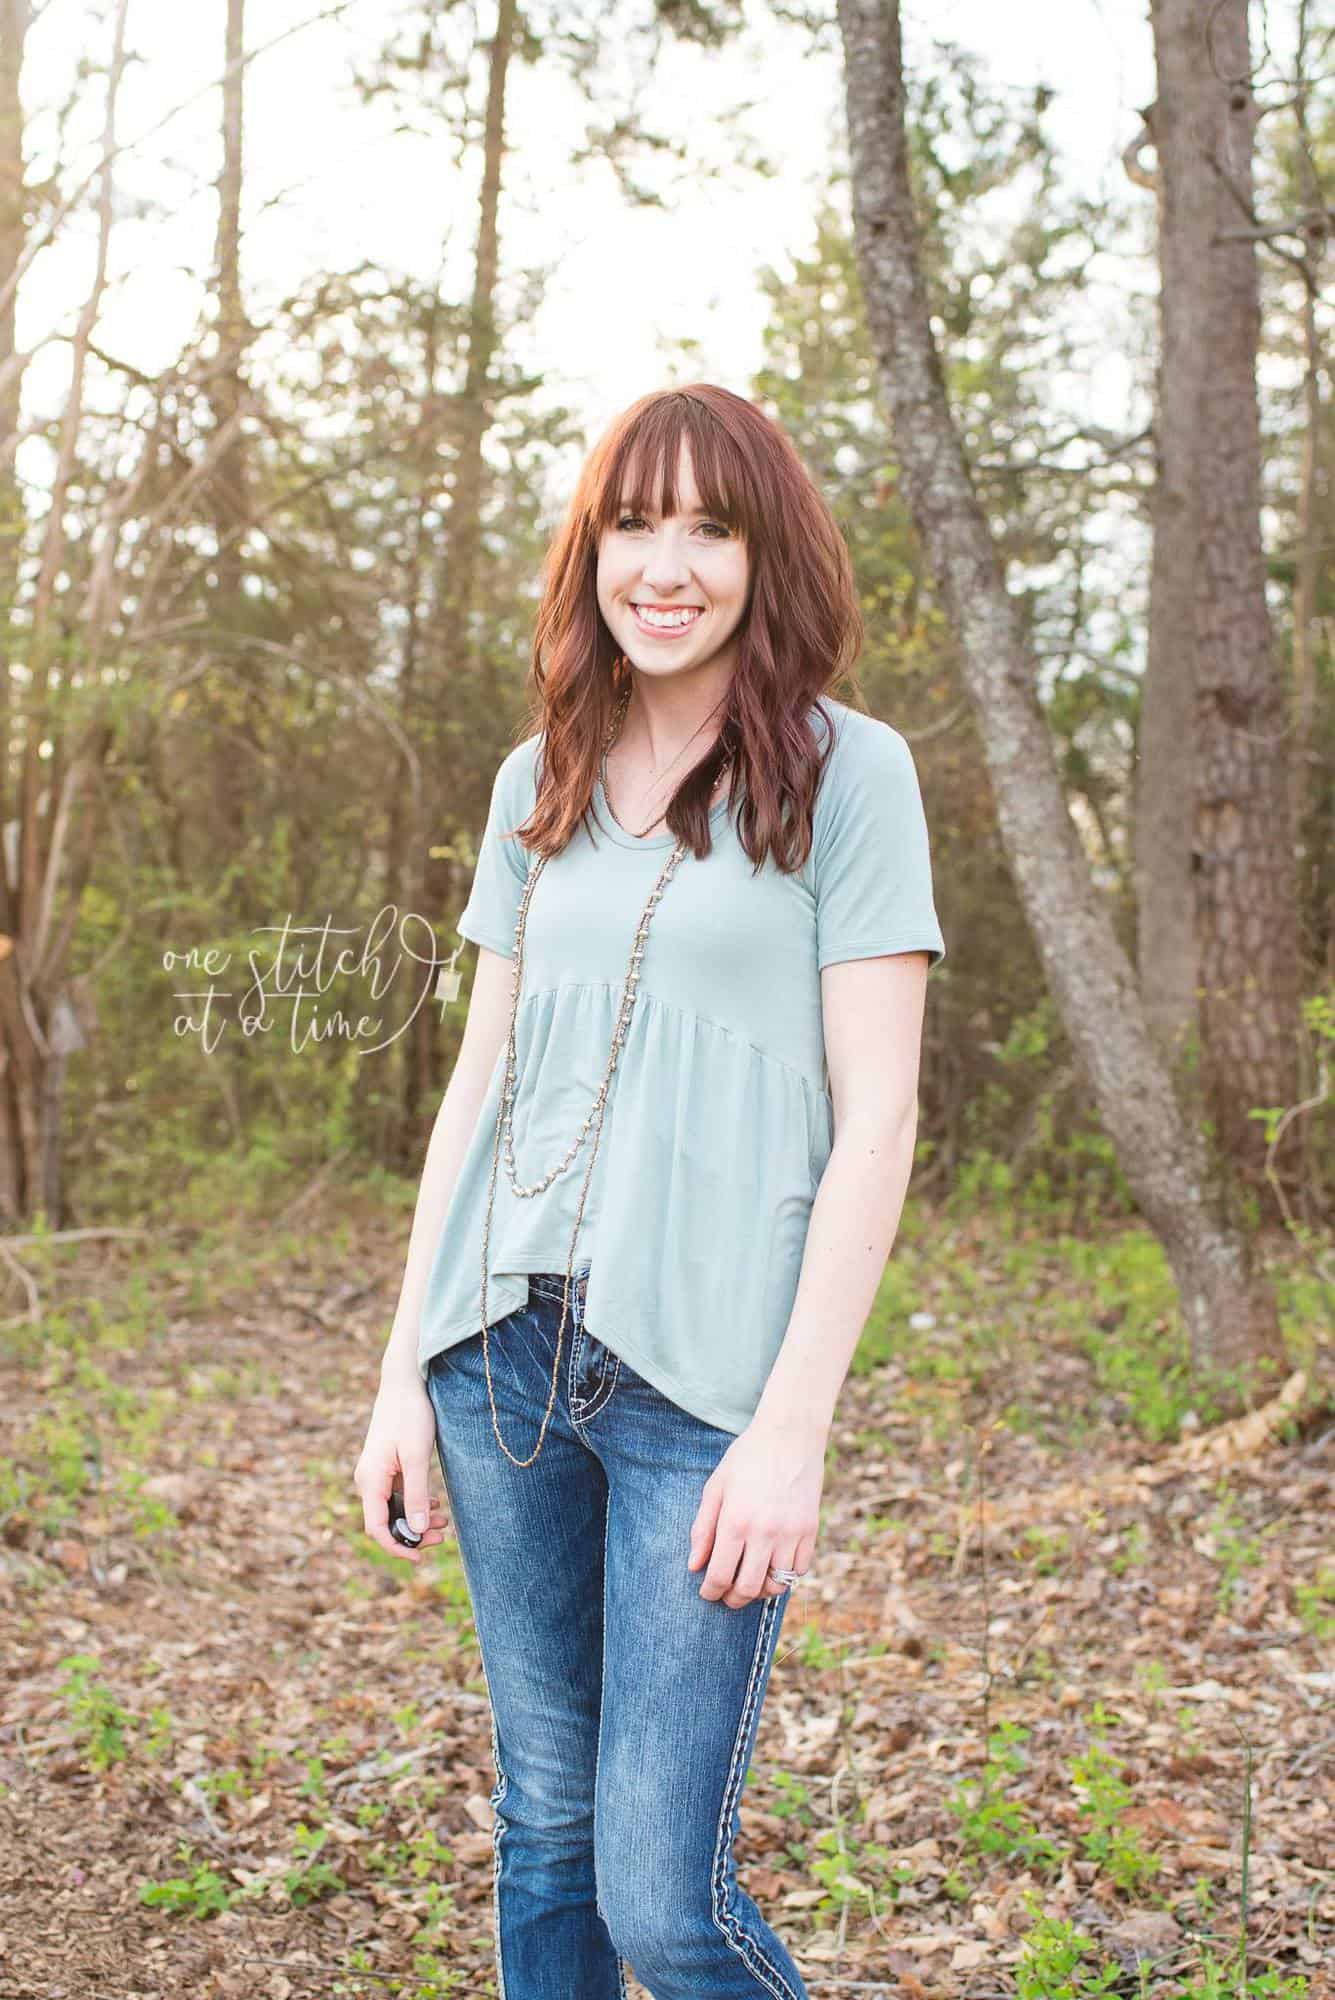
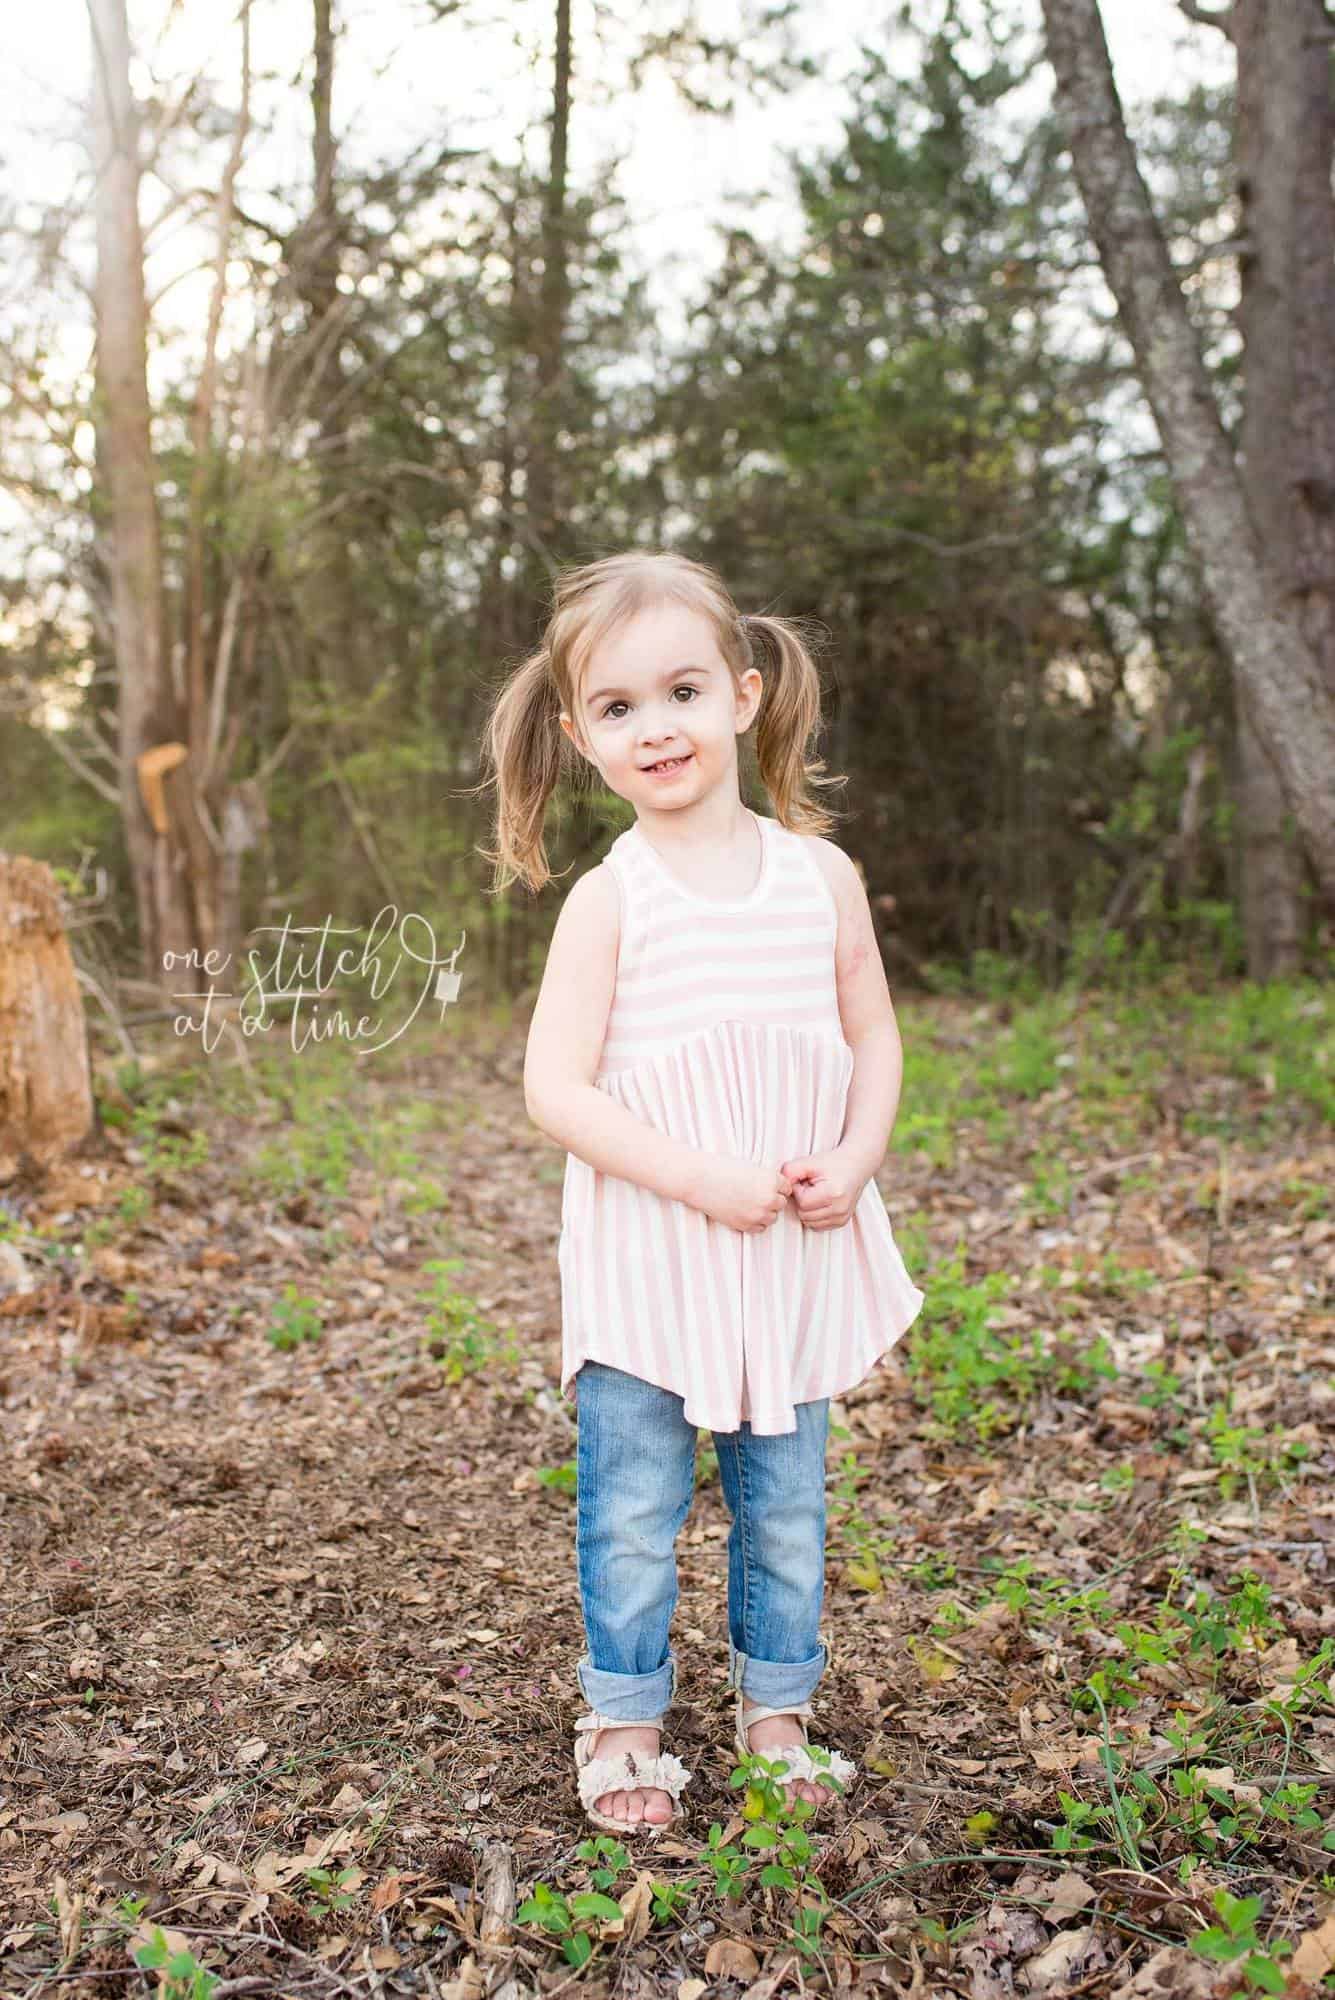
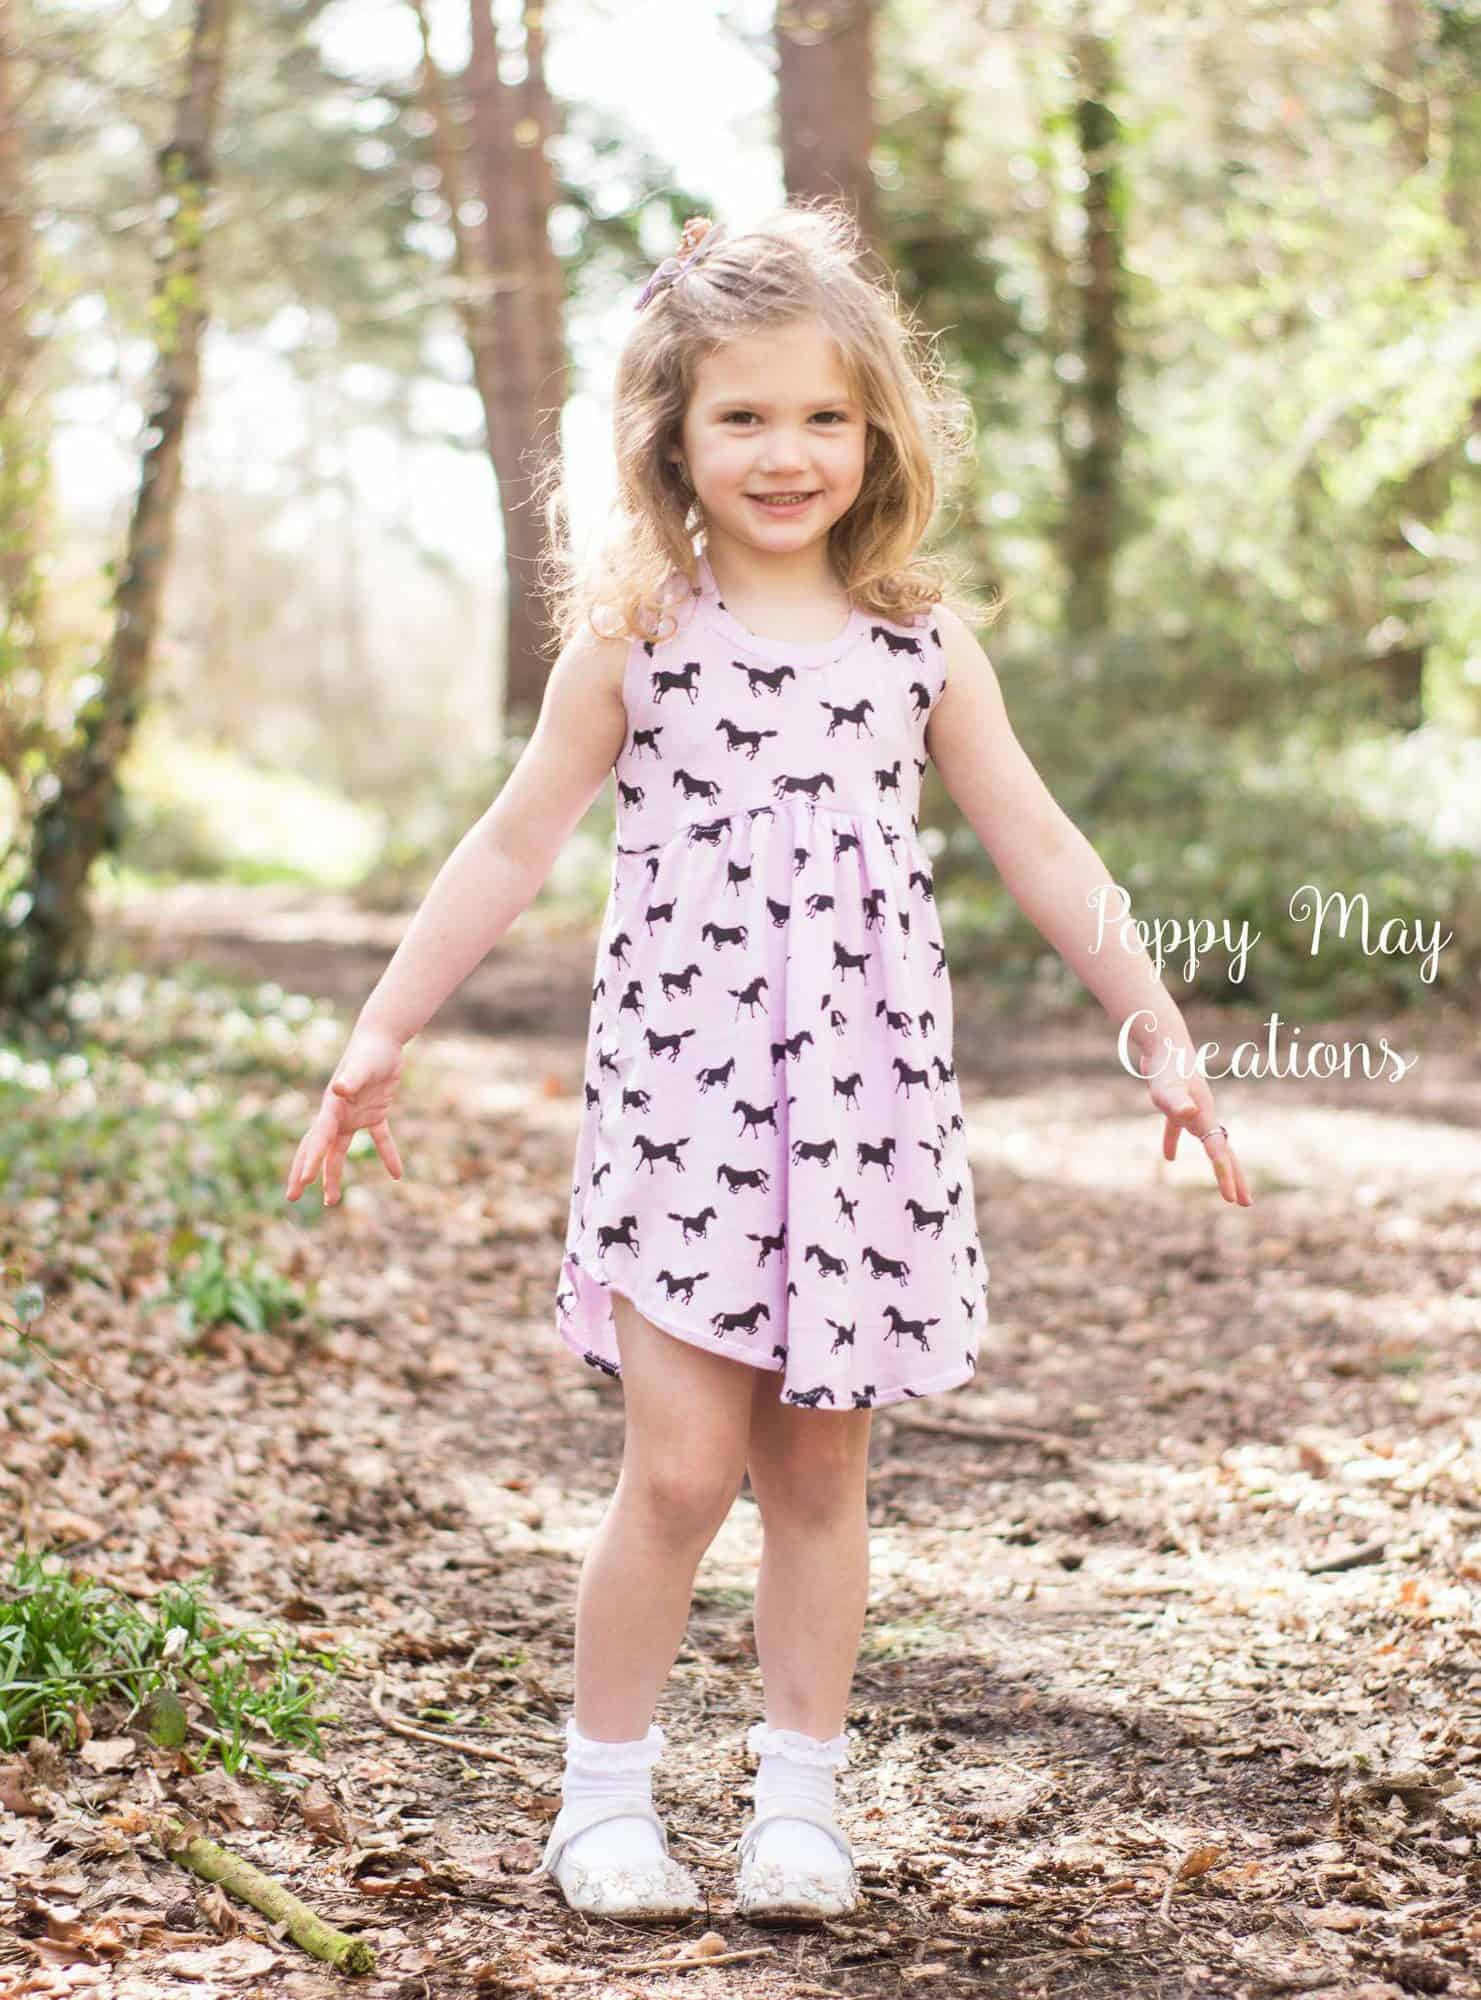
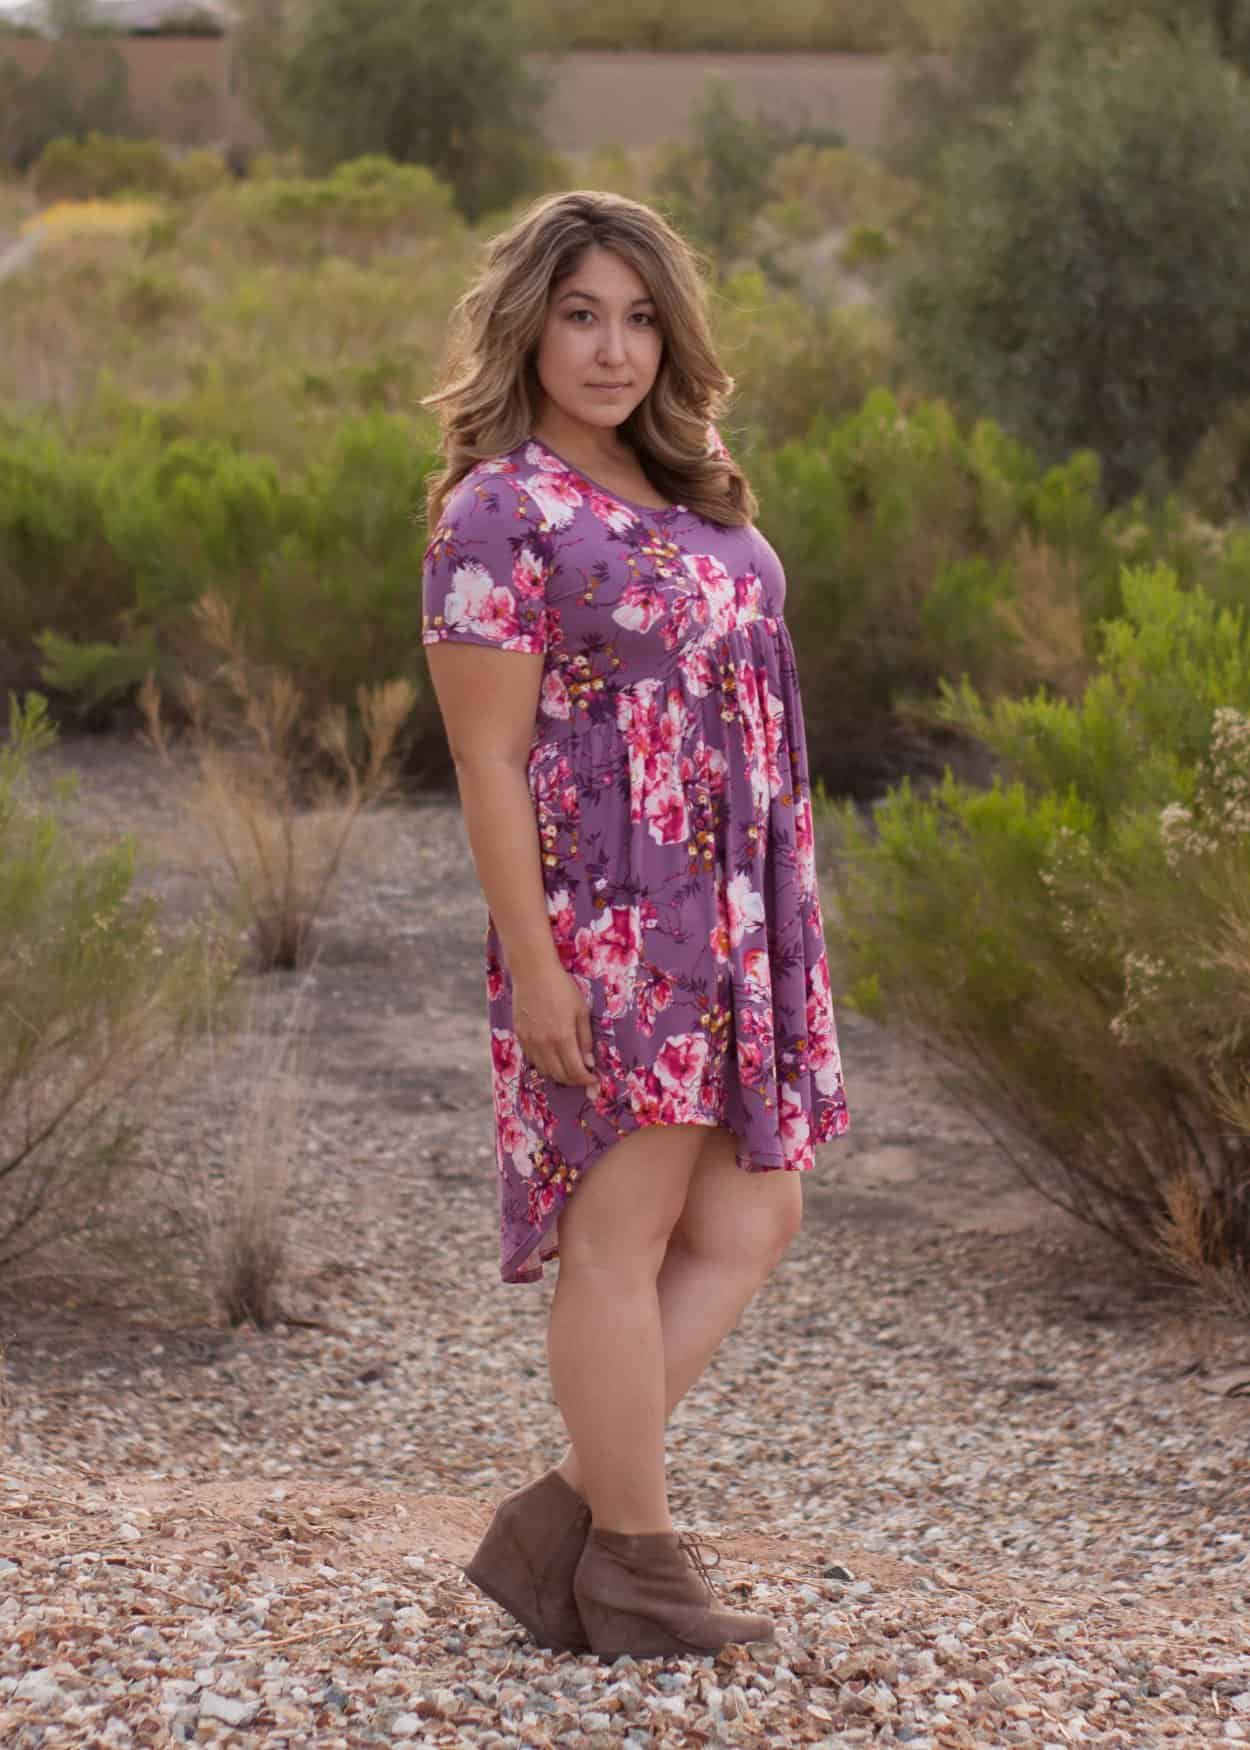
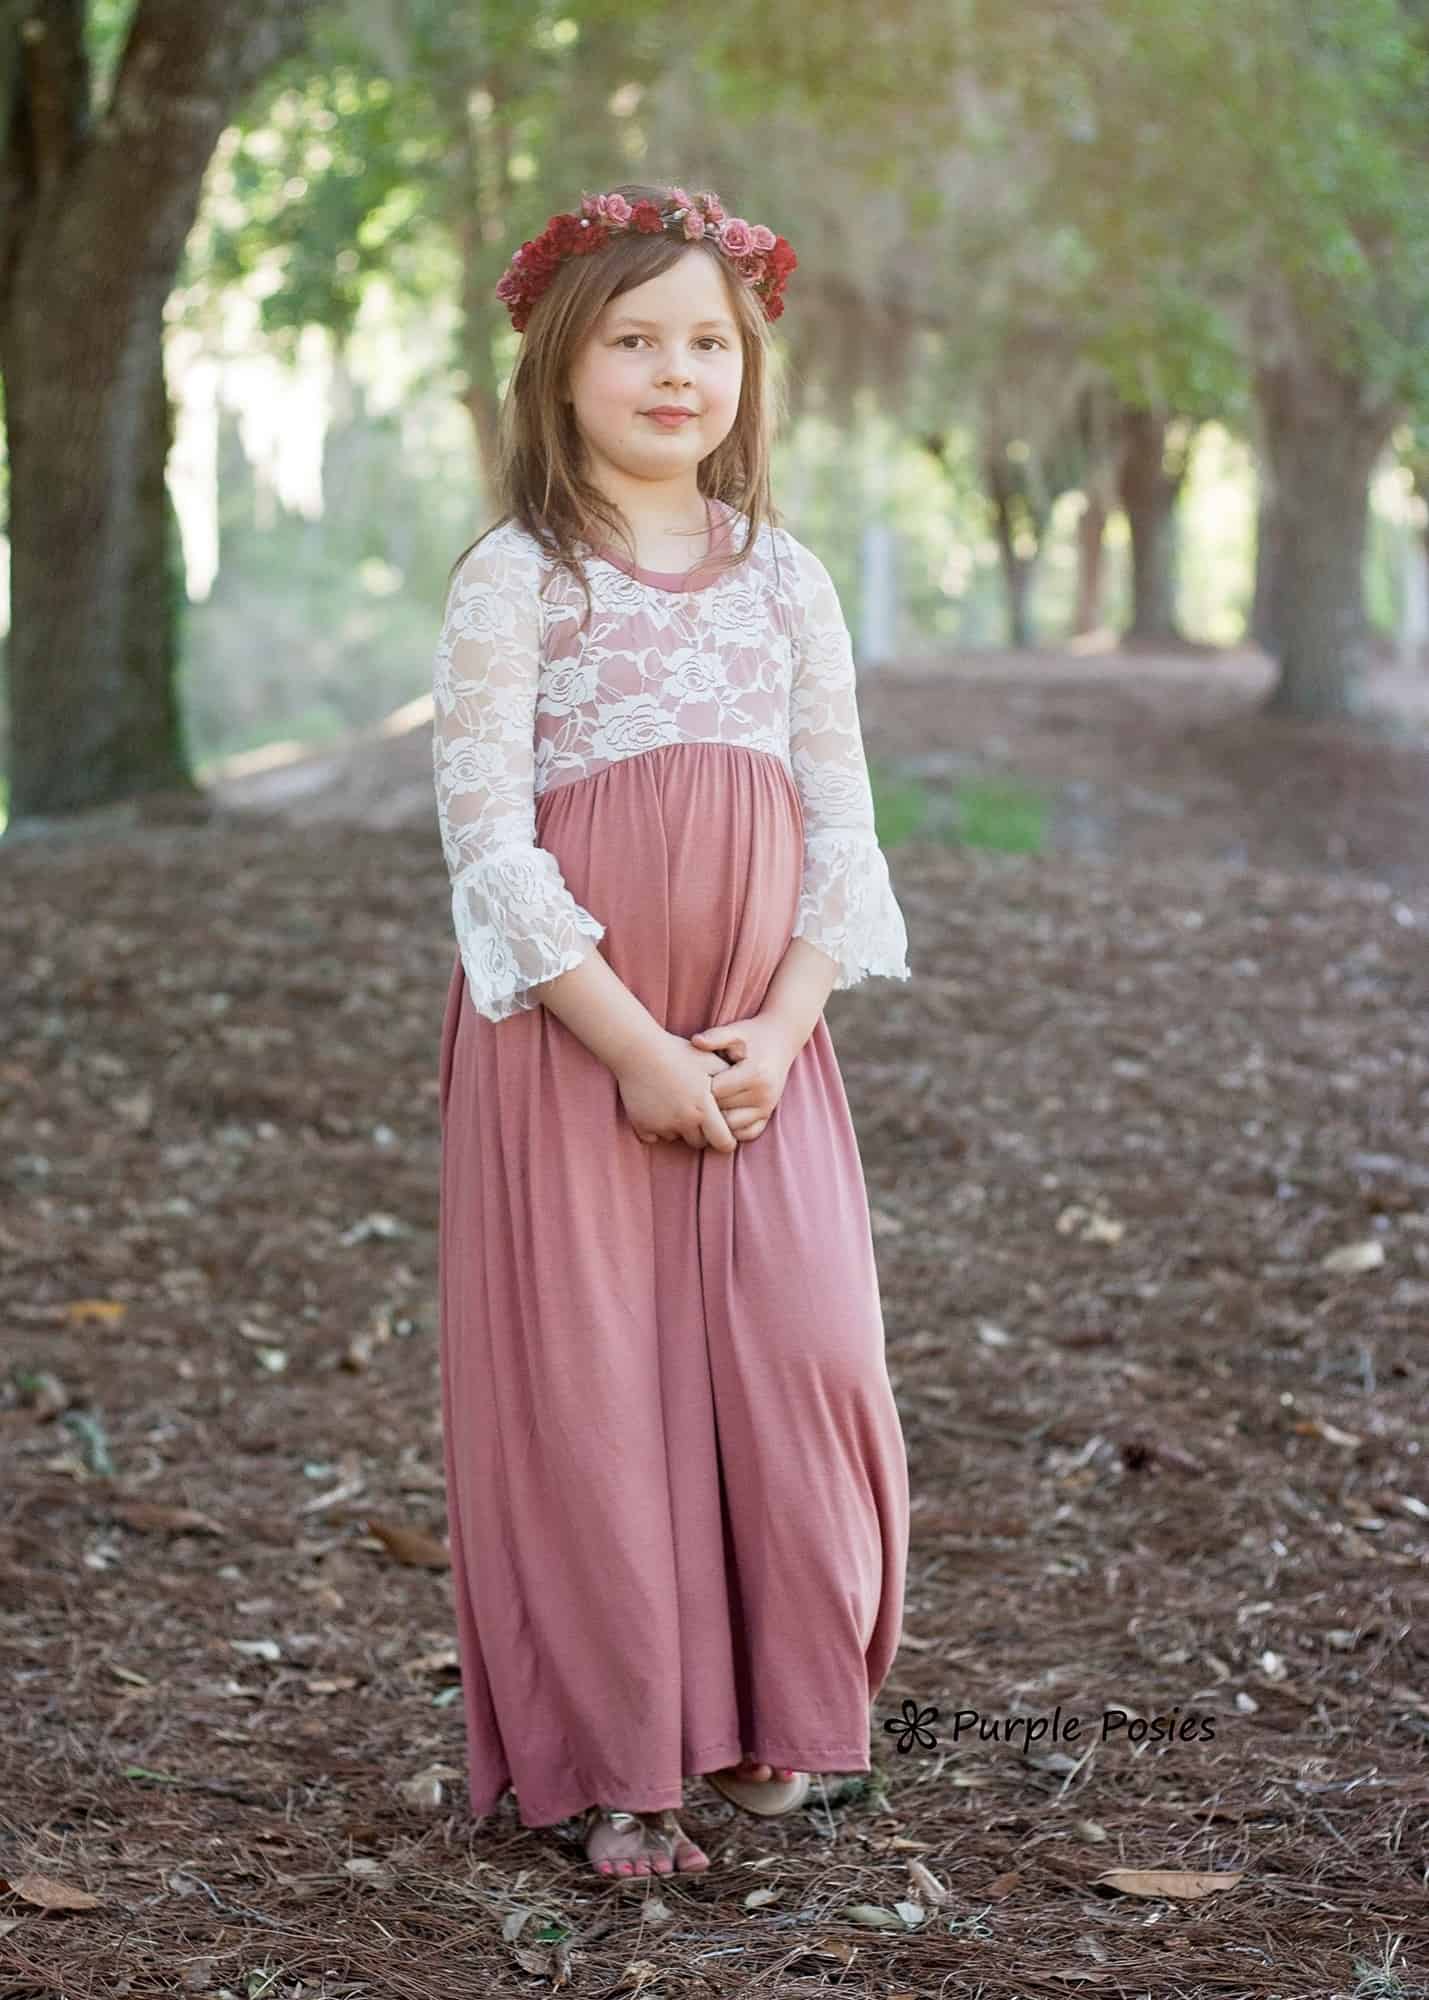
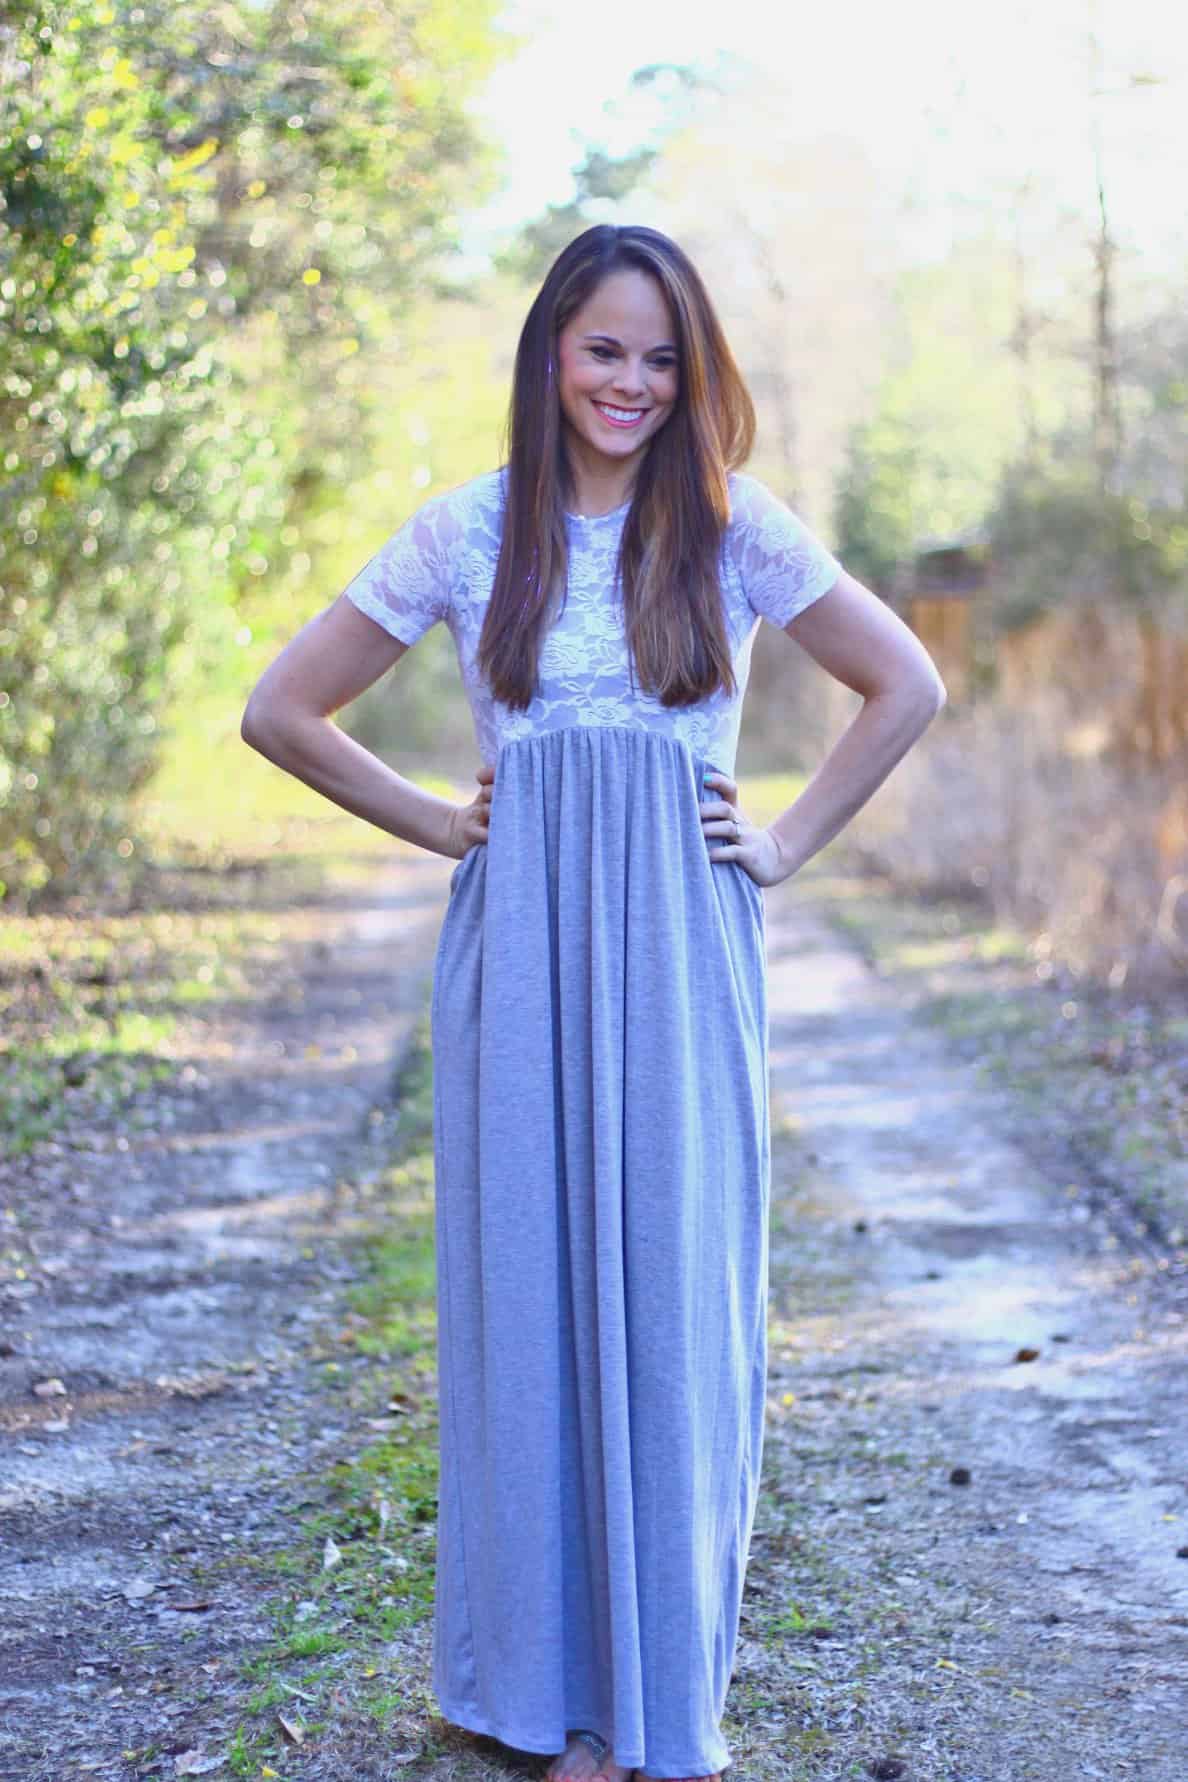
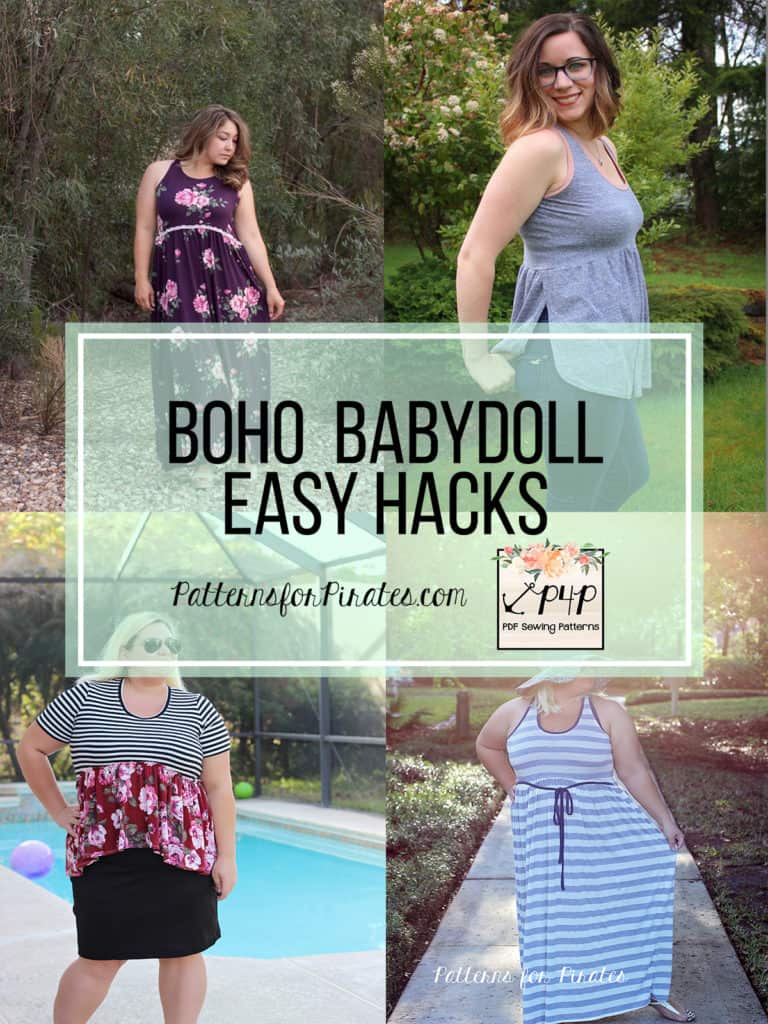
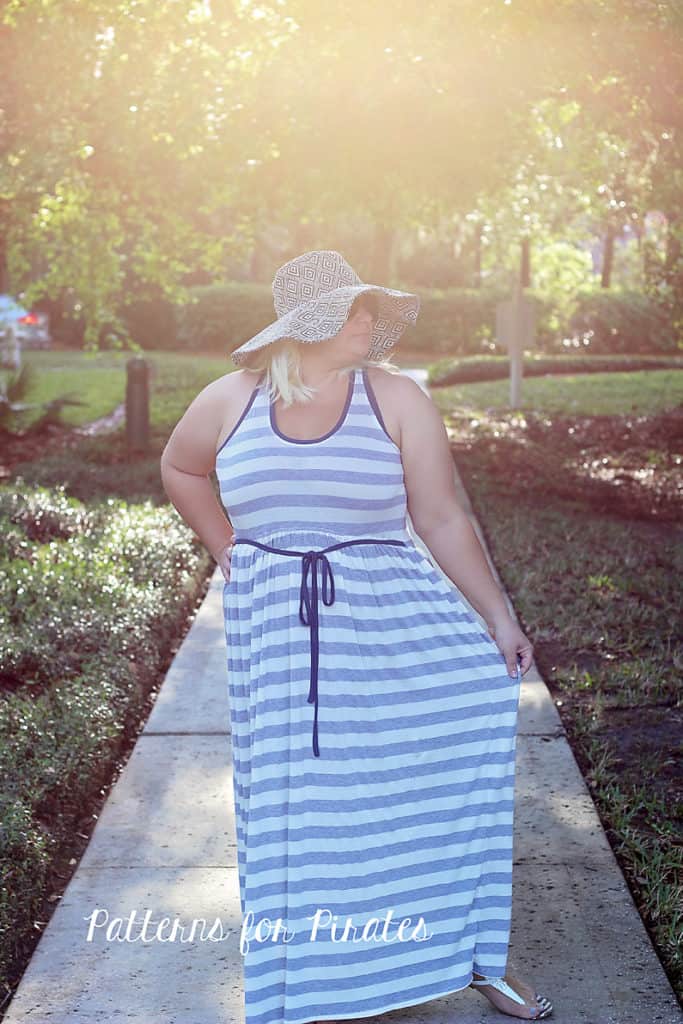
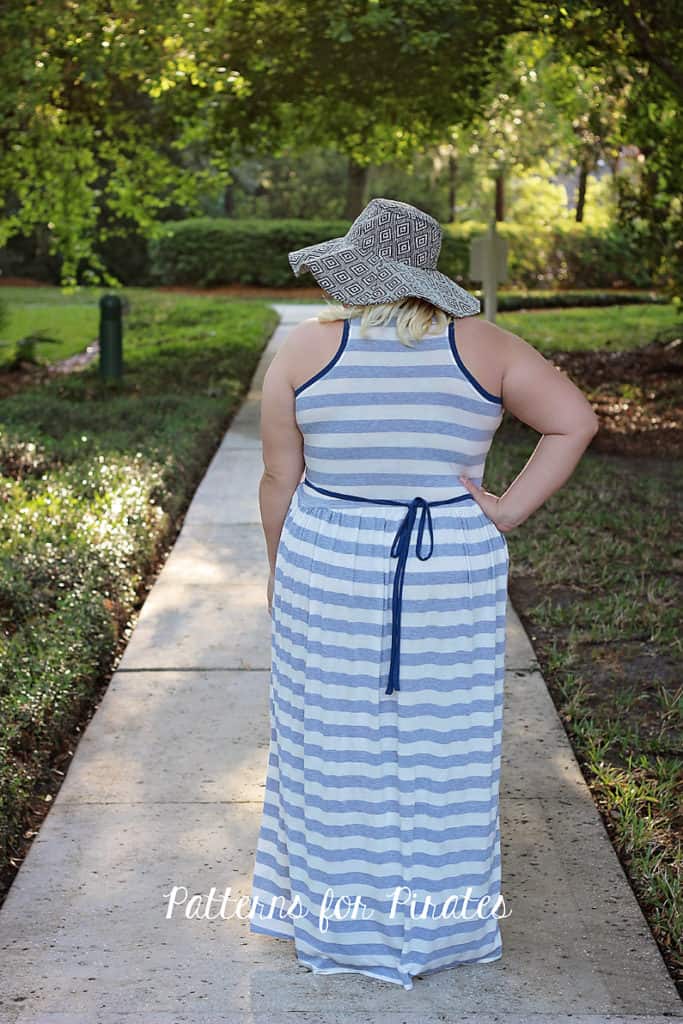
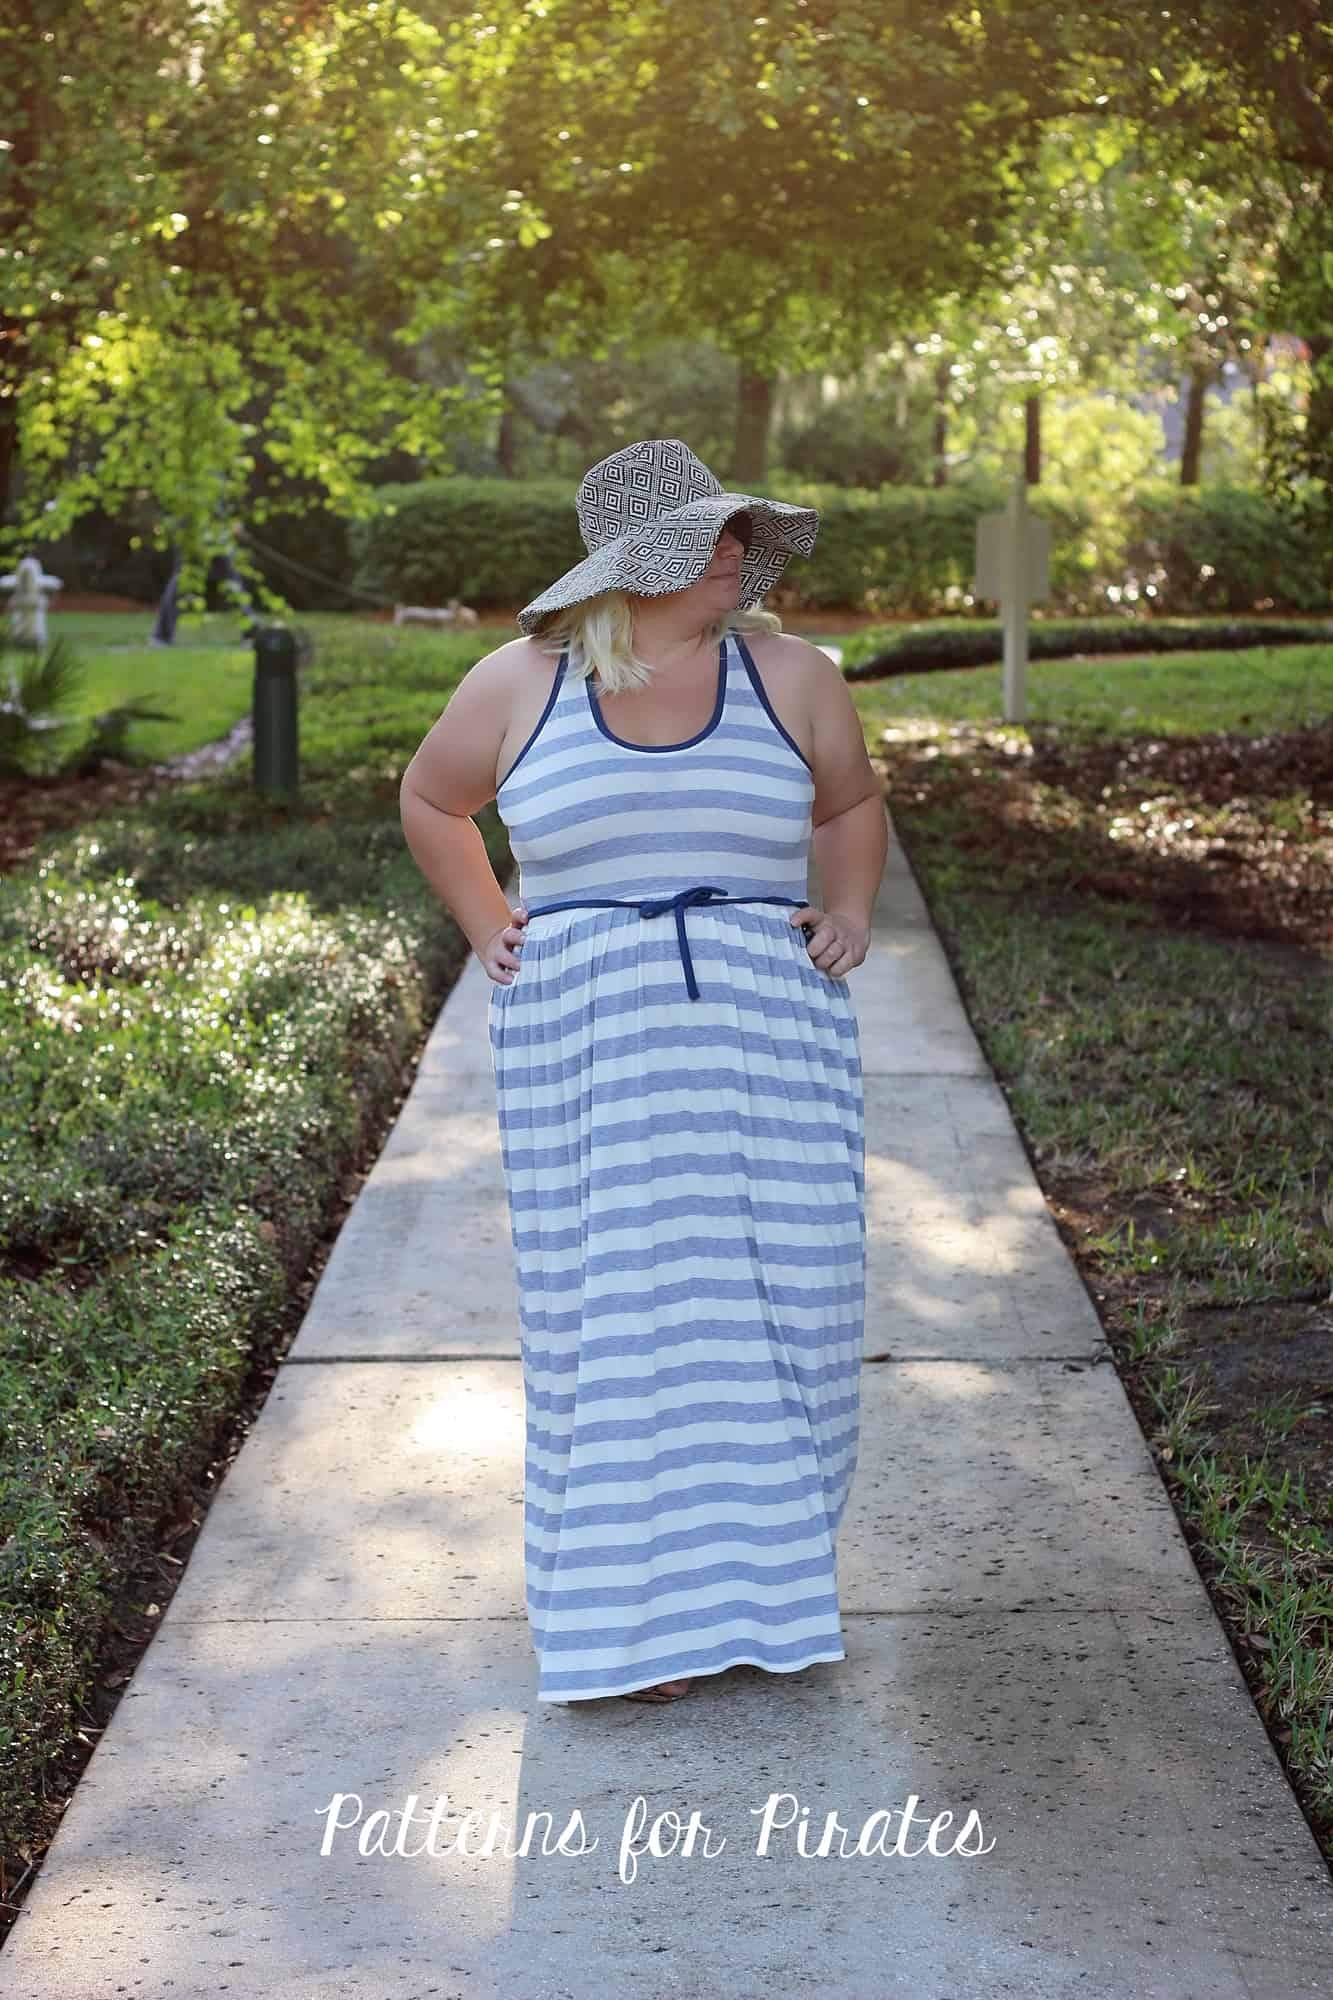
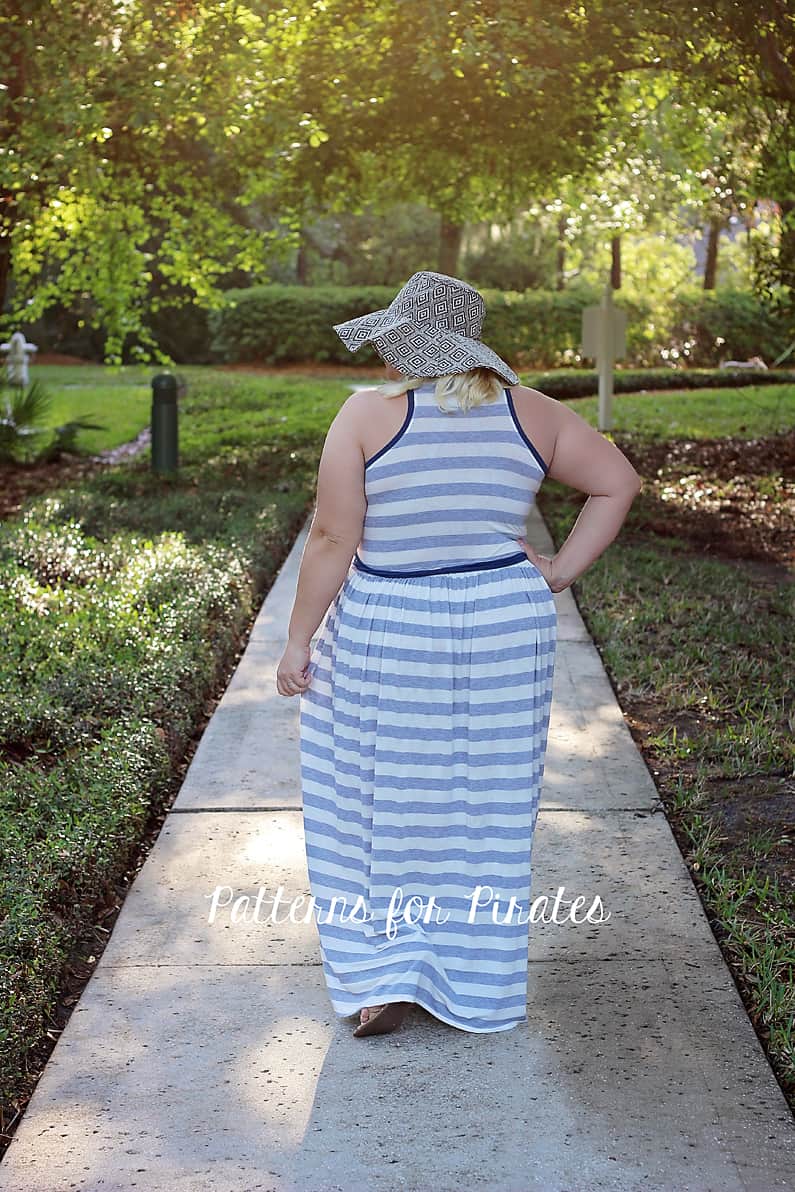
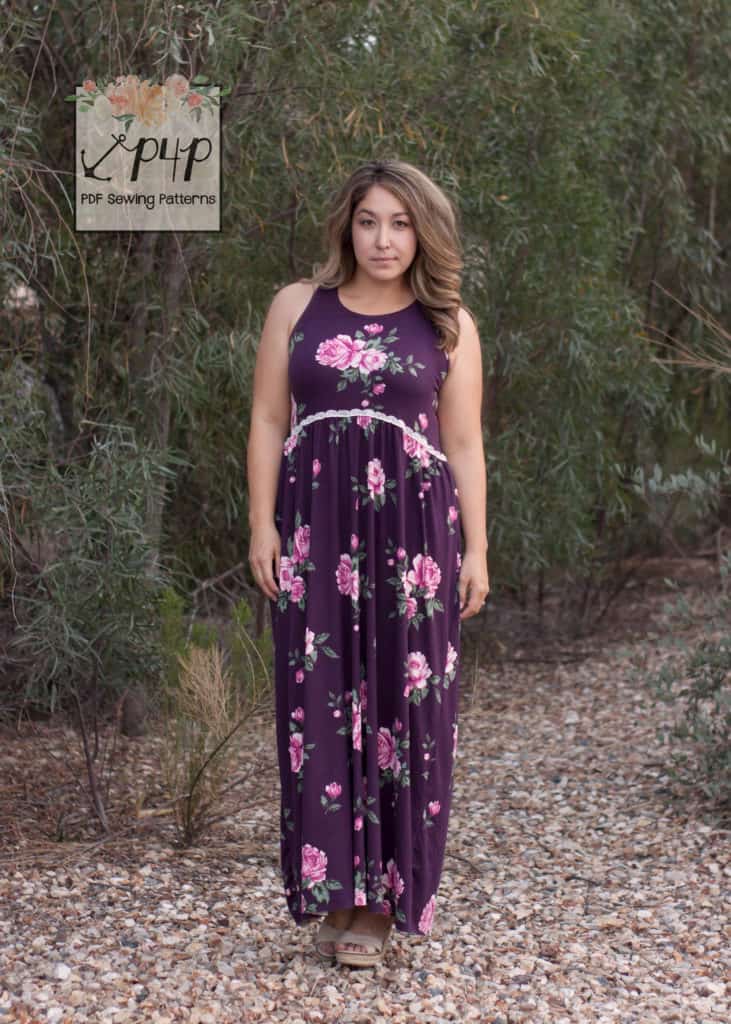
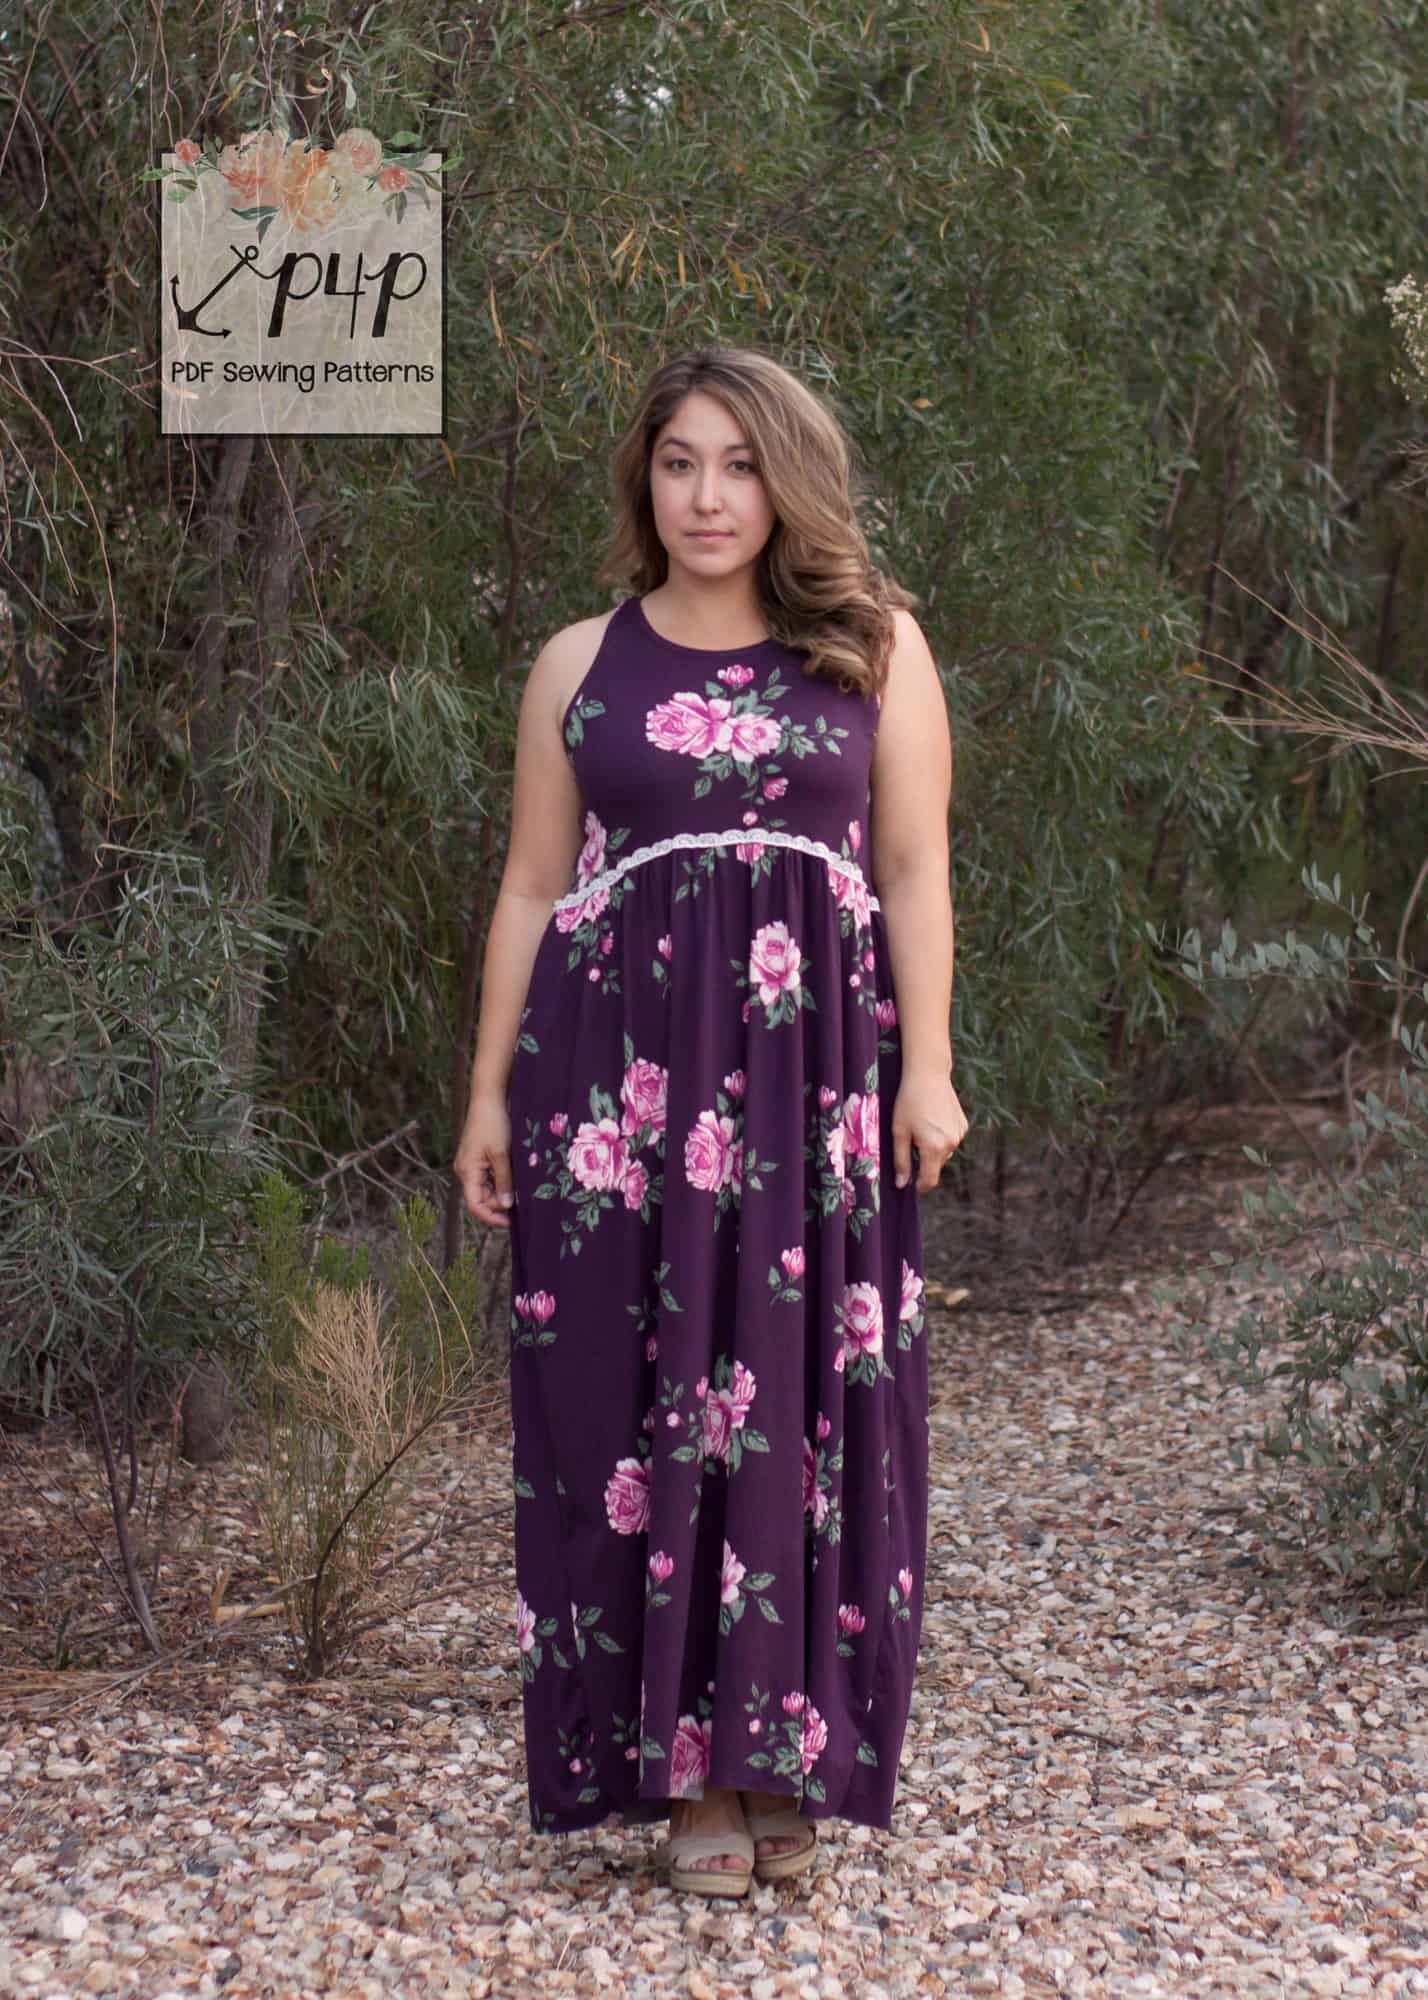
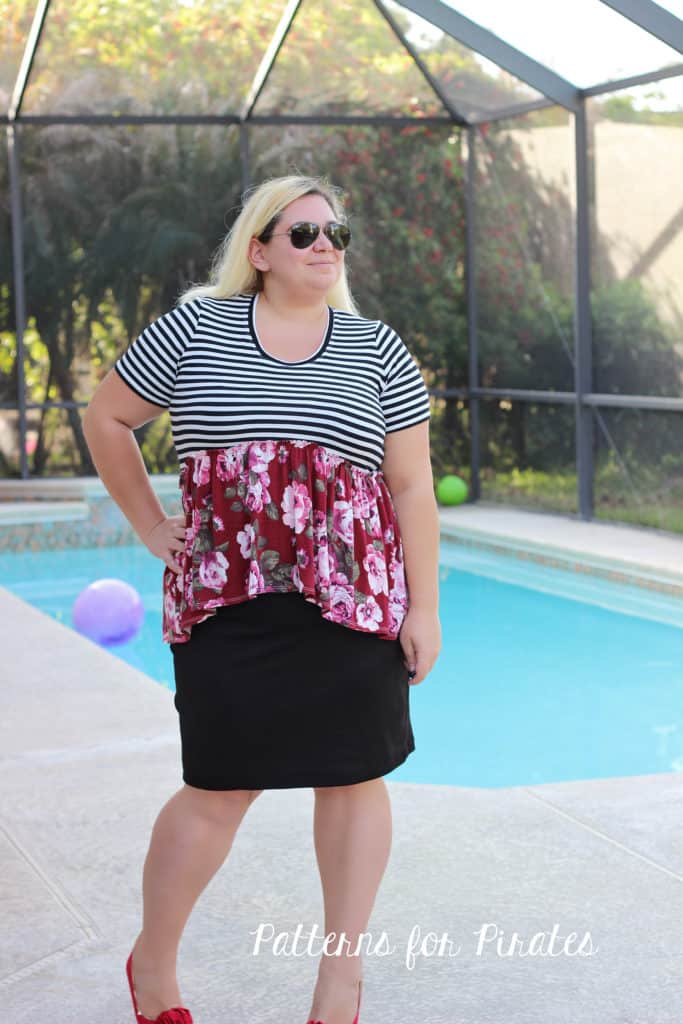
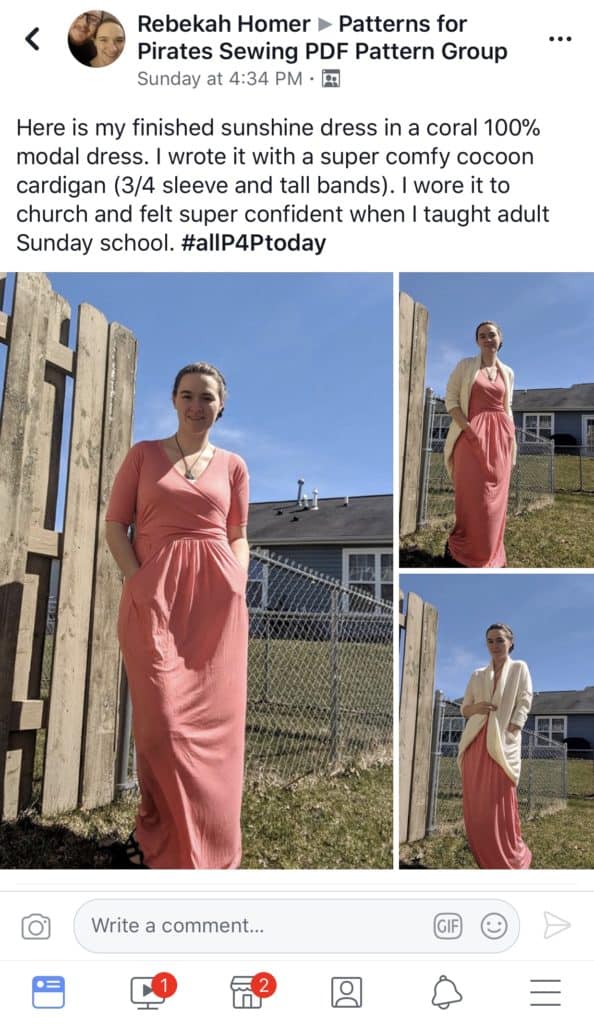
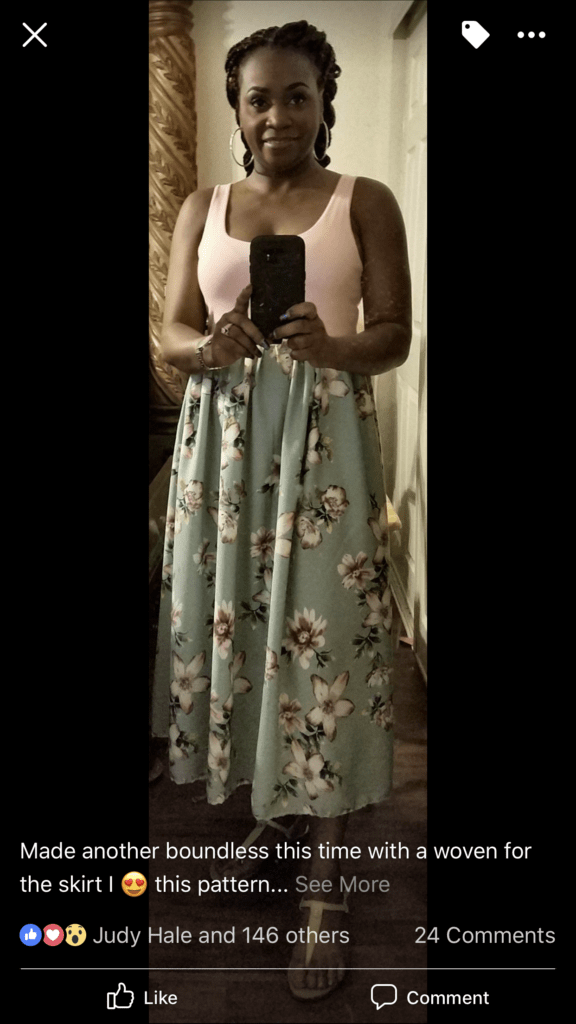
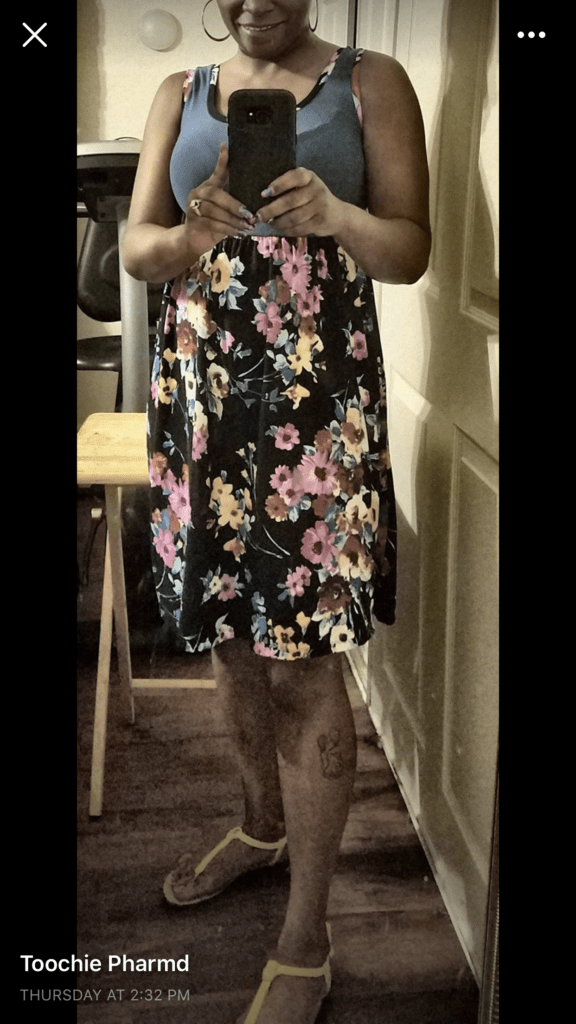
As you’ve seen, the Boundless dress got an update and we released the highly requested, youth version. We couldn’t let this double event go by without showing you some easy hacks.
…..
Neckband
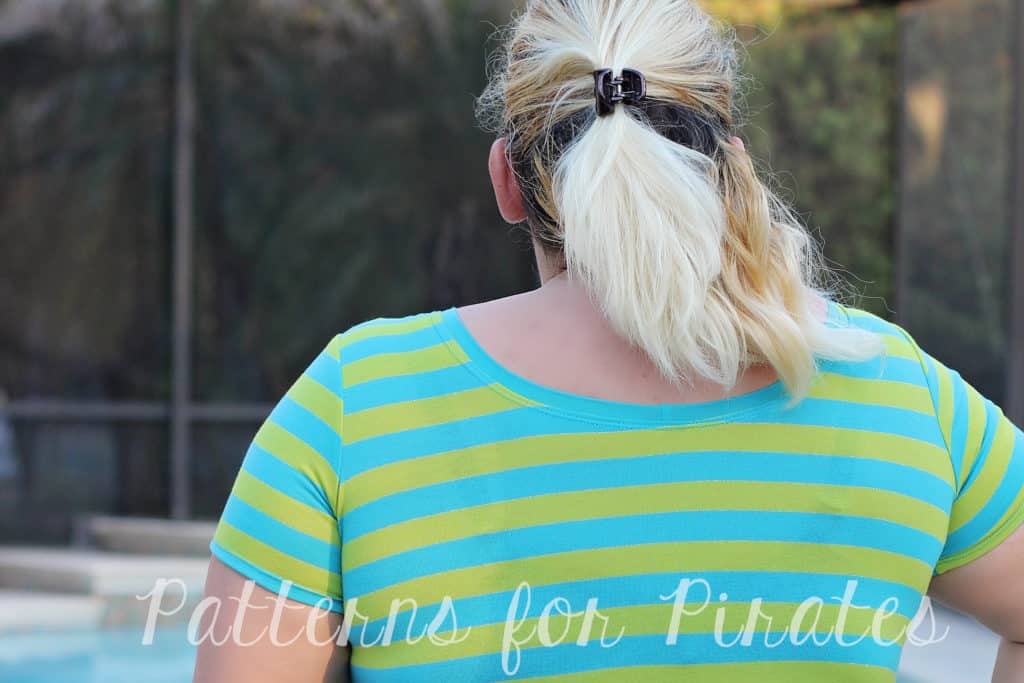
If you like the unlined option but prefer to not hem the neckline you can easily add a neckband like we have in most of our patterns.
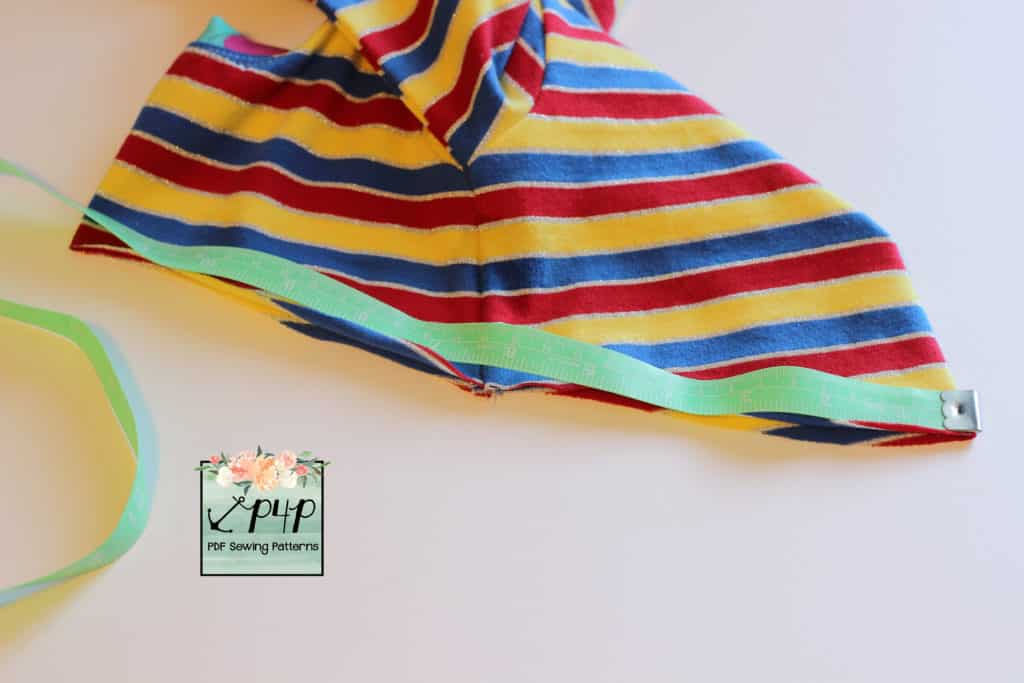
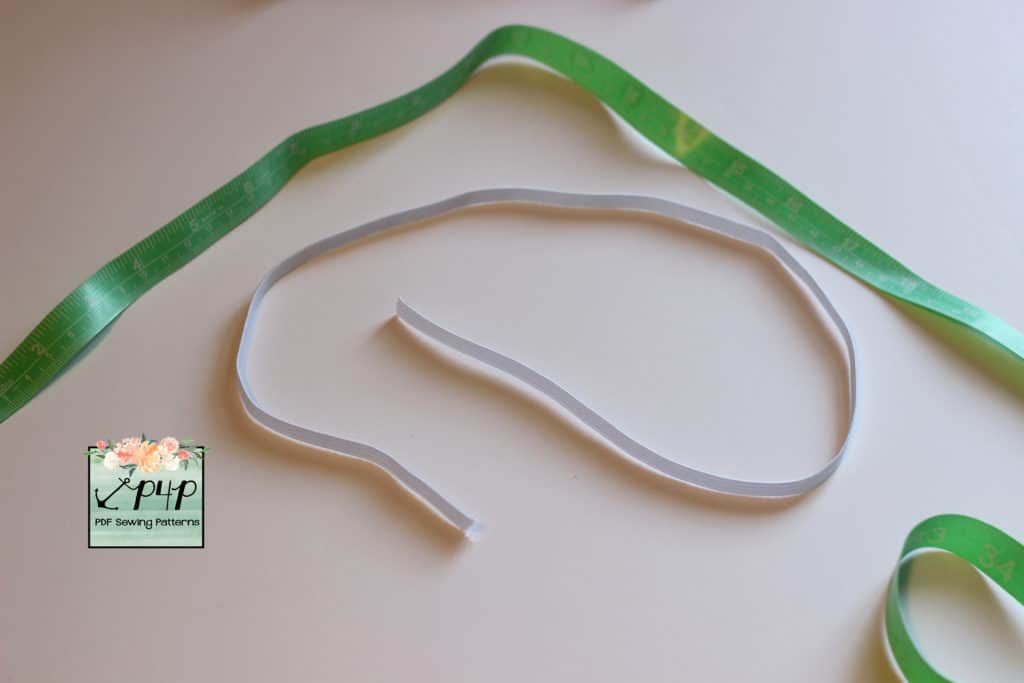
Simply sew the dress as instructed and then grab a measuring tape to establish the neck opening. The opening will vary depending on the size and options you made (low front/back, high front/back or low front/high back)
The neckband will be 85% of the neck opening plus seam allowance. For example, if the neck opening is 34″ then the neckband needs to be 34″x0.85 + 1″ which is 30″. You will cut one neckband 2″ by 30″.
NL X 0.85 +1 = NB
*NL – neckline opening
*NB – neckband length
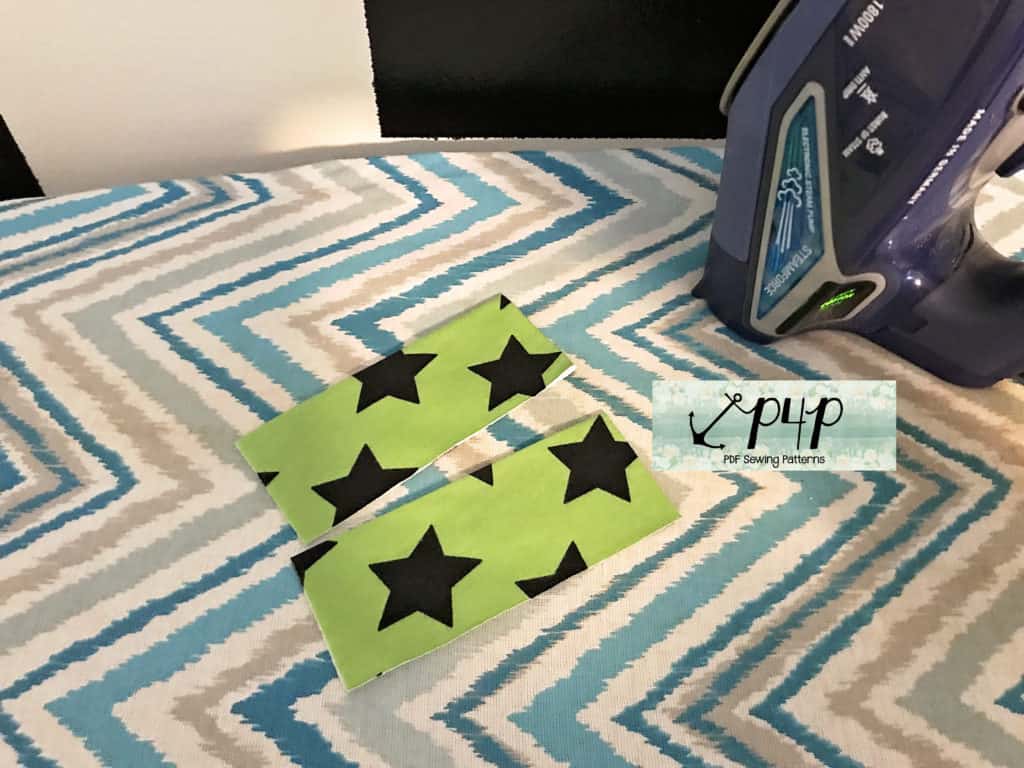
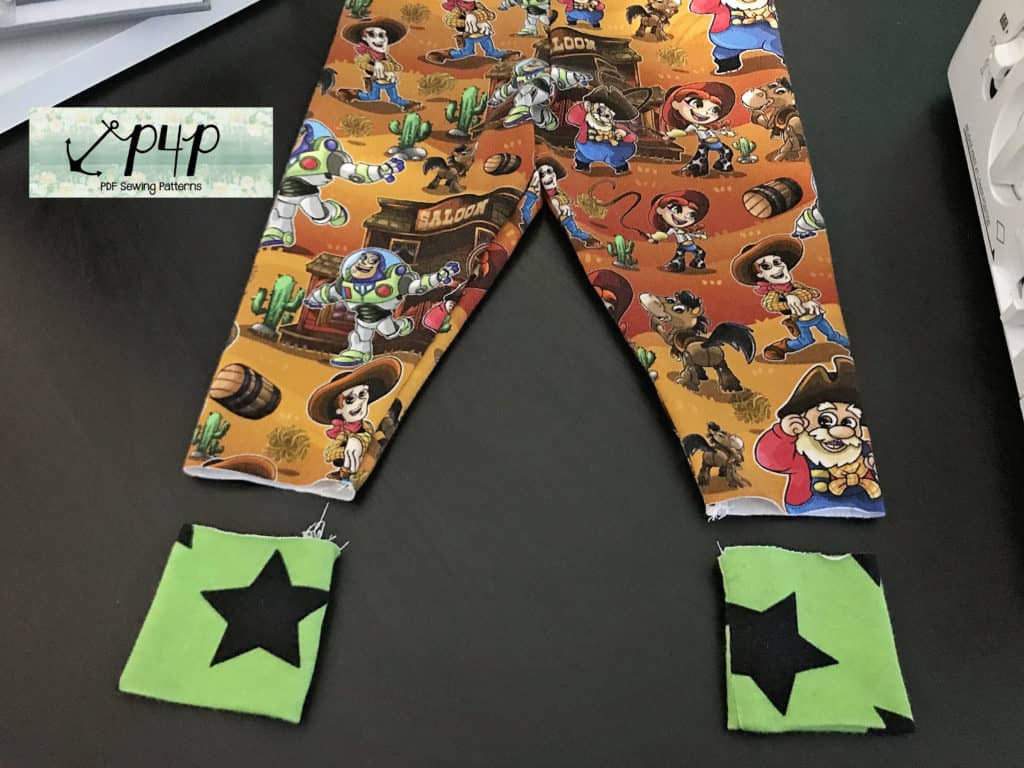
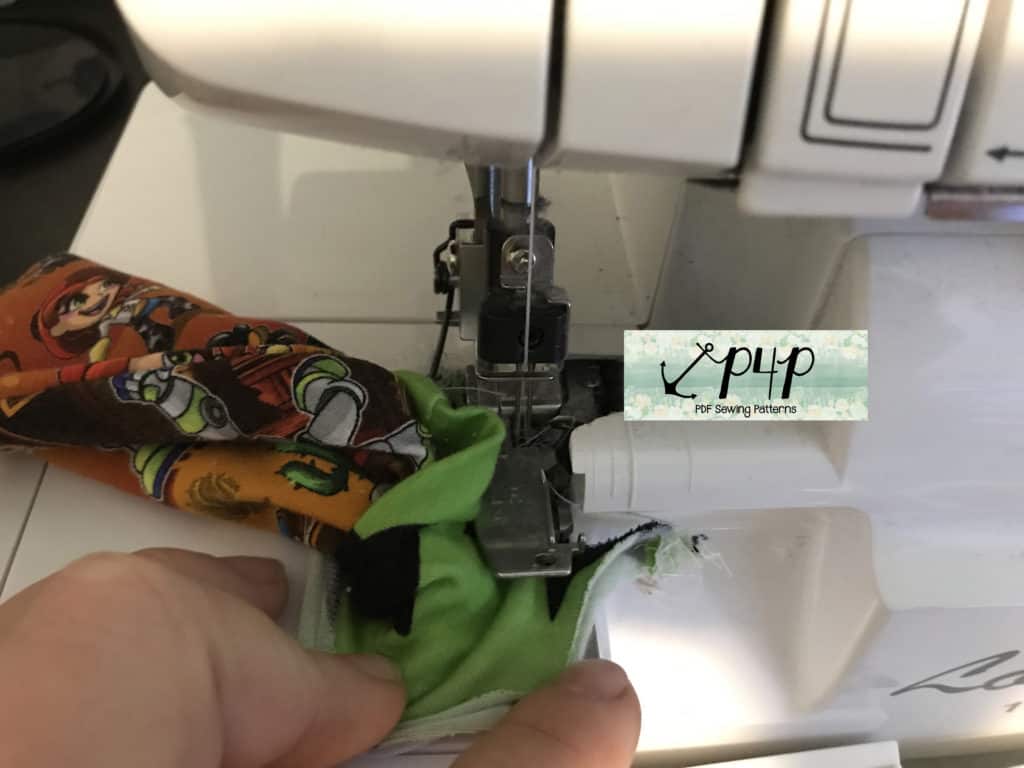
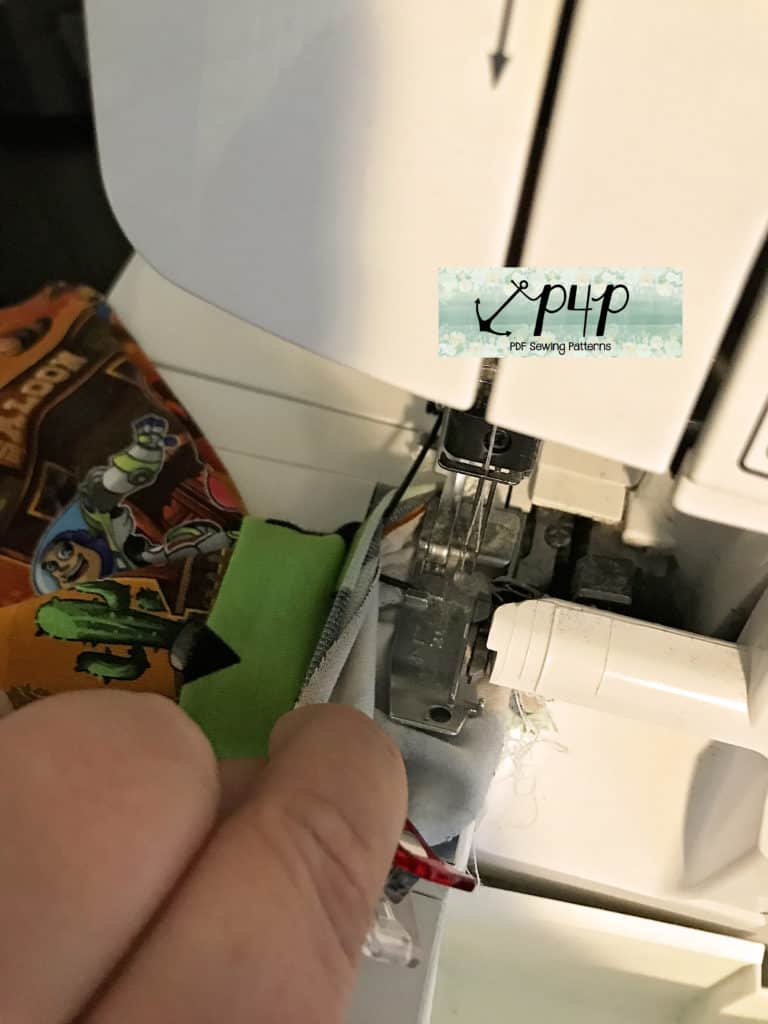
Sew the neckband right sides together at the short ends to create a loop. Press the neckband in half lengthwise and mark its quarters. Mark the quarters of the neck opening. Matching the neckband and opening quarter marks, pin and sew the neckband in place with 1/2″ seam allowance.
Note: adding a neckband will yield a neckline 1/2″ higher than the intended pattern look.
Before you get started take a look over our Neckbands 101 blog which also includes helpful videos.
TIP: If you would like your Boundless dress to still be reversible (front and back) place the neckband seam on the side shoulder.
…..
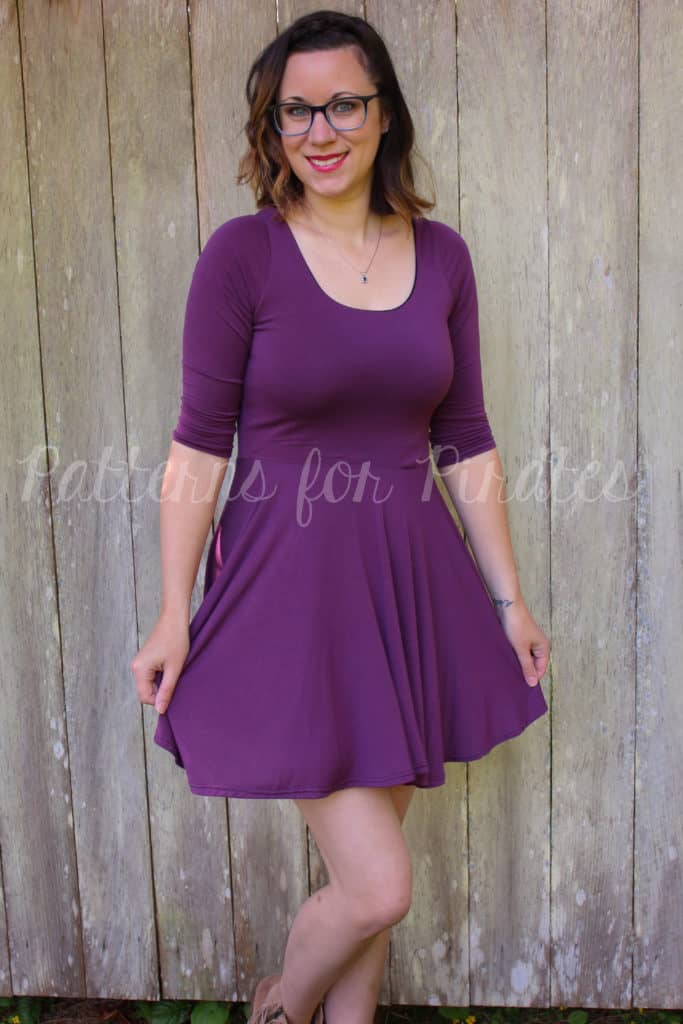
Boundless/Sweetheart mash
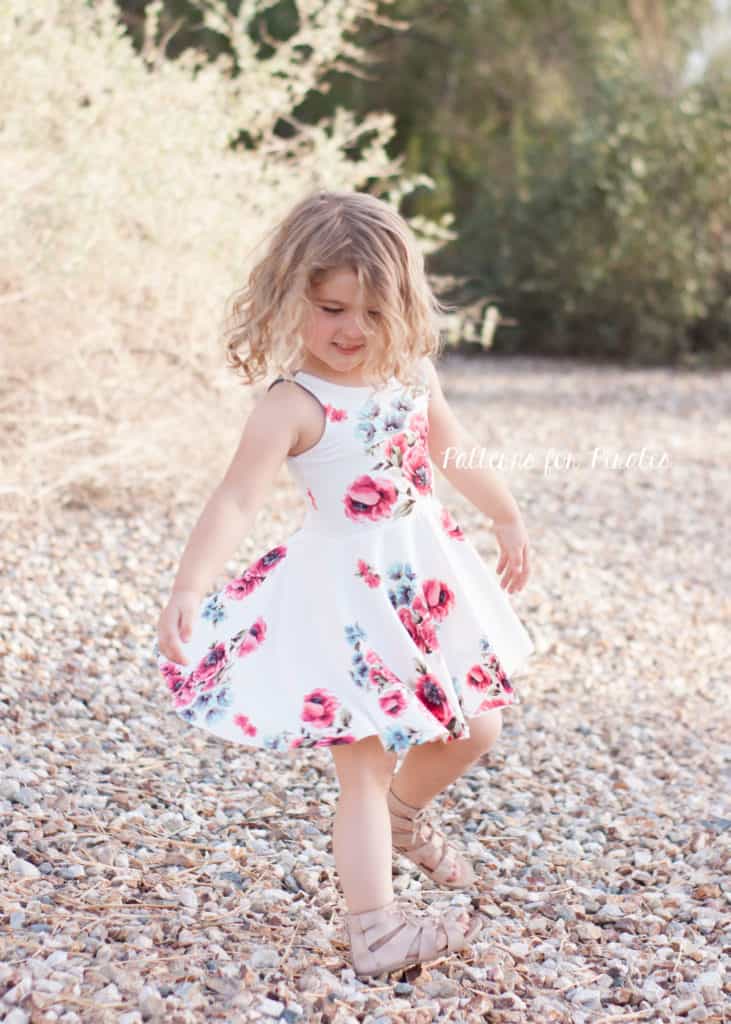
Looking for a quick and easy way to avoid the gathers on the Boundless? Or are you looking to create the perfect twirly dress? The Boundless mashes perfectly with skirt from the Sweetheart and can help to create either of this looks! If you have little ones, you can also use these same steps to pair the Boundless Youth with the Me Hearties.
Cutting Pieces:
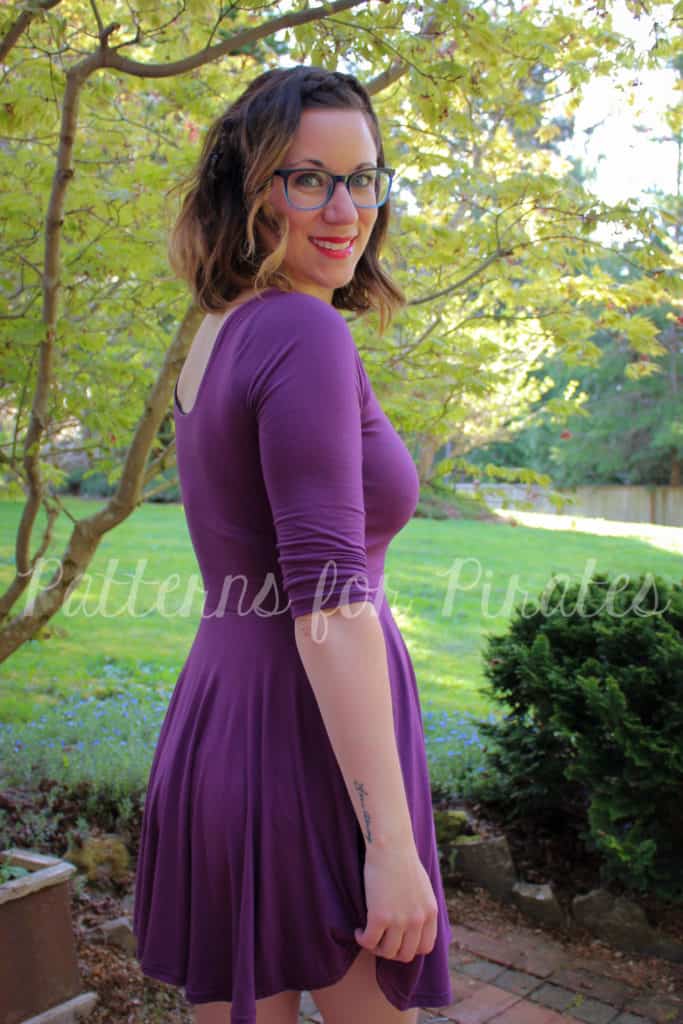
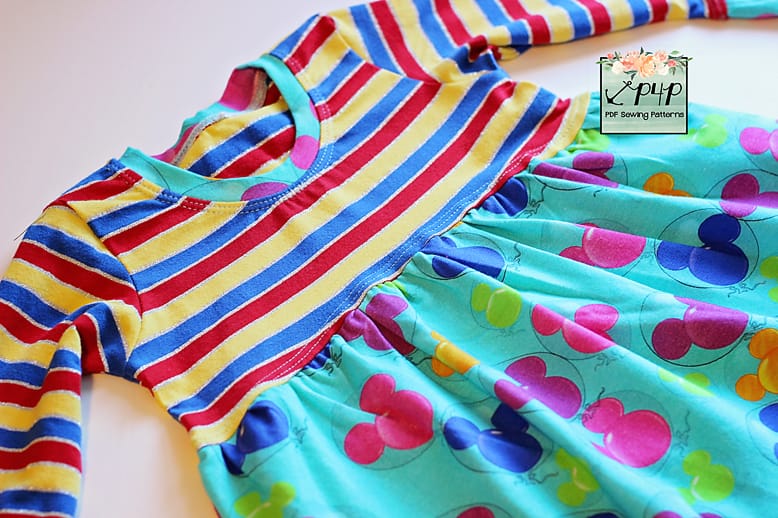
You will need to cut out your Boundless bodice pieces as directed and based off of the options you choose. For mine, I used the lined version with the low neckline and 3/4 sleeves. For the skirt, you will need to have the skirt from the Sweetheart printed and then choose your length. I used the mini length.
Assembly:
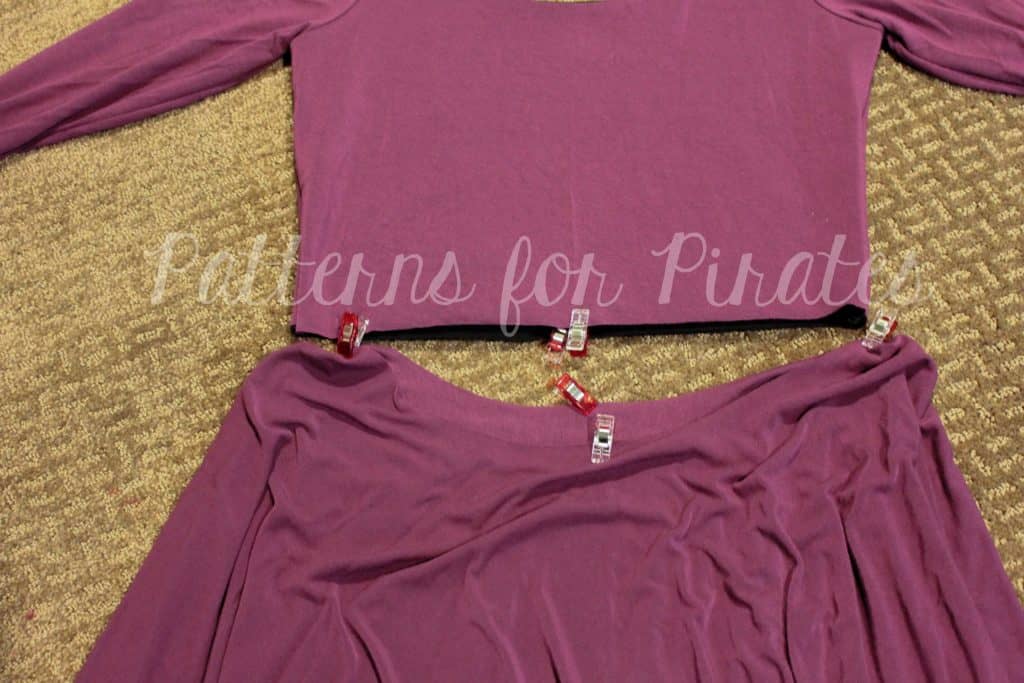
Assemble your Boundless bodice as directed. You will then need to mark the quarter points on both the bodice and the skirt.
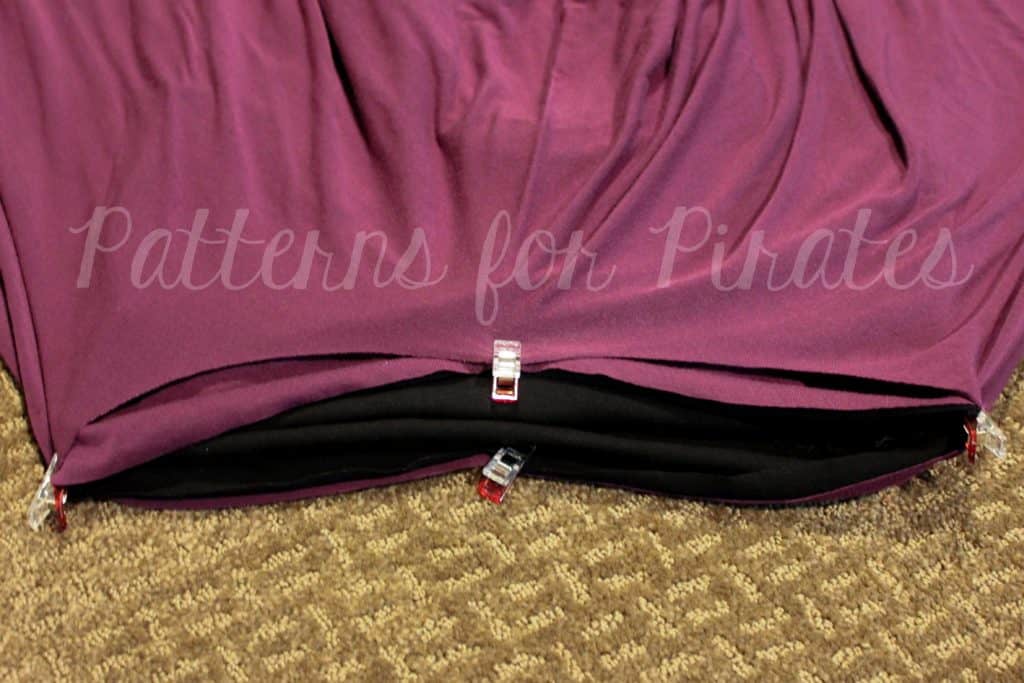
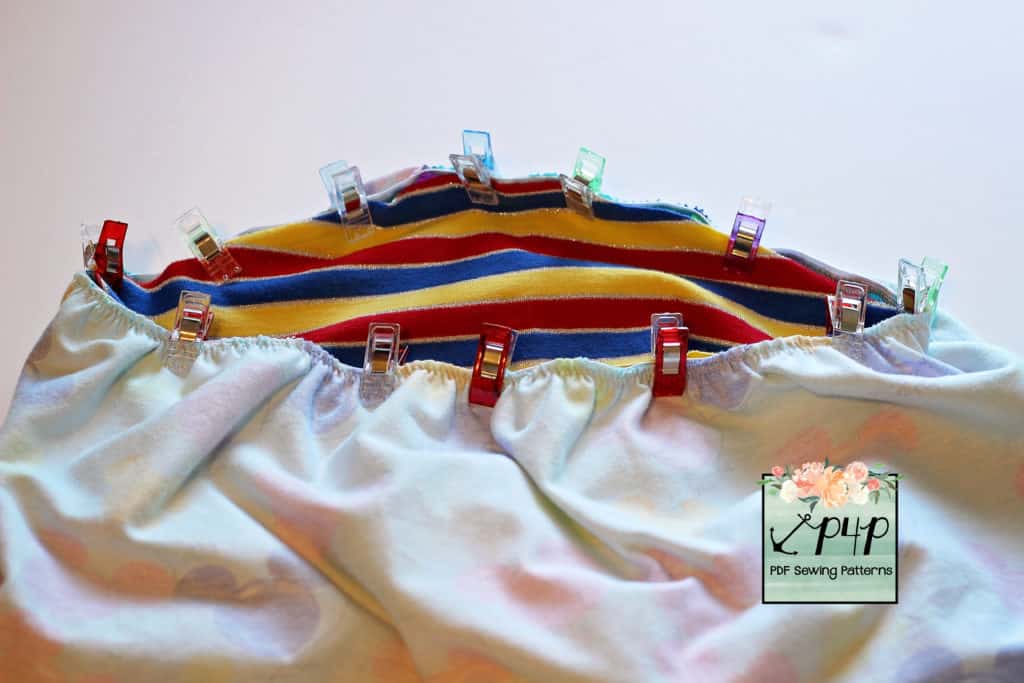
With RST, match the quarter points and attach your skirt with your serger or stretch stitch. (Note: You may wish to place elastic in the waist to help give your skirt additional support.)
Hem the skirt and sleeves and you’re all finished!
~Erinn,
…..
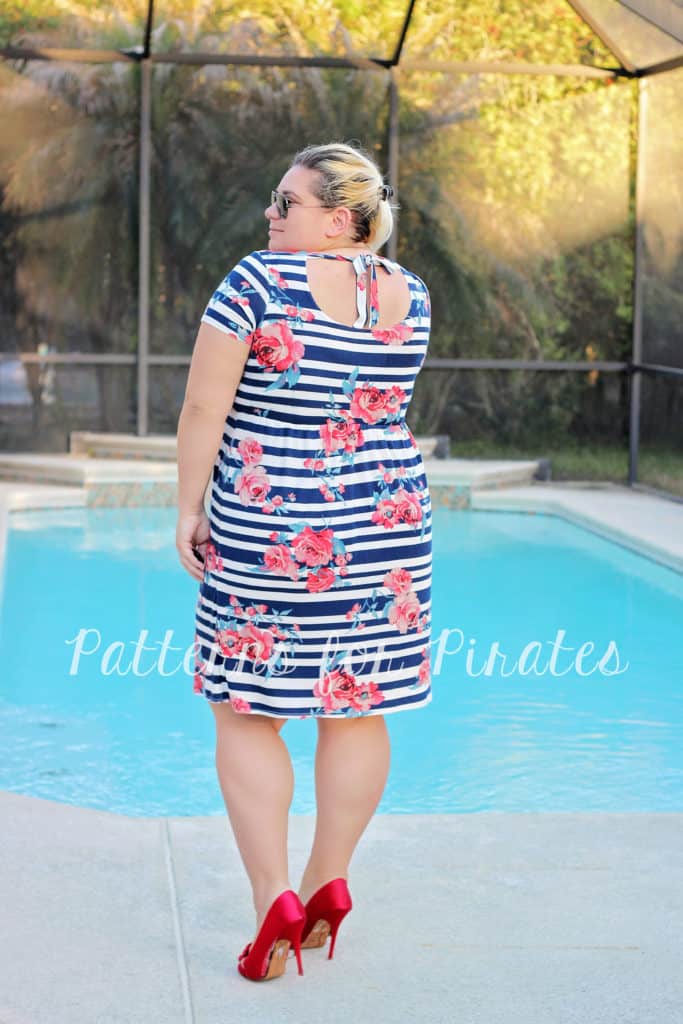
Back ties
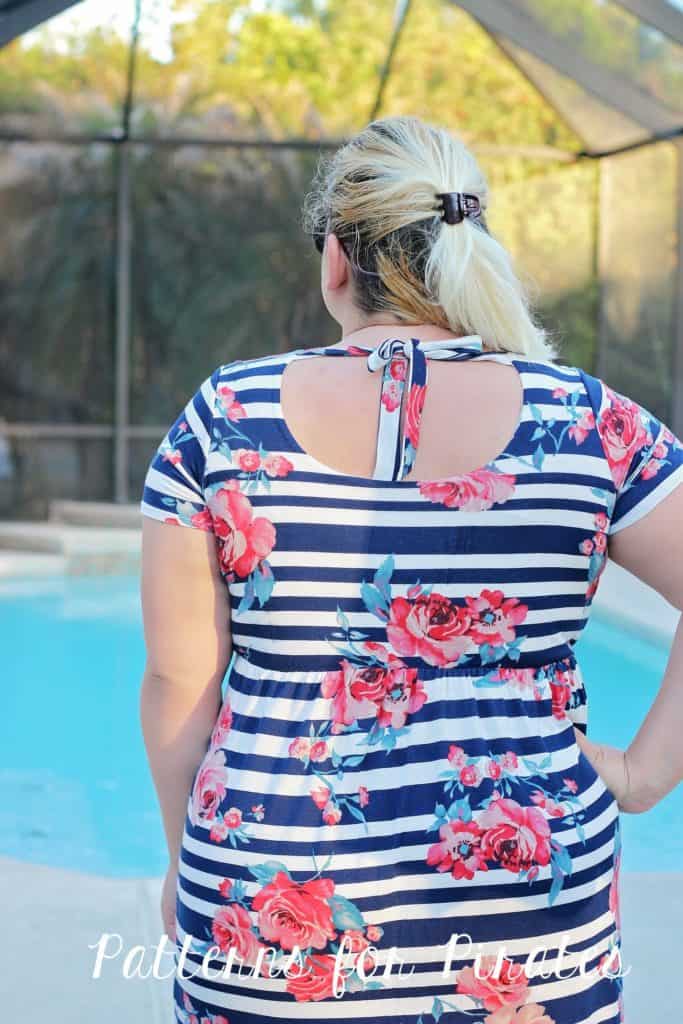
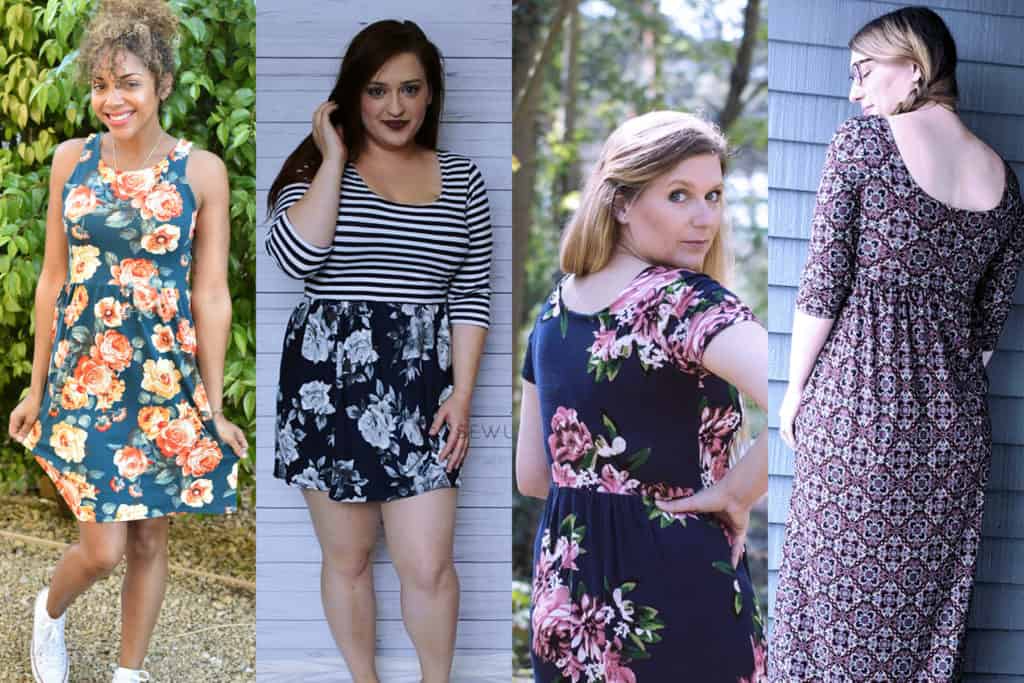
The next hack we have for you is super easy back ties. I love this hack for the lined low back option but you can certainly apply it to the high neckline cut.
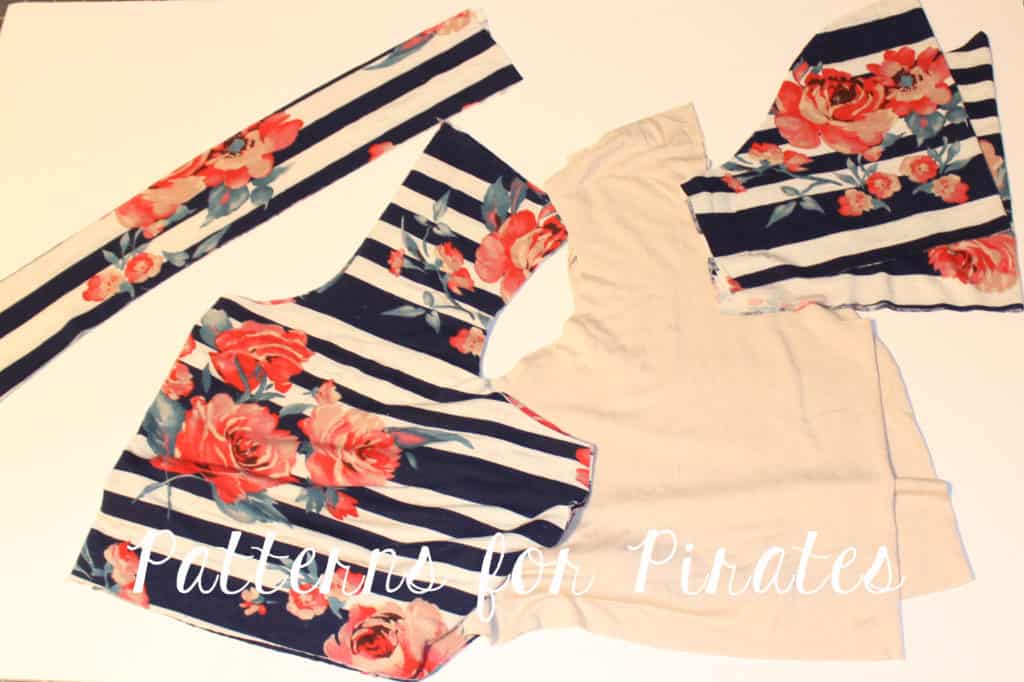
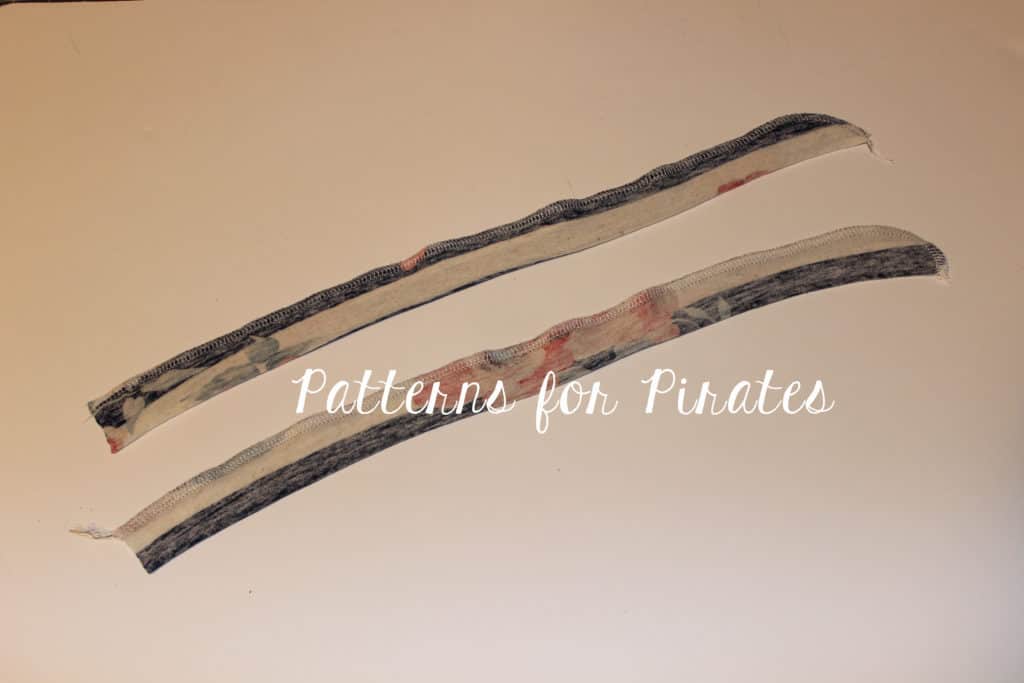
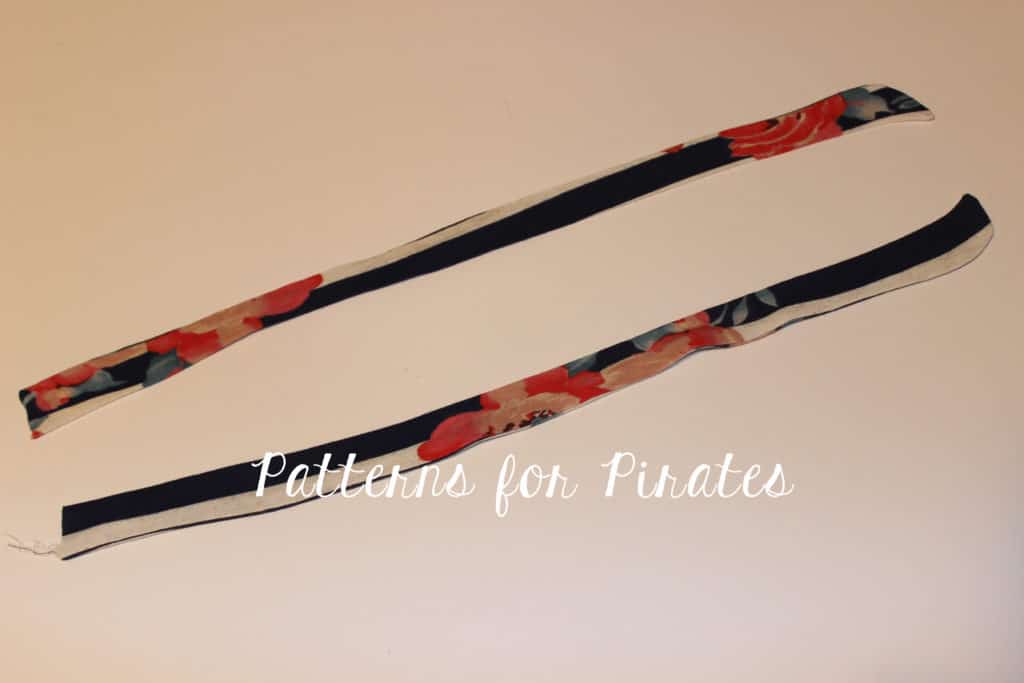
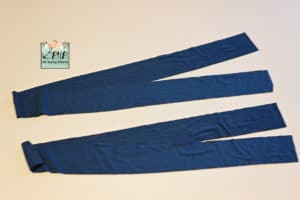
Print the pattern as instructed. Cut two trips of fabric, 3″ by 18″. You will be changing this measurements if you’re sewing a youth Boundless or if you prefer your ties narrower/wider or shorter/longer.
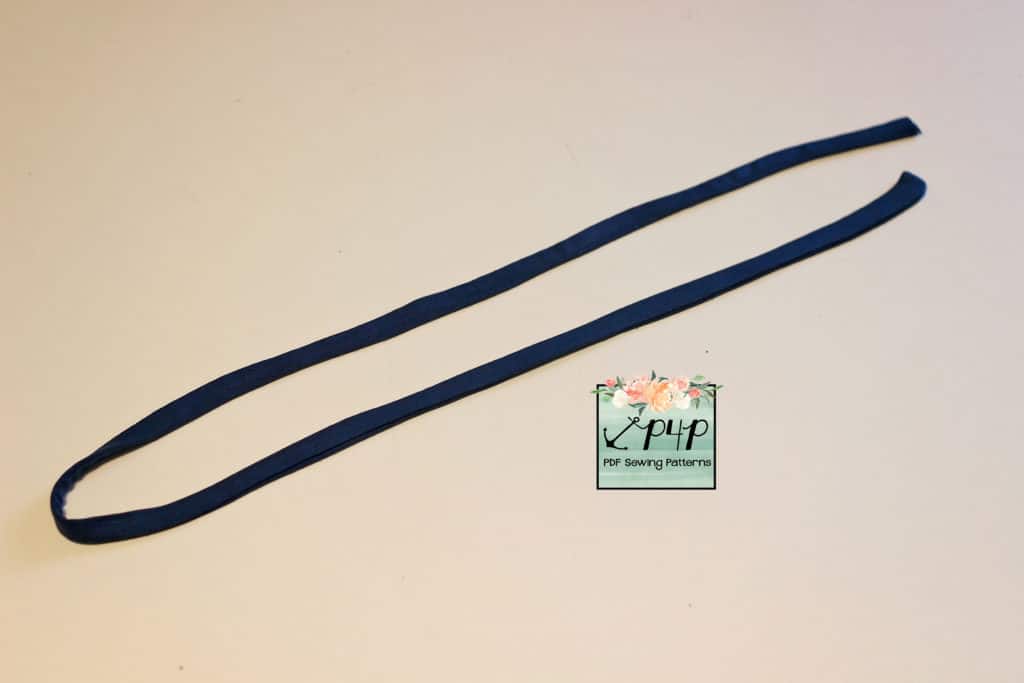
Fold the ties right sides together length wise and sew the edge with a 1/2 seam allowance leaving one of the ends open. Turn the ties inside out and press them. Optionally, you can top stitch.
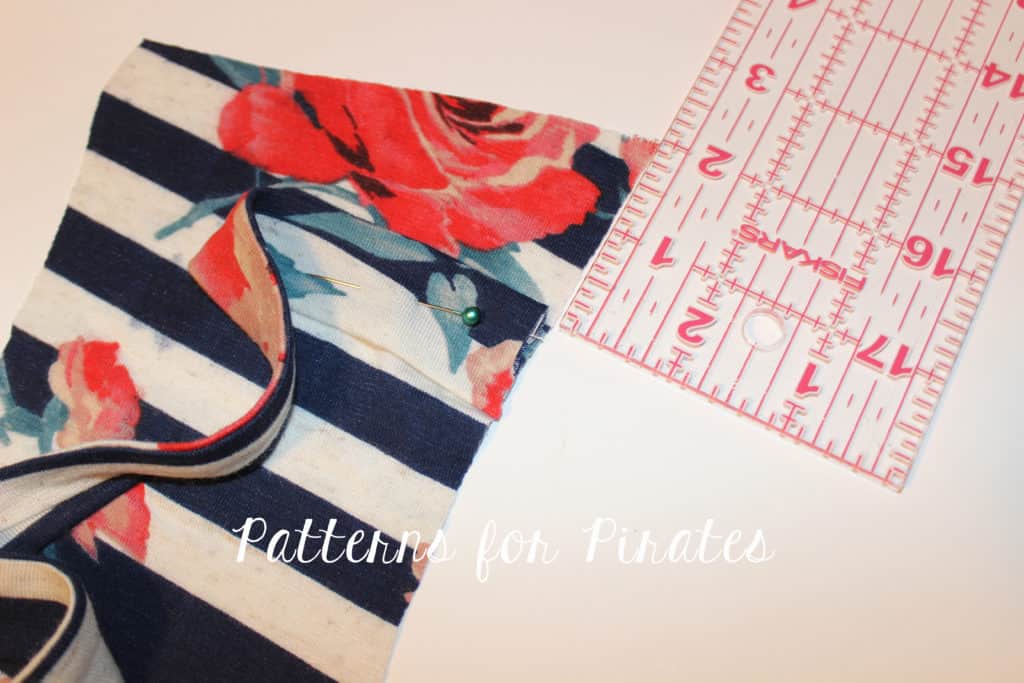
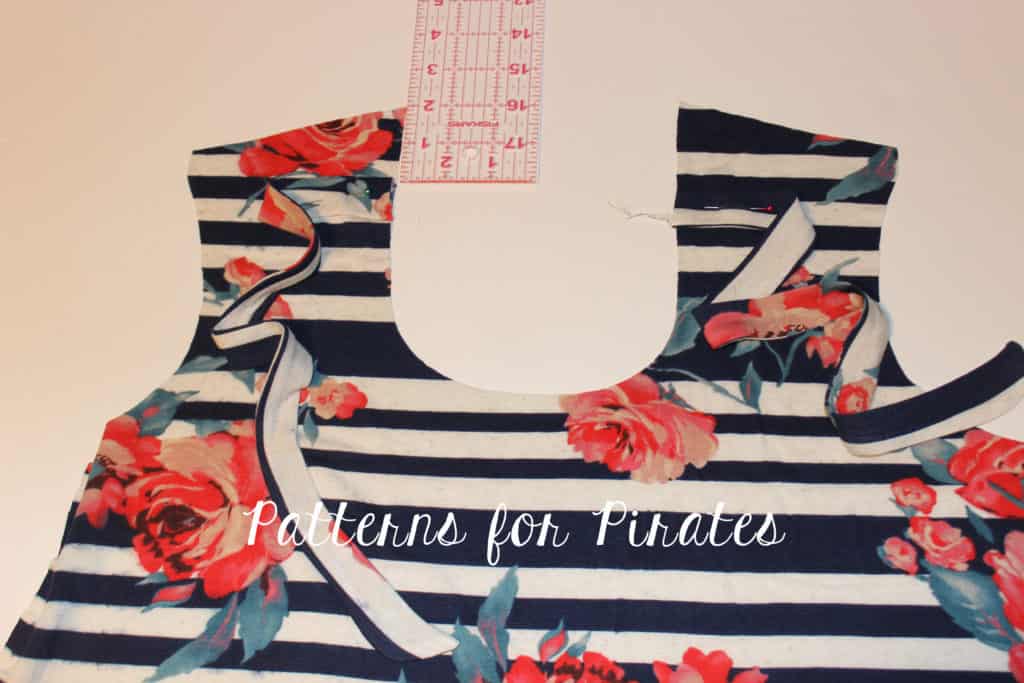
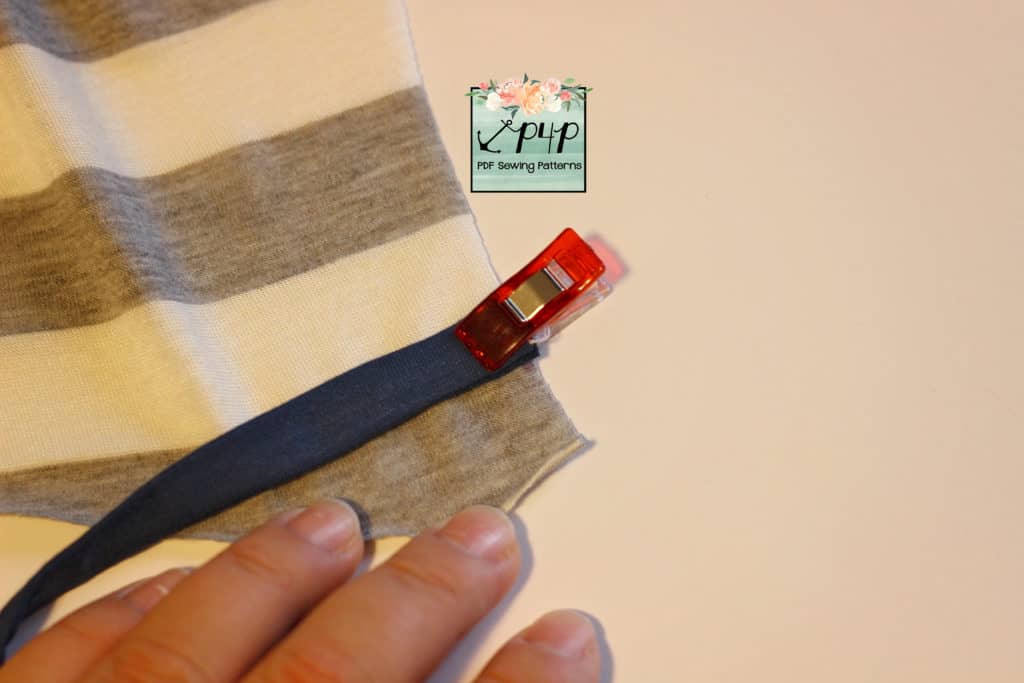
Take the back piece of the bodice and pin the open edge of one strap 2″ down from the shoulder as shown below. Repeat with the other side. Sew them in place.
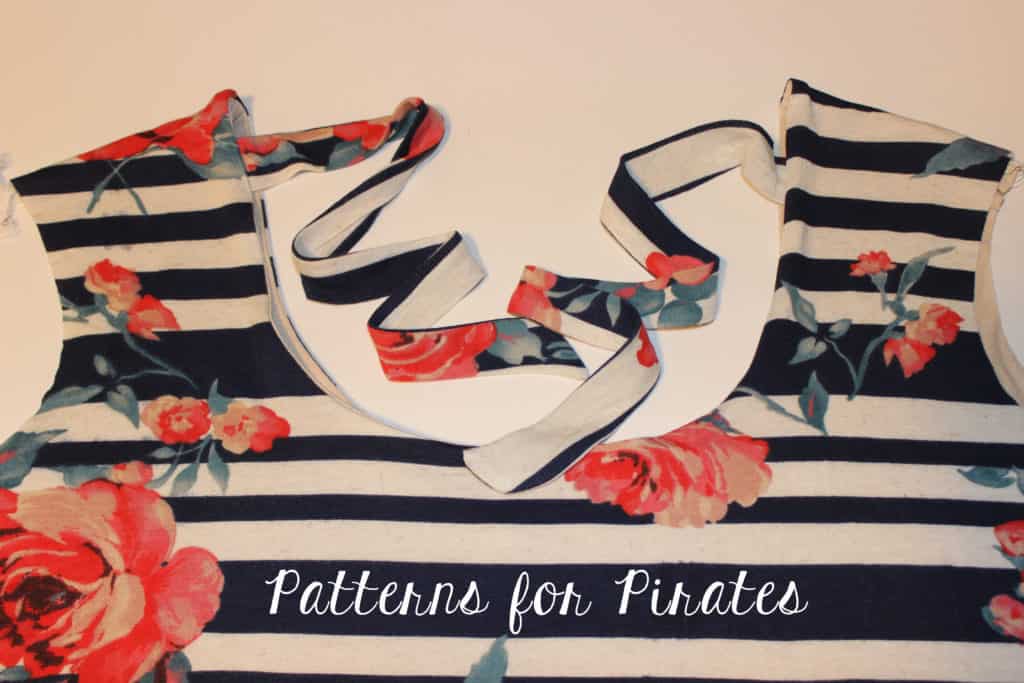
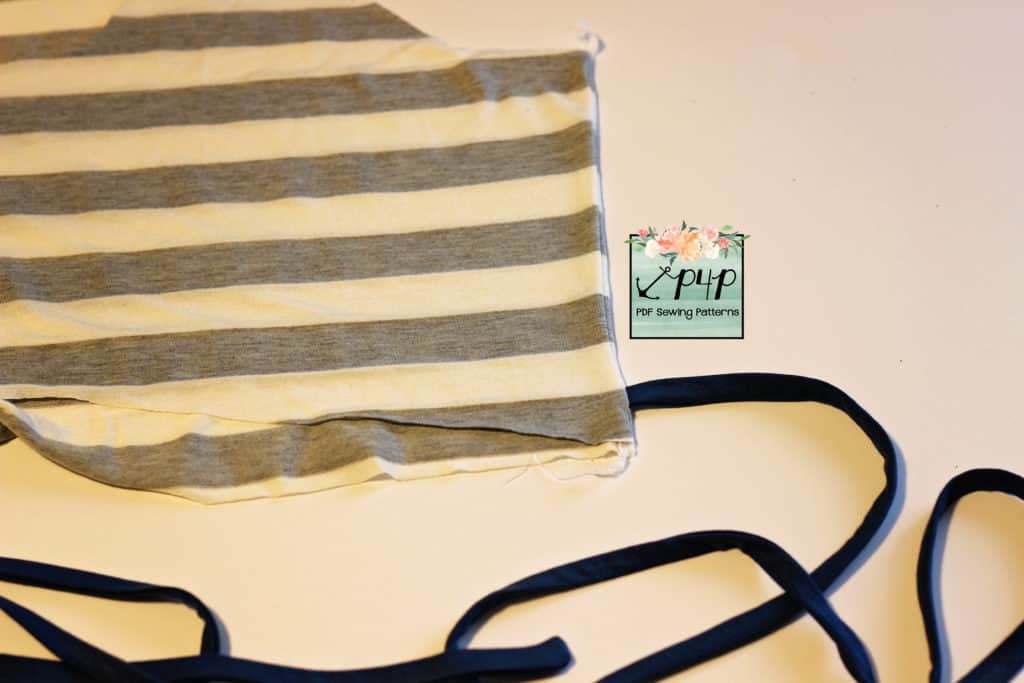
That’s it! All you have to do now is sew the bodice as per the tutorial making sure you do not catch the ties.
Get creative! Using the Cross My Heart Cami straps as inspiration you can add some really fun accents to the back or the front of the Boundless dress.
…..
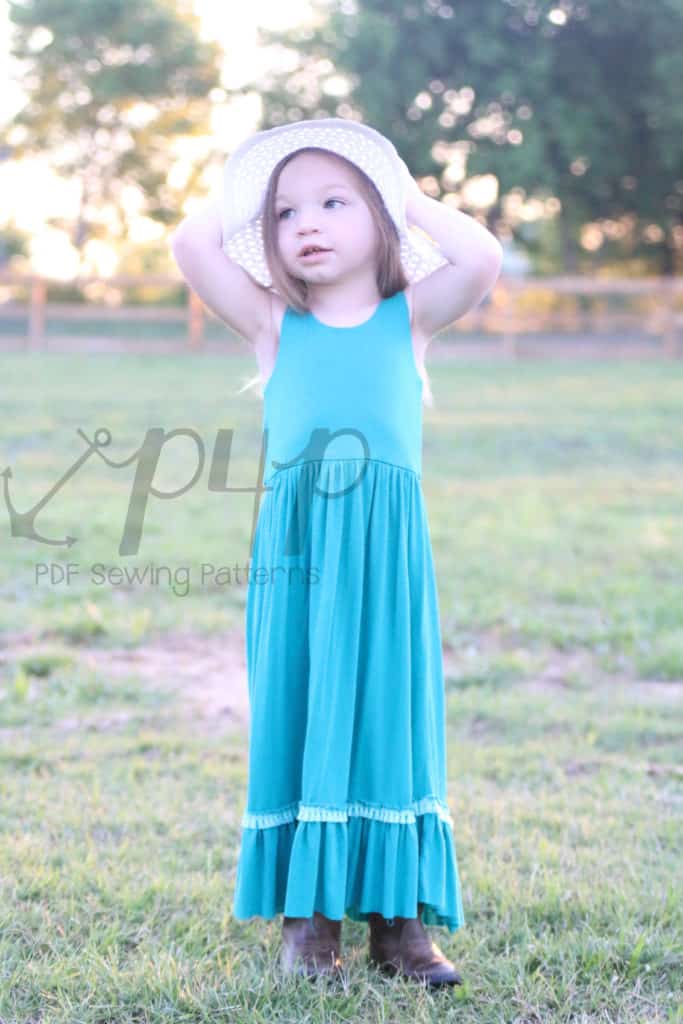
Ruffles maxi
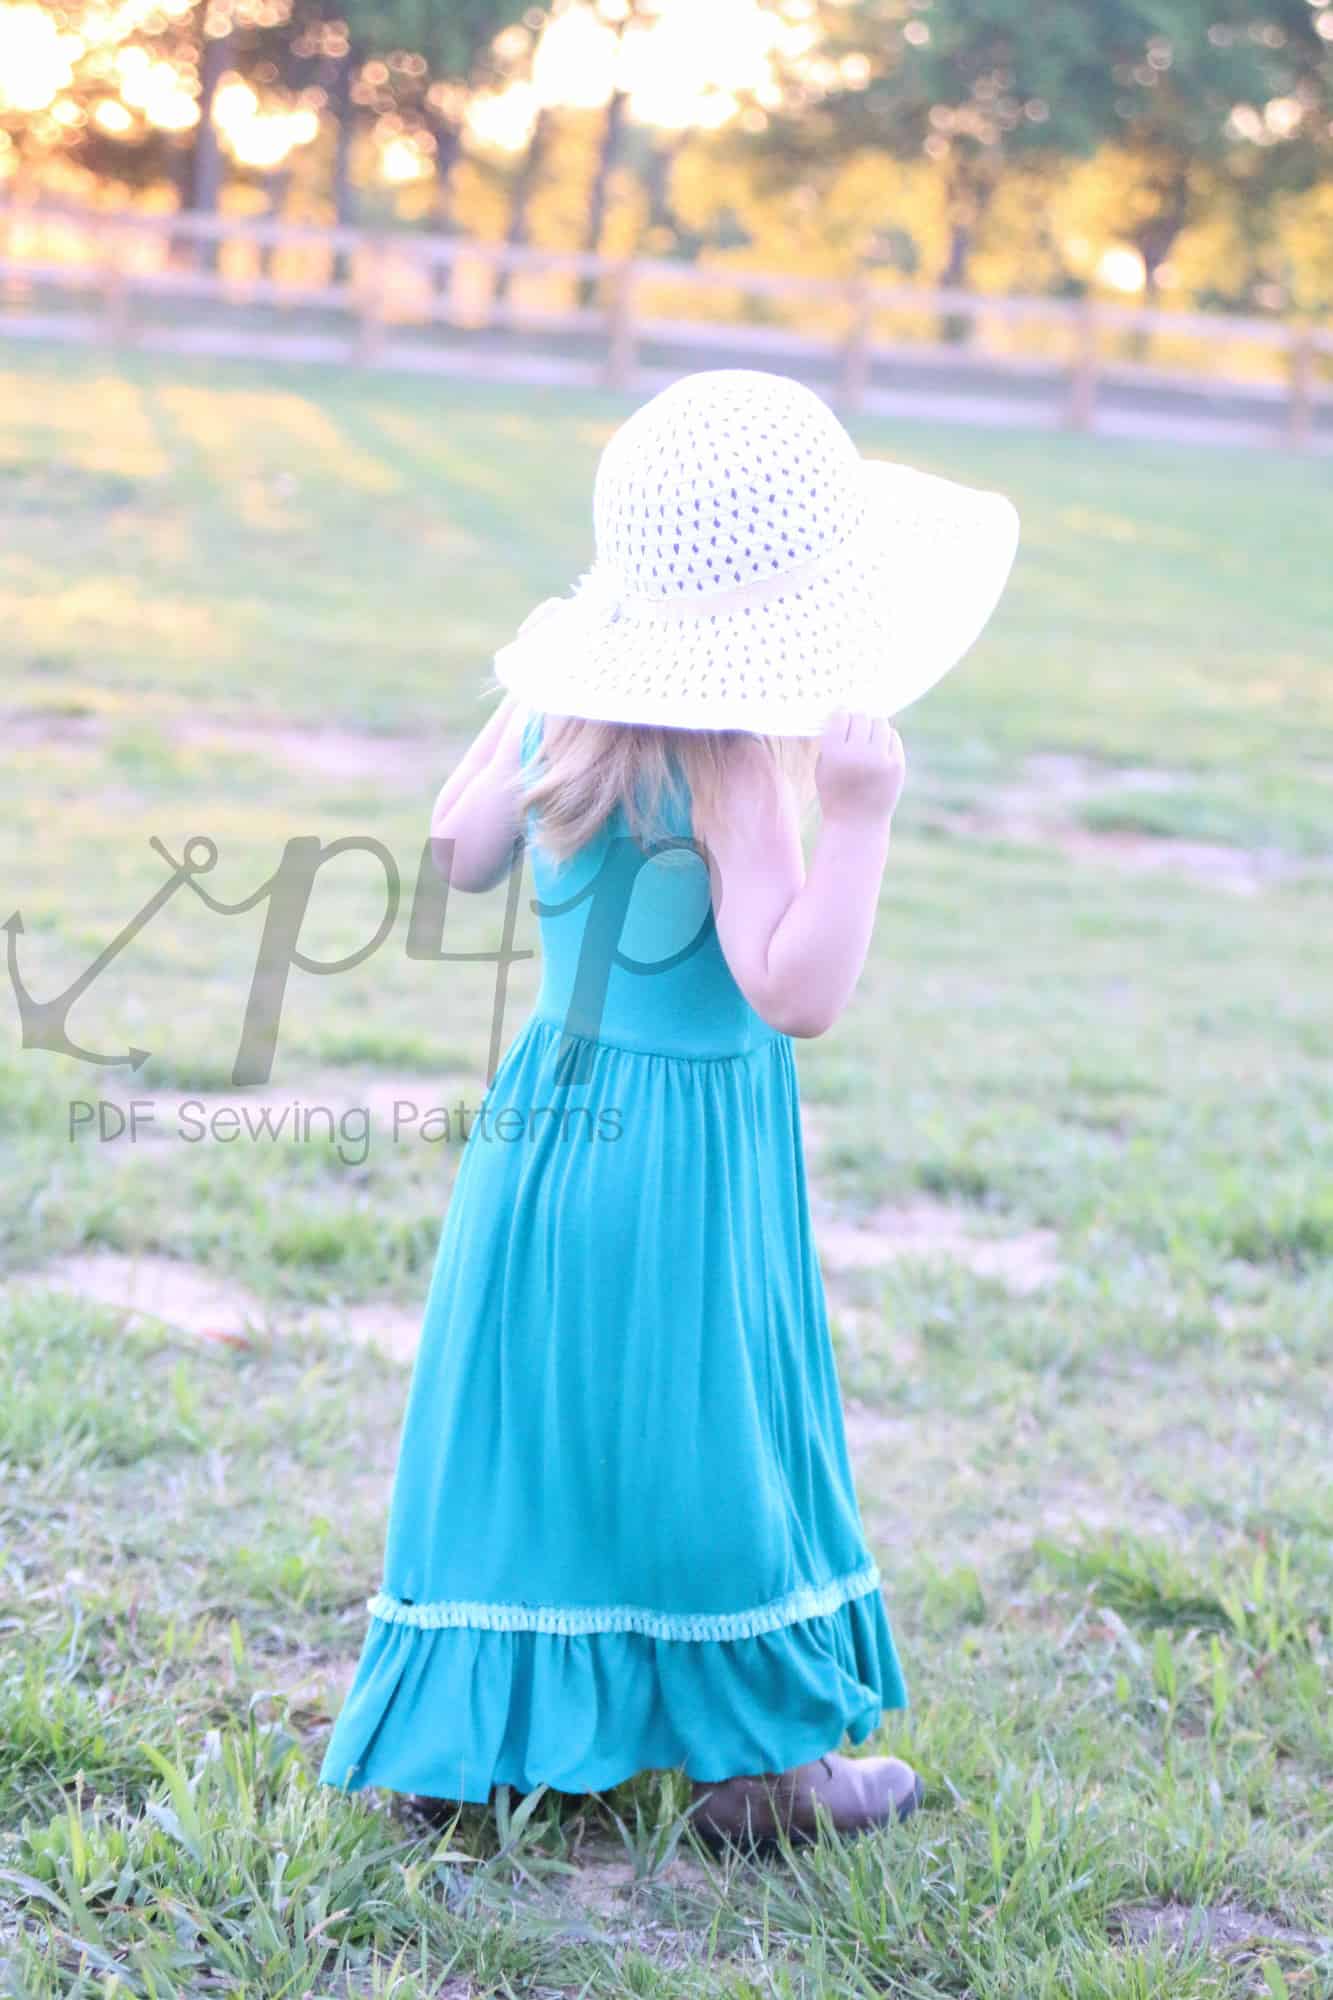
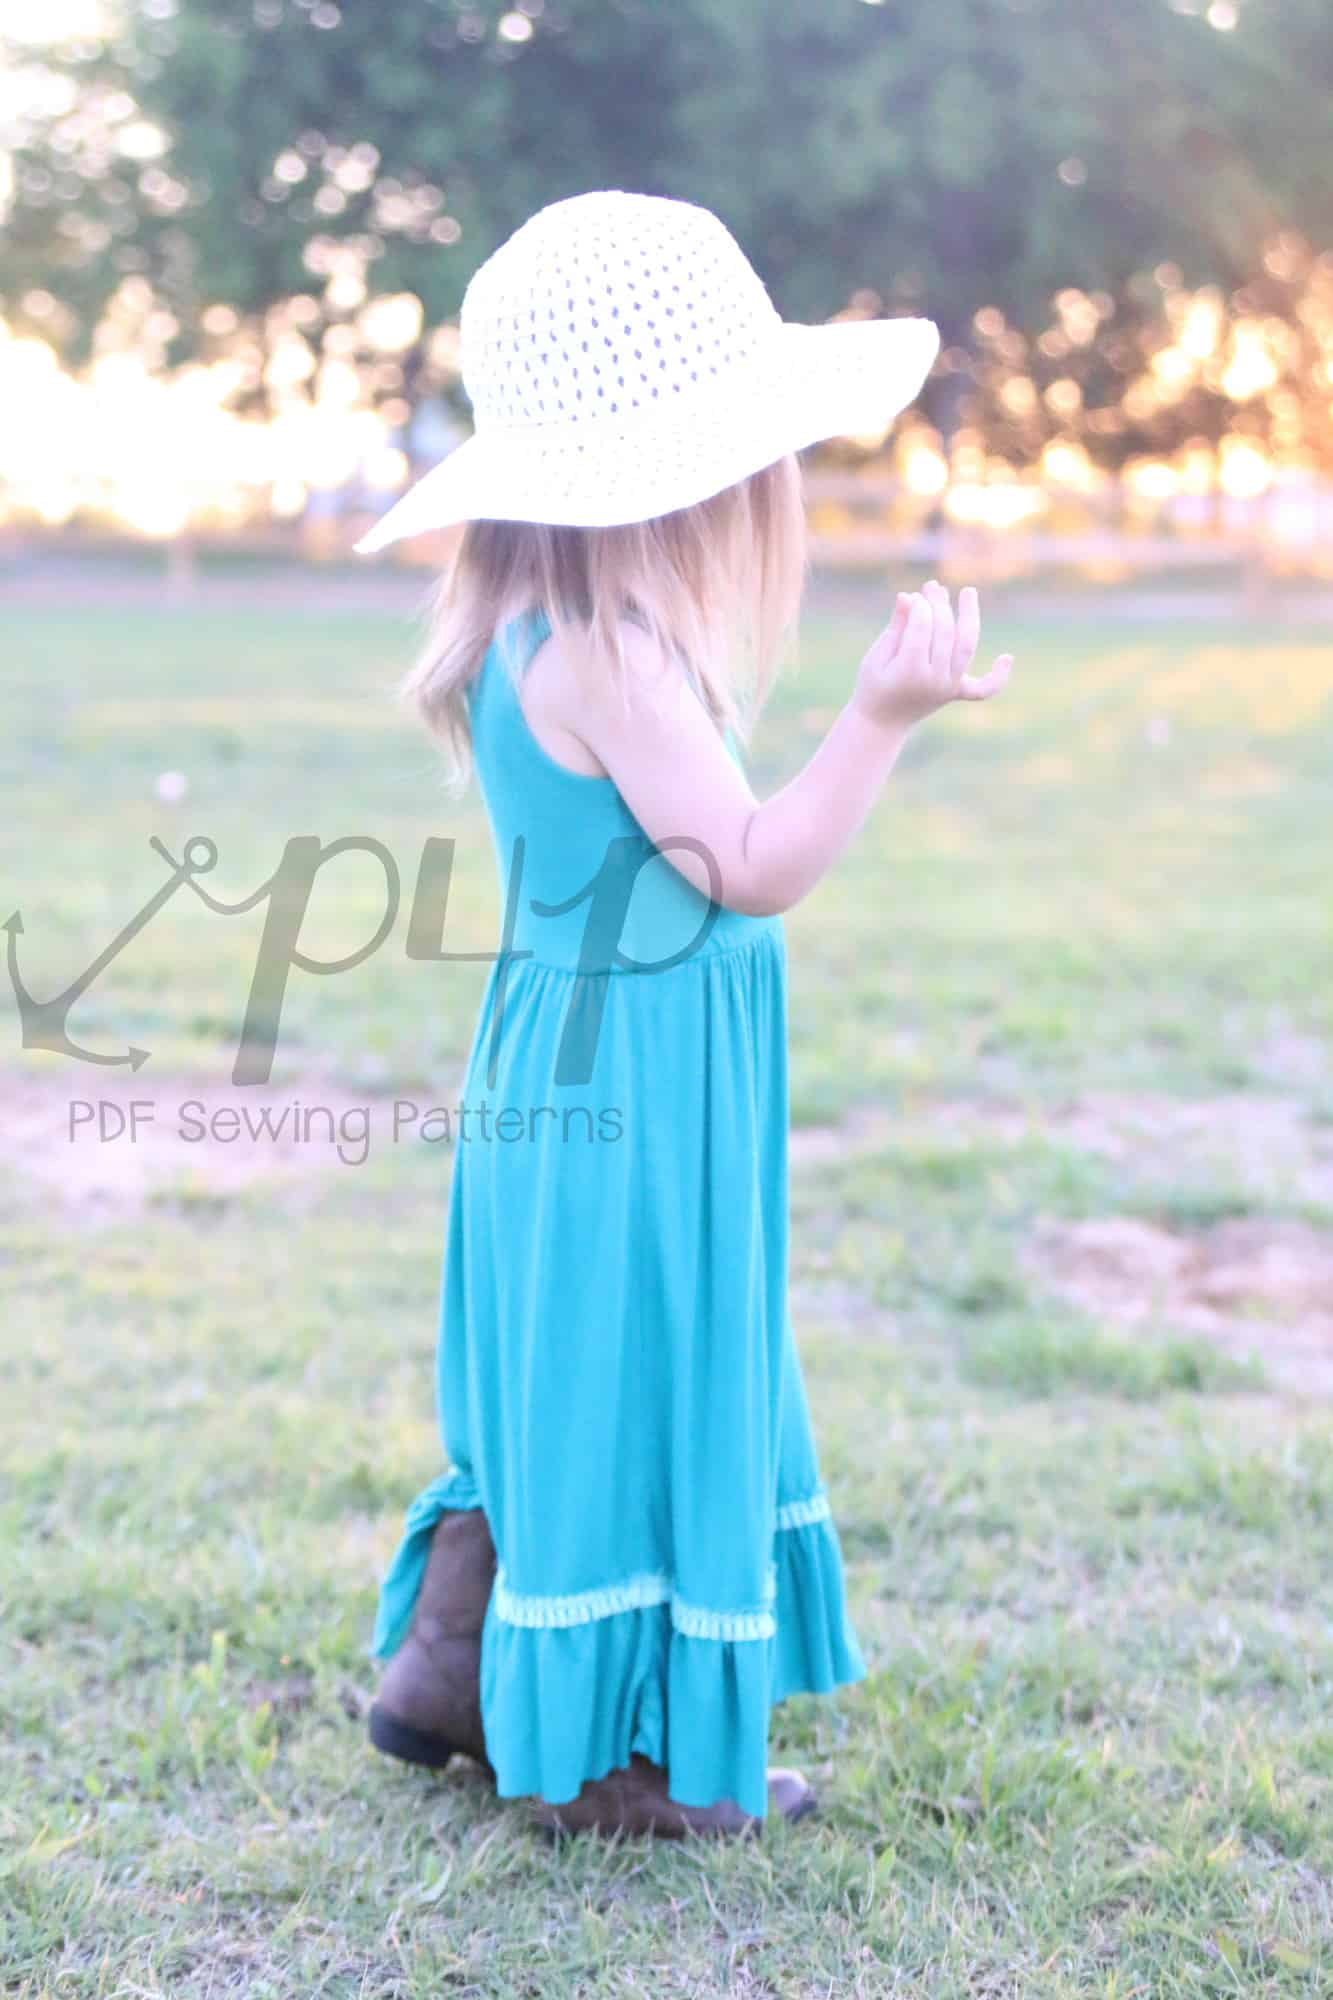
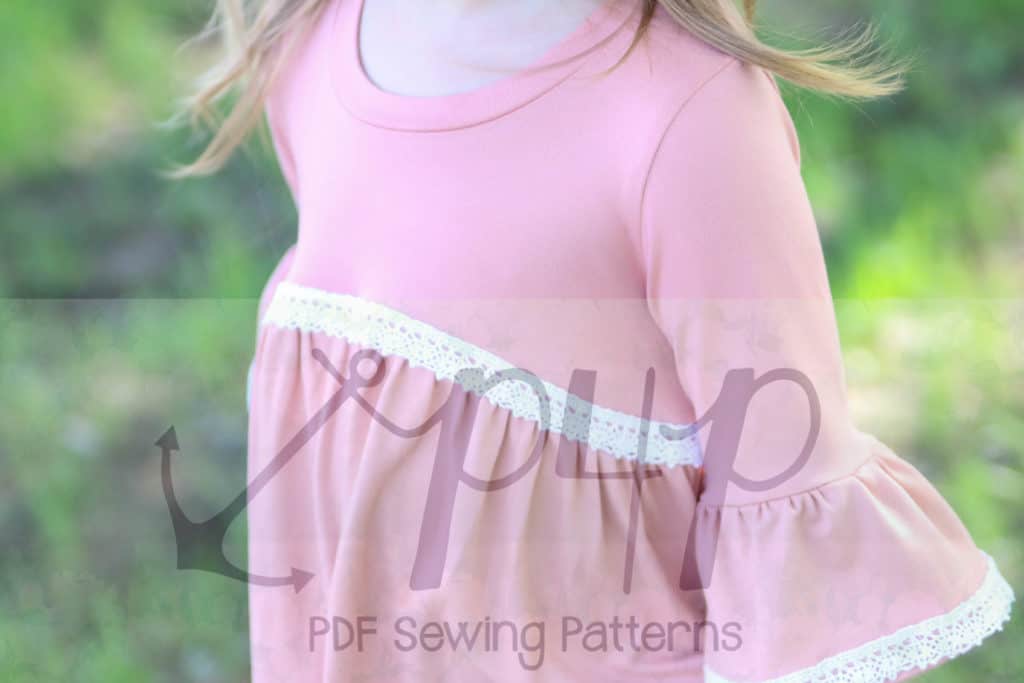
Add a little boho spirit to the maxi with this simple hack!
You will need a little extra yardage than the required maxi. You will cut your skirt to the “below knee length” for youth (for adult I’d suggest either knee or tea depending on how deep you’d like your bottom ruffle).
To cut your ruffle you’ll take the “maxi length” and minus the “below knee length”- add 1/2″ for seam allowance- this is your length measurement. Width will be double the width of the skirt measurement normally for that size.
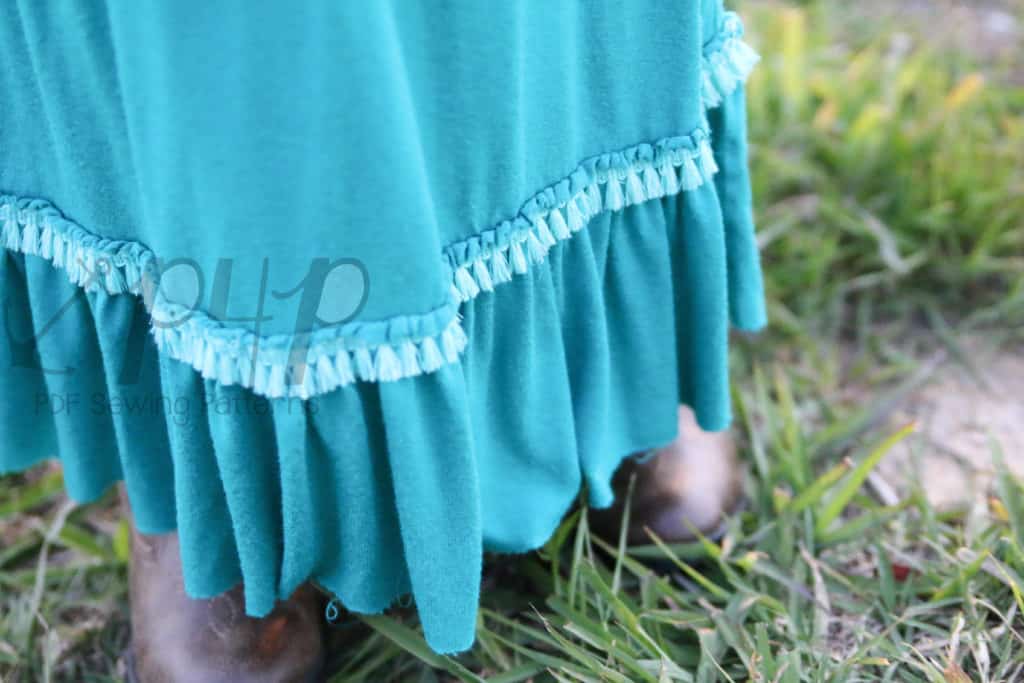
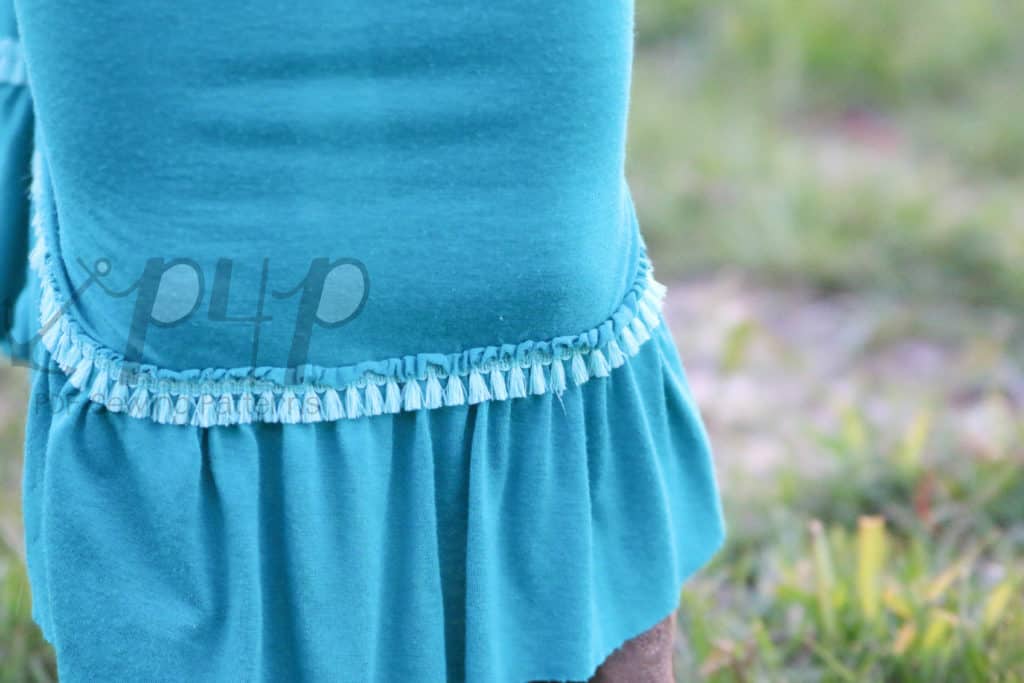
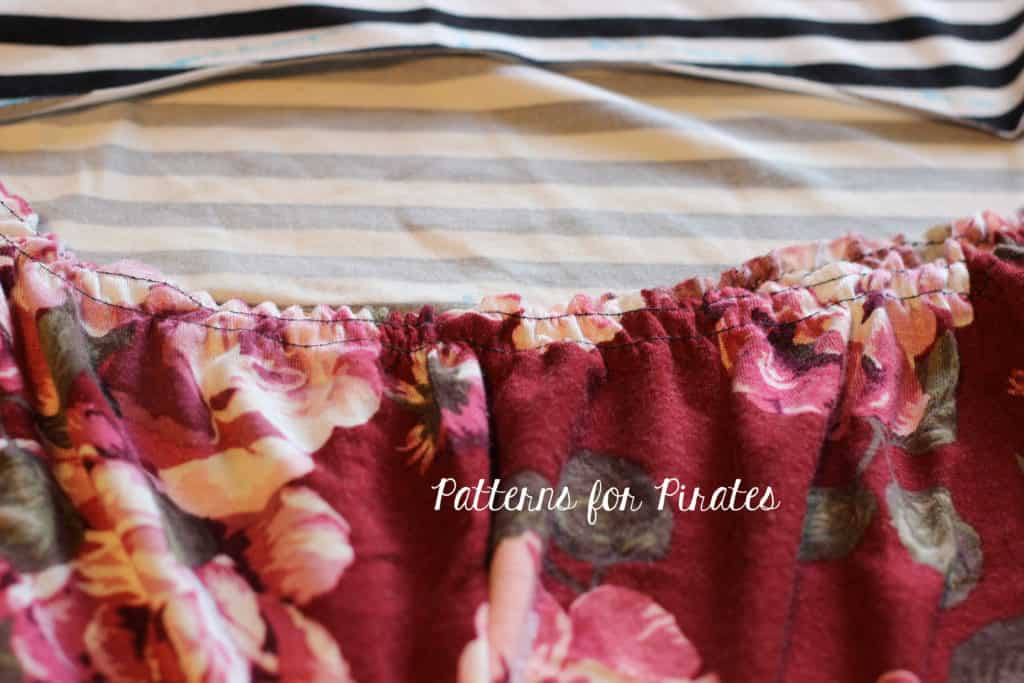
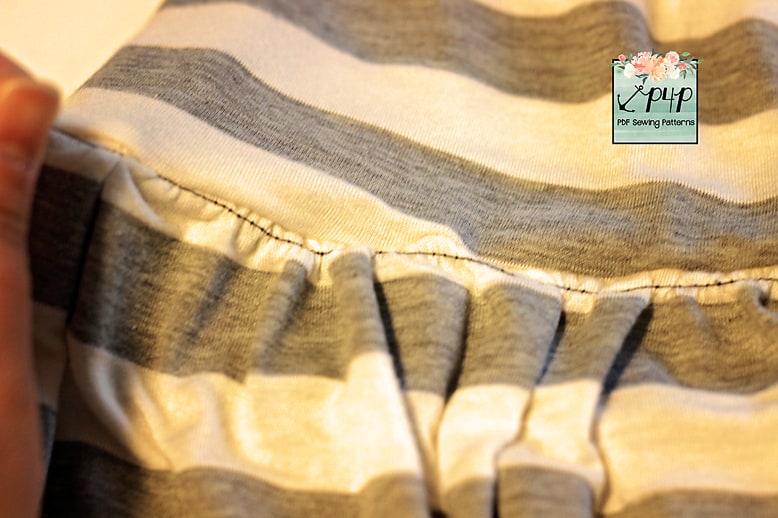
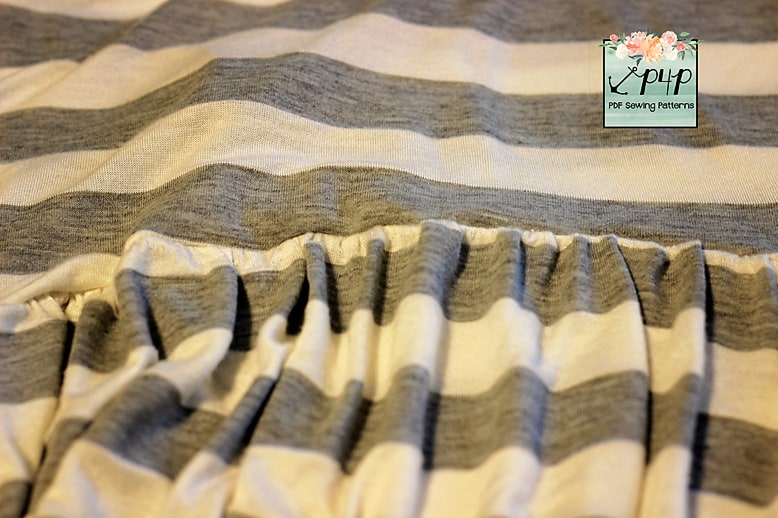
Sew up your dress exactly per the tutorial until you get to the bottom hem. Instead of hemming, we will add the ruffle. Gather the top of the ruffle using your favorite gathering method. I used a rayon spandex, which tends to stretch out vertically easily- so I used the double rows of basting method to avoid adding any extra weight to the skirt bottom.
Following the popular boho look- I just overlapped the top of my ruffle to the bottom skirt hem leaving the exposed raw edge. I stitched the ruffle on top the skirt between my two basted rows with a stretch stitch. Removed the basted stitches and gave it a press. I didn’t hem bottom edge just to match the raw edge on the ruffle (but that is just personal preference). I also added some fun trim along the gathered stitch line for some extra pizzazz 😉
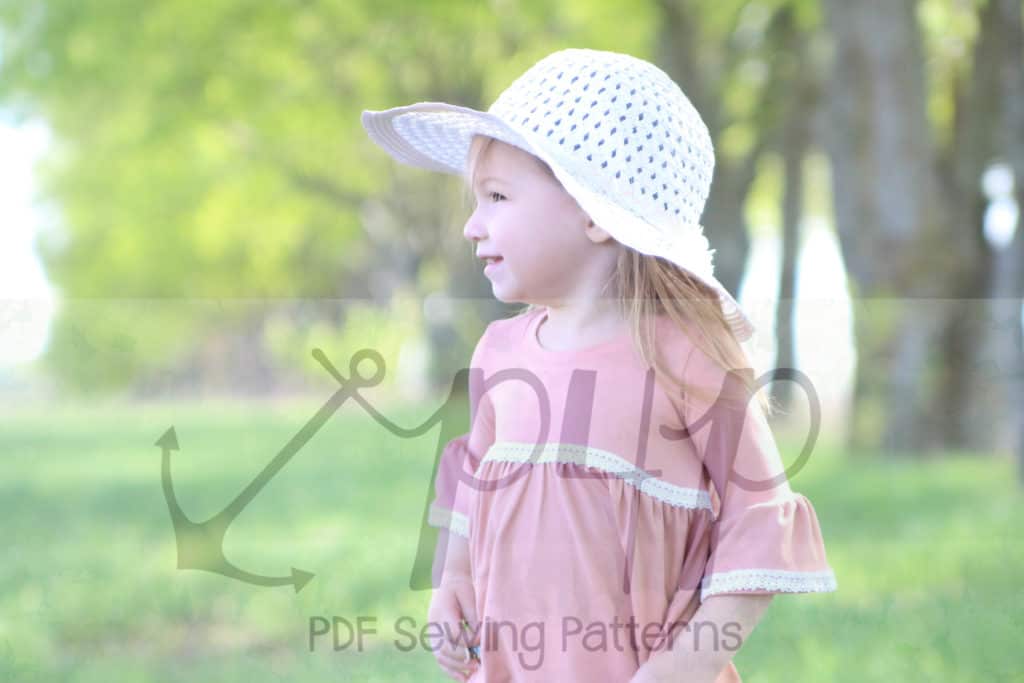
My daughter just LOVES this dress! I think it might top her favorite dress I’ve ever made her so far in fact! I guess she’s a little boho baby girl, she also wants to wear this hat for every photoshoot now 😉
…..
Crop Top
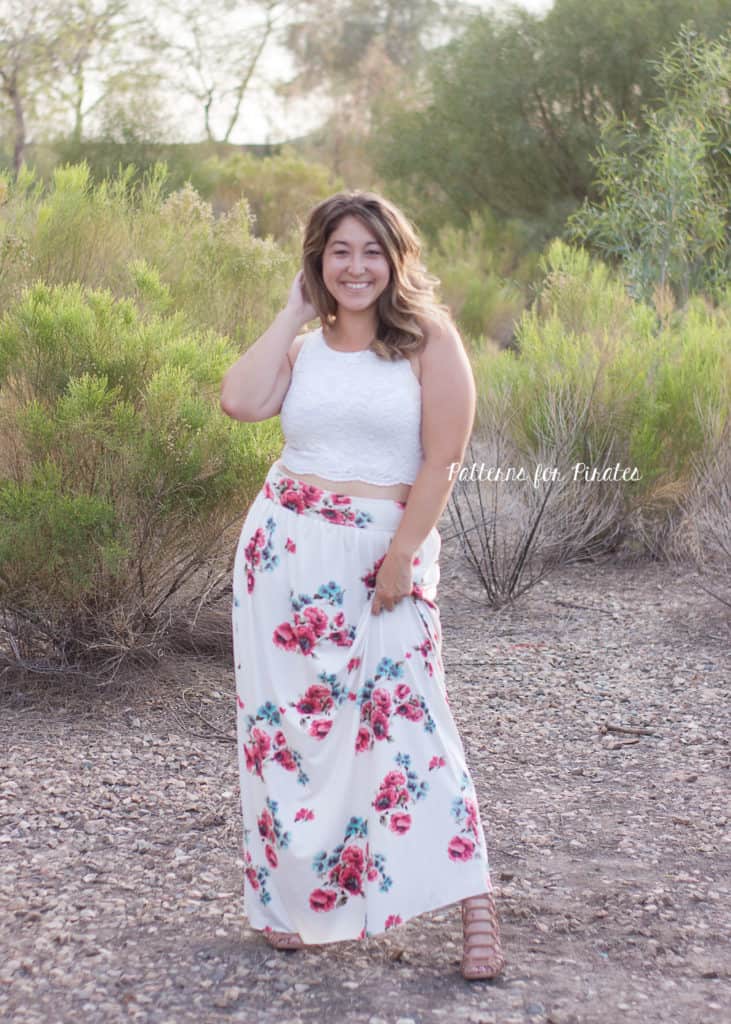
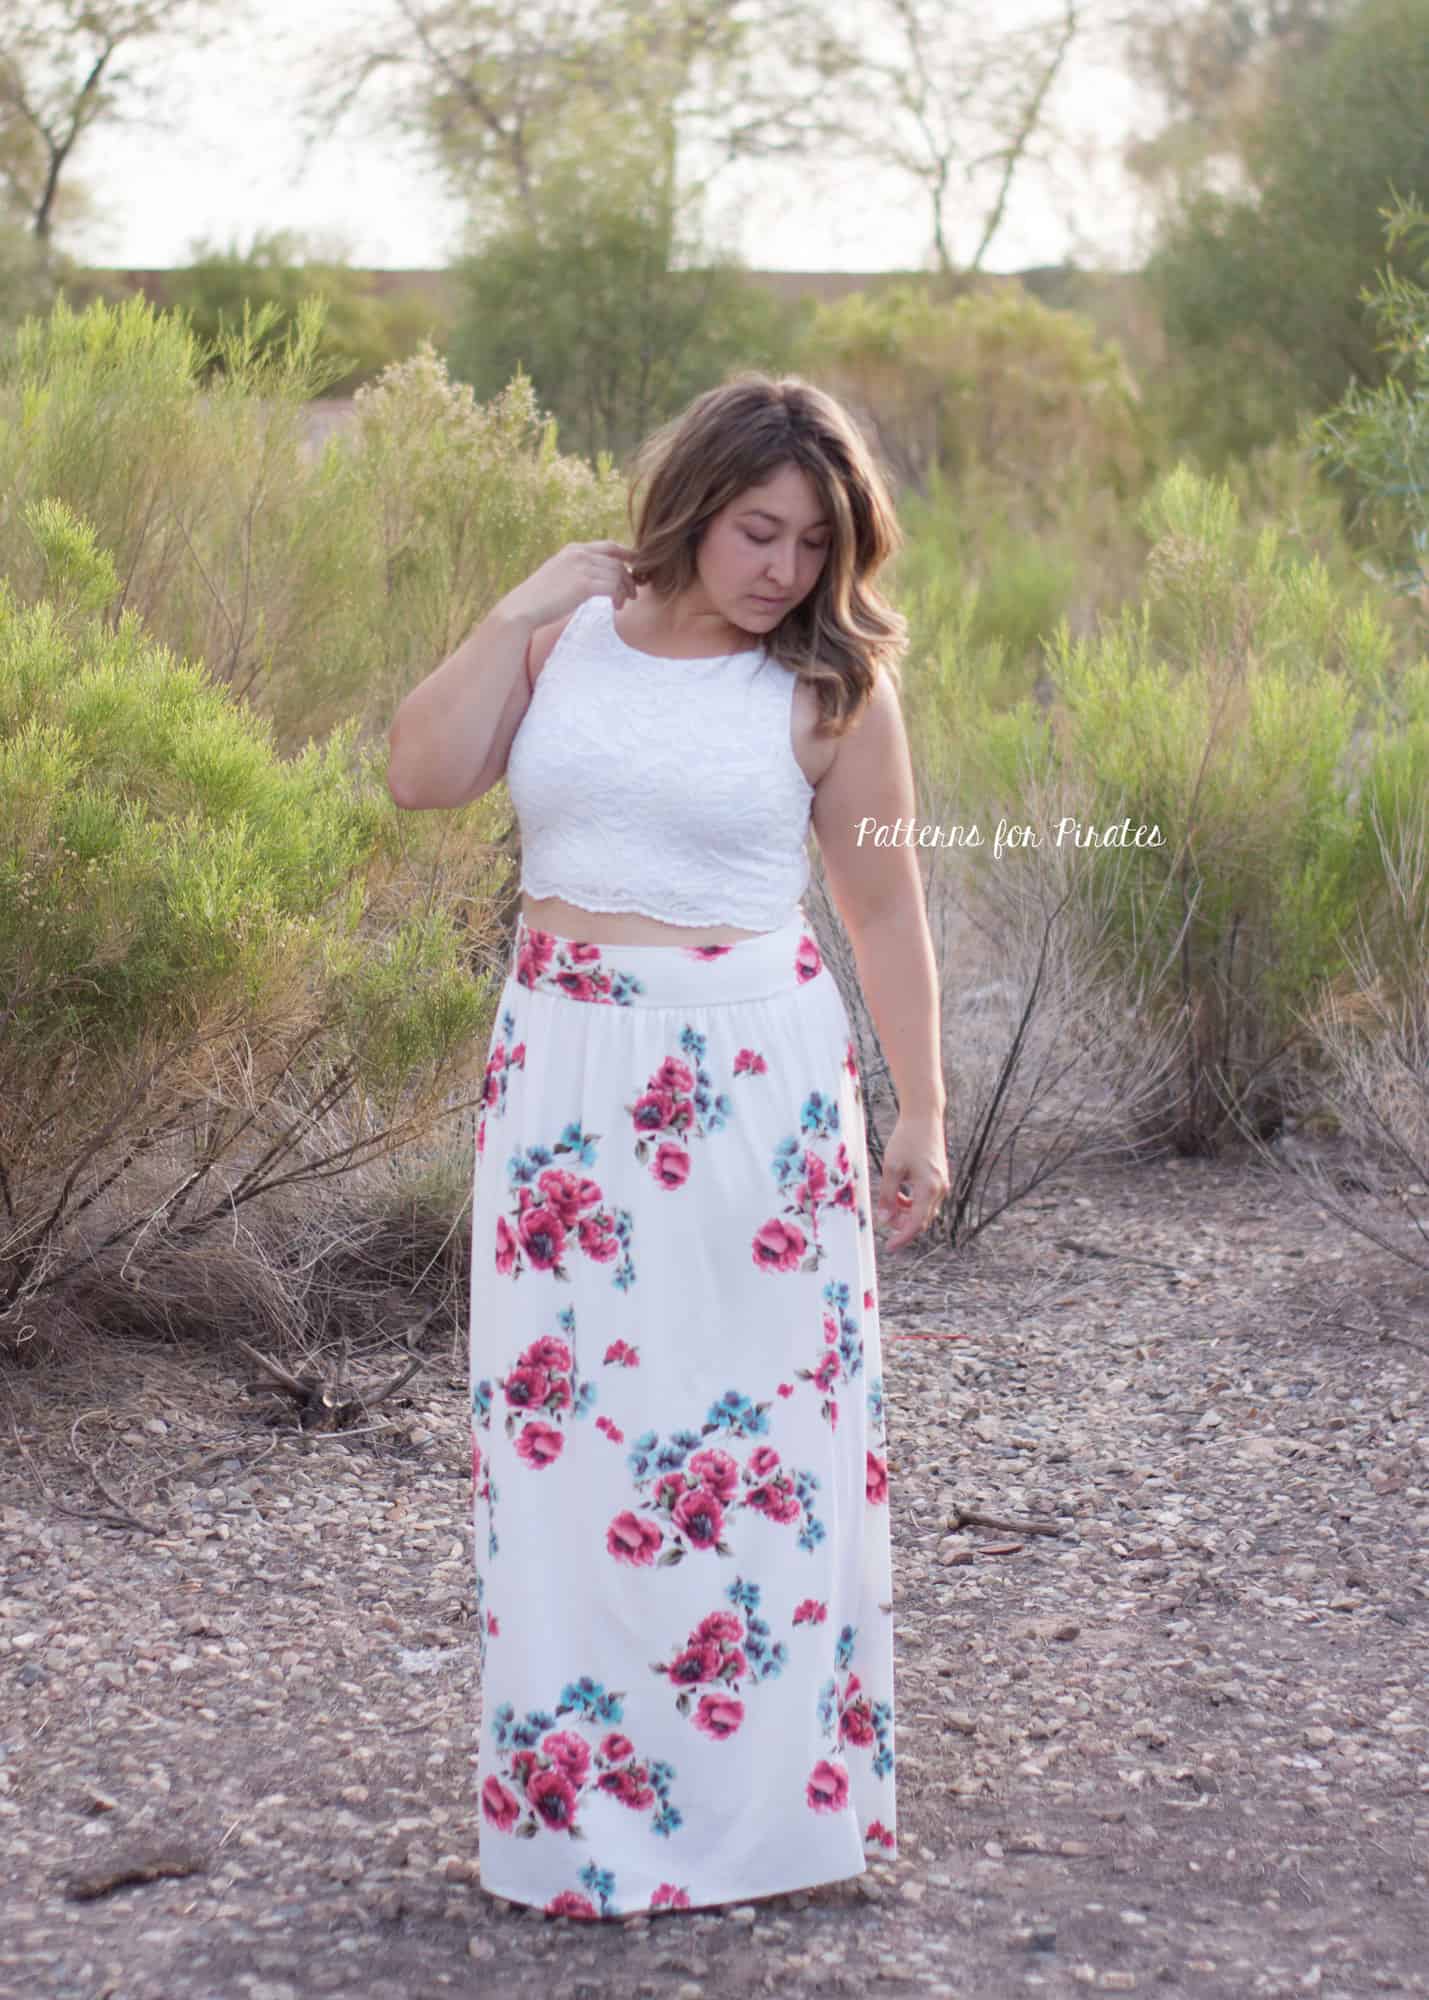
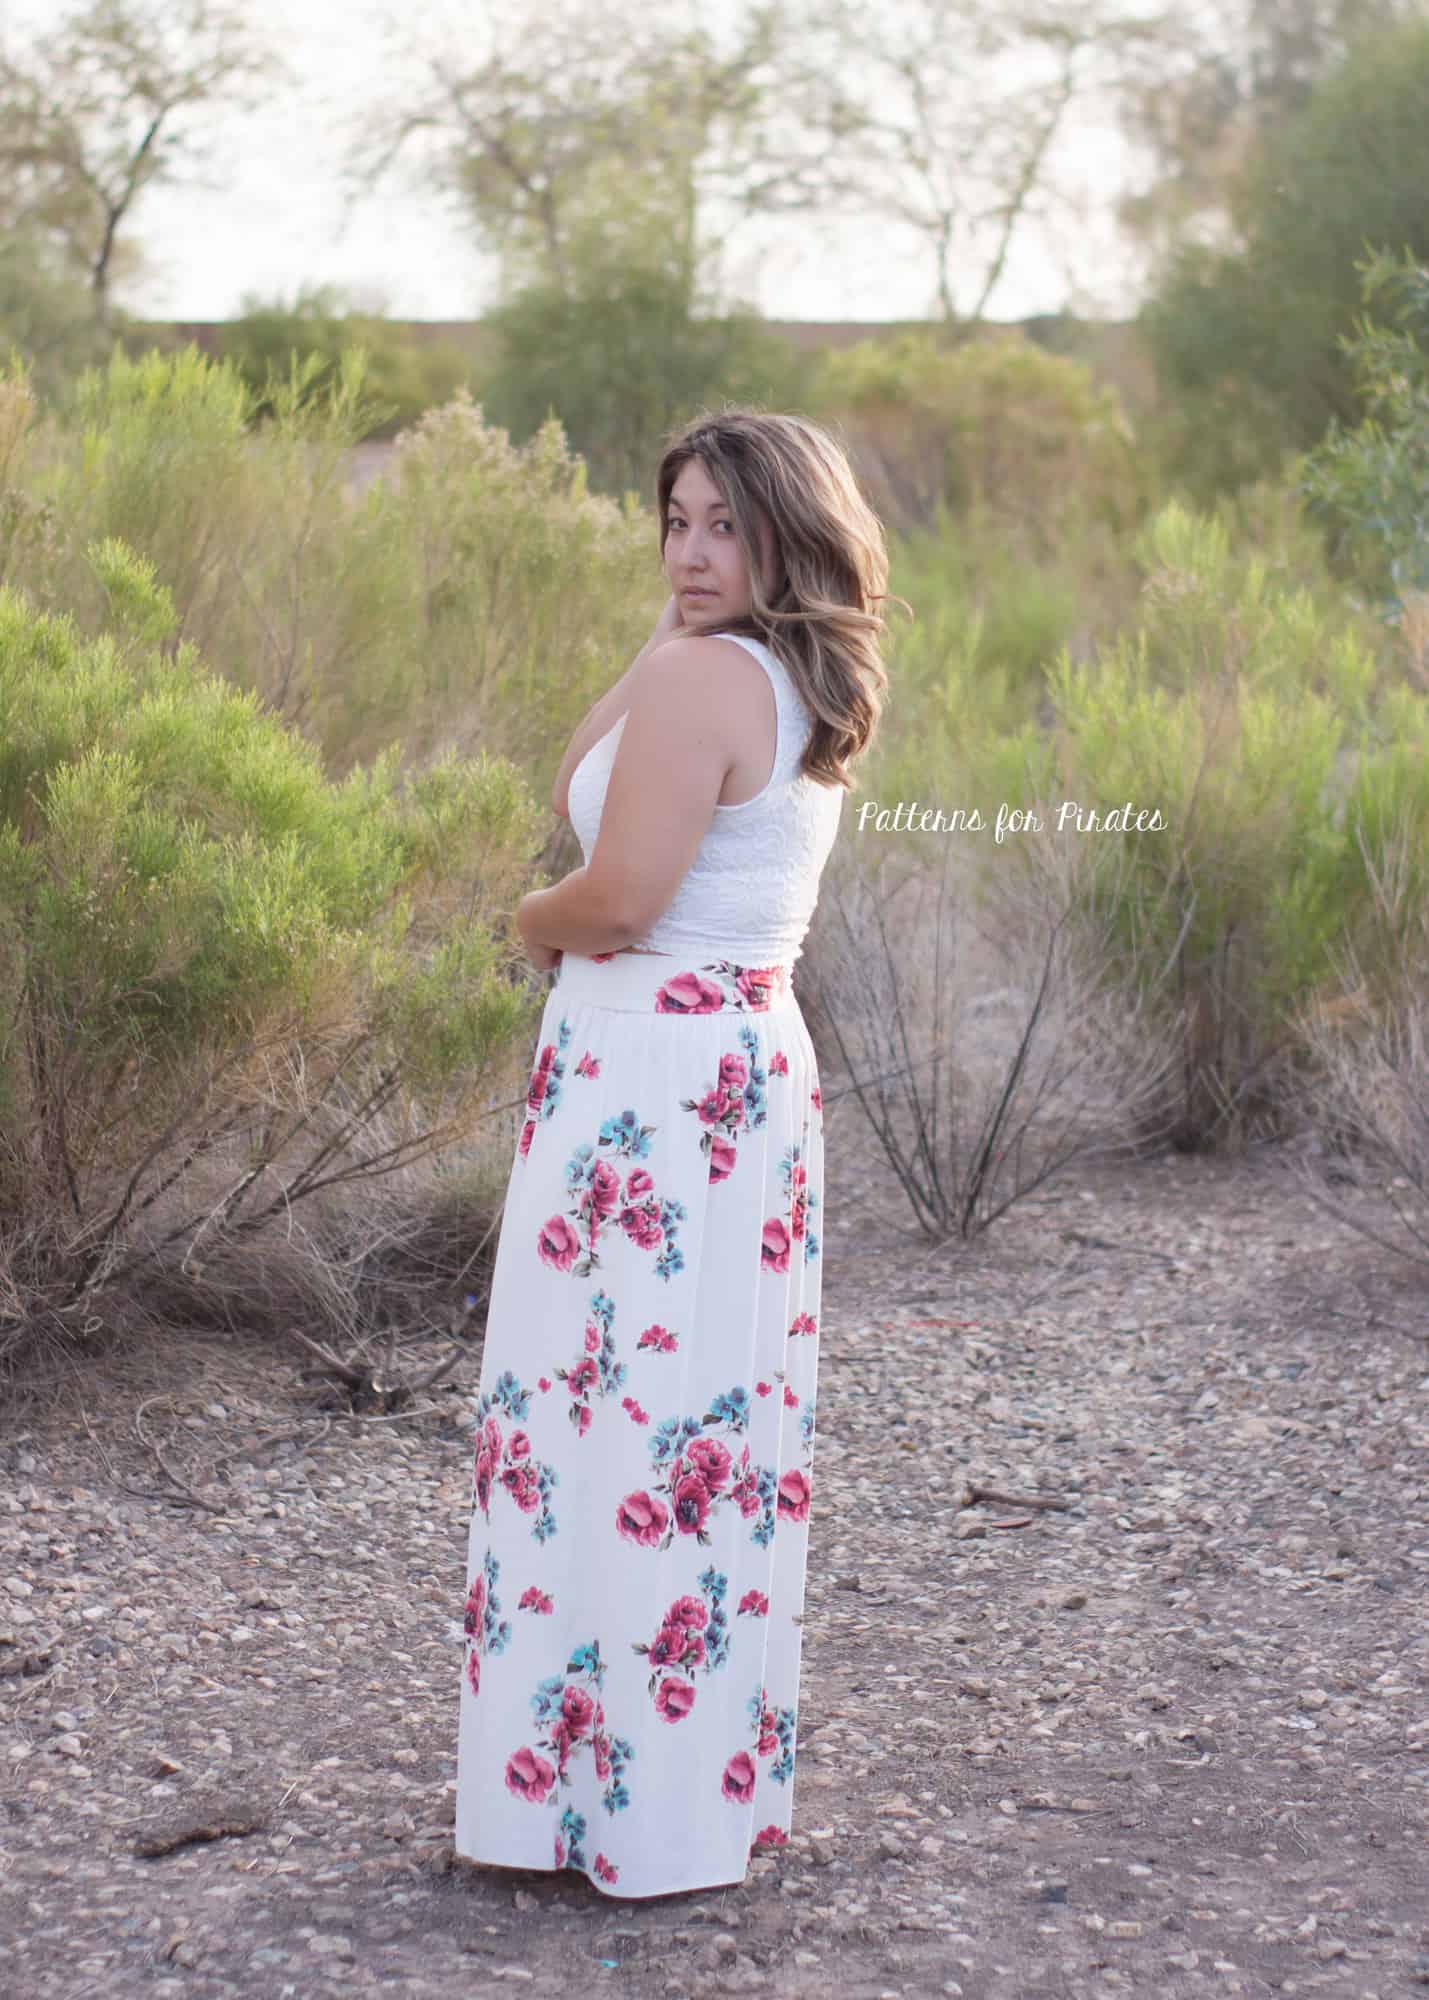
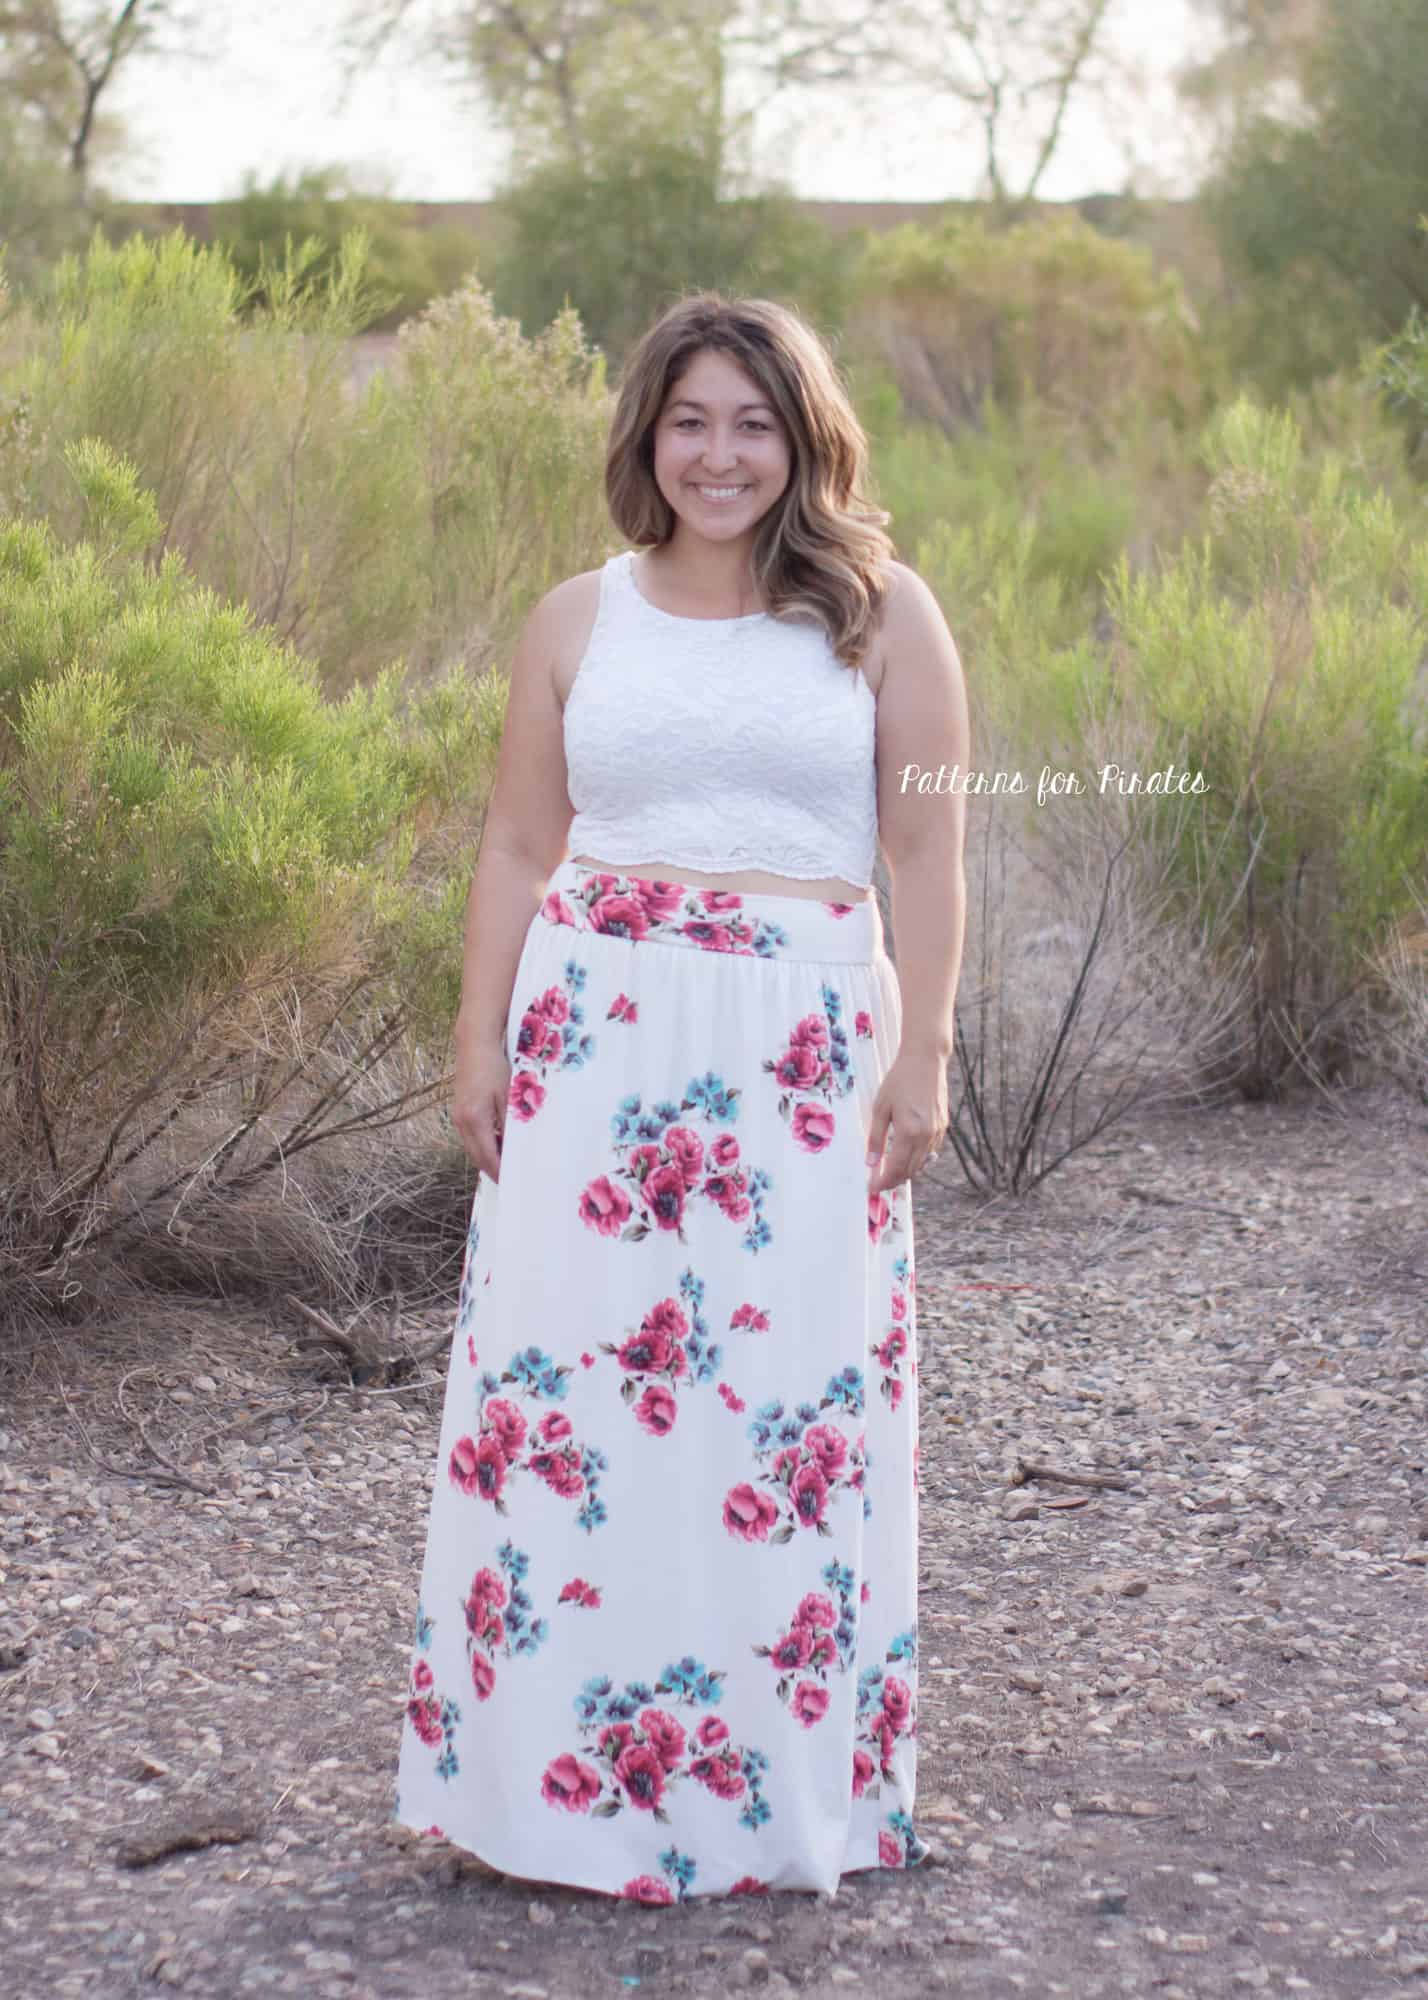
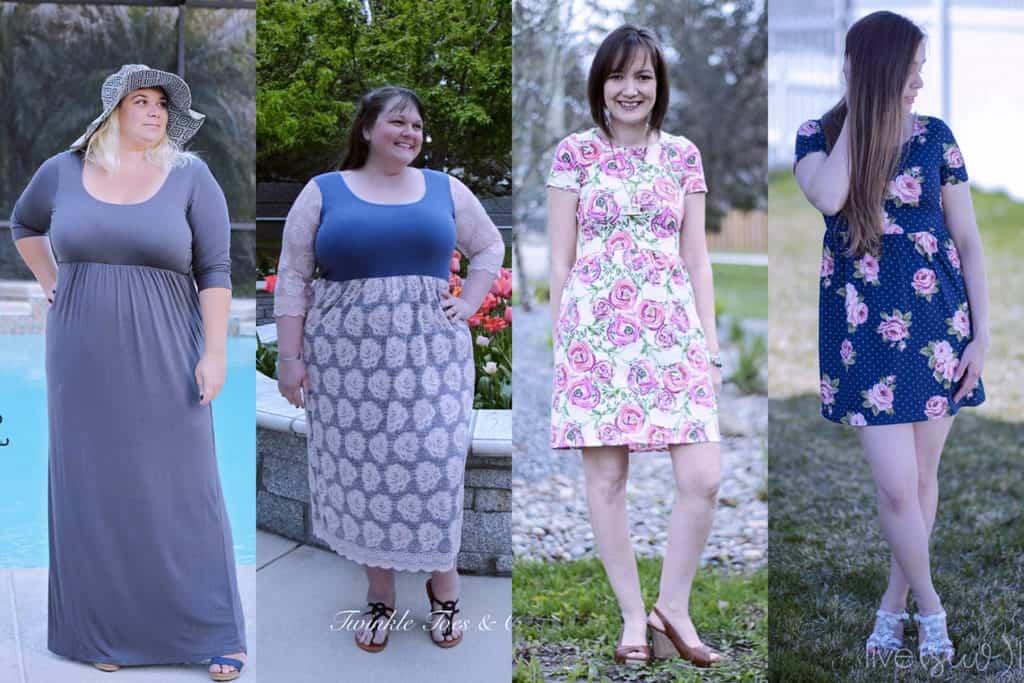
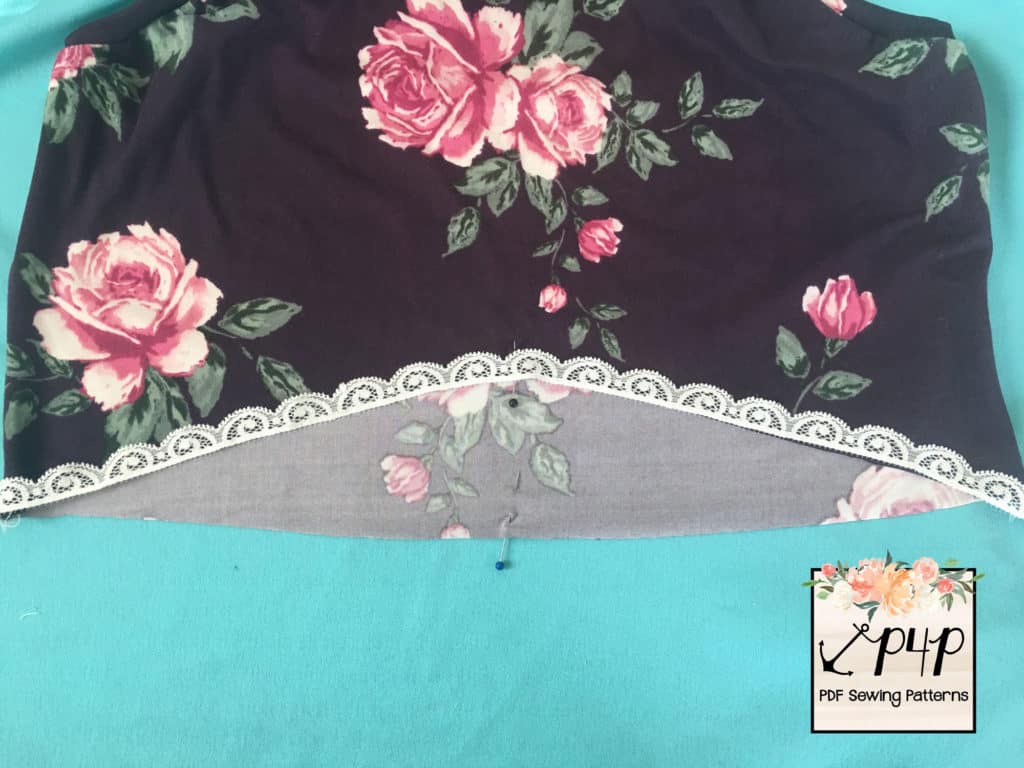
Crop tops seems to never really go out of style and we’ve seen some requests for it lately. The Boundless bodice already has a natural waist cutline so is a great base to create a simple crop top. Sew up the bodice as you would in the tutorial but instead of adding the skirt, just hem the bottom edge 1/2″. If you chose to line the bodice, you can hem the main and lining towards one another, like the lined sleeve option in the tutorial. I chose a scalloped edge lace as my outer layer, so only hemmed my lining.
For my skirt, I used the waistband measurements from our Sweetheart SAL HERE and used the natural waist skirt option of the Boundless. I did have to shorten the skirt a couple of inches to account for the added waistband but gathered and constructed per the pattern. Instead of attaching to the bodice, just attach the skirt to the waistband. Super simple right?!
We hope you all enjoy the updated Boundless Knit Dress and newly released youth Boundless as much as we do. Be sure to share your makes in the P4P Facebook Group!
