Vintage Jumper – Easy Hacks
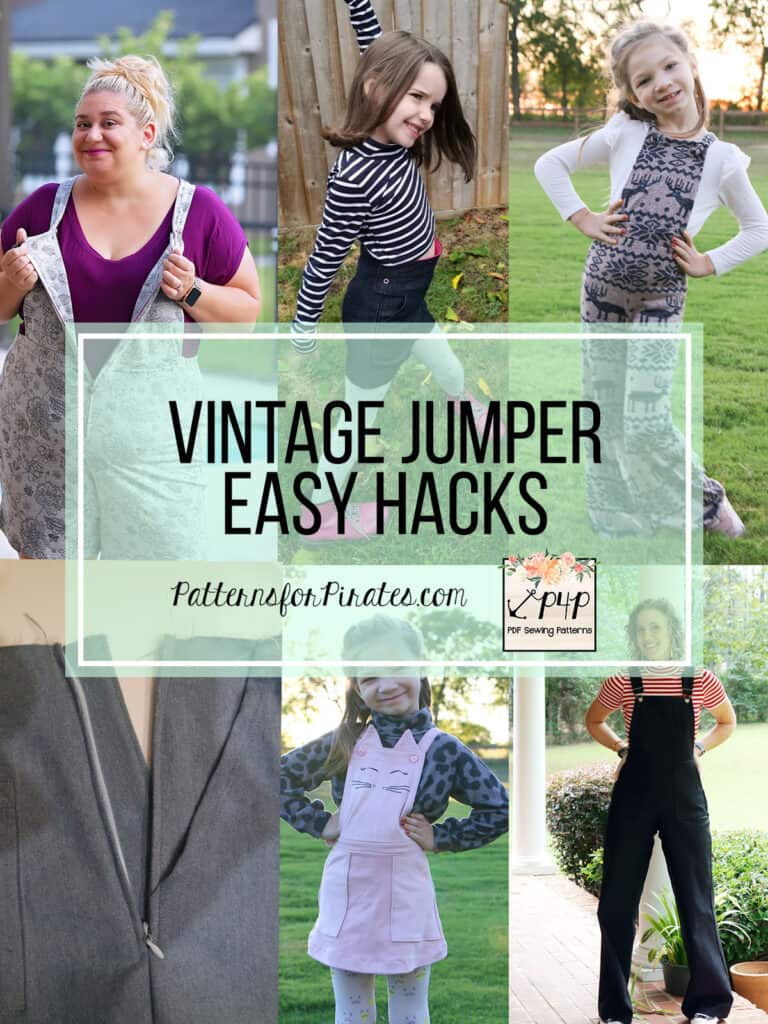
The Vintage Romper is here and we couldn’t be more excited to share with you the blog team’s take on some easy hacks. Grab your patterns and let’s get started!
…..
Pants/skirt
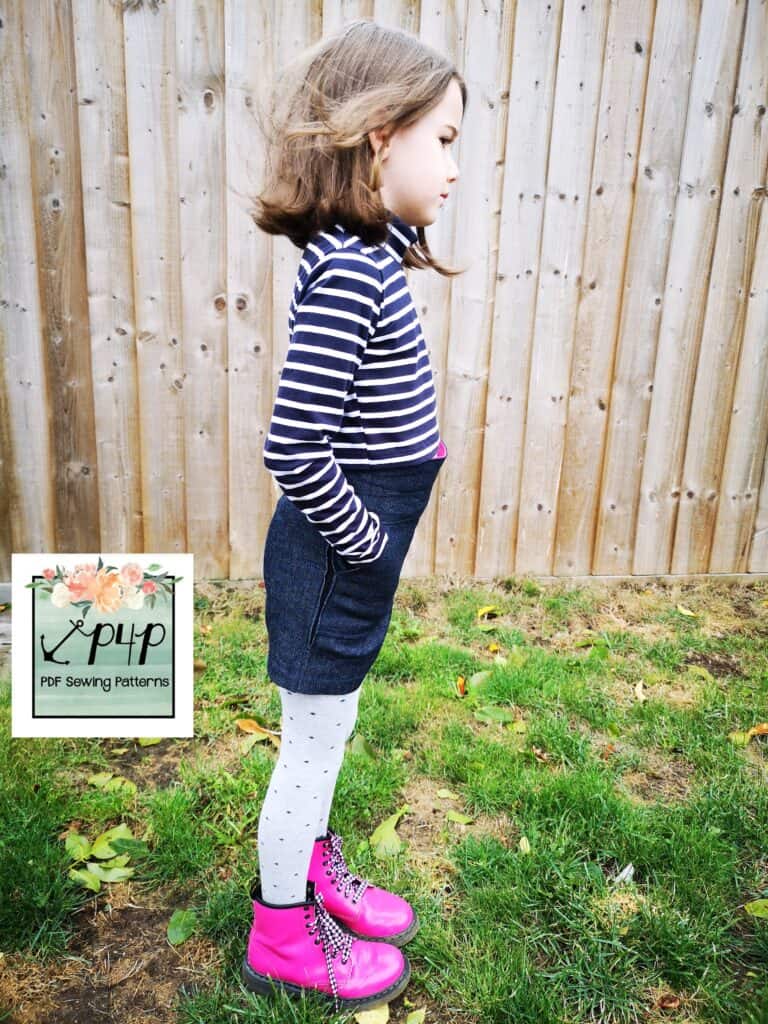
Do you love shorts like we love shorts?! Then you’re in the right place. I’m going to spend a little time today showing you how to hack the new Vintage Romper into a shorts or skirt only piece. It couldn’t be easier and I have even filmed a little tutorial showing you how to adapt the waistband pattern piece and then put the waistband together too, which you can find here:
However, if you like it old skool here is the written blog post.
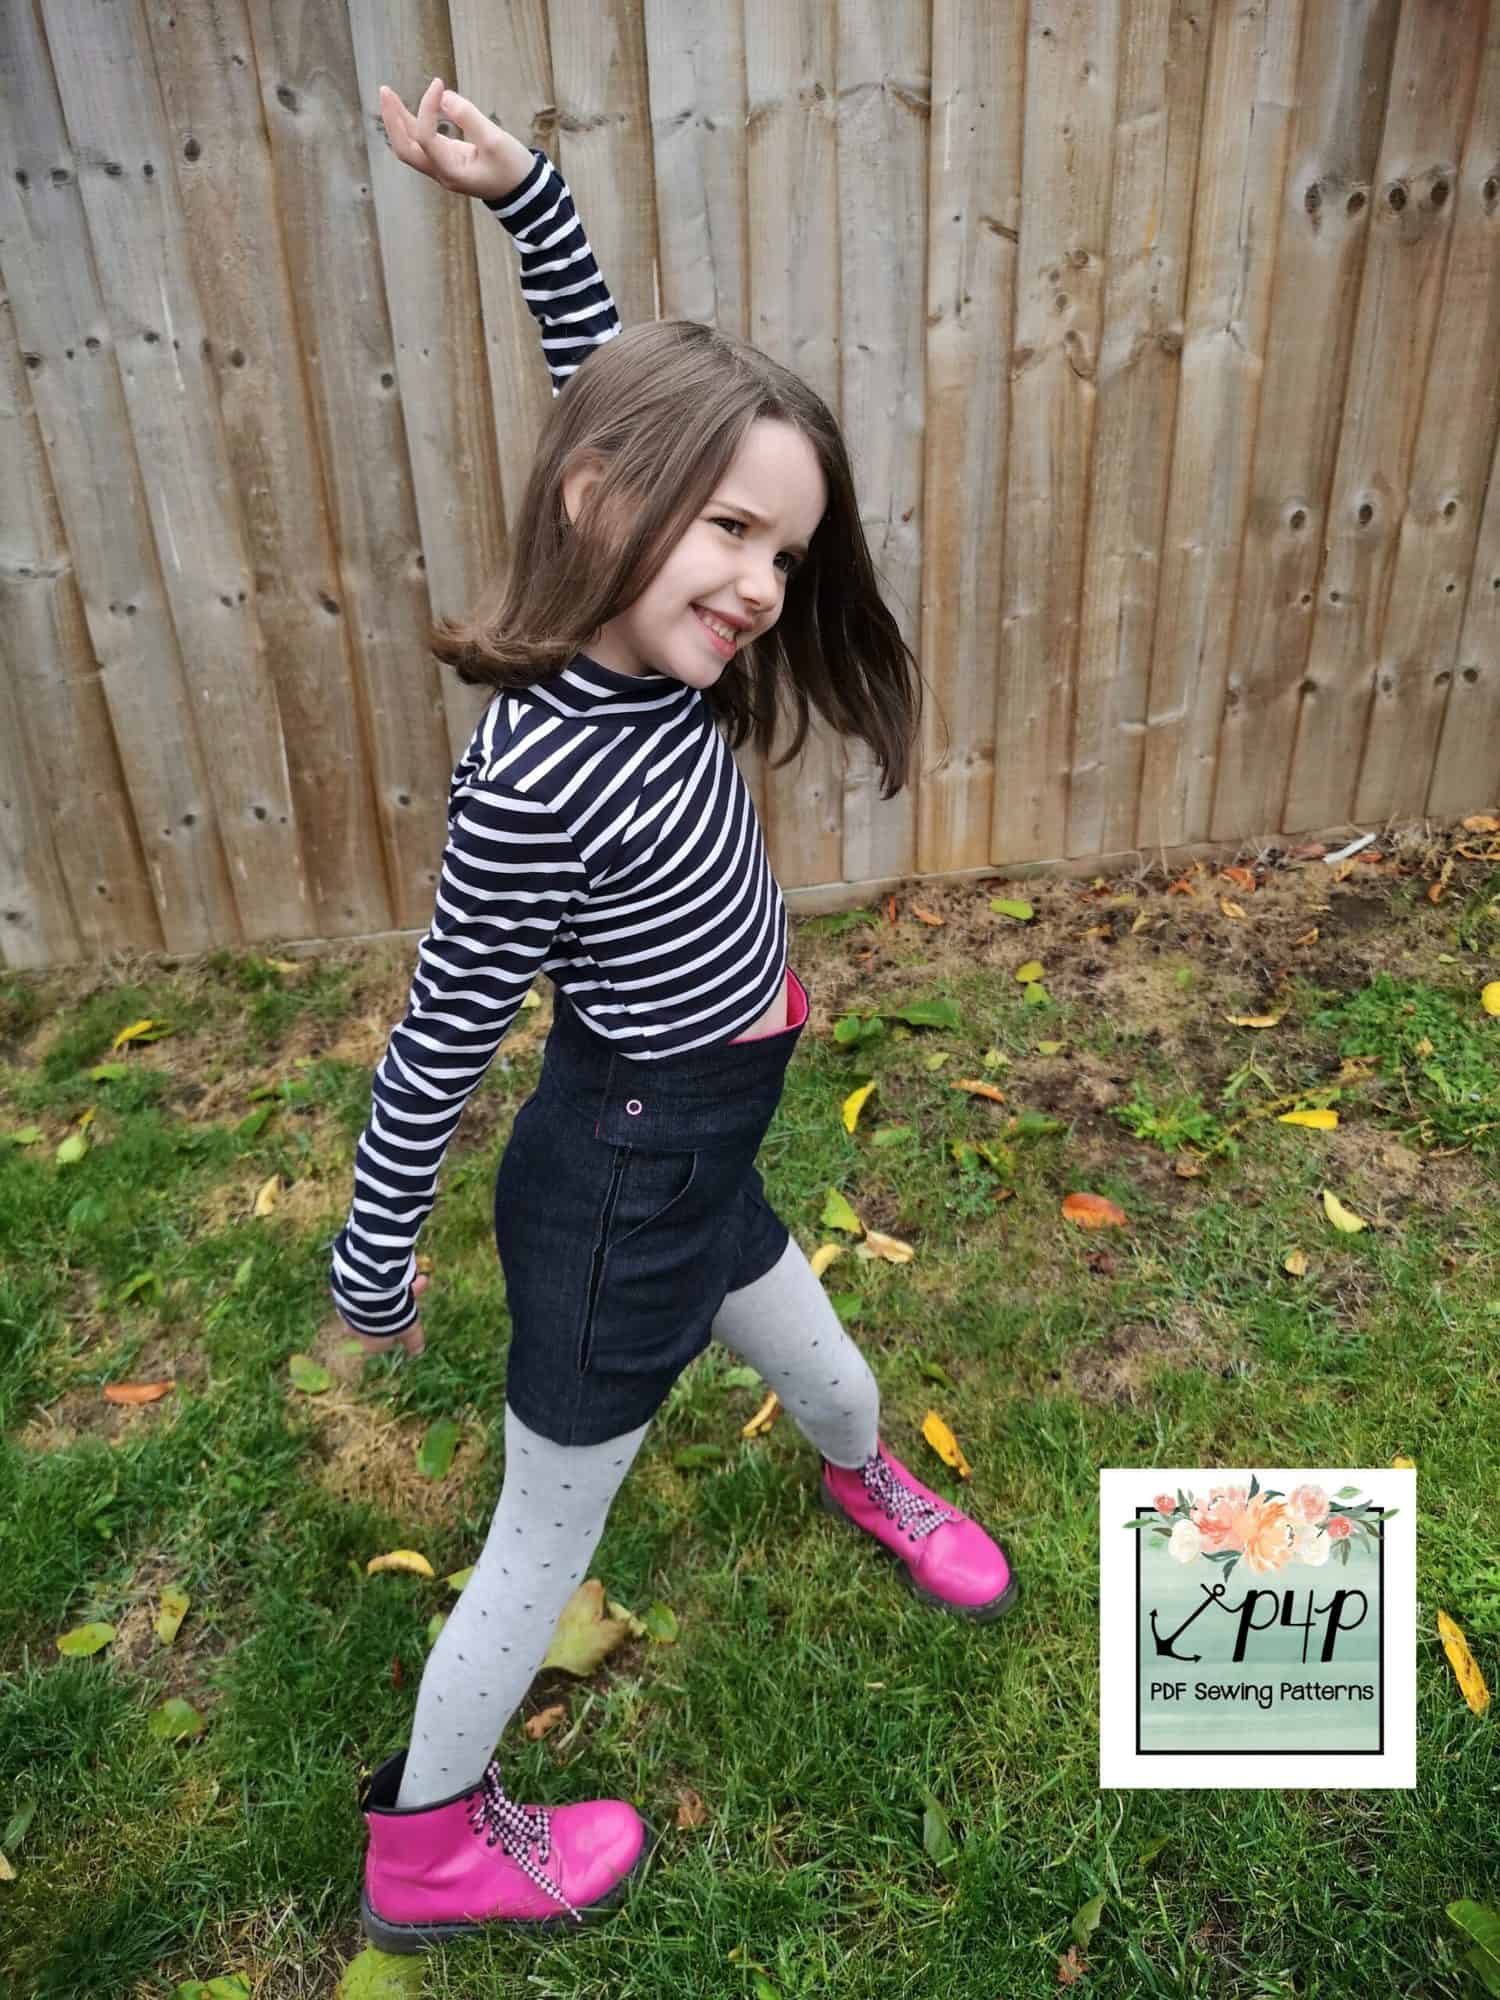
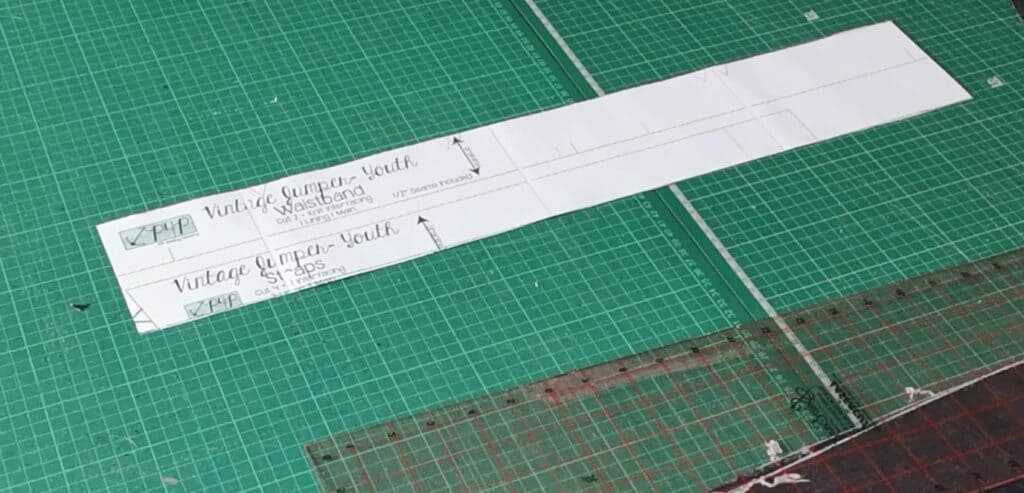
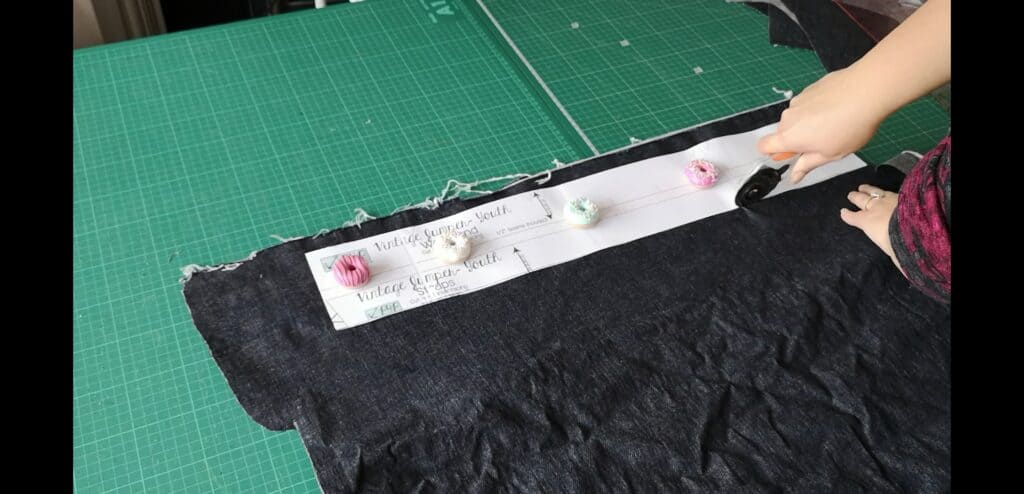
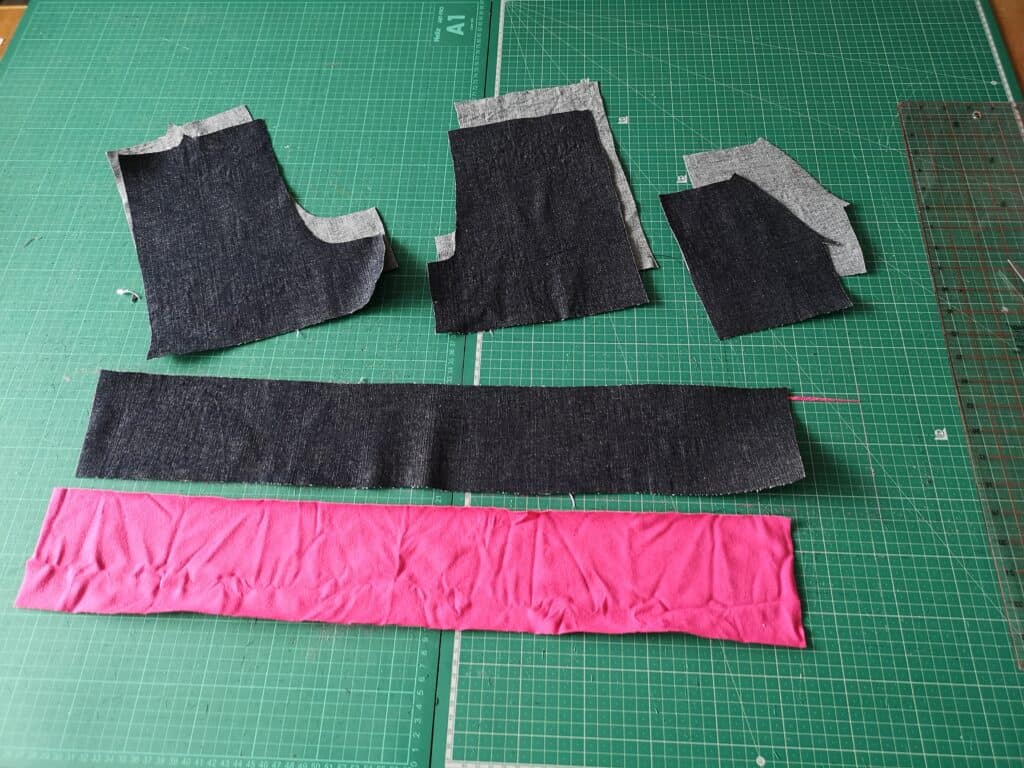
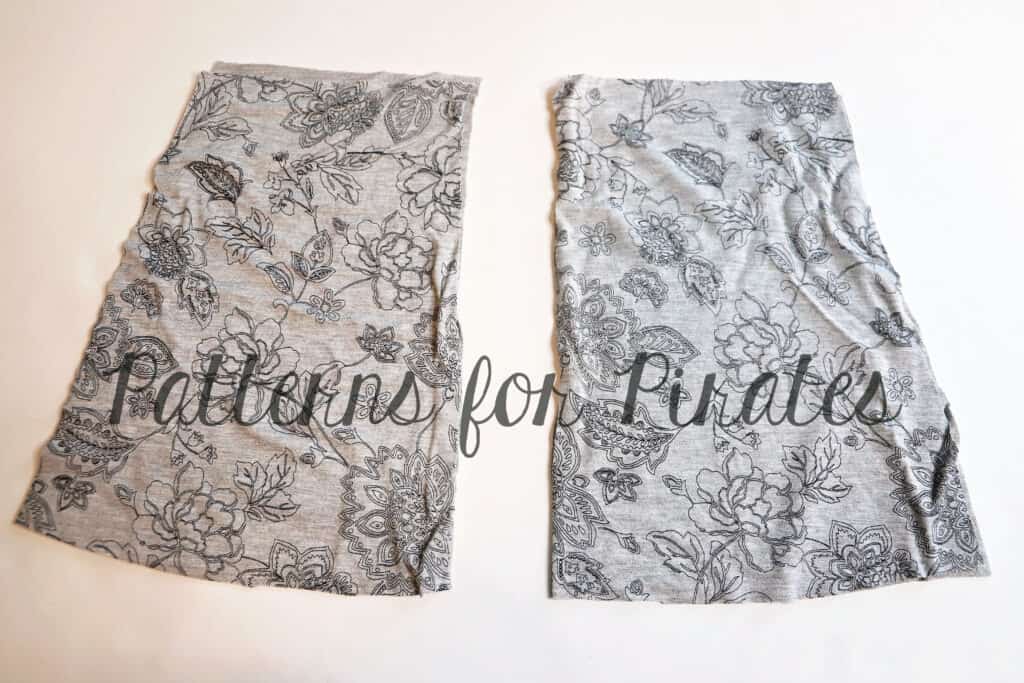
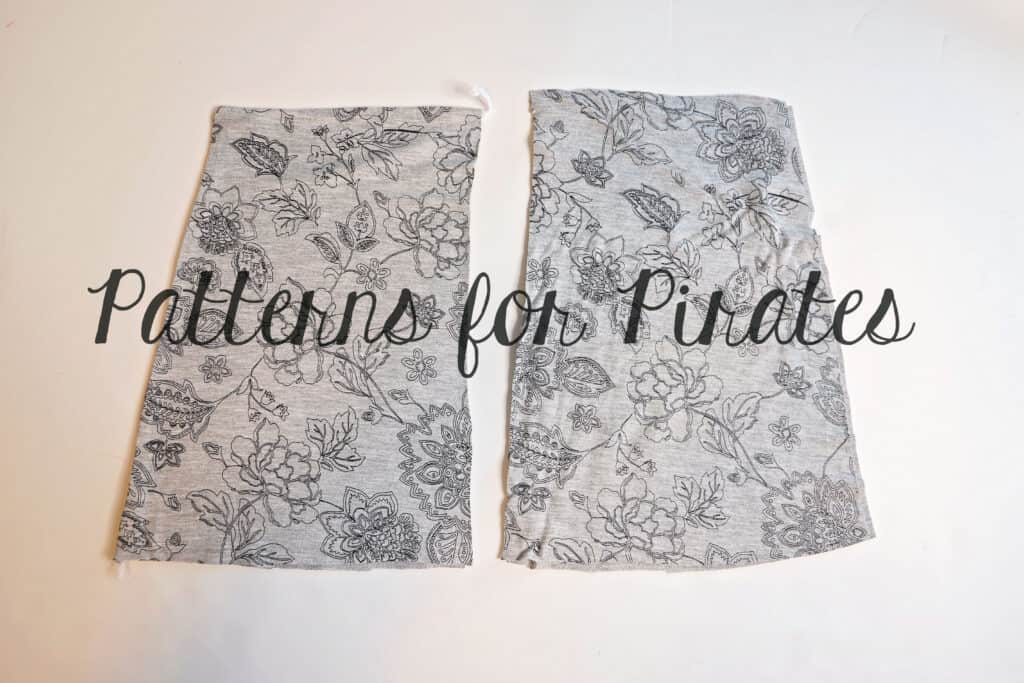
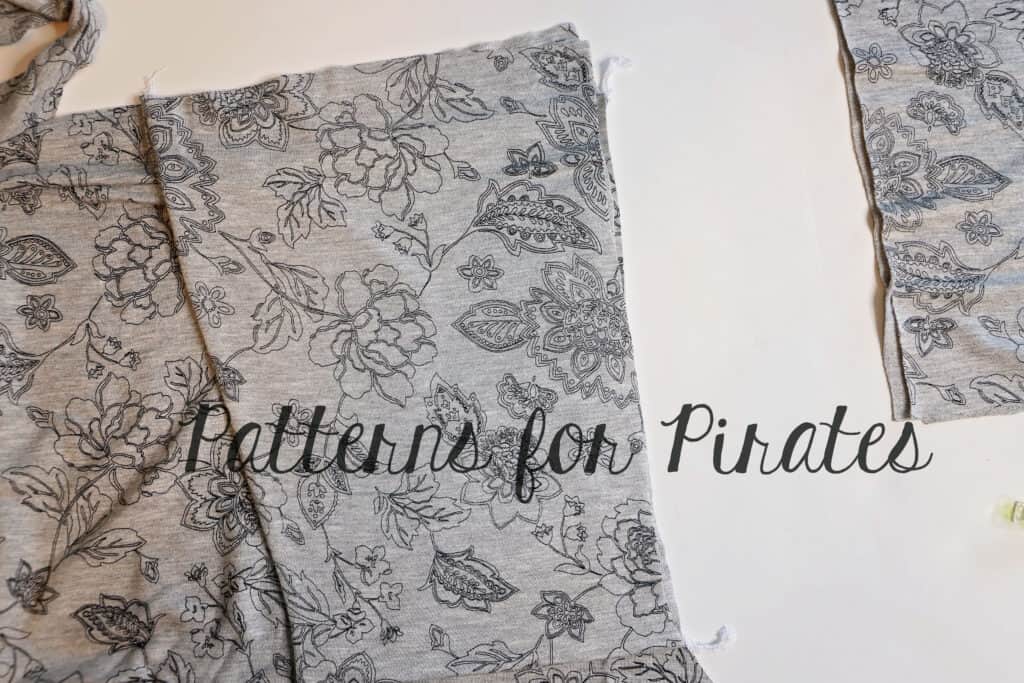
First you will want to cut out your skirt or pants pieces as per the regular tutorial. Then take your waistband piece and double the height of it. I used the Youth pattern to make mine and this measured 2 inches in height so I doubled it to make it 4 inches tall and then cut the length out as usual. I wasn’t going to use the strap pieces so I extended the waistband height out over the strap piece here, just to save paper. Cut your waistband lining piece out in the same way.
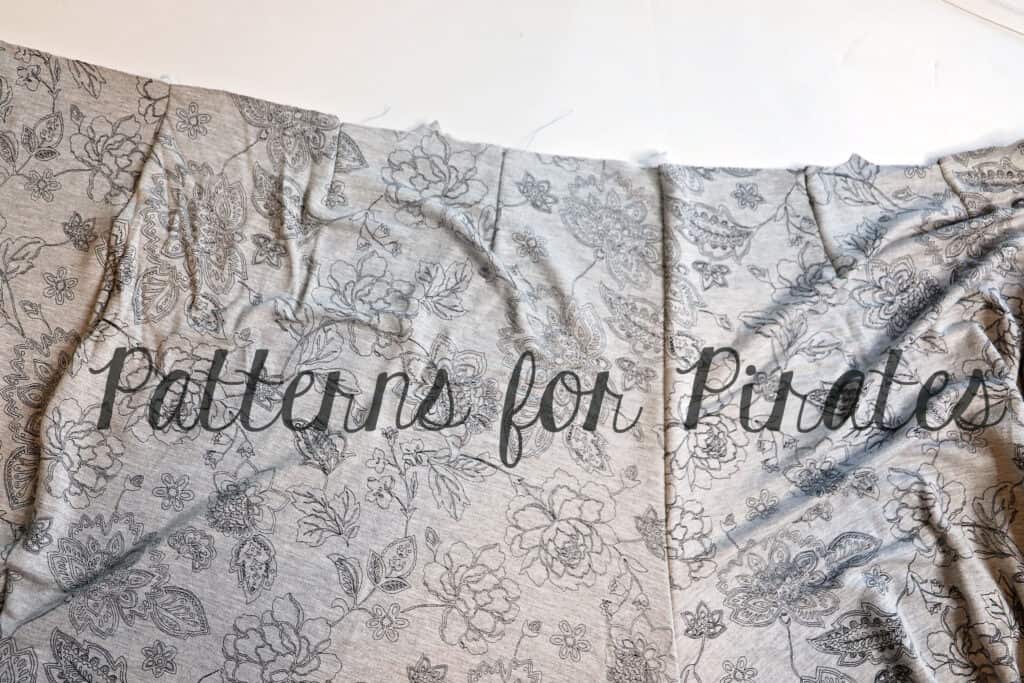
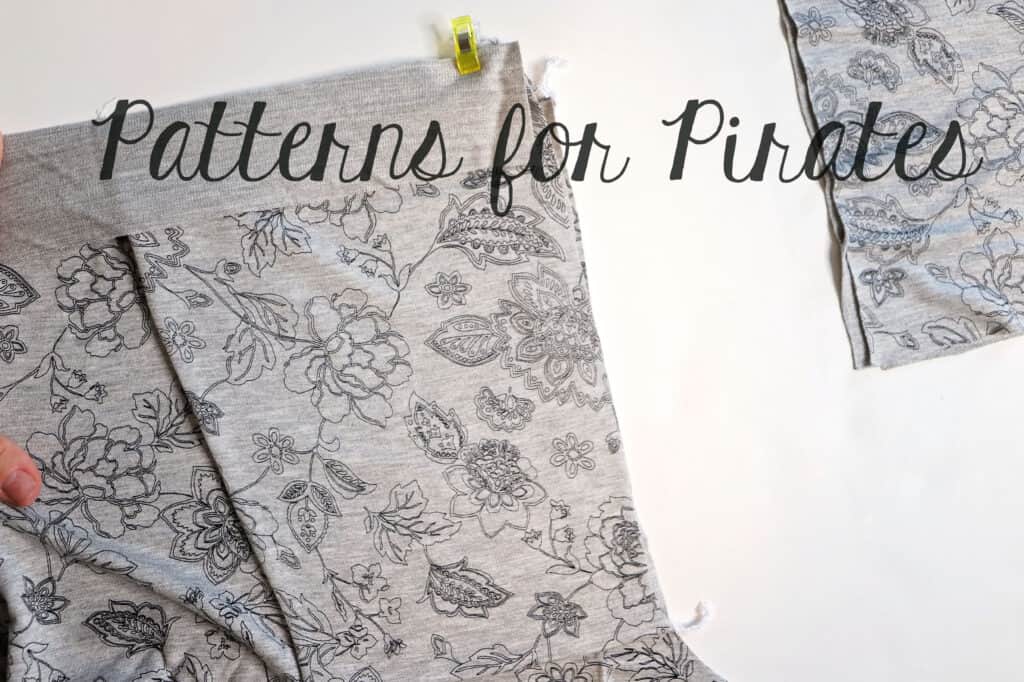
You will then have your pants/shorts/skirt pieces; pockets if using; extended waistband pieces; interfacing if using. Construct the rest of your garment as usual until you get to the section where you have to attach the waistband. You will attach the waistband as per the tutorial, the only difference being you don’t have the bib and straps to sandwich between the outer and lining of the waistband pieces. So you will attach the waistband outer right sides together with the pants/skirt.
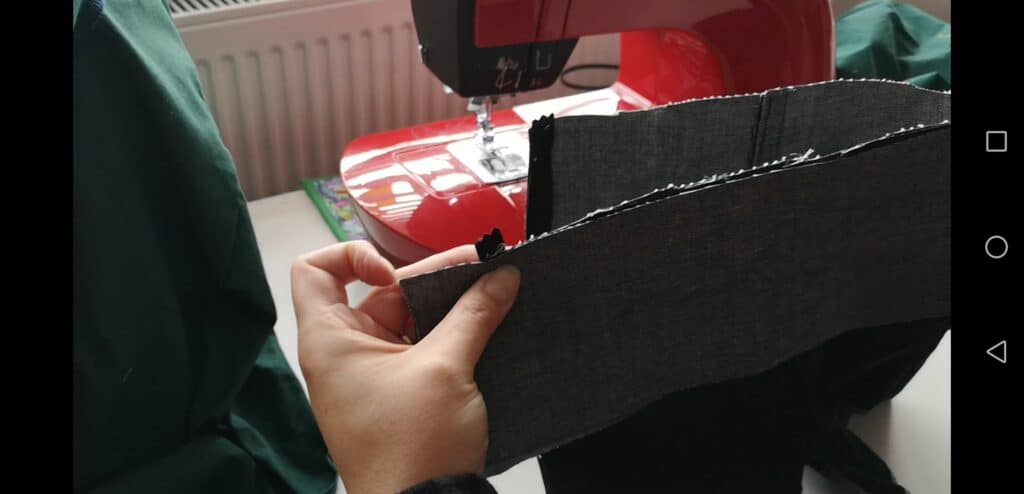
You will have an overhang of the waistband over the edge of the pants piece . This is correct, it enables you to attach a fastening for the top of the waistband at the end, like a button and buttonhole or poppers. Then sew the lining right sides together with the outer, up one short edge, along the top and down the other short edge.
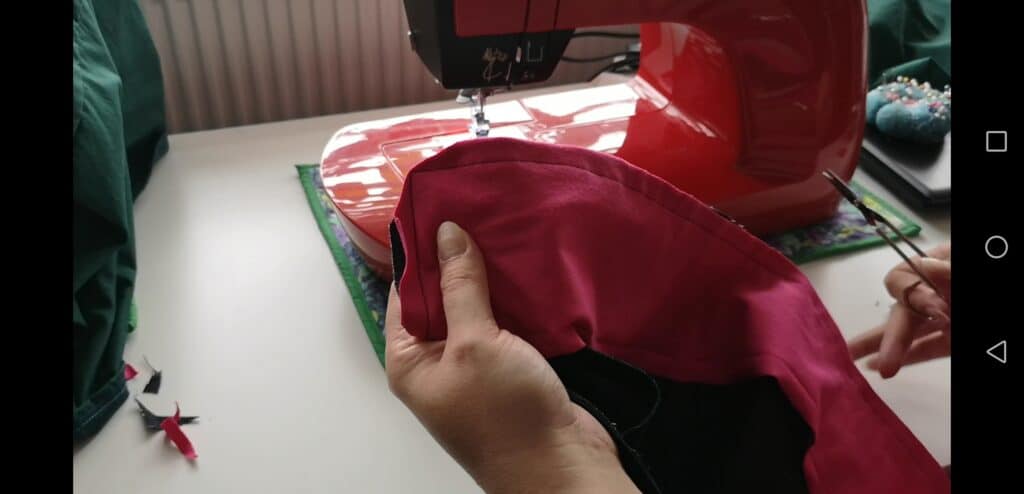
Clip your corners, turn it through.
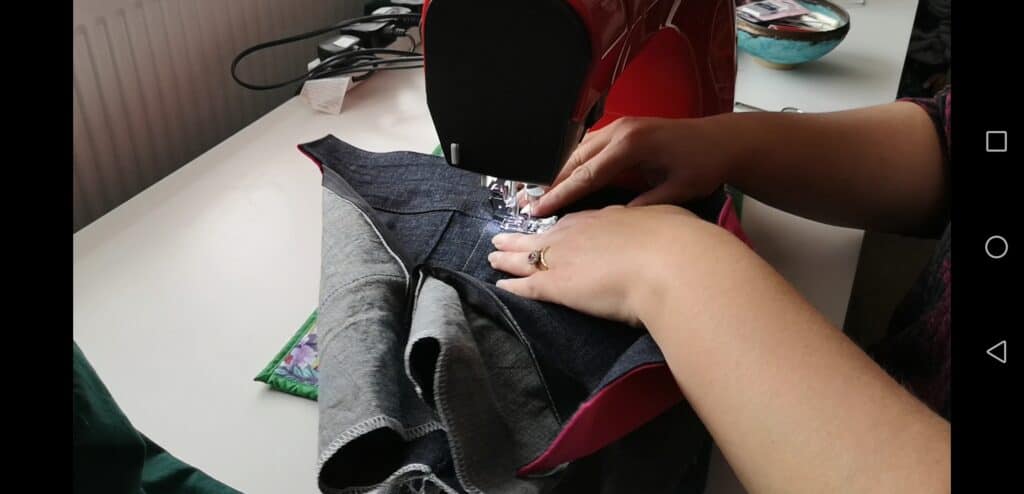
Press and topstitch around the entire waistband.
Then finish off your garment as per the regular tutorial instructions and you’re done!
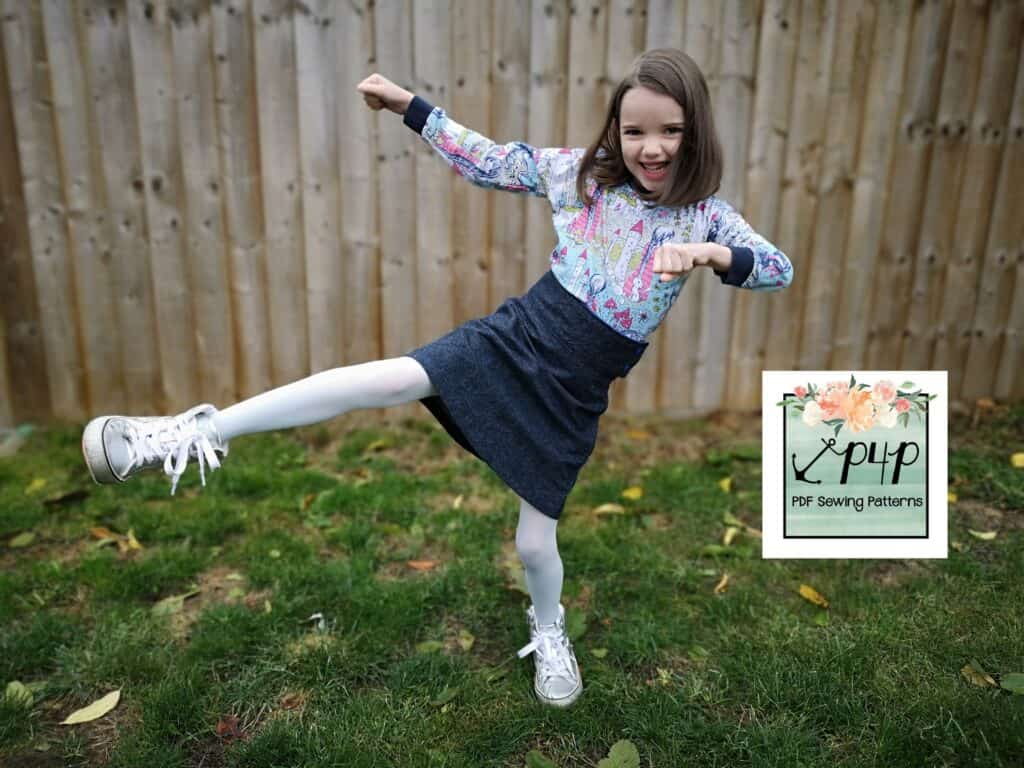
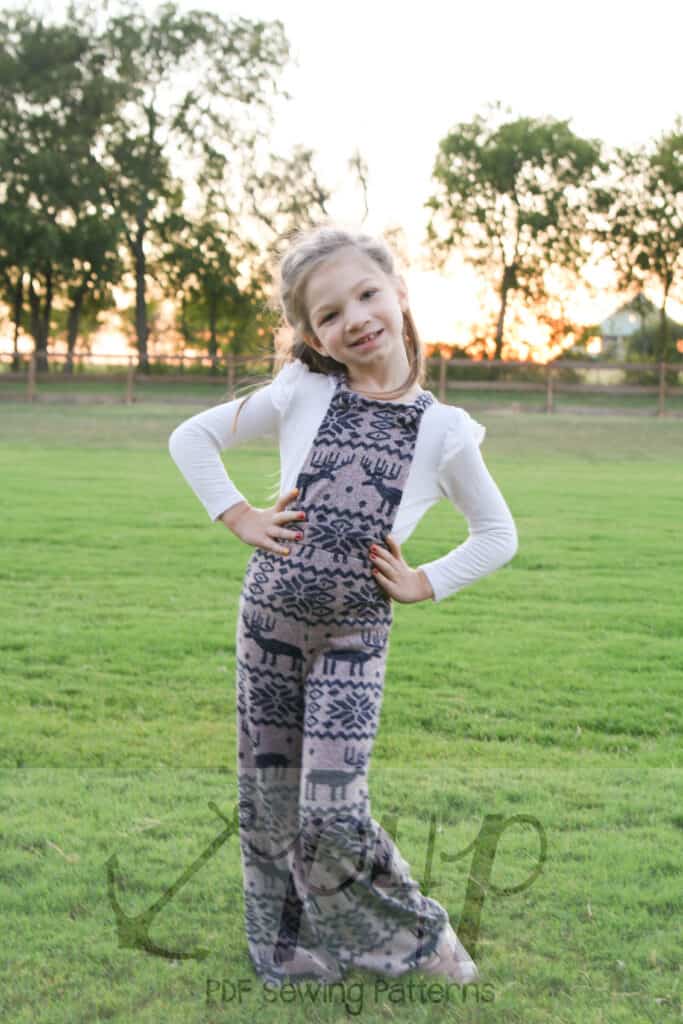
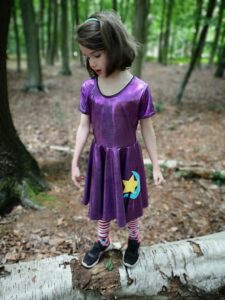
We style them with tights, Doc Martins and a crop length Hepburn. I loved it so much on the shorts I had to do it for the skirt too!
Anyone else find that their child turns into a karate expert as soon as you turn on a camera?!
Obviously you can also just sew this up with the regular height of the original waistband too. The choice is all yours!
Happy sewing!
Dana x
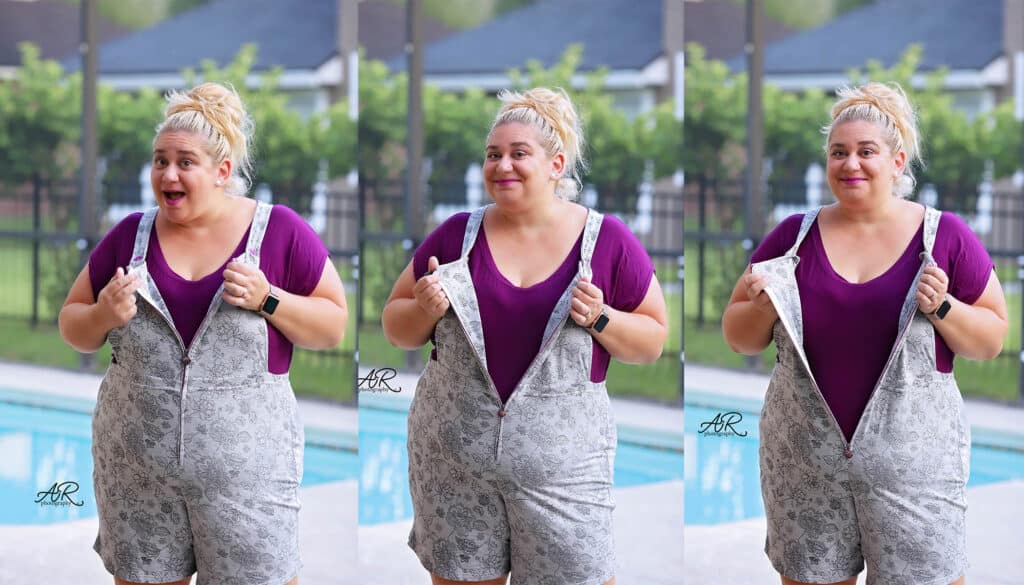
Front zipper
Up next we wanted to show you a different style jumper that can be achieved with the new Vintage pattern. Let’s add a zipper to the front instead of the side. This a s great opportunity to show off your favorite zippers and pulls. For my example I am using zipper by the yard with a fun rainbow finish zipper pull. I also went with a Doodles French Terry instead of stretch woven. Cut your pattern as instructed in the tutorial. You will make two changes. Remove the part of the waistband beyond the notch on both ends. Repeat for the waistband lining. The other modification would be for the bib. Cut two 2 mirror images instead of 1 set mirror pieces and the lining on fold.
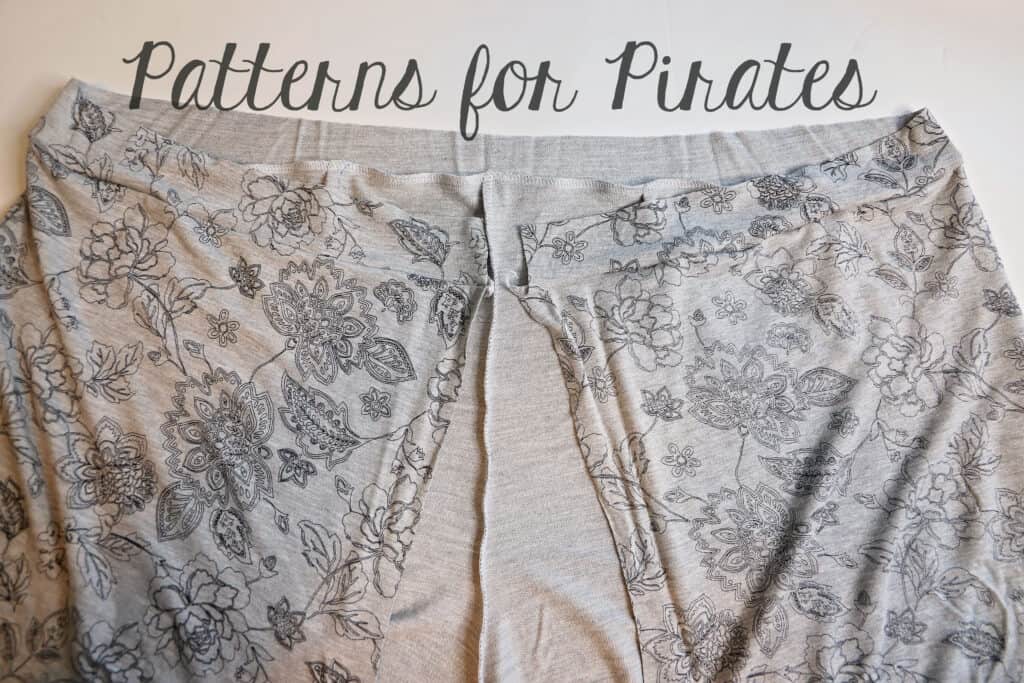
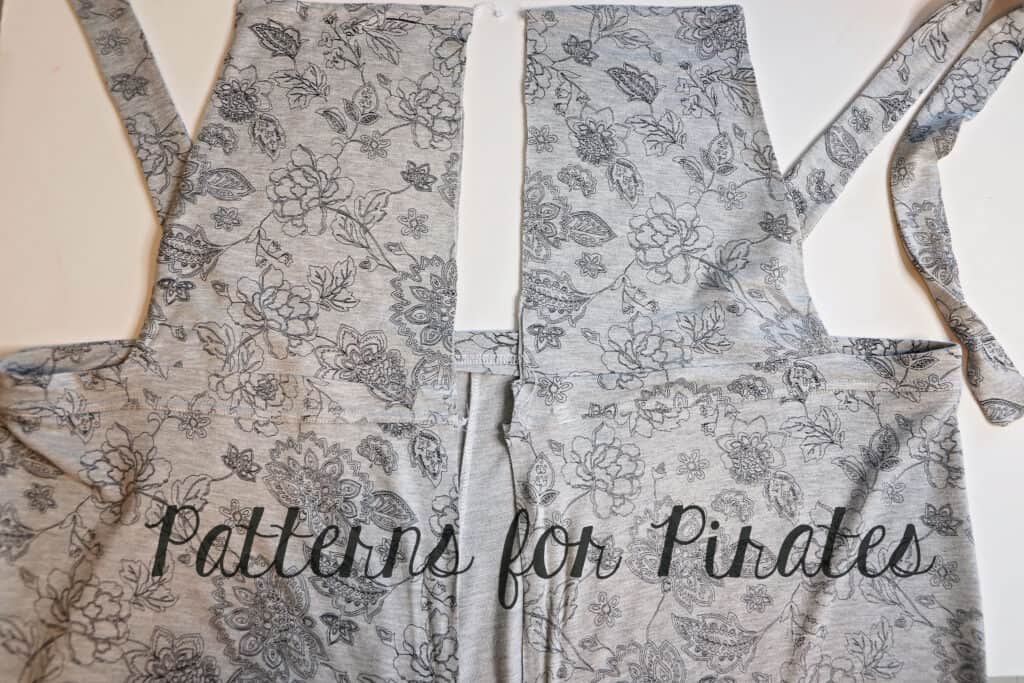
After sewing the darts on the back pants pieces, sew the back crotch seam and the two side seams. The pants will not be sewn at the front crotch just yet.
Prepare the bib by sewing the left side main and lining piece right sides together along the top and slanted side raw edge. Repeat for the ride side bib. You will now have two bib piece that will have raw edges on the vertical center seam and bottom.
Attach the main print waistband to the pants right sides together by matching the center to the center back and the raw edged to the front raw front seam.
Pin the straps matching the strap placement notches. Place the bib on the top edge of the waistband, right sides together matching the raw edges. Repeat on the other side with the other half of the bib. Place the lining on top, right side down, sandwiching the bib in between the main and lining waistband. Stitch in place.
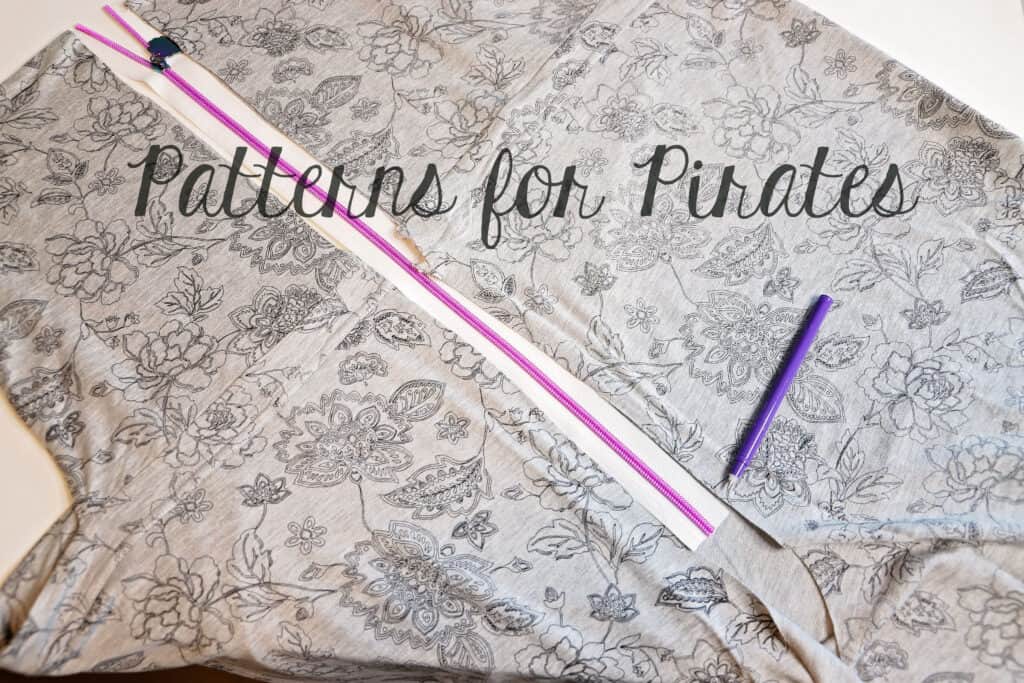
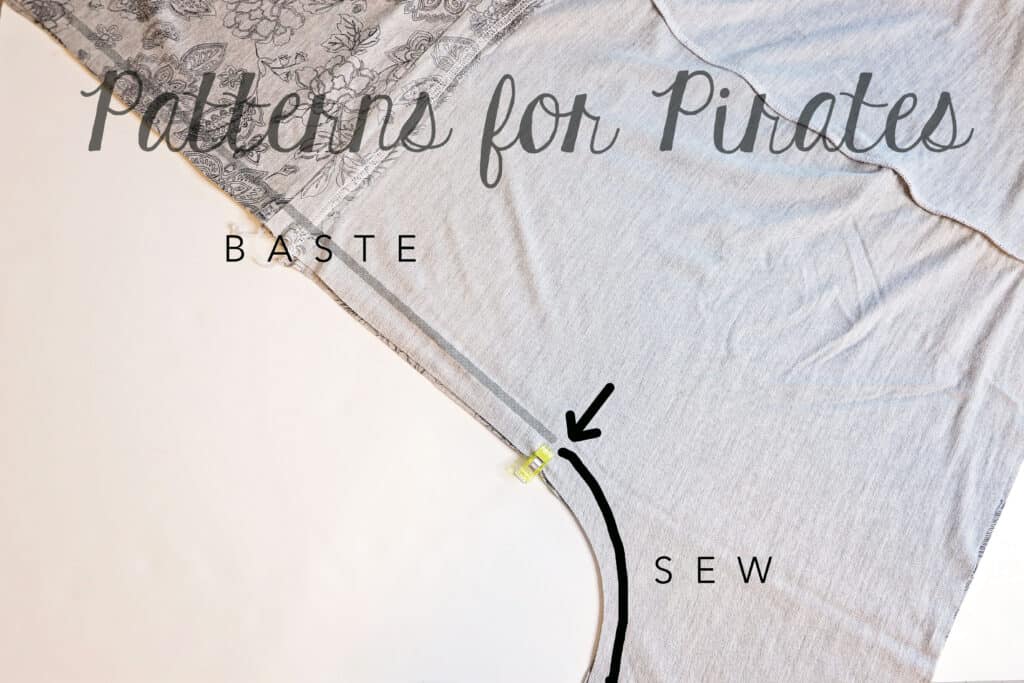
Mark the place of the zipper stop on the wrong sides of the fabric. Place the front of the jumper right sides together matching the front raw edge. Baste in place from the top to the marked point and sew in place down from that point along the front crotch seam. Attach the zipper using the same technique as in the Vintage Jumper tutorial.
Finish your jumper by attaching the straps to the front and hemming. All done! I can’t wait to see your take on this hack.
….
Overall buckles
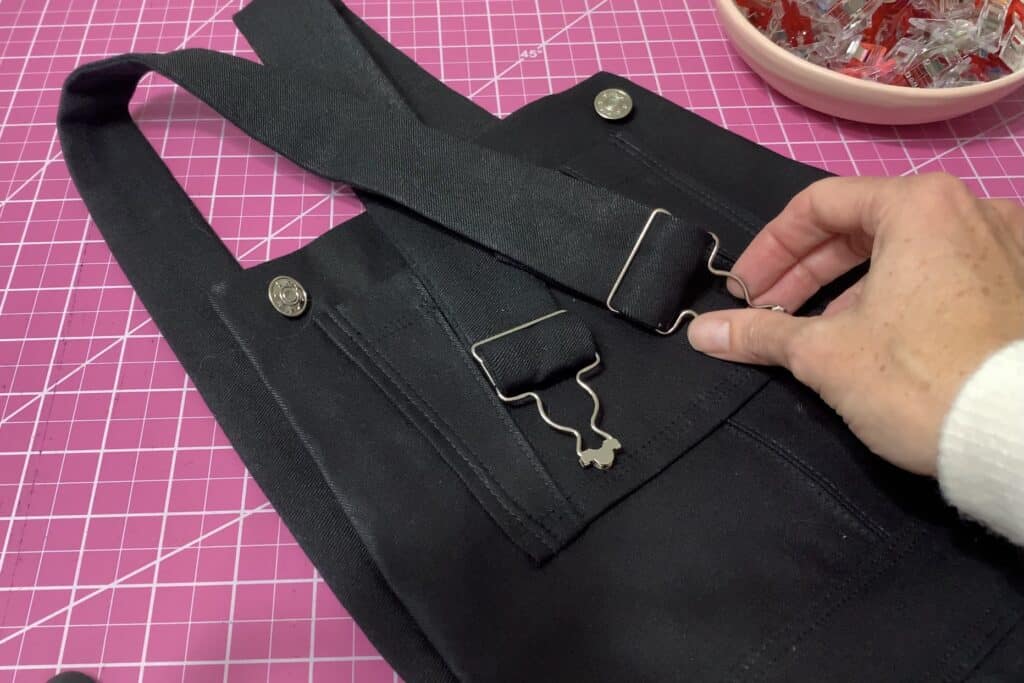
Love the Vintage Jumper, but you’re terrified of button holes? Never fear! Buckles are here!
Adding buckles as a button replacement is an easy and super cute hack… no extra sewing involved!
For the Vintage Jumper, you’ll need 1 ¼” buckles. I ordered mine from WAWAK and they came within 2 days, but you can also order from Amazon or pick them up in your local fabric store.
I’ve put together a video tutorial, but if you prefer written instructions, just scroll a bit further!
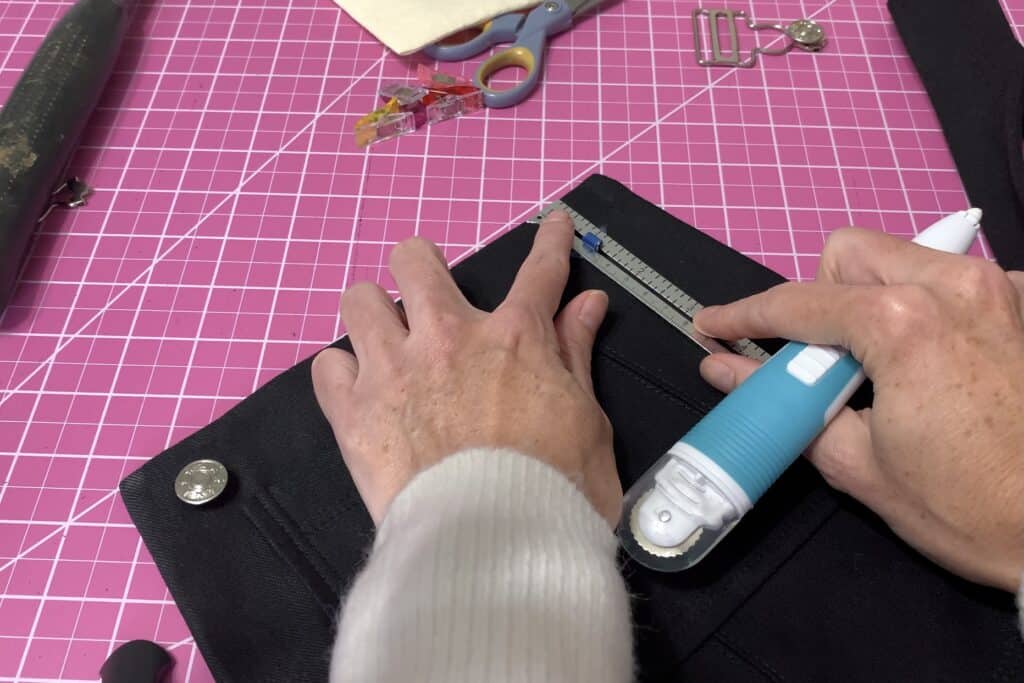
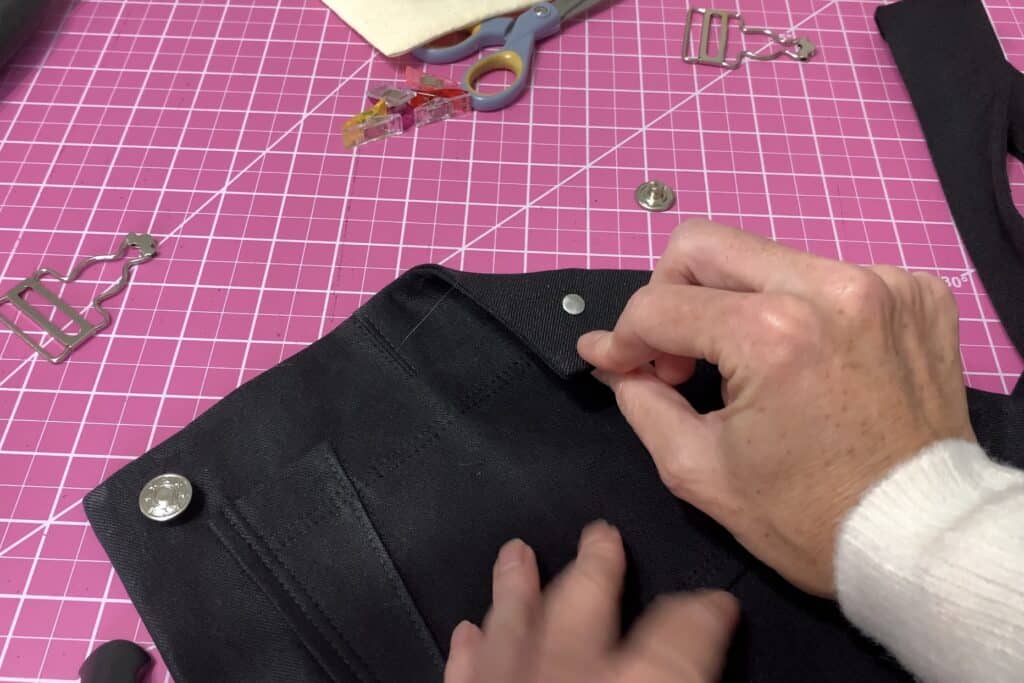
Mark your button placement on the bib with tailor’s chalk, 1” from the top and side edge of the bib.
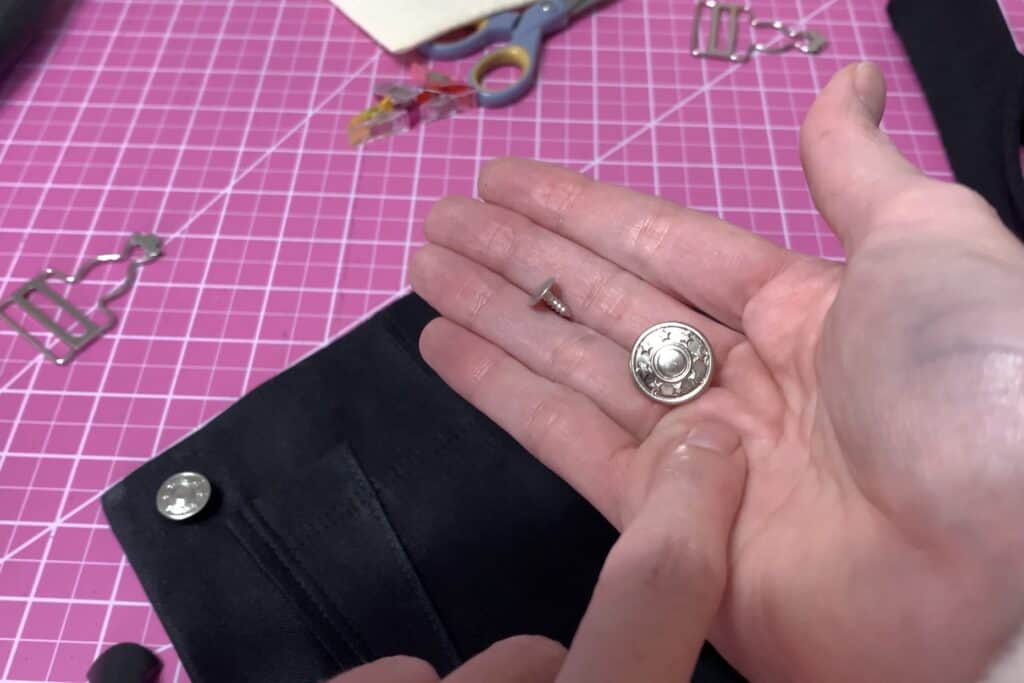
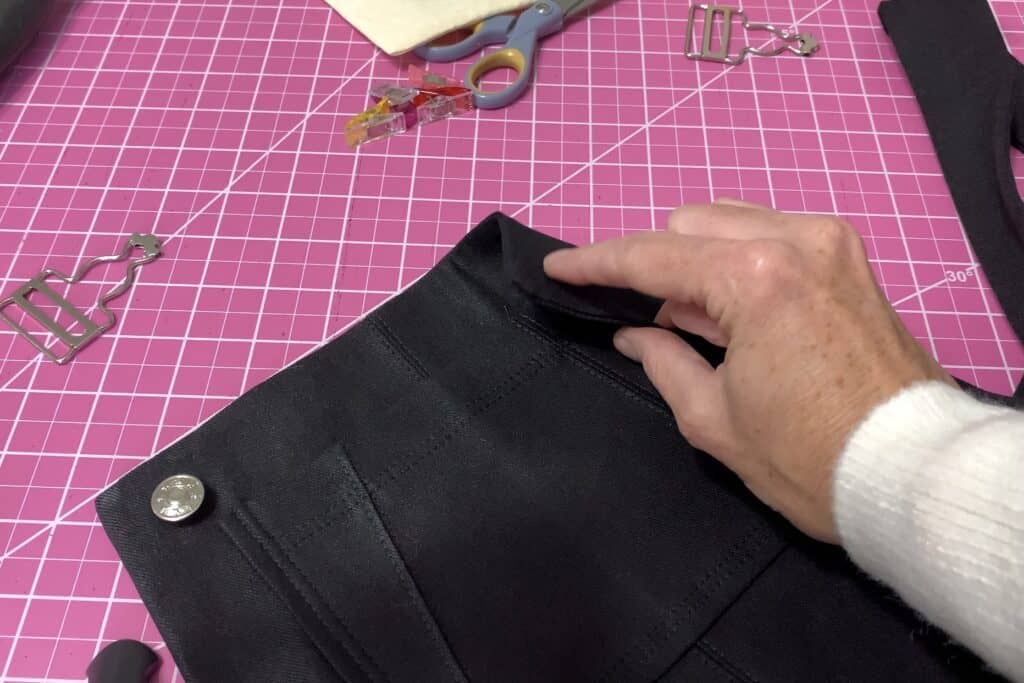
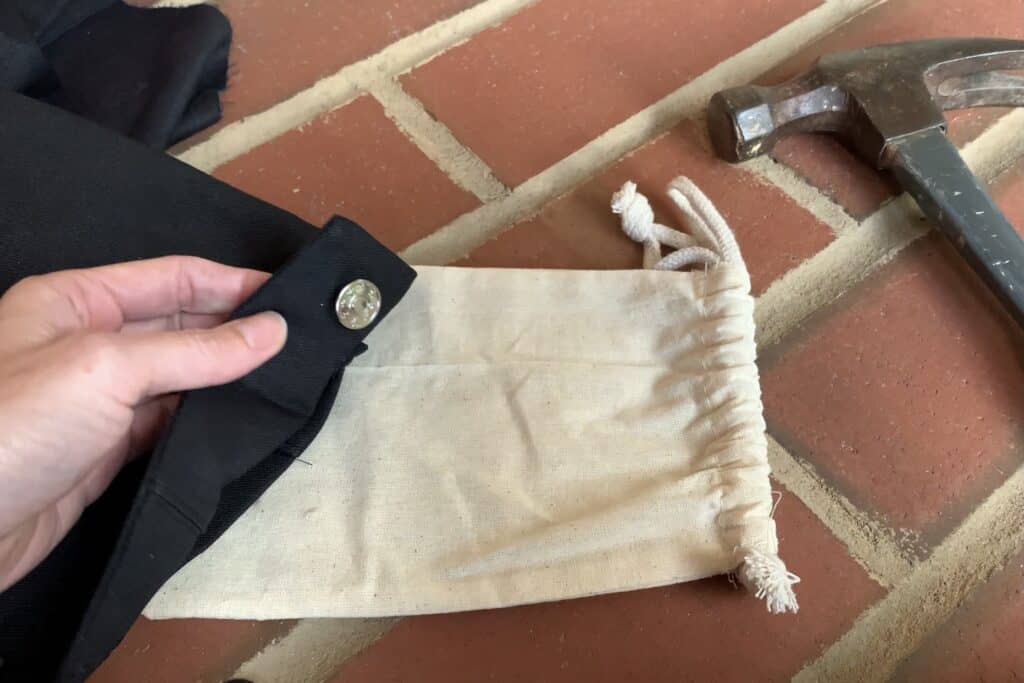
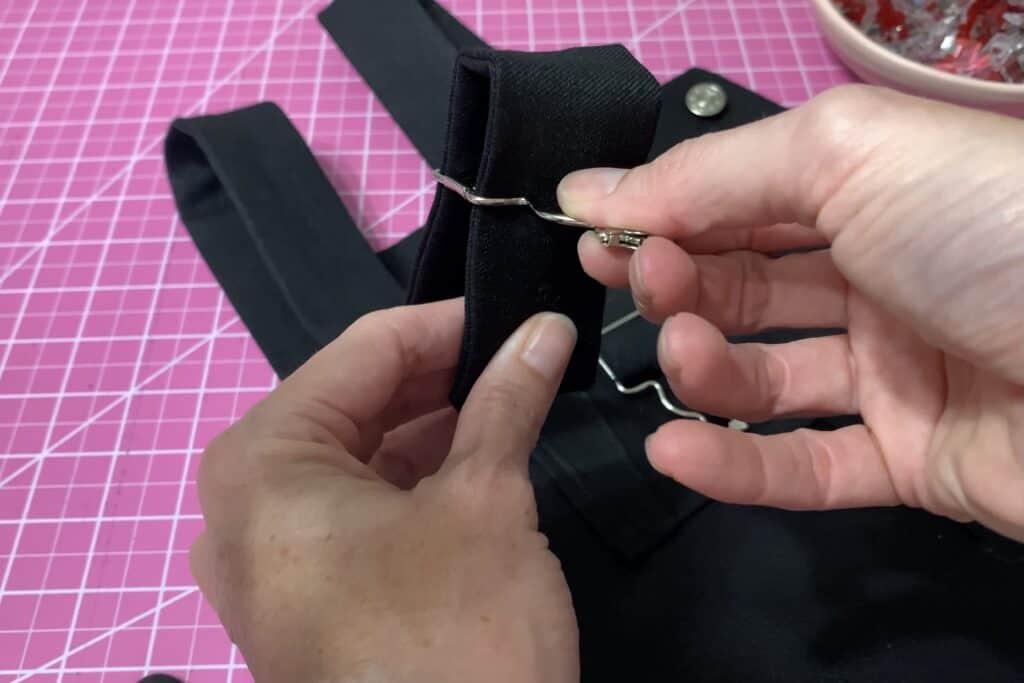
Take your button post and push it through the backside of your bib, at your chalk mark, going through all layers of your fabric.
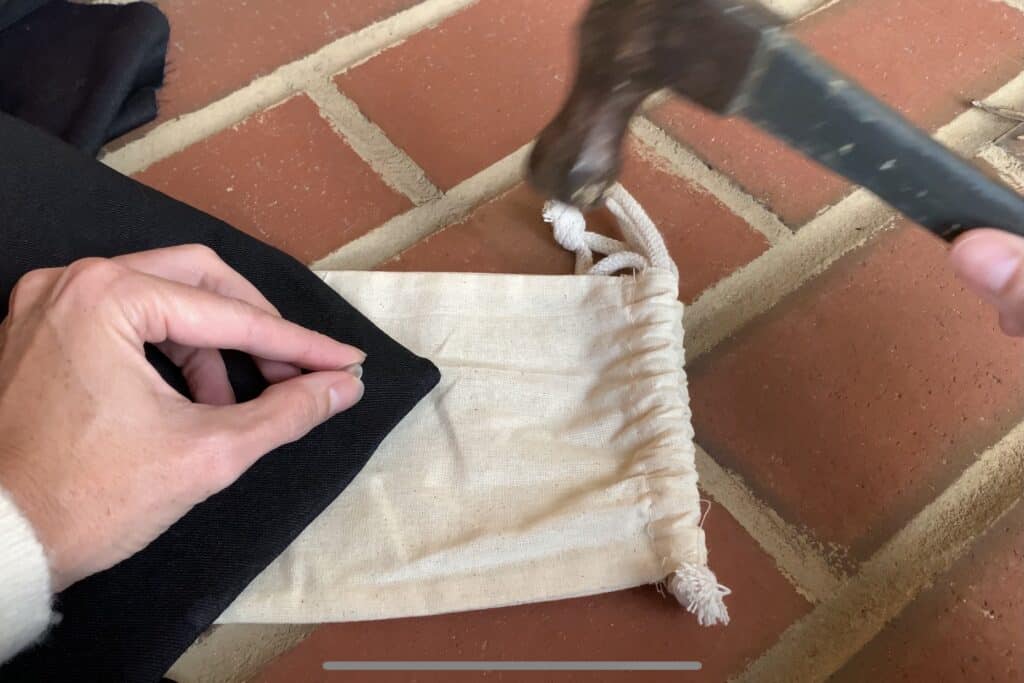
Protecting the front side of your button (as I’ve done here with a simple cloth bag), hammer the button post into the button.
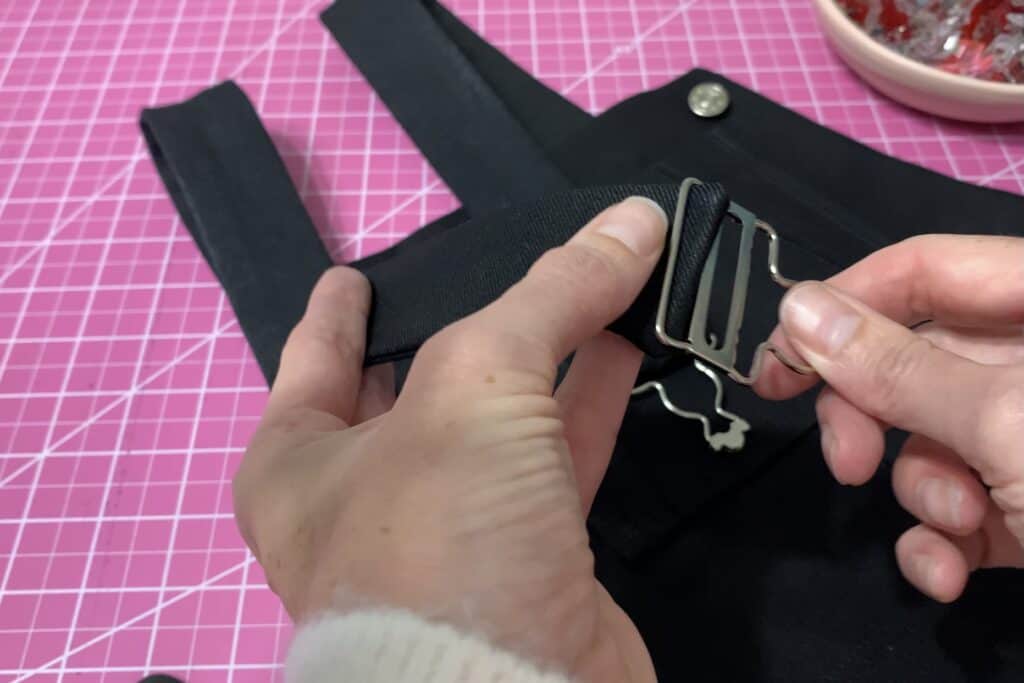
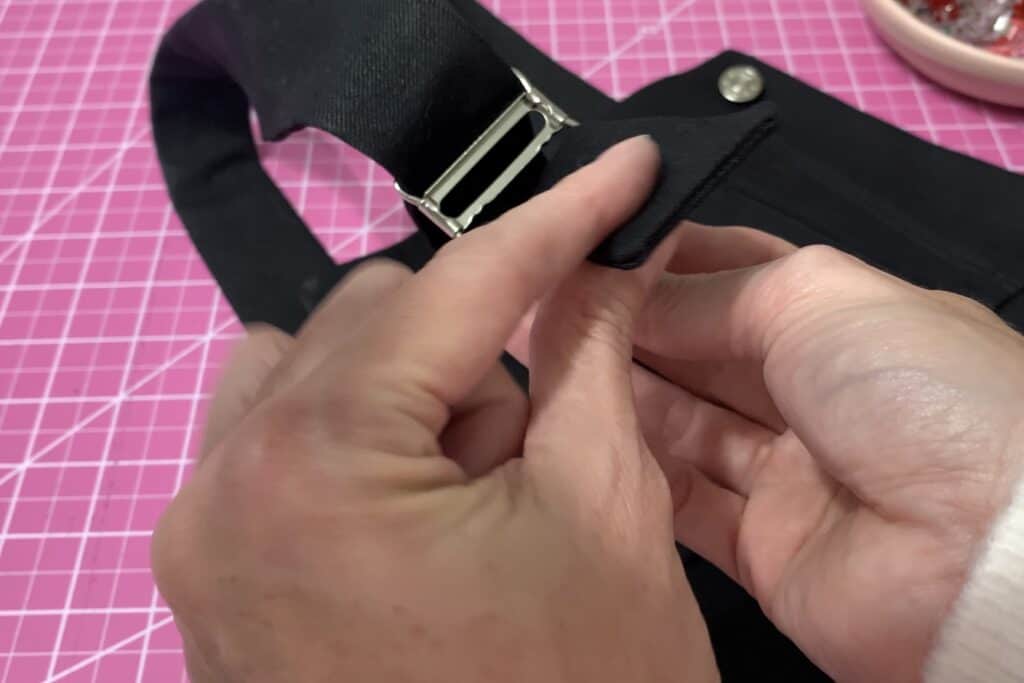
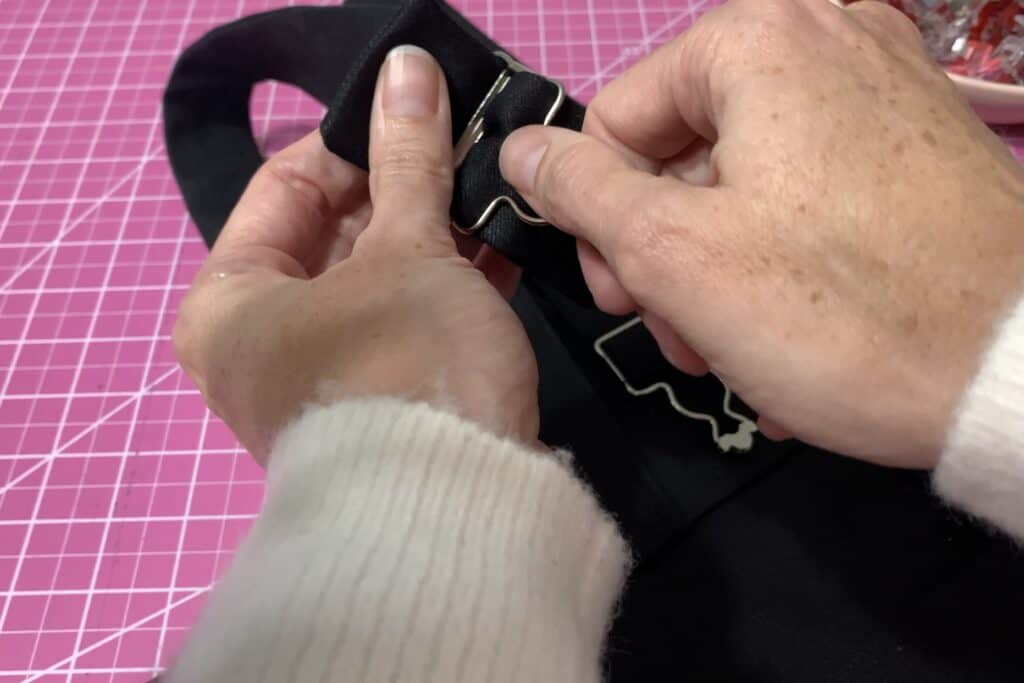
Thread your straps through the buckles, starting with the top…
Running through the bottom…
Back through the middle…
And behind the front of the strap, back through the top loop.
Give yourself plenty of play in your straps to make fit adjustments
5. Adjust the straps to your preference and you’re done!
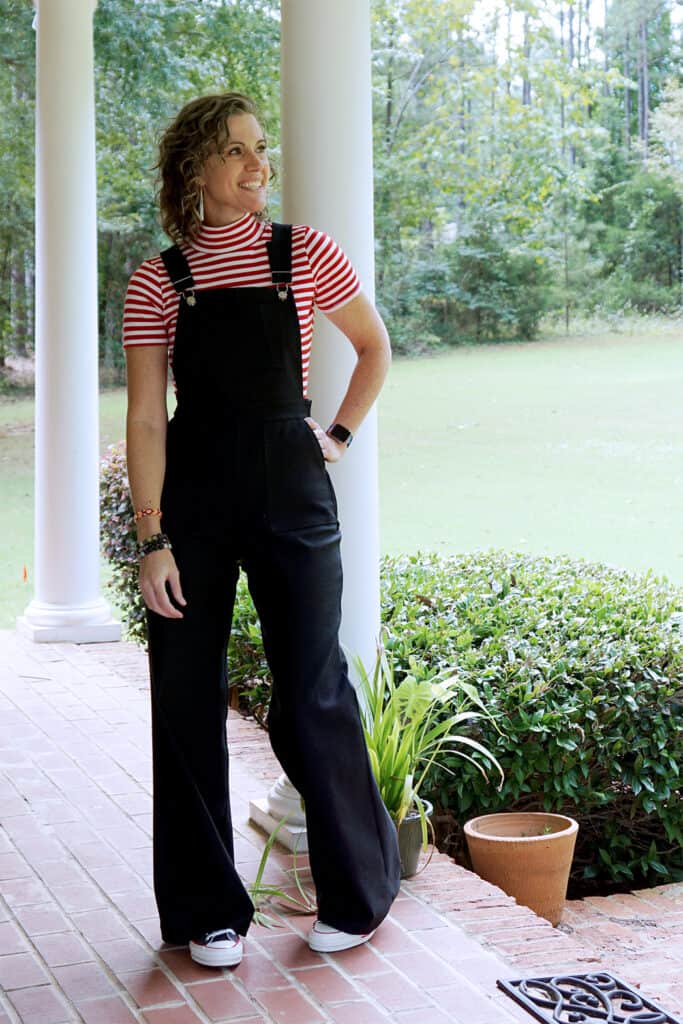
I have always loved overalls! I am so glad to have this updated pair in my wardrobe. As with all Patterns for Pirates makes, you can’t stop with one. I already have the fabric ready to make another pair soon.
I hope you enjoy your new jumper!!
Rachel
….
Skip the Zip
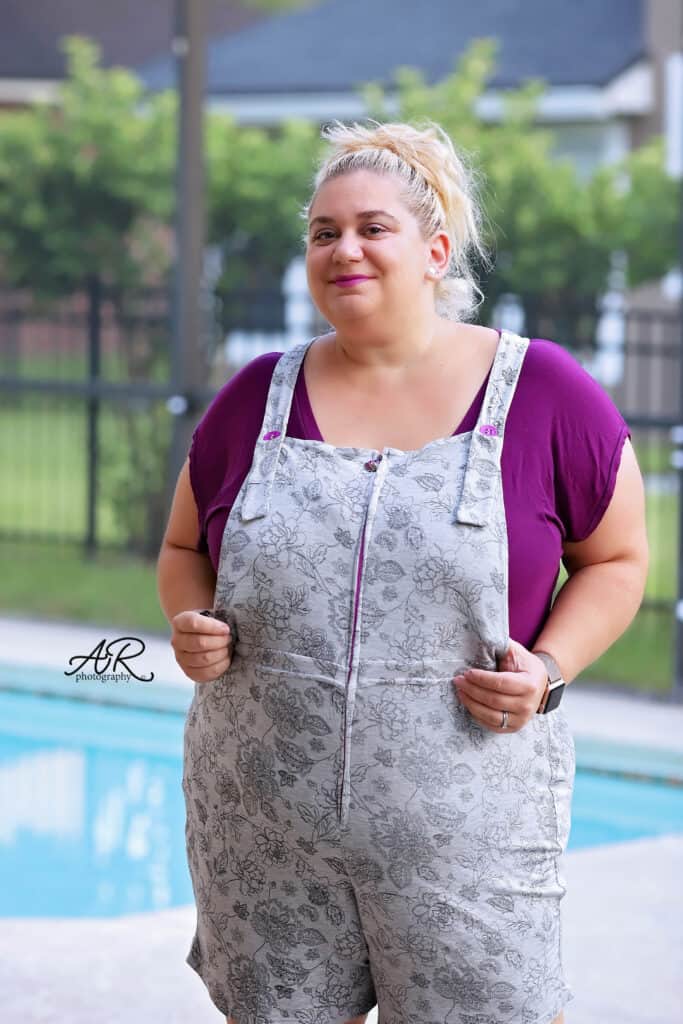
If you’d rather skip the zip you can choose a fabric with high stretch and recovery and slip it on/off. It’s a very simple modification, just make sure your fabric is stretchy enough to slip on and off with the snug waistband at natural waist. You will want a fabric that is more stable and can “hold” that waistband shape nicely. Or you can add some 1″ elastic into the waistband to help keep the shape.
Cut out all your pieces the same, except the waistband. You will need to trim off the extra 1″ on each end since we will not have them overlapping for a button. If you’re adding elastic I cut mine just slightly shorter then my new waistband piece so it would be snug to her waist.
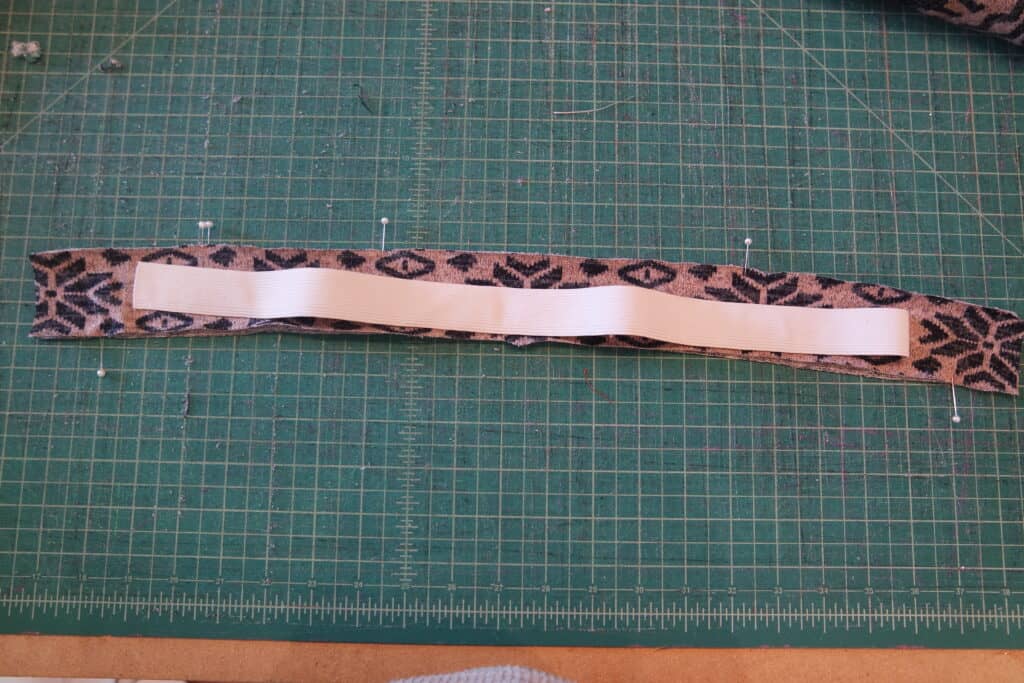
Instead of sewing your zip into your side seam you’ll just stitch it up. Stitch your waistband pieces into a circle. If you are adding elastic sew it into a circle as well.
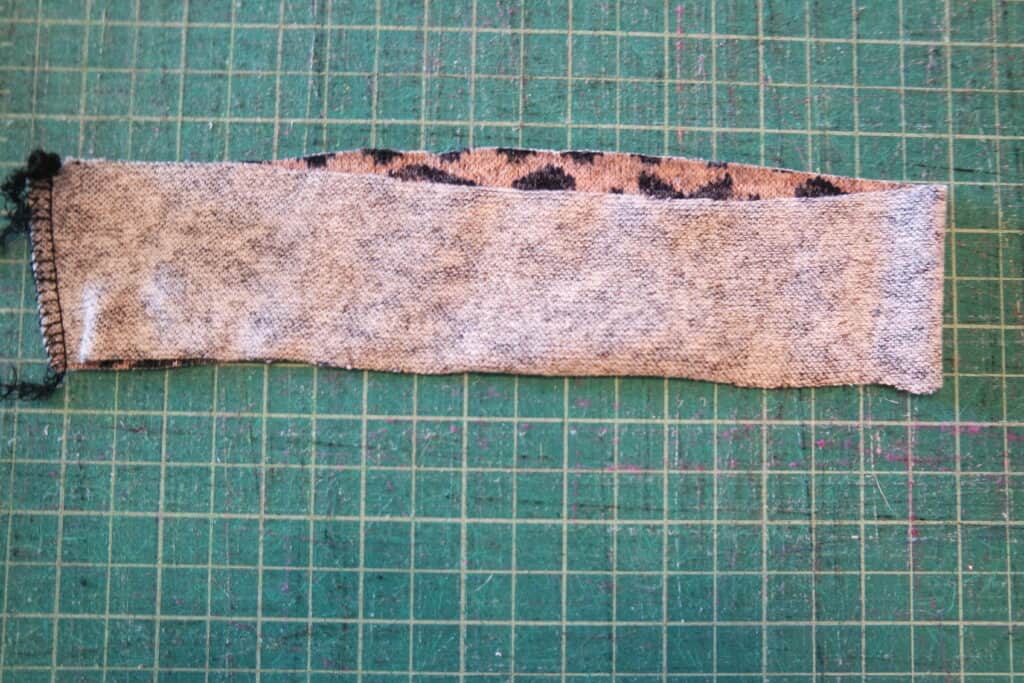
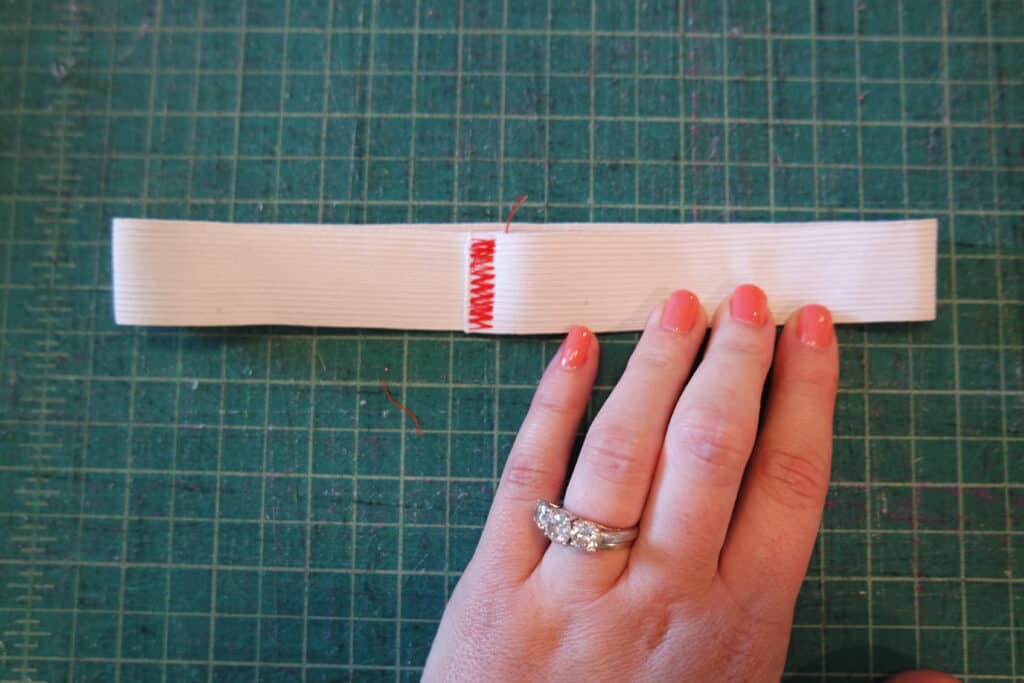
You will follow the same steps as the tutorial attaching the main waistband piece, sandwiching the straps and bib between the main and lining waistband, and top-stitching band. You will just be sewing in a complete circle rather then having the ends that overlap for a button.
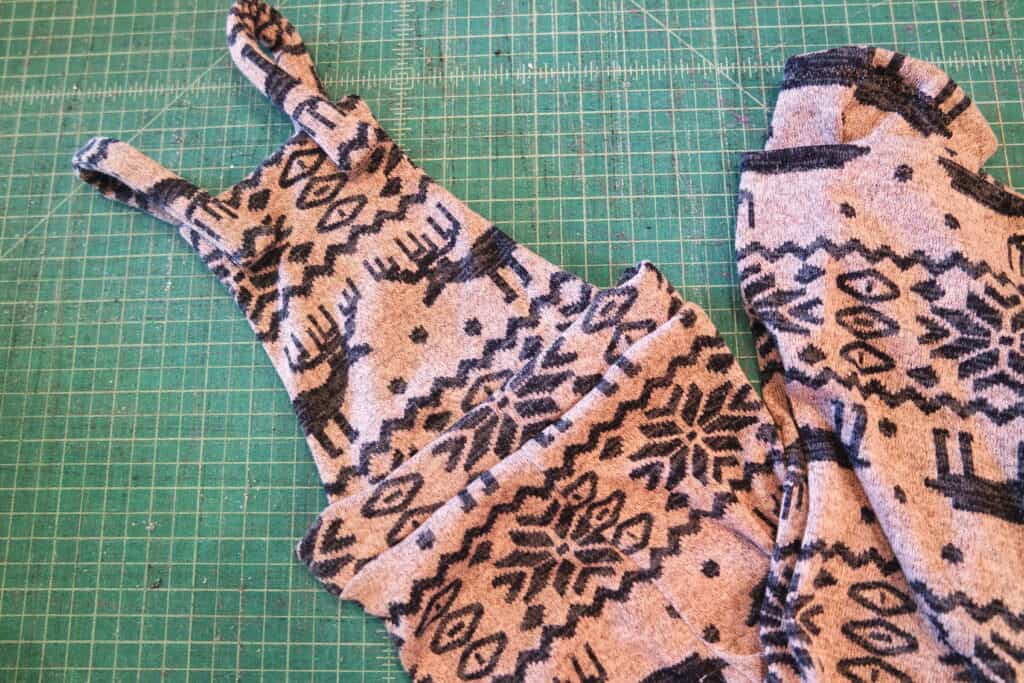
All done, now you can just slip it on/off with no zip!
….
Zipper Guard
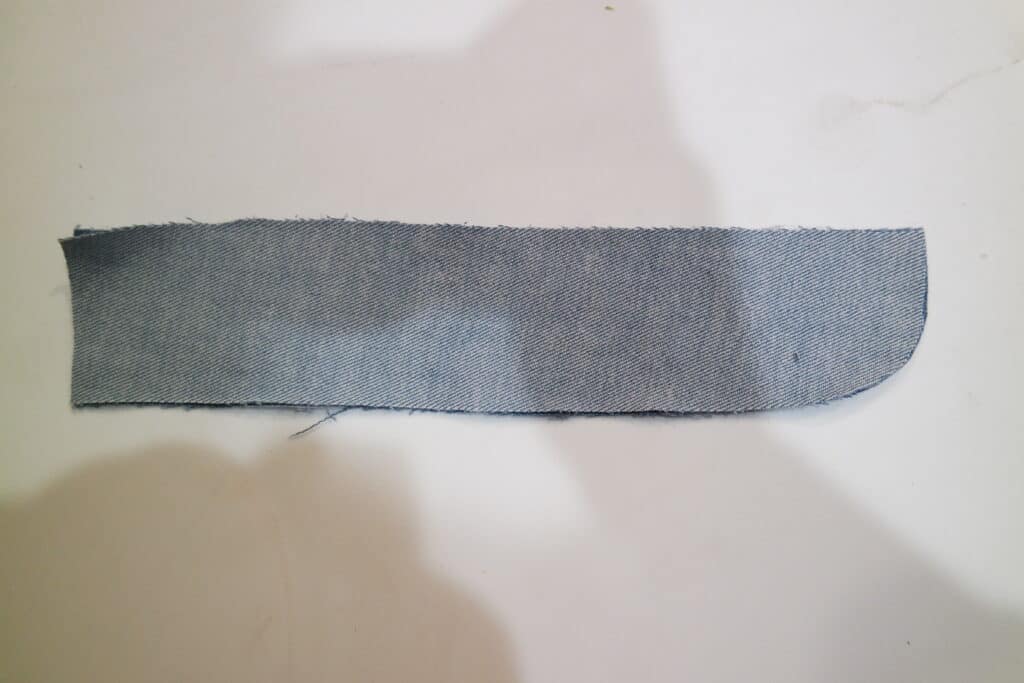
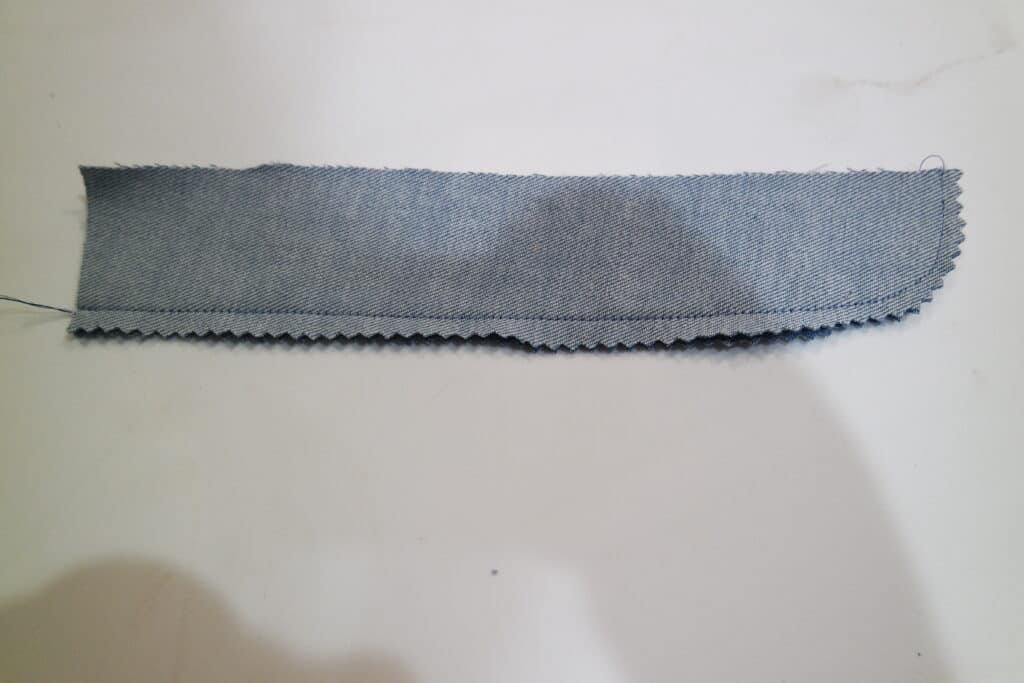
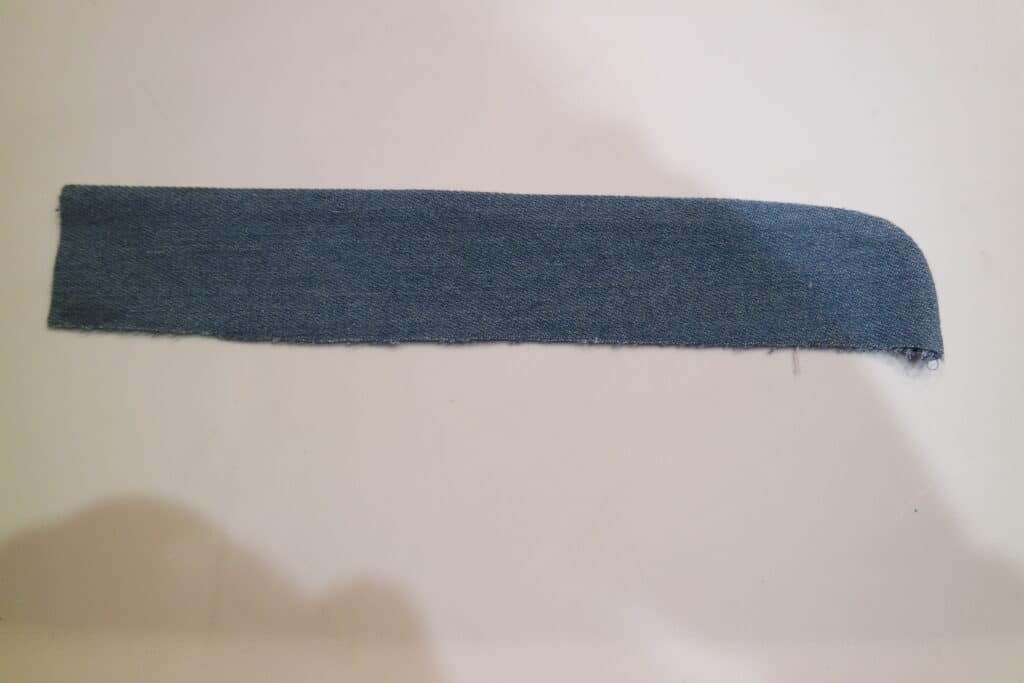
If the feeling of the zipper on your skin bothers you- you can add a simple zipper guard quickly and easily. You will cut out 2 rectangles (you can curve the bottom edge if you’d like I did or leave it a rectangle) a little longer (1-2″) then your zipper and about 2″ wide.
Stitch your pieces right sides together along one long and short edge like a L (J if you curved your corner like me) shape. Trim seam allowance and flip right sides out. Press and stitch.
Place your zipper guard along the side seam with zipper with the raw edges aligned to the seam allowance of the front pant/skirt. Stitch guard to seam allowance (do not stitch through pant/skirt).
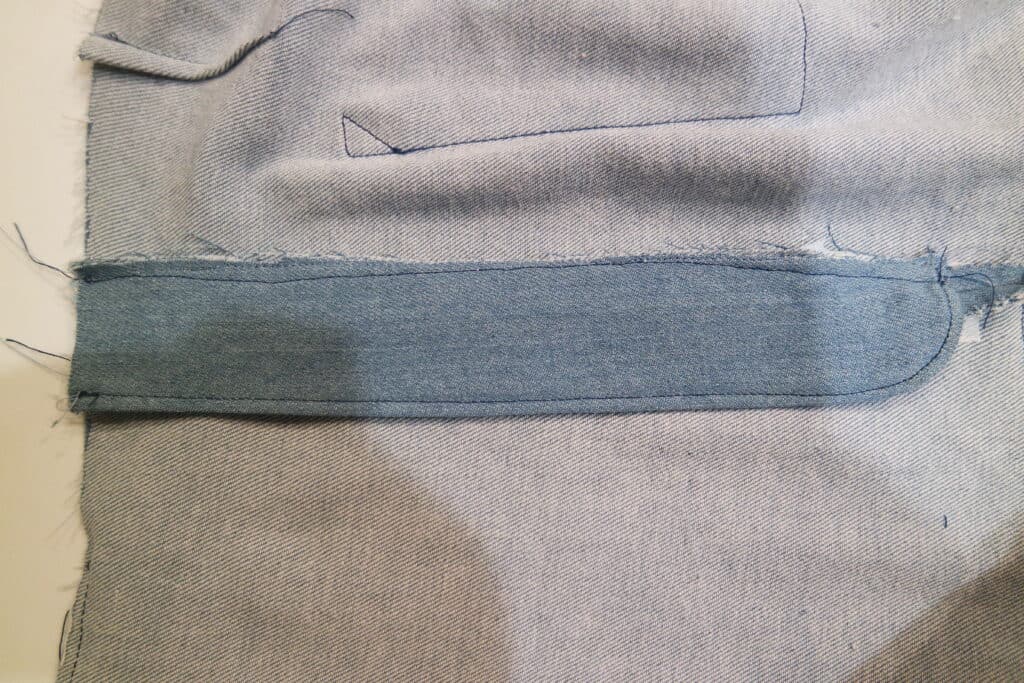
Pin in place from front. Stitch in the ditch along your zipper seam on the front pant/skirt through the zipper guard.
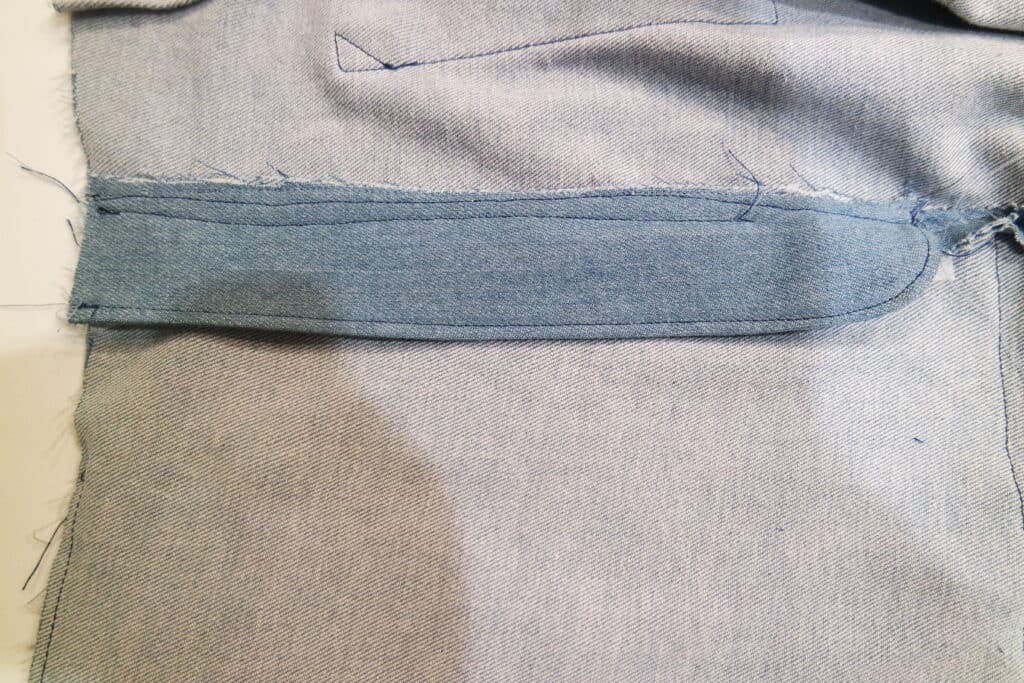
You can also continue to stitch in the ditch across the bottom and up just a little to help keep the guard in place when taking on/off. This is what it will look like after with the zipper guard keeping the zip from touching your skin:
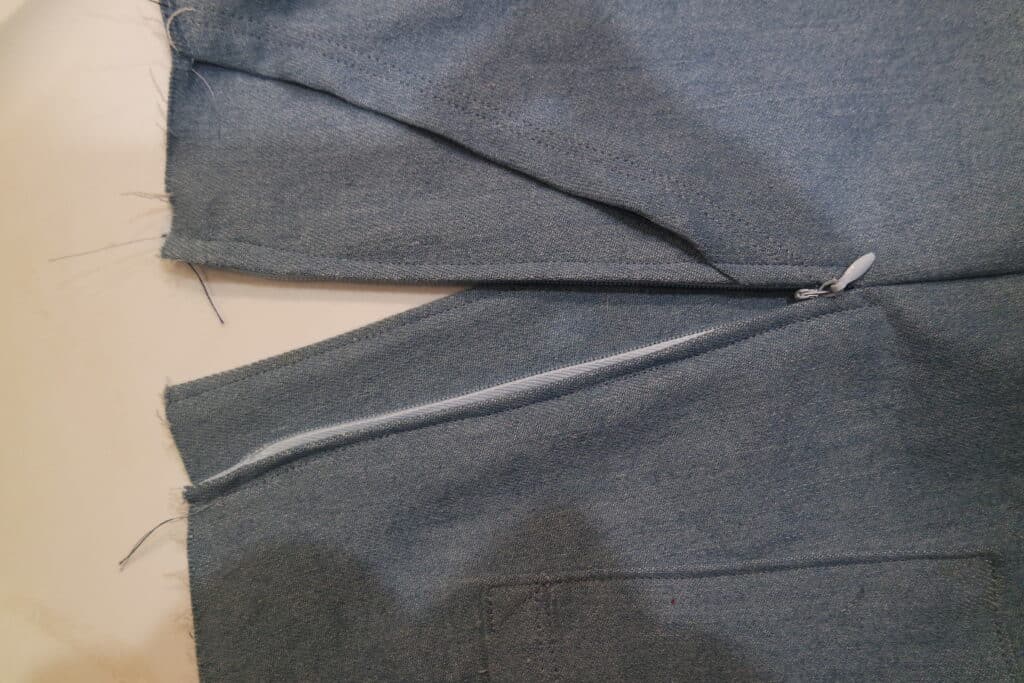
….
Add some Ears
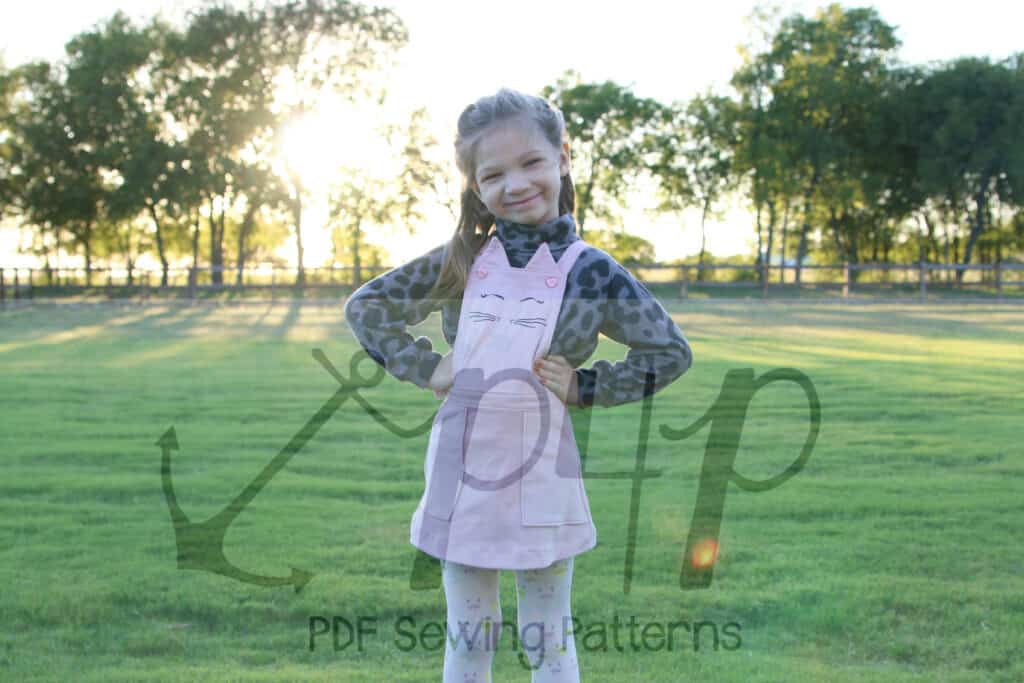
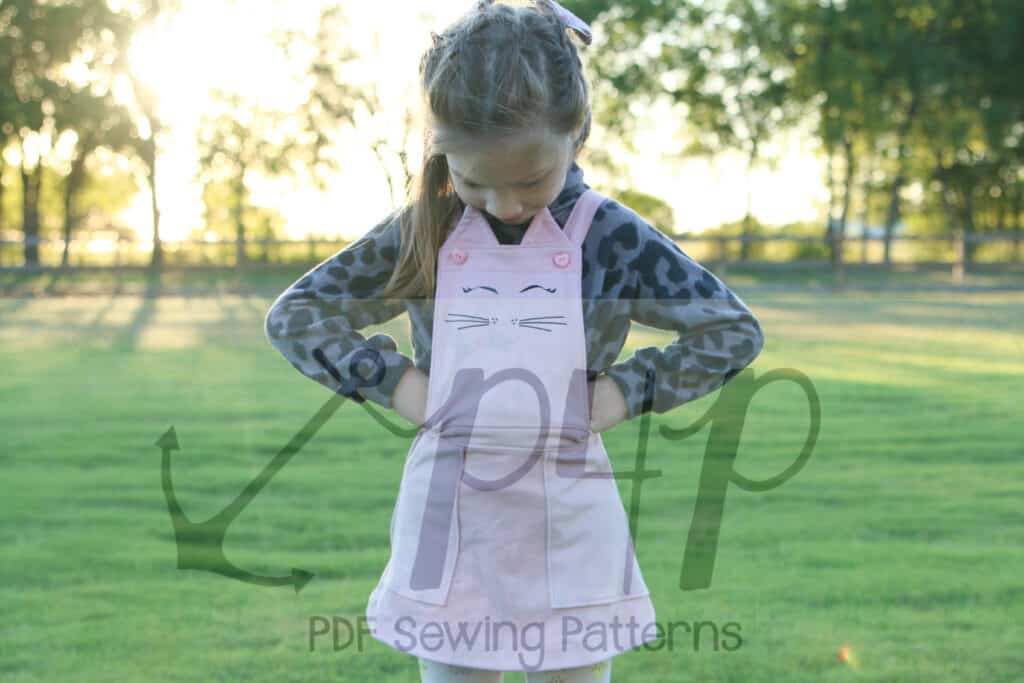
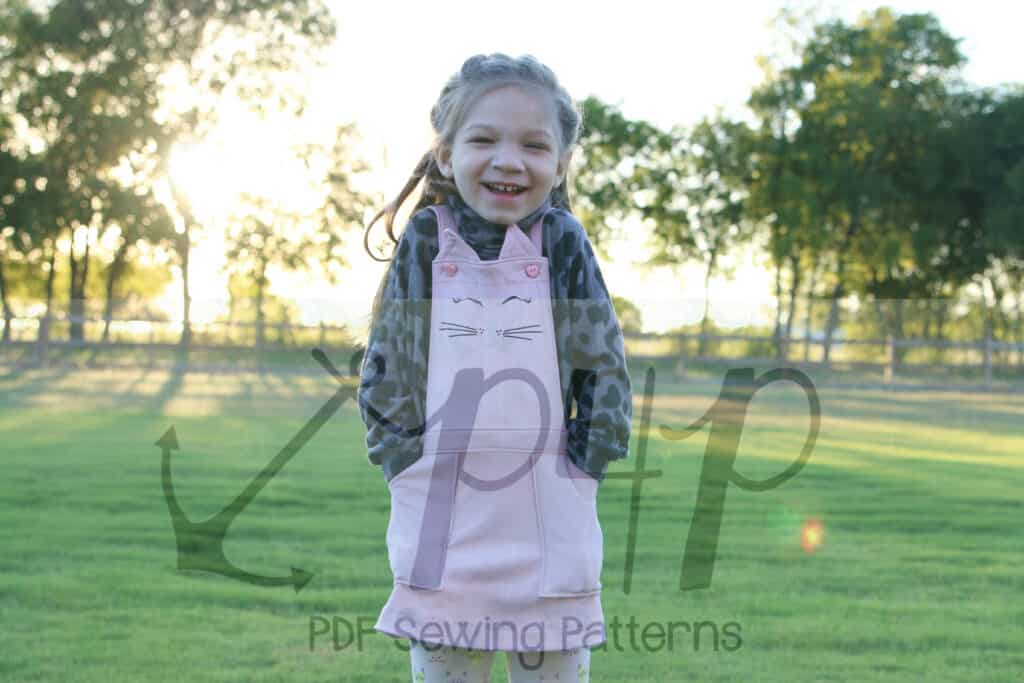
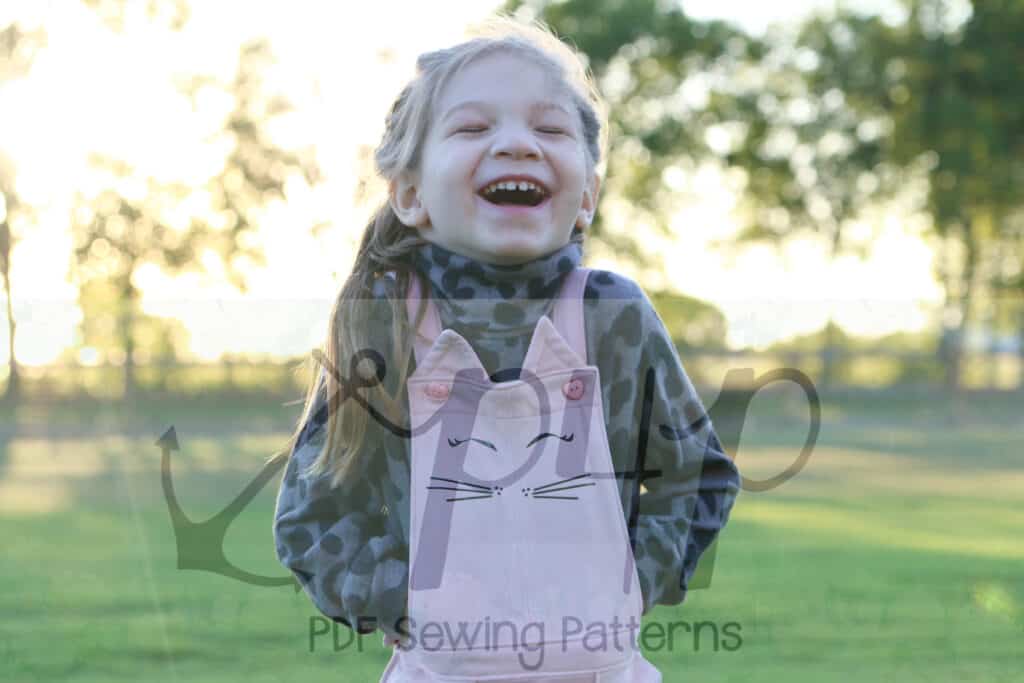
Adding a little face and ears is always a way to make my daughter super happy with something I sew her. She requested a kitty for this one after seeing one similar at a store. It was such an easy little modification. I simple free-handed the ears… but we do have some ears in the Oversized Sweater-Youth pattern and I used the faces from our free Animal Faces for our Jolly Roger Raglan. I only freehanded the ears to make sure they fit perfectly and…. well… I didn’t want to print anything 😉
Stitch the ears up and sandwich them between the main and lining bib. Ta-da… that’s it! So cute and simple!
What an amazing line up! We look forward to seeing your own “”hacked” Vintage Jumper creations on Facebook and Insta.
New Pattern Releases :: Vintage Jumper
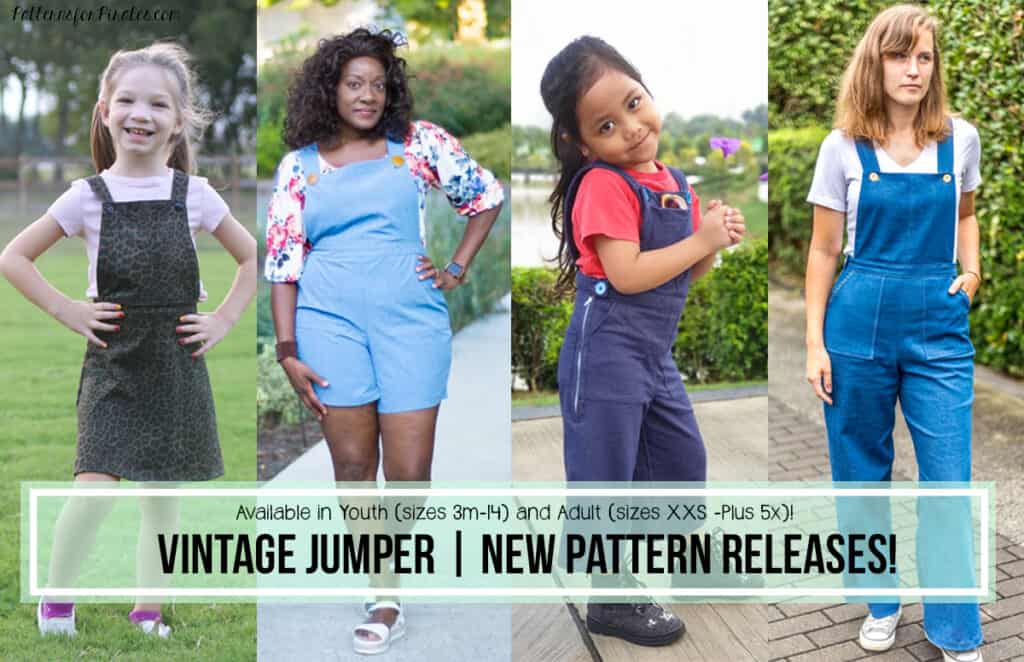
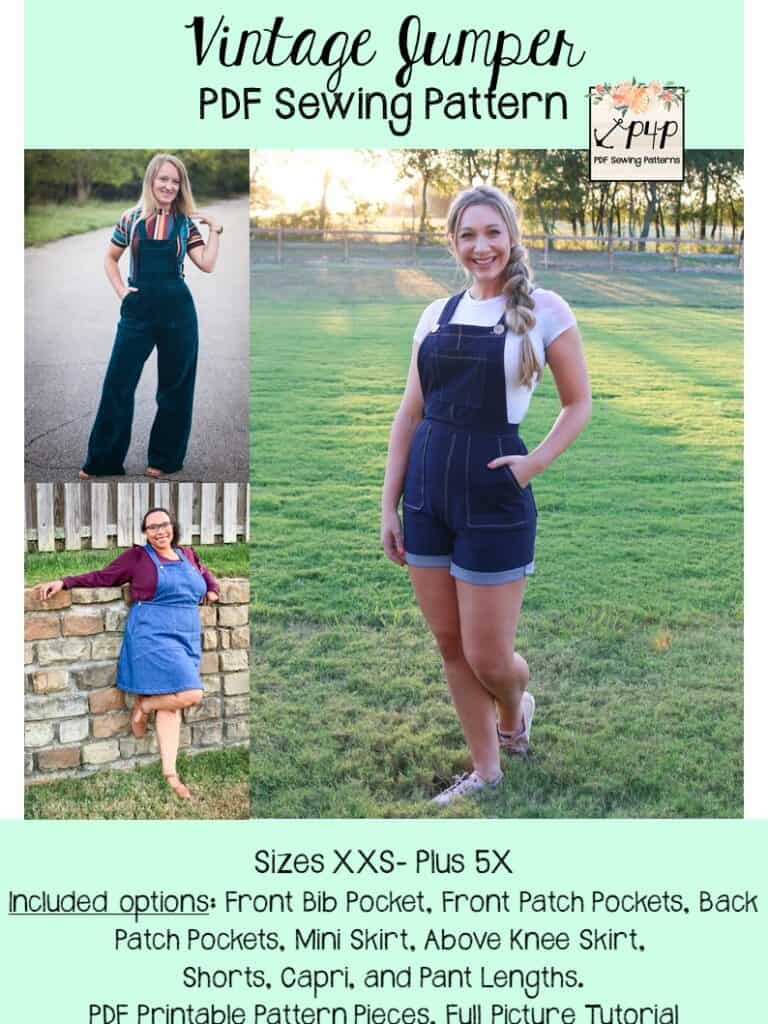
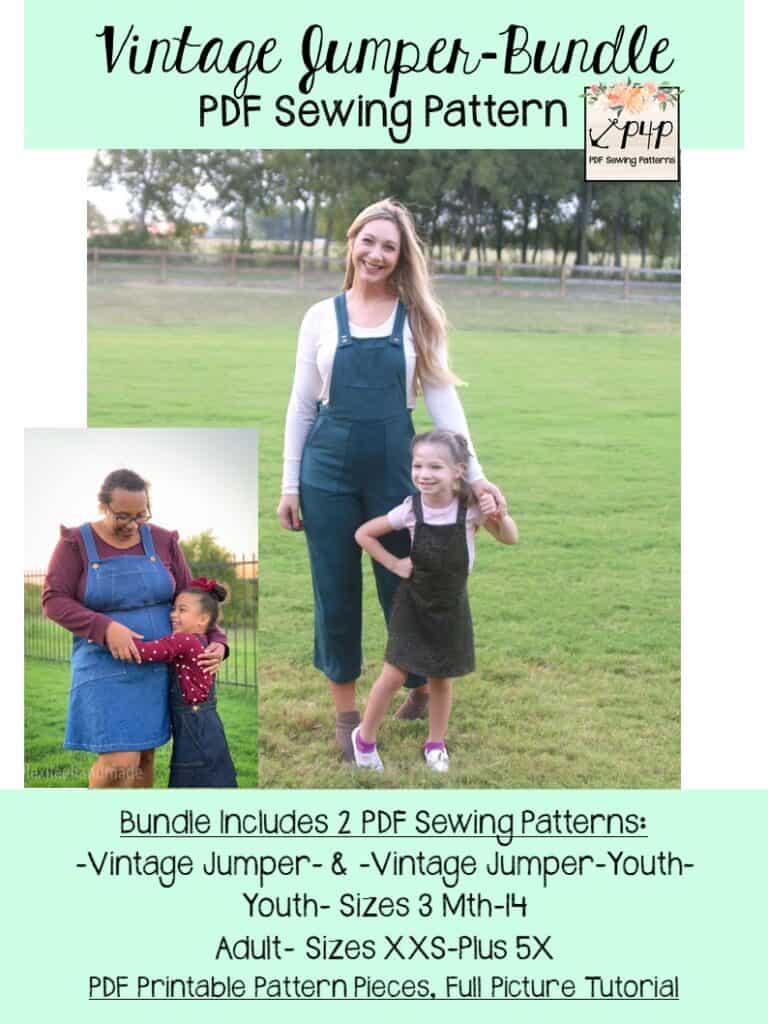
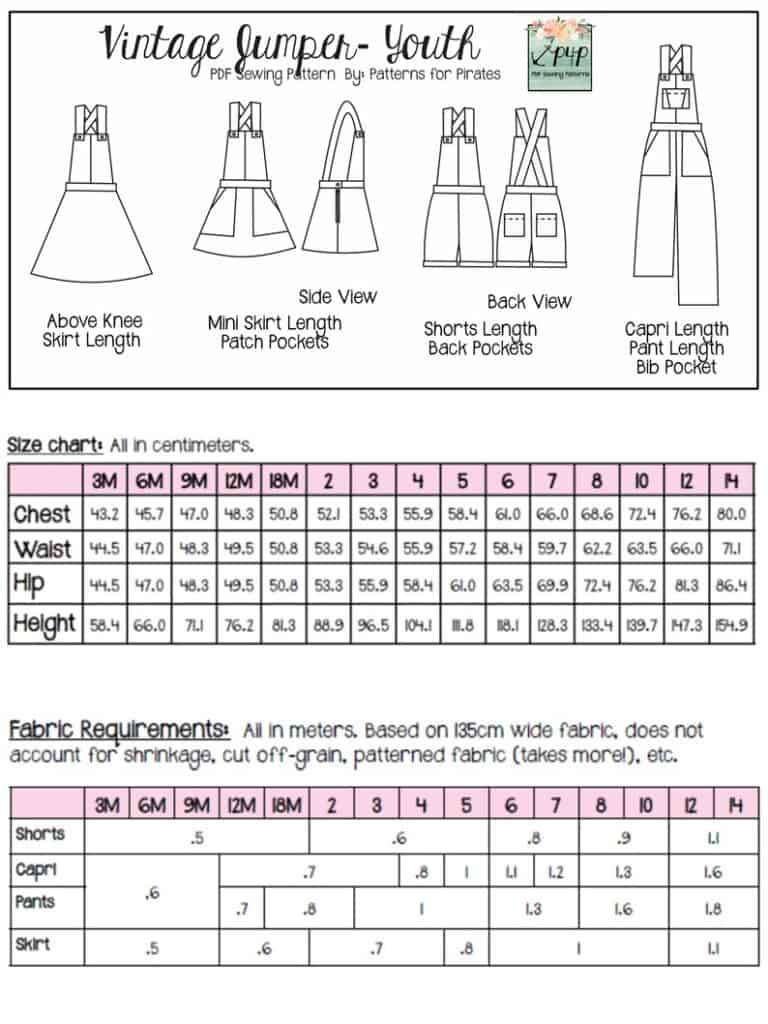
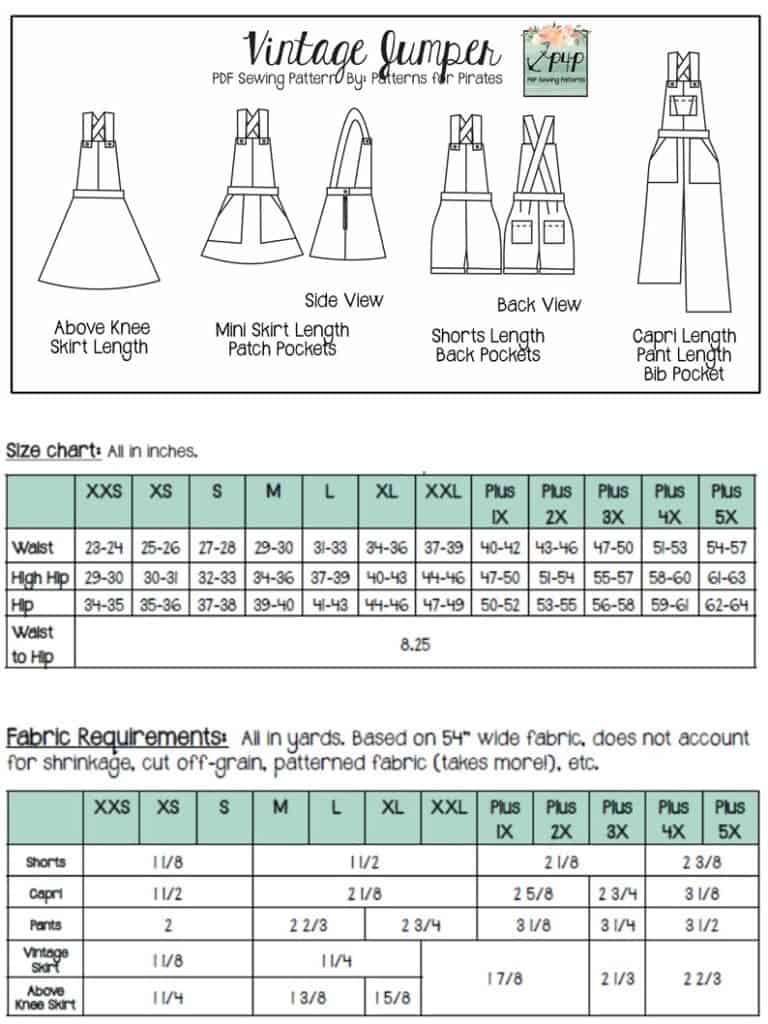
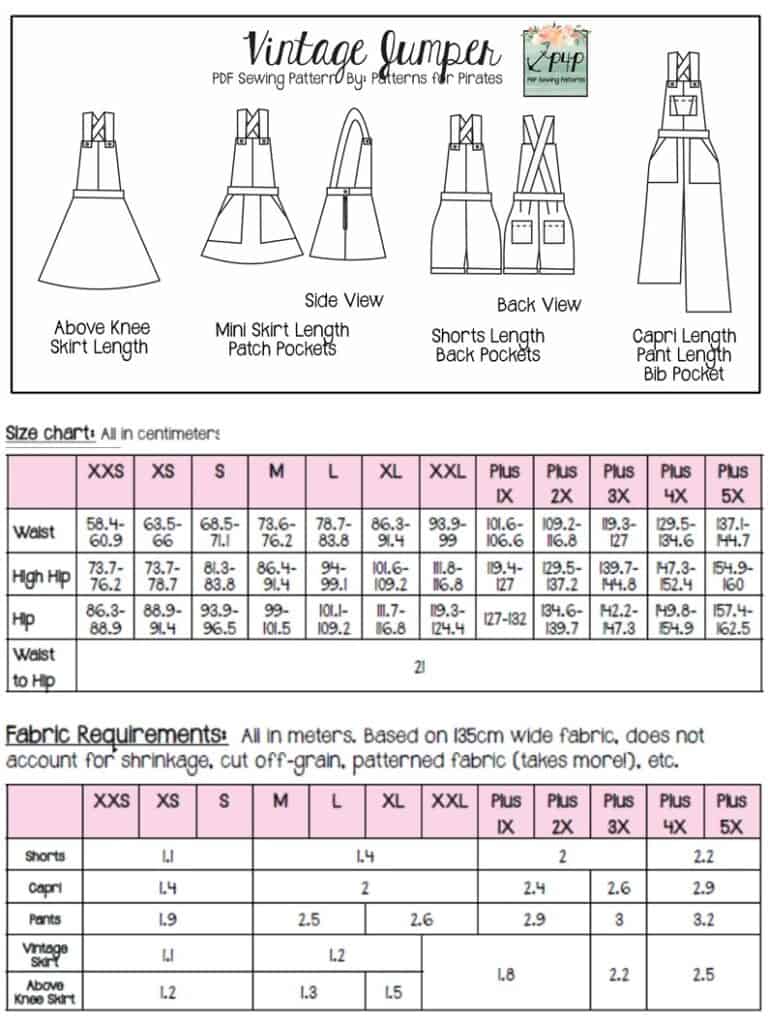
Happy October, y’all! We are beyond thrilled to be sharing with you our newest release: the Vintage Jumper! The youth sizes range from 3m – 14 and the adult sizes are for the full, newer size chart, extending from XXS – Plus 5X! If you haven’t sewn with us in a while, please make sure to check the size charts, as there were slight adjustments made to accommodate the new size range for adults.
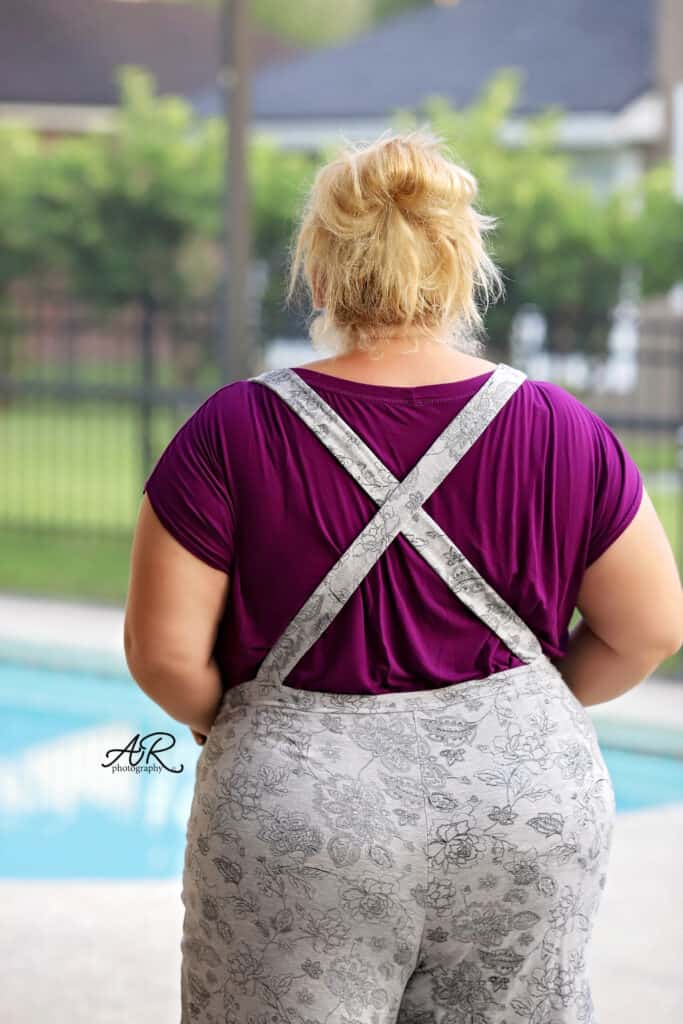
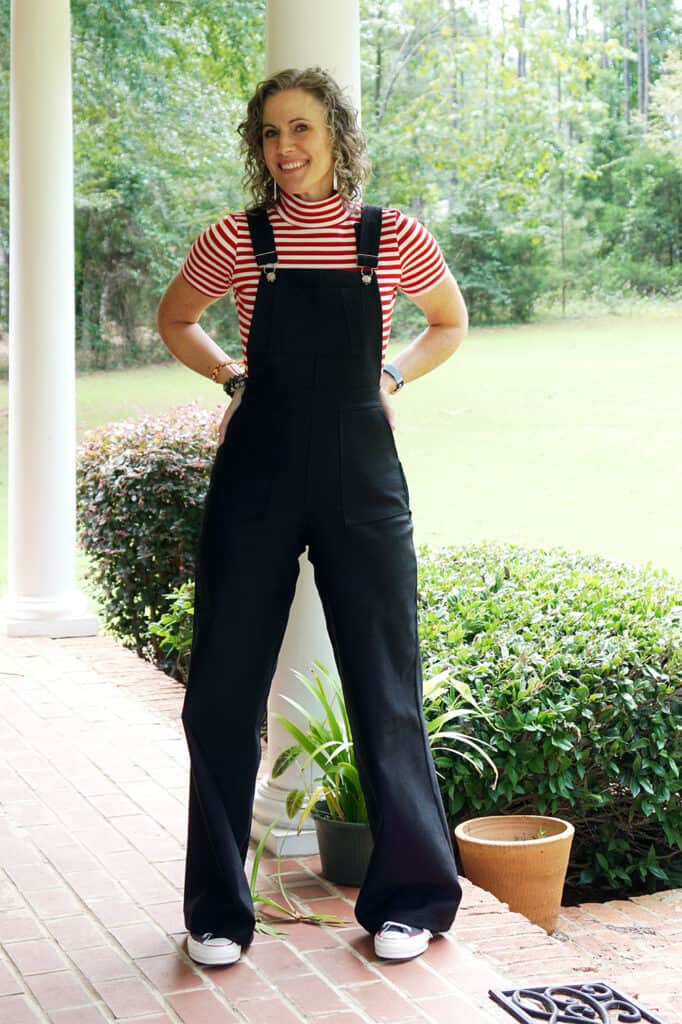
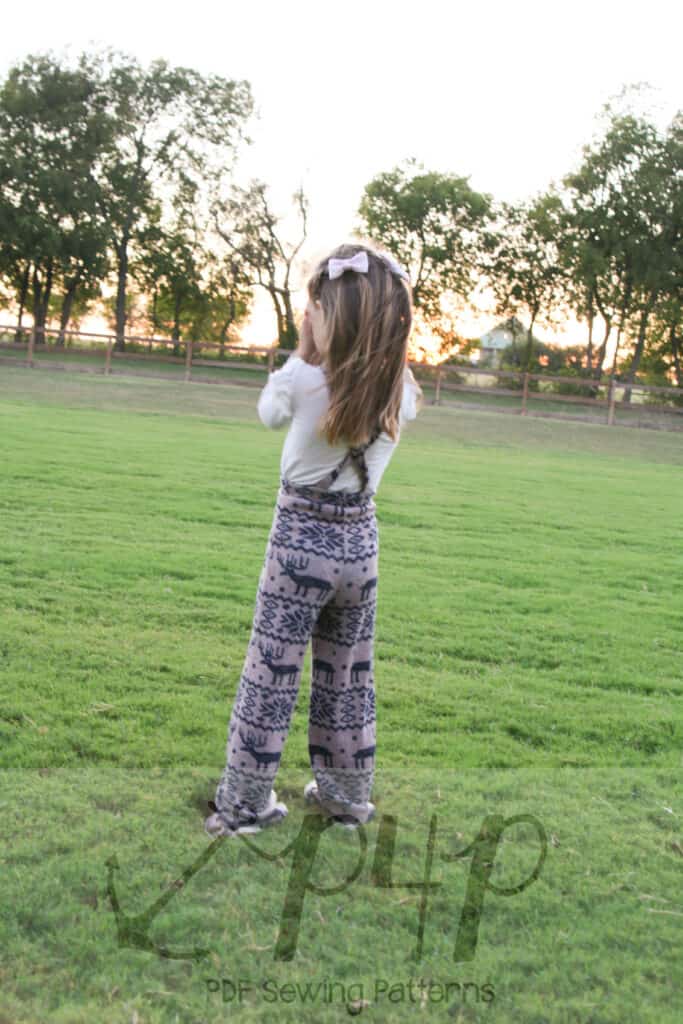
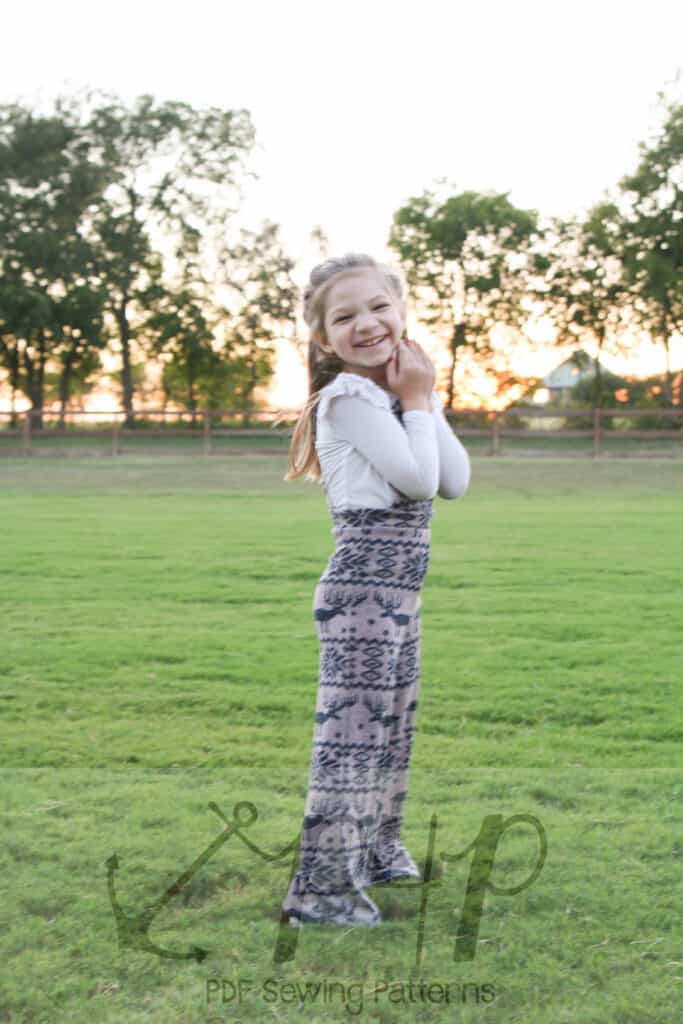
The Vintage Jumper gives you an adorable retro feeling with a snug waistband right on the natural waist, slim through hip and flares out down the legs. The simple cross strap back adds to the vintage look along with the pocket styles. You can create a cute jumper with the skirt options or an overall/dungaree with the pant options! You can layer under for warm or cold weather and keep these in your wardrobe year round! Drafted for a stretch woven you can pick up so many different adorable fabrics to sew up.
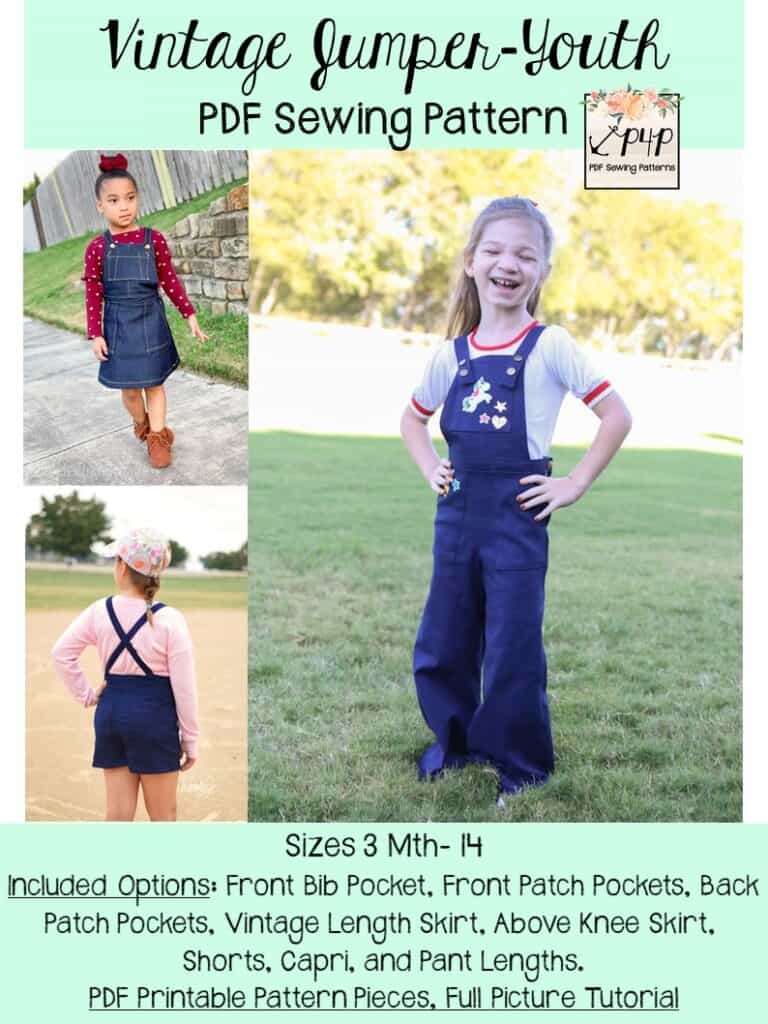
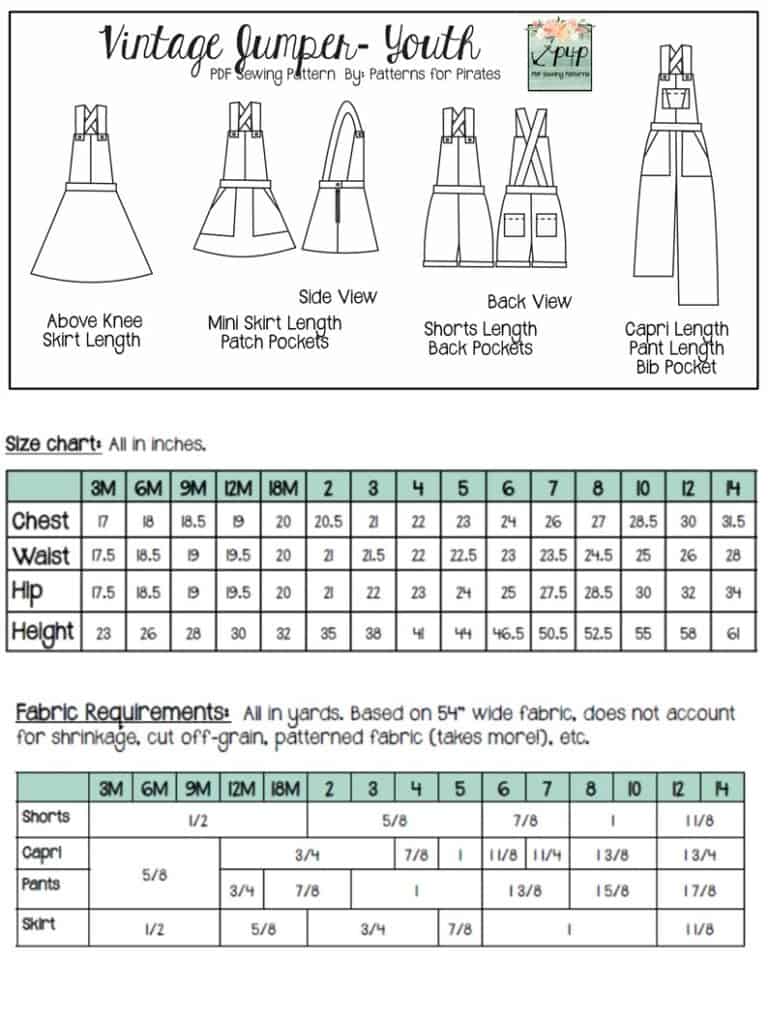
Options include: mini skirt, above-knee skirt, shorts, capri and pants lengths. There are also all the pockets you could ever need, with optional front, back and bib pocket options!
Also included in these patterns are videos, to help compliment our tutorials and help you on your way to some happy sewing! You don’t have to fear the zipper anymore because this tutorial includes TWO videos with step by step guide on both methods on inserting the zipper.
**Want to learn more about how to measure yourself for this pattern? We’ve got you covered with an in-depth blog HERE. And in case you’re new to Patterns for Pirates and PDF patterns in general, we have a great blog full of new-user tips HERE to help you get started! As with all of our current releases and updates, the pdfs now include our layers feature and can be found in Letter, A4, A0 and projector sizes. And for even more helpful fun, we have a *free* printable that you can use to help record your measurements as you take them.
Let’s take a quick look at the different lengths and features!
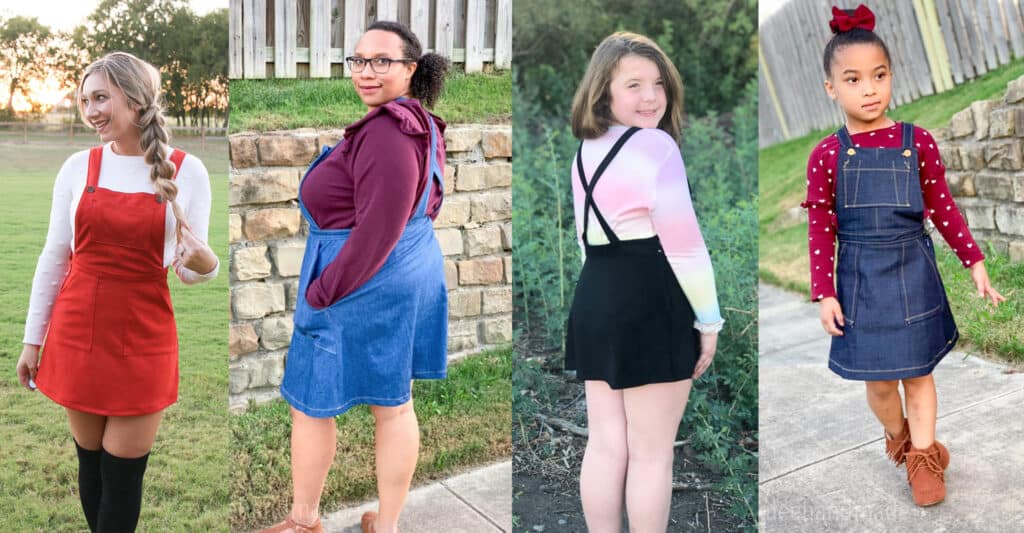
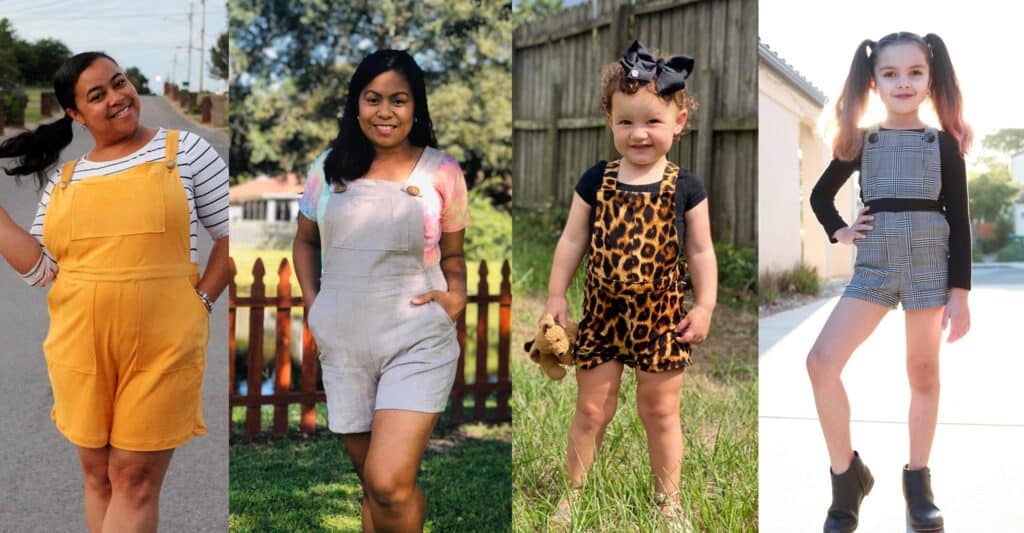
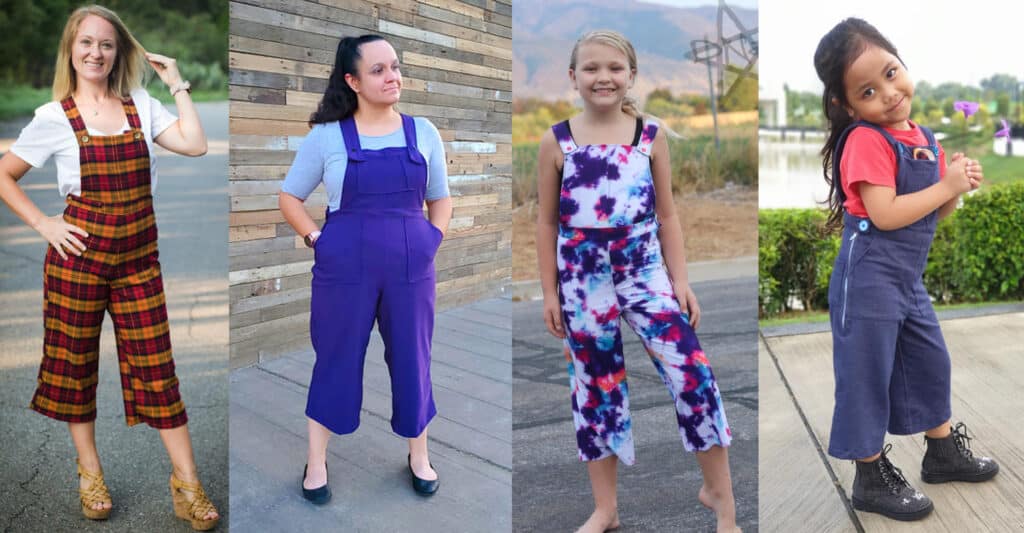
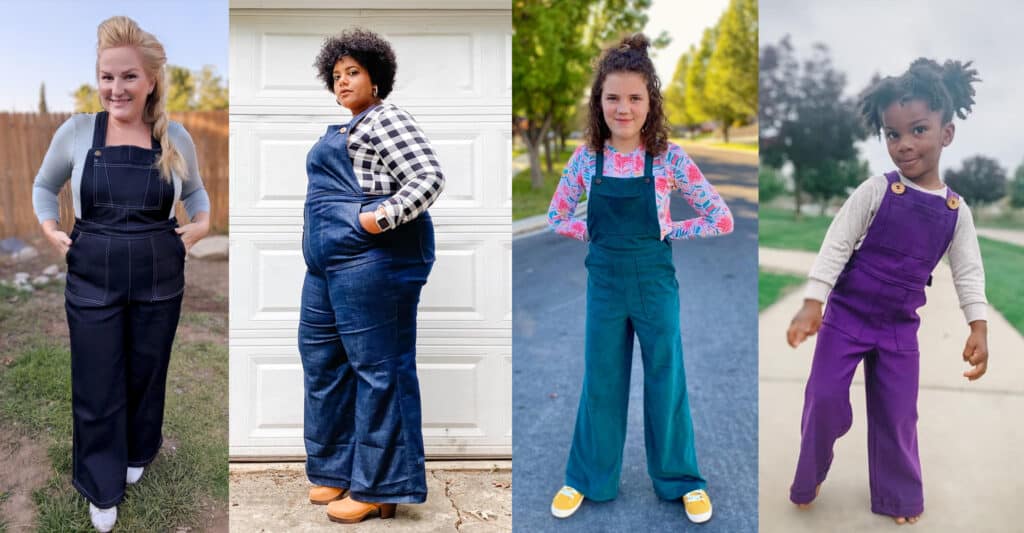
What are you waiting for? Head on over and grab yourself a copy of these delightfully retro patterns! The Vintage Jumpers are available on sale (no code needed) through 11:59pm CST, October 8, 2020.
VINTAGE JUMPER | VINTAGE JUMPER – YOUTH | VINTAGE JUMPER – BUNDLE
Maybe hoping for a little more inspiration before you make the purchase? Head over to our Facebook group where you can see tester albums full of amazing images! Adult Album / Youth Album
If you’re looking for even more options, we show you a few more ways you can use this pattern in our Vintage Jumper Easy Hacks post including how to skip the zip or buttonholes!
P4P University – Elastic
P4P University – Elastic 101
Hi, I’m Dana one of the P4P team and I’m here today to talk all about elastic with you! We’ll be covering lots of different types of elastic that you may want to use in your sewing and showing your some examples of what they look like sewn up into finished garments, the times you may want to use them and the stitches I like to use to get the best finish.
To go alongside this blog post, I have filmed a video which you can find on the P4P You Tube channel here:
P4P University Elastics 101 Video
So, first things first, before you sew with any elastic there is one thing you will always want to do with it before you begin – exercise it! Give it a good tug several times to make sure if it is going to stretch out it does it now and not after you have finished your garment. There is nothing worse than something which fits great at first and then soon starts to get baggy.
Let’s introduce and cover off some types of elastic you are likely to encounter when home sewing:
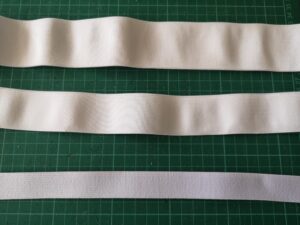
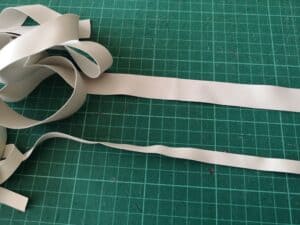
This comes in many different widths, depending on your need. Pictured are 1″, 1.5″ and 2″ elastics. Usually white or black in colour, I generally choose white because you can’t see it under lighter coloured fabrics. This plain version is usually used for something like an enclosed elastic waistband, where the elastic is fed through a casing to form the waistband. These SOS Pants have an enclosed elastic waistband. It makes for a soft and comfortable to wear garment.
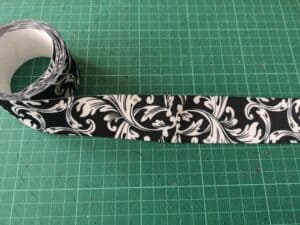
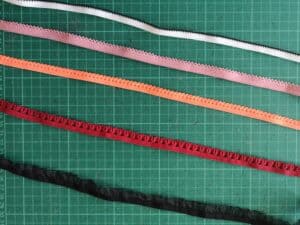
However, you can also find patterned elastics, like this:
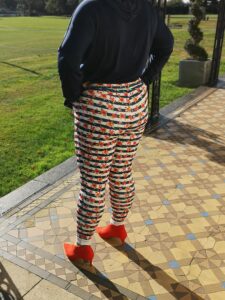
and these can be used as a waistband in their own right, just by top stitching in place of a casing. Super quick and easy way to finish a skirt or pair of shorts! Just wrap around your waist and cut to size, then butt the short ends and zig zag stitch together to form a loop. Quarter the elastic, quarter the top of the garment and sew right on.
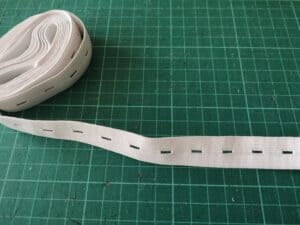
This is great if you have small people that keep shooting up overnight, like me! You can use it in a waistband secured with a button, and then unbutton it as they grow. Great for things with lots of ease drafted in, like the Walk The Planks. Just remember to cut it a little longer than needed when you first sew it in so you have room to lengthen it.
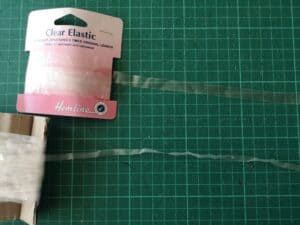
Clear Elastic is one of the things I had never heard of before I started sewing and now it’s the thing I use the most. I use it for gathering skirts to fit bodices, like the Sweetheart Dress; for stabilizing shoulder seams on lightweight stretchy fabrics like rayon spandex, that have a tendency to grow otherwise; for adding ruching; and for adding extra strength to the seams of stretch fabrics under pressure, like in a sports bra, where it just serge it right on when sewing the seam itself. Again this comes in different widths, pictures is 3/8″ and 1/4″.
As it’s name suggests Swim Elastic is used in swimwear. Regular elastic can perish under the combined attack of both strong sunlight and chlorine, so it is best to use this type of elastic in swimwear to ensure it stands up to the test of time. I often use clear elastic in swimwear too, both work fine, you just don’t want to use a regular knit elastic because when your pull your swimsuit out after a winter in storage you will probably find that the elastic has perished and lost all it stretch. If you’re going to take all that time to make a custom swim suit, you may aswell try and make sure it lasts.
I used several different widths of swim elastic in this Sunflower Swim Top to get the best fit for me, including 3/8″, 1/2″ and 1″.
Picot Elastic is often thought of as a lingerie elastic, and it’s great for that but I think it’s also really pretty when used to finish the neckline and sleeves of a dress, where you just see the little picots popping out from the inside.
I used picot to finish the neckline and sleeves of this Trixie Lulamoon dress I made for my daughter’s birthday using the Me Hearties Dress pattern. I just serged it on right sides together, flipped it down to the inside and then top stitched it with a triple zig zag stitch. This is my favourite stitch for top stitching elastic because it is a really great stretchy stitch but it is also quite a wide stitch and that helps stop the elastic from flipping up.
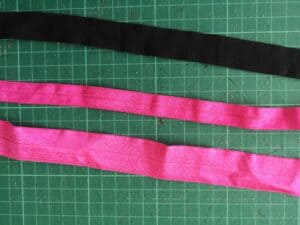
You will often see Fold Over Elastic being abbreviated to FOE in sewing groups, but as you would imagine from its name you fold it over the raw edge of the fabric and top stitch in place. You can either use your coverstitch if you have one, or just sew with a triple zig zag stitch.
It is used in the Fierce Bra to finish the top raw edge of the bra and also form the straps. It takes a bit of practise to get used to handling it at first but it a very useful tool to have in your arsenal!
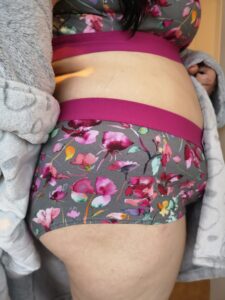
Lastly we’re going to talk about Soft Waistband Elastic. You will probably recognise this as the type of elastic used on men’s boxers. It is thick, soft, super stretchy and has great recovery and we use it both as the underbust band on the Fierce Bra and the waistband on the Fierce Undies.
You can either serge or sew the band on like a regular knit band, flip up and top stitch the seam down or you can just sew the band into a loop by butting the short ends together and then topstitch it right onto the top raw edge of the fabric, like in the picture above. It makes sure your undies don’t shift all day whilst still being super comfortable to wear. It comes in lots of different colours and some fun printed designs too and is designed to stay visible and not be sewn inside a casing.
Hopefully that has helped give you an idea of the types of elastic you might encounter whilst sewing and what yu may need them for. Don’t forget to watch the video that accompanies this post for more examples to guide you and…
Happy Sewing!
Dana x
P4P University- Waistbands
Ahoy Pirates! Today, we’re talking waistbands. We’ll cover some of the different types of waistbands that you’ll generally see in P4P patterns, the best fabrics and materials for constructing them, and some helpful tricks and tips to getting the very best results.
Types of Waistbands
There are many different types of waistbands out there in the wide world, but today I’ll cover some of the most common ones you’ll see in apparel sewing and in many P4P patterns.
First off, let’s talk about knit waistbands. These waistbands can be normal or high-rise, and are stretched to fit a garment’s waist. Knit waistbands will need to be made with knits with excellent stretch and good recovery. You’ll want to look for fabrics like brushed polyester, cotton lycra, or cotton ribbing to make these. This type of waistband is easy to sew, with no casings, elastic or fancy stitching required. Hurray!
Generally with this type of waistband, you’ll line up the short ends of the waistband piece, right sides together, and stitch. Next, flip the waistband so the right side is up, then fold in half lengthwise, wrong sides together, and press. From there, you will quarter the band with pins and attach (more on quartering waistbands and other tips later)!
Here, I’ve used double brushed poly to sew a knit waistband onto a pair of Peg Legs. I’ve simply attached it by stretching it evenly, and sewing it to the garment with my serger, although a sewing machine will work just as well. Make sure to use a stretch stitch, like the lightening bolt, at the longest length setting!
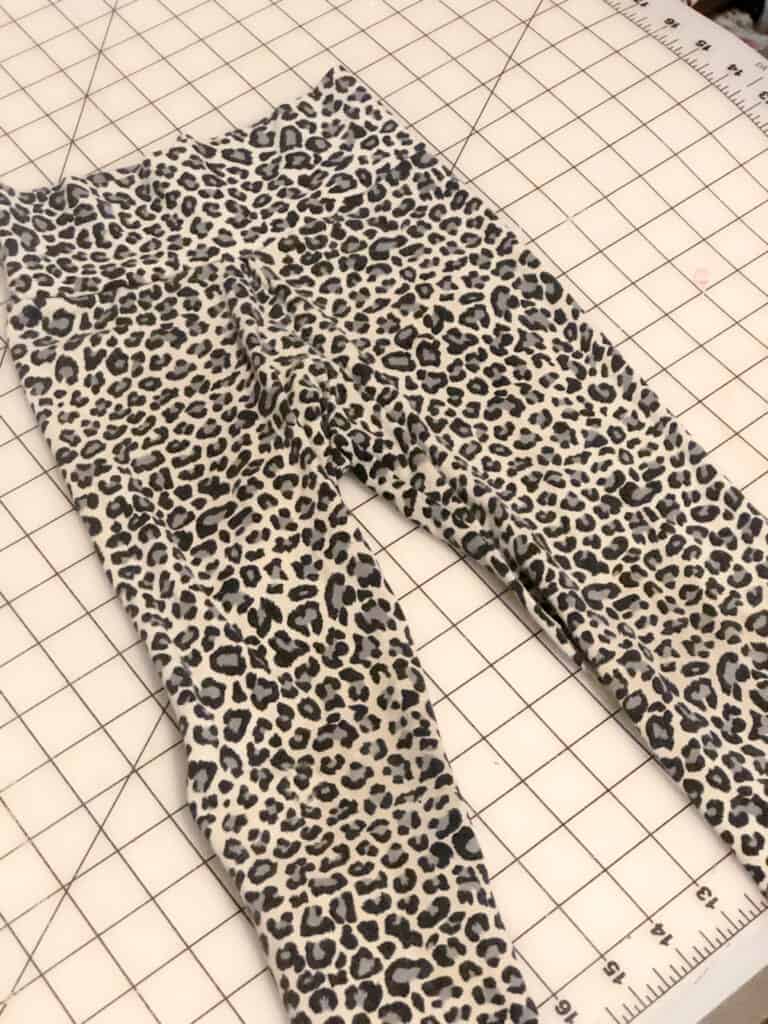
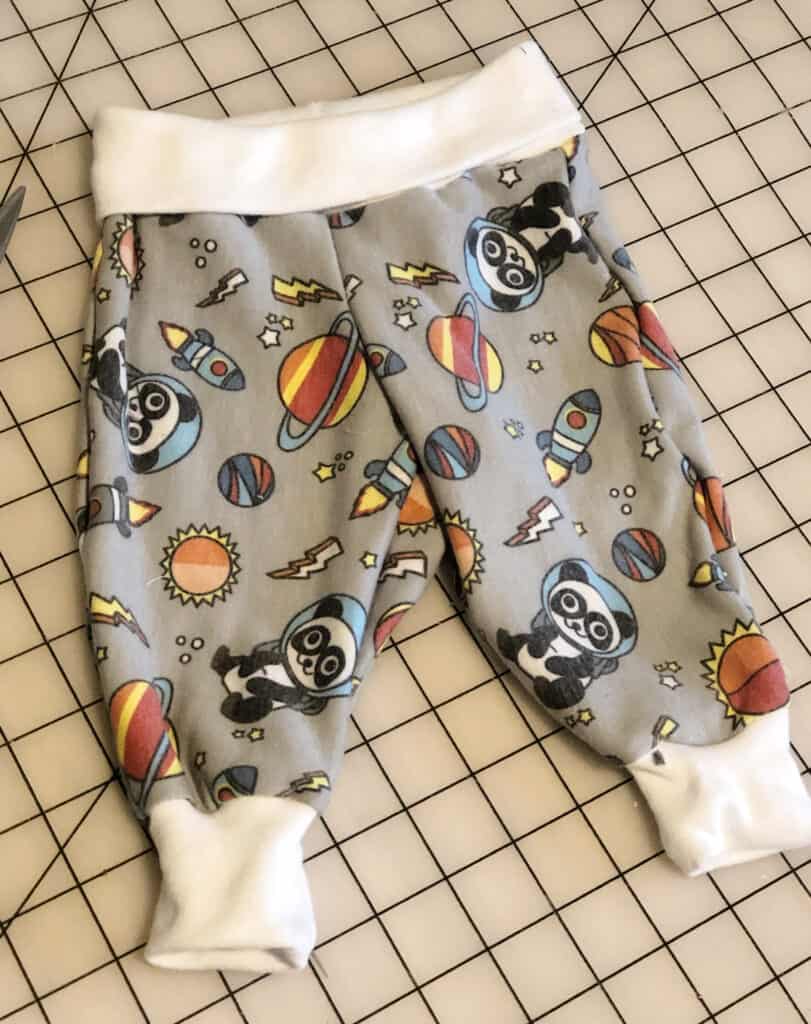
Next up, we have tall/yoga waistbands. Yoga waistbands are made and constructed similarly to regular knit waistbands, but are simply “taller” and meant to be folded over for a even more comfortable fit. I especially like using yoga waistbands on clothing for children, as they are super comfy to wear! Brushed polyester and cotton lycra are excellent choices for these. I’ve used a yoga waistband here on a pair of Baby Bear Joggers, using brushed polyester.
Next, we have enclosed elastic waistbands. Generally, this type of waistband is used for knit garments that have a little less vertical stretch or recovery and need a little “help” holding the garment up around the wearer’s waist.
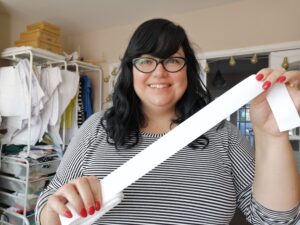
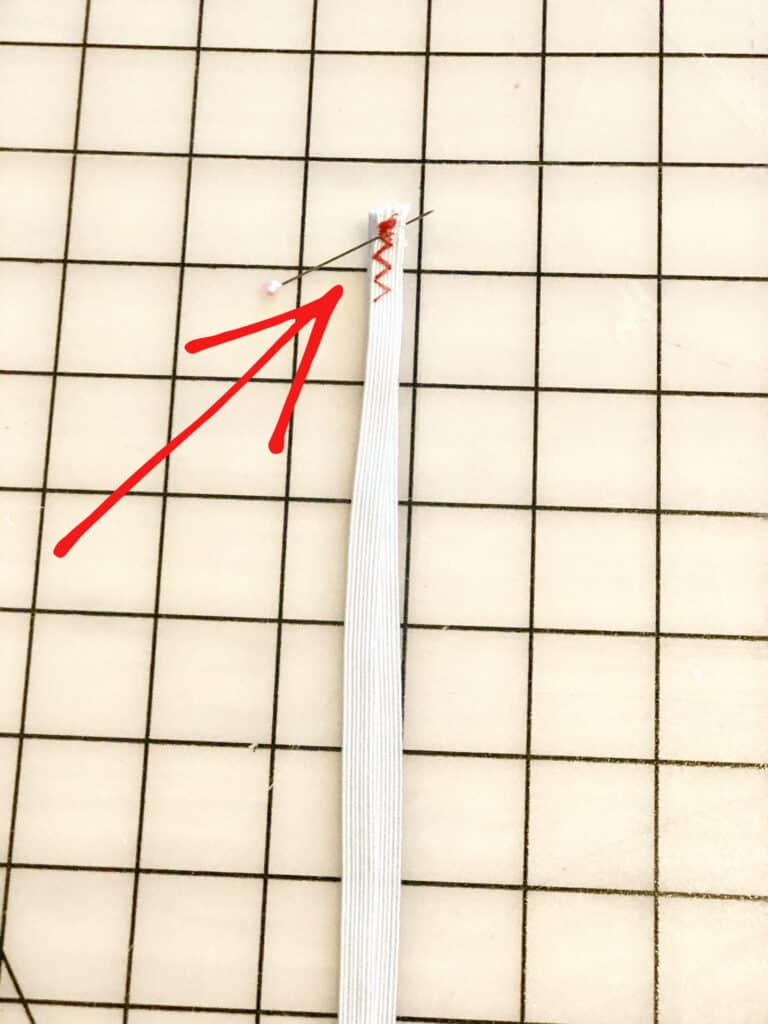
To construct, you will sew together the short ends of the waistband casing, right sides together. Next fold lengthwise, wrong sides together, and press. Set aside. Take your elastic piece, and sew short ends together, using instructions for the specific pattern being used. Generally, you will be instructed to either overlap the two short ends and sew, or “butt up” the ends- pushing them together and sewing with a wide zig-zag stitch, but not overlapping. Next you will slip the elastic loop into your knit waistband casing, and sew together as one piece onto your garment. You may topstitch this seam afterwards, if desired.
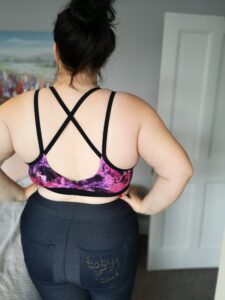
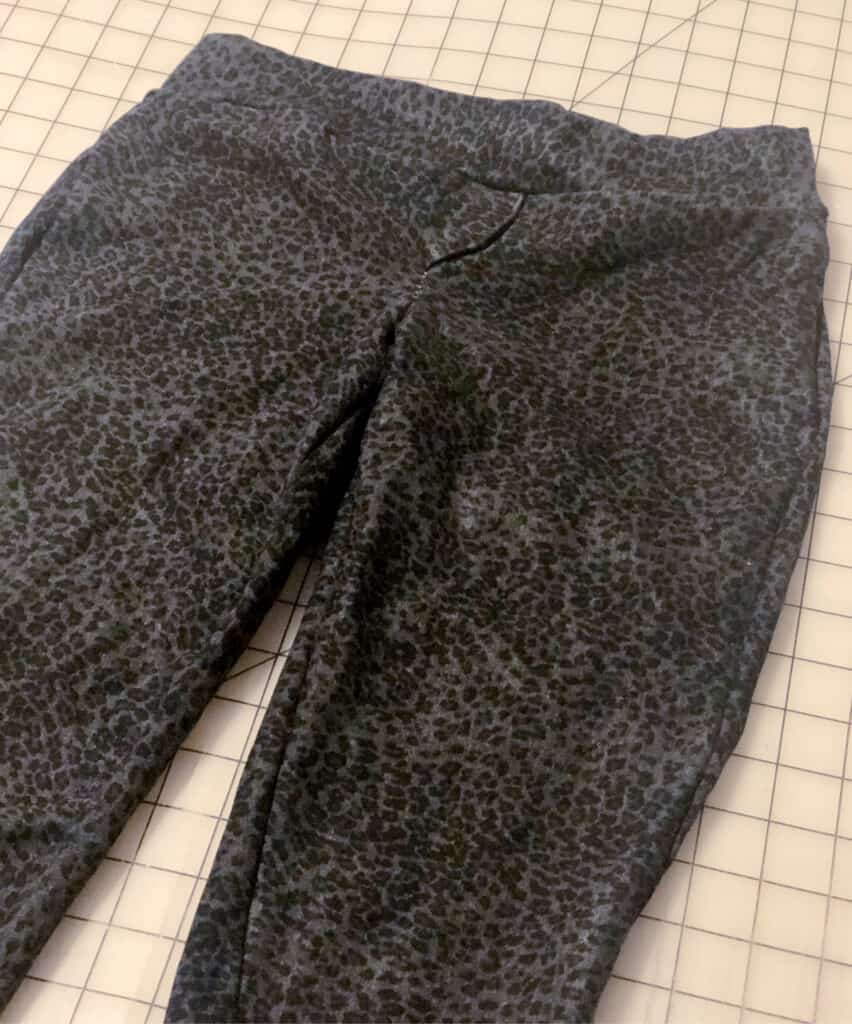
Here, I’ve made a pair of SOS Knit Pants with an enclosed elastic waistband. Although the fabric I used was a jegging material with little vertical stretch, the added elastic I used helps give the little bit of extra “oomph” needed to keep the pants up around my waist and snug-fitting.
Another style of waistband you’ll see often in apparel sewing is exposed elastic waistbands. These are waistbands that you’ll see in many applications, such as athletic shorts or undergarments. These will be generally created using plush back, underwear, or soft waistband elastics. It’s important to use these types of elastic, especially for undergarments, as they are much more comfortable and soft, and elastic will be up directly against the wearer’s skin.
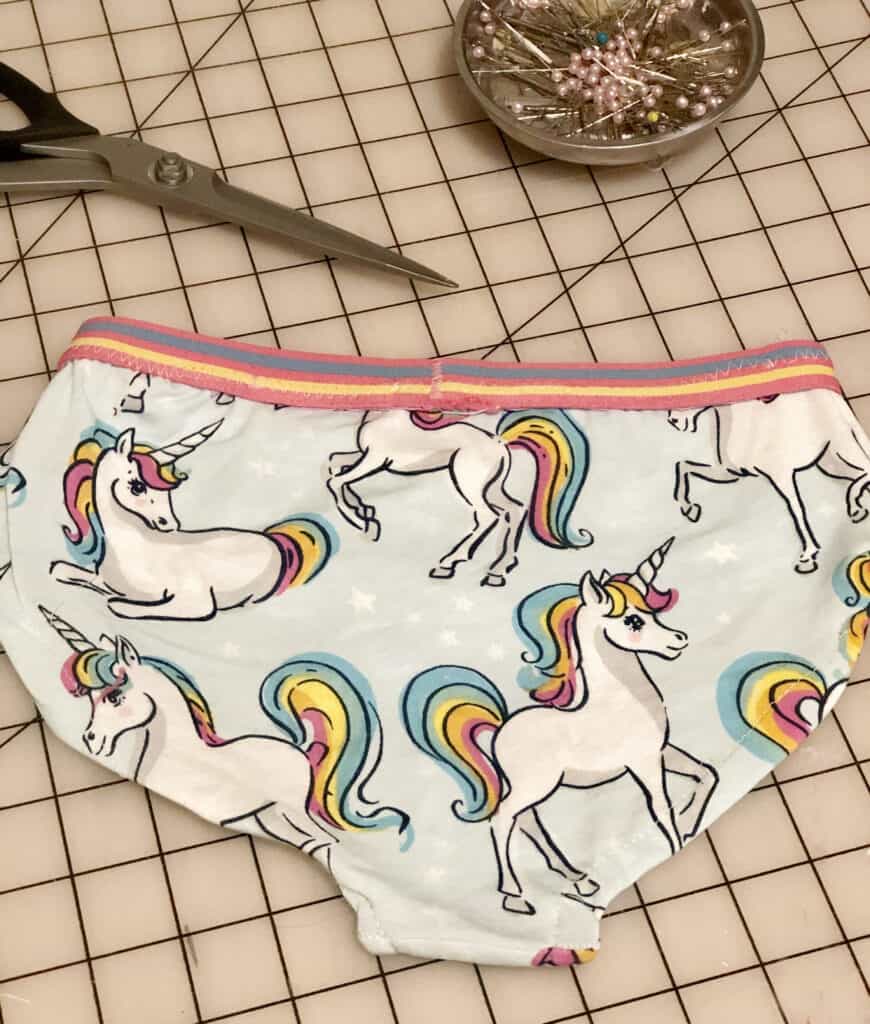
On patterns such as the Fierce Undies pictured here, the elastic used will be “butted” together before being sewn, not overlapped. This is because overlapping will make the exposed elastic waistband too bulky.
Tips and Tricks
Just as there are many different types of waistbands out there in the sewing world, there are just as many tips to make sewing them easier! Here are just a few to help you along the way:
1. With knit, yoga, and enclosed elastic waistbands, serge or baste the raw edges together once you’ve folded lengthwise, wrong sides together, and before attaching to the garment. This will essentially take those two layers of fabric of the folded waistband and turn them into one, making it easier to attach them to the garment in a clean and professional-looking way. Remember, if you serge the raw edges of your waistband before attaching it to your garment, DO NOT CUT ANY OFF!
2. ALWAYS quarter your waistbands before attaching them to a garment! What is quartering? It’s equally dividing the waistband into fourths, so you can better ensure that the waistband will be evenly stretched across the garment’s waist. It’s easy to do:
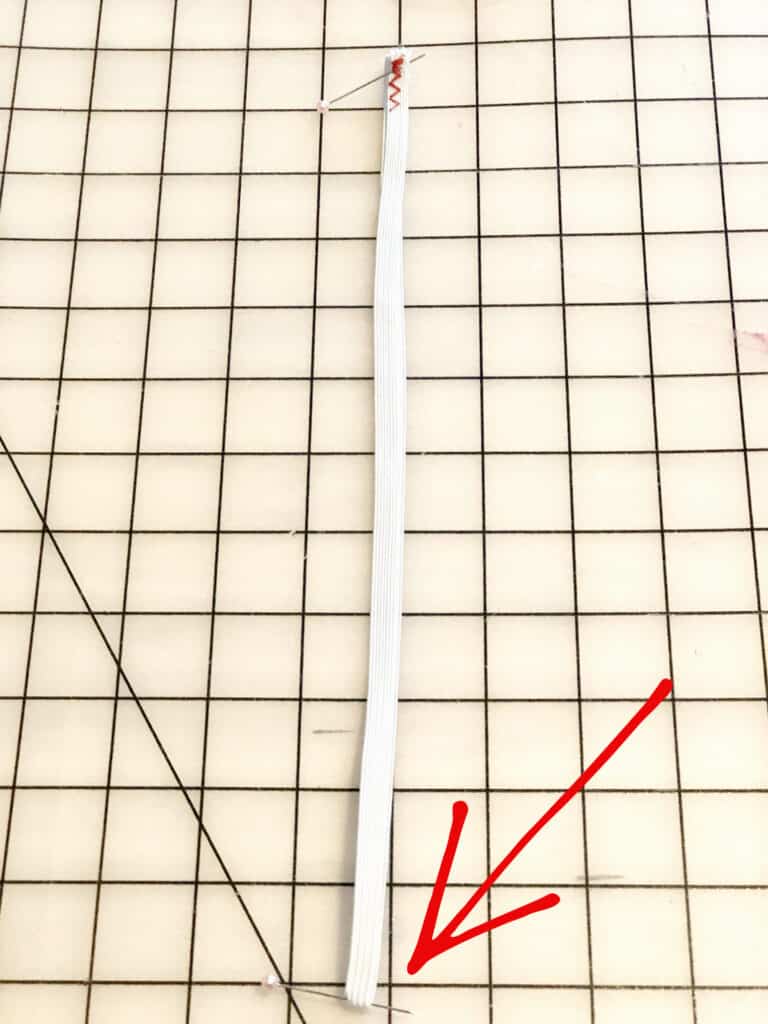
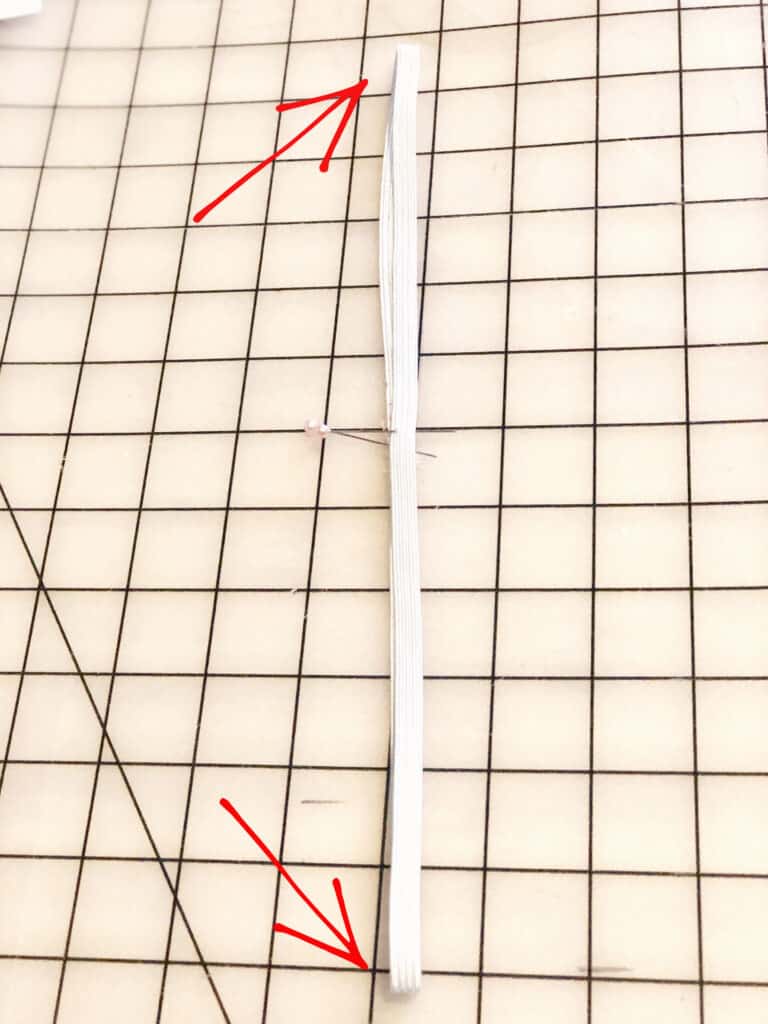
First, sew the waistband or elastic together at the short ends, as directed by the pattern. Pin or mark the point of the seam.
Next, fold in half to find the half point. Pin or mark the half point.
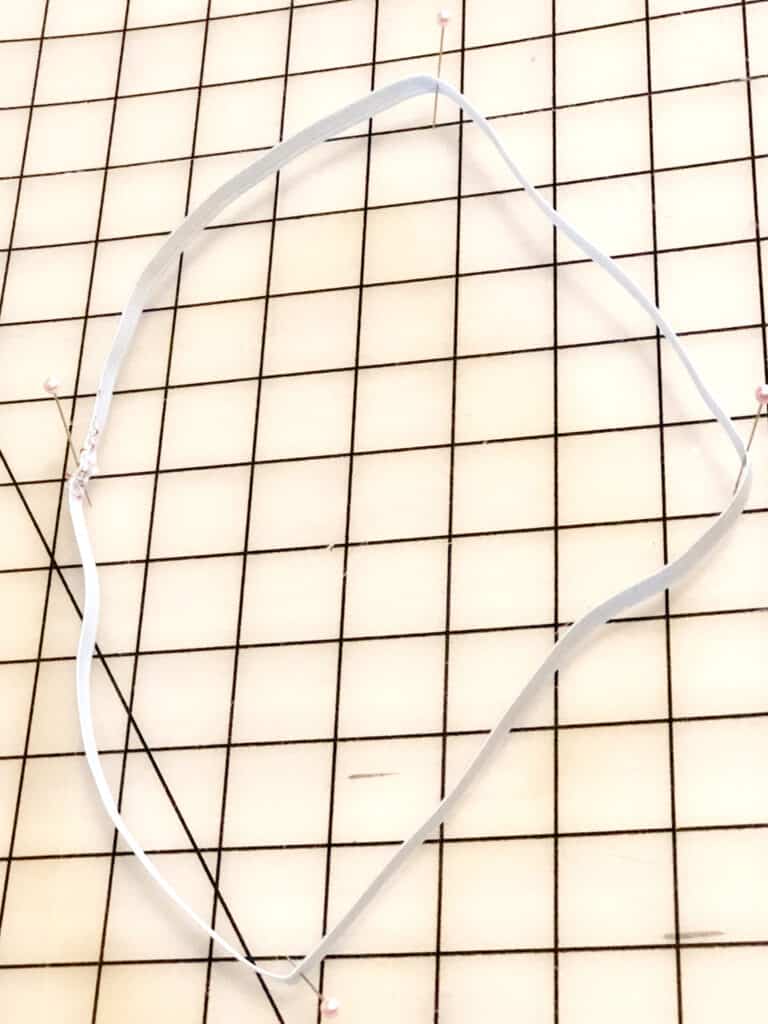
Now, take the two marked points (the seam and half point) and fold the waistband or elastic so that they meet in the center. Pin or mark the folded edges on either side to find the quarter points.
And there you have an evenly quartered waistband! This might sound like an extra step, but trust me, it’s one that will save you time by ensuring that you don’t have an unevenly stretched waistband (hello, seam ripper!) and will give you the most professional- looking finish.
3. SAVE your scraps! Especially with youth apparel, waistbands usually take very little fabric, and can be excellent scrap-busters. So next time you make something with a stretchy fabric with great recovery, make sure to stash those extras away for a rainy day!
That’s it for now! Just a few examples of some of the waistbands you’ll encounter while sewing some gorgeous, handmade apparel. No matter which waistband is required for your pattern, always make sure to quarter those bands, have fun, and share your beautiful makes with us over at Patterns for Pirates’ Facebook page!
Caitlin
Fabric for Pirates:: A Monthly Subscription Box
We couldn’t be more excited to announce our newest Pirate fun to all our Pirate Friends! You can now sign up for our super fun and simple monthly subscription: Fabric for Pirates. You will get a few things at the beginning of every month to brighten your month and give you some motivation to get some sewing done! The subscription is charged at the first day of each month (you can sign up or cancel anytime between) and we will ship your goodies to you by no later then the 10th of each month.
What will you get?
You will receive 2 yards of knit fabric. This could be any kind of knit fabric from french terry, double brushed poly, cotton jersey, sweater knits, etc… We promise that it’ll always be seasonally appropriate, and we will avoid sending duplicate fabric types within consecutive months. We want this to be a learning experience as well, so we want you to try out as many fabric types as you can!
Most months we will be sending 2 continuous yards of fabric, but we could throw in two 1 yard coordinate pieces too! The options are endless!
Along with the fun mystery fabric we will be adding a little “sewist swag”… just a little something extra we think most sewists will love! This could be a pin, patch, sewing tool, vinyl press on, etc.
We will also be working hard to provide some exclusive inspiration for your fabrics by showing you videos and pictures of what the pirate crew made each month, and maybe throwing in some tips for working with the different fabric types.
Maybe you immediately knew the ::perfect:: pattern to go with your fabric that month, but didn’t have it in your pattern stash yet. Well don’t worry! Because we are also going to include an exclusive discount code for you just in case you need to pick up a pattern for your new fabric!
The spots are limited! So don’t wait to sign up! <3
FABRIC for PIRATES MONTHLY SUBSCRIPTION
Want to hear how cute Katy is explaining our new subscription? Here she is!
The Peg Event :: Giveaway Winners!
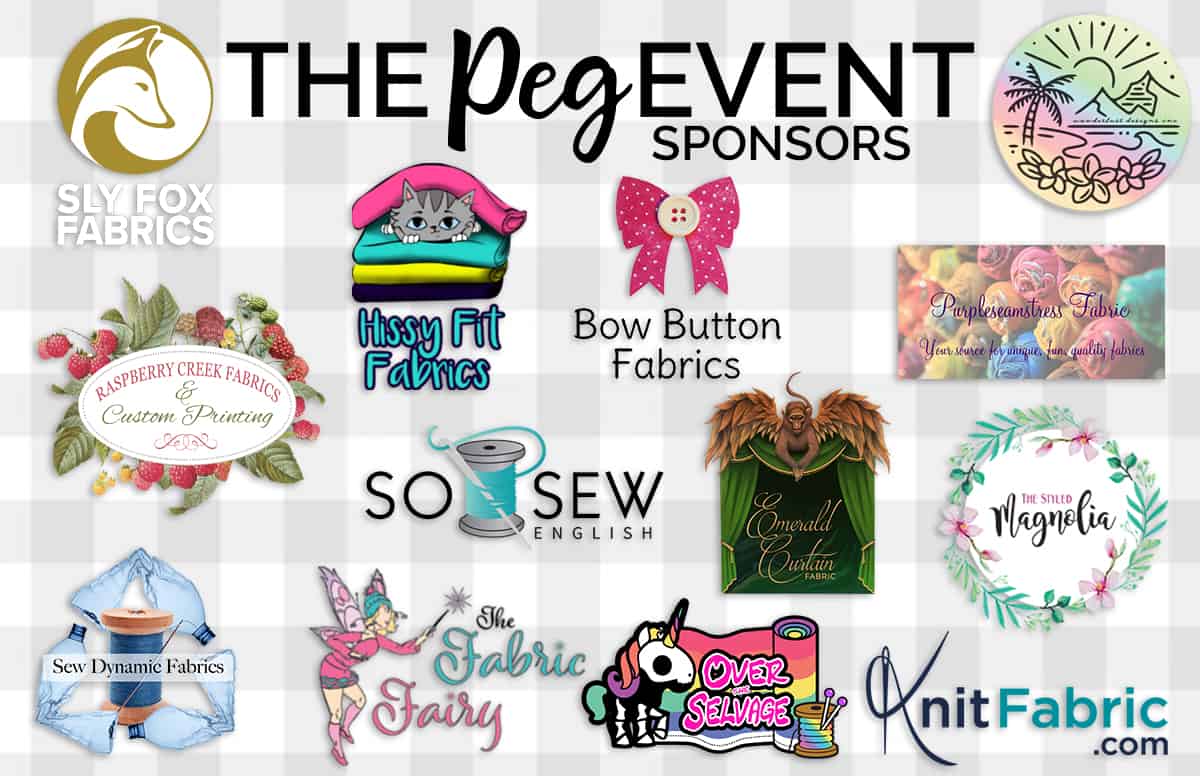
We hope y’all have had as much fun as we did during The Peg Event! It was a whirlwind of fun, sharing, and lots of Peg Leg love! Though the sale and the contest are over, today is one more day of fun because we get to announce the winners of all of the prizes!! Again, we would like to thank our sponsors for being so incredible and spoiling our Pirate family! This giveaway wouldn’t be possible without them!
Ready to see who’s walking away with some awesome new sewing swag? Let’s do it!
WANDERLUST DESIGNS – www.wanderlustcustomfabric.com
INSTAGRAM | FACEBOOK GROUP | PINTEREST
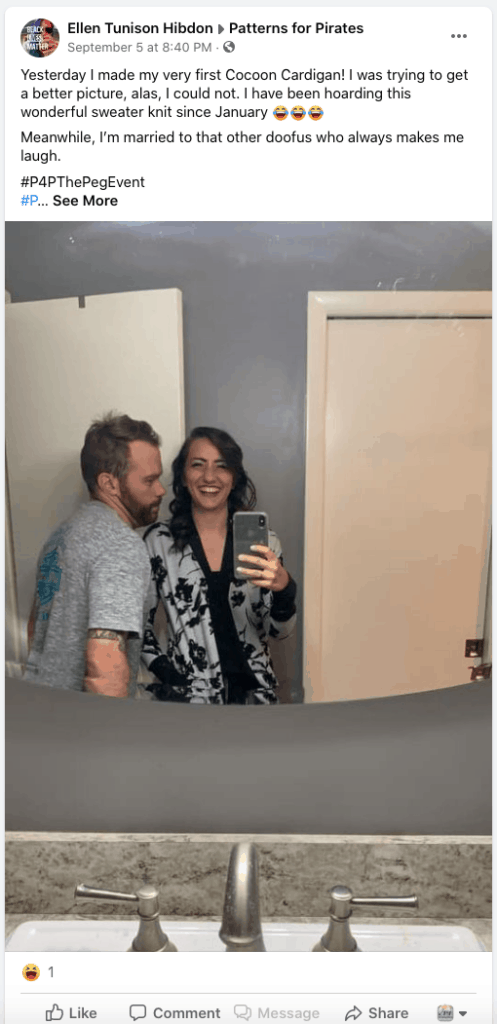
$50 Gift Card Prize goes to: Ellen Tunison Hibdon
THE STYLED MAGNOLIA – www.thestyledmagnolia.com
INSTAGRAM | FACEBOOK GROUP
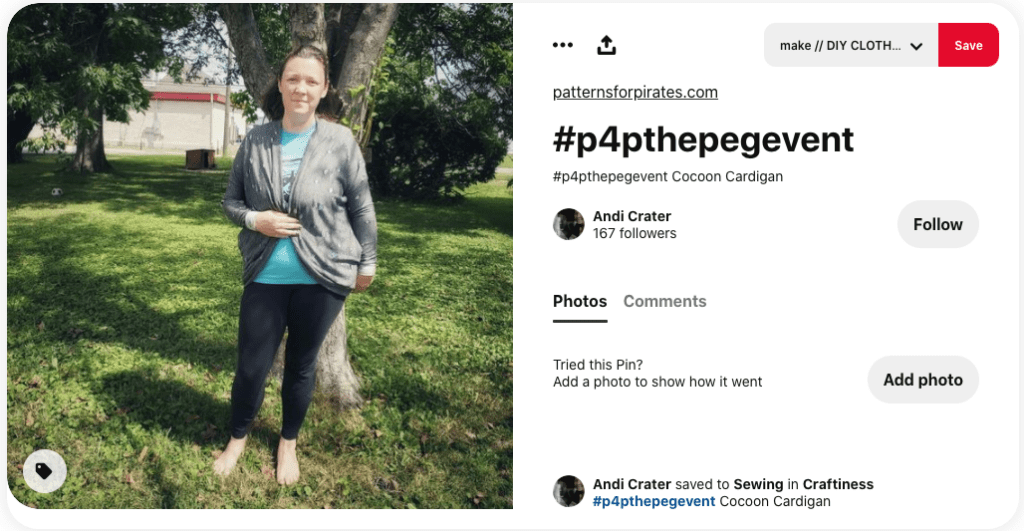
$100 Shop Credit Prize goes to: Andi Crater
SLY FOX FABRICS – www.slyfoxfabrics.com
INSTAGRAM | FACEBOOK GROUP
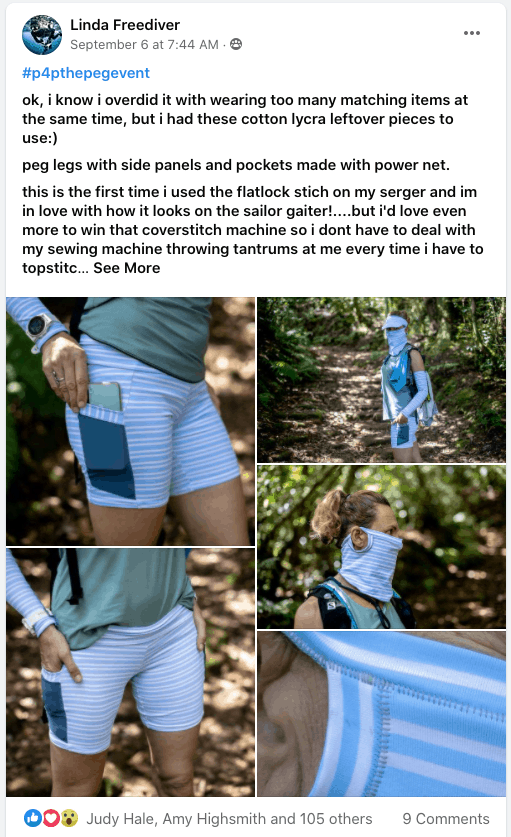
$50 Gift Card Prize goes to: Linda Freediver
OVER THE SELVAGE – www.overtheselvage.com
INSTAGRAM | FACEBOOK GROUP
$30 Shop Credit + 2 Yards of C/L Print Fabric goes to: Stephanie Ross
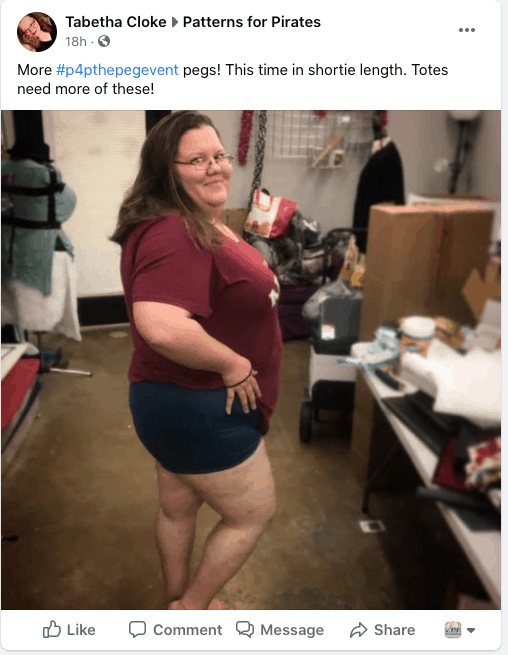
$15 Shop Credit + 1 Yard of C/L Print Fabric goes to: Tabetha Cloke
SEW DYNAMIC FABRICS – www.sewdynamic.com
INSTAGRAM | FACEBOOK GROUP | FACEBOOK PAGE
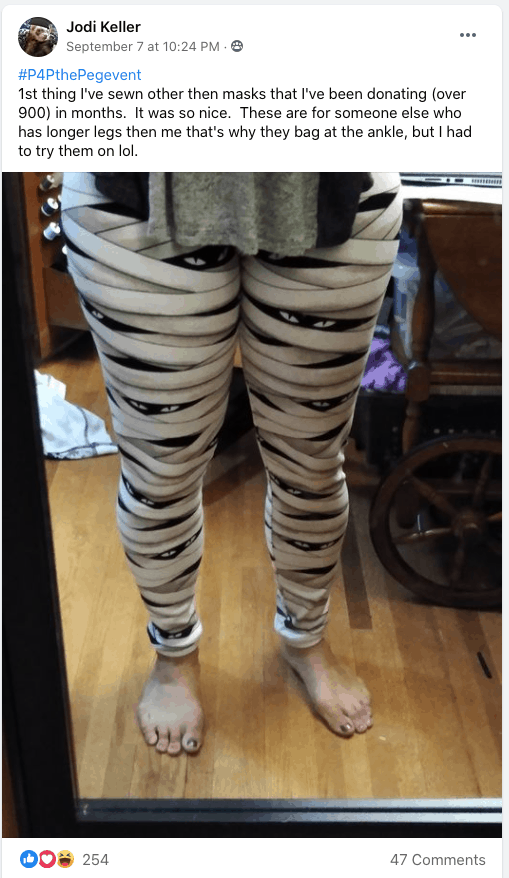
$30 Shop Credit Prize goes to: Jodi Keller
RASPBERRY CREEK FABRICS – raspberrycreekfabrics.com
INSTAGRAM | FACEBOOK GROUP | FACEBOOK PAGE
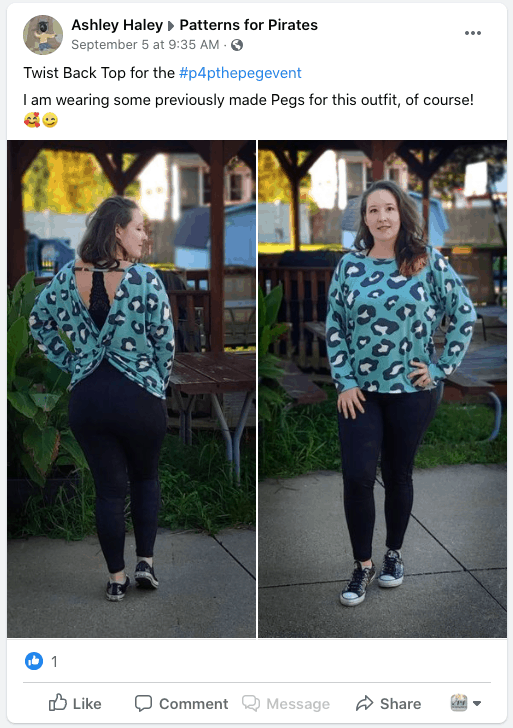
$100 Gift Certificate prize goes to: Ashley Haley
PURPLESEAMSTRESS FABRIC – www.purpleseamtressfabric.com
FACEBOOK GROUP | FACEBOOK PAGE
$75 Gift Card prize goes to: Amanda Dalton
BOW BUTTON FABRICS – www.bowbuttonfabrics.com
INSTAGRAM | FACEBOOK GROUP
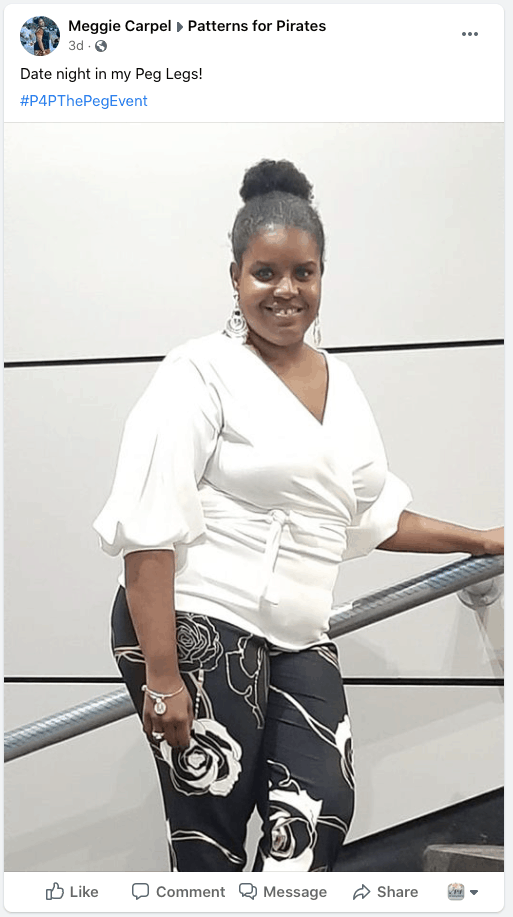
1 Yard ABP 265 gsm in Black Prize goes to: Meggie Carpel
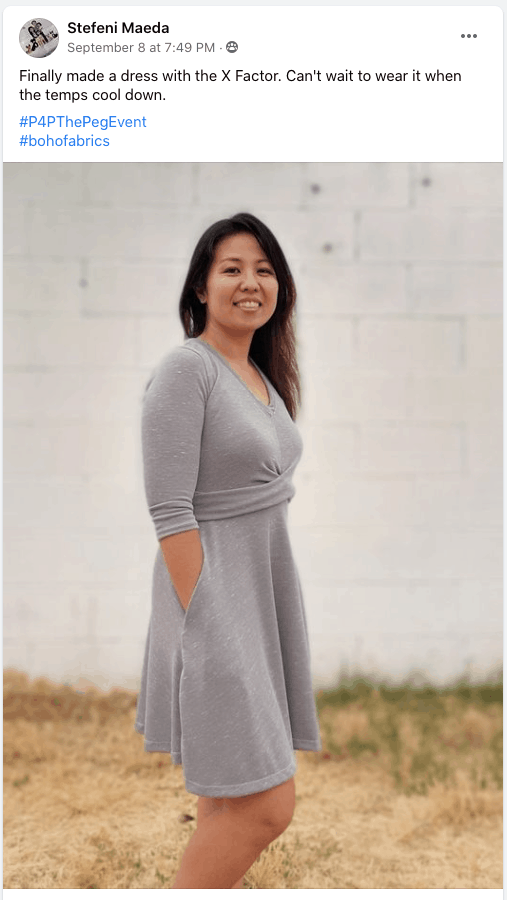
1 Yard ABP 265 gsm in Black Prize goes to: Stefeni Maeda
1 Yard ABP 265 gsm in Black Prize goes to: Kelli Tuttle
SO SEW ENGLISH FABRICS – https://sosewenglishfabrics.com/
INSTAGRAM | FACEBOOK GROUP
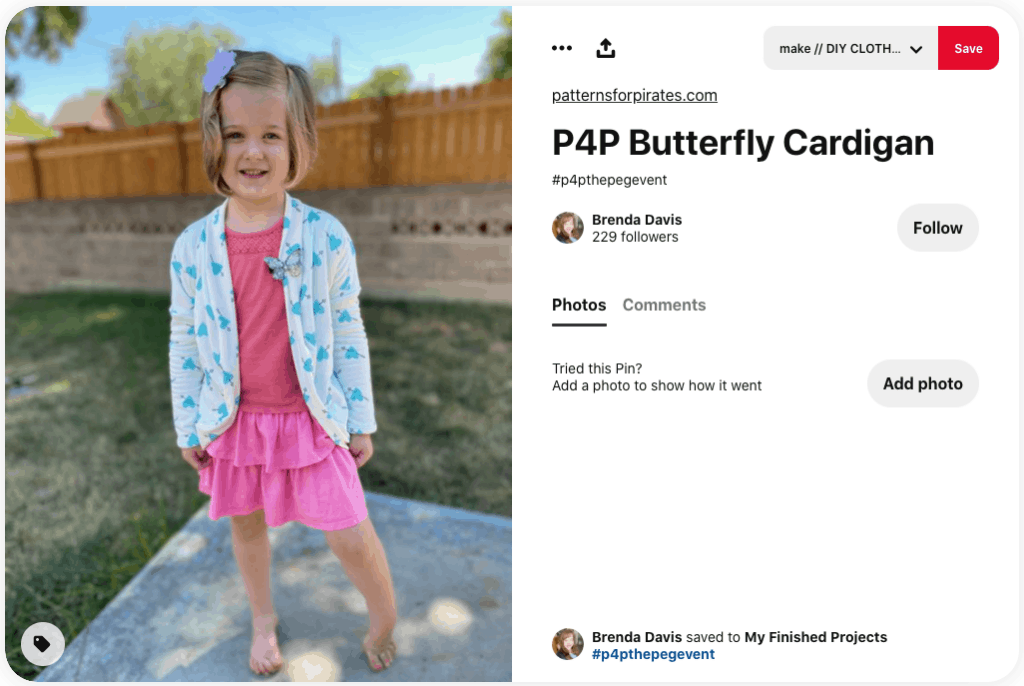
$75 Gift Card prize goes to: Brenda Davis
HISSY FIT FABRICS – www.hissyfitfabrics.com
FACEBOOK GROUP
$50 Gift Card Prize goes to: Brooke Henning
EMERALD CURTAIN FABRIC – www.emeraldcurtainfabric.com
FACEBOOK GROUP
$40 Gift Card Prize goes to: Frida Lang
KNITFABRIC.COM – knitfabric.com
INSTAGRAM | FACEBOOK GROUP | FACEBOOK PAGE
$50 Gift Card Prize goes to: Amanda Schildmeier
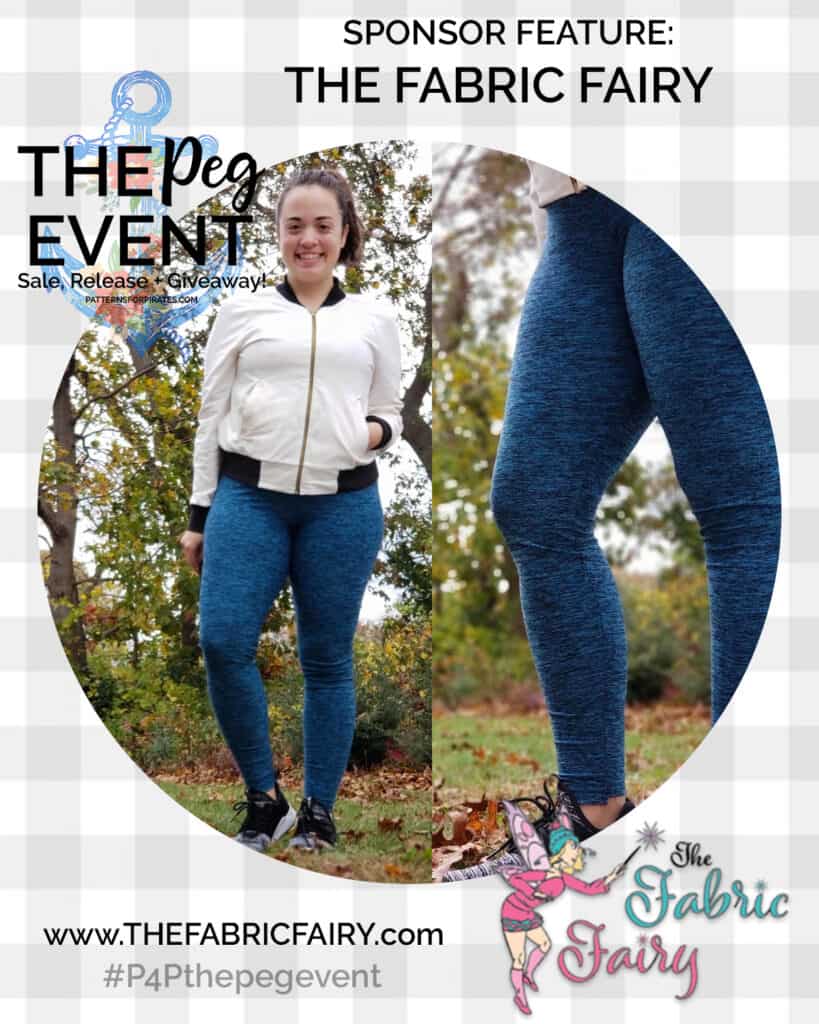
THE FABRIC FAIRY – www.thefabricfairy.com
FACEBOOK GROUP | FACEBOOK PAGE
$30 Gift Card Prize goes to: Whitley Vogel
And….drumroll please……
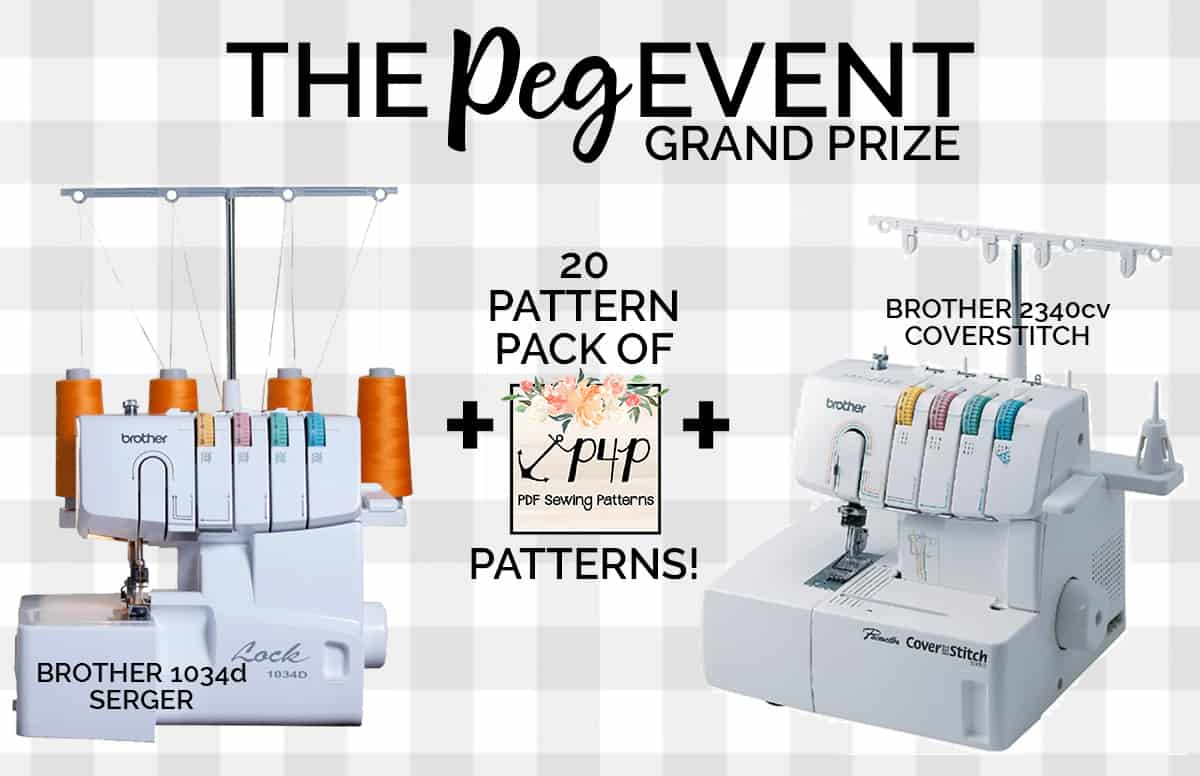
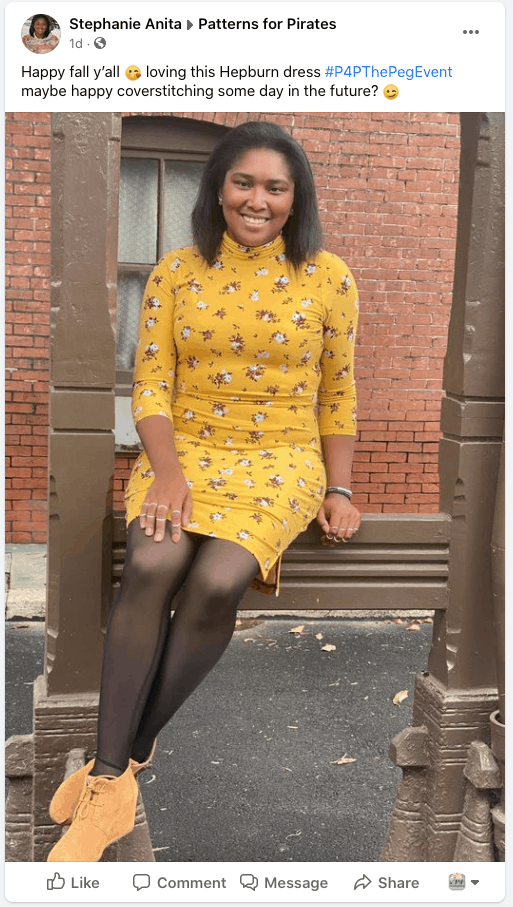
The Grand Prize Winner, sponsored by Patterns for Pirates, taking home a brand new Brother Serger + Brother Coverstitch + 20 Patterns for Pirates patterns is: Stephanie Anita
Congratulations to all of the winners! And thank you all so very much for allowing us to have such a fun filled 10-day long event where we got to celebrate sewing, our favorite leggings pattern, AND had the chance to see so many people proudly share the new items that they made for themselves and their loved ones! The Peg Event was a success, if you ask us!
If your name + photo was shared above as a prize winner, please email help@patternsforpirates.com to claim your prize.
The Peg Event :: Peg Legs – Going Out Style Inspiration
Welcome back to the FINAL DAY of The Peg Event! We hope you are loving our newest release of the Peg Legs – Colorblock Pack and update to the beloved Peg Legs, and Peg Legs – Add-On Pack!
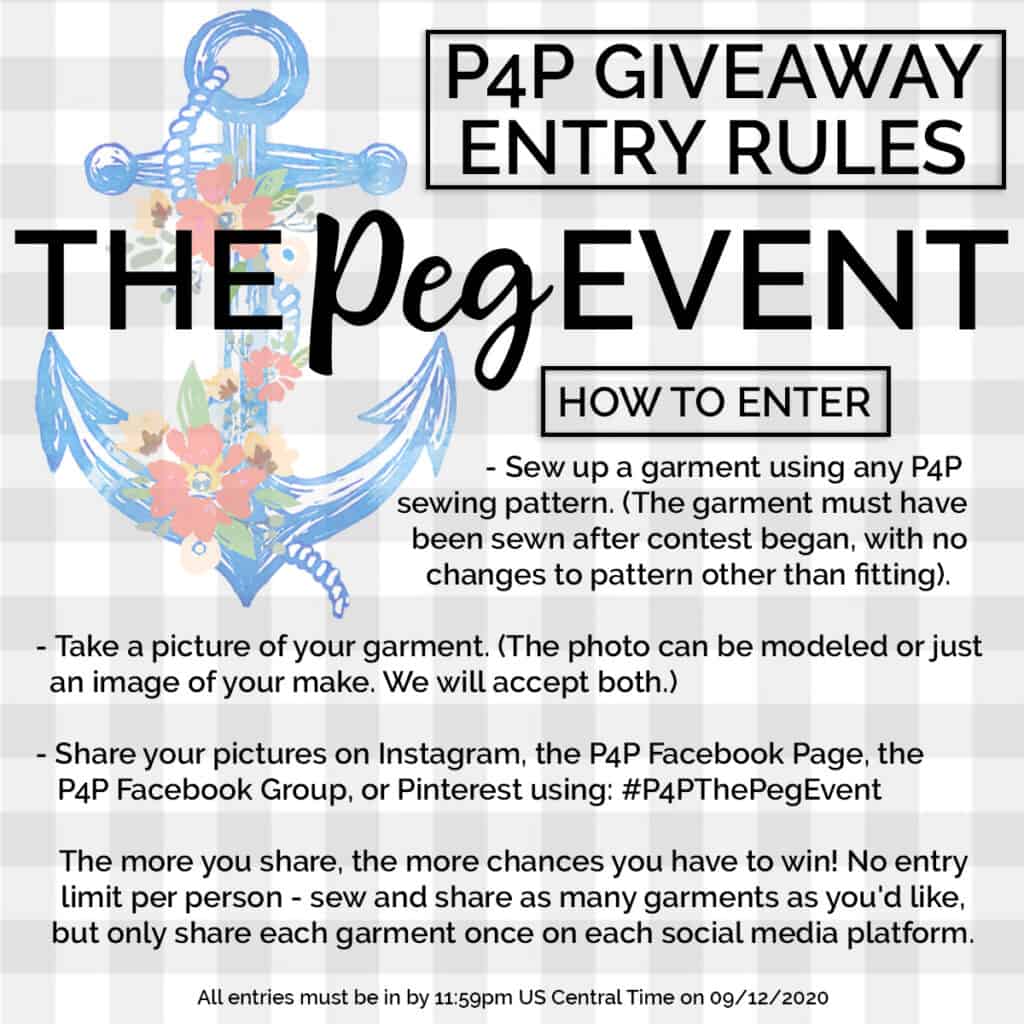
Before we get to the main event, I’d like to remind you that we’ve got a sitewide sale happening from now until the end of the day today….Saturday, September 12. In addition to that, we’ve got an awesome giveaway happening, with 14 amazing prizes (and 14 amazing prize winners)! You can read all about The Peg Event HERE.
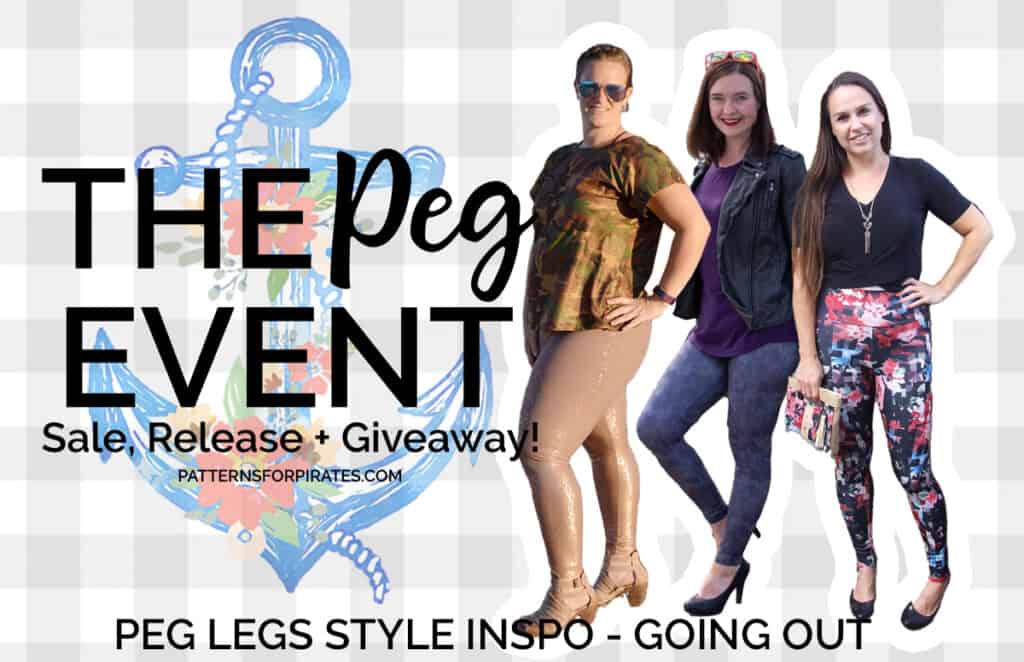
We’ve got another set of incredible testers that wanted to help provide some P4P Style Inspiration! They always seem to know just what to wear, and how to look amazing at all times. So we asked what their favorite things to pair the Peg Legs / Peg Legs – Colorblock Pack / Peg Legs – Add-On Pack with were…and here’s what they came up with for some casual, every day looks.
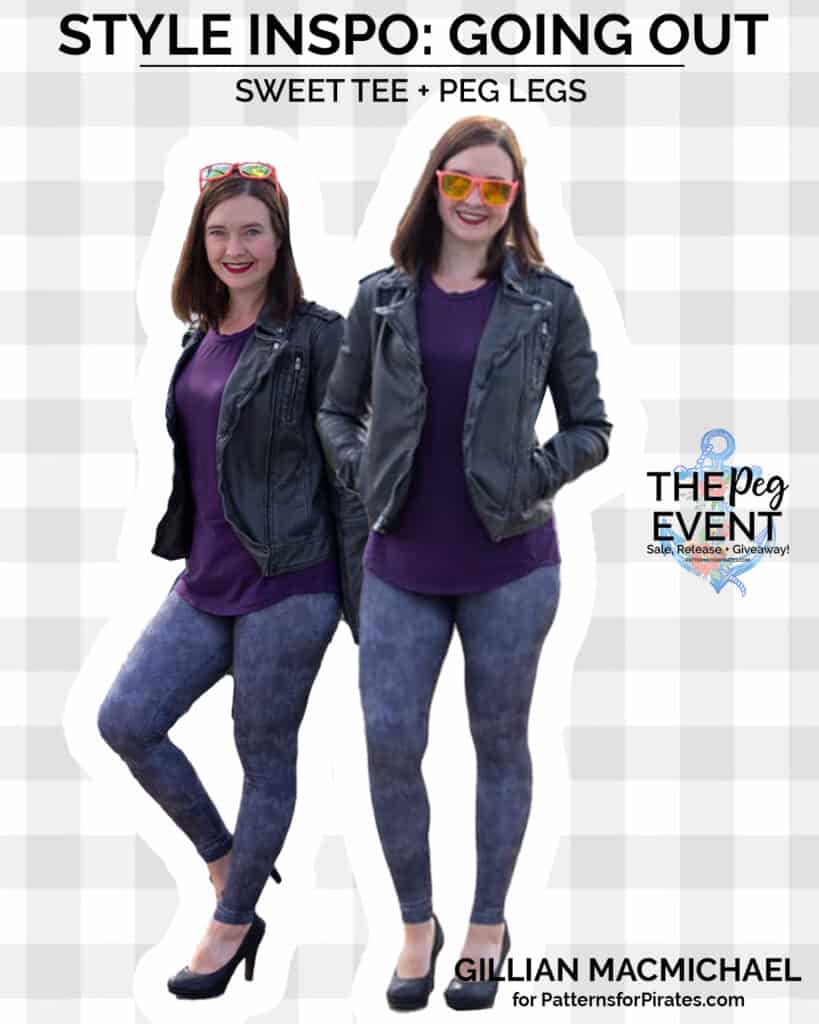
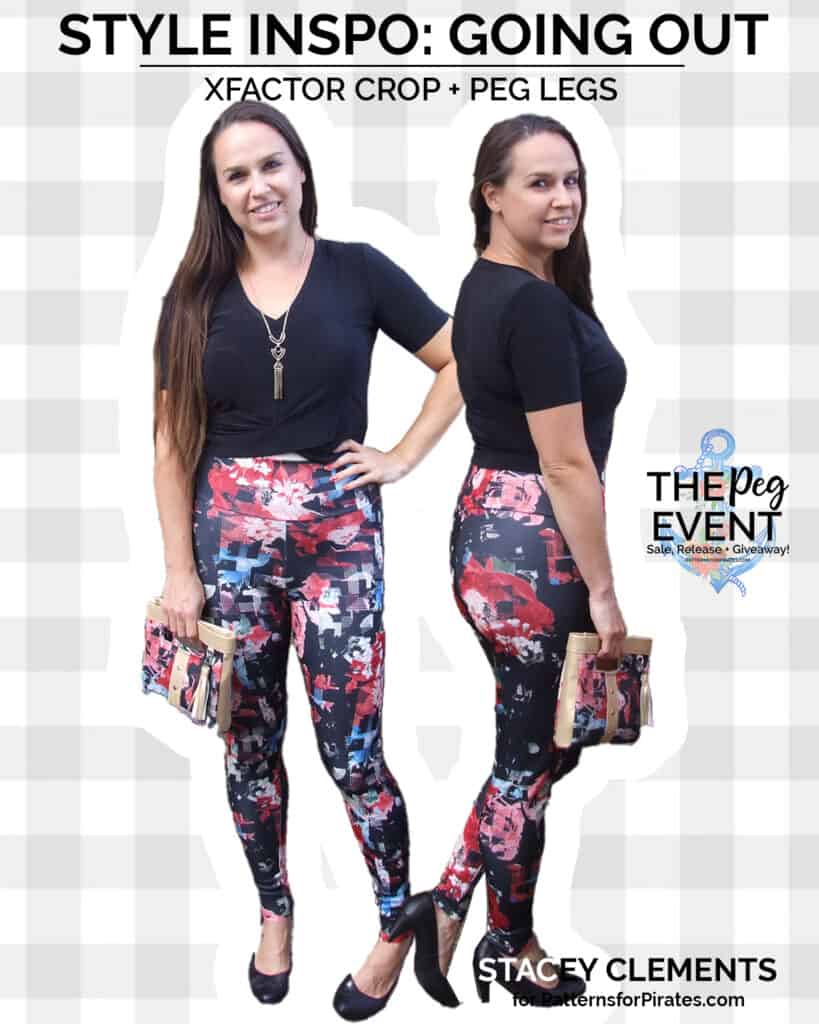
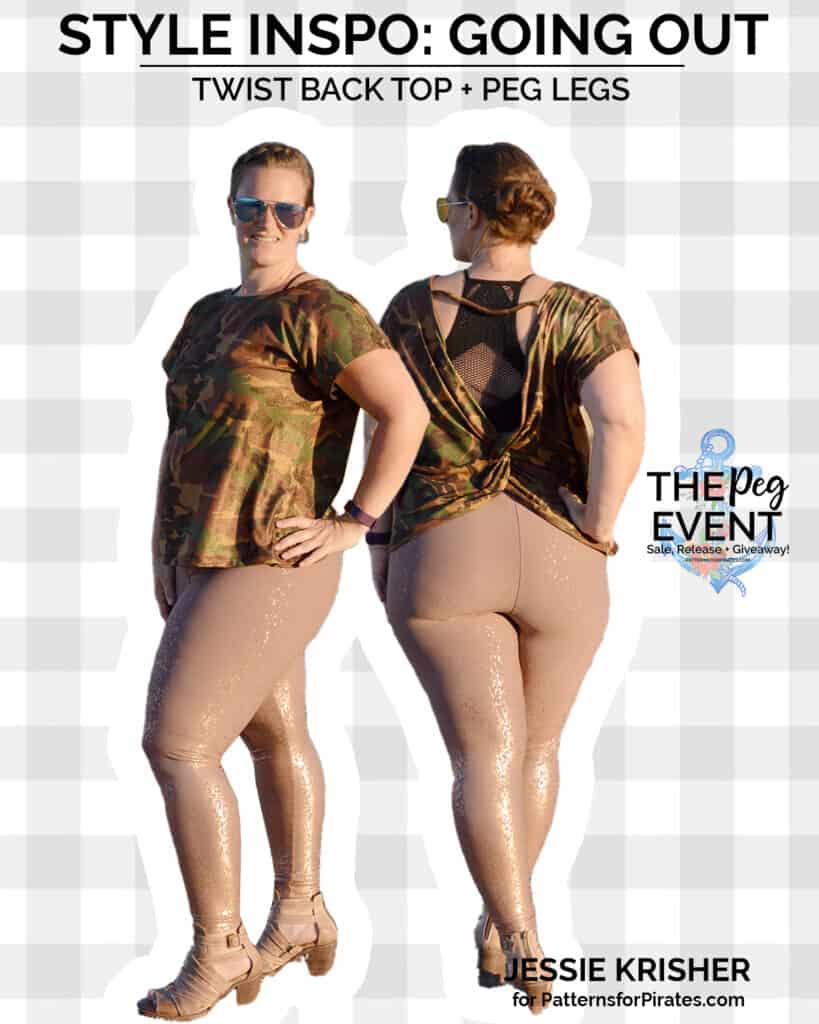
PEG LEGS | PEG LEGS – ADD-ON PACK | PEG LEGS – COLORBLOCK PACK
Before you go, we’ve got giveaway prizes to tell you about! Sponsoring today’s portion of The Peg Event an amazing fabric company!
THE FABRIC FAIRY – www.thefabricfairy.com
FACEBOOK GROUP | FACEBOOK PAGE
The Fabric Fairy specializes in cutting edge, high quality fabrics for fun-loving children, teens, and young-at-heart adults. Fabrics that are great for the Peg Legs pattern are: Zen, Olympus, Repreve, and Dharma.
One lucky winner will receive a $30 gift card! And on top of that, there is a 10% discount in their shop September 12-13 using the code: PEGLEGS
**Daily and Grand Prize winners will all be announced together on Sunday, September 13.
The Peg Event :: Peg Leg Video – Talk Fabric with Judy
Welcome back to another day of The Peg Event! We hope you are loving our newest release of the Peg Legs – Colorblock Pack and update to the beloved Peg Legs, and Peg Legs – Add-On Pack!
Before we get to the main event, I’d like to remind you that we’ve got a sitewide sale happening from now until Saturday, September 12. In addition to that, we’ve got an awesome giveaway happening, with 14 amazing prizes (and 14 amazing prize winners)! You can read all about The Peg Event HERE.
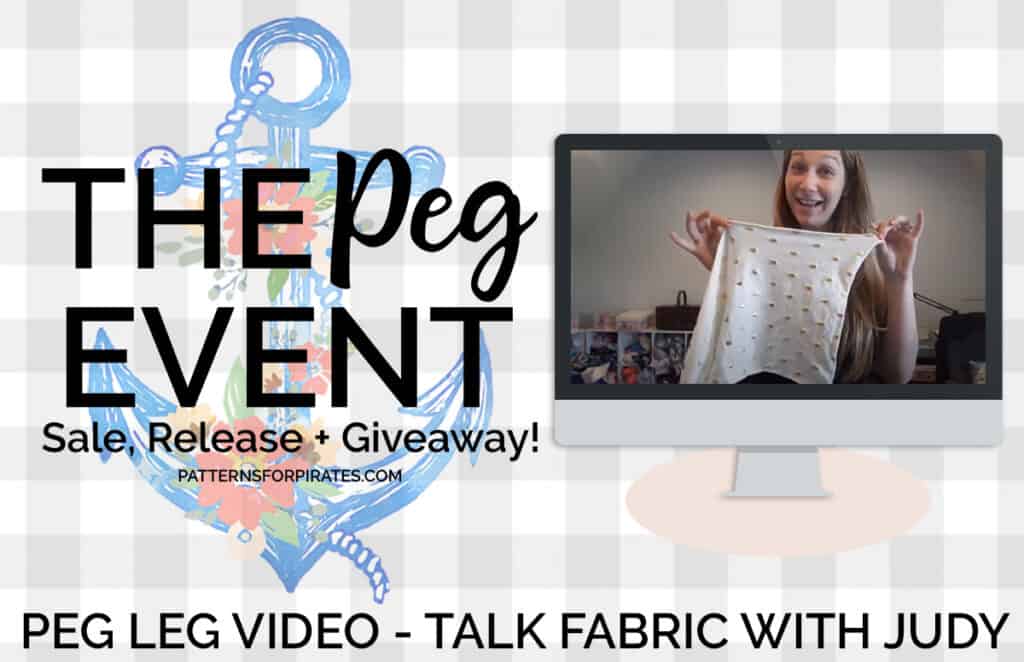
Today, we wanted to make sure you saw the video where Judy talks all about one of our favorite topics: fabric! Specifically, she breaks down what fabrics are best, and which fabrics to avoid, while you’re sewing up your new favorite pair of Peg Leg Leggings!
Feeling ready to tackle some Peg Leg sewing? Here are some links to all of our FREE leggings patterns, so you can get moving!
PEG LEGS | PEG LEGS – ADD-ON PACK | PEG LEGS – COLORBLOCK PACK
Before you go, we’ve got a giveaway prize to tell you about! Sponsoring today’s portion of The Peg Event is an amazing fabric company!
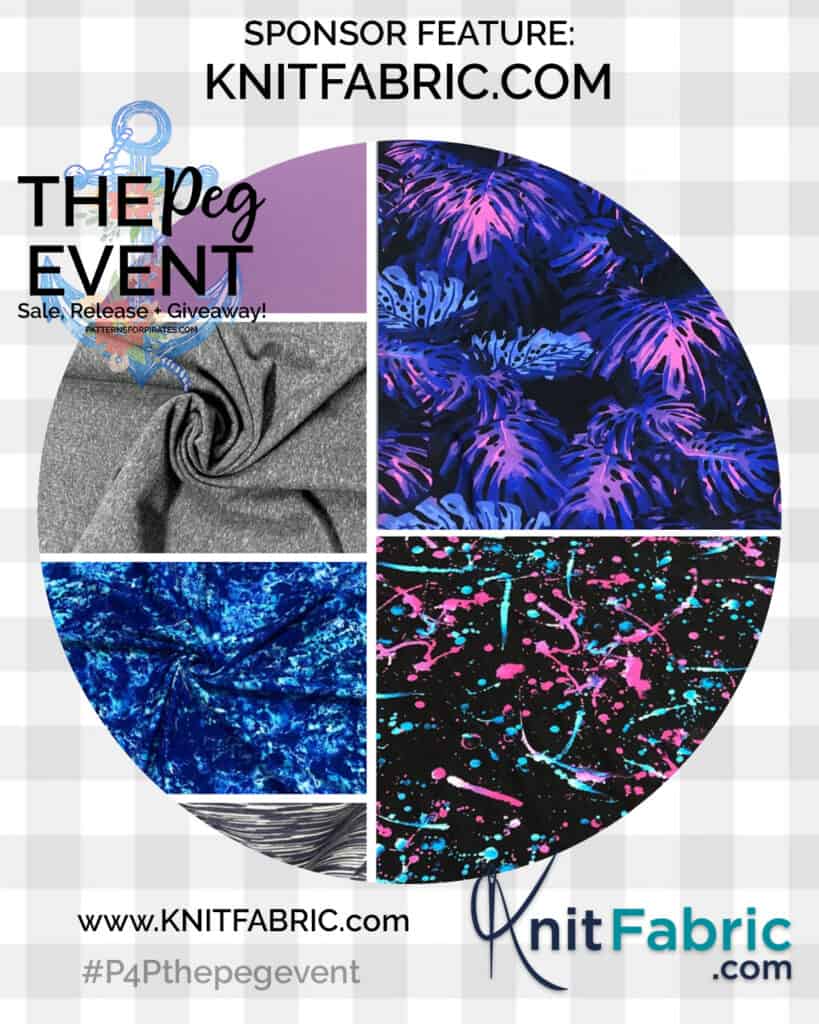
KNITFABRIC.COM – knitfabric.com
INSTAGRAM | FACEBOOK GROUP | FACEBOOK PAGE
Knitfabric.com is your one-stop shop for knit fabrics! There are over 1000 fabrics in-stock with speedy flat-rate shipping.
One lucky winner will walk away with a $50 Gift Card to this shop! And on top of that, enjoy a 10% discount (valid 9/11 and 9/12) using the code: PEGLEGS
**Daily and Grand Prize winners will all be announced together on Sunday, September 13.
The Peg Event :: Peg Legs – Loungewear Style Inspiration
Welcome back to another day of The Peg Event! We hope you are loving our newest release of the Peg Legs – Colorblock Pack and update to the beloved Peg Legs, and Peg Legs – Add-On Pack!
Before we get to the main event, I’d like to remind you that we’ve got a sitewide sale happening from now until Saturday, September 12. In addition to that, we’ve got an awesome giveaway happening, with 14 amazing prizes (and 14 amazing prize winners)! You can read all about The Peg Event HERE.
We’ve got another set of incredible testers that wanted to help provide some P4P Style Inspiration! They always seem to know just what to wear, and how to look amazing at all times. So we asked what their favorite things to pair the Peg Legs / Peg Legs – Colorblock Pack / Peg Legs – Add-On Pack with were…and here’s what they came up with for some casual, every day looks.
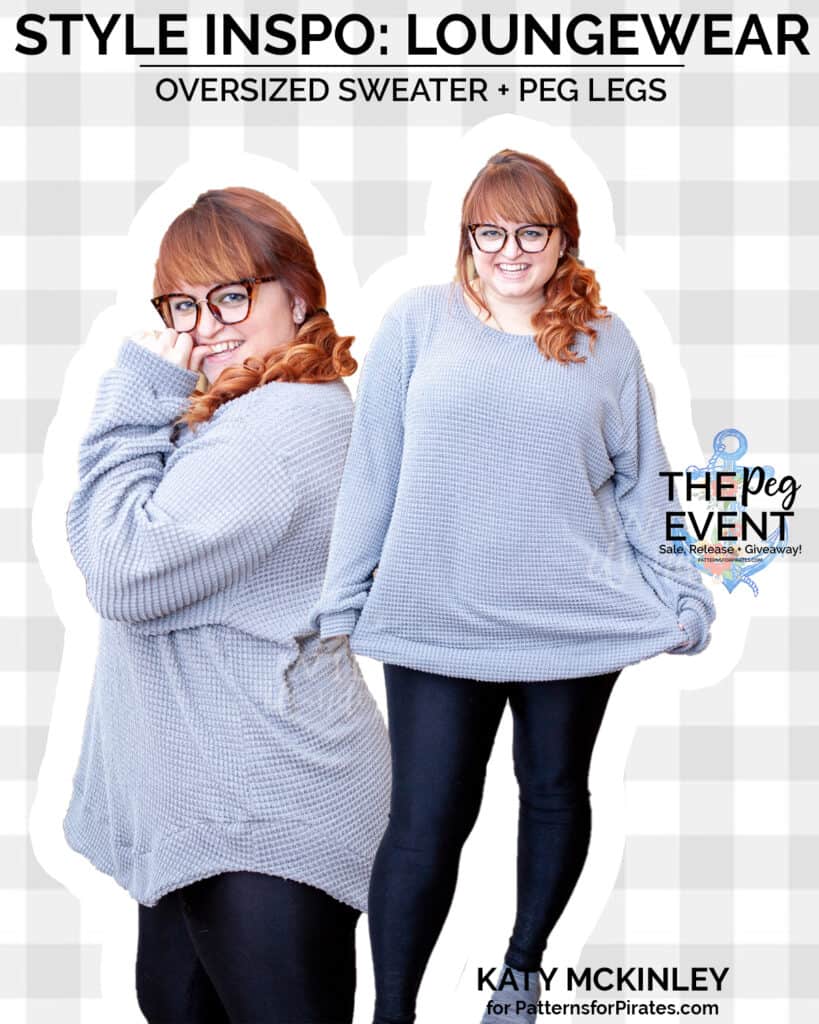
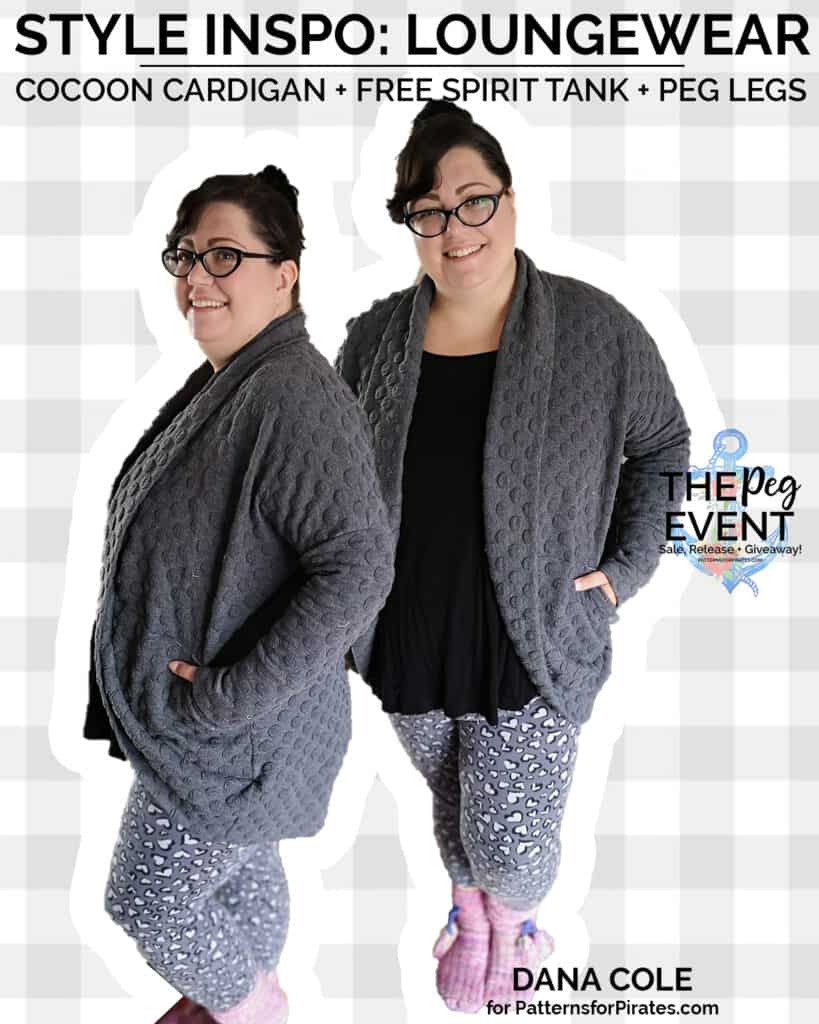
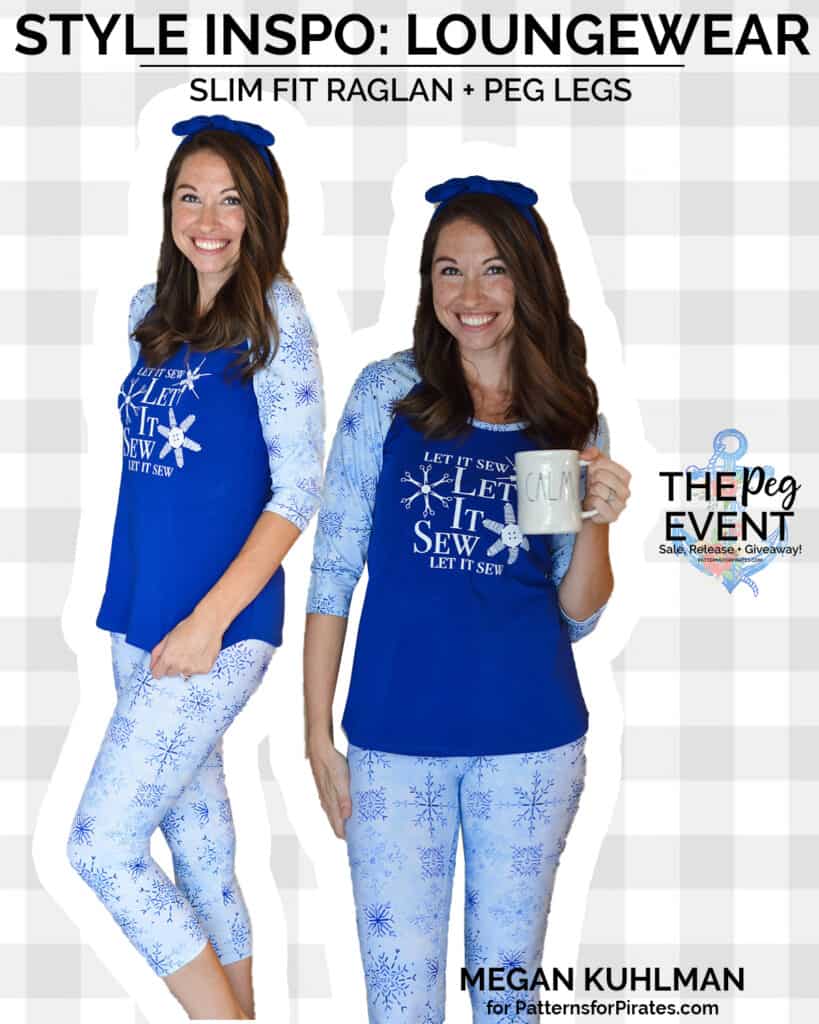
Feeling inspired yet? I am! Here are some links to all of our FREE leggings patterns, so you can get to sewing!
PEG LEGS | PEG LEGS – ADD-ON PACK | PEG LEGS – COLORBLOCK PACK
Before you go, we’ve got giveaway prizes to tell you about! Sponsoring today’s portion of The Peg Event are two amazing fabric companies!
HISSY FIT FABRICS – www.hissyfitfabrics.com
FACEBOOK GROUP
Hissy Fit Fabrics is a custom fabric company with seasonal, character and topical prints that you’re sure to love.
One lucky winner will receive a $50 gift certificate to their shop!
EMERALD CURTAIN FABRIC – www.emeraldcurtainfabric.com
FACEBOOK GROUP
Emerald Curtain Fabric is a Black and Queer owned custom fabric shop that focuses on fabrics that feature and uplift marginalized folx (specifically BIPOC and LGBTQIA+). They also carry nontraditional snarky prints and fabric with swear words.
One lucky winner will receive a $40 gift card to their shop!
**Daily and Grand Prize winners will all be announced together on Sunday, September 13.
- « Previous Page
- 1
- …
- 25
- 26
- 27
- 28
- 29
- …
- 67
- Next Page »
