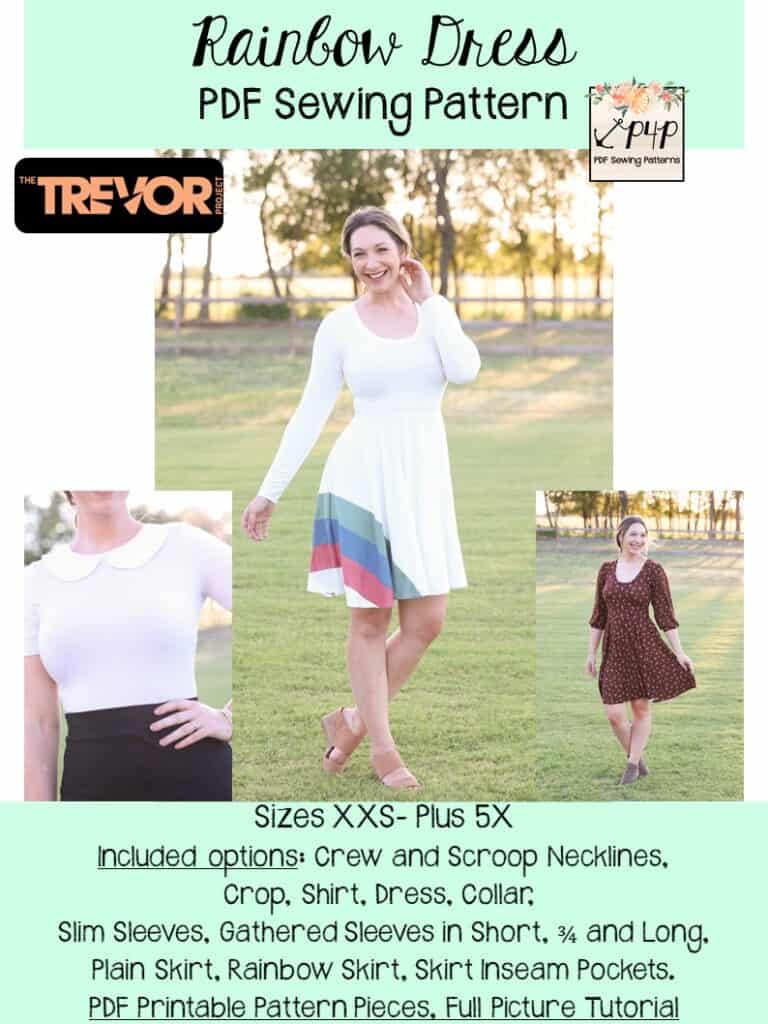
Wooohoo! You did it! Last sew along day is here and all we have to do is add sew then skirt to the bodice and hem it. Easy peasy!
Mark the center of the front and back bodice with a pin or a clip. The skirt pattern has notches to show its center. Pin the skirt to the bodice, right sides together, matching the center marks and the side seams. Sew with the serger or a stretch stitch. Optionally you can top stitch the seam allowance up.
Lastly, hem the bottom of the skirt by folding 1” and PRESSING! Do not skip steam pressing before you sew…and after. You sew the hem using your sewing machine’s twin needles option or your coverstitch as I have. Before you start, take a look over our Hemming blog because we have a few tips for easy and successful hemming. If you are finishing the bottom hem using twin needles, a good refresher blog is the P4P University Twin Needles Tips.
Last Rainbow dress SAL video is below. Once you complete your project, post a picture of your finished dress in the comments of day 6 photo of the sew along album. That’s where the team will pick the two winners. I will announce them on the blog on Tuesday.
Rainbow Dress SAL – day 1 | Cut fabric
Rainbow Dress SAL – day 2 | Create rainbow skirt and add optional pockets
Rainbow Dress SAL – day 3 | Create collar
Rainbow Dress SAL – day 4 | Sew shoulder seams and add neckband
Rainbow Dress SAL – day 5 | Add sleeves and sew side seams
Rainbow Dress SAL – day 6 | Add skirt and hem
