The much anticipated Be Bold Bodysuit has now released. I couldn’t be more thrilled to share with you some easy hacks that the P4P blog team has prepared for you. We will show you how to add a your favorite P4P skirt to the crop top and make it a custom dress. Rachel is adding a faux placket to her Be Bold Bodysuit and Shannon is making a very cropped 😉 crop option. Ohh and did I mention that you can turn the BBB into an undergarment compression bodysuit? Djem is showing you how below.
…..
Dress
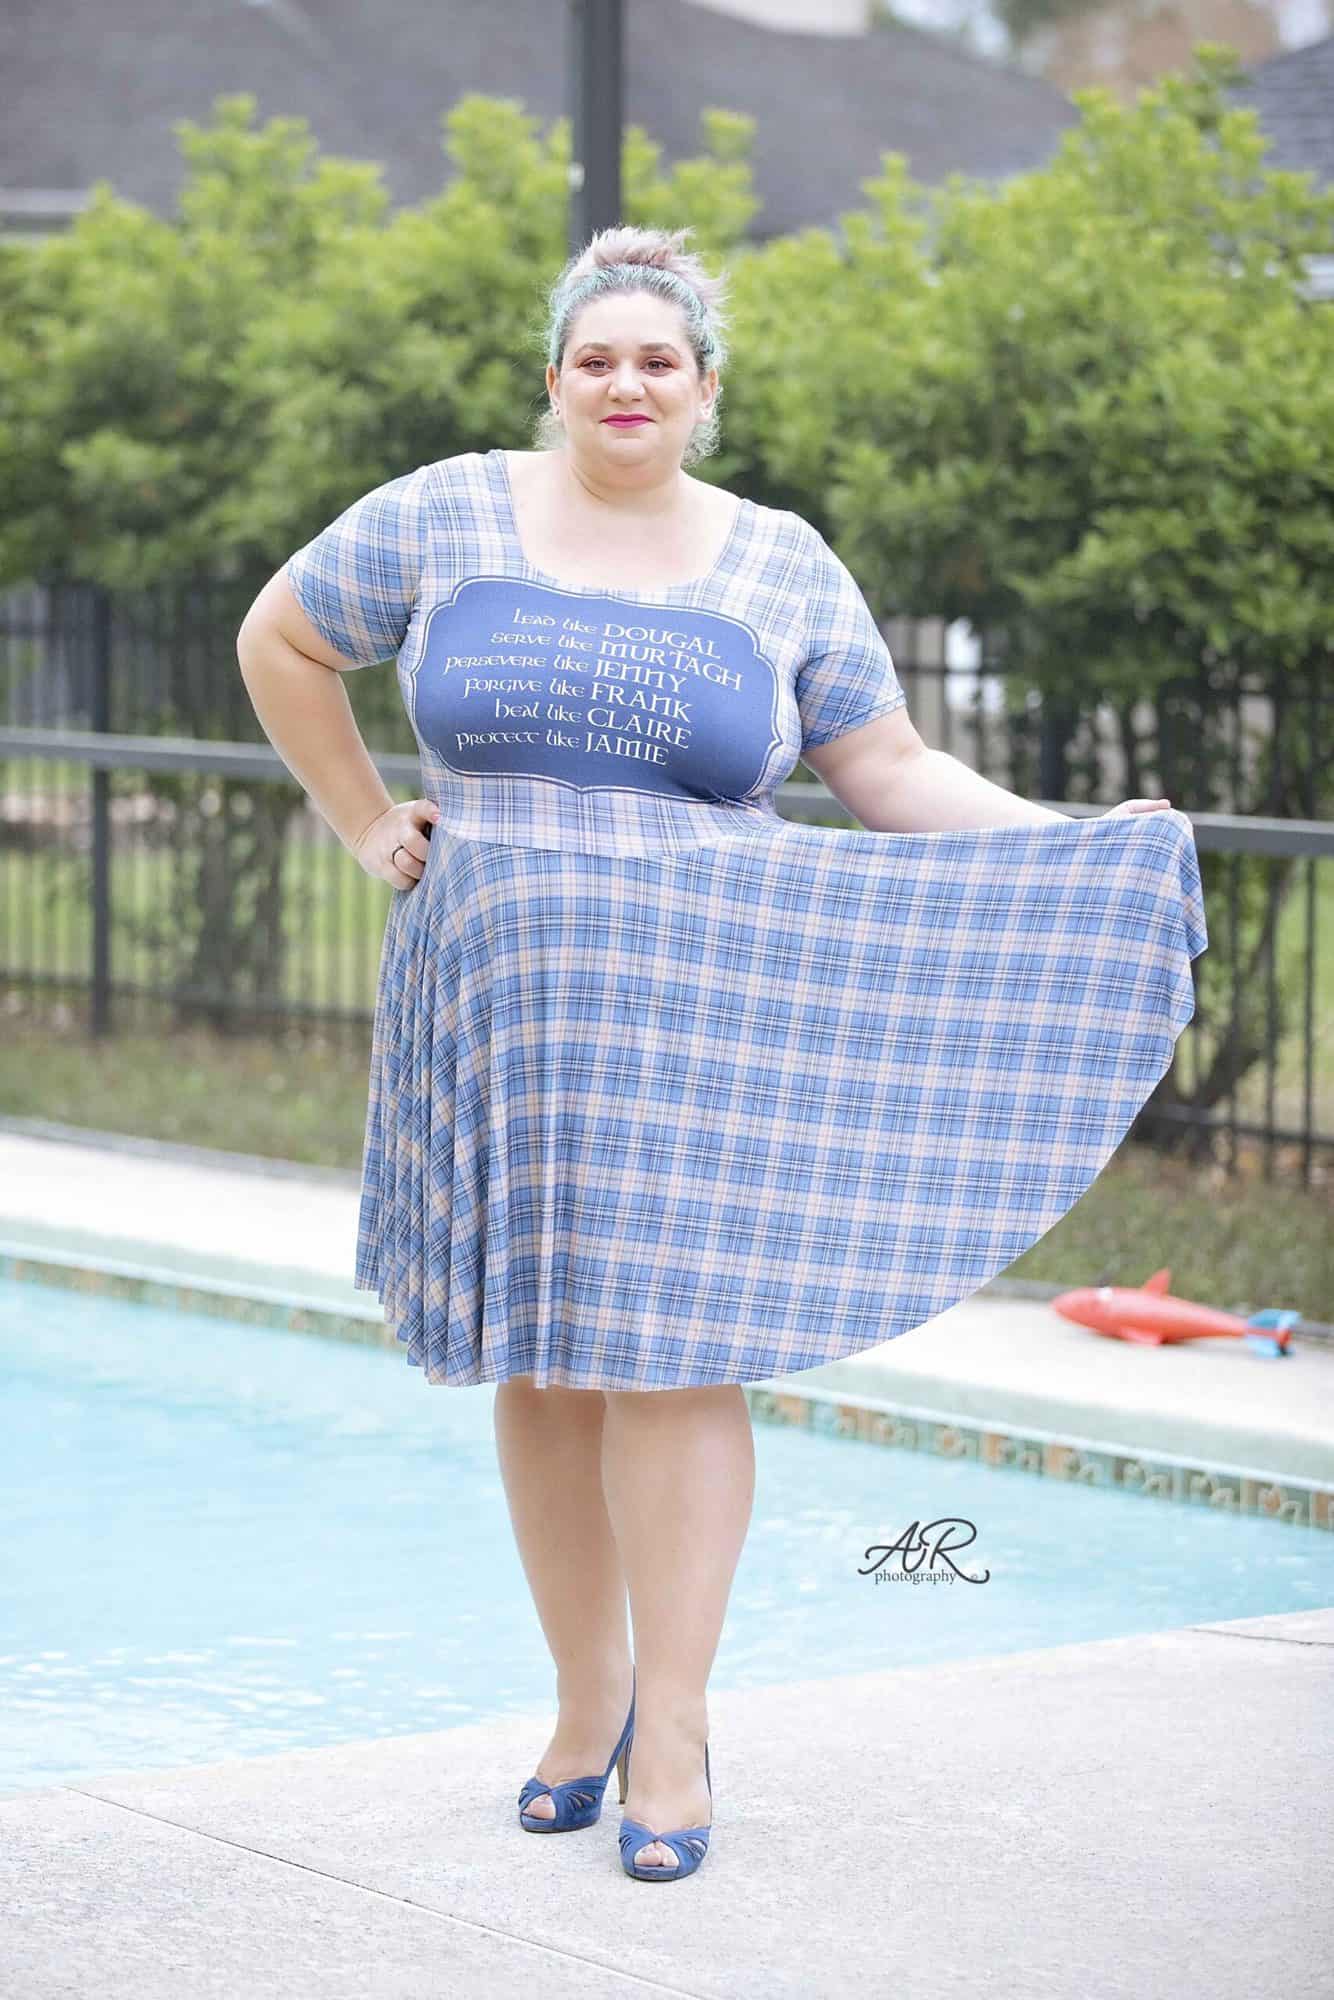
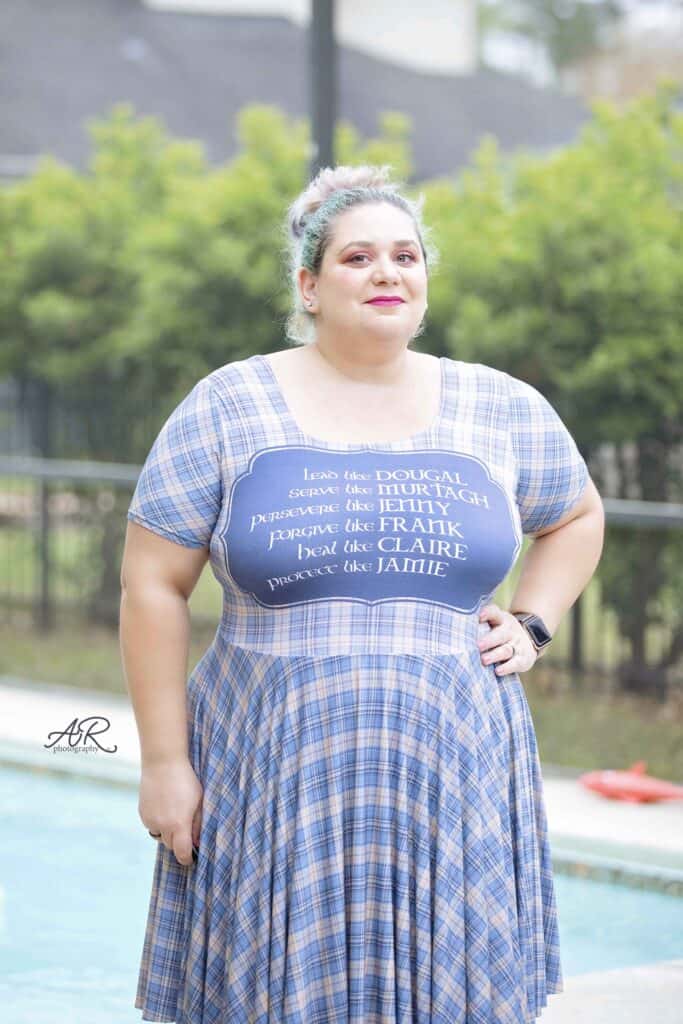
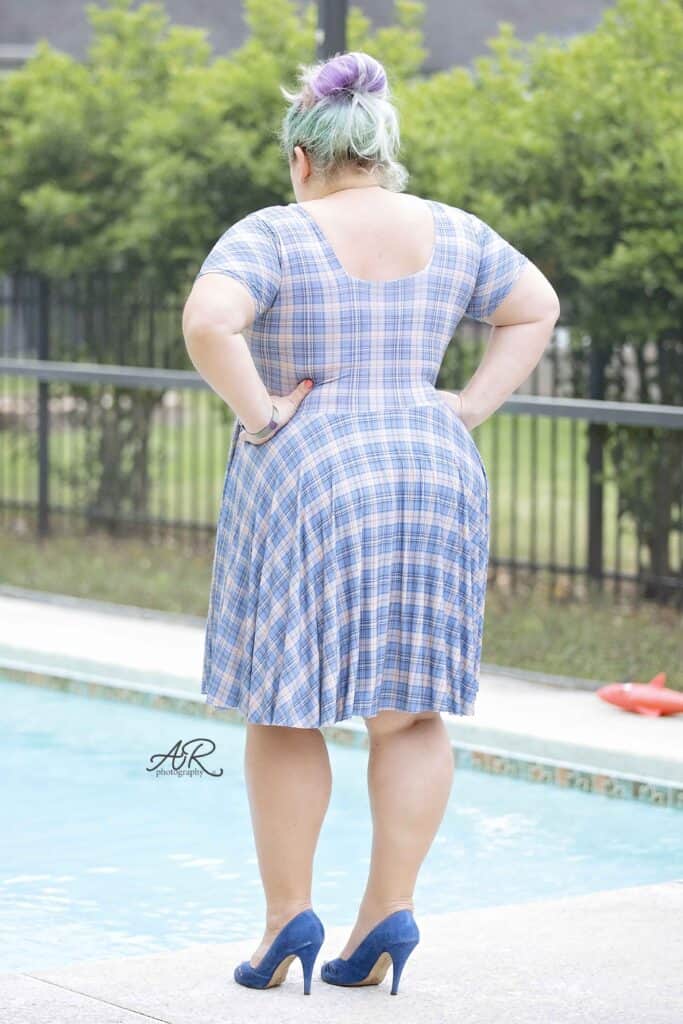
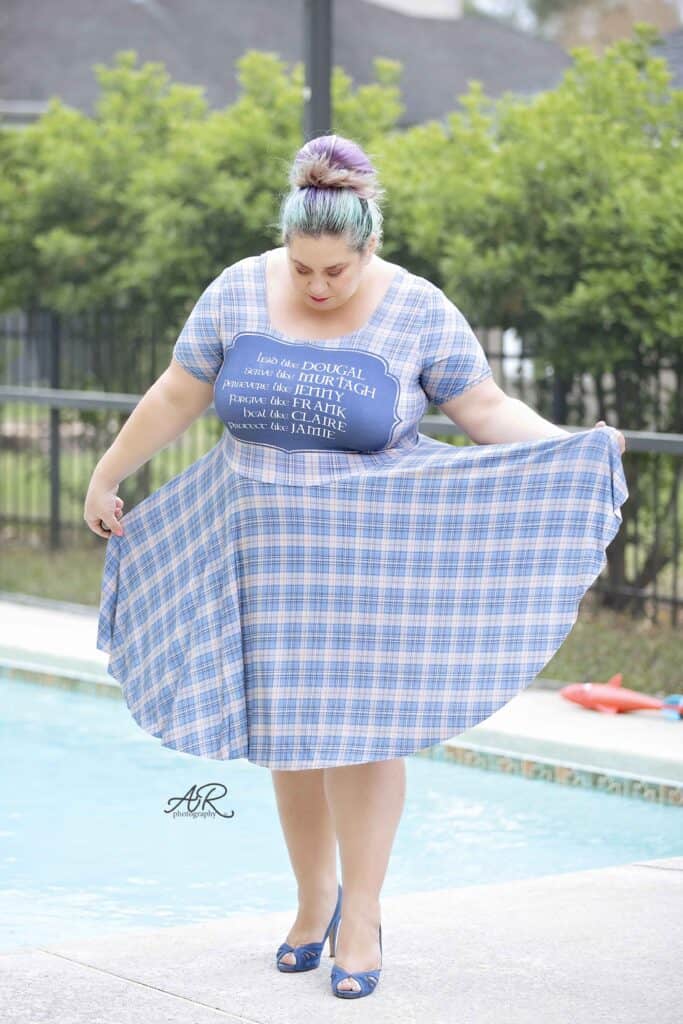
Let’s start off this easy hacks series with my favorite of all – a dress!! Hello, beautiful! The Be Bold Bodysuit includes a crop top option which makes an excellent bodice for many of the P4P skirt patterns.
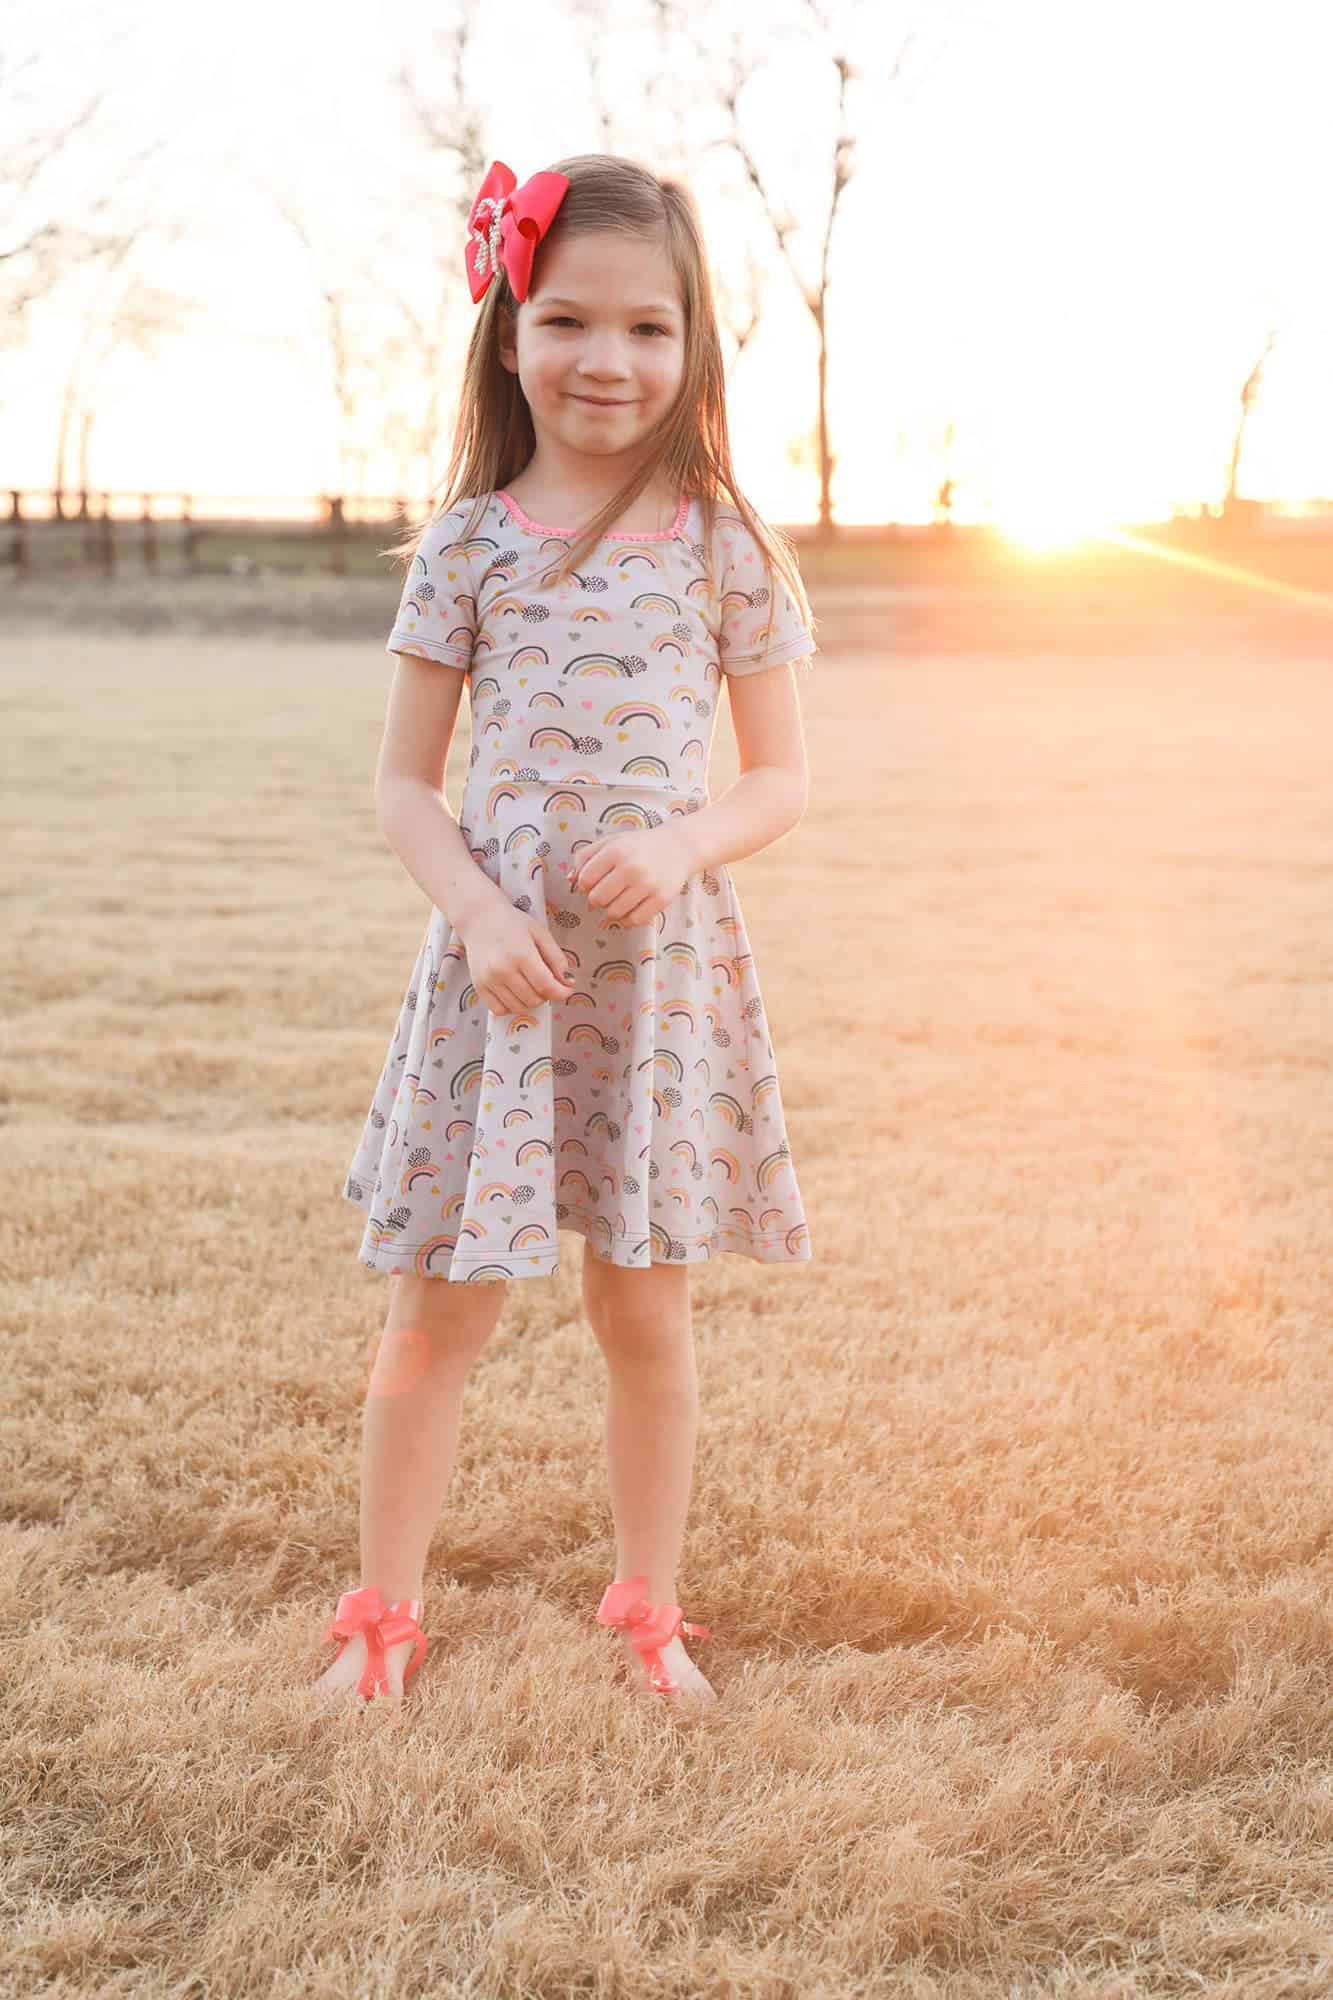
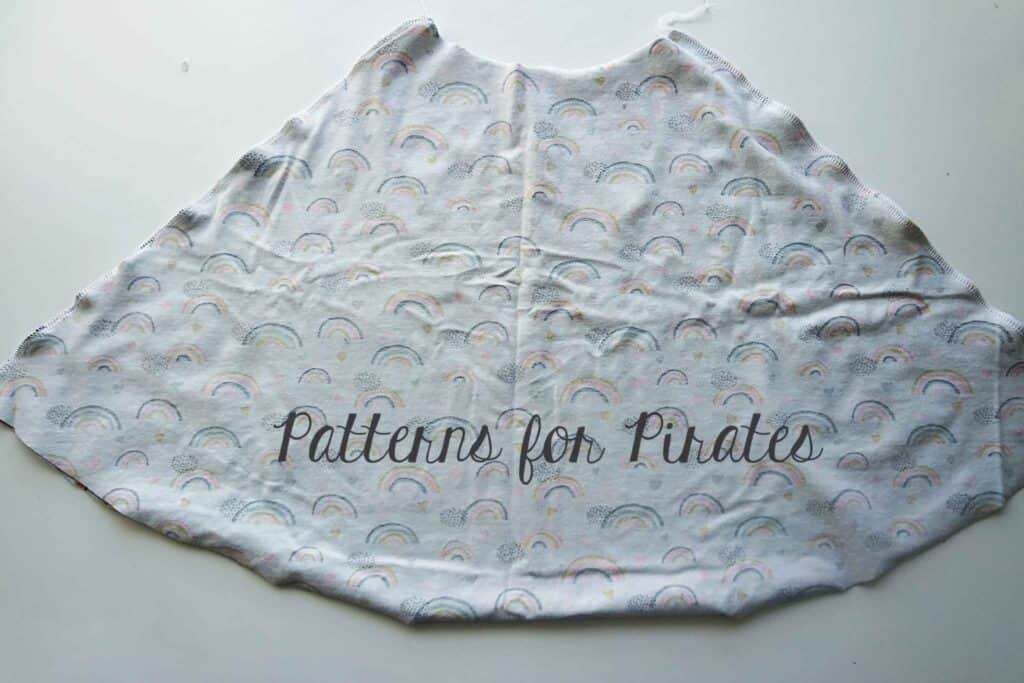
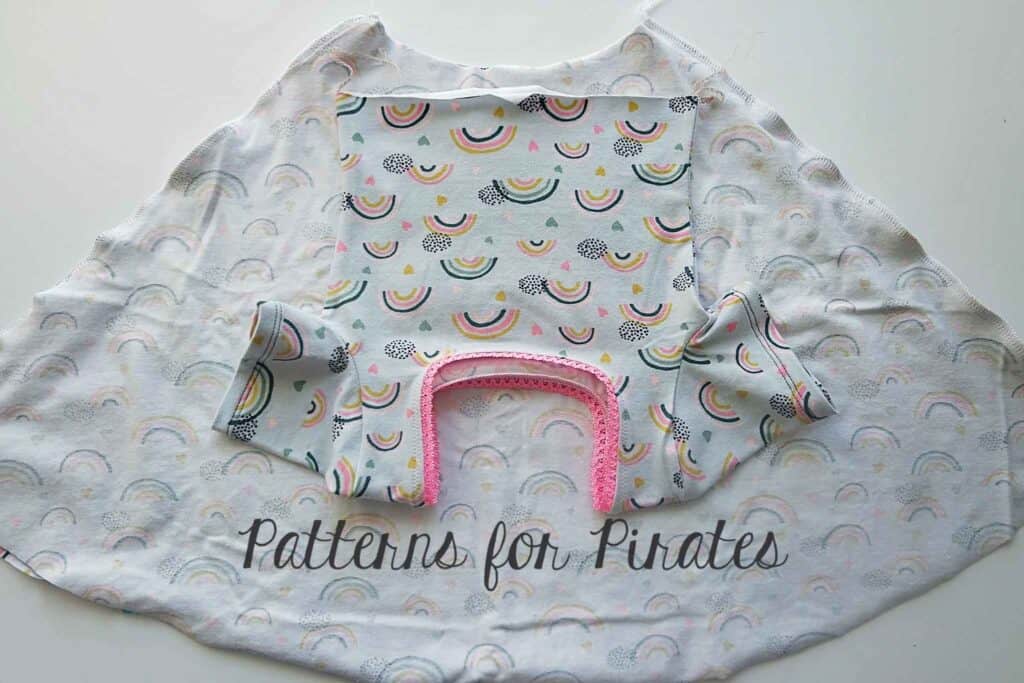
In the mini tutorial below, Judy shows you how to add the X Factor skirt to the Be Bold crop to to create a gorgeous, comfortable square neckline dress. Print the skirt portion of the X Factor pattern and cut the fabric. Sew the side seams right sides together.
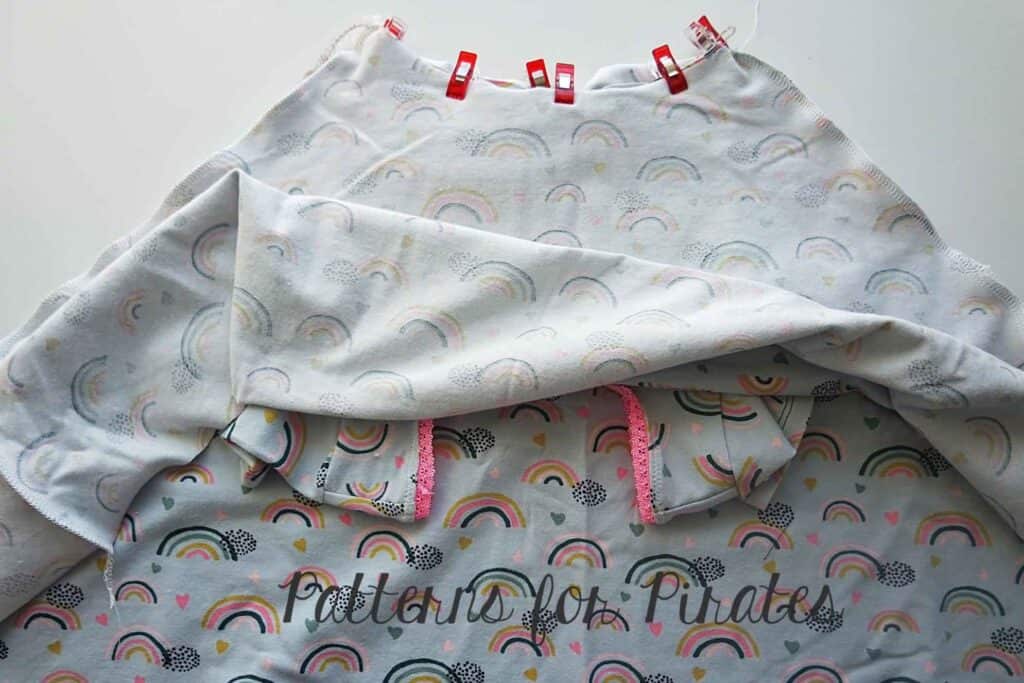
Mark the center of the skirt front and back as well as the centers of the bodice front and back.
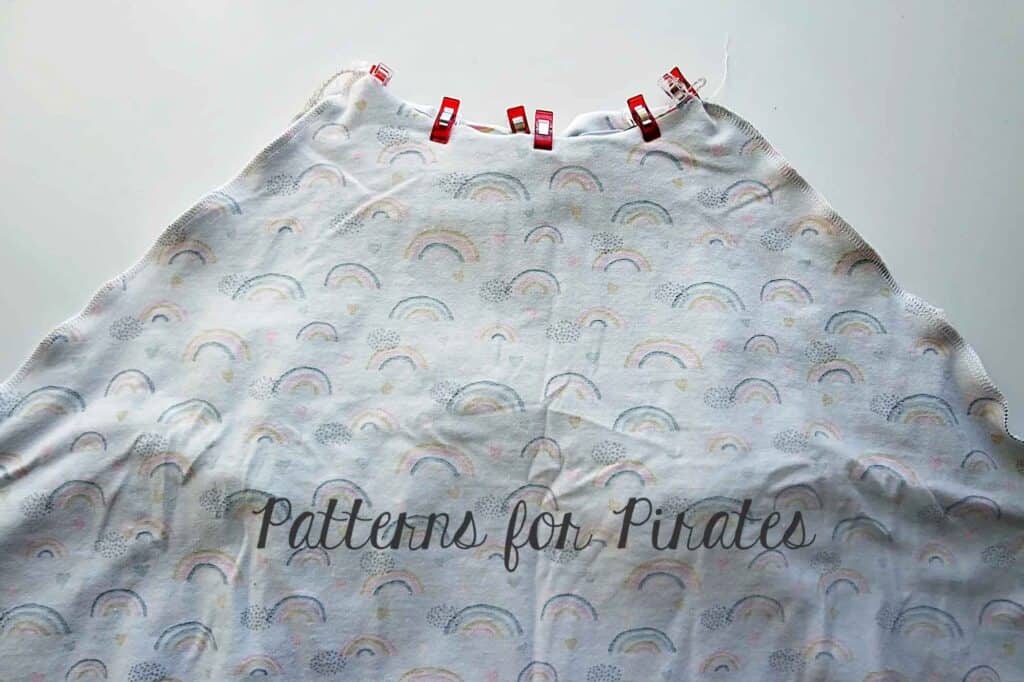
Matching the marked points, pin the skirt and bodice right sides together. Serge or sew with you favorite stretch and a 1/2″ seam allowance.
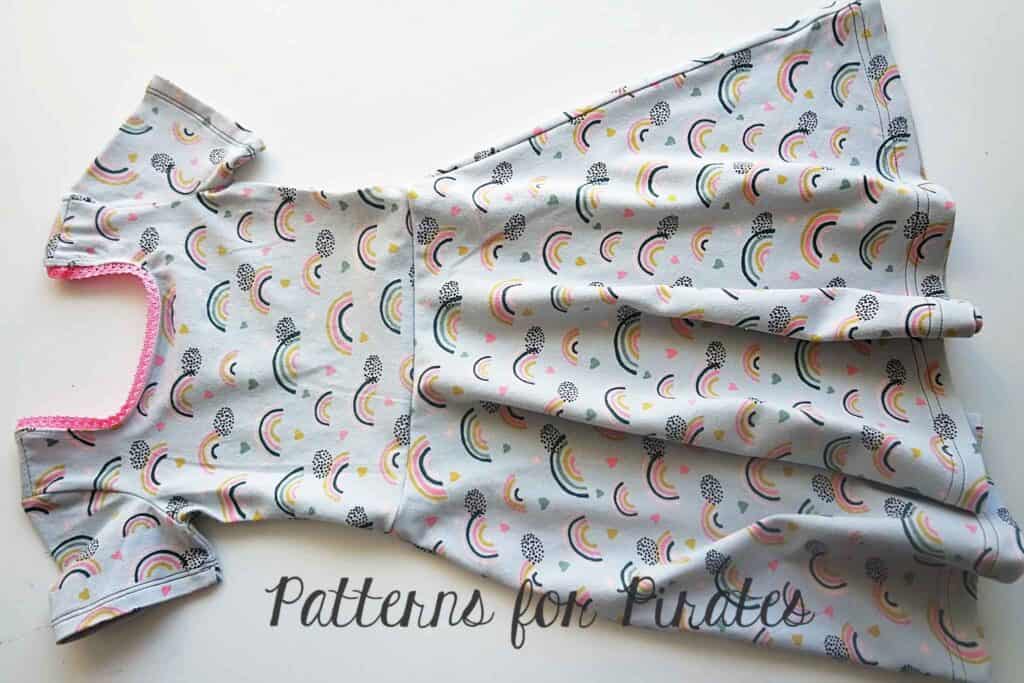
Hem the skirt and enjoy your new Be Bold dress!
I used the same method as above to make a Be Bold – Sweetheart mash. Instead of using the X Factor, I use the Sweetheart dress, Easy peasy! My next mash will be with the Boundless dress. If you chose to to the Be Bold crop with the Boundless gathered skirt, make sure that you use the cutting chart for the natural waist skirt, NOT the empire one.
My dress below is bamboo spandex and Judy’s baby girl’s dress above is cotton spandex.
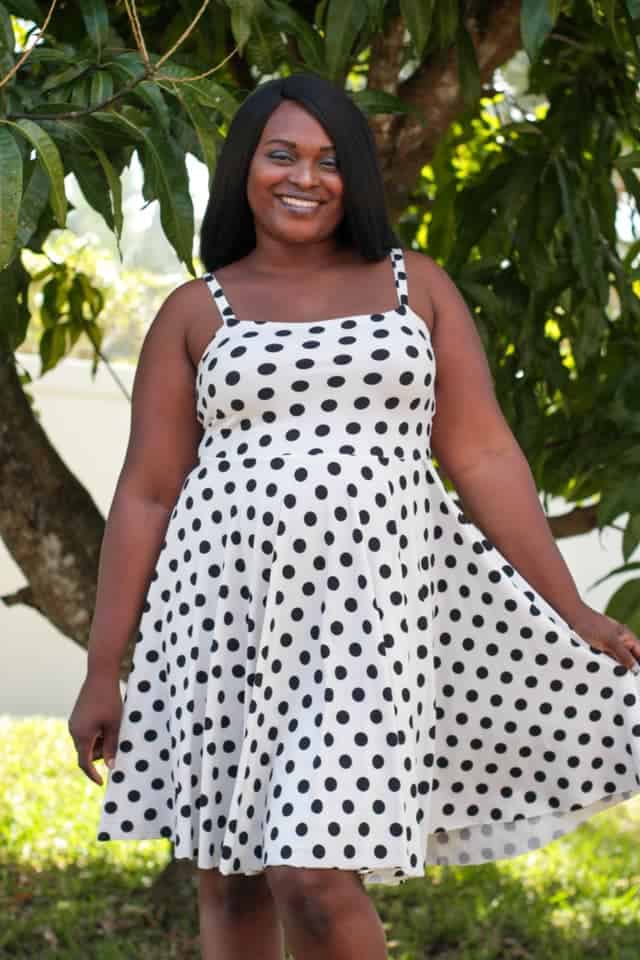
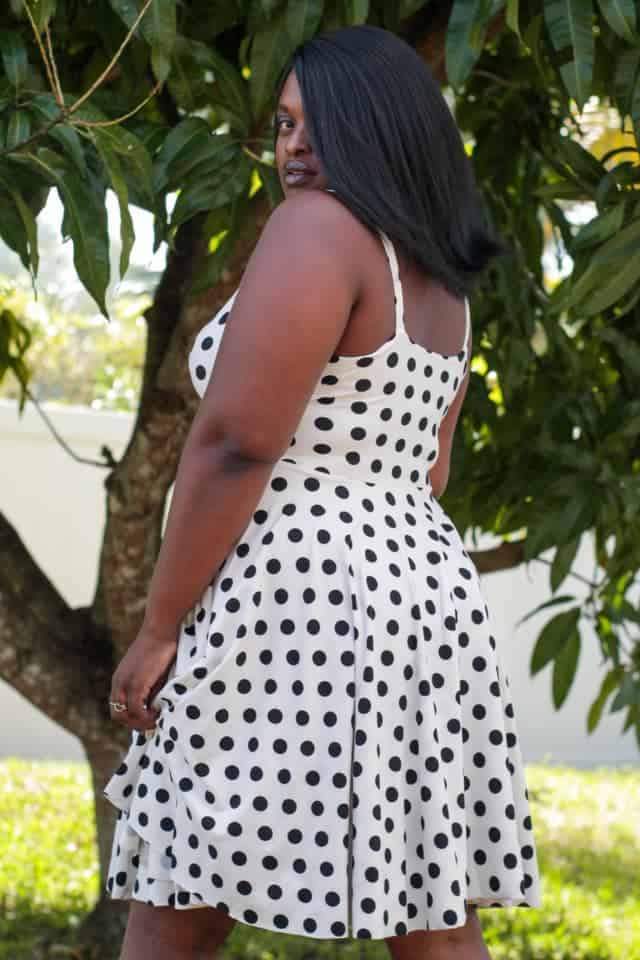
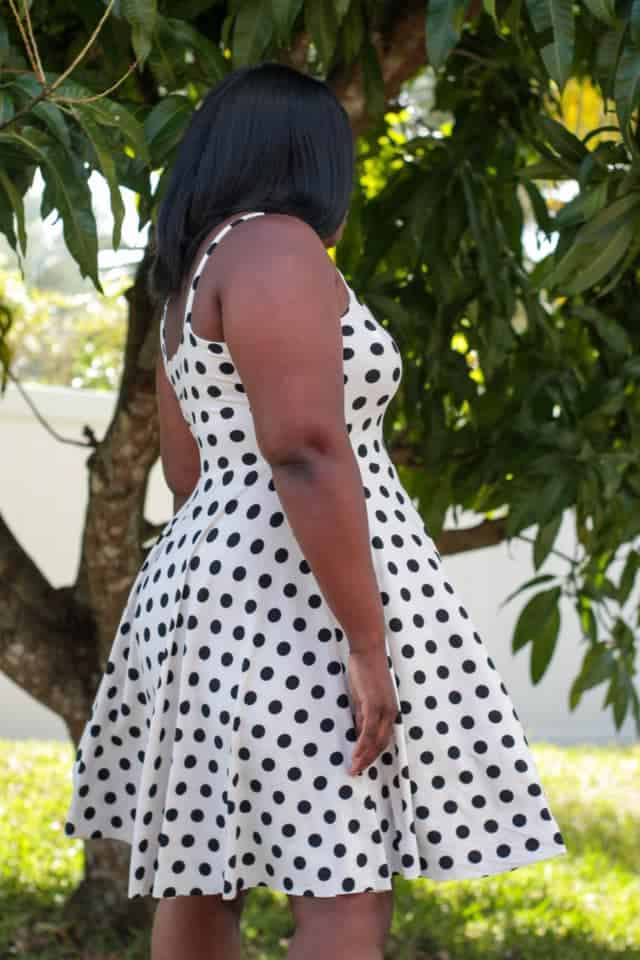
Just look how stunning Sylvia looks in her Be Bold thin strap option mashed with the Sweetheart dress. Her polka dots fabric is double brushed poly. Just radiant!
…..
Faux Placket
Adding a faux placket is an easy way to gain extra mileage from your Be Bold pattern. And it couldn’t be easier!
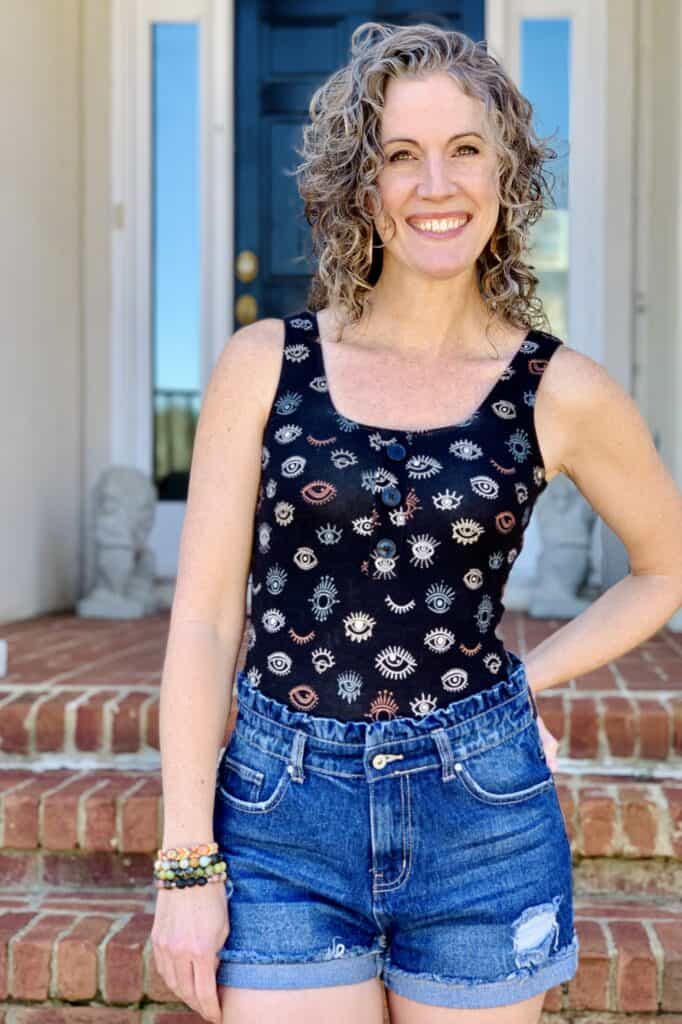
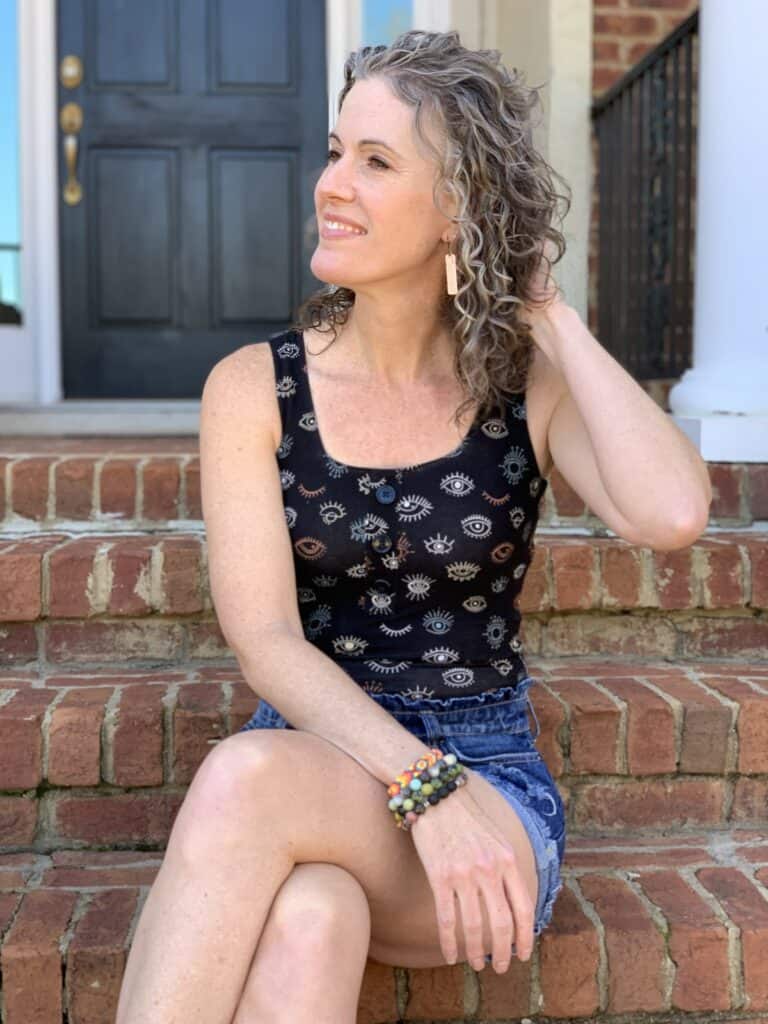
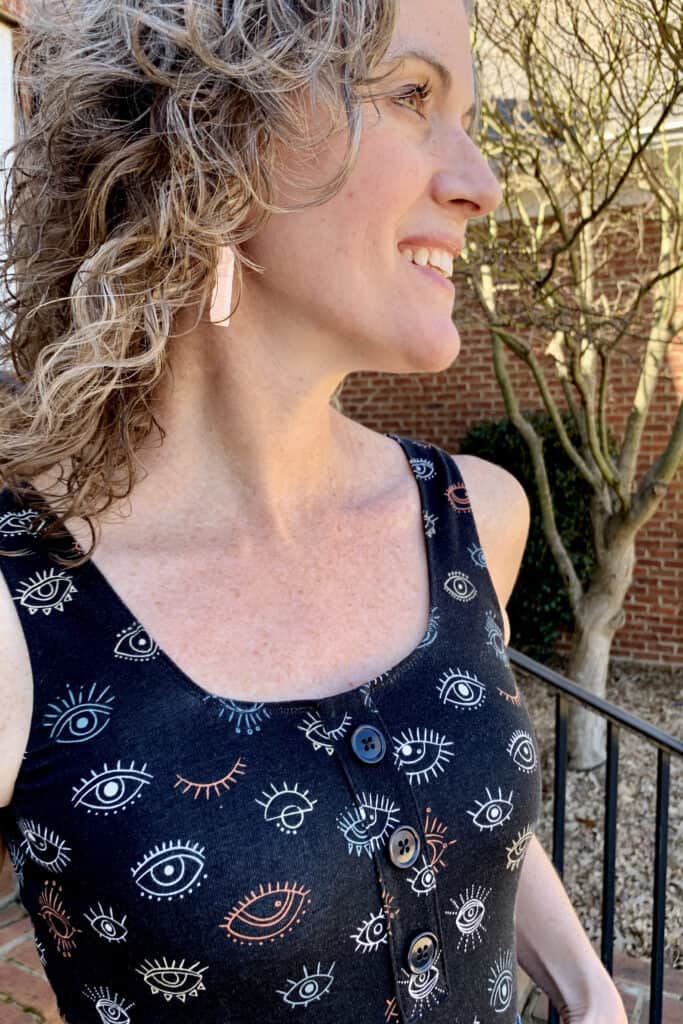
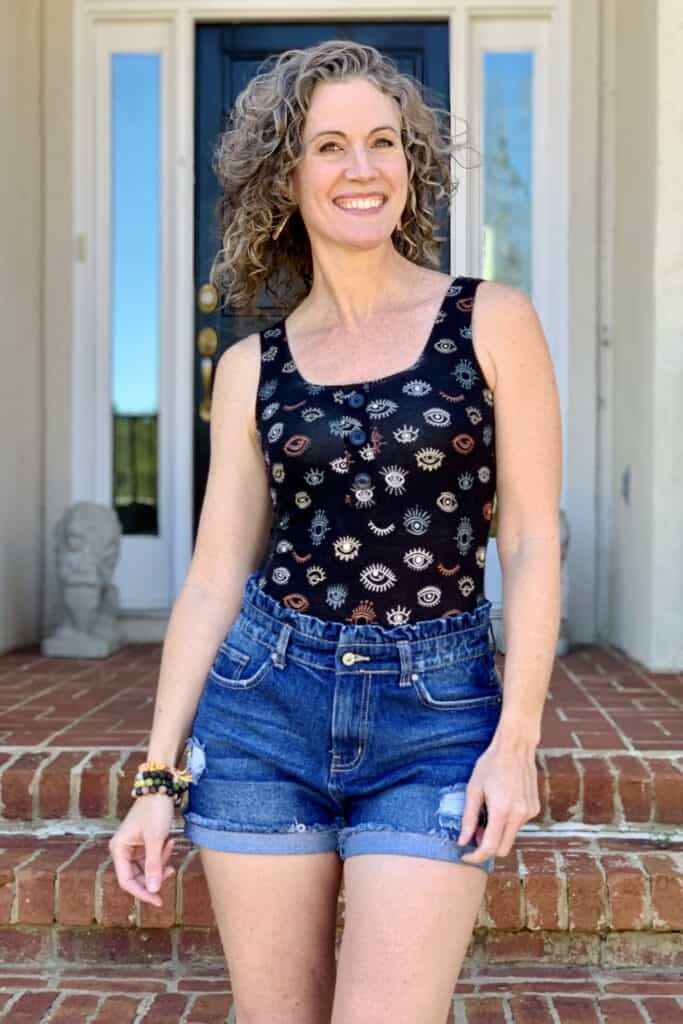
You can add a faux placket to any of the Be Bold styles, but I chose to add mine to the tank bodysuit.
Did I say that it couldn’t be easier? Keep reading…
Cut the pattern pieces for your preferred Be Bold style.
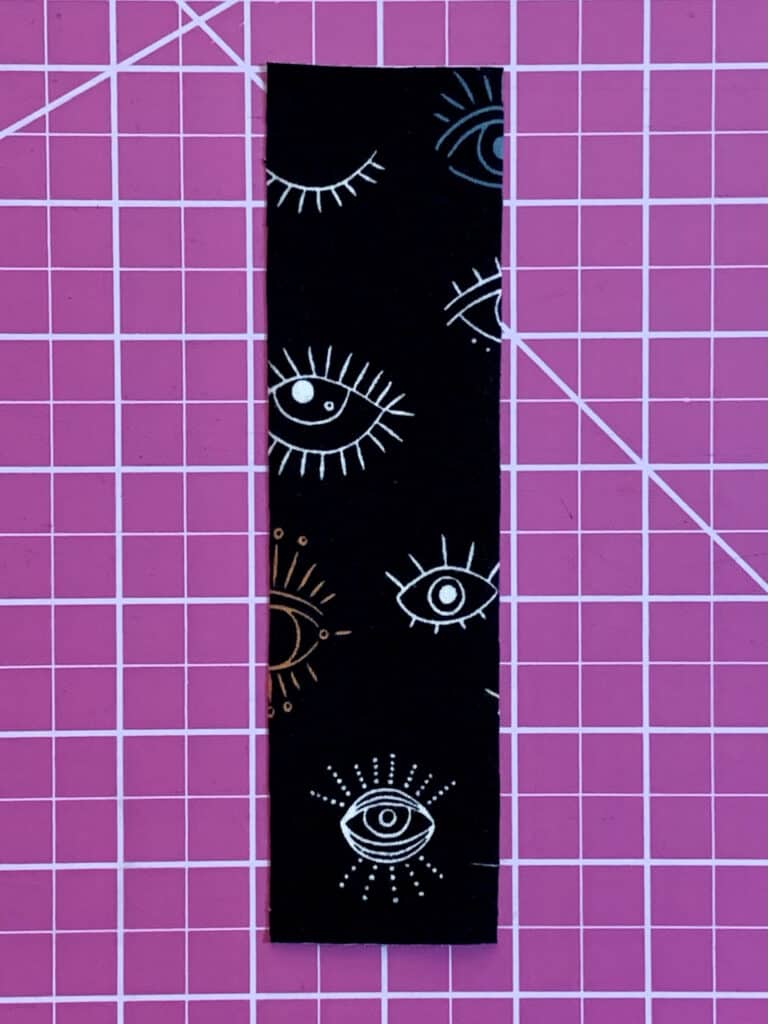
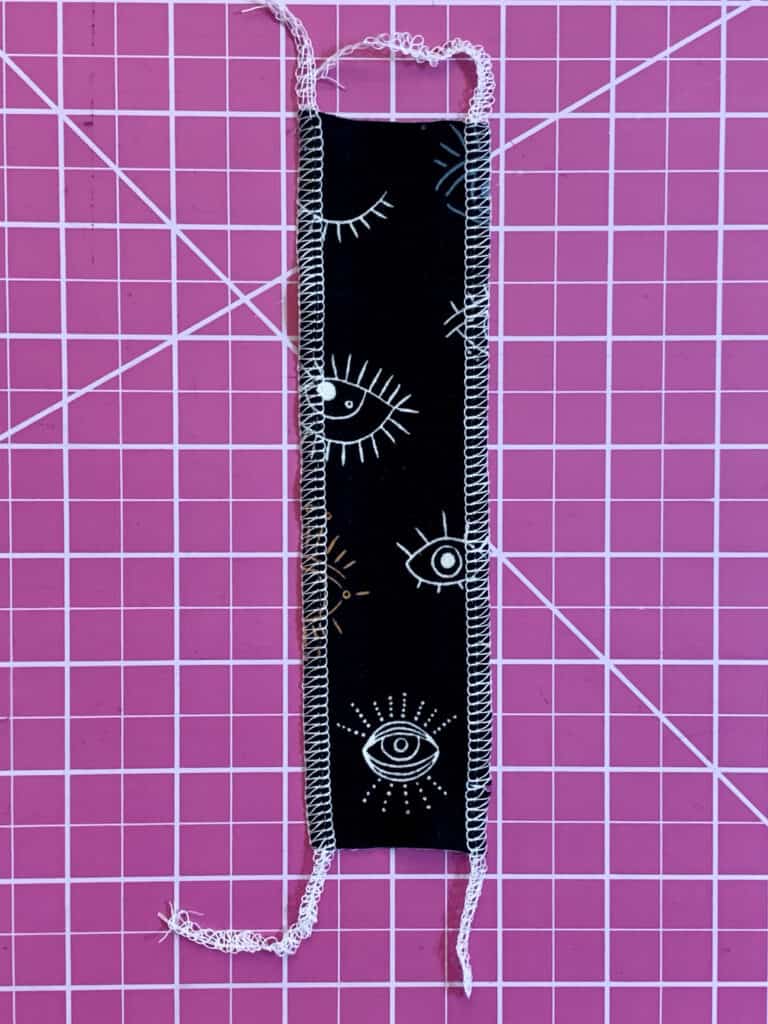
Cut an additional rectangle, 6.5” x 1.75”.
Optional! Finish the edges on your serger, without cutting off any of the seam allowance. It adds a bit of stability to your placket.
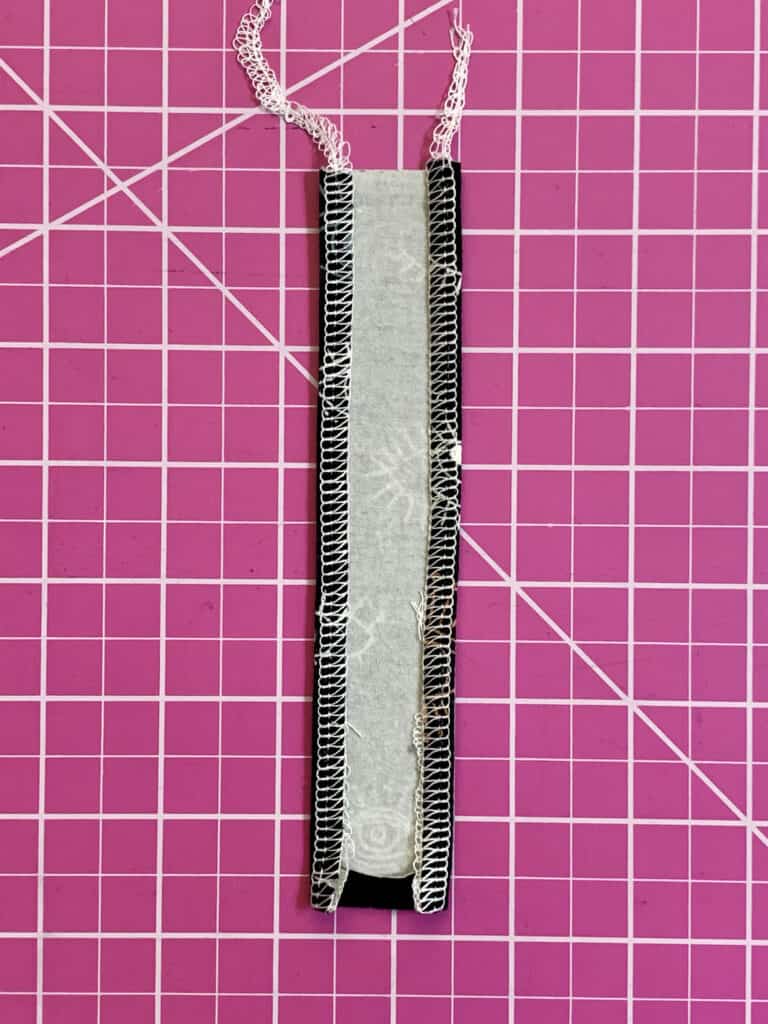
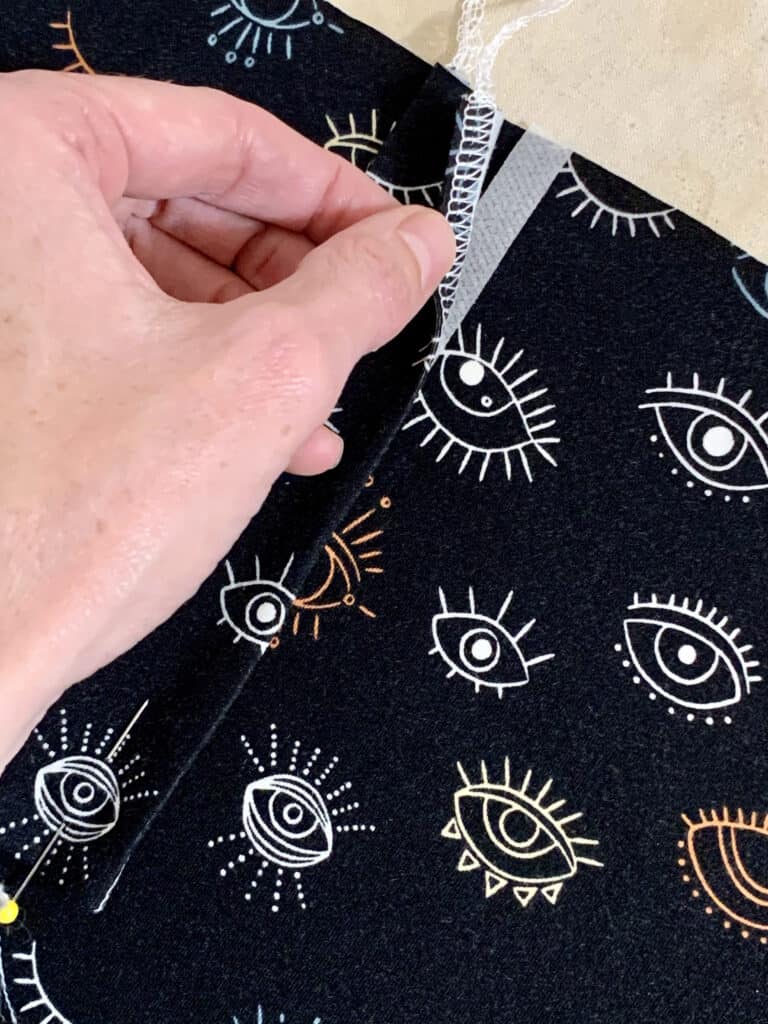
Fold the bottom and side edges in ¼” towards the wrong side and press into place.
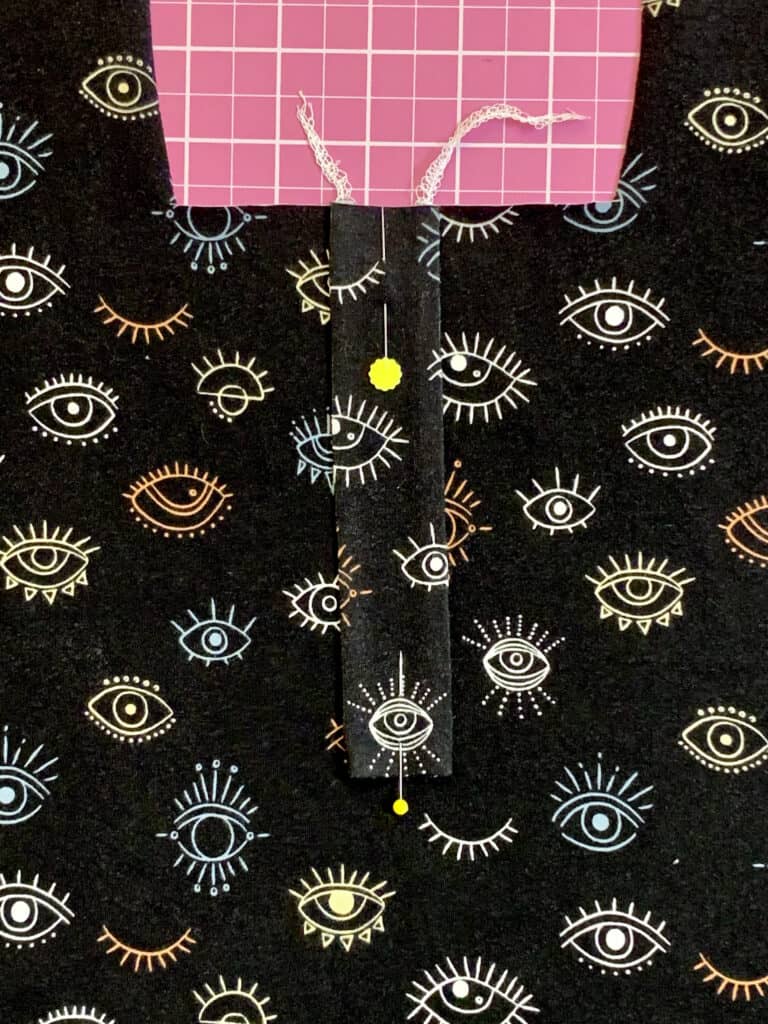
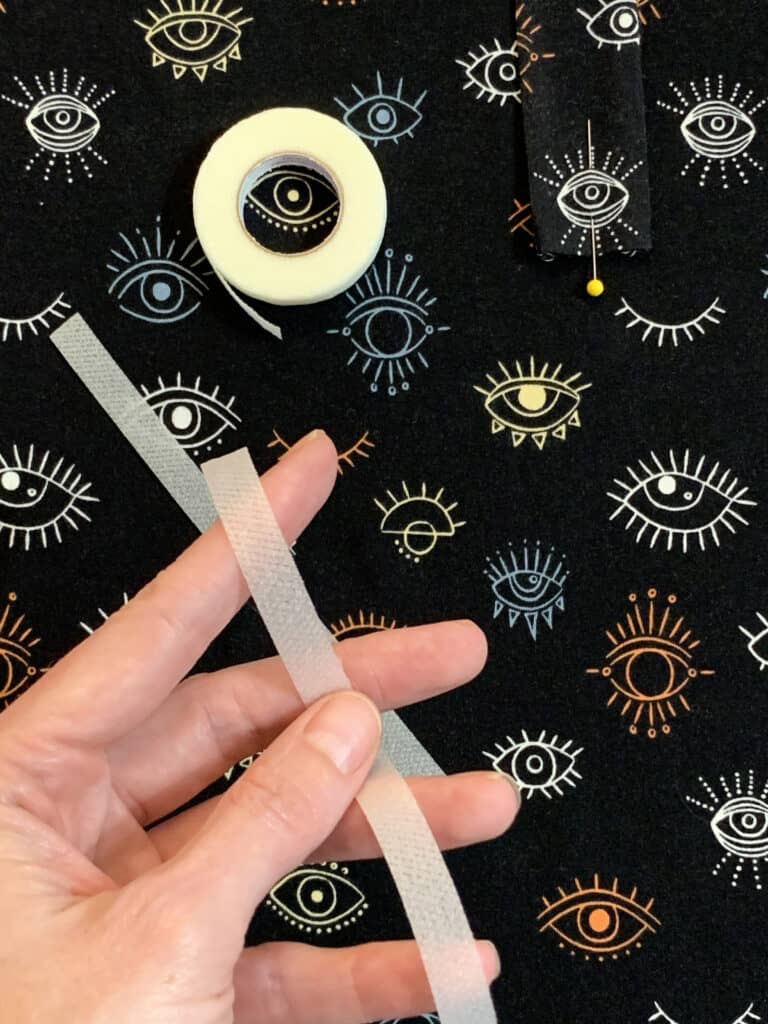
Pin your placket piece to the center line of your bodice, aligning raw edges at the top of the placket and neckline. At this point, I like to use hem tape to secure the placket into place.
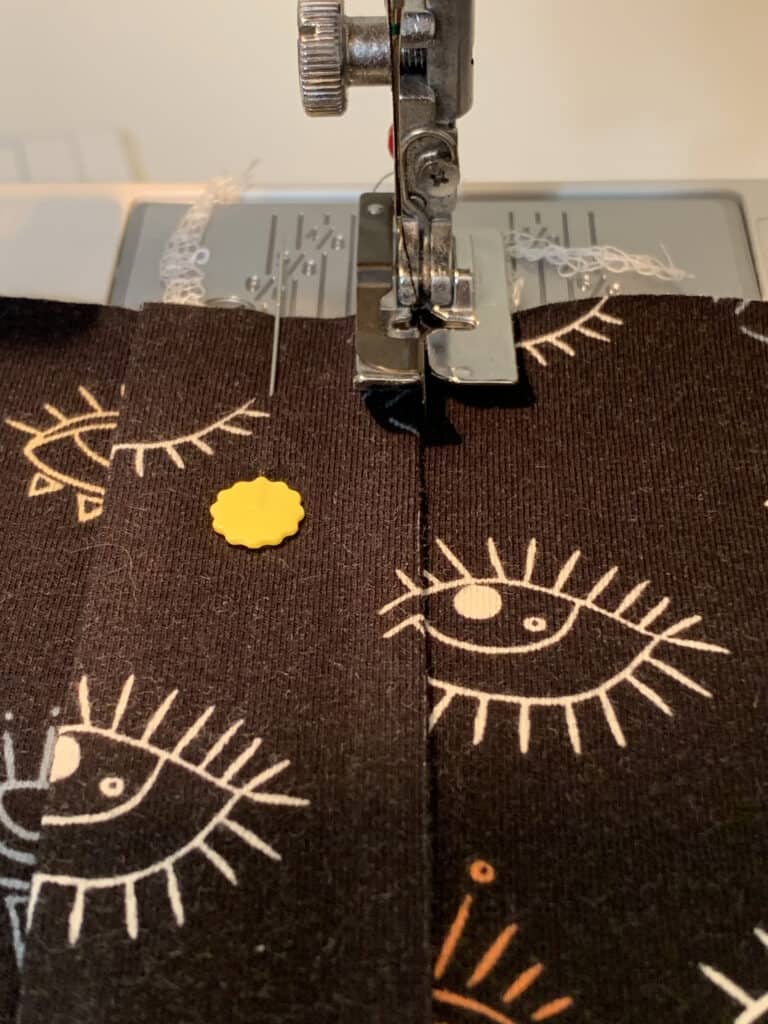
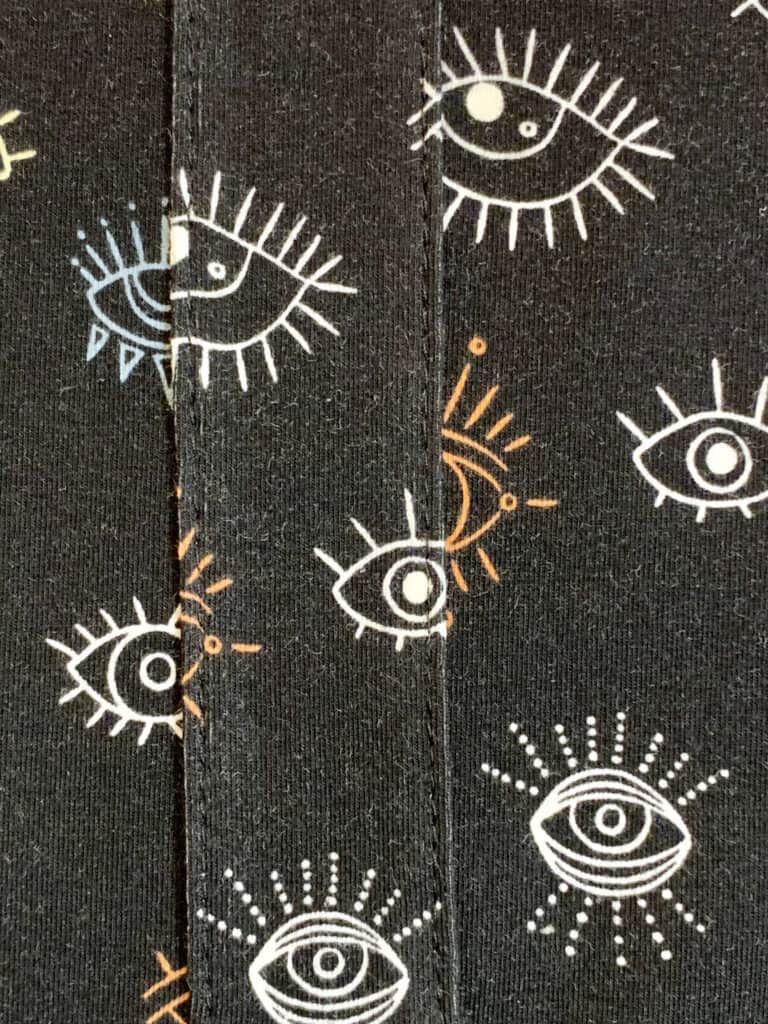
Edgestitch into place. Fun tip! Use your blind hem foot to help keep your topstitching super-straight!
Assemble the rest of the garment per the pattern instructions.
Add your buttons once your garment is complete so they don’t get in the way of your construction.
I mentioned it was simple, right?? Enjoy the newest addition to your spring wardrobe!
…..
Compression undergarment
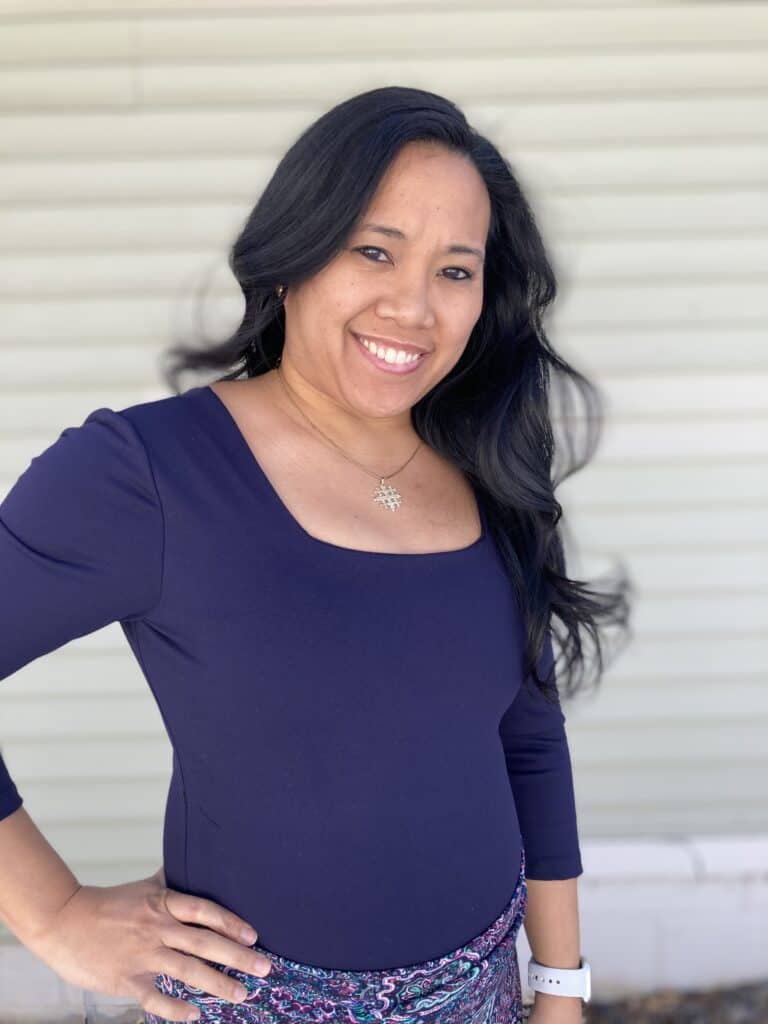
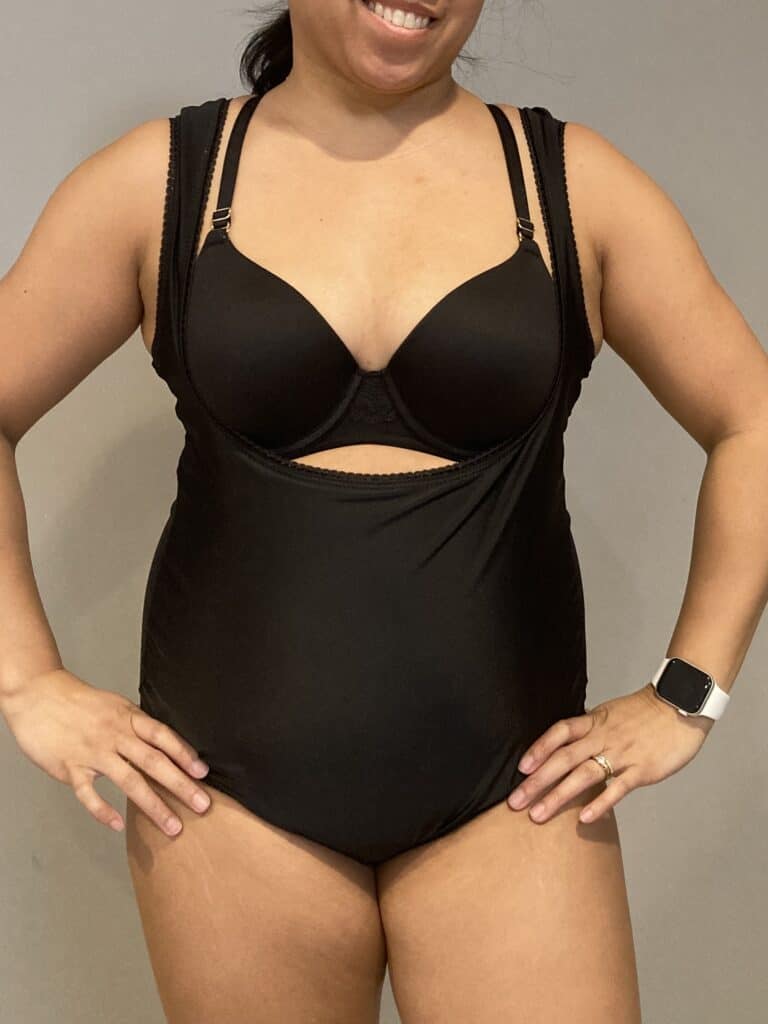
Love the Be Bold Bodysuit, but want a little tummy control? No problem. It’s all about fabric choice. You’ll want to use a heavy athletic knit with a high spandex content, like supplex or compression tricot. In my navy bodysuit below, I used supplex for the main fabric and lined the front and back bodysuit with power mesh. I treated the supplex and power mesh as one layer and followed the tutorial as written. However, if you are looking for something compressive, that can be worn as an undergarment, you’ll want something a little more like the black bodysuit on the right.
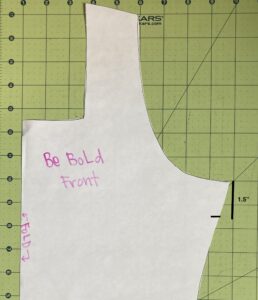
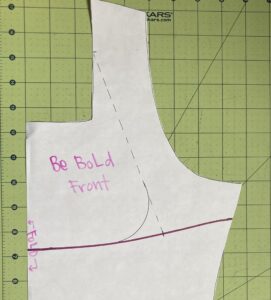
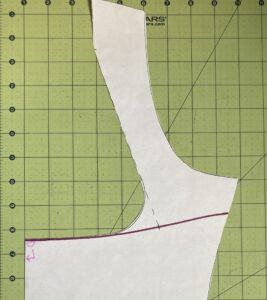
For the black bodysuit, I used tricot for the main fabric and power mesh for the lining. The only adjustments were made to the front bodice pattern piece.
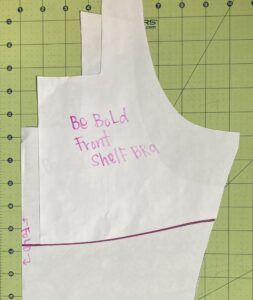
- Mark 1.5″ down from the armpit of the front pattern piece.
- Using the bottom curve of the Front Shelf Bra as a guide, create a line.
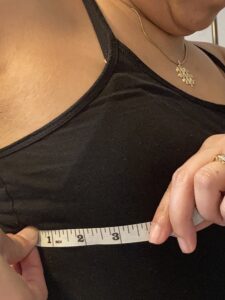
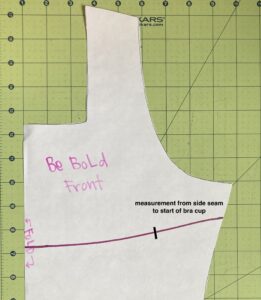
3. Measure from your side seam to where you feel the start of your bra cup. Mine is about 3″, mark this measurement on your pattern.
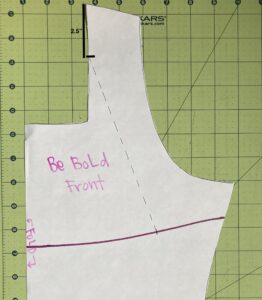
4. From the top of the shoulder seam, mark 2.5″ down. Connect the lines as illustrated above.
5. Using a french curve ruler or whatever you have around (I used a drinking glass), create a curve connecting the shoulder seam line and the underbust line.
6. Cut out that section, and you now have your new front pattern piece! Using this piece, cut out your main fabric and lining on the fold.
7. Follow the construction of the tutorial as written, treating the deep plunge as a normal neckline. You will want to use a 1:1 ratio for the picot, while slightly stretching along the curve.
…..
Very crop top
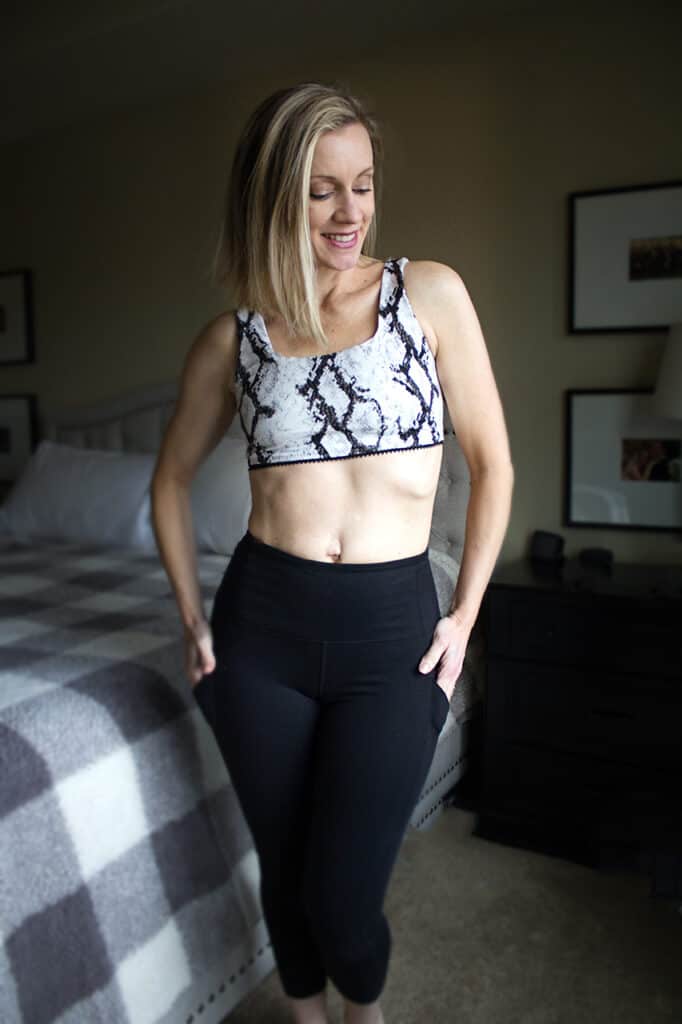
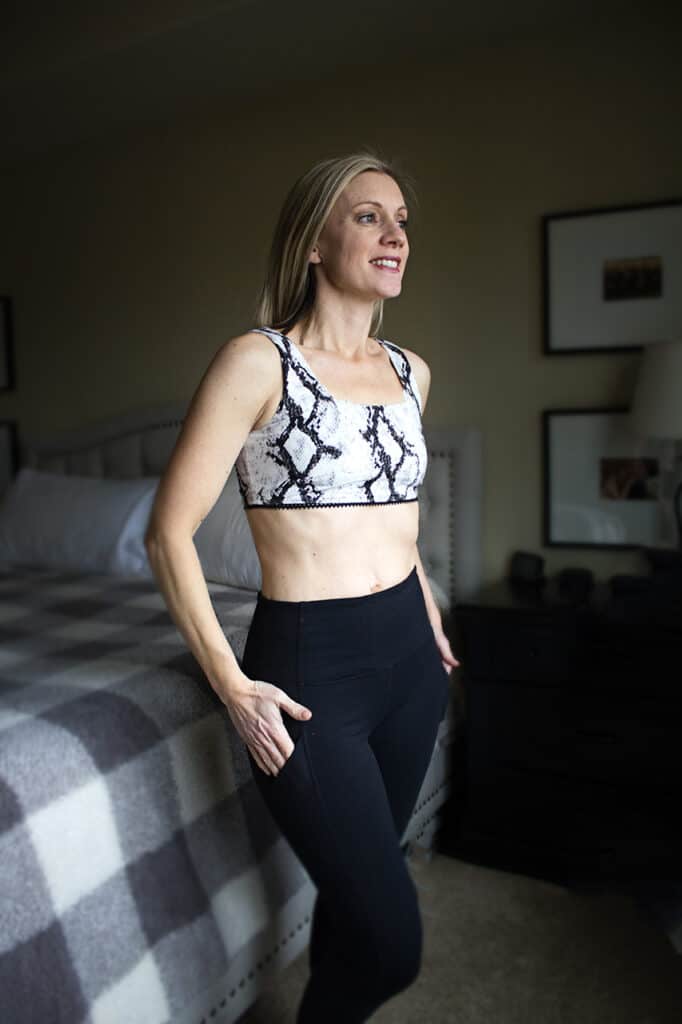
This very cropped cami and top are super comfortable and perfect to wear under low-cut tops and for loungewear. I will be living in these and the best part is they are so quick and easy to make. Here are the two tutorials for creating the crop. The first shows the tutorial using the thin strap option and the second is the tank option.
Very Crop Cami Using the Thin Strap Option:
- Take your lining pieces for your pattern. Simply cut 2 fronts and 2 backs following the thin strap tank lines to create a cropped cami with lining.
- Sew the top together using the thin strap tank directions from the tutorial.
- Once you have sewn the side seams, baste the main and lining pieces together along the bottom edge. Treat these two as one while you attach the picot as directed in the pattern.
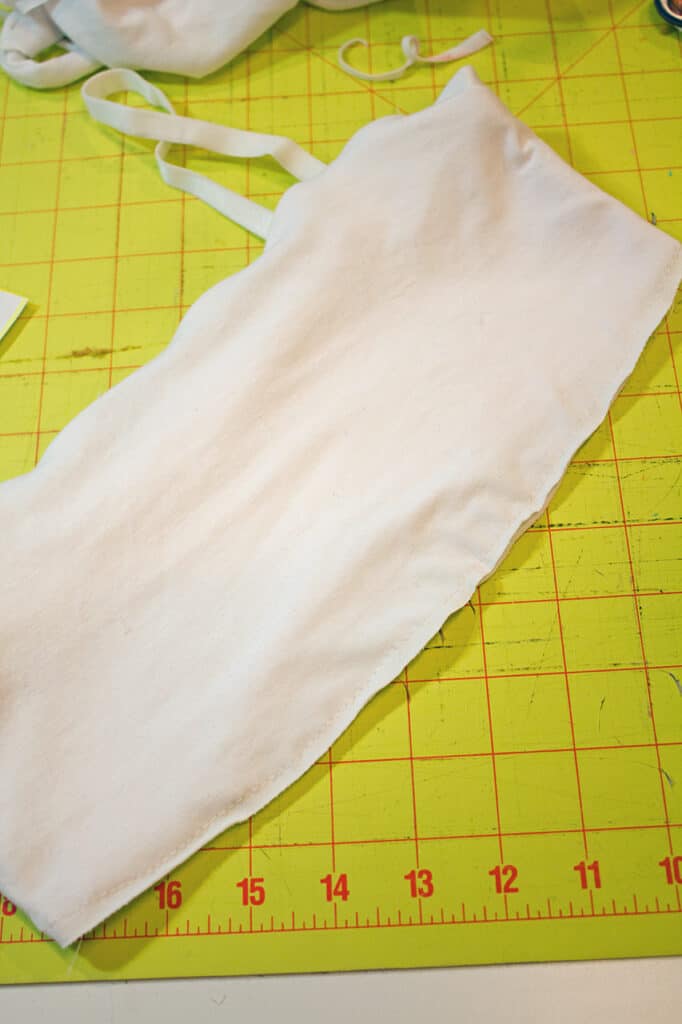
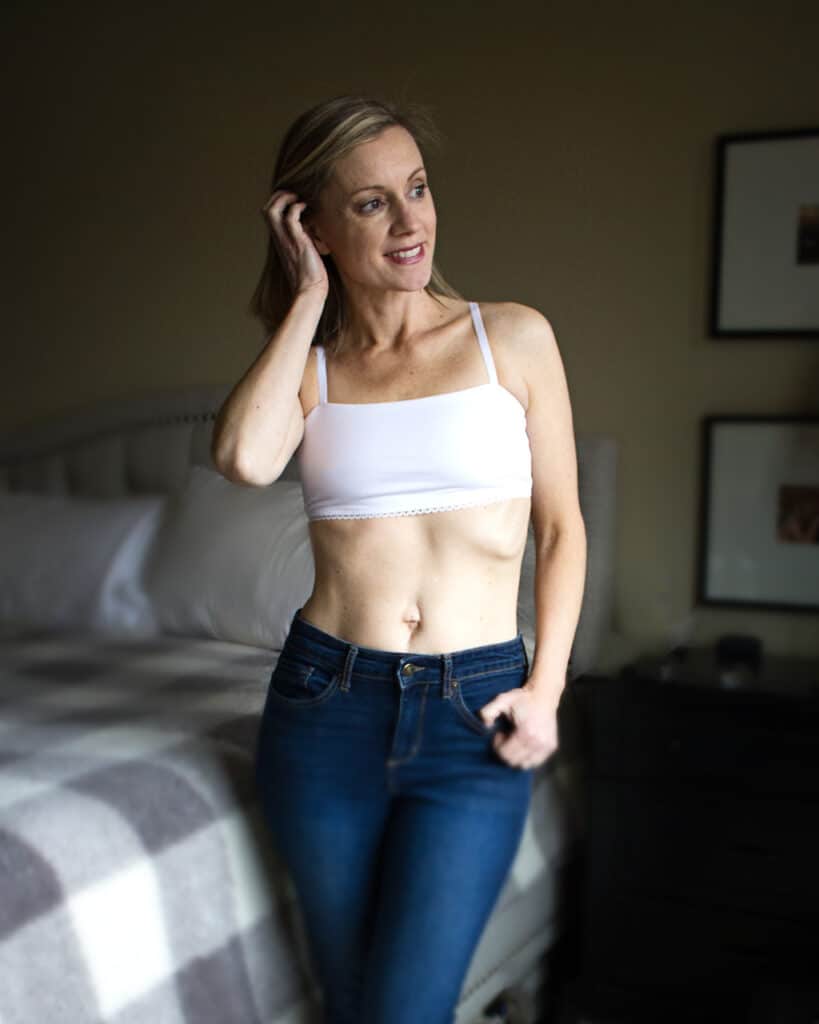
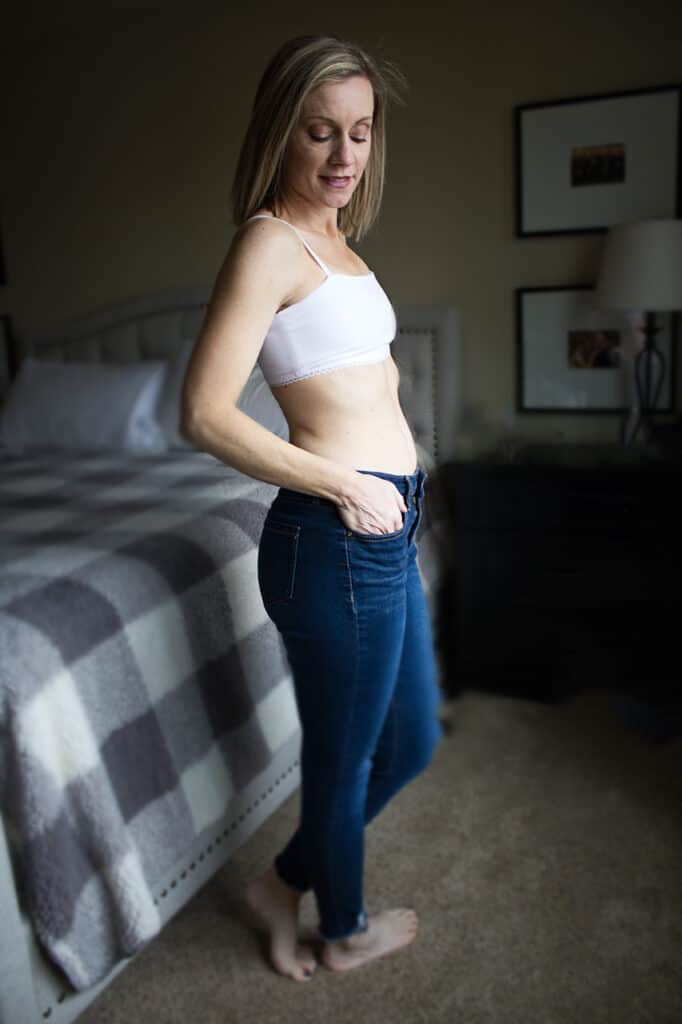
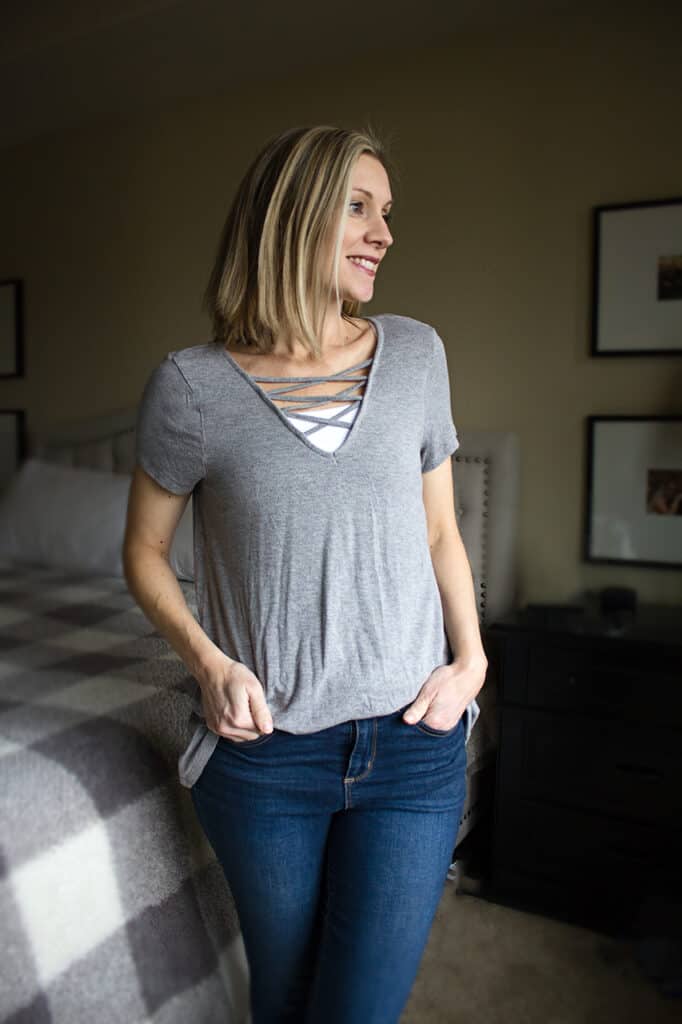
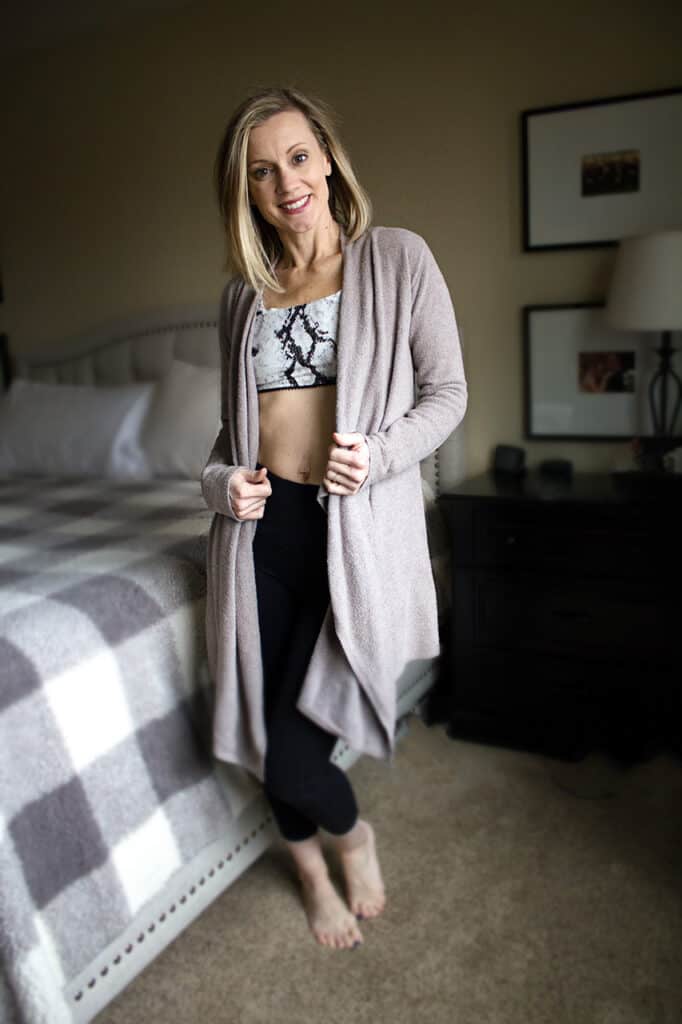
This cropped cami is great for pairing with low cut tops for some extra coverage. I made this option in white cotton jersey, lined with the same fabric and used bra strap elastic in place of fabric straps. (paired here with RTW Jeans and Top).
Very Cropped Top Using the Tank Option
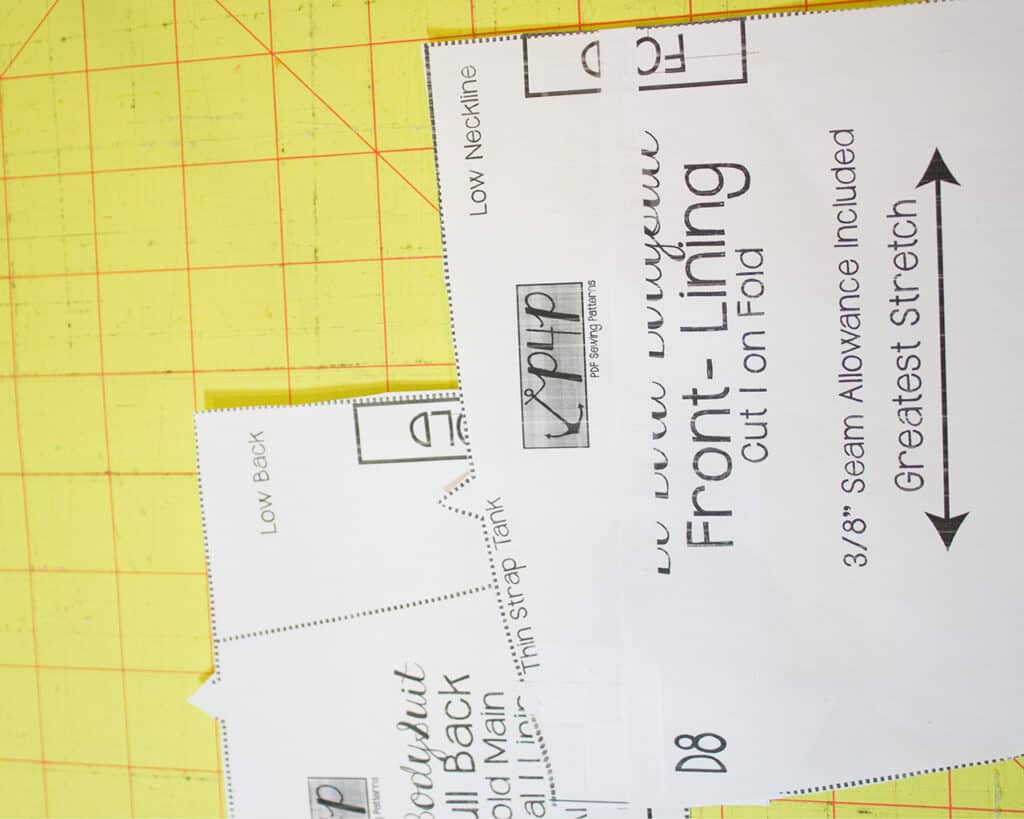
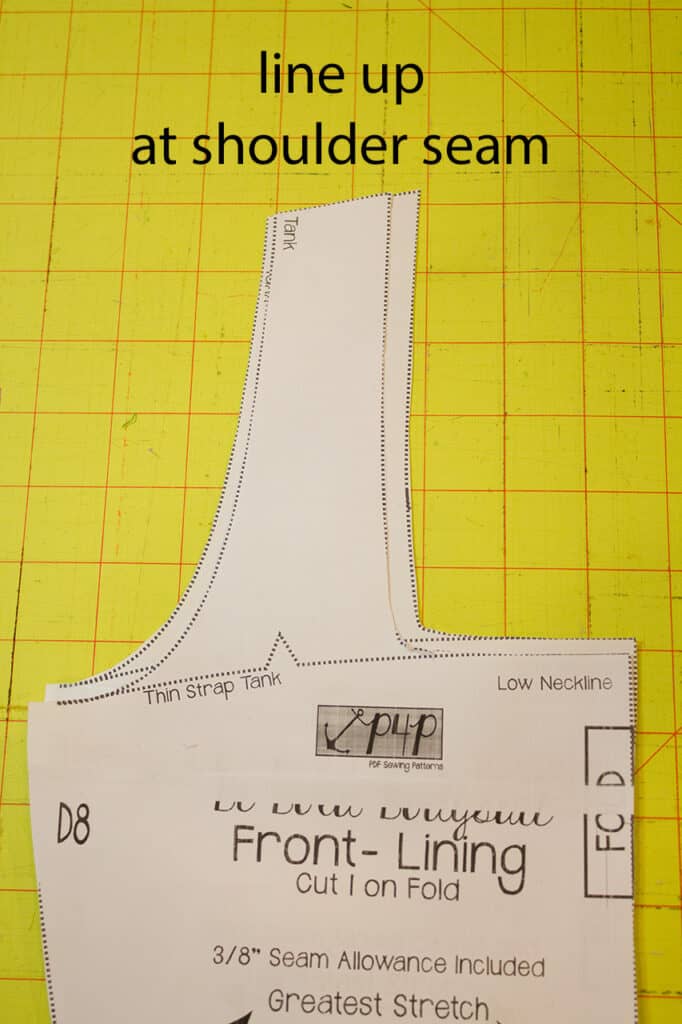
- Take both your front and back bodice pieces and lay the front and back shelf bra liner pieces on top, lining up the shoulders.
- Draw a line on your front and back main bodice pieces along the bottom of the shelf bra piece.
- Cut your main bodice pattern pieces on this line and use this for your new pattern.
- Cut your main fabric for the very crop tank top using your new pieces and cut your lining from the shelf bra lining pieces. Follow the tutorial for sewing the tank top. Once you have the neckline, arms, and side seams sewn, baste the lining and main fabric together along the bottom edge. You will now treat the two fabrics as one piece. Last, apply picot elastic according to the tutorial for the shelf bra. That’s it.
This very cropped top is great to wear in place of a bra or sewn up in athletic fabric to match with your favorite workout wear. This is not supportive enough to be a sports bra, but very comfortable for lounging, a sleep bra, or paired with your own bra as a very cropped top.
I hope you will get to give these easy hacks a try. Which one will you do first? Don’t forget to share them in the P4P Facebook group and on Instagram so we can admire your work too!




Leave a Reply