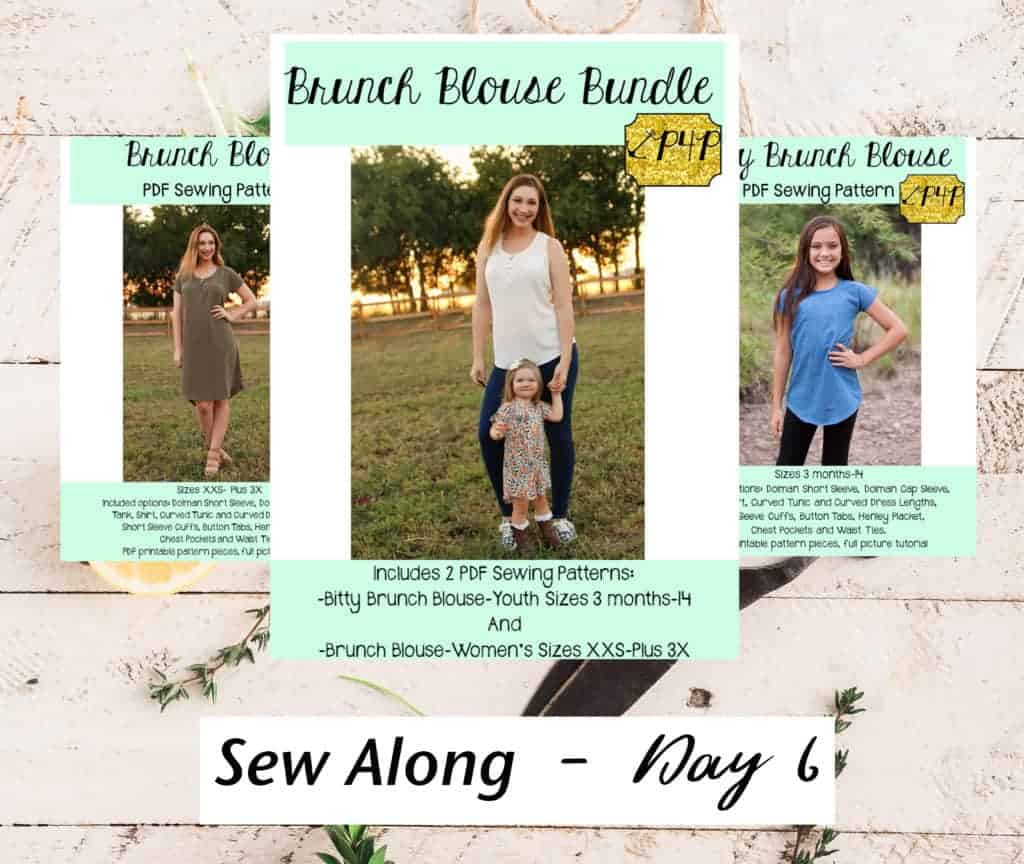
Two more sewing days let in this SAL. Can you believe it? Today we will be focusing on the neckband. The Brunch Blouse and Bitty Brunch blouse neckline is finished with bias binding. The pattern calls for single fold bias tape.
I am a huge supporter of store bought bias tape because it gives me more time to focus on other projects, plus the finishing tape is not visible from the outside of the BB shirt/dress. If you have a local Joann or Walmart, look through their notions walls, you will see single and double fold bias tape in a variety of colors.
However, if you are keen on matching the bias binding with the fabric you can certainly create your own. In this P4P University blog, Nicole and Judy teach you how to diy bias tape. Take a look over it and get to cutting.
Tip: The neckline gives you plenty of opportunity to add a personal touch to your blouses. Think, double fold bias tape or placing the single fold on the outside for a pop of color…think, decorative stitches …ohh the possibilities!
Go ahead and read the tutorial and watch day 6 video below. Once you finish sewing the bias binding one, snap a picture and add it to the comments of Day 6 photo of the BB/BBB sew along album.
Brunch Blouse|Bitty Brunch Blouse SAL day 1 (print pattern)
Brunch Blouse|Bitty Brunch Blouse SAL day 2 (cut fabric)
Brunch Blouse|Bitty Brunch Blouse SAL day 3 (darts and placket)
Brunch Blouse|Bitty Brunch Blouse SAL day 4 (pocket/waist ties/back seam)
Brunch Blouse|Bitty Brunch Blouse SAL day 5 (shoulder/side seams)
Brunch Blouse|Bitty Brunch Blouse SAL day 6 (neckband)
Brunch Blouse|Bitty Brunch Blouse SAL day 7 (finish sleeves/hem)
Brunch Blouse|Bitty Brunch Blouse SAL day 8 (winners announcement)


Leave a Reply