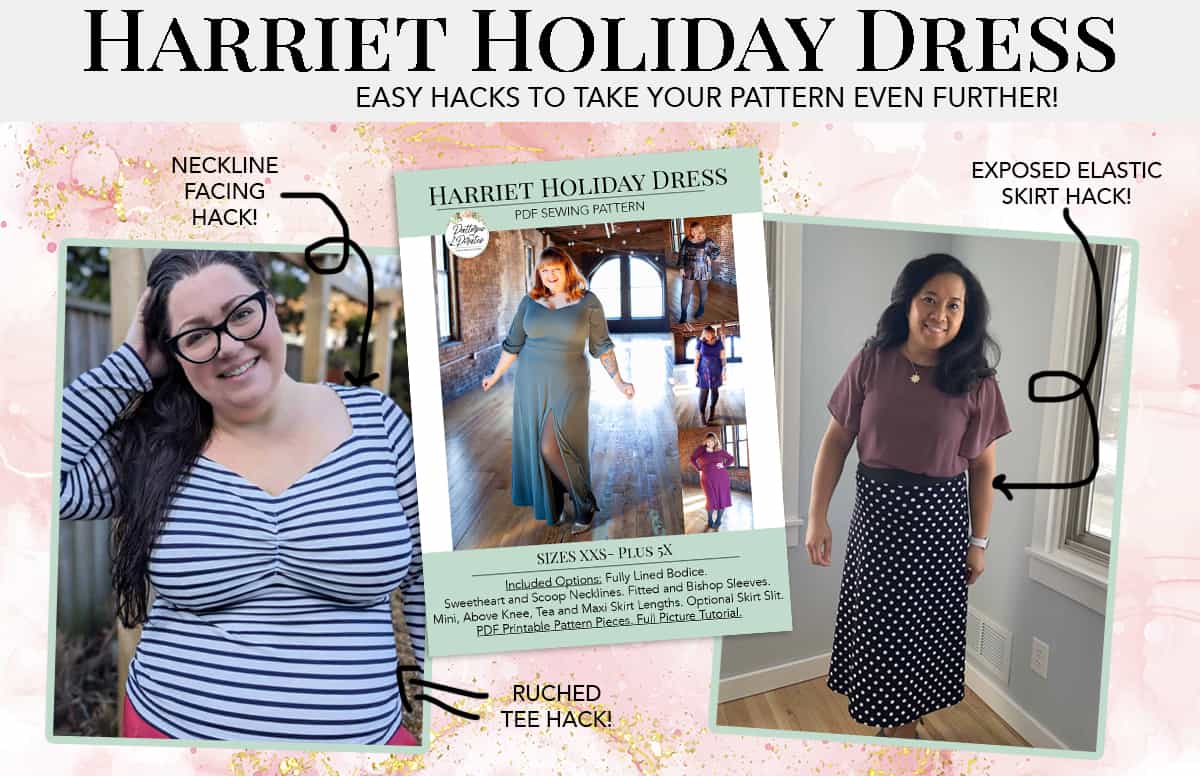
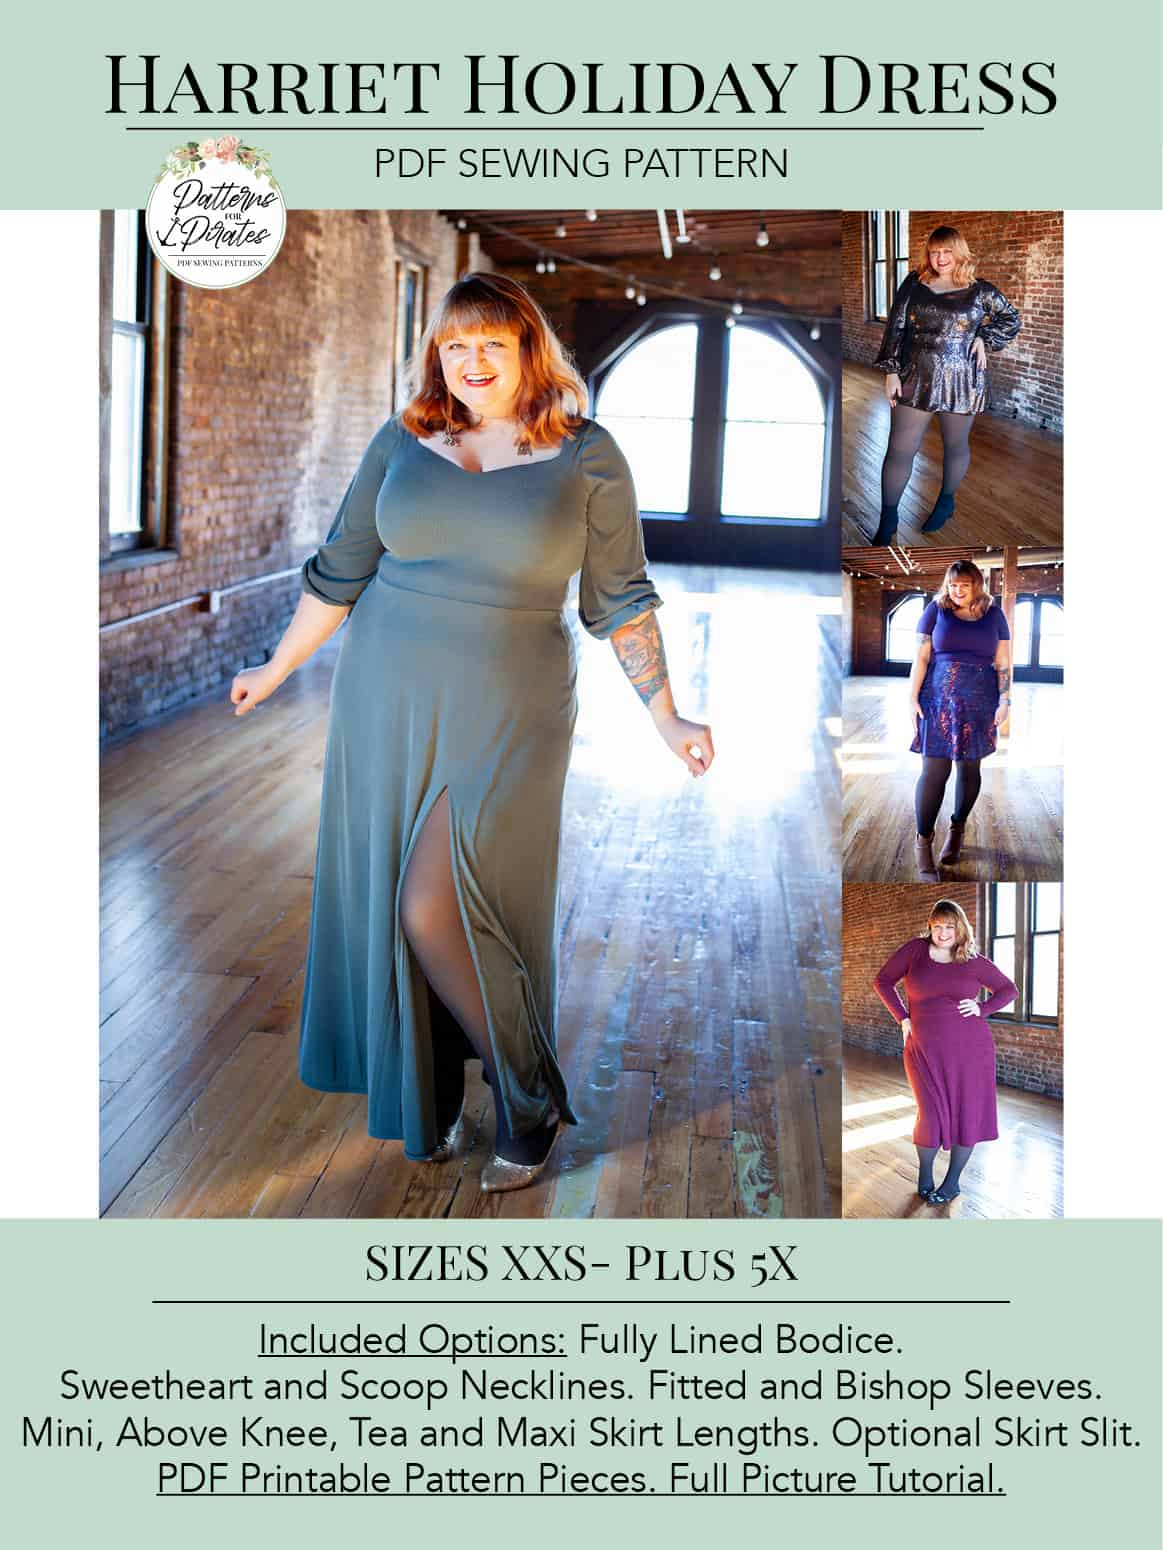
Get ready to elevate your sewing game with our “easy hacks” post for the Harriet Holiday Dress pattern. We’re sharing three ingenious ways to take this pattern a little further!
You’ll need this pattern to complete these super fun sewing hacks: HARRIET HOLIDAY DRESS
Ruched Tee and Facing
I have had a stripey ruched tee like this pinned for years, and when Katy popped some inspo pics of her new pattern up online, I knew that I had to hack it to make my own version. I took some pictures along the way and I have instructions for cutting a ruched tee length top, and also for adding a facing instead of a lining here for you.
RUCHING
The first thing you’ll need to do is find a top pattern you like to hack onto the bottom of the Harriet bodice. I went with the Rainbow Dress because I have made it before and knew I wanted a similar, slim fit look.
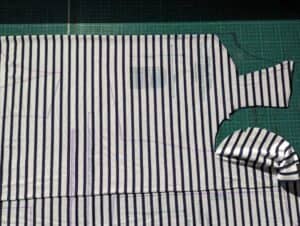
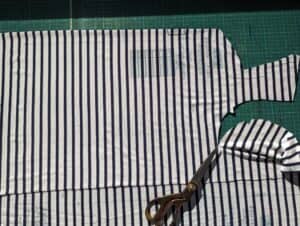
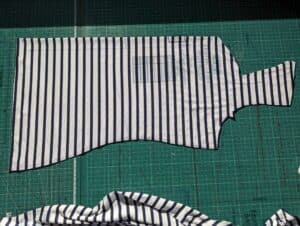
I used my projector to cut out the top of the Harriet bodice front, stopping at the bottom of the armscye. Then I subbed in the Rainbow Dress bodice, matching both patterns at the bottom of the armscye, and used the Rainbow Dress pattern to cut out the bottom of my fabric down to the top length cutline. Repeat for the back piece.
- Harriet bodice
- Rainbow dress subbed in and matched at bottom of armscye
- Fabric cut on Rainbow top length cutline
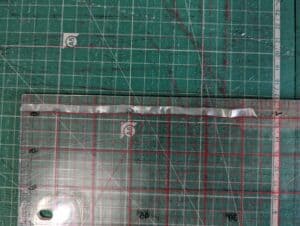
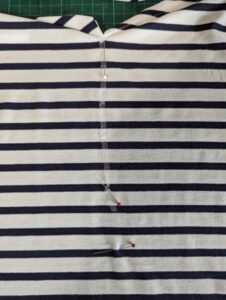
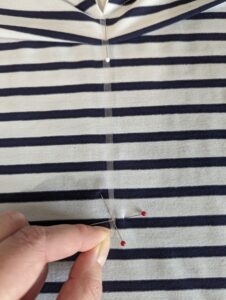
I cut a piece of 1/4″ clear elastic at 6.5″ length. The top and bottom 1/2″ will be cut off when finished, they are just there to let you hold the elastic at either end when sewing it on. I pinned it 1″ below the finished centre front neckline edge, measured down 7.5″ and pinned the bottom. You will be stretching 5.5″ of elastic to 7.5″ length. When the elastic bounces back to its original length it causes the ruching.
- 6.5″ elastic
- 7.5″ marked with a pin on fabric
- Elastic stretched down to meet 7.5″ mark
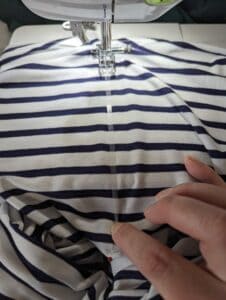
Holding the top and bottom of the elastic by the 1″ ends, stretch the elastic whilst sewing it onto the wrong side of your bodice. You can use a straight or a stretch stitch here, it doesn’t really matter. You may find that you need to adjust the length of the elastic depending on which type of elastic you are using and which size of the pattern you are making.
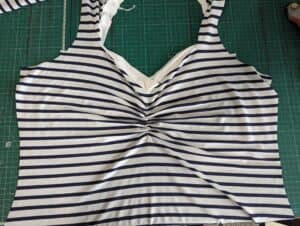
Here is what the finished ruching will look like from the right side when it is done.
FACING
Sometimes you don’t want a lining, either because you don’t want the added layers and warmth or because, like me, you just hate using extra fabric when you don’t have to! A facing is the best way of finishing a neckline like this if you don’t want to line the whole top, and it’s really easy.
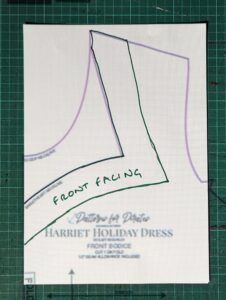
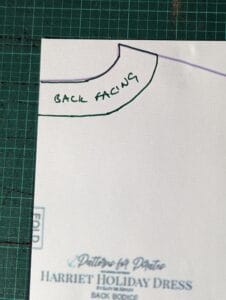
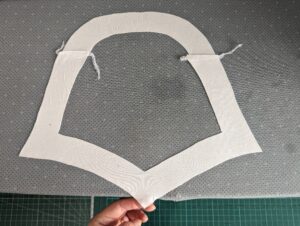
First you will take your pattern pieces and trace off the neckline pieces at a 1.5″ depth, like this.
- Front facing
- Back facing
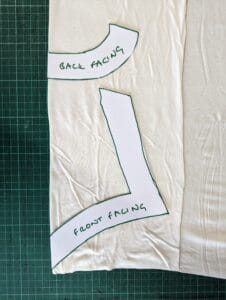
Then cut out these pieces out of your lining fabric on the fold.
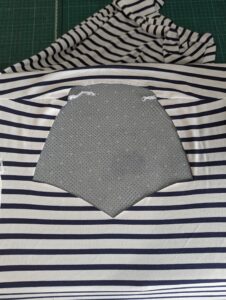
Sew the shoulder seams on the outer fabric, and also on the facing pieces.
- Facing pieces
- Outer pieces
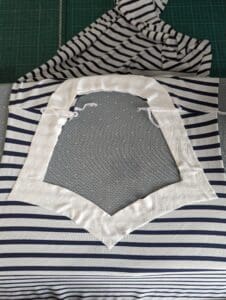
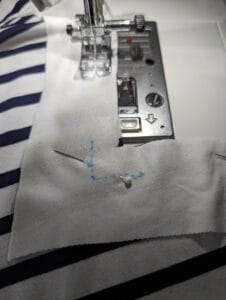
Place the facing pieces right sides together on top of the outer pieces. Pin around the pieces and sew them together with a 1/2″ seam allowance as per the original pattern instructions. I find it helps to use a water soluble marker to mark out the 1/2″ seam allowance around the corners. This helps with a really accurate sew.
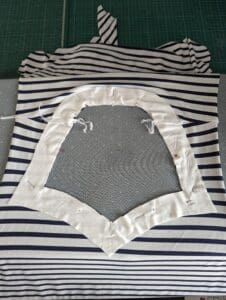
Clip into the corners and turn the facing through to the inside. Press, pin and topstitch around the facing to finish.
- facing pinned on wrong side
- Wrong side of bodice when facing is sewn
- Finished neckline
Then you can sew up the rest of your top or dress as per the original instructions and you’re all done!
Happy sewing,
Dana xx
Exposed Elastic Skirt
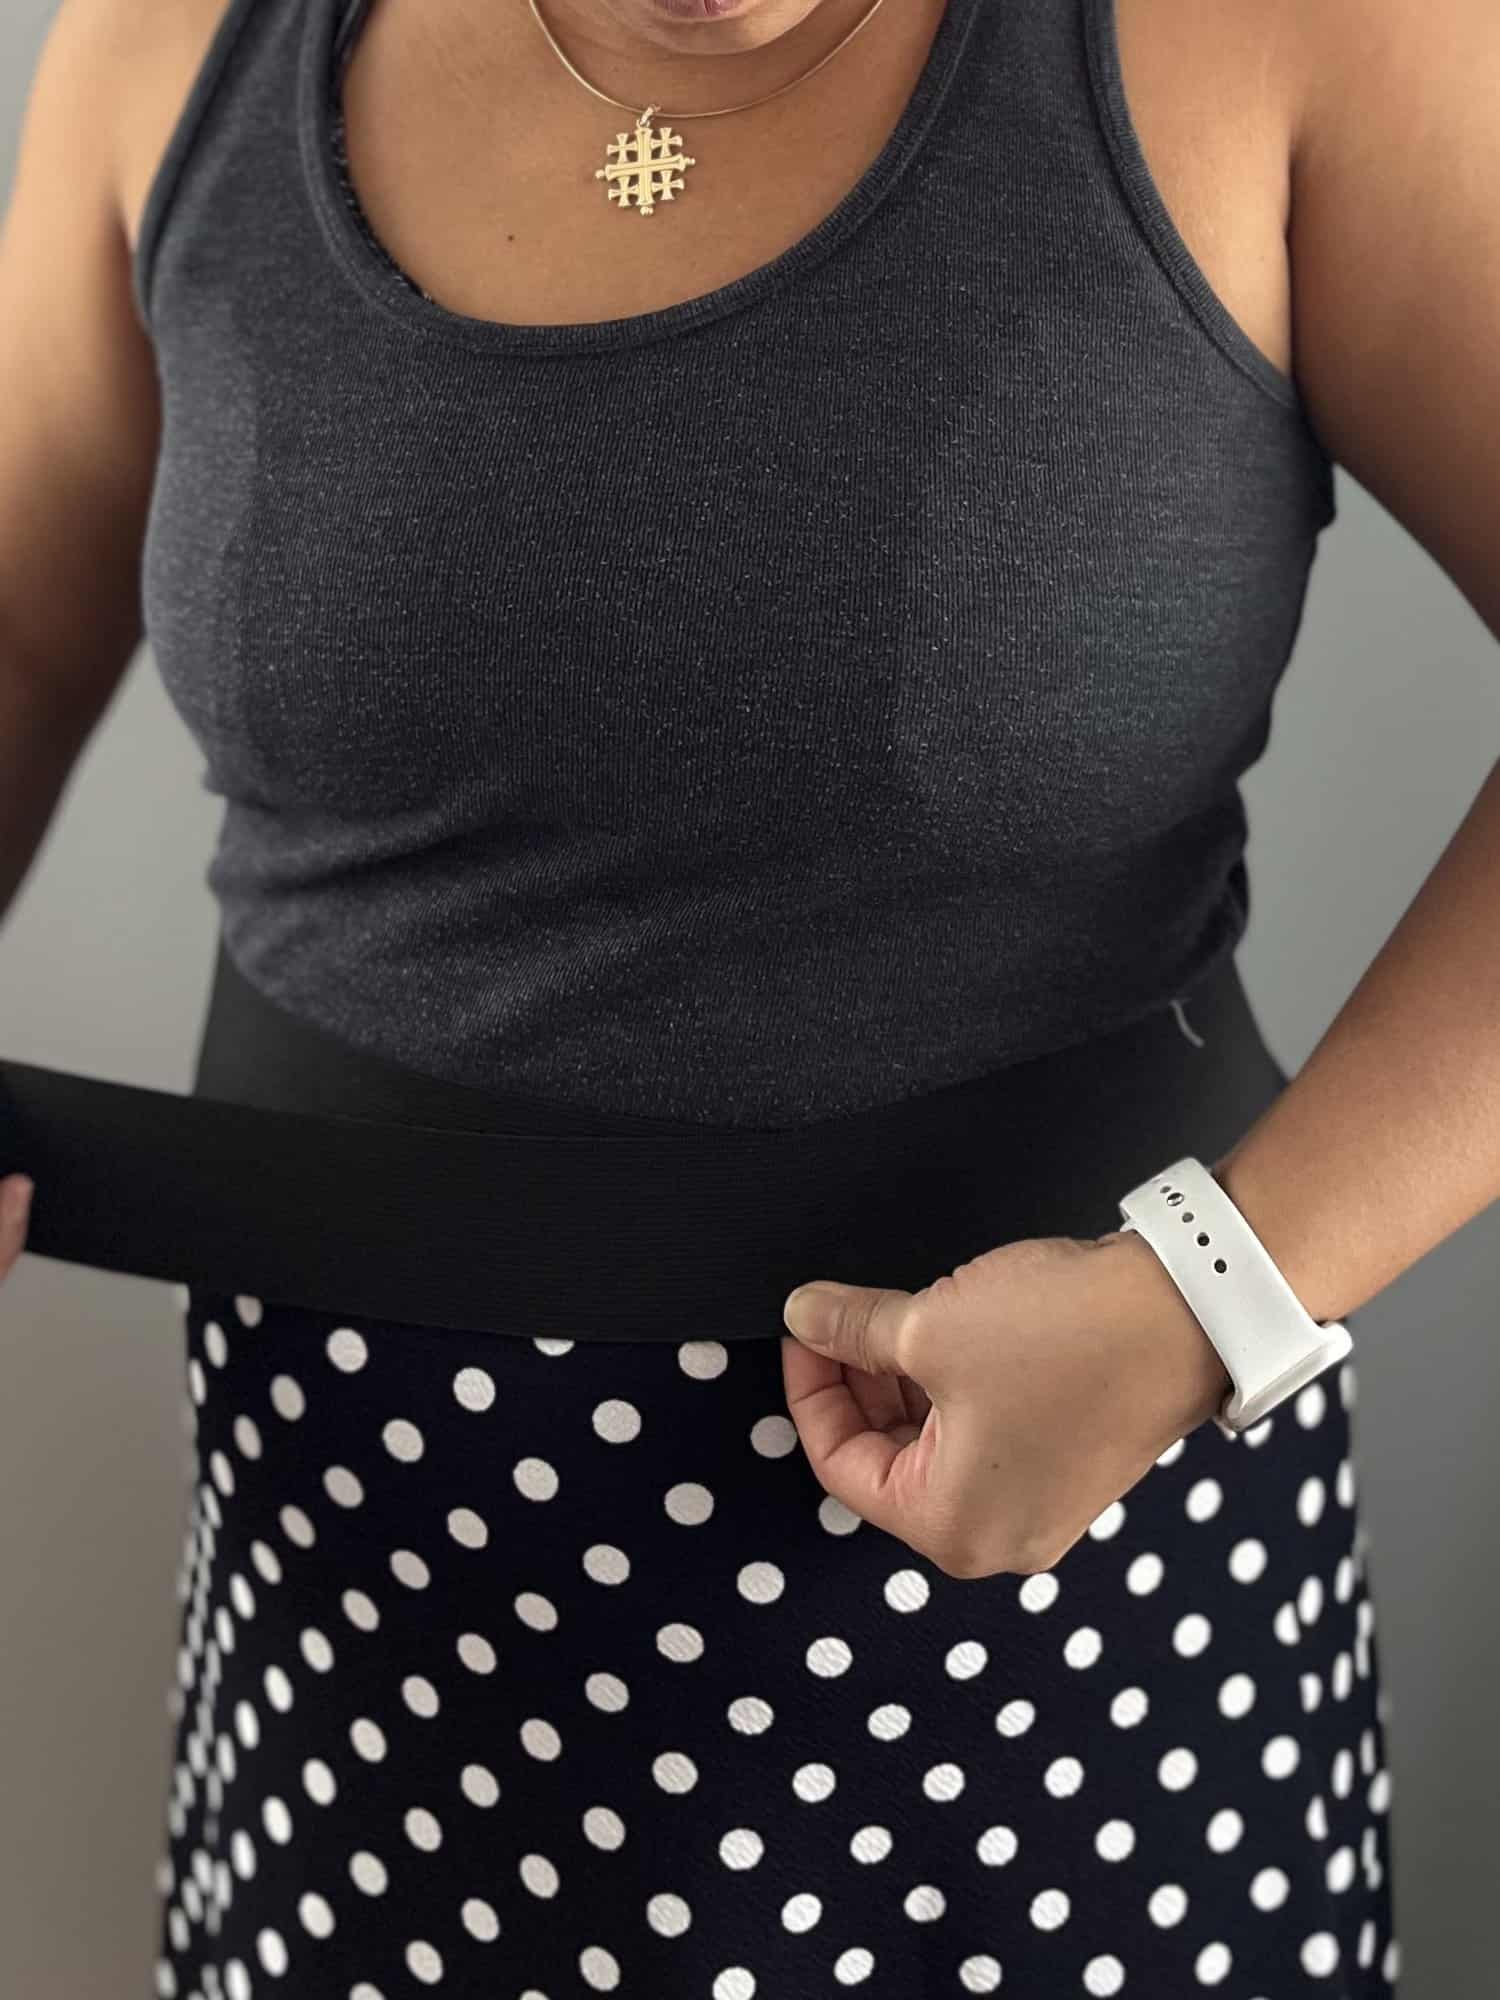
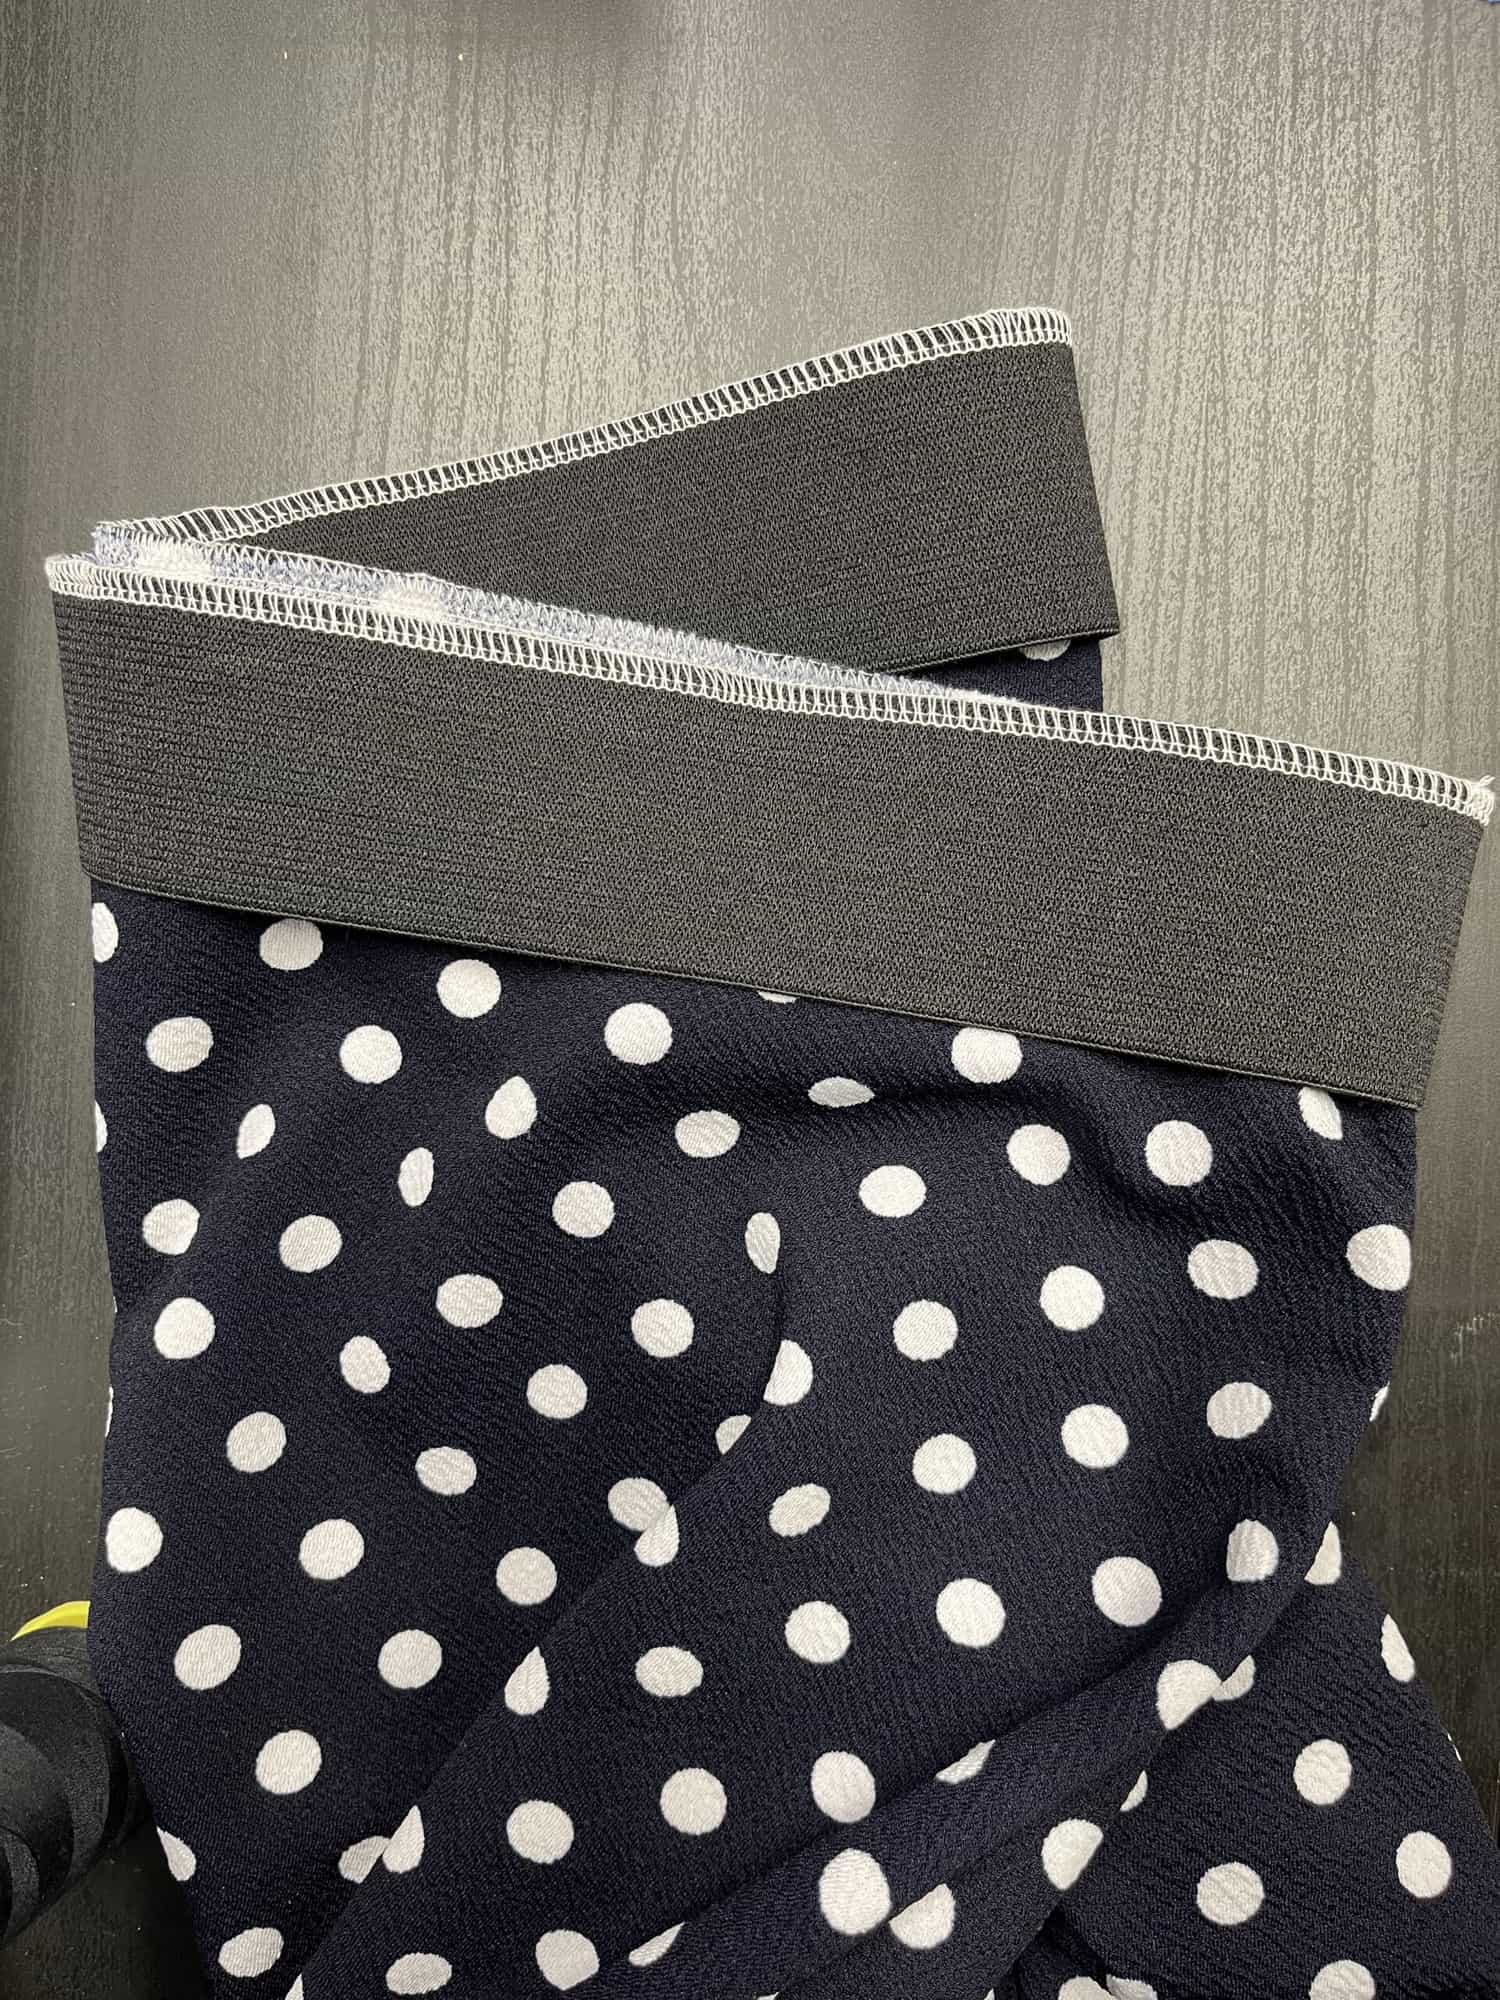
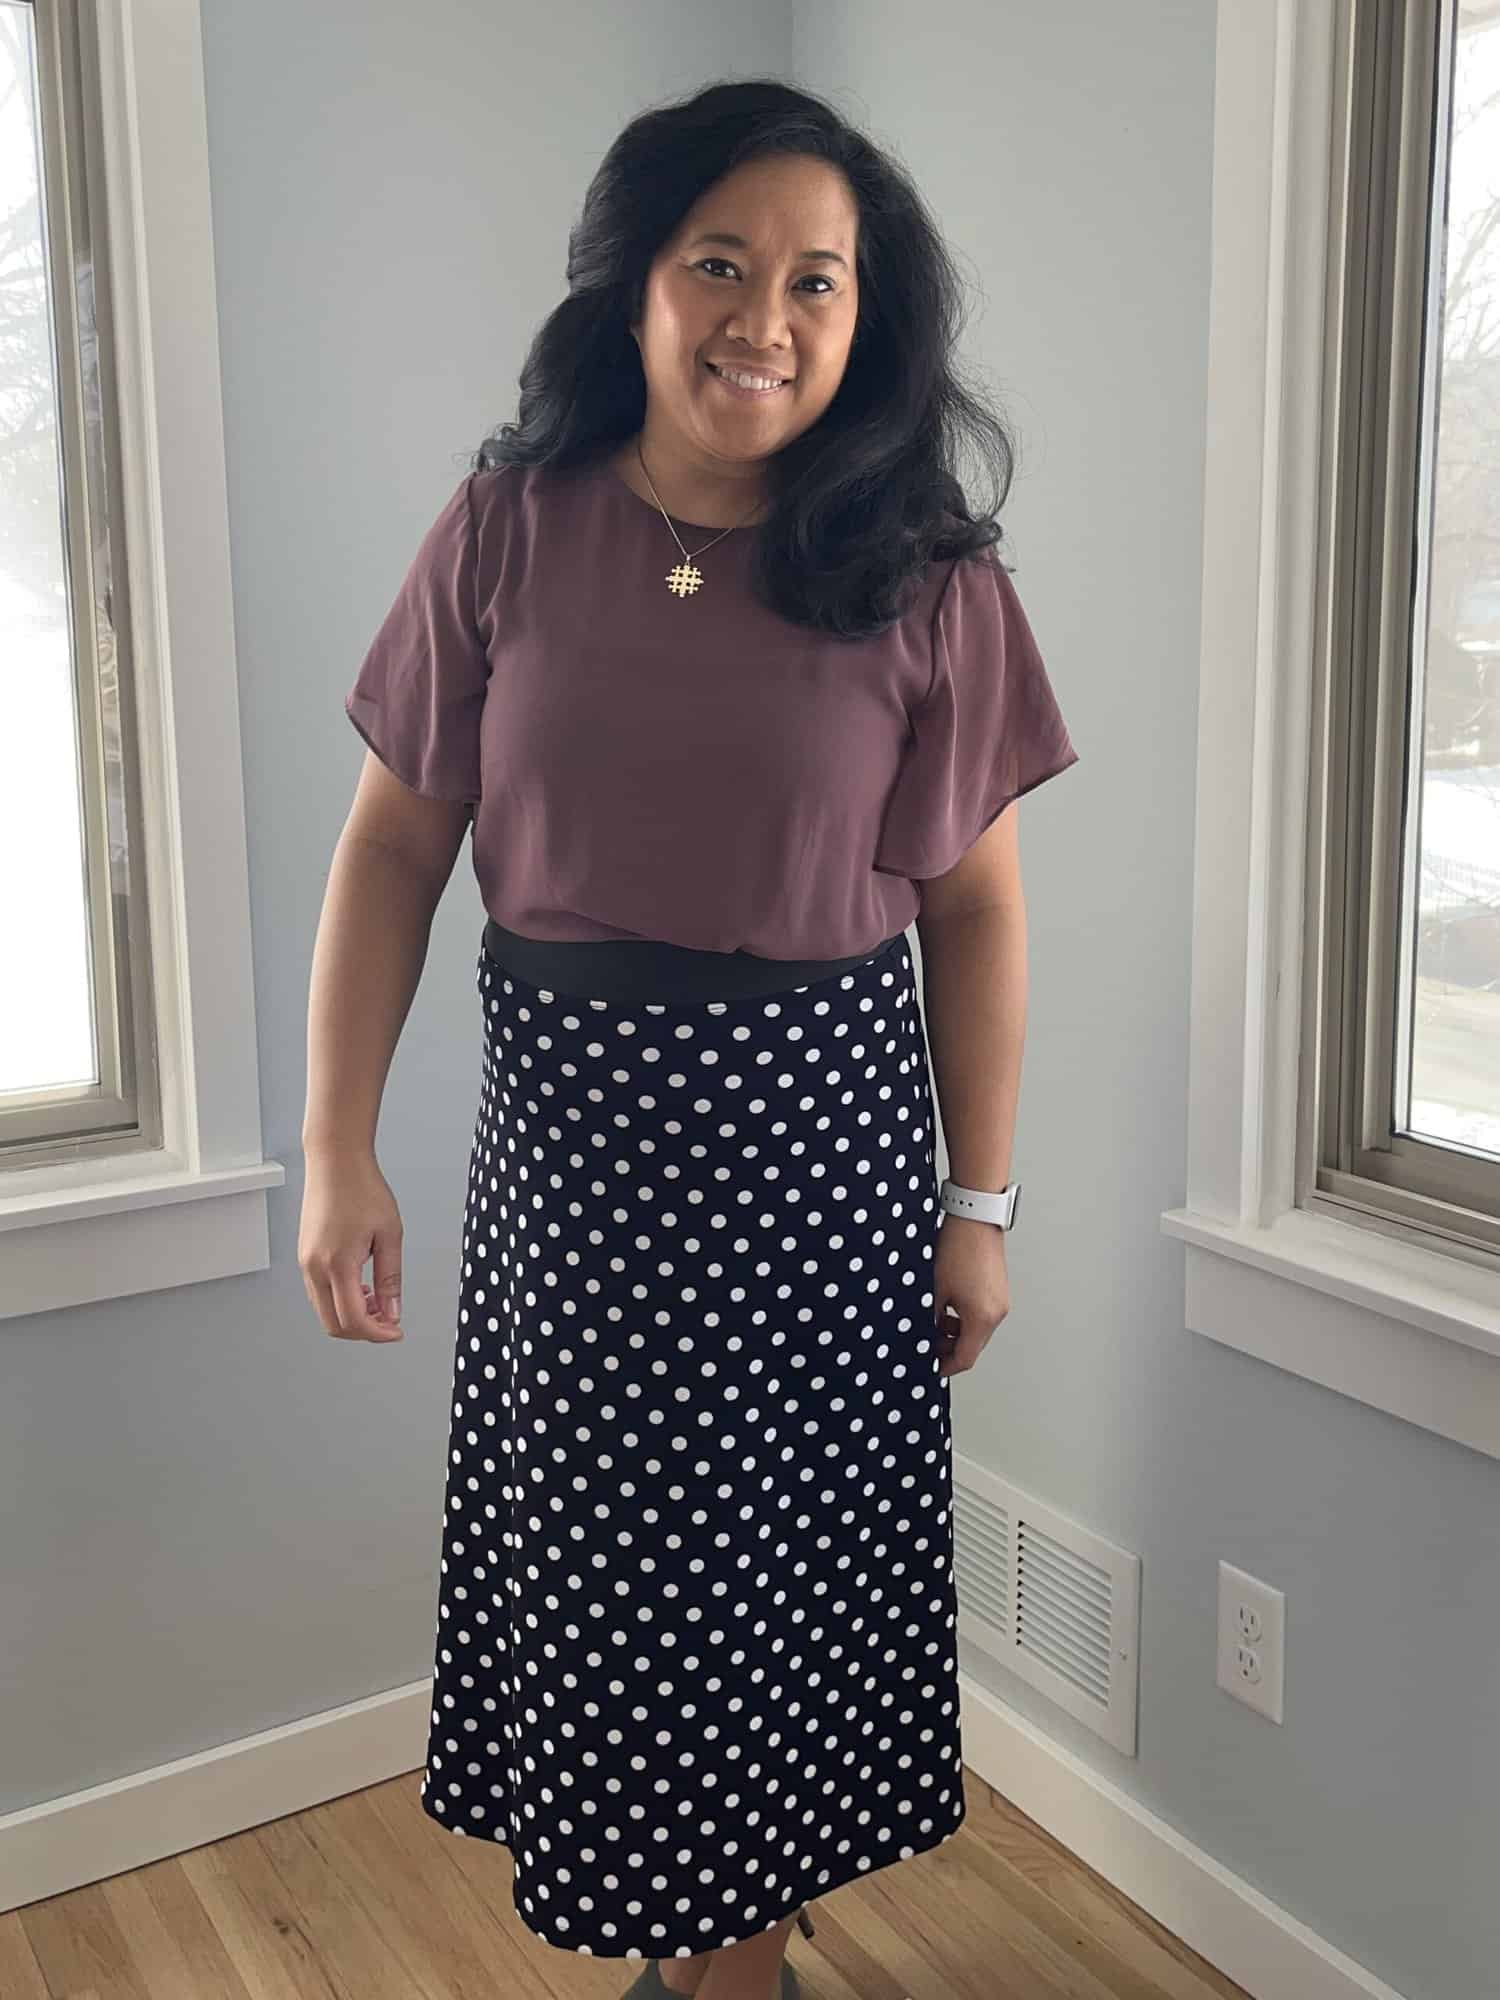
I have been on a skirt kick for a while now, and thought the skirt on the Harriet Holiday dress would be the perfect addition to my collection. I like the look of thick exposed elastic, so this was a fairly simple hack. Start out by cutting out the skirt portion of the pattern and then sew up the side seams, right-sides-together and then hem the skirt. To figure out the length of my elastic, I put the skirt on and wrapped the elastic around my waist. I made sure to exercise the elastic a bit by stretching it out and letting it bounce back a couple times before wrapping it around my waist. Adjust the length of your elastic based on how snug you like it around your waist, I don’t like it super tight, but just tight enough where the skirt doesn’t move around.
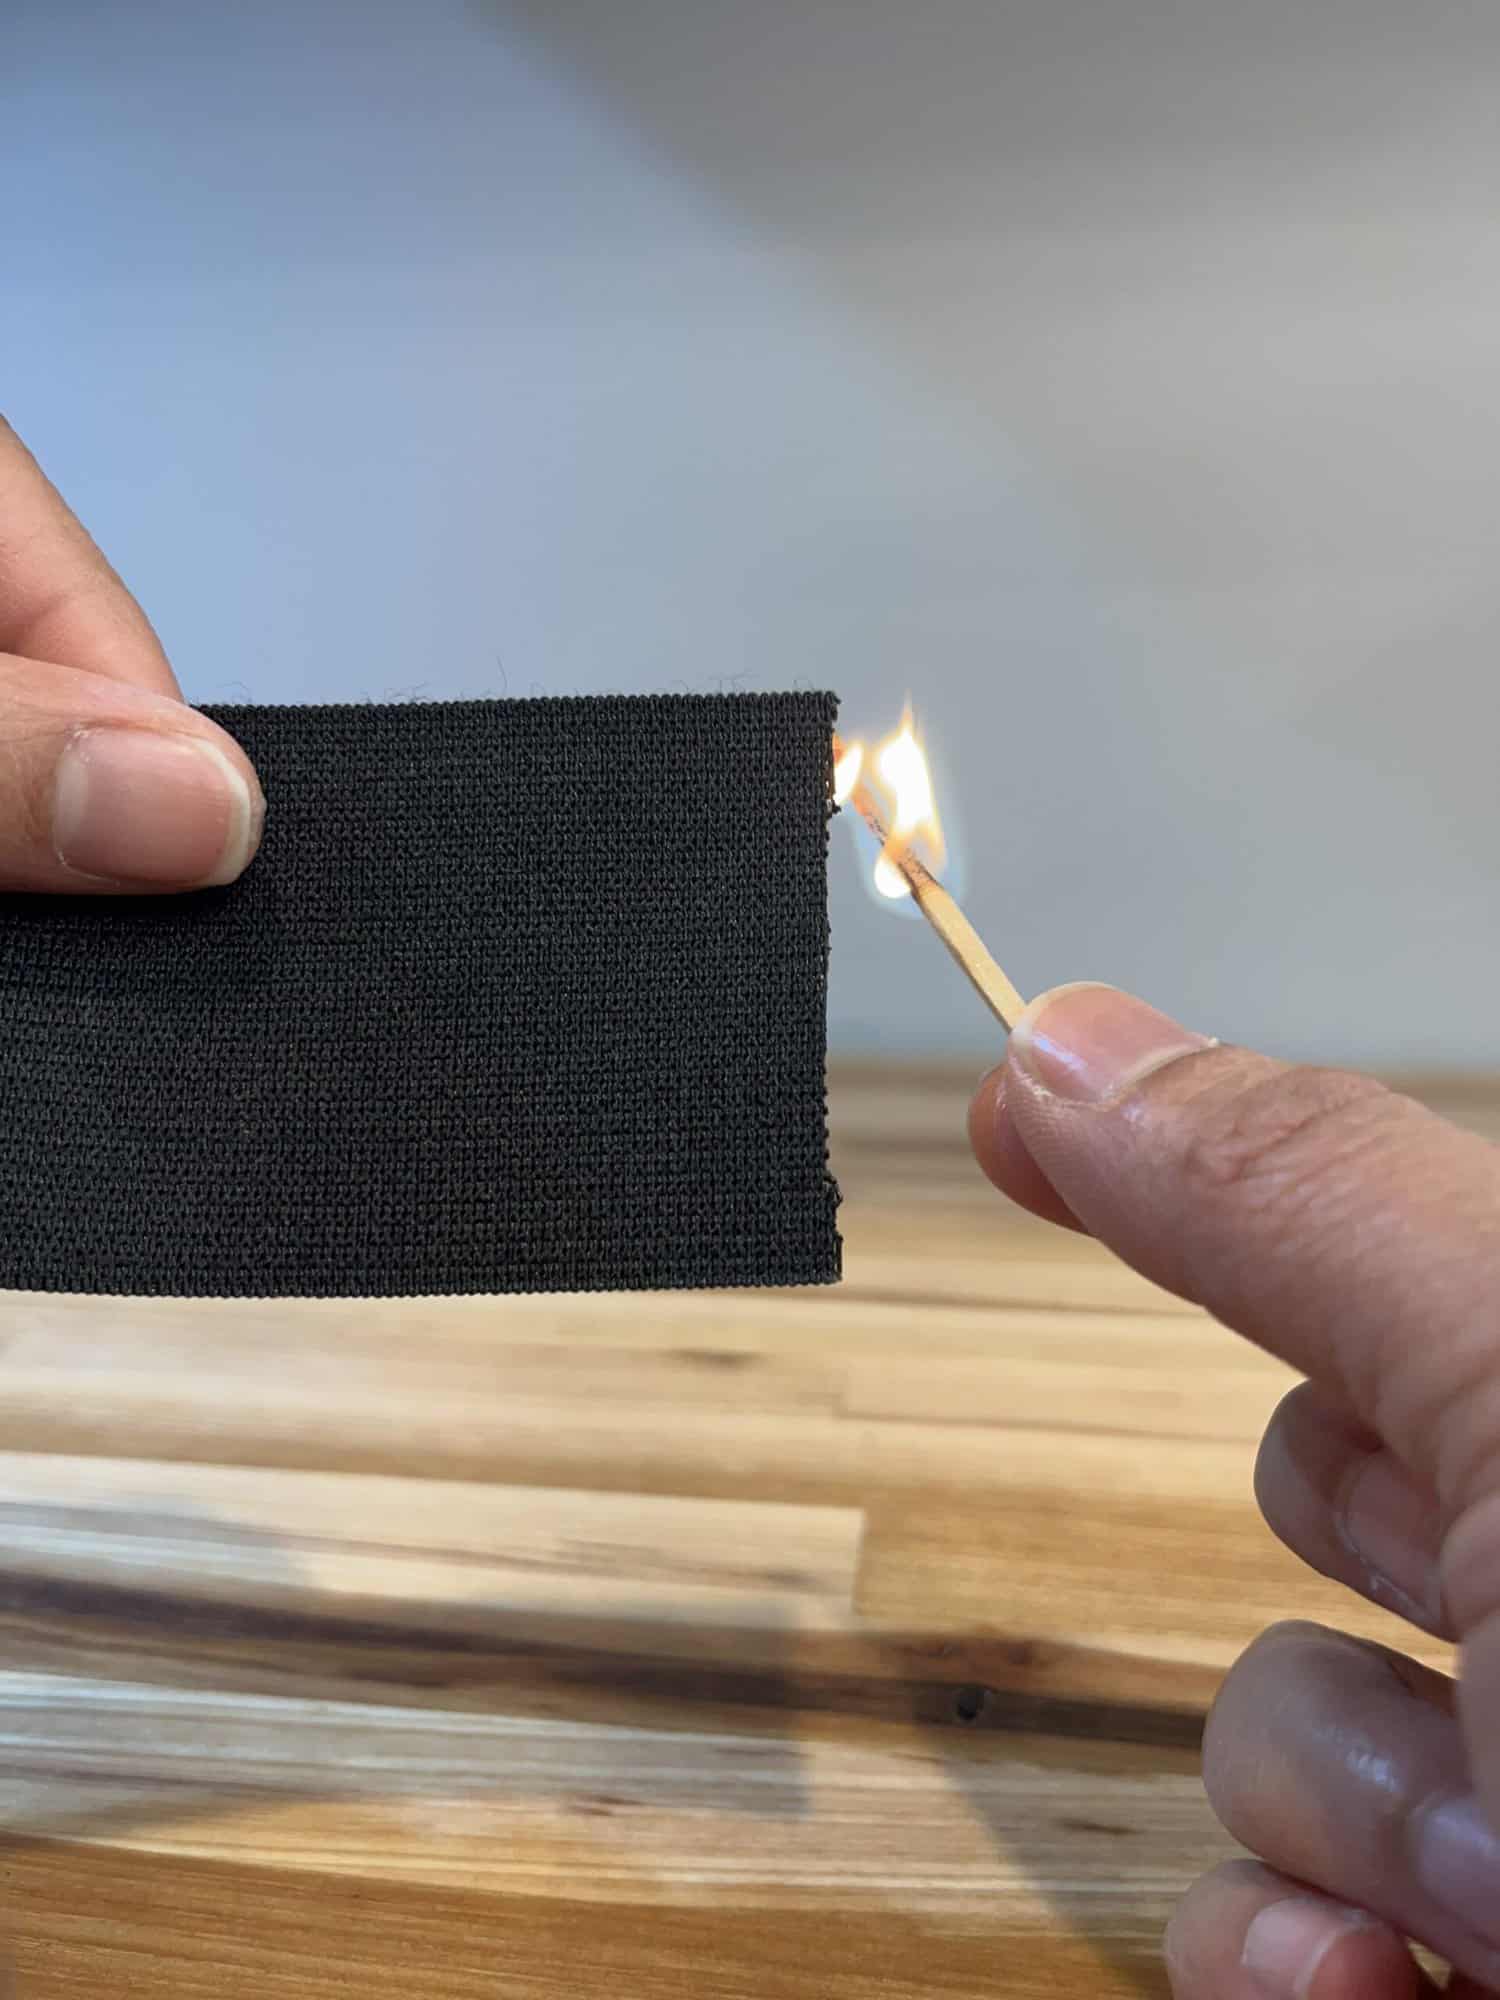
Cut your elastic, and then burn the ends so that it doesn’t unravel.
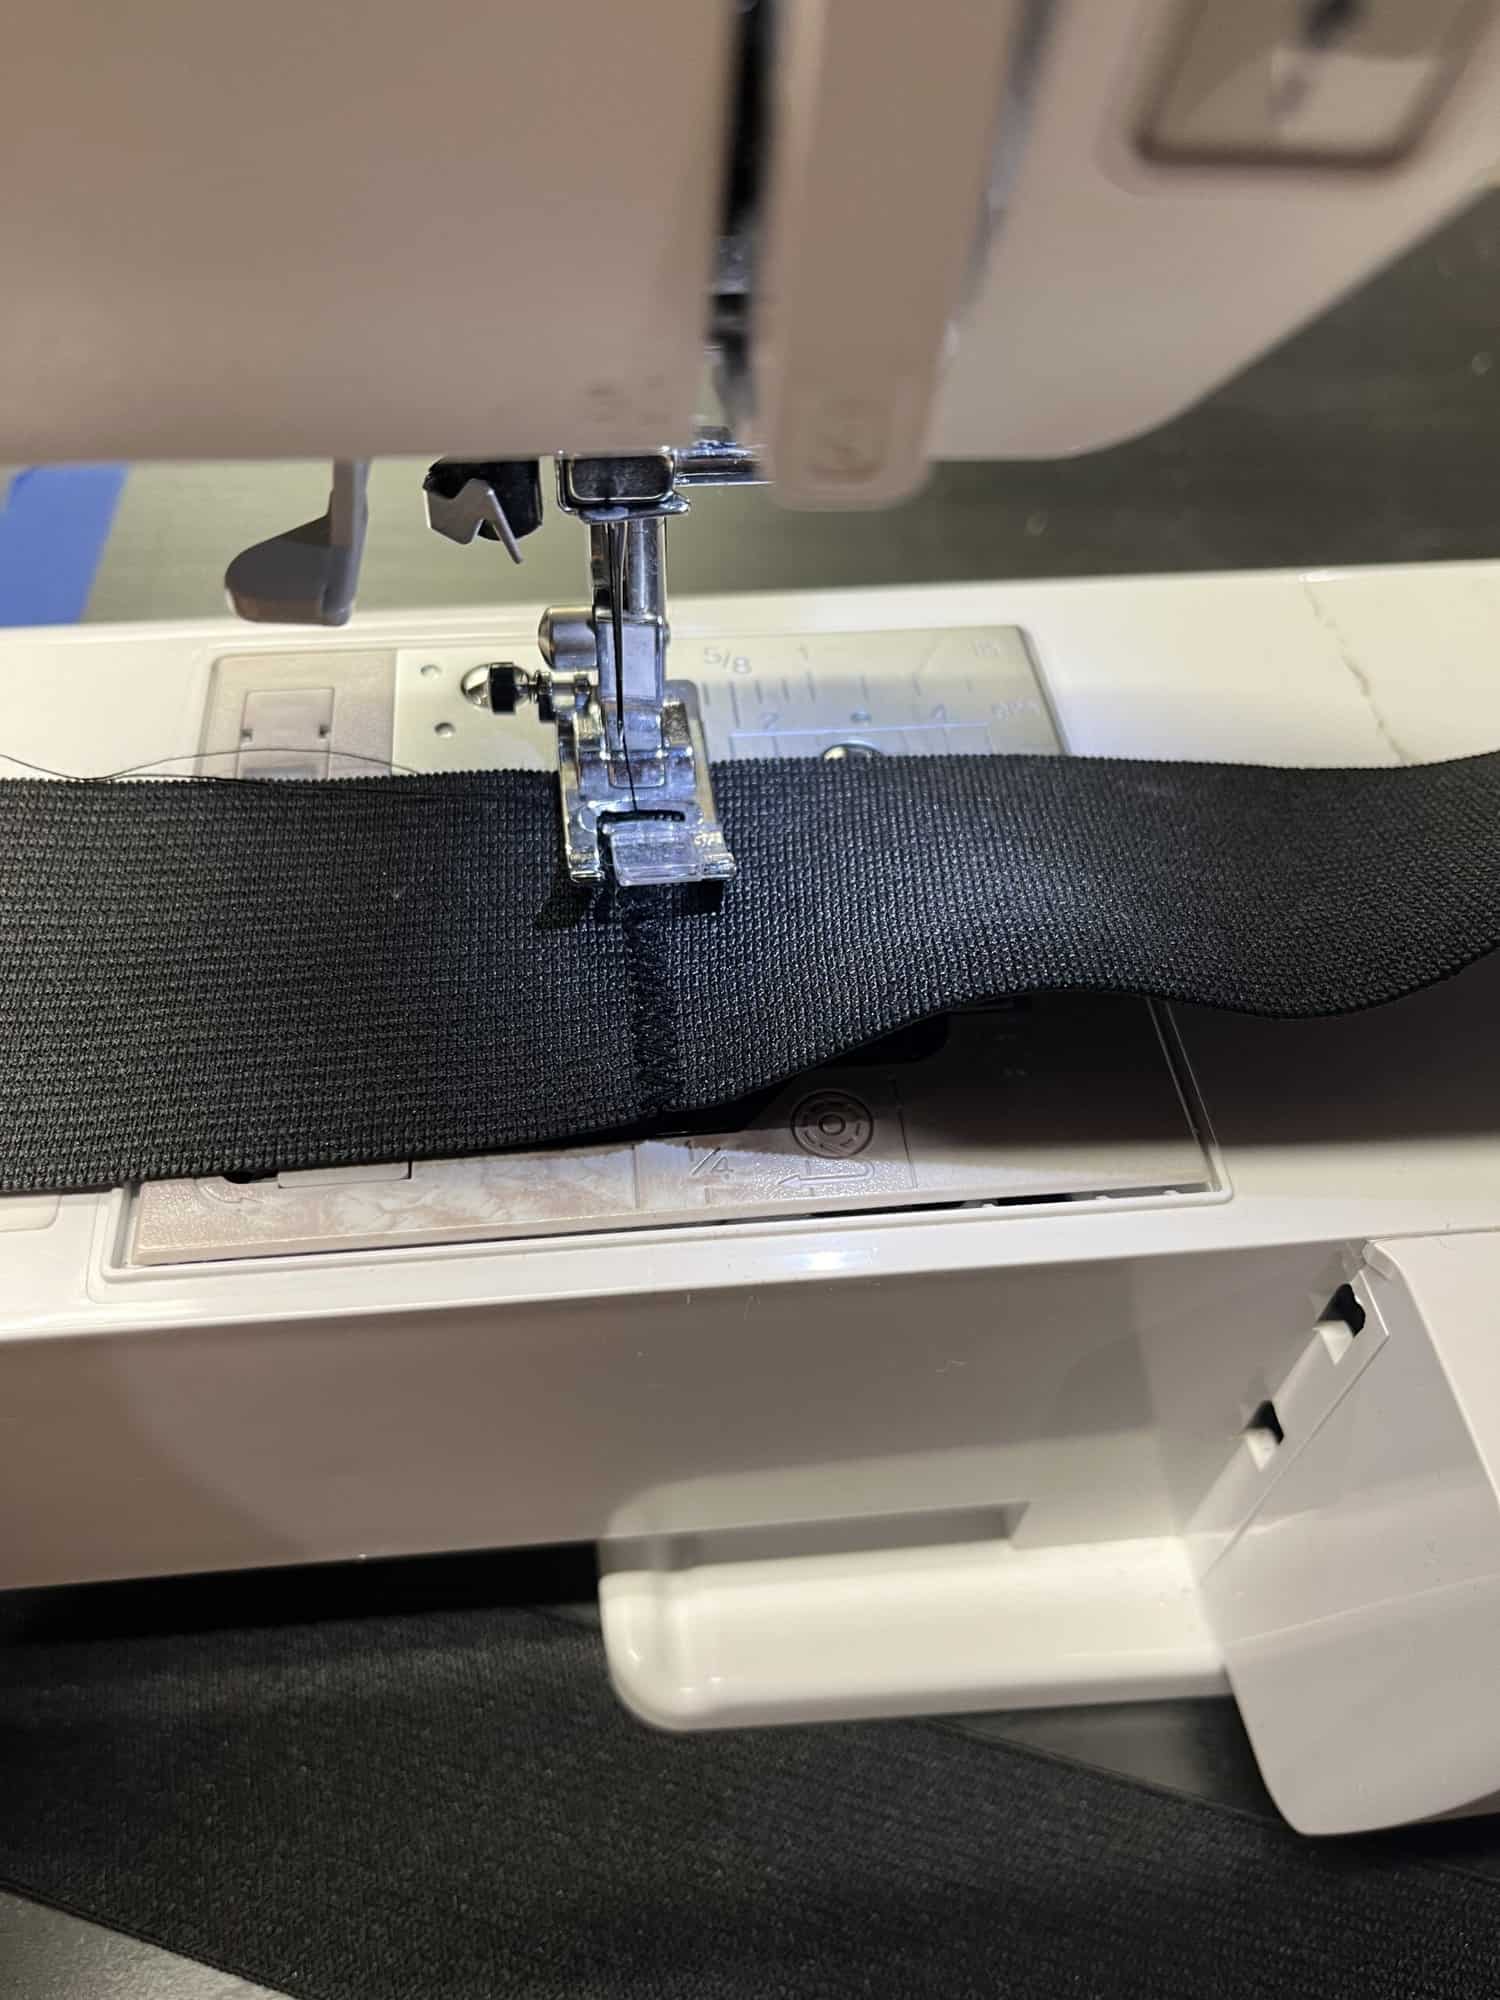
Using a zigzag stitch, sew the ends of the elastic together. I like to use a 2.0 stitch length and 4.0 stitch width.
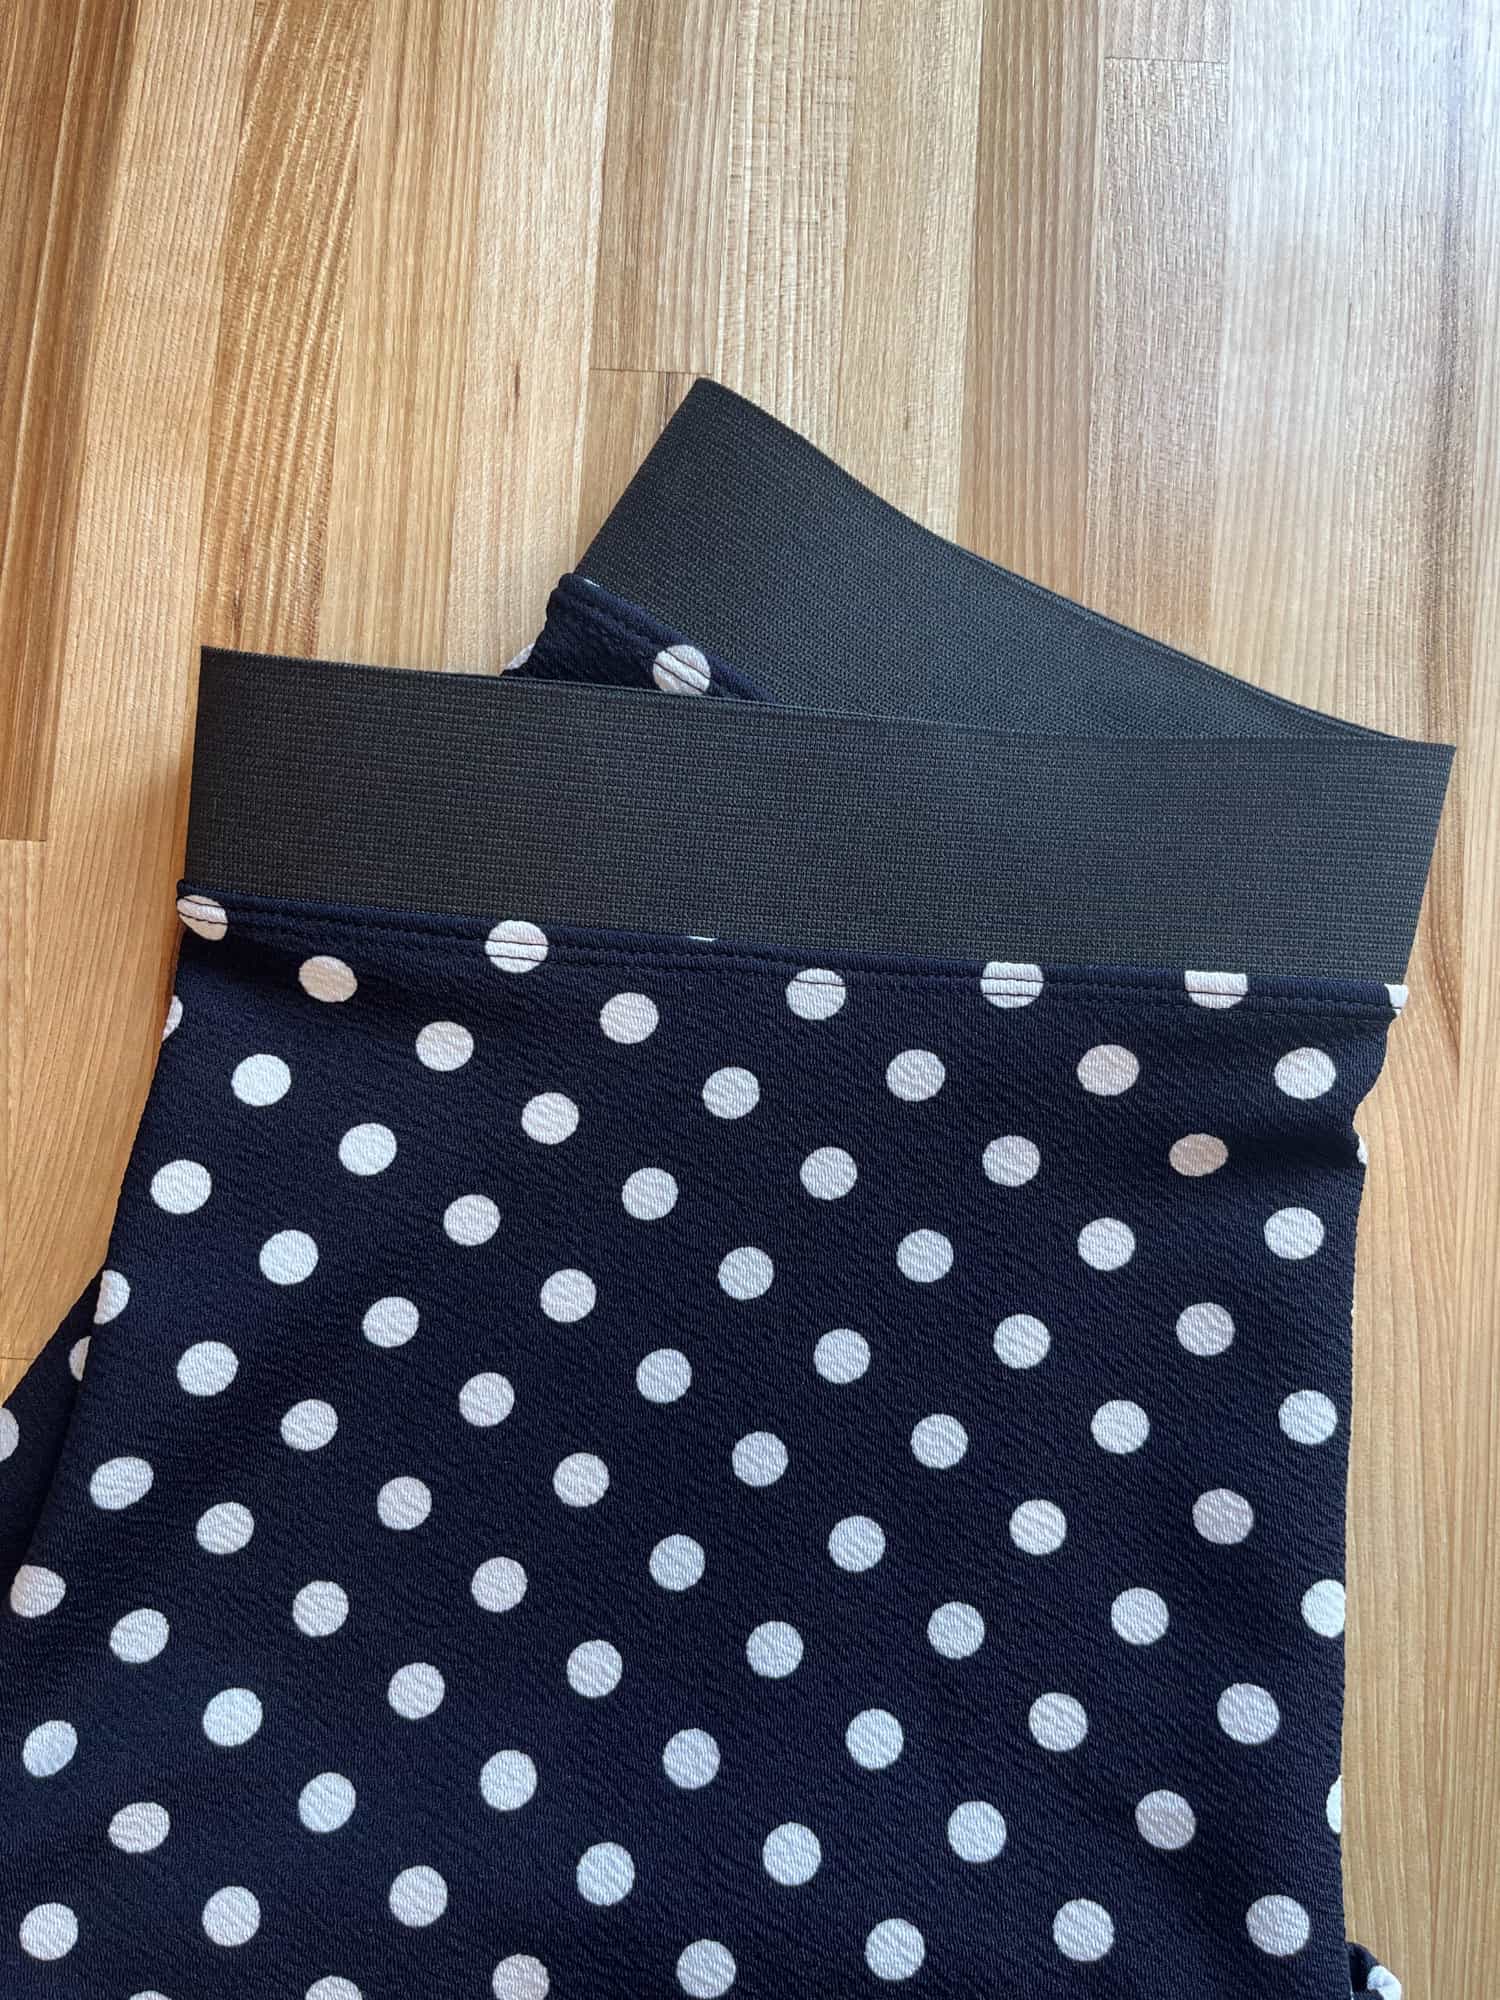
Mark the quarter points on the elastic and the skirt waist opening. With right sides together, match the quarter points of the elastic with the ones on the skirt waist opening. Sew with a stretch stitch or a serger (turn off the blade so it doesn’t cut into the elastic).
Optionally, you can flip the band over and top stitch or skip this part all together!
Now, Ta-dah! All done! I can’t wait to see what you create!
Happy Sewing!
Djem
We cannot wait to see what you create for yourself using the Harriet Holiday Dress pattern! It is available on sale (no code needed) through 11:59pm CST, January 28, 2023.
Here is a direct link to the pattern: HARRIET HOLIDAY DRESS
As always, we’ve got more photos for you to use as inspiration! Head over to the Facebook group to browse our albums full of gorgeous photos, compliments of our tester team!






Well, here’s a hack I need: I want to make the Harriet as a maxidress to take on a cruise and wear to dinner. What fabric can I use that’s just a bit luxe, but has good knit recovery and resists wrinkles?
Also requested — this gray type on a white background is HORRIBLE to read. Can’t it be black type, at least?