Happy Holidays, Pirate Friends! We are excitedly back for another year and another round of holiday freebies to share with you! Since 2016, we’ve compiled different tutorials and patterns that we think would make *perfect* gifts for your friends and family. Curious about what we’ve already released in the way of holiday freebies? Head right here to see all of them: Holiday Freebies Roundup.
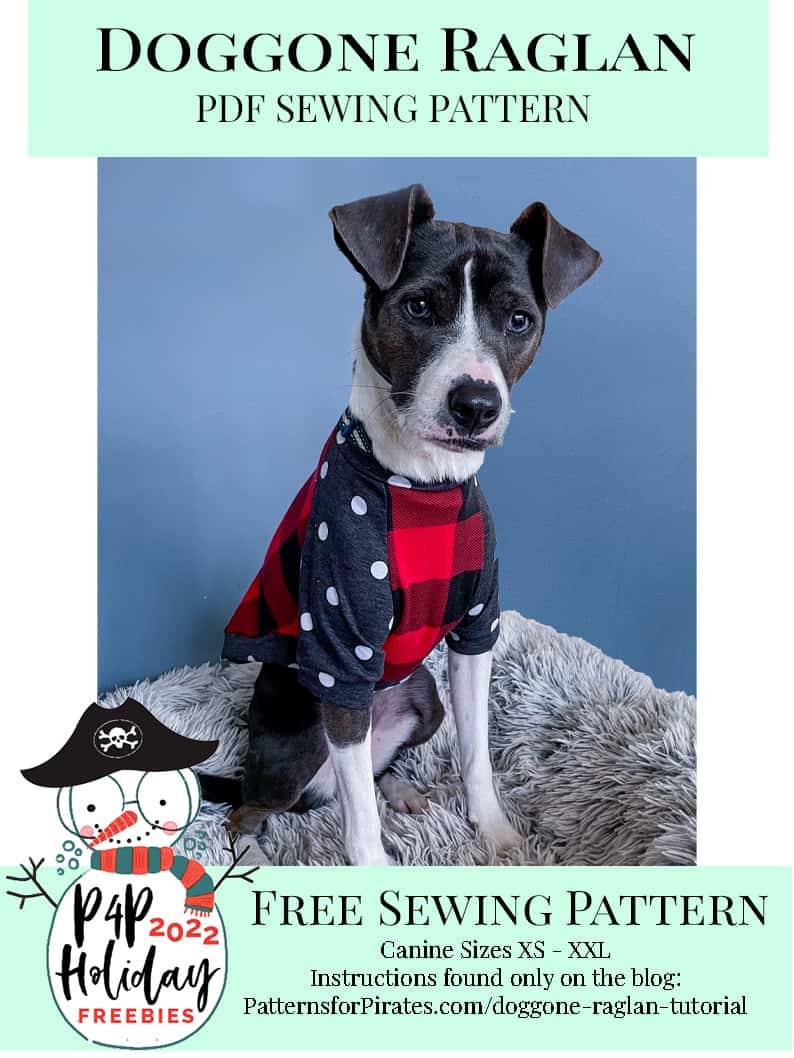
Today, we are bringing you the: Doggone Raglan!
We just added to our family of raglan patterns! I honestly couldn’t help myself. I’ve been wanting to make a dog raglan for a couple of years now and finally made it happen! If I’m also being 100% transparent: I used it as an excuse for people to send me photos of their cute dogs! What’s better than having a social media feed full of cute puppers in raglan tees? Umm….NOTHING.
If you need a little refresher of our human-based raglan patterns: Jolly Roger Raglan (Youth Pattern) | Slim Fit Raglan (Hourglass Figure Pattern) | Relaxed Raglan (Hourglass Figure Pattern) | Weston Raglan (V Figure Pattern) | Ragdoll Raglan (Hourglass Figure Pattern)
Fabric Requirements / Recommendations: Knit fabric, less than 1 yard needed for all sizes.
- at least 20% stretch for main body + sleeves
- at least 40% stretch for bands
Grab Your Pattern Pieces Here: Doggone Raglan pattern pieces
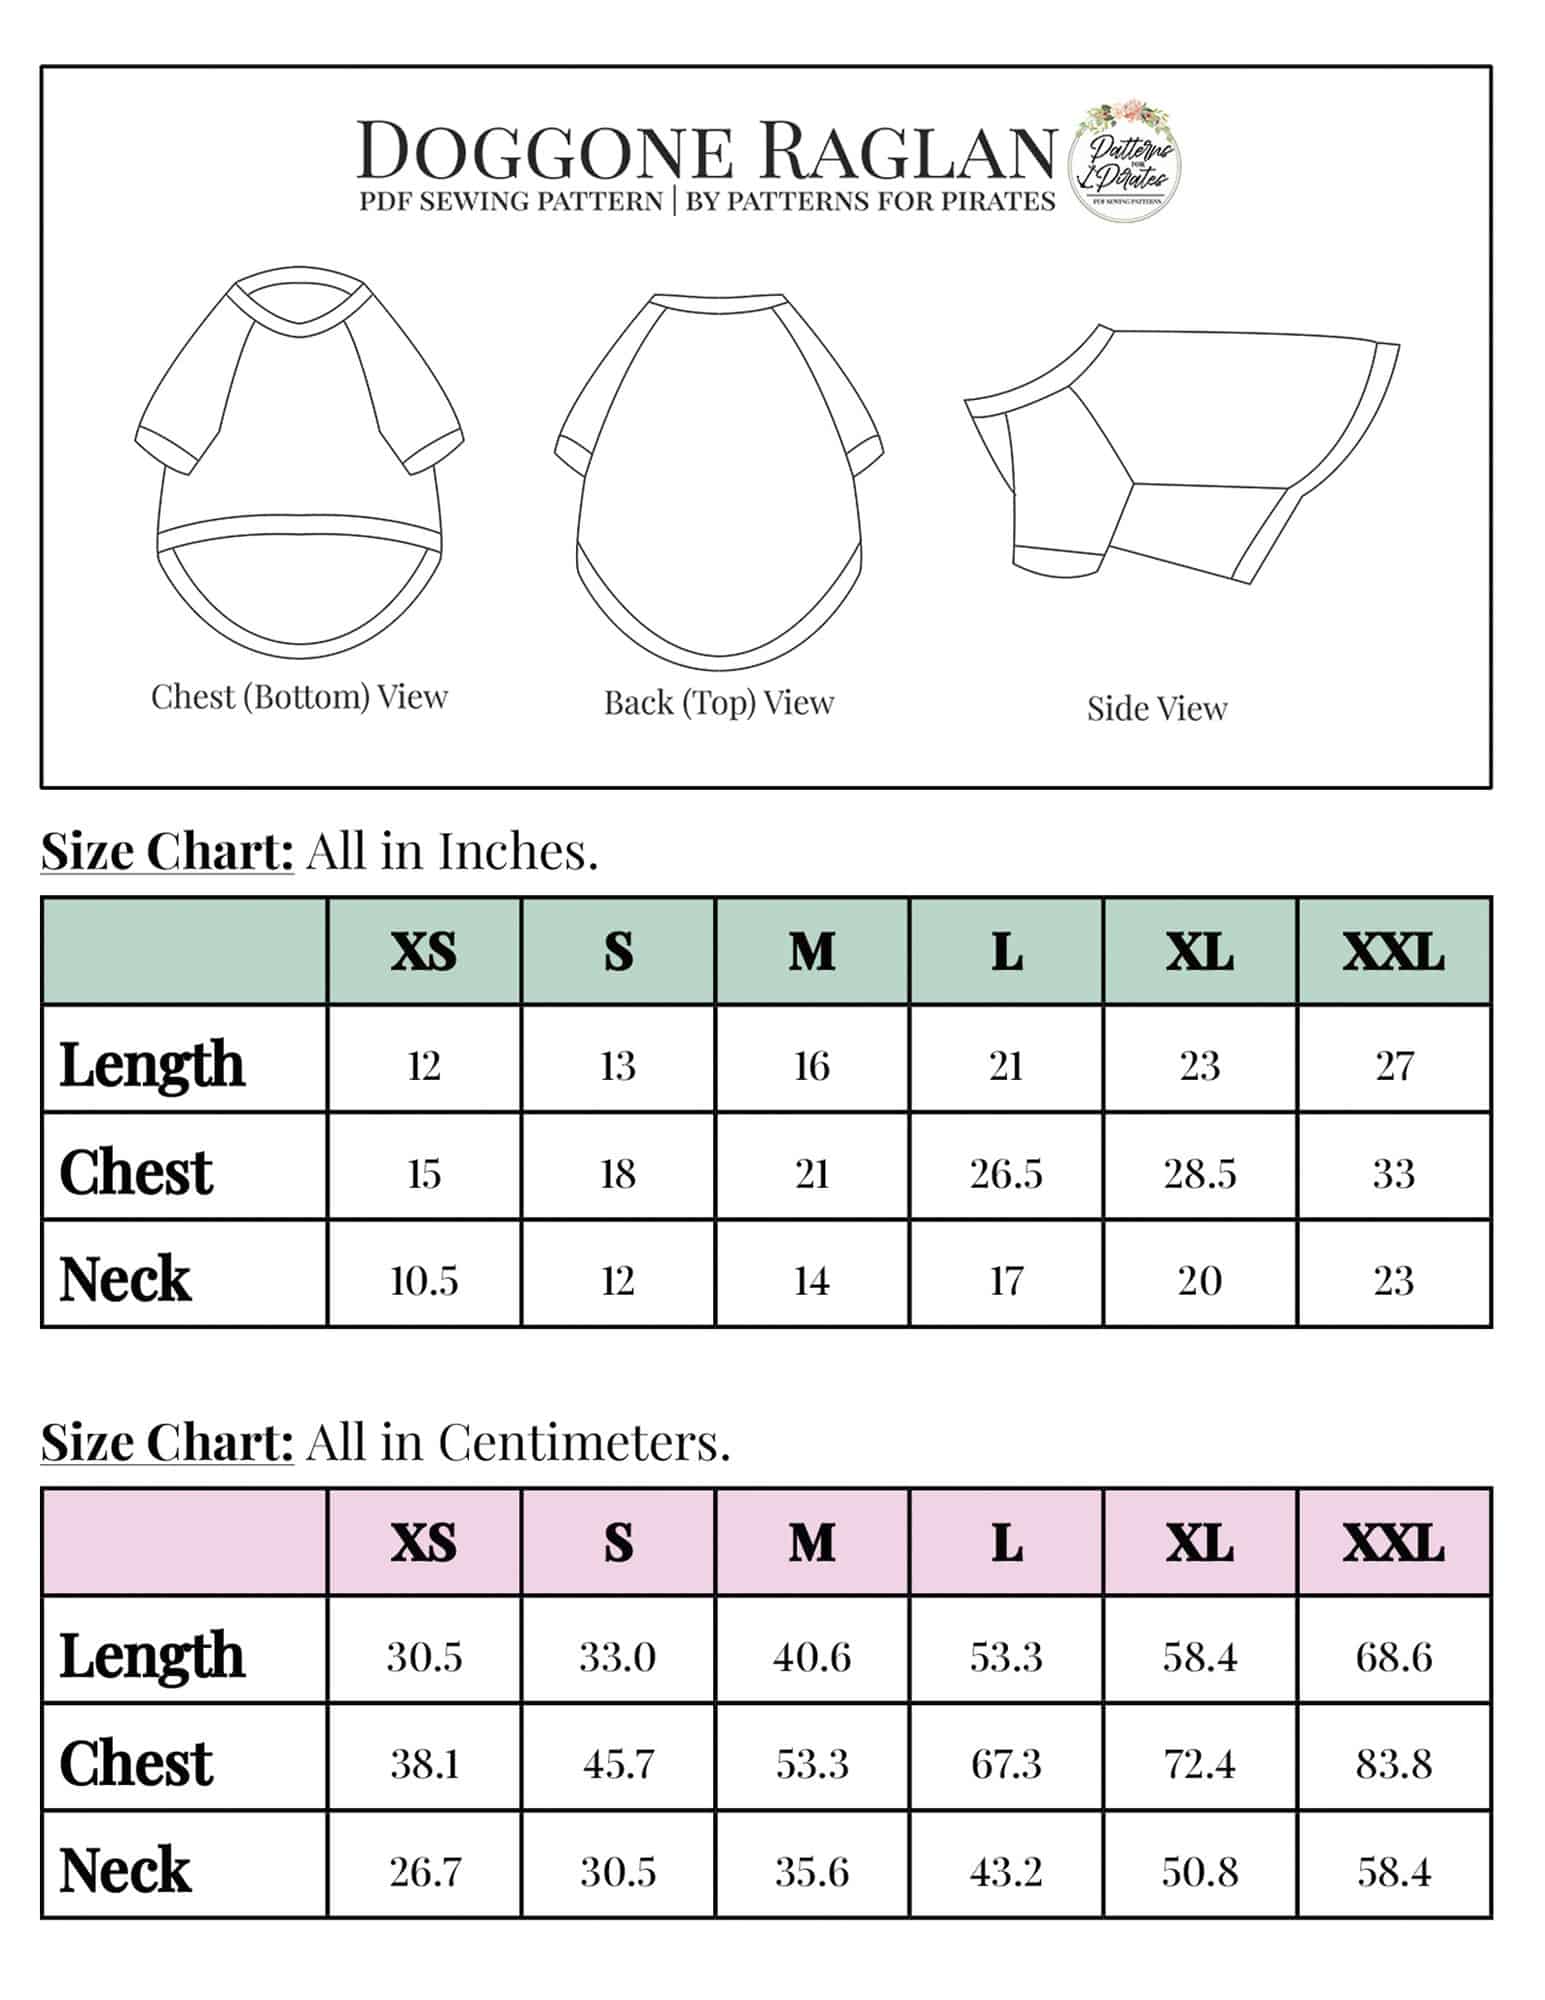
Select size based upon chest measurement and grade for length if needed. There is a slight negative ease at the chest. If your pup falls between sizes, selecting the next size up is recommended.
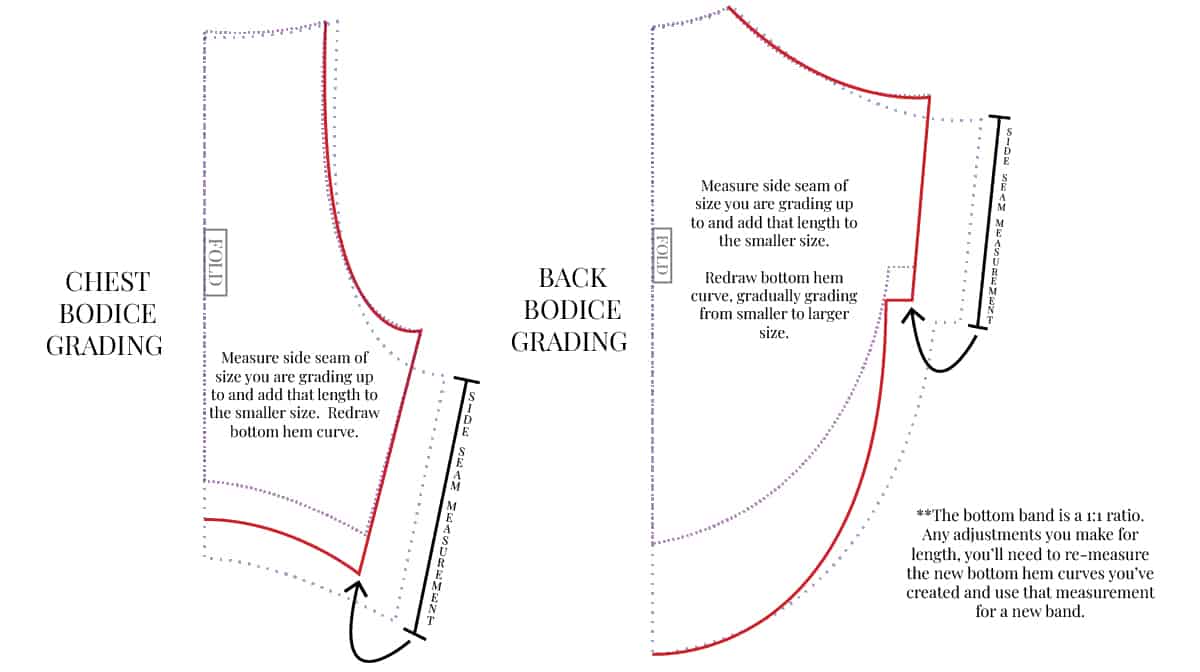
We have a P4P University blog post about Grading Sizes, but here’s a quick visual on adjusting the Doggone Raglan.
Now that we’ve got our pattern pieces prepped, let’s get to sewing!
TUTORIAL:
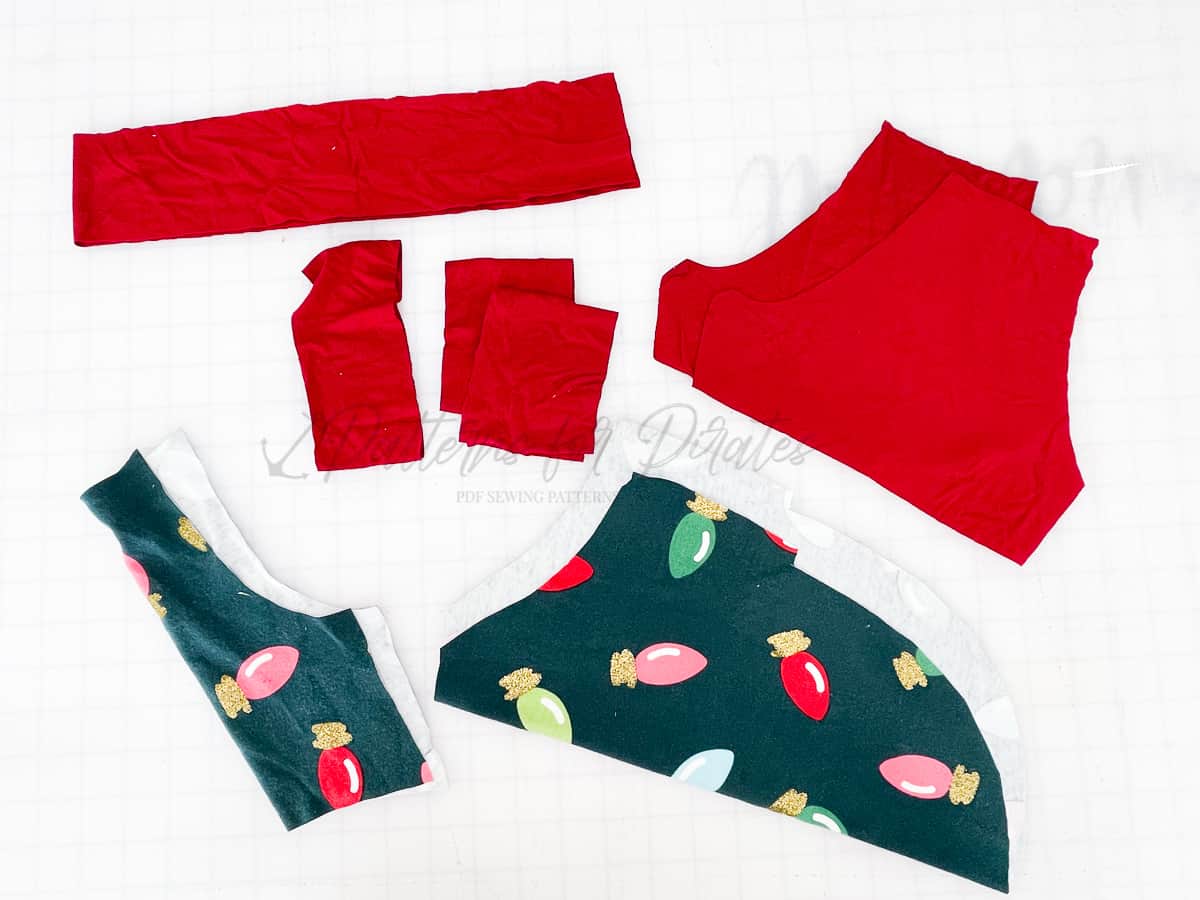
Cut out all of your pieces. You’ll need:
– 1 Back Piece cut on the fold
– 1 Chest Piece cut on the fold
– 2 Sleeves, mirrored
– 1 Bottom Band, cut on the fold
– 1 Neckband, cut on the fold
– 2 Sleeve Cuffs, cut on the fold
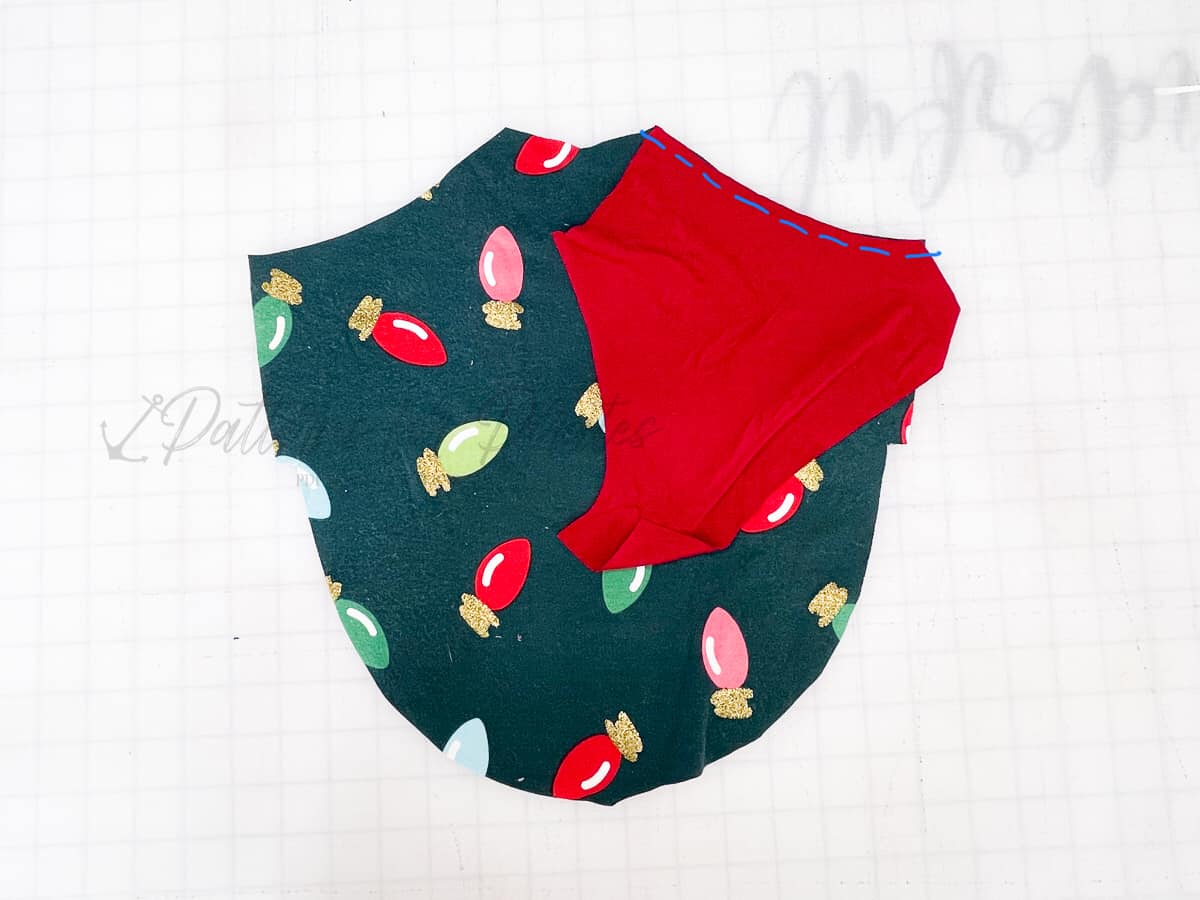
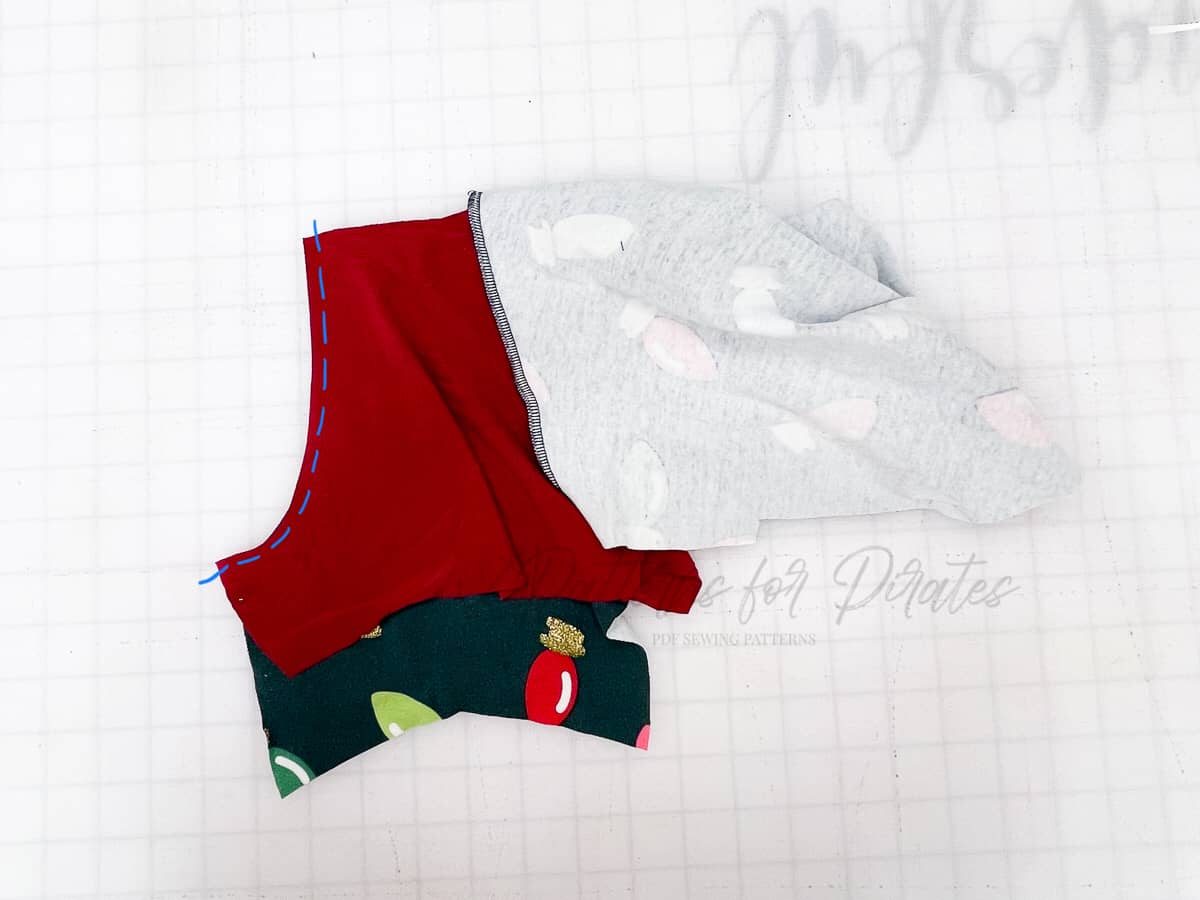
With right sides together, pin sleeve to Back bodice and stitch.
Repeat with opposite sleeve.
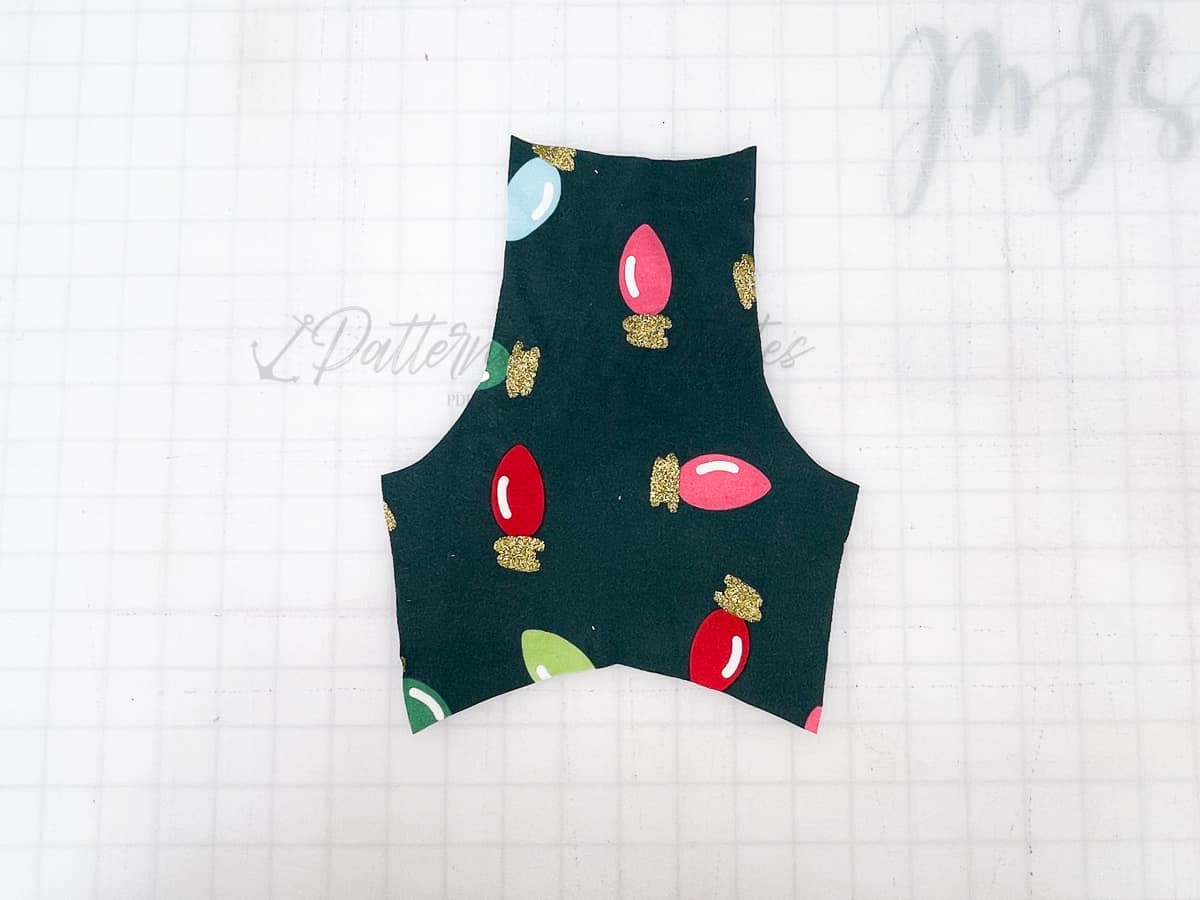
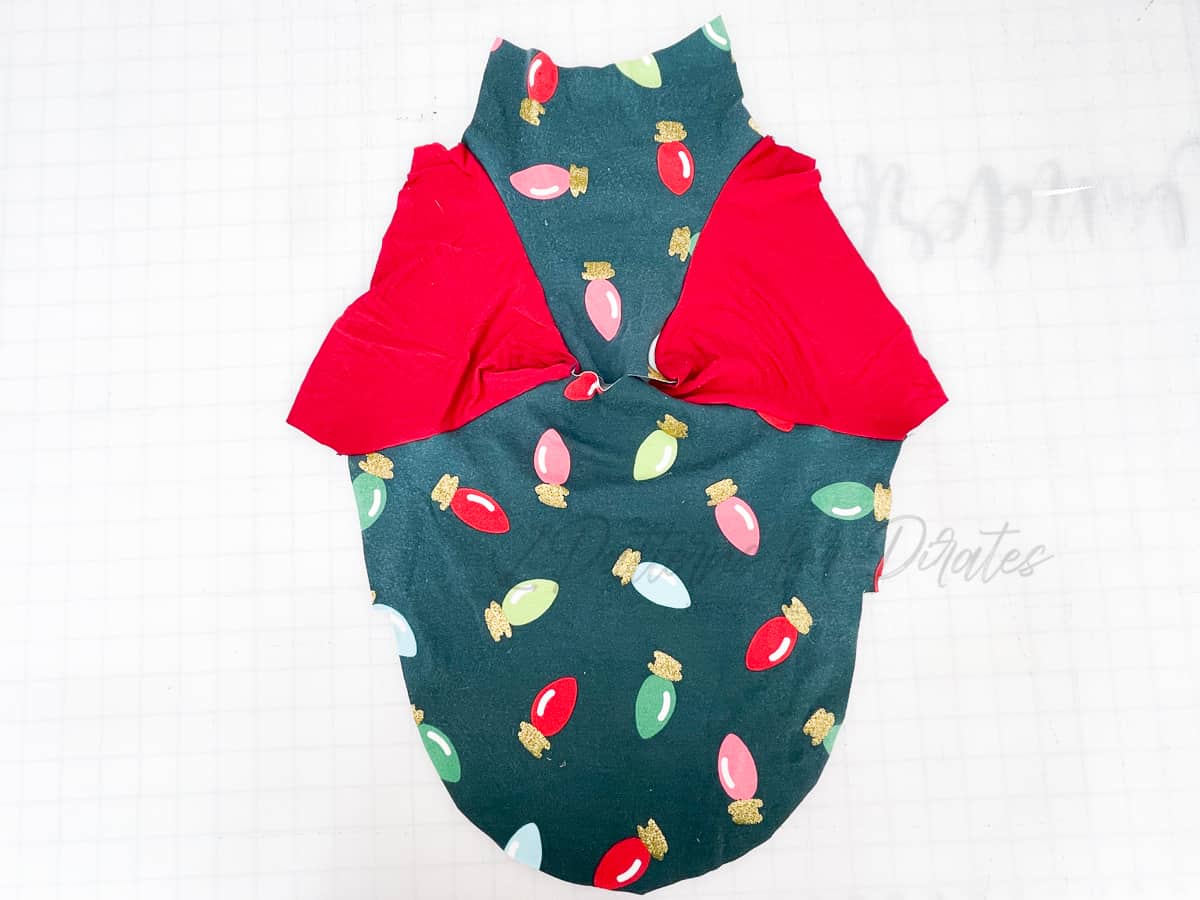
Place chest piece, with right side up.
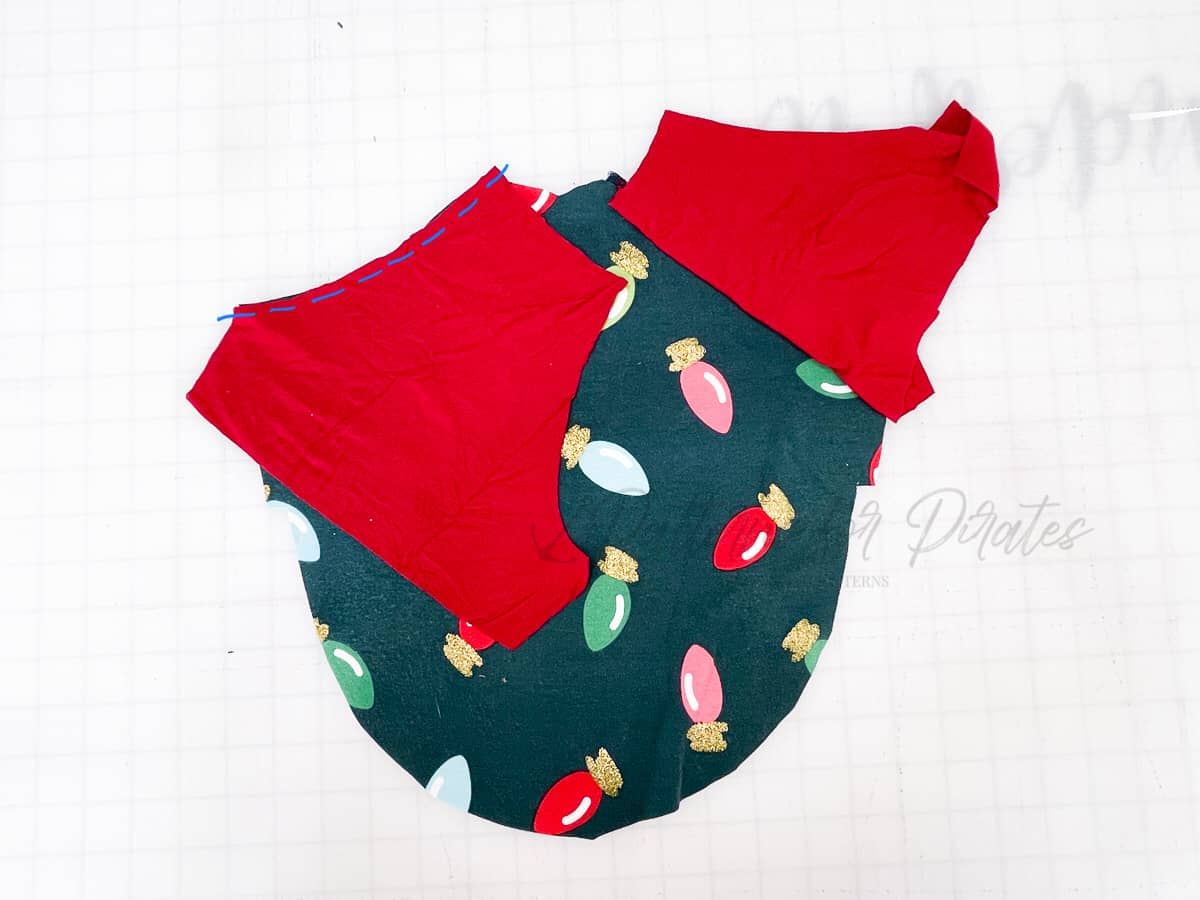
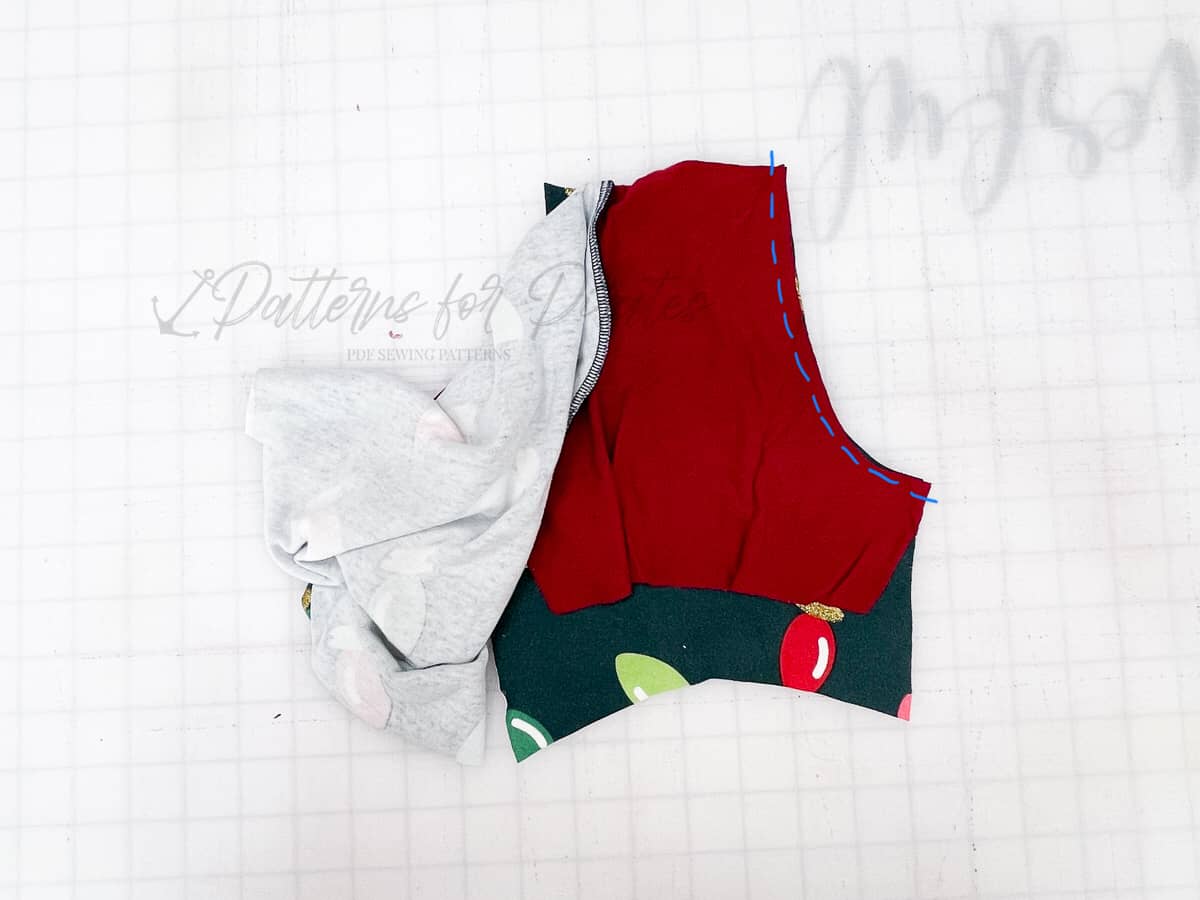
With right sides together, pin sleeve to Chest bodice and stitch.
Repeat with opposite sleeve.
You will now have created a “circle” with all four pieces.
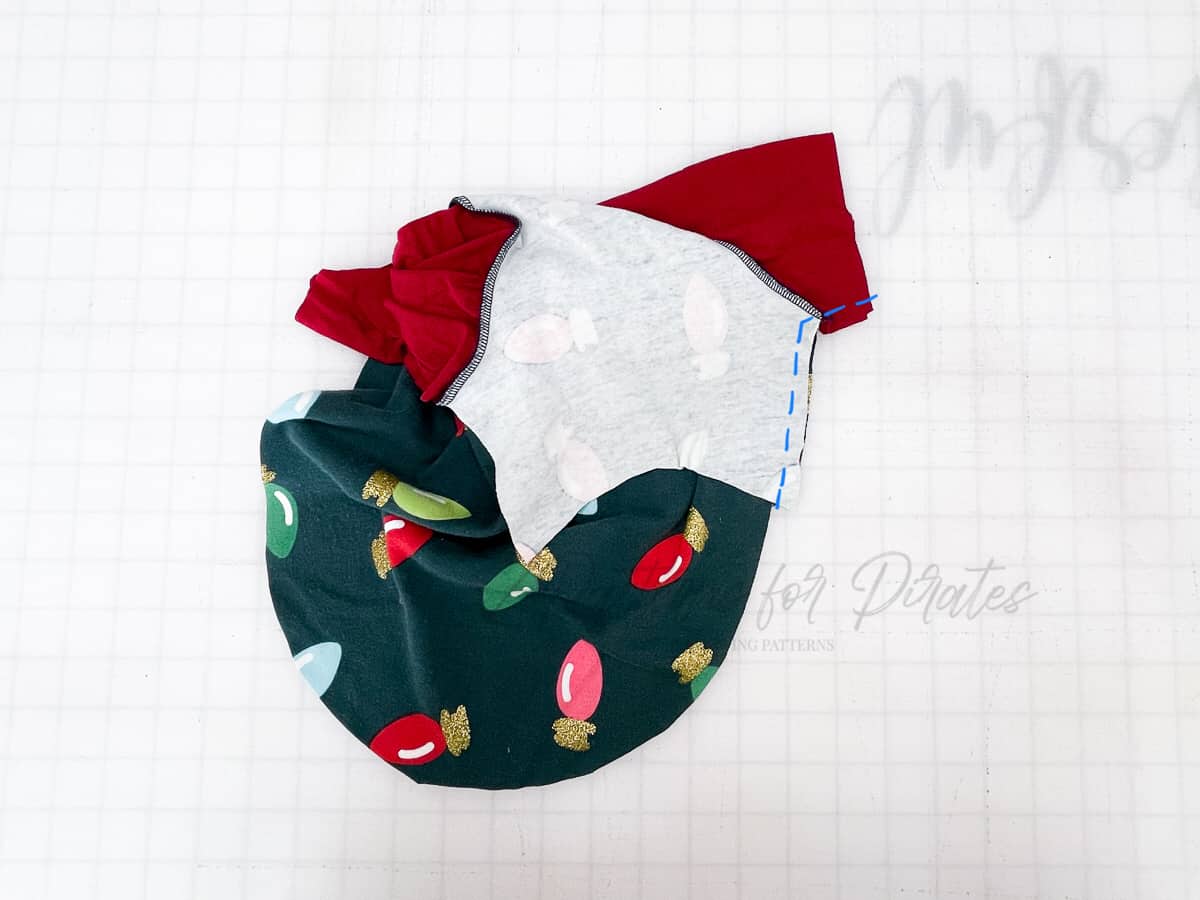
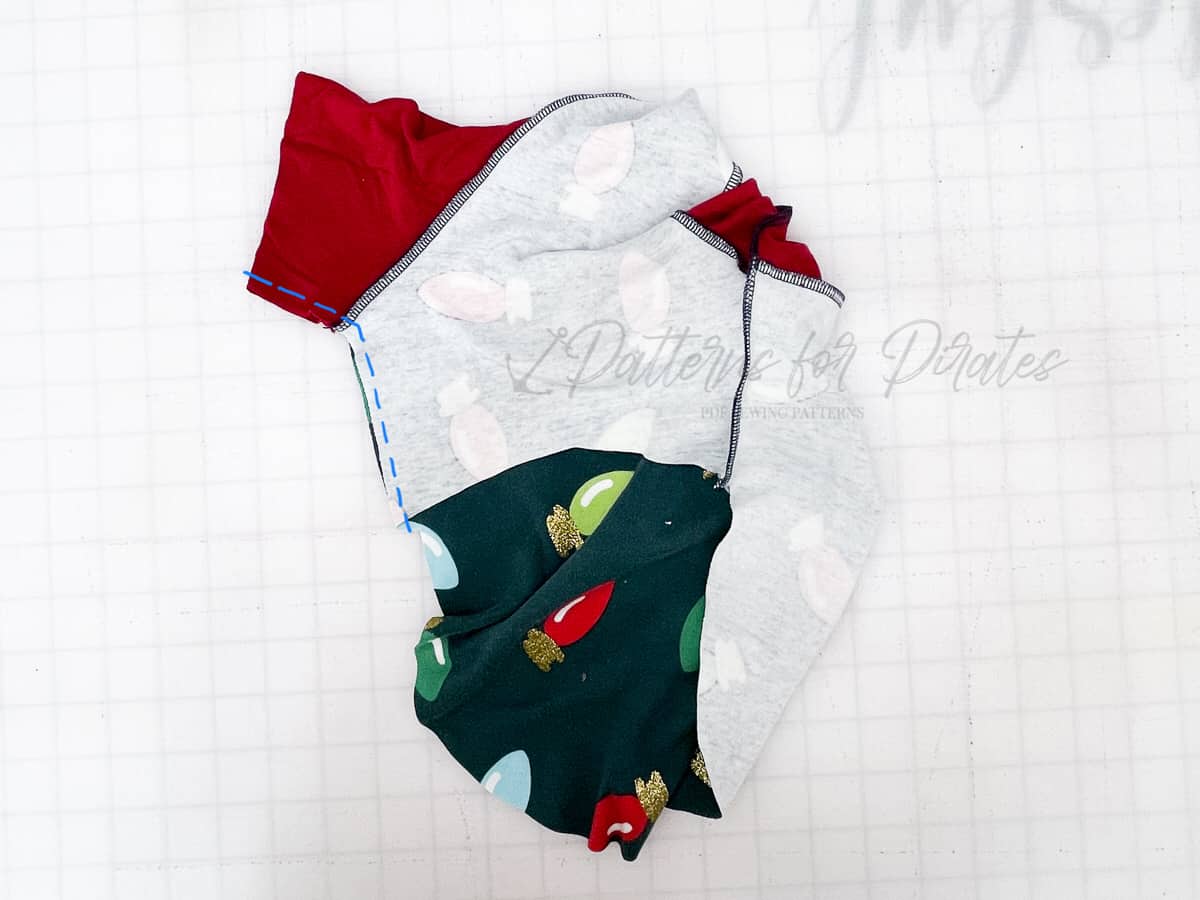
With right sides together, align shirt from sleeve hem, to armpit, to bottom hem and stitch.
Repeat with opposite site.
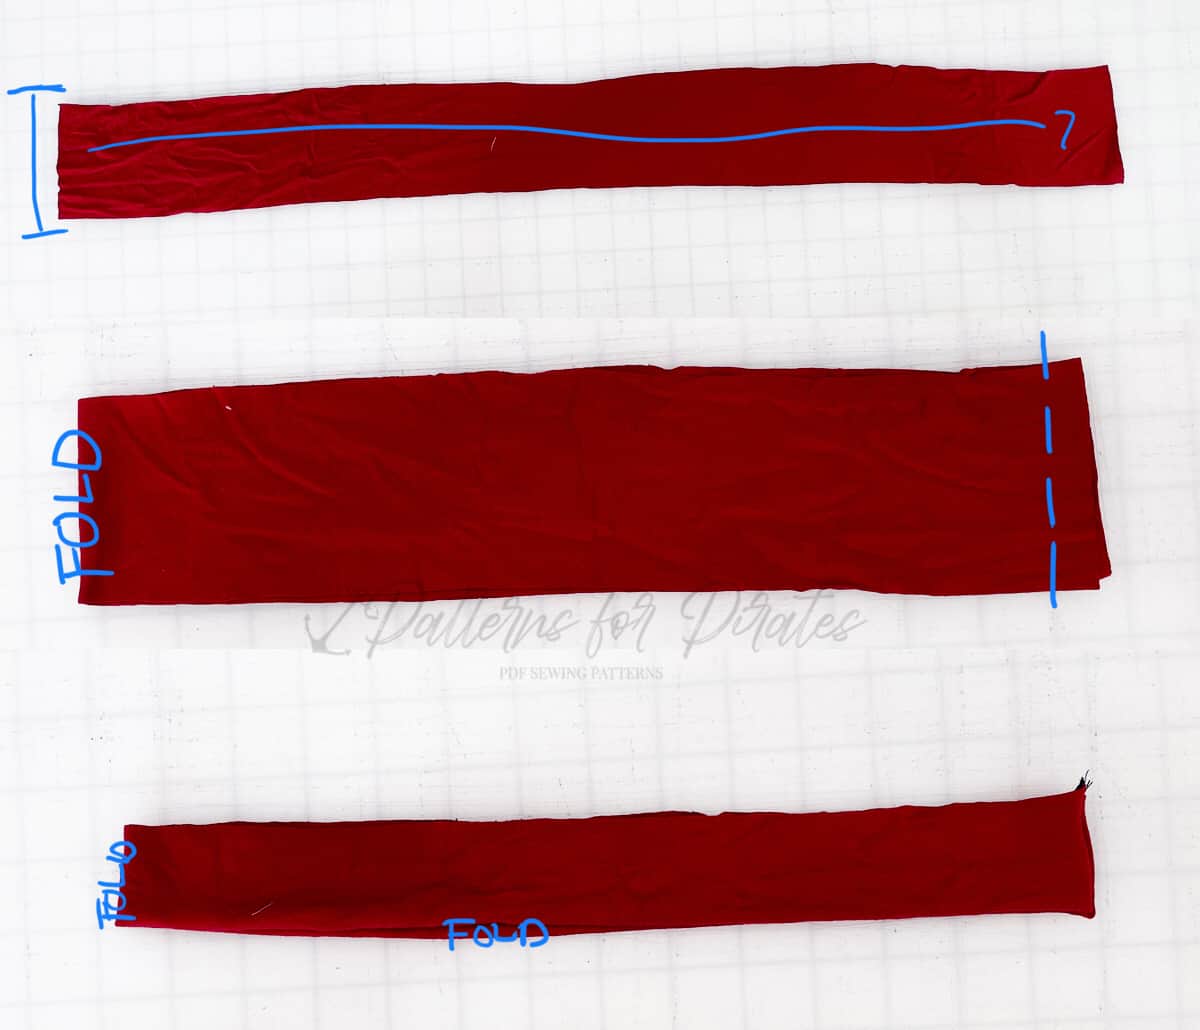
With right sides together, fold neckband in half, widthwise.
Stitch short ends together, creating a circle.
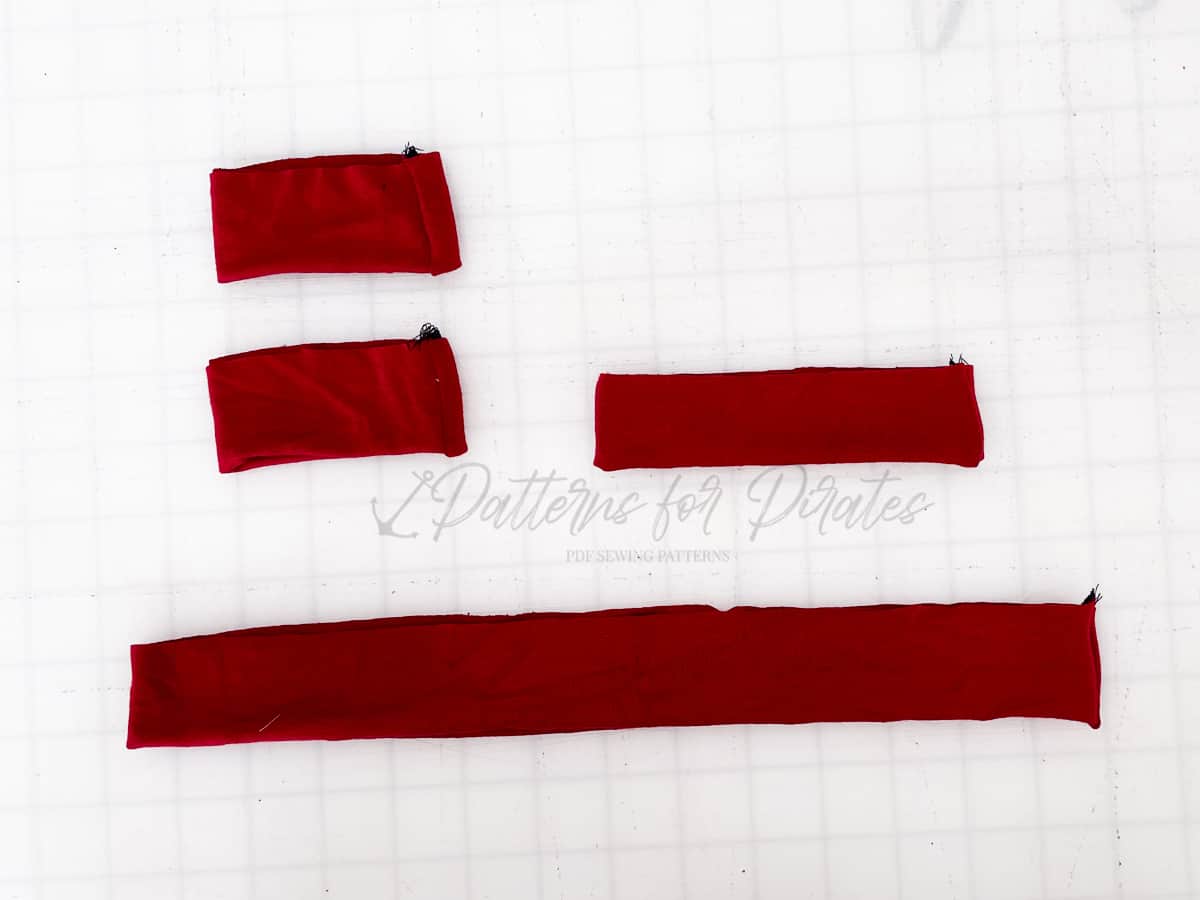
Fold the neckband in half, lengthwise, with wrong sides together, enclosing the seam.
Repeat steps with armbands and bottom band.
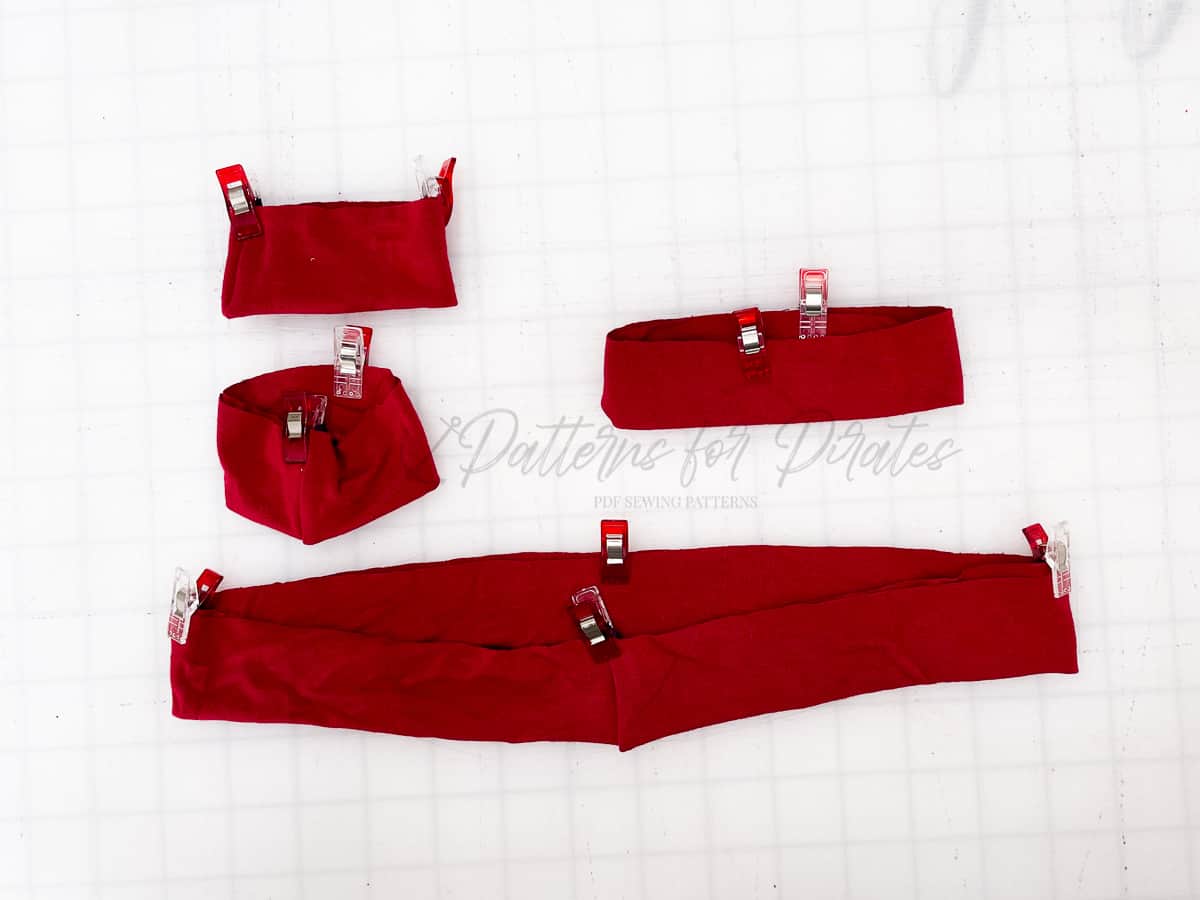
Pin / clip quarter and half markings on all bands.
Mark quarter points on bottom hem of shirt. Match side seams and place a pin or clip at front and back centers.
Match front and back centers, and place or clip at the two side quarter points.
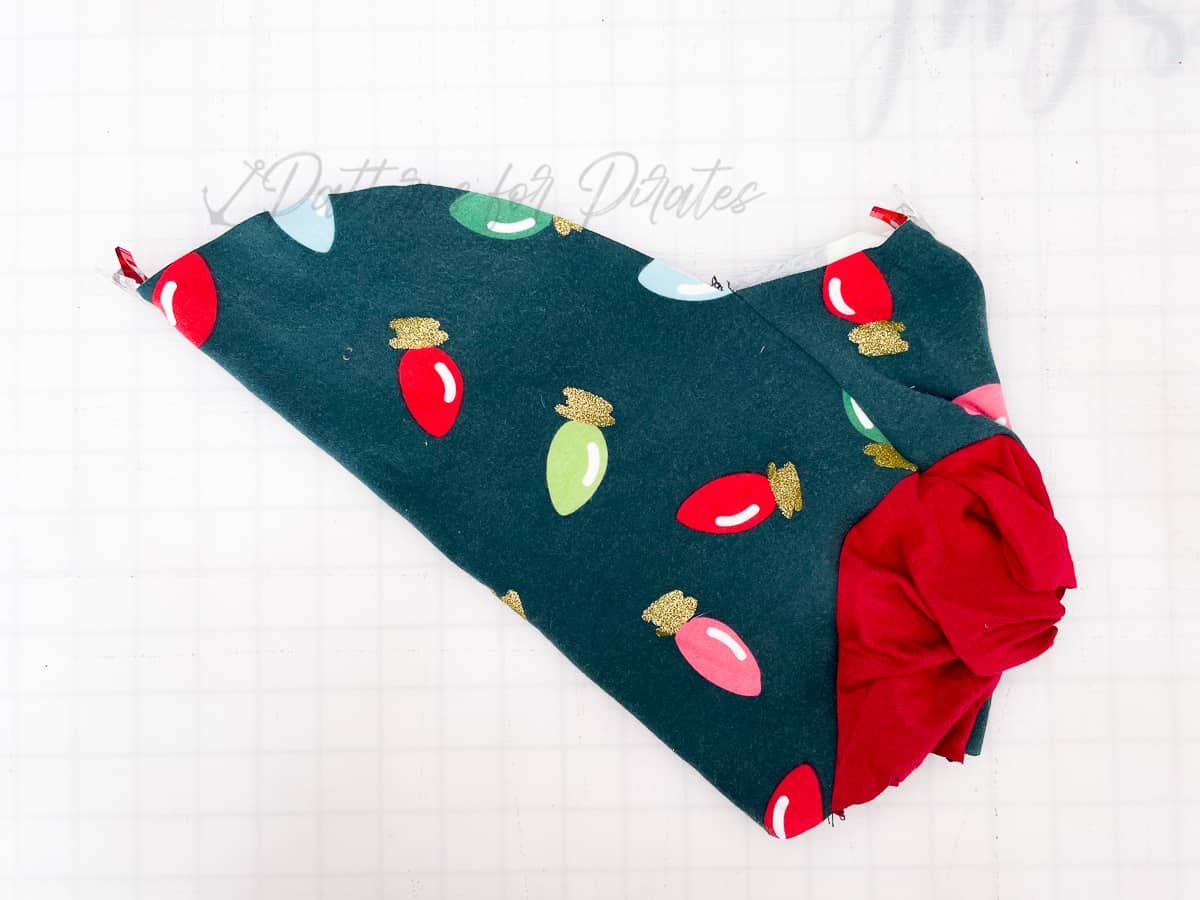
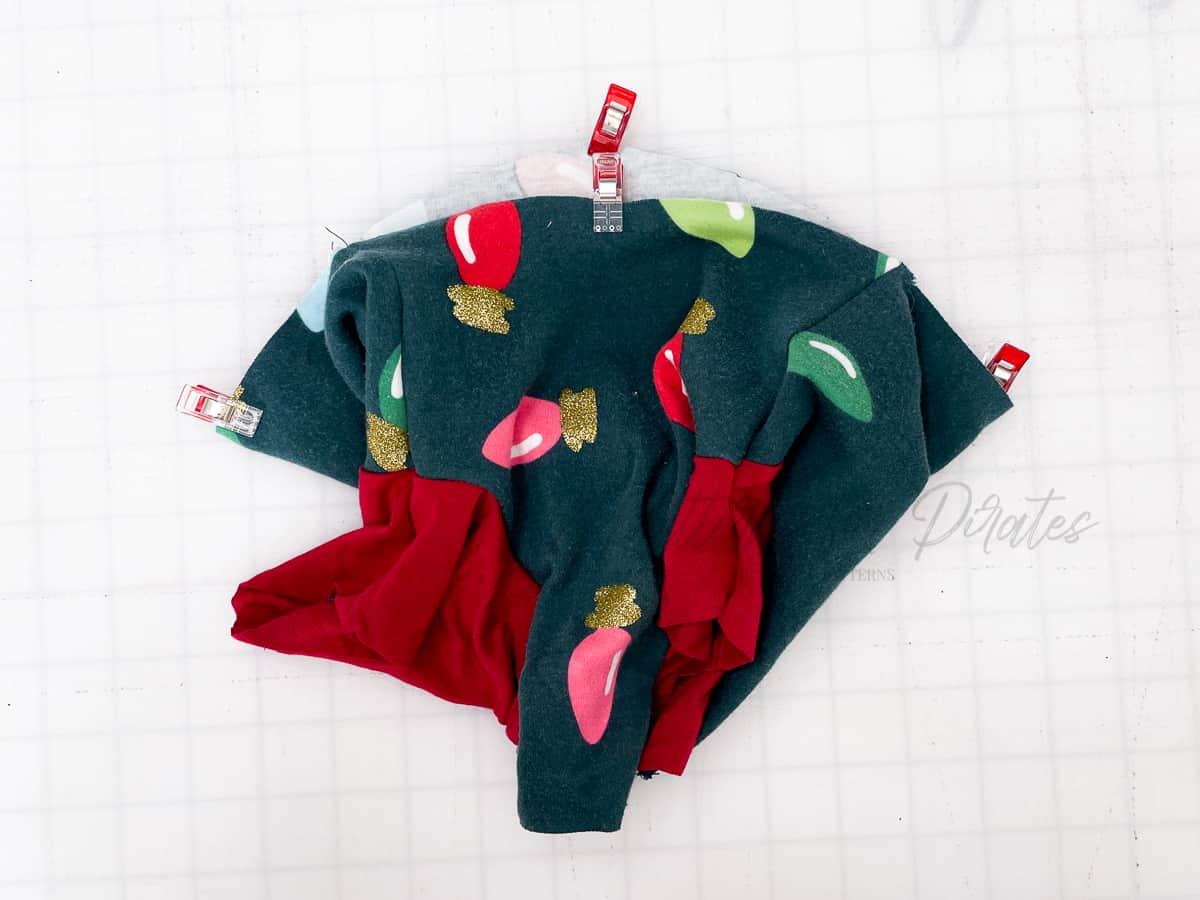
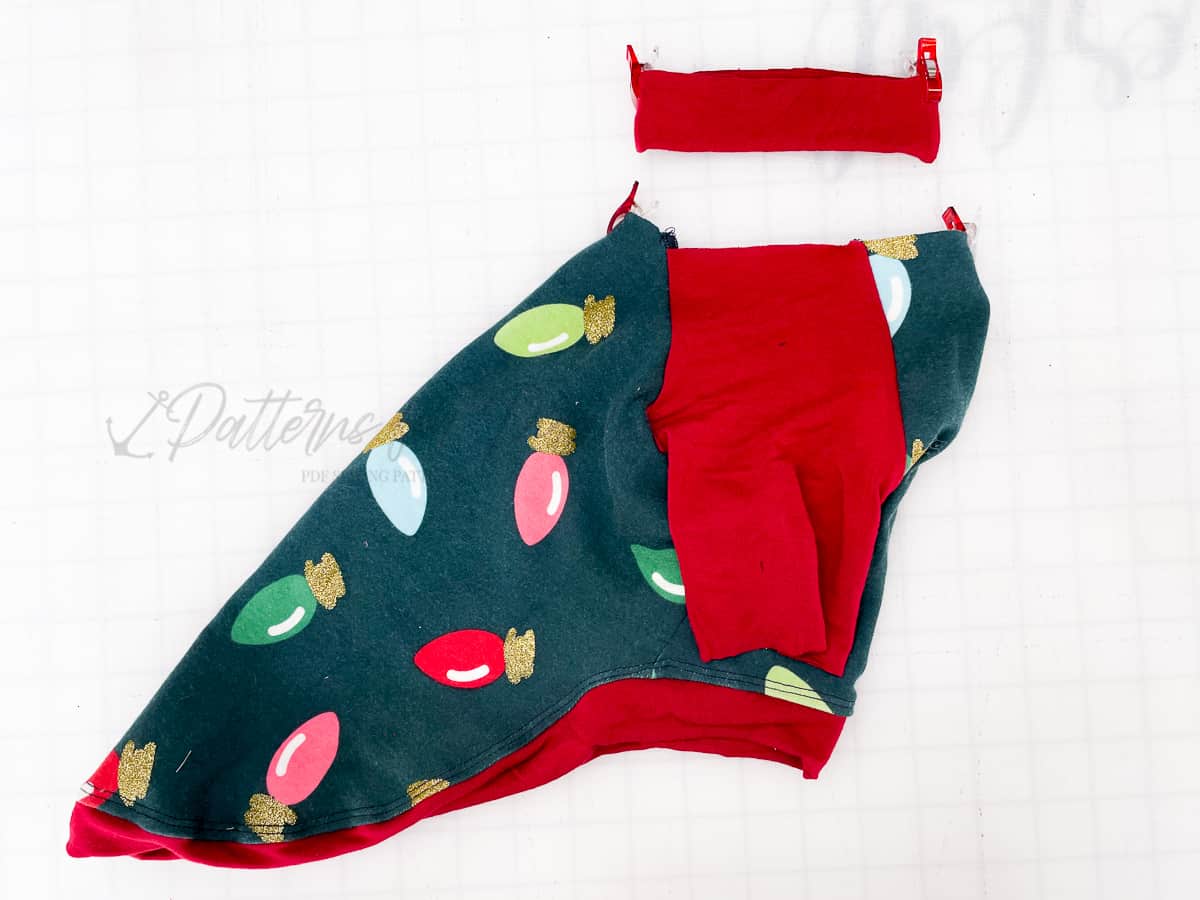
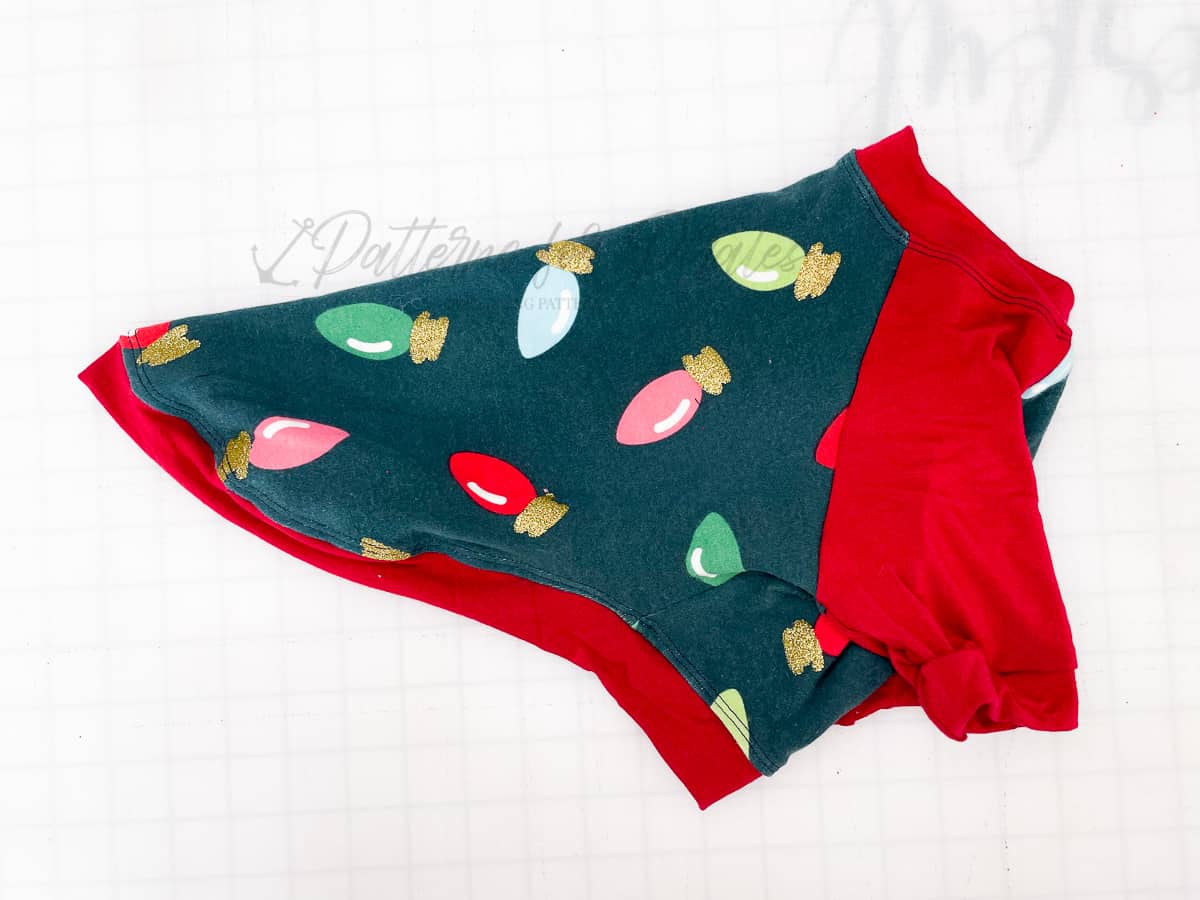
Slip bottom band over shirt, with right sides together, matching raw edges and quarter points to one another.
The bottom band is a 1:1 ratio, but you will still need to ease in the curves a bit.
Stitch bottom band to shirt.
Press seam allowance toward bodice. Optional: topstitch.
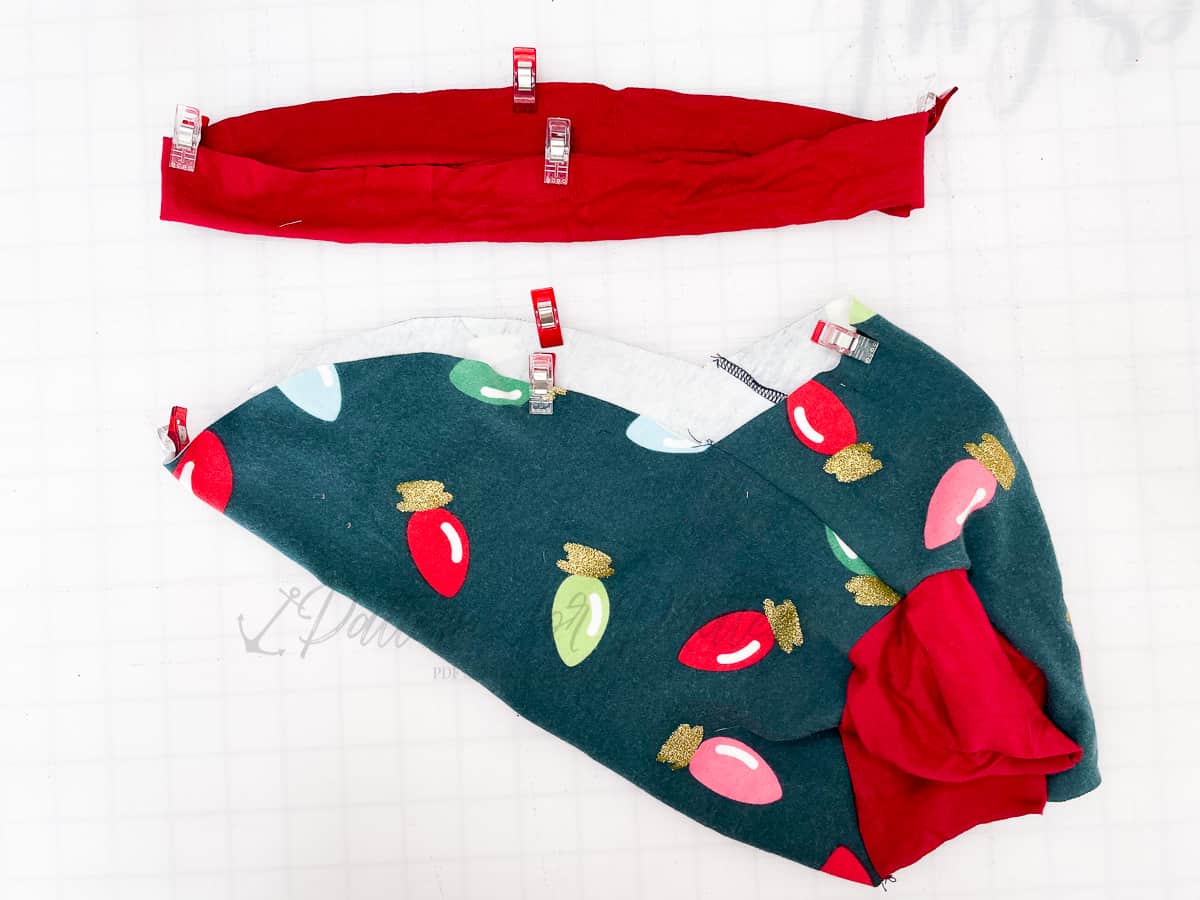
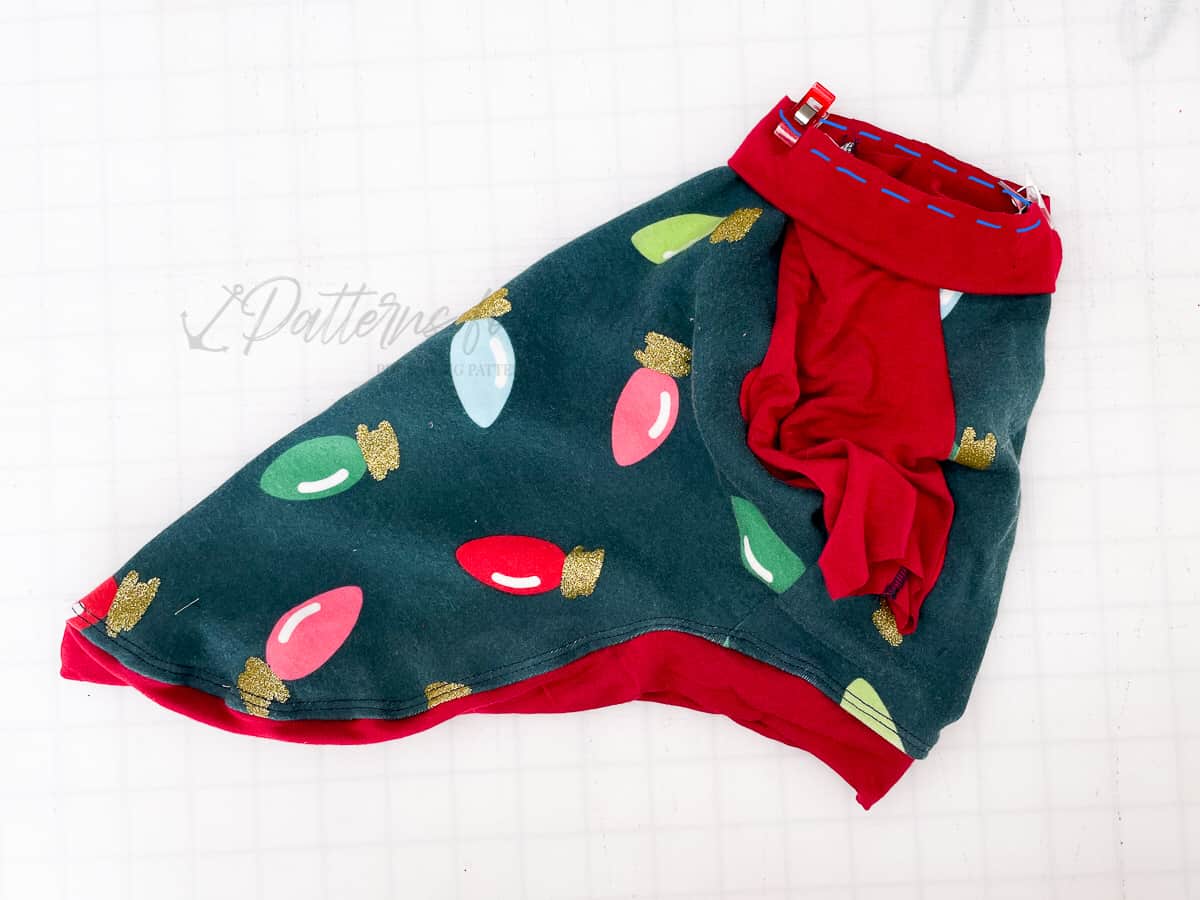
Repeat similar steps with the neckband.
Mark quarter points on neck opening of shirt. Match side seams and place a pin or clip at front and back centers.
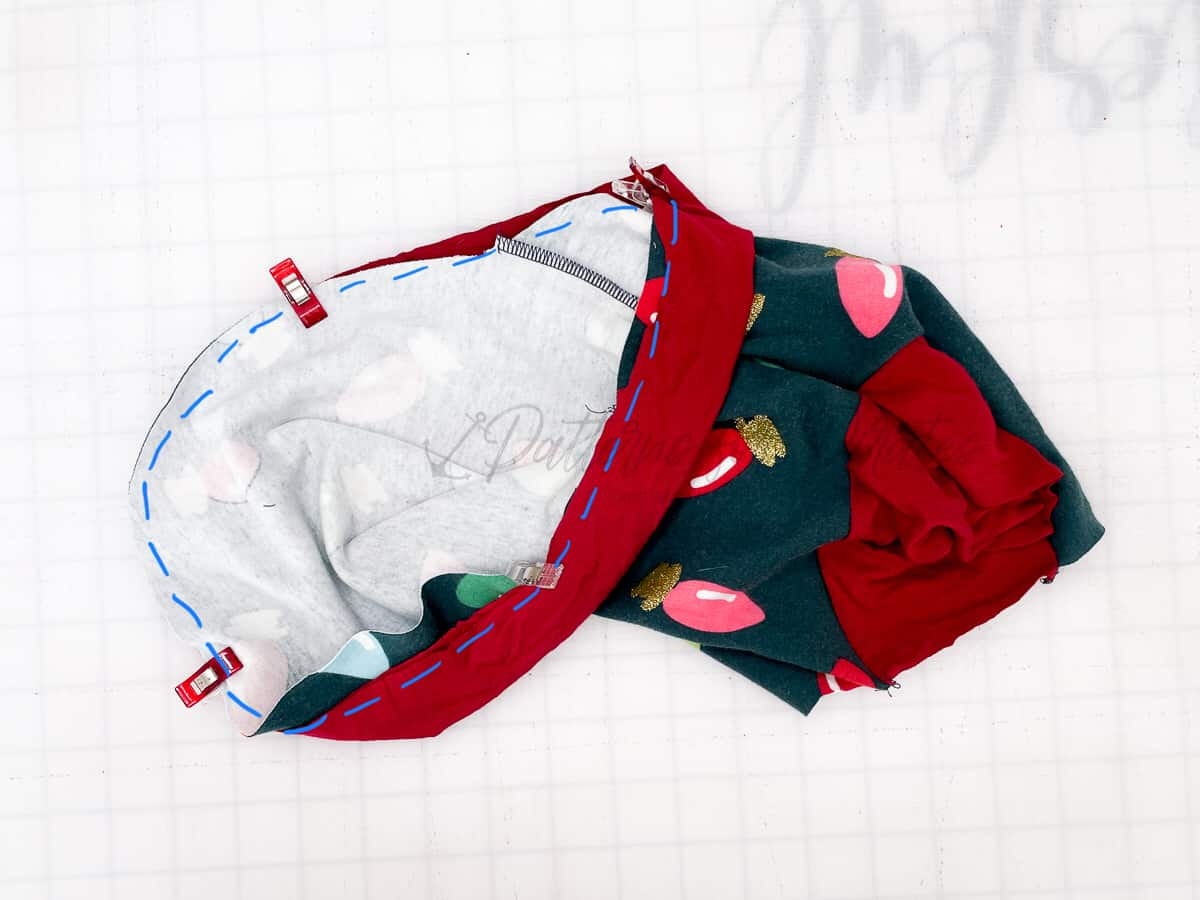
Slip neckband over shirt, with right sides together, matching raw edges and quarter points to one another.
The neckband is smaller than the neckline opening, and will need to be stretched slightly to fit while attaching.
Stitch neckband to shirt.
**Be careful to stretch the neckband only, and not your neck opening.
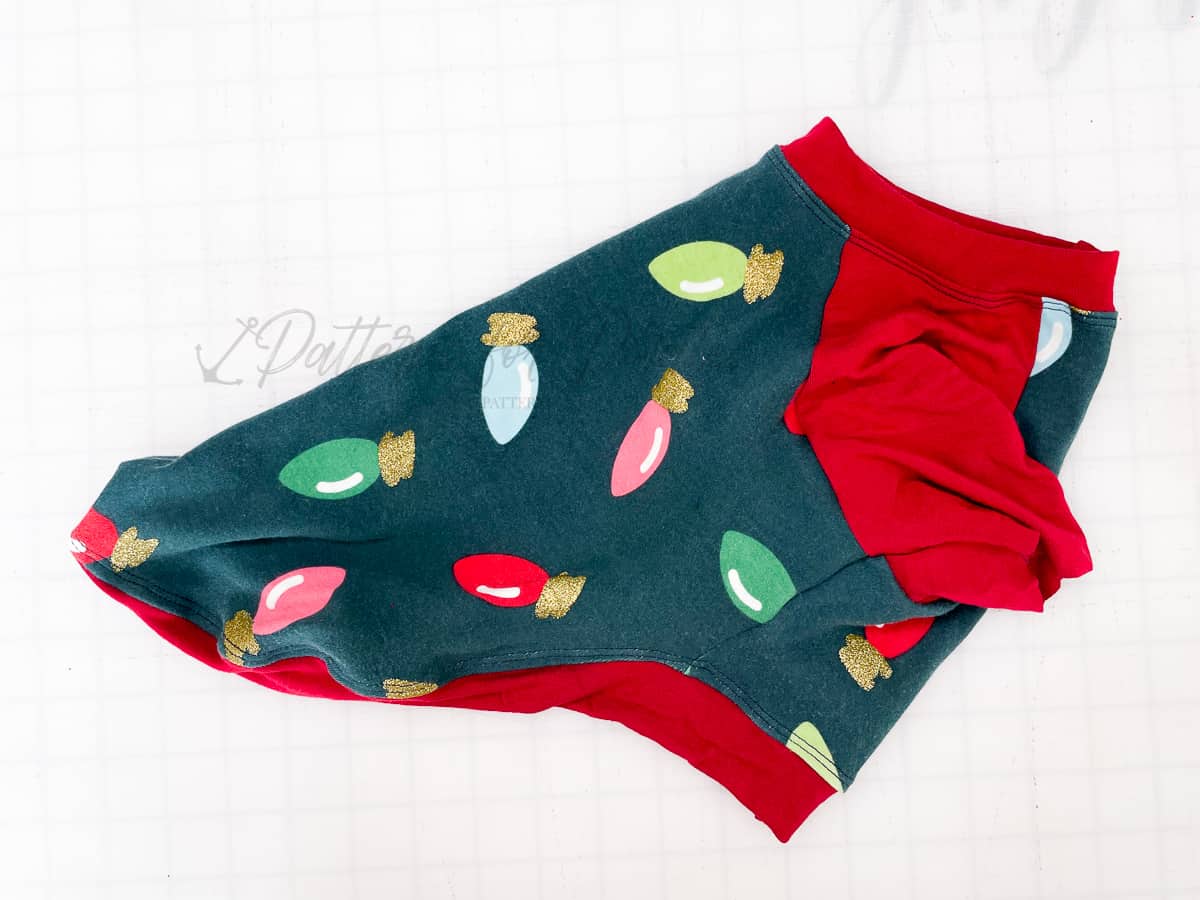
Press seam allowance down, toward bodice. Optional: topstitch.
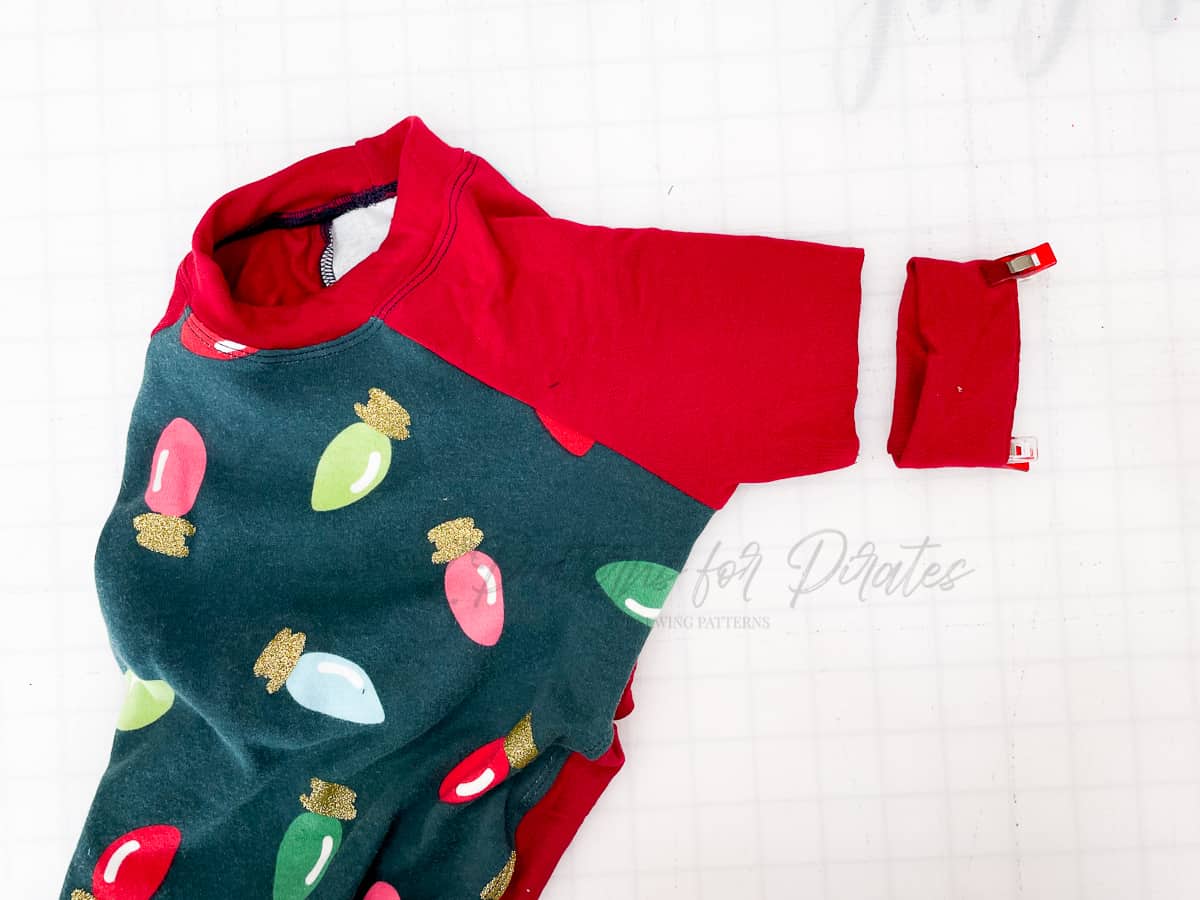
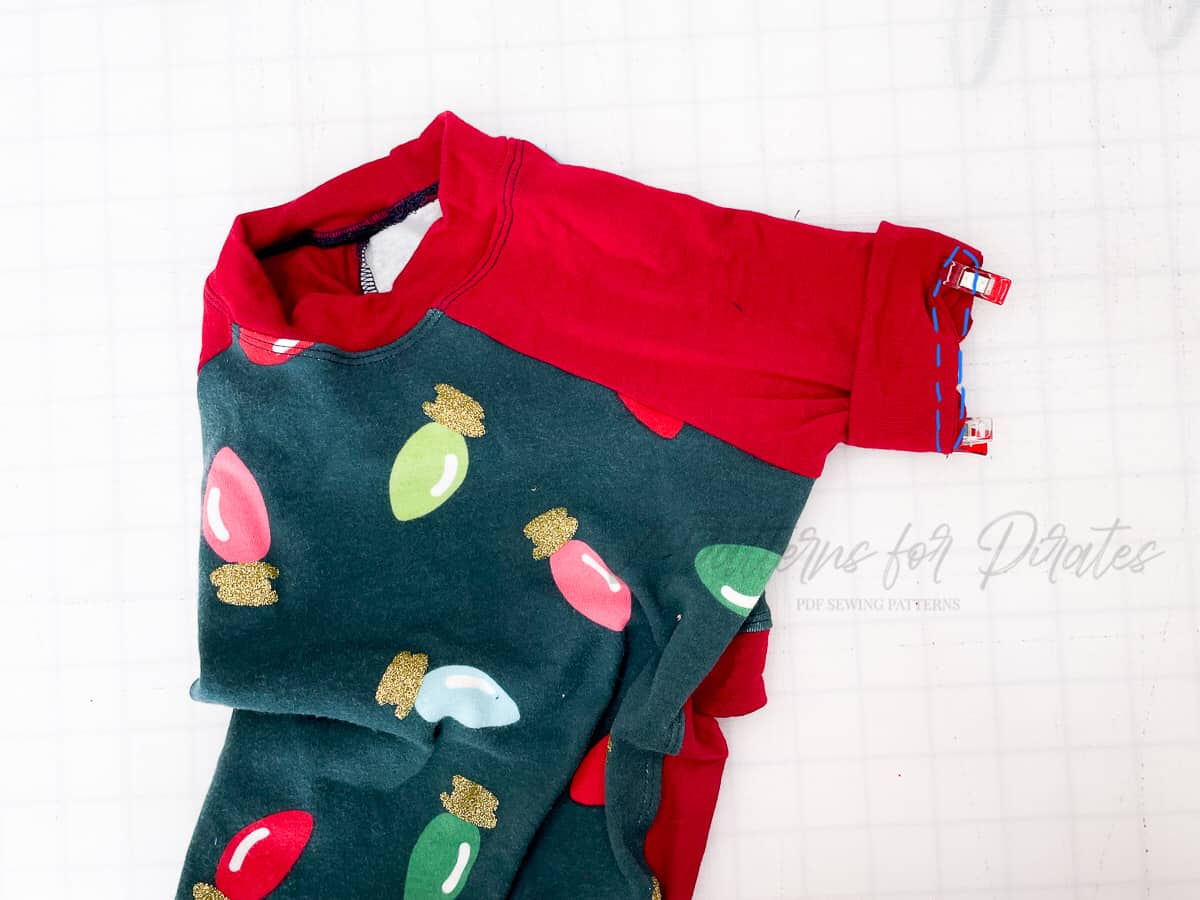
Slip sleeve band over sleeve, with right sides together, matching raw edges to one another.
The sleeve band is smaller than the sleeve opening, and will need to be stretched slightly to fit while attaching.
Stitch sleeve band to sleeve.
**Be careful to stretch the band only, and not your sleeve opening.
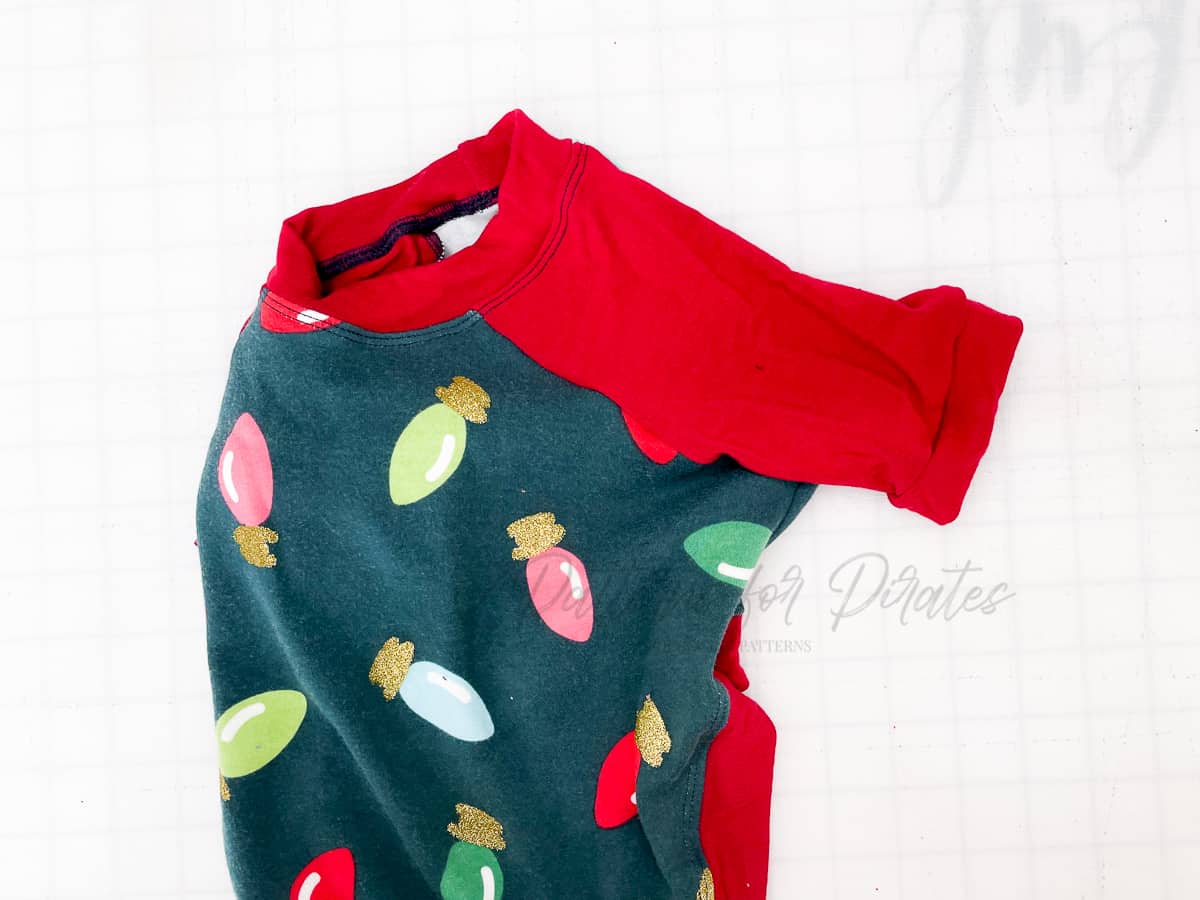
Press seam allowance toward bodice.
Repeat with second sleeve.
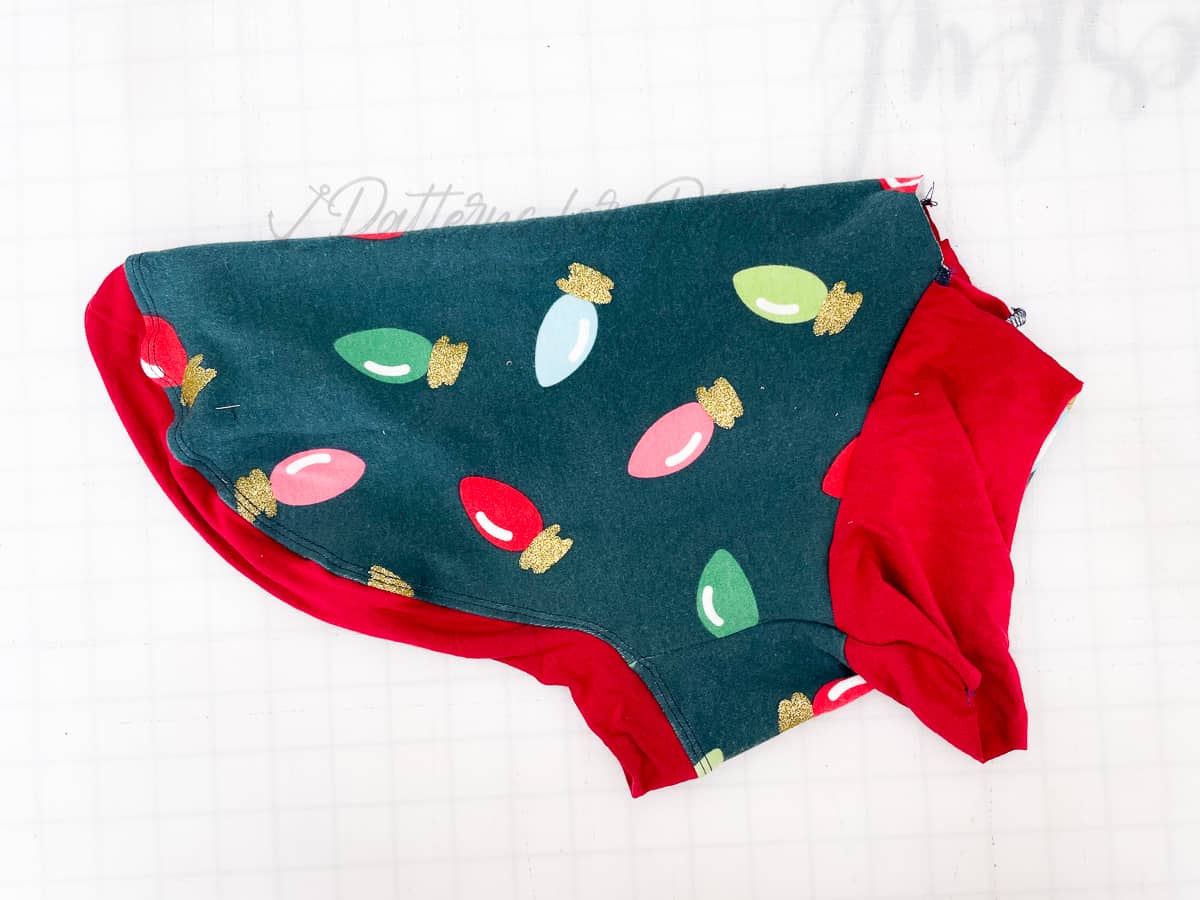
You’re all done! Go find a cute furry friend to gift your new Doggone Raglan to!
In case you consider yourself a more “visual learner” here’s a video tutorial that walks you through the entire tutorial, start-to-finish.
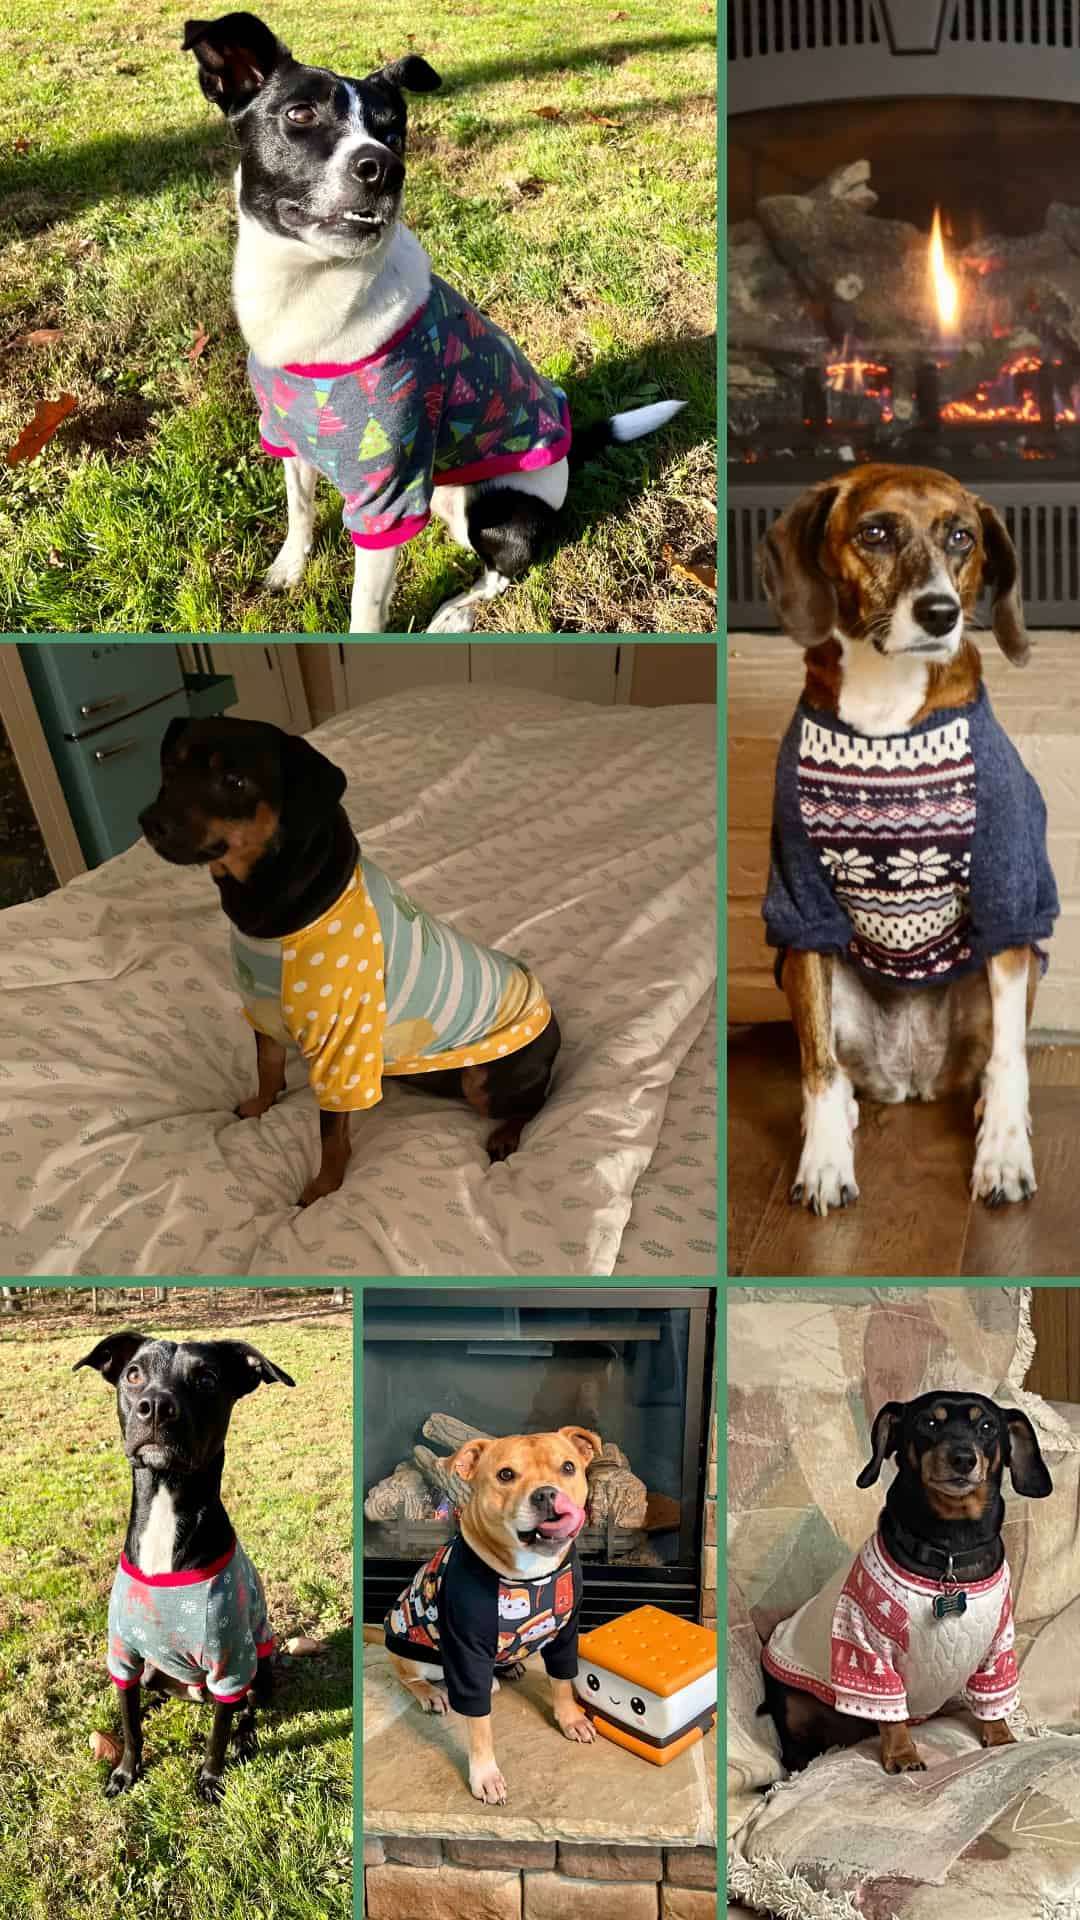
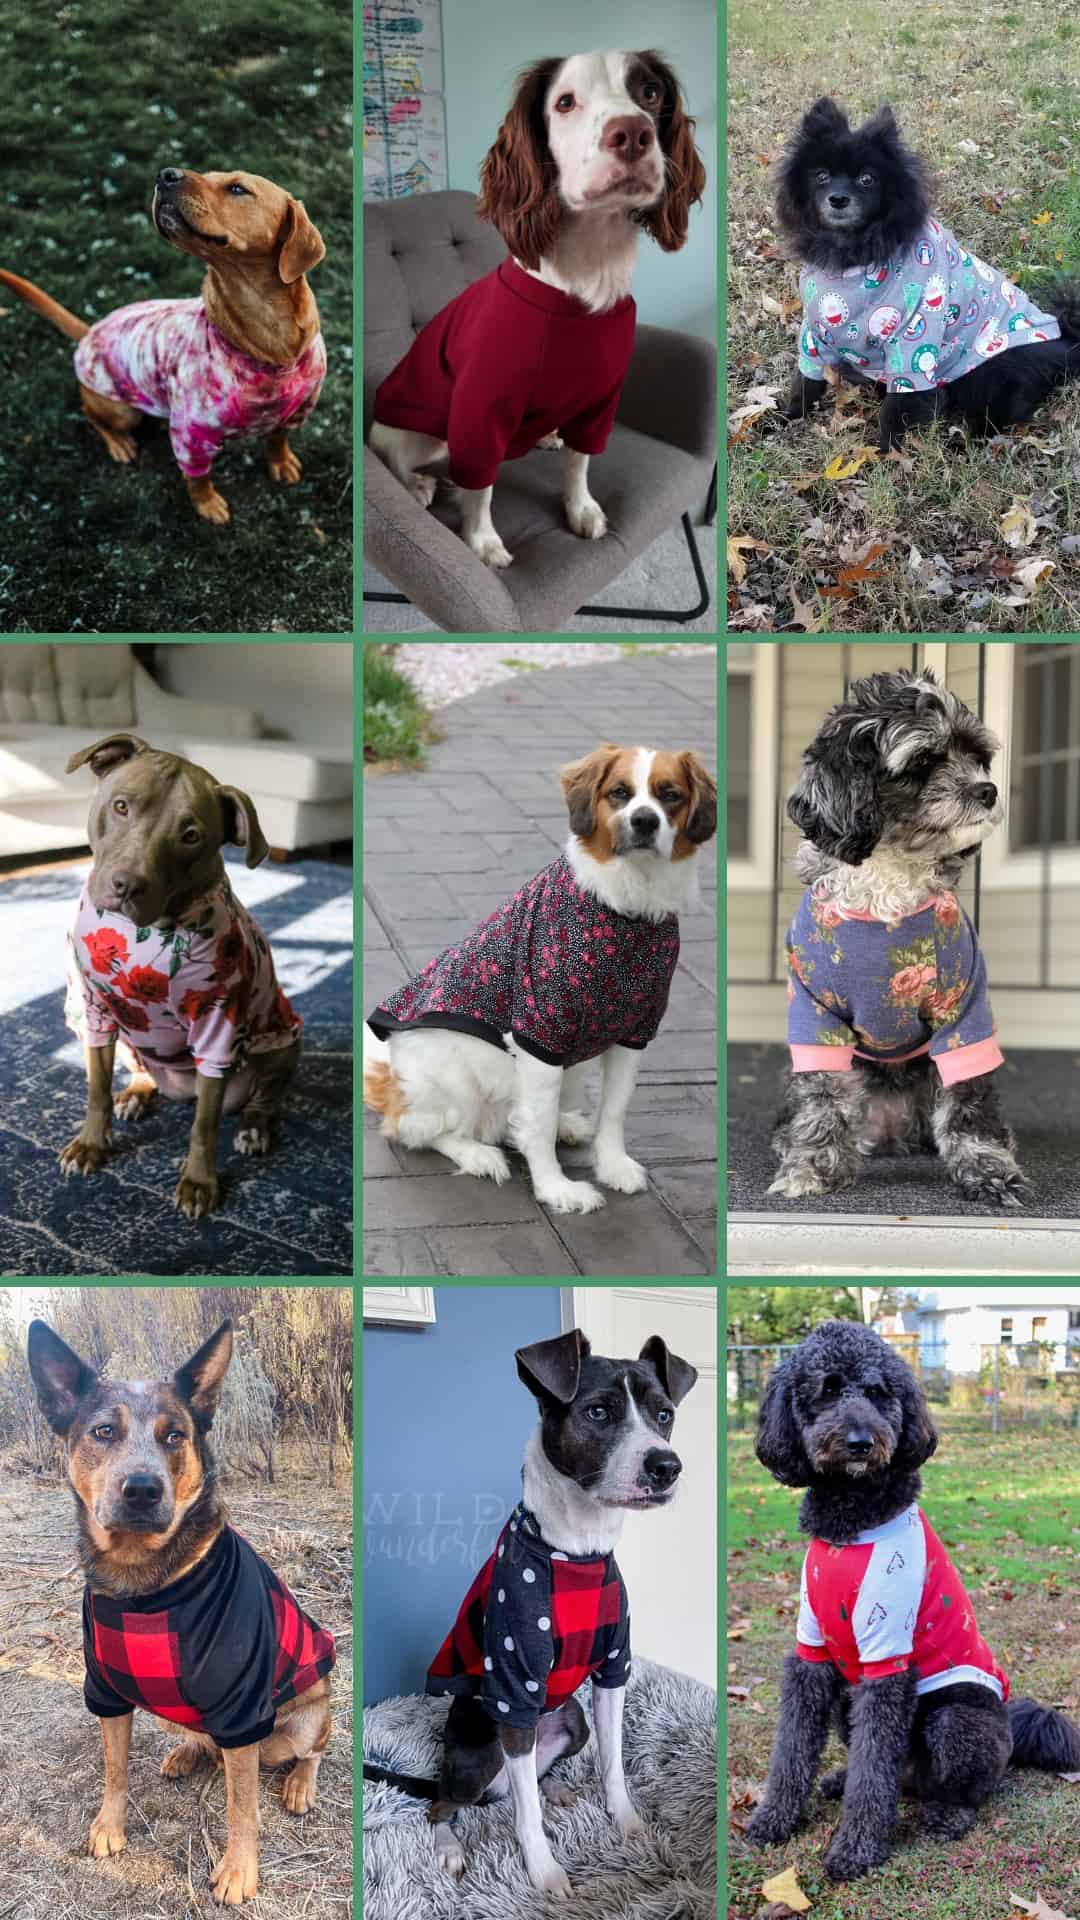
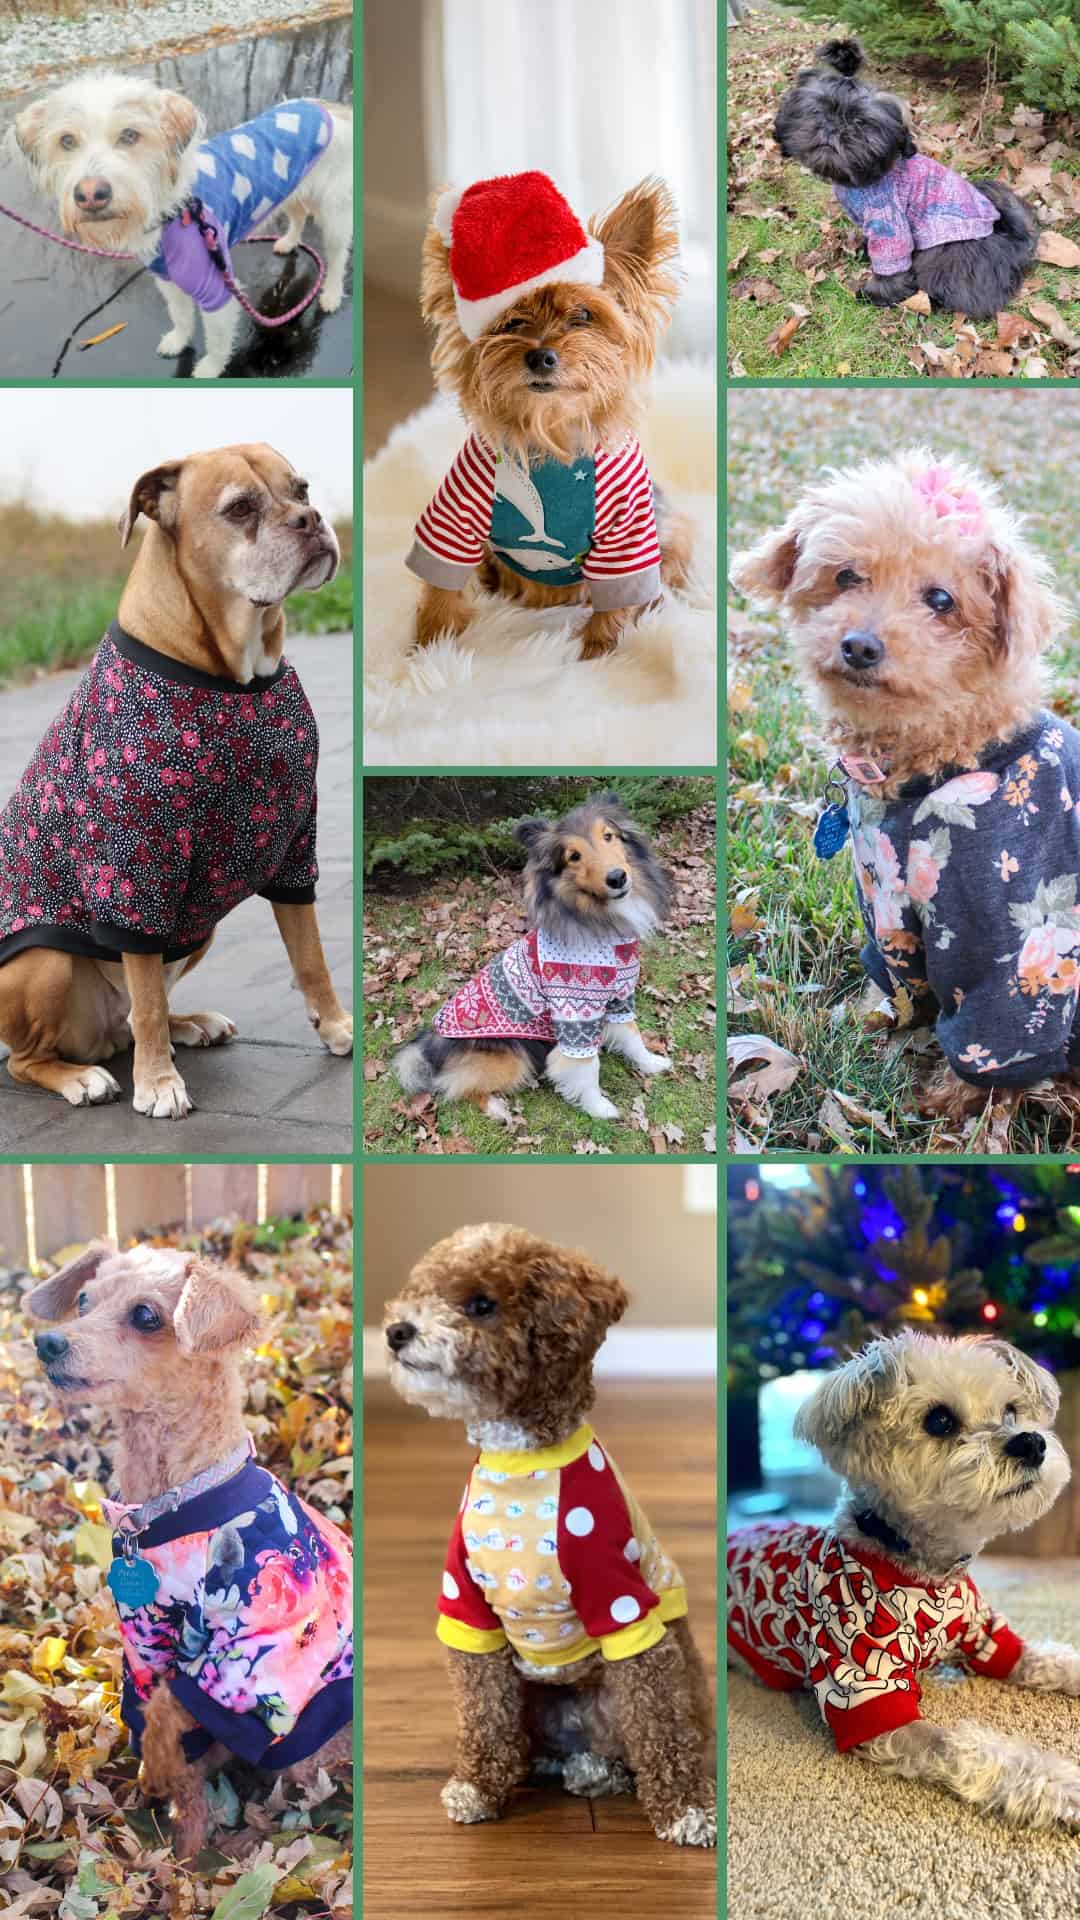
Before you go, take a look at these ADORABLE furry Pirate friends in their Doggone Raglans!
I la-la-love when you share your photos with me! Head over to the Patterns for Pirates Facebook Group and show us what you’ve made!
Happy Holidays, Pirates!




Leave a Reply