Tie Up Top Easy Hacks
Hood
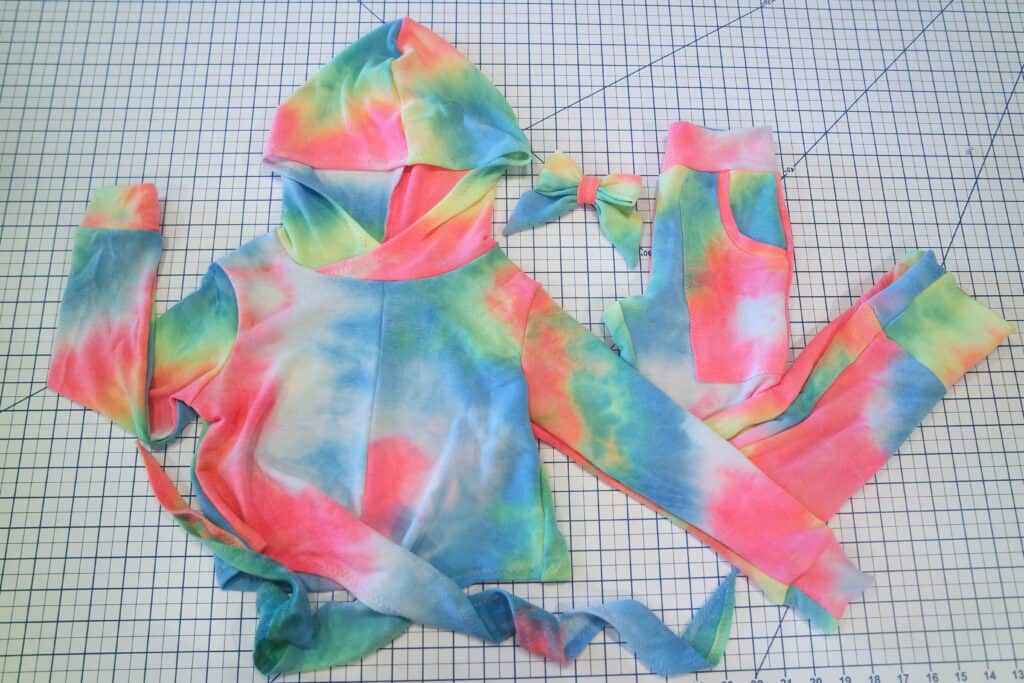
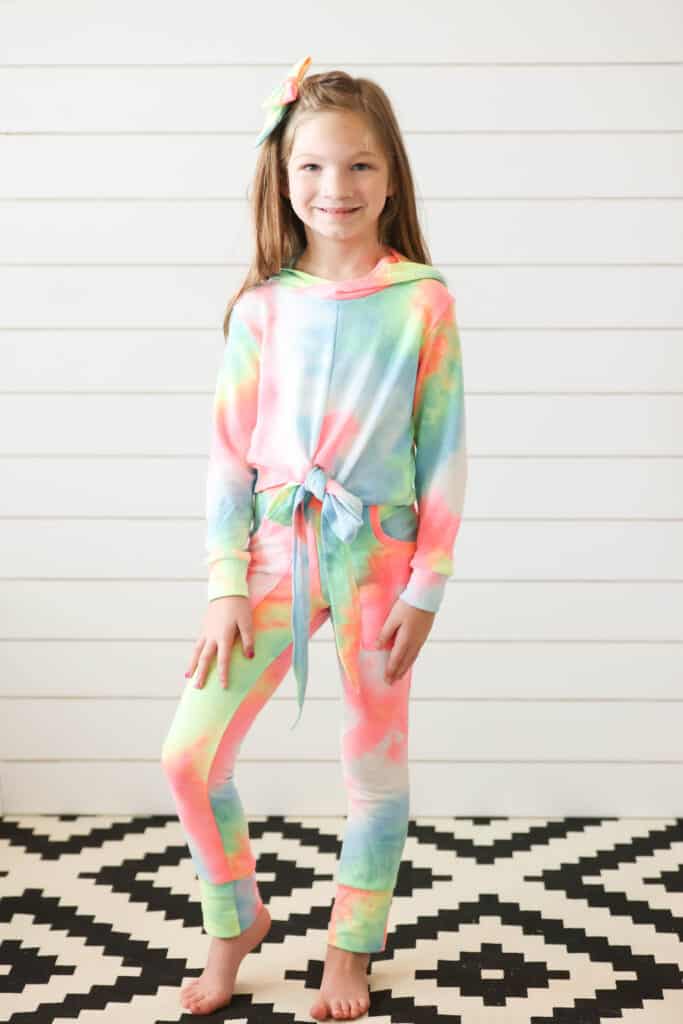
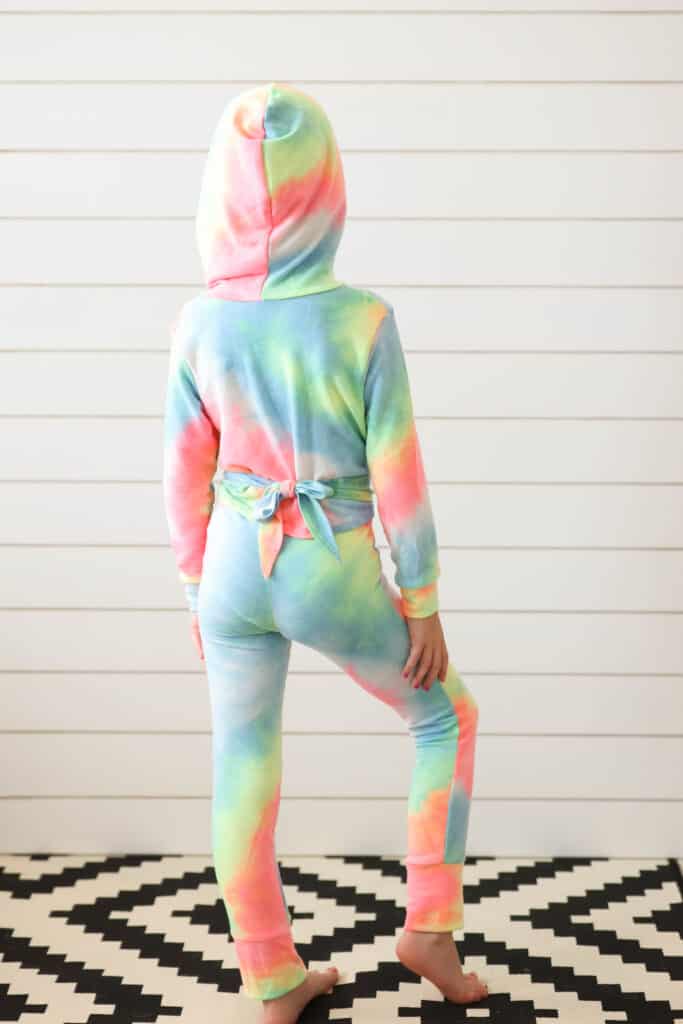
I had a hard time narrowing down options for the Tie Up Top, like I always do when I’m drafting up a pattern! One option that I wanted, but just couldn’t squeeze in anymore into the pattern was a hood! I thought it would be so cute with the crop, long ties option! So, here I am to show off how to add a hood to it if you’re like me and think it’s an adorable combo.
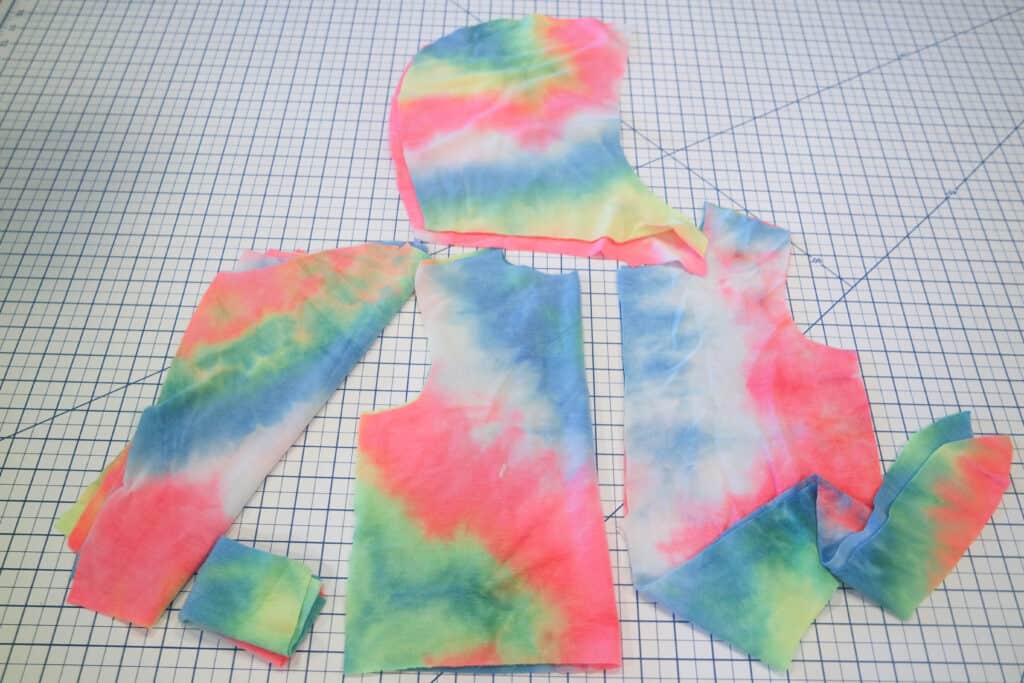
Cut your Tie Up Top with the rounded/crew neckline. I used the hood from the Sporty Piko….bonus! Cut that out in the same size as your Tie Up Top is.
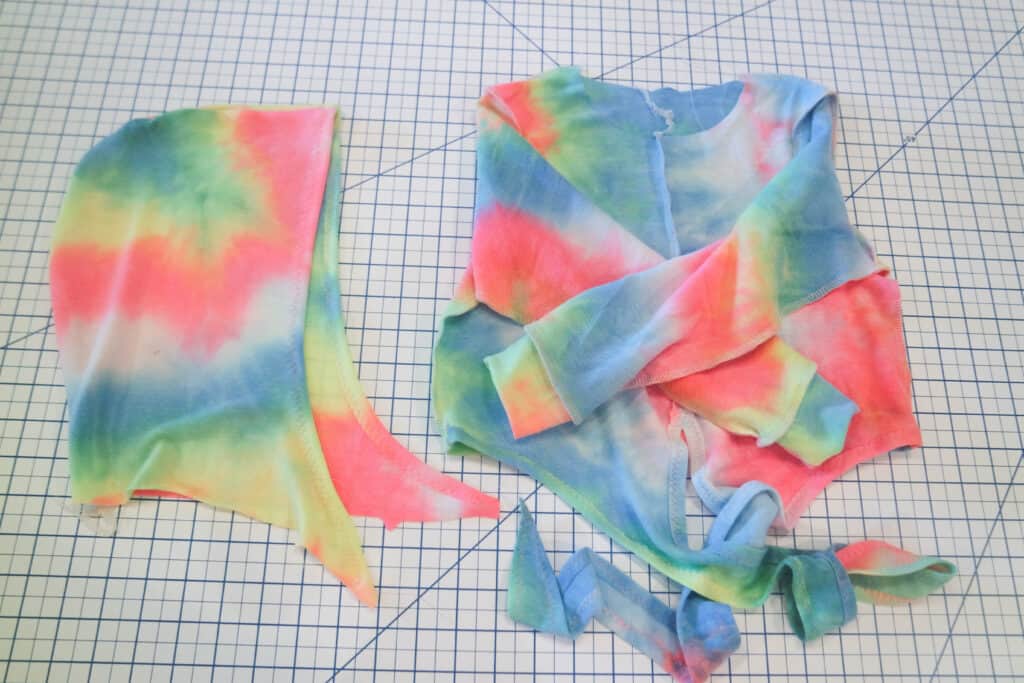
Next sew up the Tie Up Top completely following the tutorial, just leaving the neckline raw. Sew up the hood as the Sporty Piko tutorial instructs up to the part that attaches to the neckline.
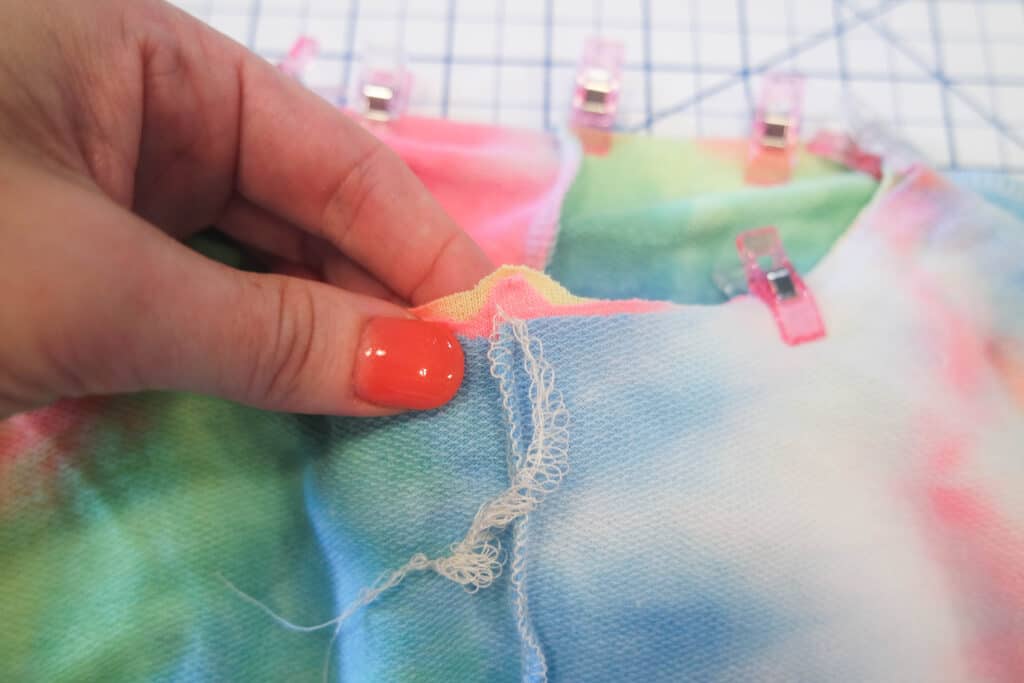
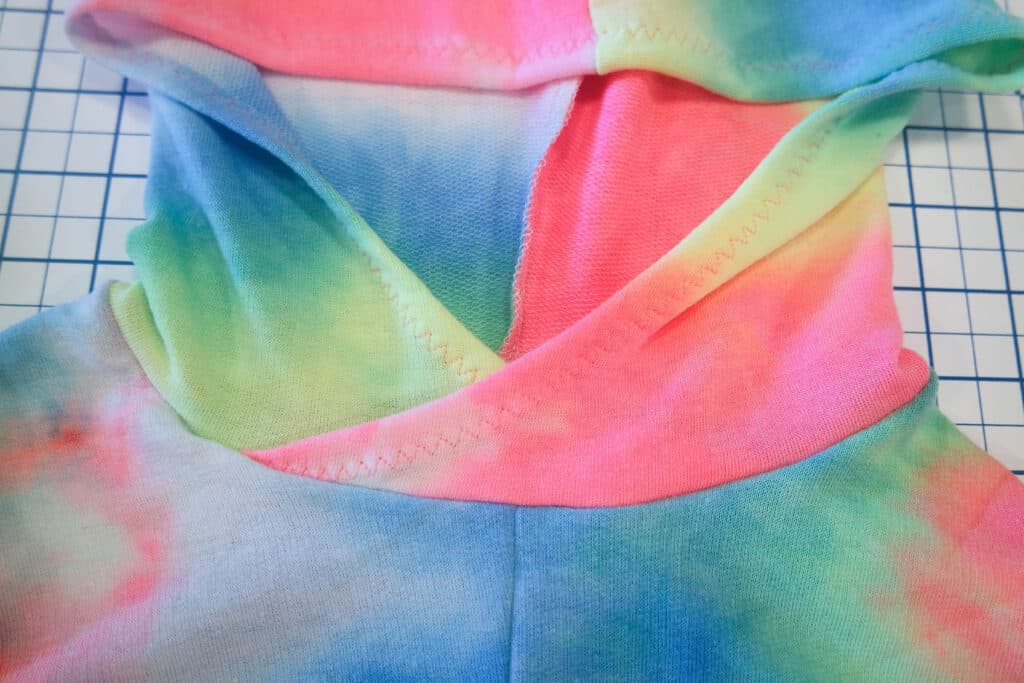
We will now follow the instructions on the Sporty Piko for attaching the hood. Match the hood at the back centers. Then continue pinning/clipping the hood to the neckline without stretching neckline or hood. The notches on the hood should be close to the center front. It might not be perfect since we’re using 2 different patterns, but it will be close! My size 7 matched up great.
Stitch the hood to the neckline.
Now…. if you’re like us… you’ll also need some matching pants and a bow to go with it 😉
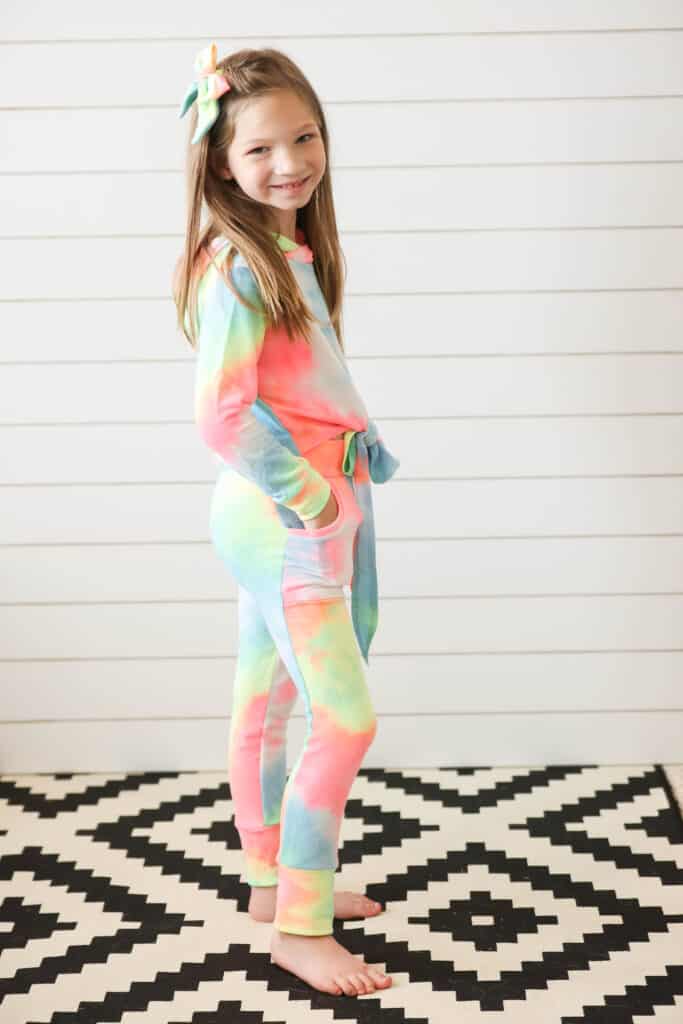
Wear it tied in front
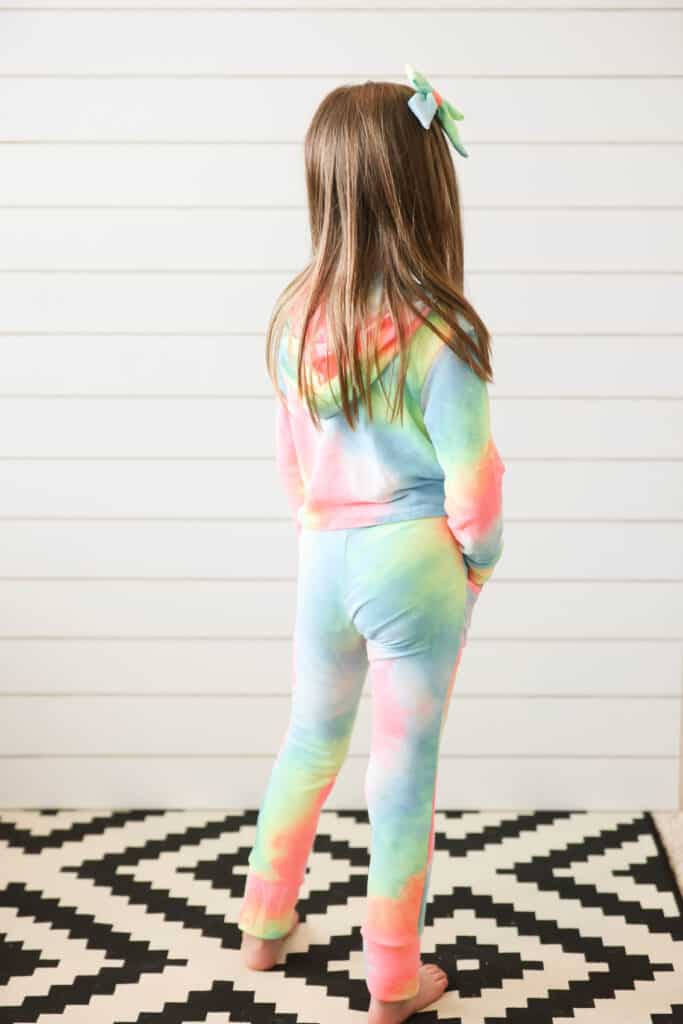
Or wrapped to the back and tied.
Either way, you have an amazing new hoodie! I hope I have time to make myself one in waffle knit soon too!
Diagonal Stripes Two Ways!
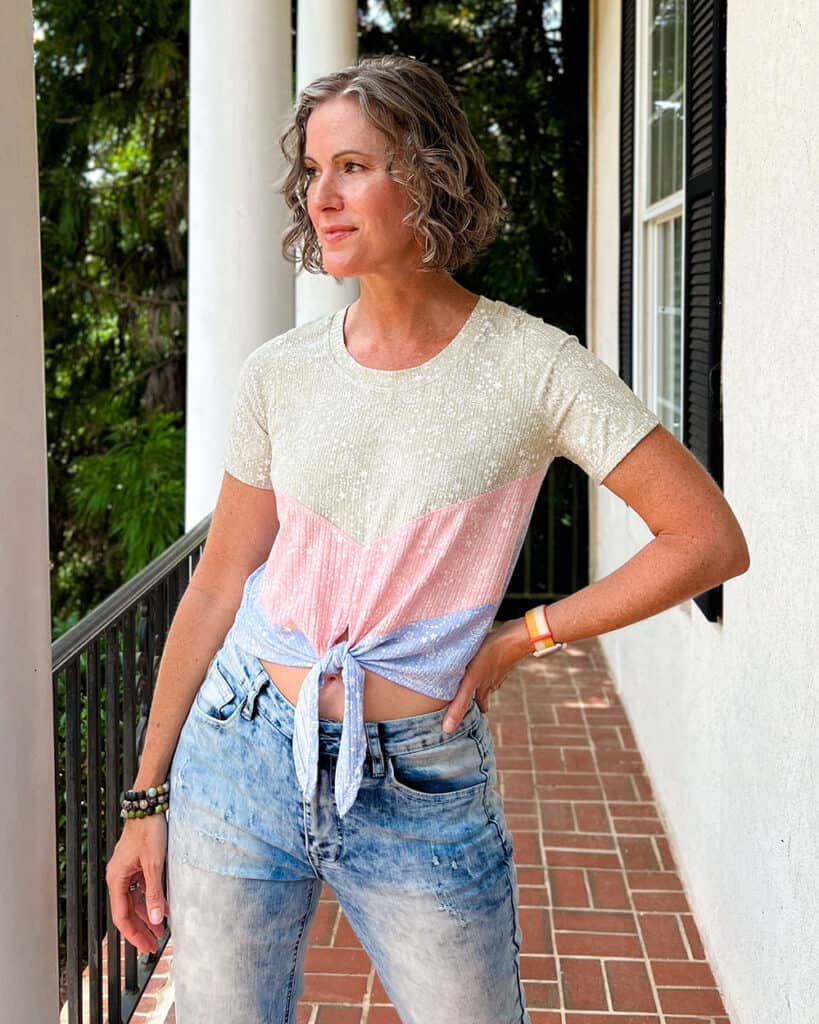
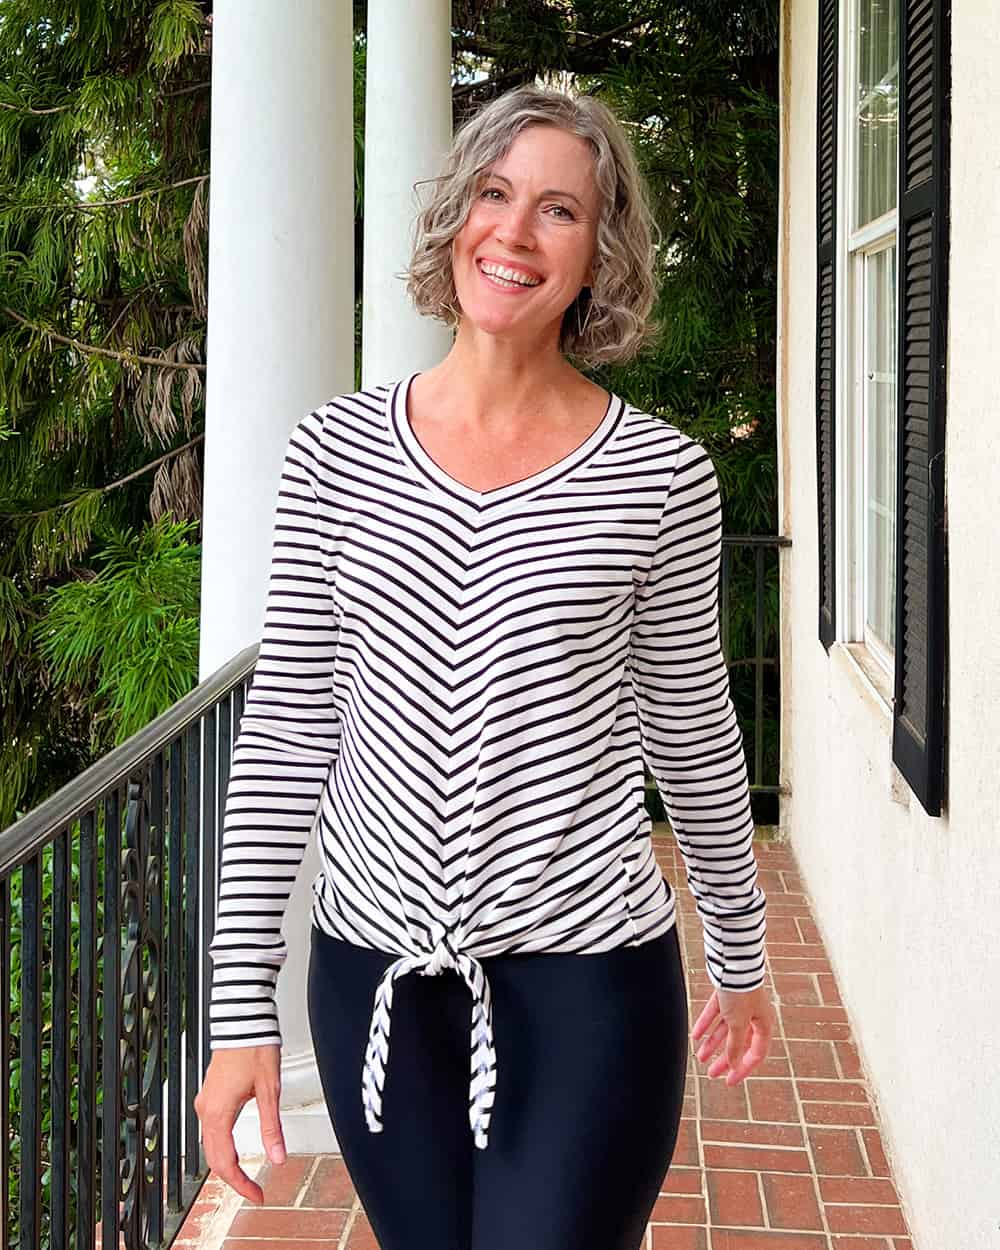
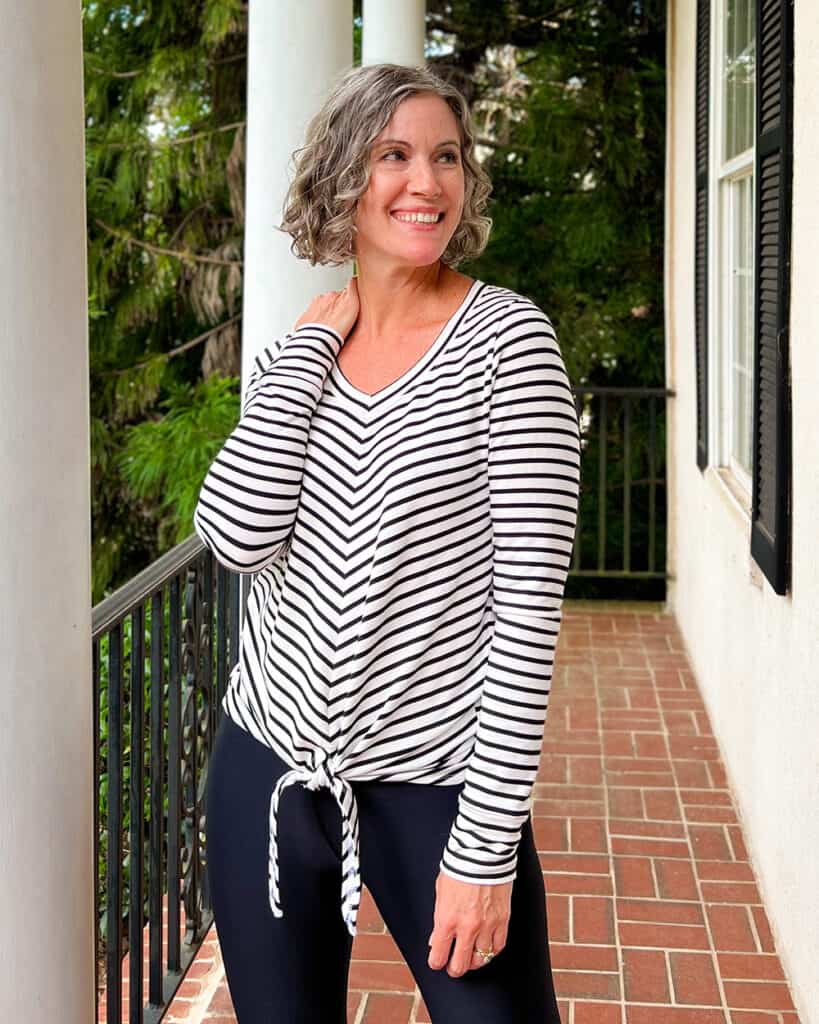
The center seam of the new Tie Top pattern makes it perfect for scrap-busting and playing with pattern placement! Here are two ways that I added a diagonal stripe detail to the front of my makes.
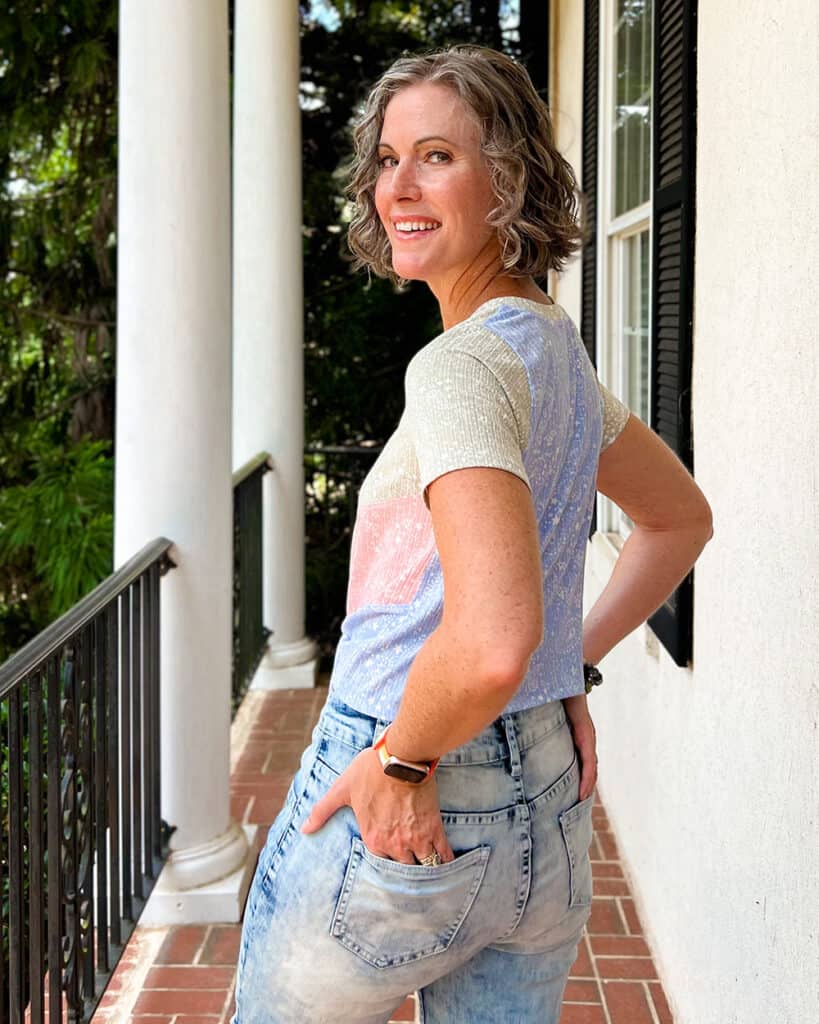
Colorblocking
I am fully committed to projector sewing at the moment, but this hack is easiest to accomplish with a printed pattern piece.
Start by printing and assembling (if necessary) your front bodice pattern piece of choice.
I wanted my colorblocking to begin just below the armscye. You may wish to carry yours higher. If so, the same steps apply!
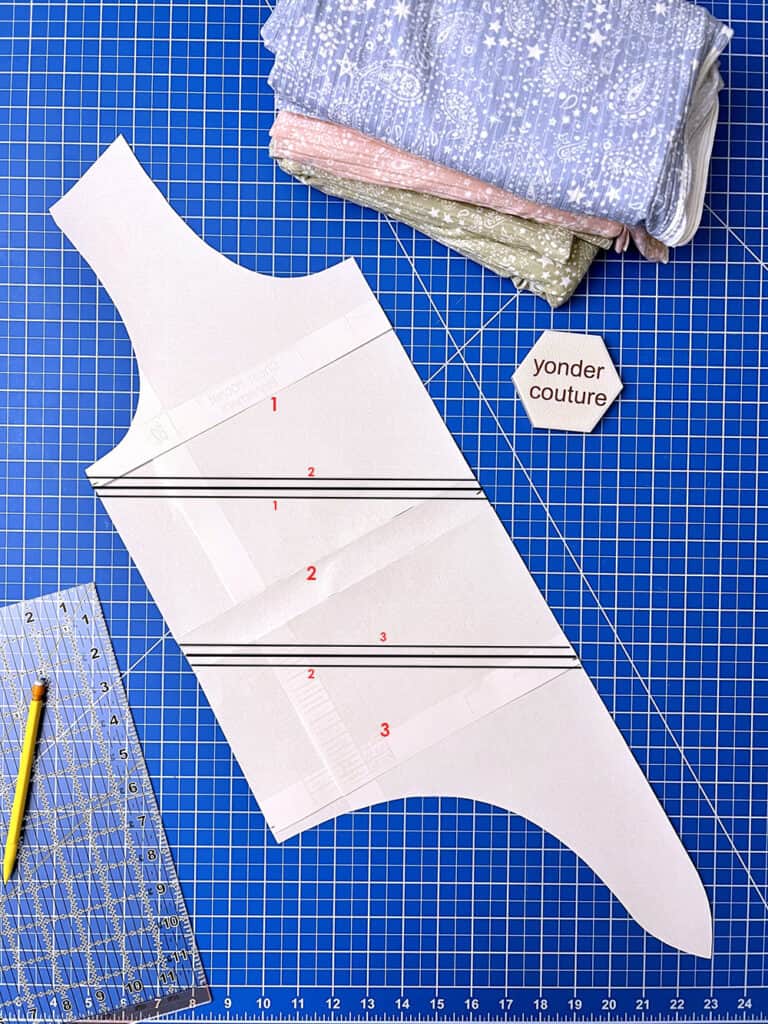
I started by measuring the side seam. Mine was 12”. I divided in half and marked my pattern piece at this halfway point (6”). I also made a mark ½” from the bottom of the armscye and above the hemline to account for the seam allowance. I copied these marked positions on the opposite side of the pattern piece.
I then drew a diagonal line from the top outside mark to the inside center point. Repeat for the marks below.
Trace another line ¼” above and below your original lines. These represent your seam allowances and fold lines.
It’s time to cut your pieces! Fold up the first block at the #1 line indicated below. Repeat for the other two pieces, folding your pattern piece at the corresponding lines.
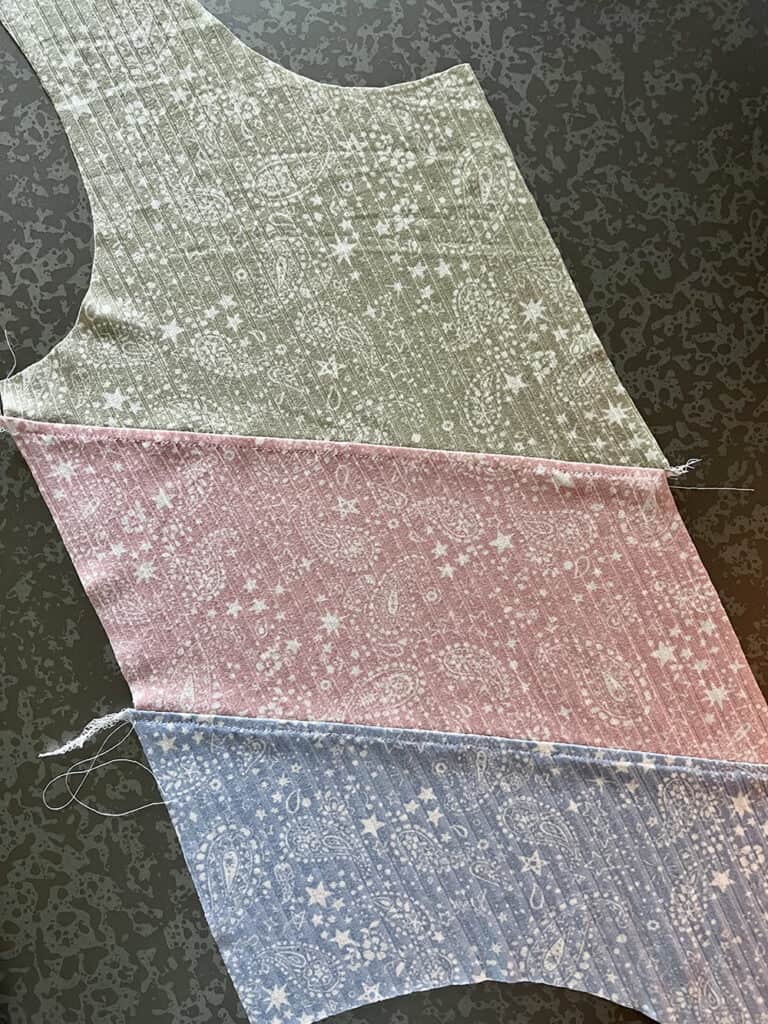
Sew in order, right sides together, with a ¼” seam allowance and top stitch. Isn’t your front bodice CUTE??!!
From this point, follow the assembly instructions that come with your pattern.
Striped Fabric
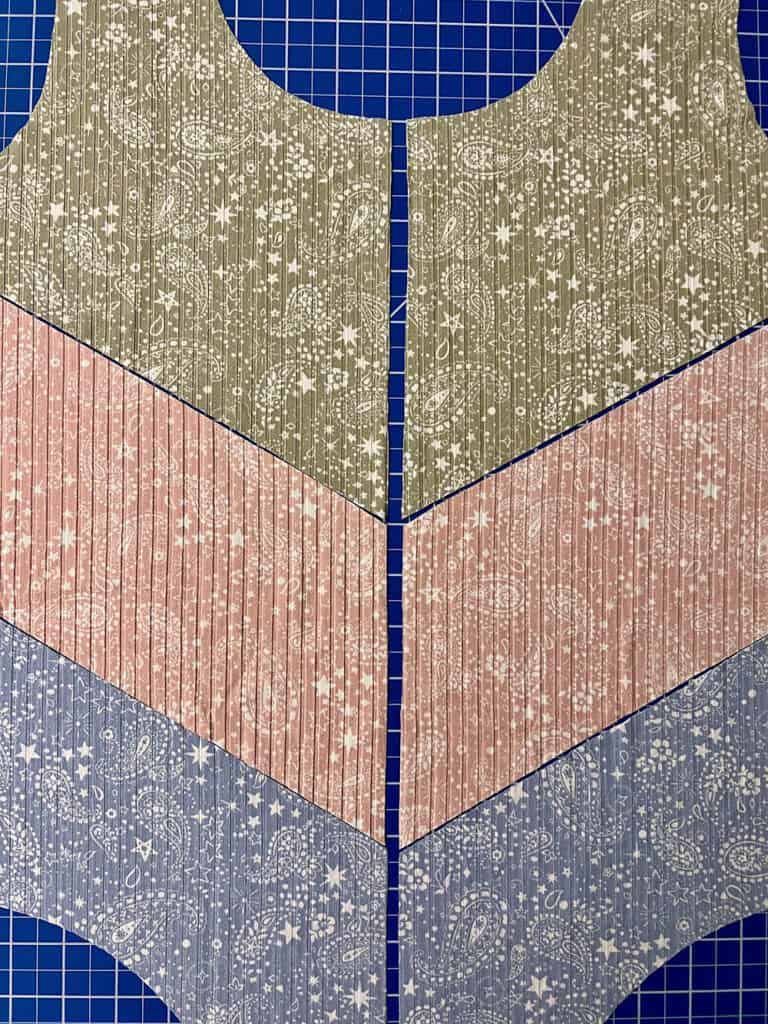
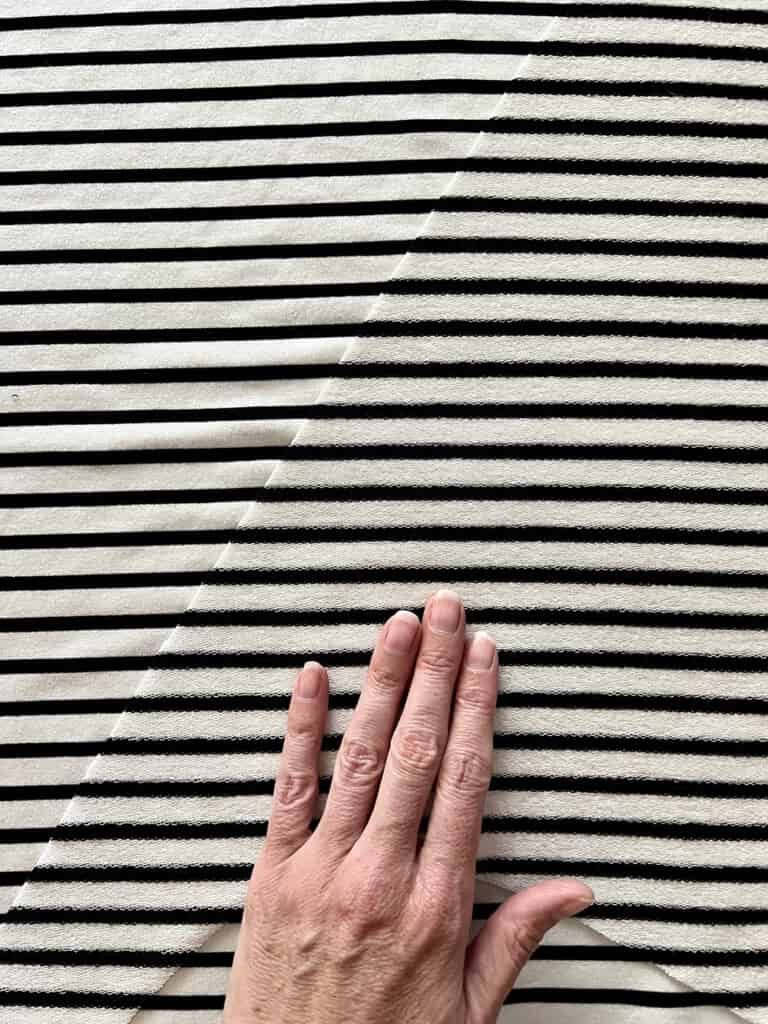
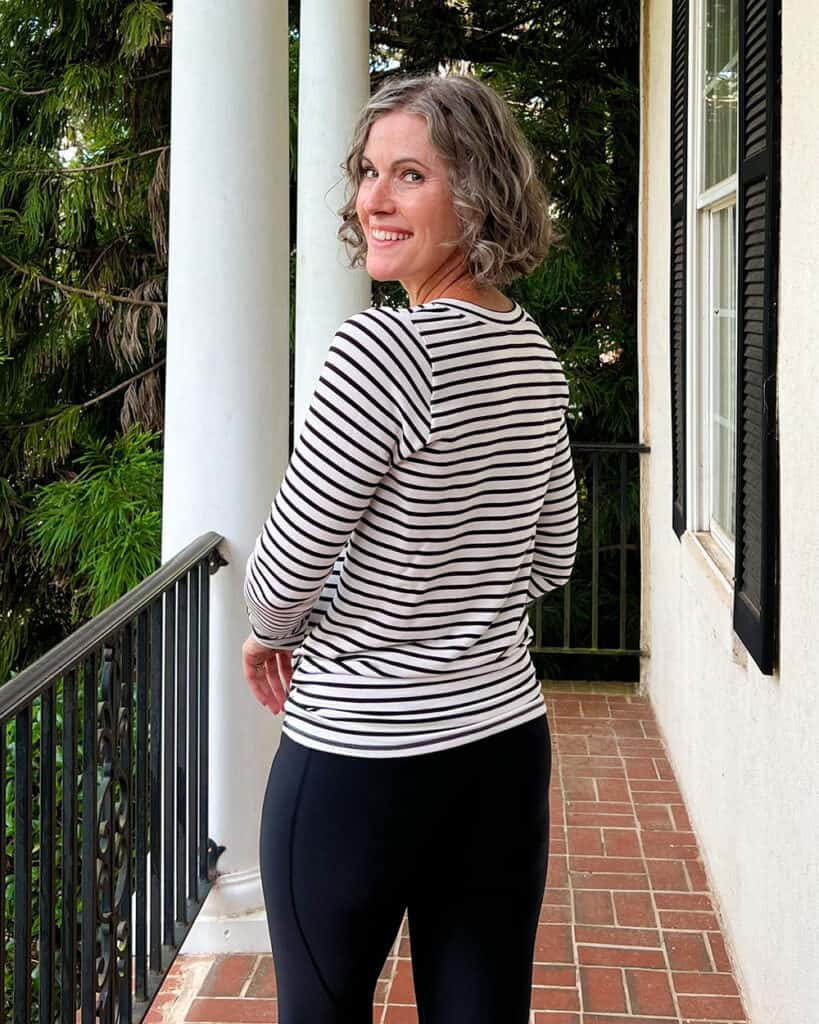
It’s very easy to achieve a diagonal detail with striped fabric. Just be careful about how you cut it. Rather than cutting two pieces at a time, I chose to cut one panel first, then the other. I wanted to make sure my stripes were as accurate as possible.
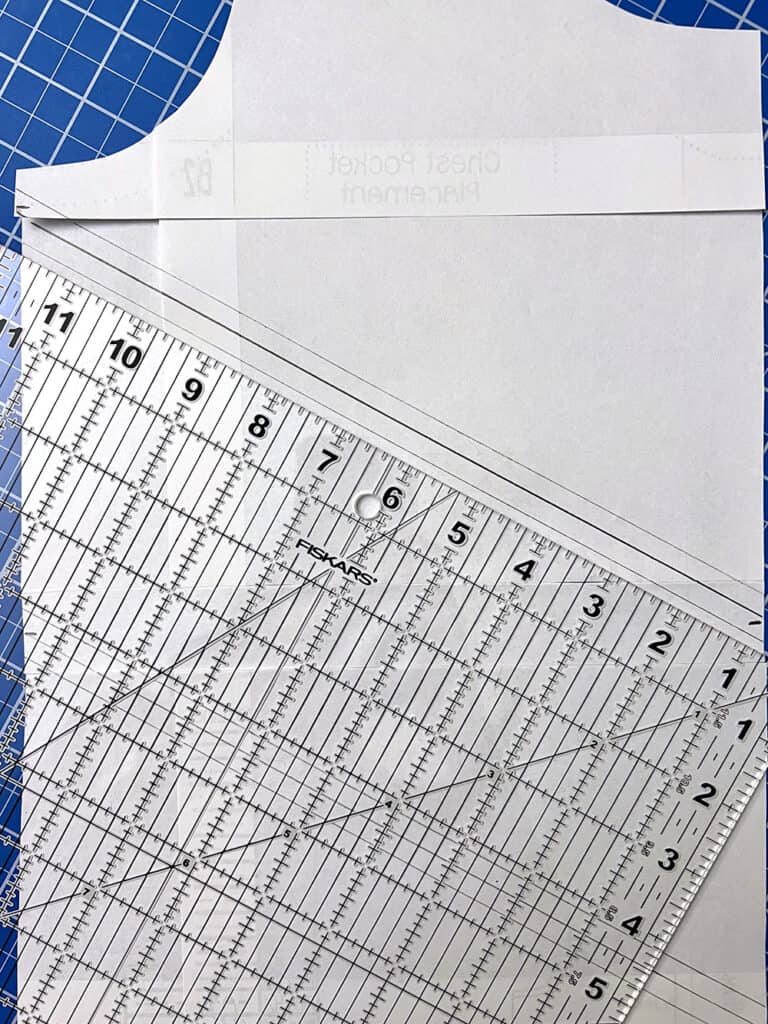
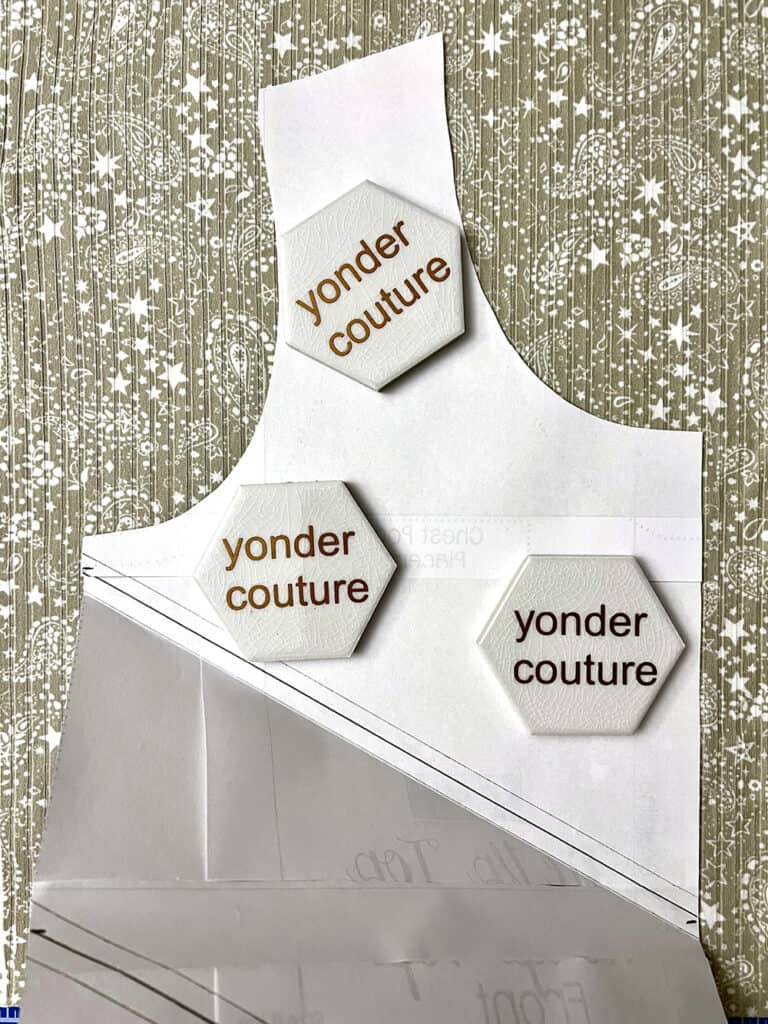
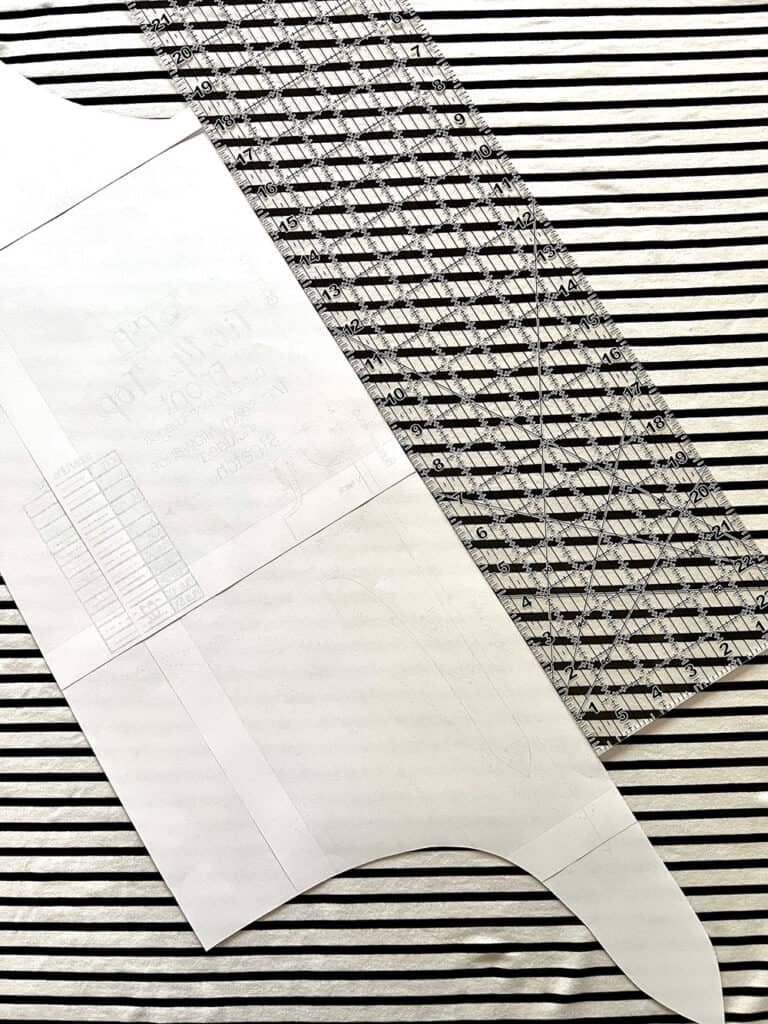
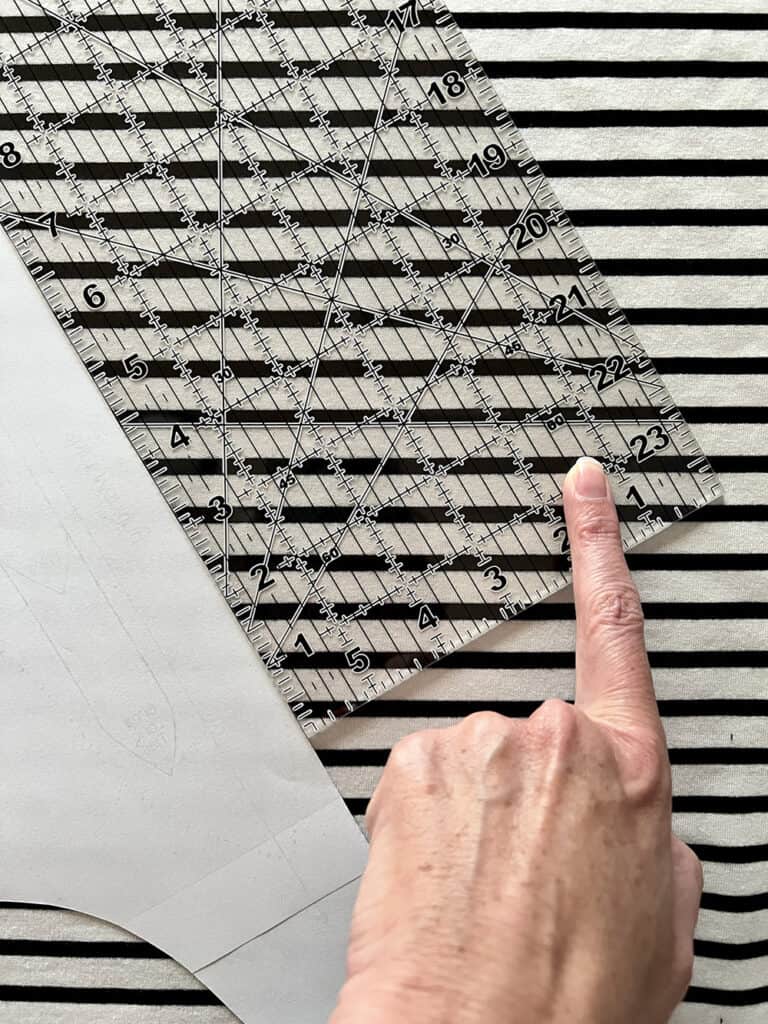
I have a clear ruler imprinted with angles and decided to use the 60° angle to line up my pattern piece. The angle of your diagonal lines is totally up to you – it’s most important that the sides mirror each other.
Cut your first panel, flip it over, line up your stripes, and cut out your second panel.
Assemble per the pattern instructions. I recommend pinning or clipping ever second or third stripe to keep it beautifully lined up as you sew.
Enjoy!






Leave a Reply