We’re talking all about Sewing Rooms this week with our awesome “Sew it, Win it, Build it” giveaway! Today we’re going to continue talking about sewing rooms and how you can store all those supplies you need/stock/hoard? 😉
We hear a lot of questions in the P4P Facebook Group asking how to store things in sewing spaces. So, here is a little list to help you see the options you have out there. Today we’ll just be doing fabric storage, but we will also cover pattern storage as well as other sewing supplies later this week! *(This post contains affiliate links)*
The big one right? How in the world do you store all your fabric so that you can see and get to it easily when you’re trying to find that perfect coordinate, where it takes up minimal space, and where you can fit a lot? Or is that just something I worry about?
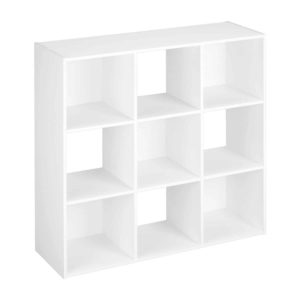
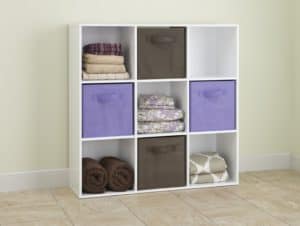
I store my fabric in open shelving. I like to be able to see my fabrics really easily so that I don’t end up pulling them ALL out to color match or see my options. (Although sometimes I still do this a bit!) I use cube shelving. I like that each cube isn’t too wide that the fabric gets lost under others. I’ve folded mine and rolled mine. I like the idea of rolling better, I can see it more clearly when that shelf is getting really packed full, but I’ll be honest and say I didn’t have much success getting myself to keep up the rolling! When I would get it out to color match or decide between a few choices I would find myself not wanting to roll it back up! So, back to folding I went 😉 I also will use the little bins for scraps as well, I have one for knit and one for woven scraps. (Yes, one… I’m not a scrap hoarder! When I get too full I go through it very quickly and give my nieces any that I take out for them to practice with.)
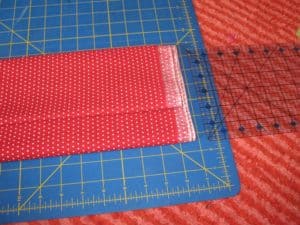
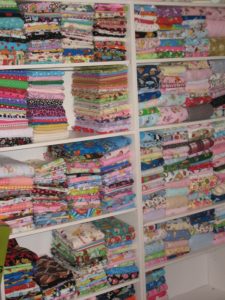
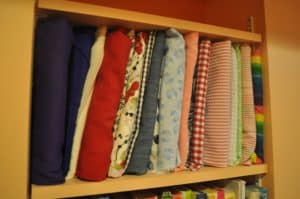
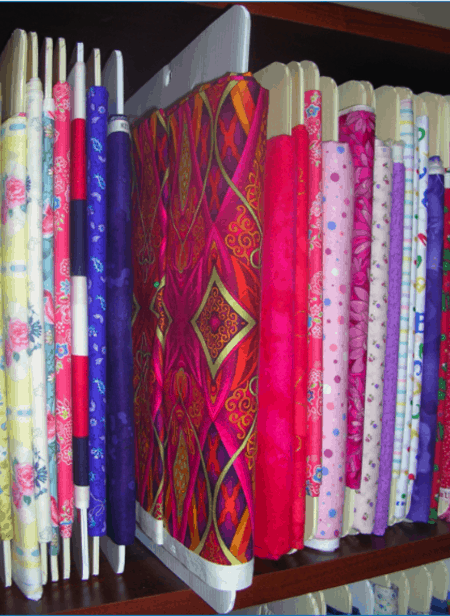
There is the “ruler folding method” for storing on bookshelves. Which just helps you keep each cut folded at the same width so it fits nice and tidy on the shelves. I’m just always in too much of a rush to be this neat and tidy! Maybe one day 🙂 The jist is to use your quilters ruler as a guide to fold your fabric cuts. Here is a helpful blog post from my sister’s blog explaining how in detail.
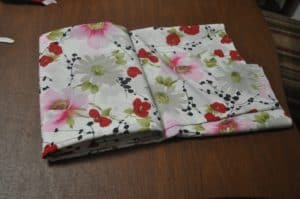
Another way I’ve seen around is to use filing cabinets. You can hang your fabrics on the file folders and sift through them. Again, I think this really only works for smaller cuts of fabric. You could fill up a cabinet way too quick with adult size cuts of french terry! I’ve never stored my fabric this way, but here is a blog post I found explaining how she does it.
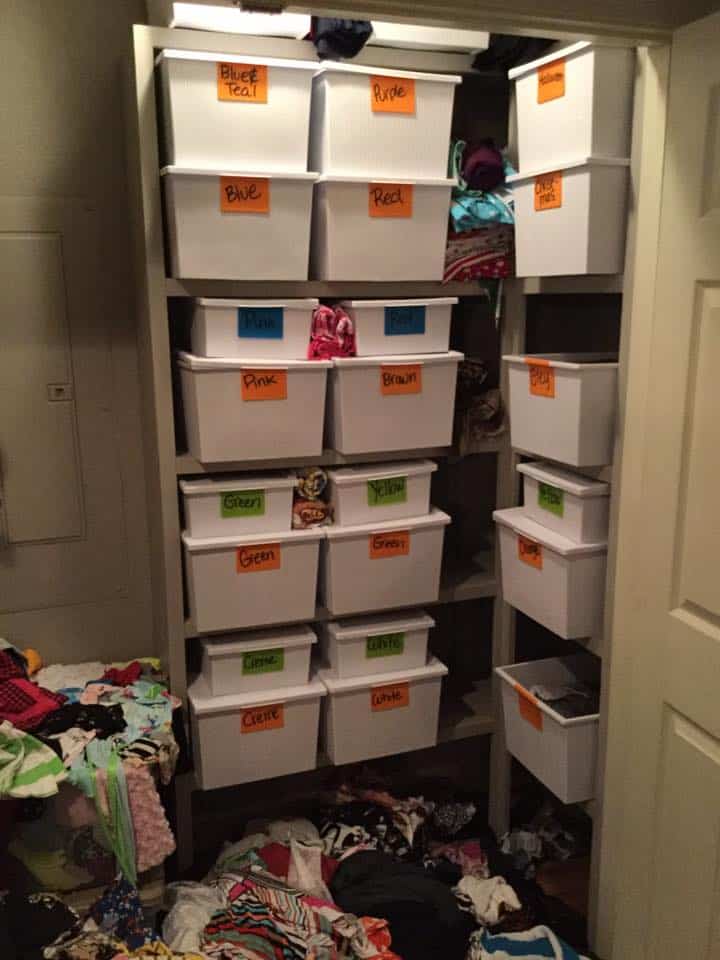
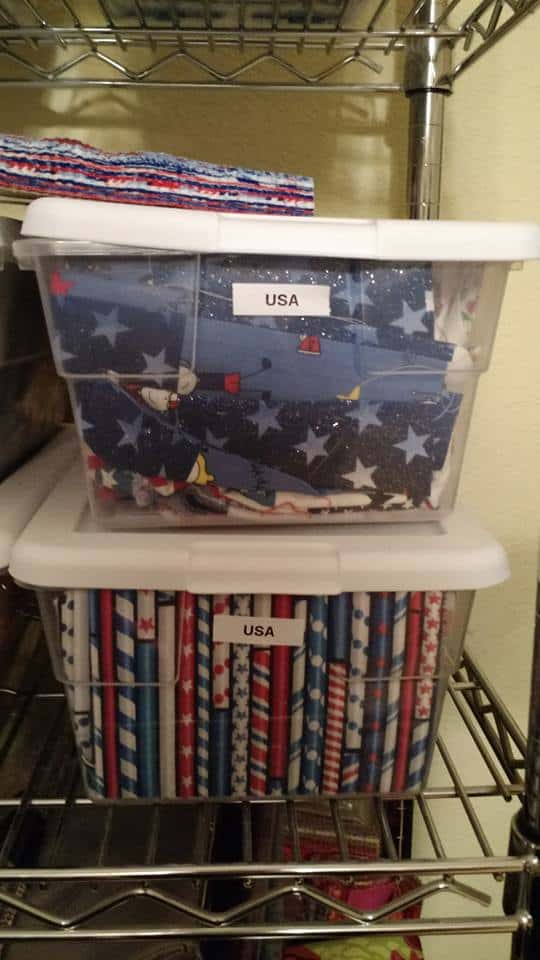
Another one I see often is in tubs. I currently have all my fabric in tubs because we had to pack up my sewing room to show and sell our house. But, I hate it! Personally I sew way too often to have to dig out fabric from tubs every time. I end up making a huge mess pulling it all out trying to find something! But, it would keep it out of eyesight if you don’t want your fabric on display.
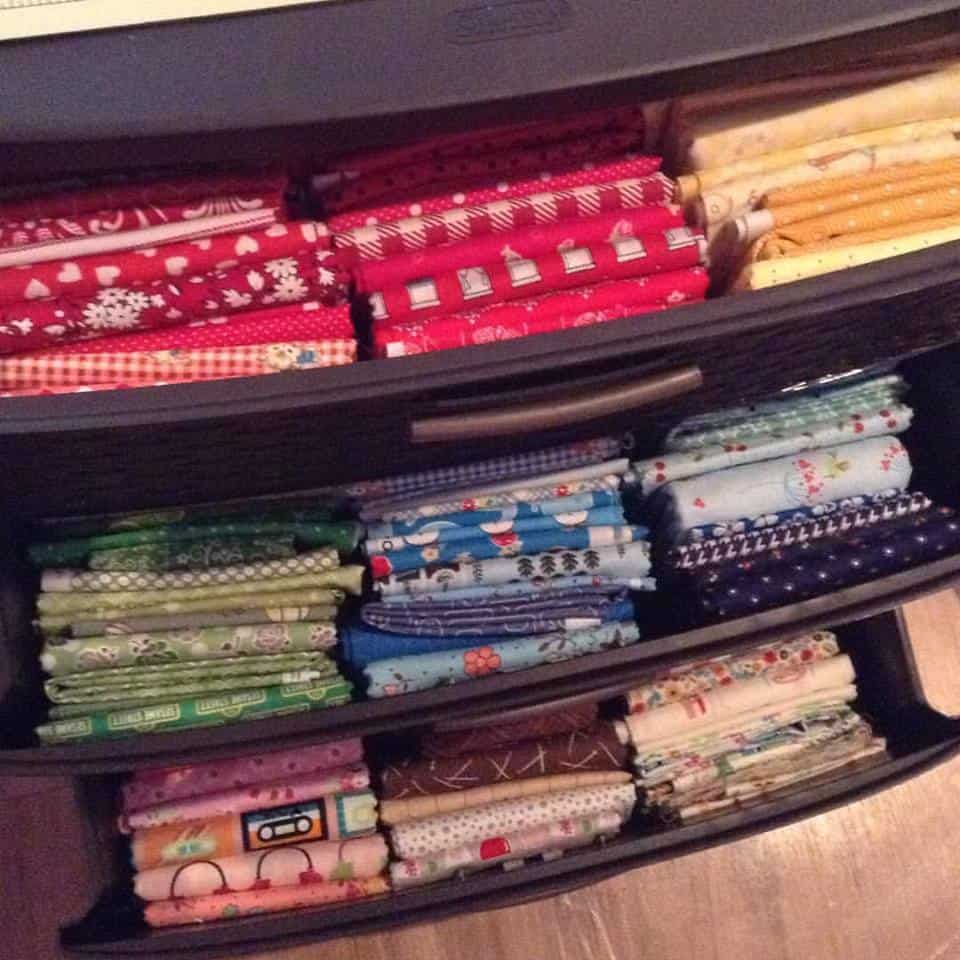
When we helped organize my mothers quilting fabric, which is so different than apparel fabrics since it’s a lot of smaller pieces rather than larger cuts. We folded them and stored them into drawers and small bins vertically. That way she could open the drawer or bin, and see all her fabric in that one at once. she could easily pull pieces in and out without disrupting the others. This is a view with drawers open and looking down into the drawers:
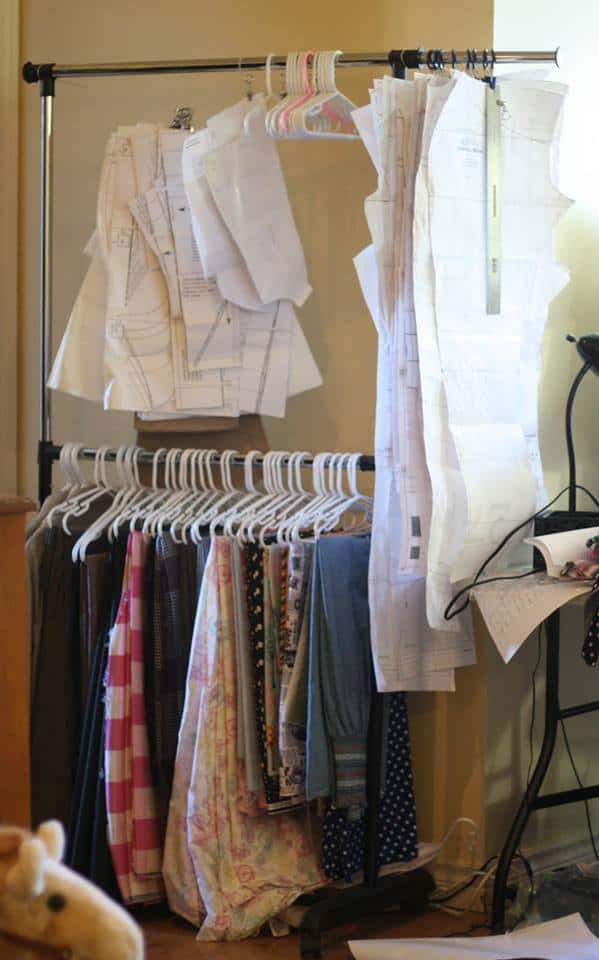
The last way I’ve seen is to hang. On curtain rods, a wardrobe system, or if you happen to have a closet in your craft room. You can use a hanger and fold the fabric over the bottom like Patty does here:
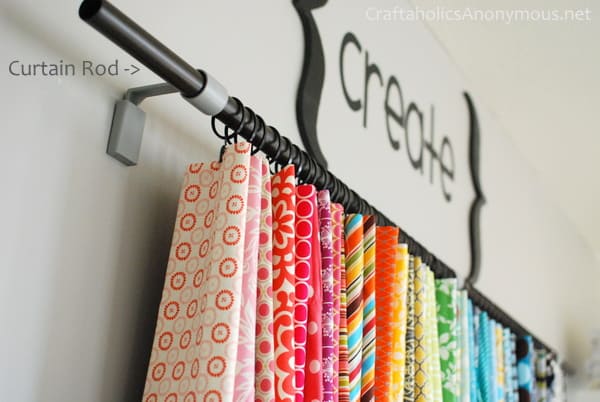
Or you can use curtain rings and clip them. Here is an example of this from Crafterholics blog:
Now that you’ve decided what you’ll be storing your fabric with you can move on to thinking about how you organize it within that unit. I like to keep my fabric organized by type. Meaning I have all my french terry together, rayon spandex, sweater knits, ect. Some of my very favorite types I split into more– solids, prints… I also keep most of my “t-shirt weight knits” together and sort my solids, stripes, prints. So– it might looked haphazard to someone just looking at it. But, when I go to look for a certain project it’s perfect for me! I can look for the weight/blend that I’m needing for that project and then move into what print/color/ect. from there.
My mom also organizes her quilting stash in types. But, obviously not fabric type since it’s all quilting cottons. She uses the type of quilt it’s for… meaning- low volume goes together, a quilt set from a certain designer, brights, holiday prints, I spy quilt fabrics, ect. So that when she’s ready to sew up a low volume quilt she can go to that drawer, pull it open and pick from there. We also did her blenders all together in a rainbow sort. So if she needs a blender in a certain color she can quickly get to it as well.
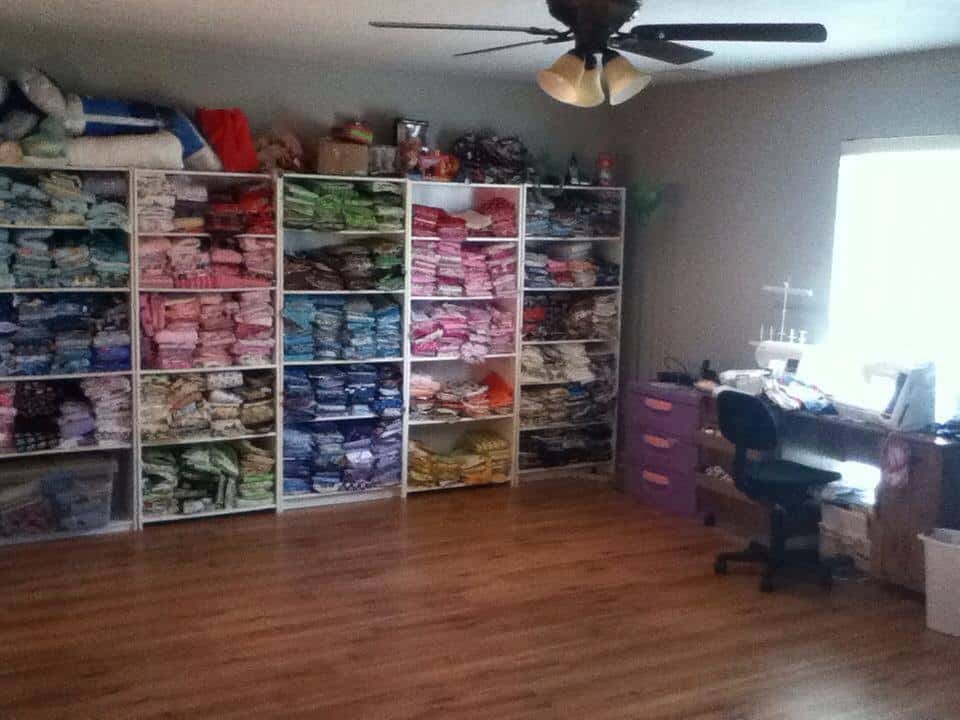
My oldest sister Nicole organizes her fabrics in 2 big categories- she does both apparel and quilting sewing a lot. So, she has… a lot of fabric… a lot… lol… She has all her knits together and then sorted by rainbow colors. Then her cotton wovens together sorted again by rainbow colors. It does look pretty in there all rainbowed out!
My sister Megan organizes by type like me- she also has a separate place for fabric for her son and then for her daughter. It helps when they’re ready to pick something out!
Whew… Well, I hope that helps show you a few ways you can store your fabric!
Stay tuned for some more ways to organize your sewing/craft room this week including pattern storage and other supplies!




Oh. Em. Gee. I’m having major fabric storage envy!!!! These are some great ideas— love the file folder idea.
Hiya, I just suggested to someone they divide their stash into rainbow colours horizontally across the middle shelf of her stage system, then work vertically upwards with ldarker shades, likewise, lighter shades vertically downwards.
This also helps when matching tones, shades and opposite colours, e.g. peach n aqua.
All I need now are the shelves to get myself sorted! Aaaarrrgh!