It’s here! It’s here! And I don’t mean only the cooler weather! The updated Lumberjack Shacket is here and now it it’s available in V figure (based on men measurements) and Hourglass figure (women’s measurement). Everyone gets a Lumberjack shirt or shacket!
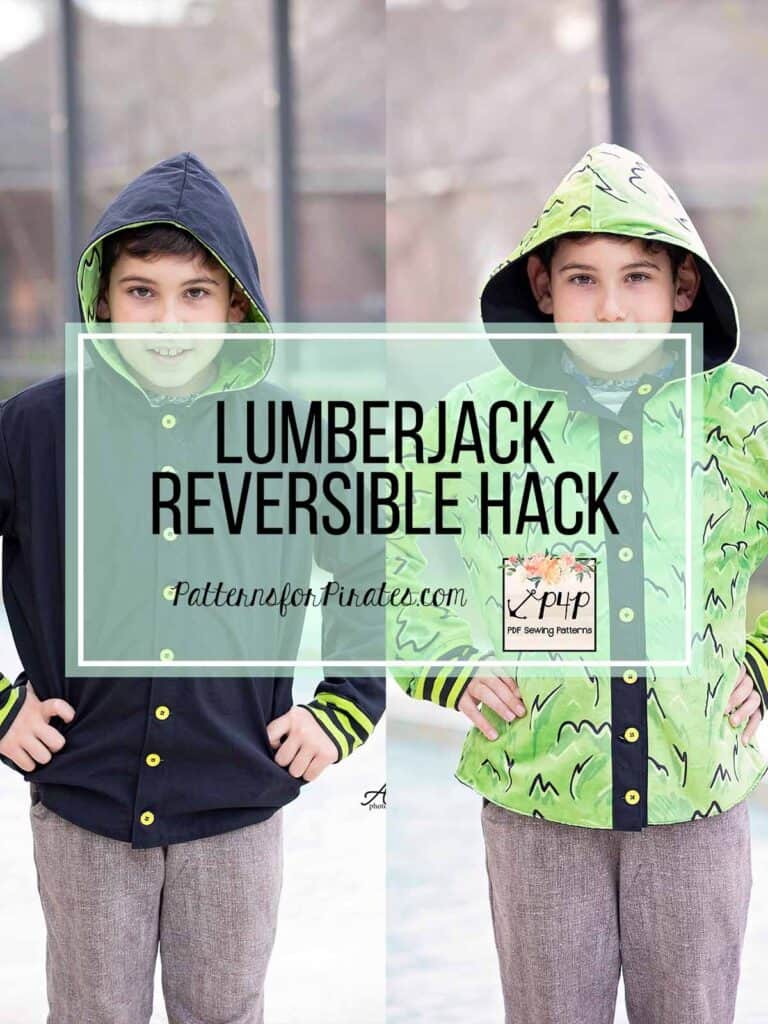
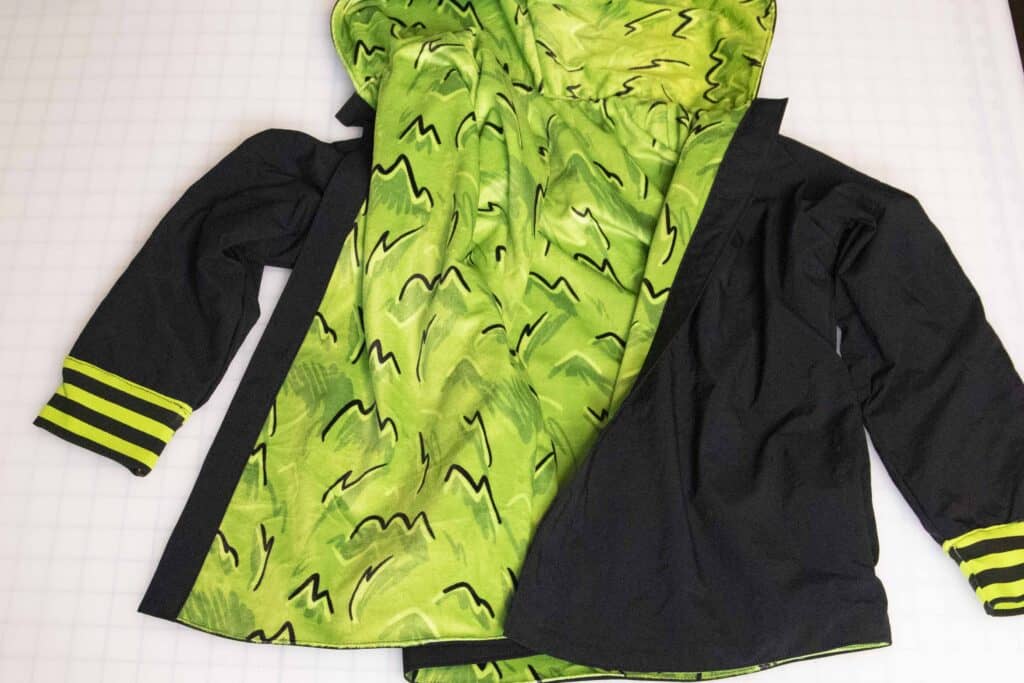
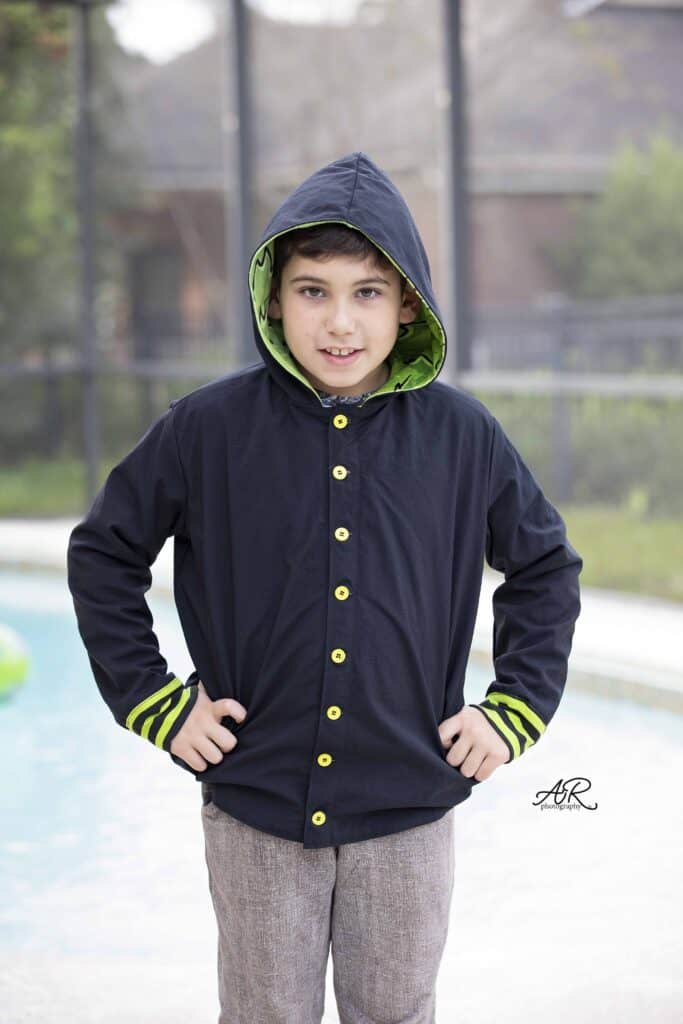
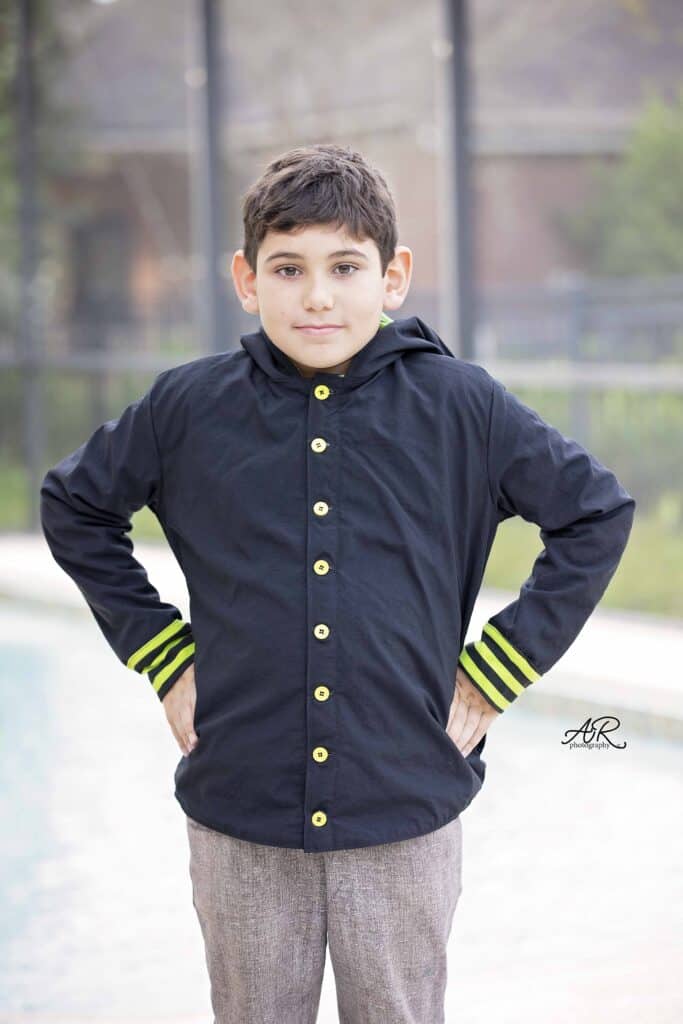
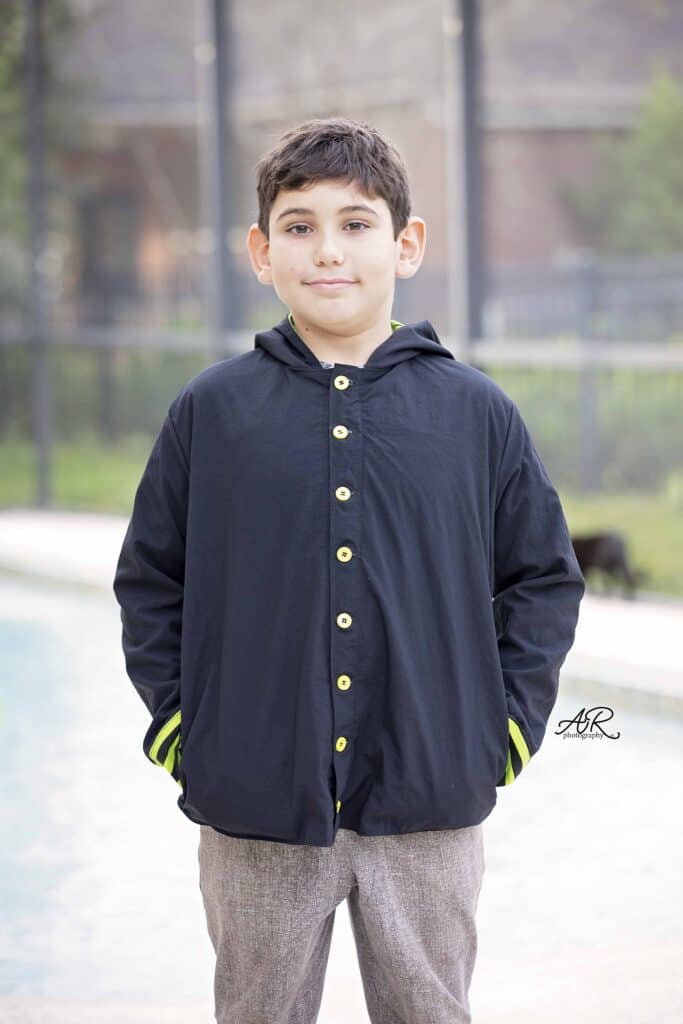
The pattern includes a lined and an unlined option so today on the b log I wanted to show you how to take the lined option and make it fully reversible! Yup, one shirt that can be worn both ways.
Let’s get started! Print and cut the pattern and fabric as instructed in the tutorial. Make sure you use the lined option. For this tutorial I used a nylon, poly blend woven (the solid black) and a custom minky (the green one) for the lining.
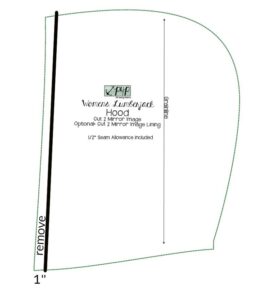
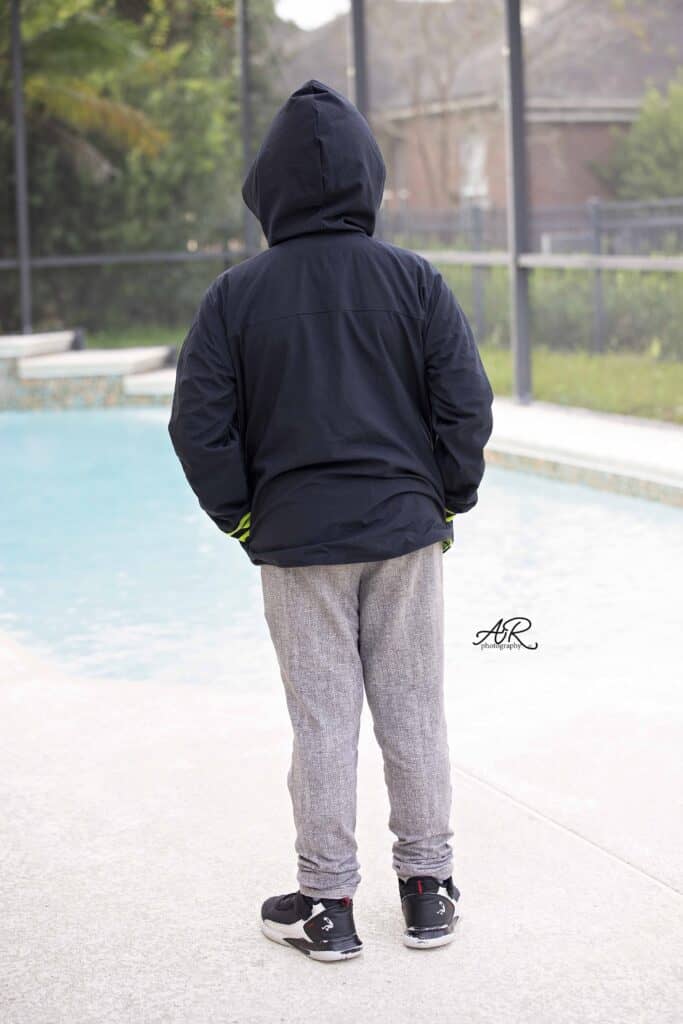
NOTE: the hood I used for this hack is 1″ smaller on the front that the final pattern. If you want to achieve this exact look, remove 1″ from the hood pieces as show below. If you use the pattern hood as is, make sure to read below what small adjustments you need to make.
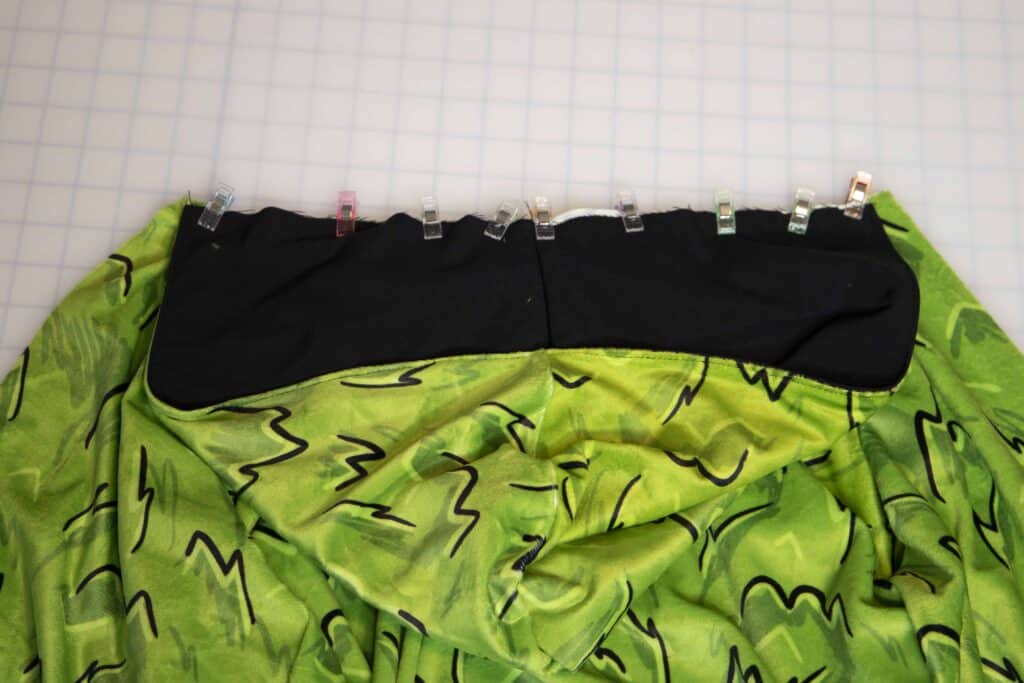
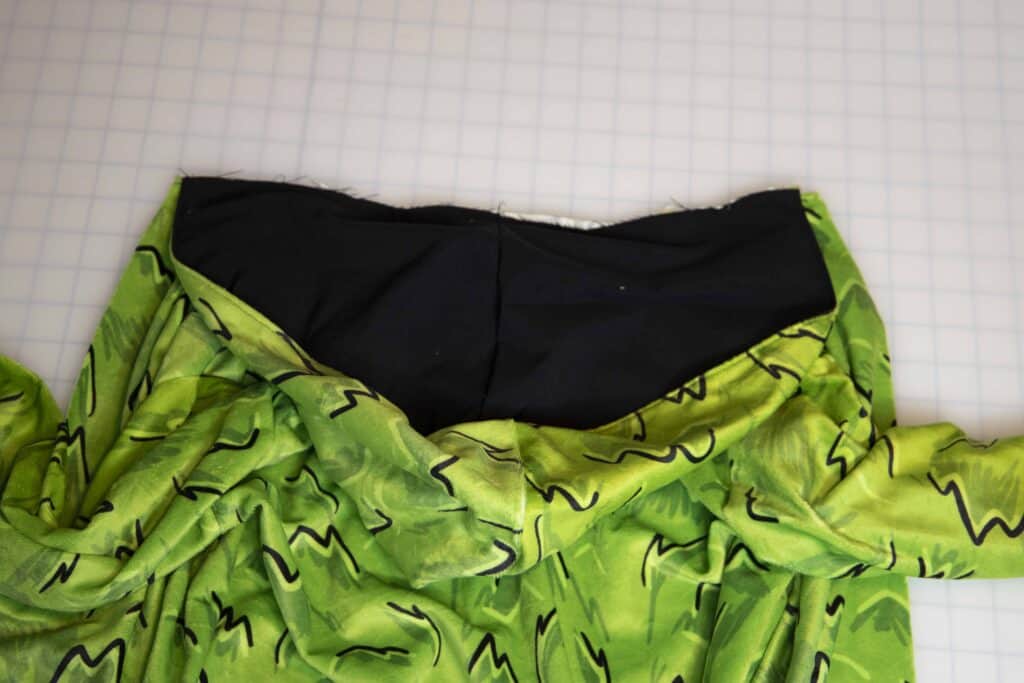
Once all pattern pieces are cut sew the main bodice and add sleeves and pockets as instructed in the tutorial. Repeat with the lining. Set the bodices aside for now. Sew the hood as per the lined tutorial. Place the hood (lining out) right sides together on the lining neckline. The hood will be about 1/2″ shorter than the lining neckline.
Sew the hood in place with a 1/2″ seam allowance, making sure to stitch through all 3 layers.
If you use the pattern hood, you will place the lined hood right sides together with the MAIN, not lining. The center back will match the neckline back and the front point will reach the fold line of the inner fold line. Sew it in place. Lay the lining over, right sides together and stitch along the neckline. The hood will be sandwiched between the right sides of the bodices.
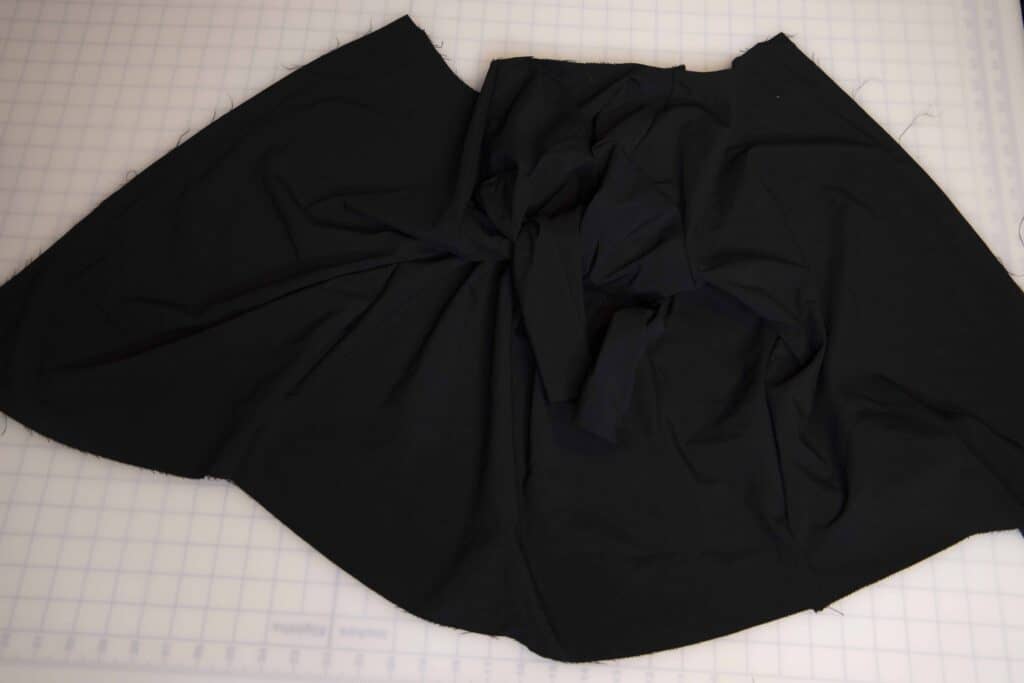
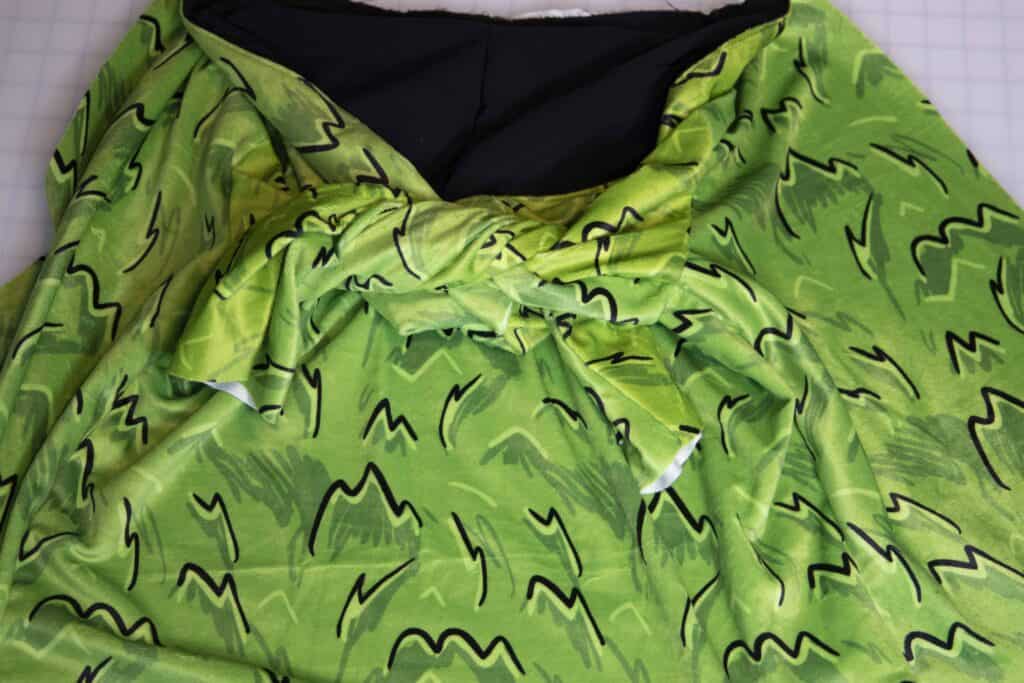
Tip: Tie the two sleeves in a knot for both main and lining so they are out of the way when you sew.
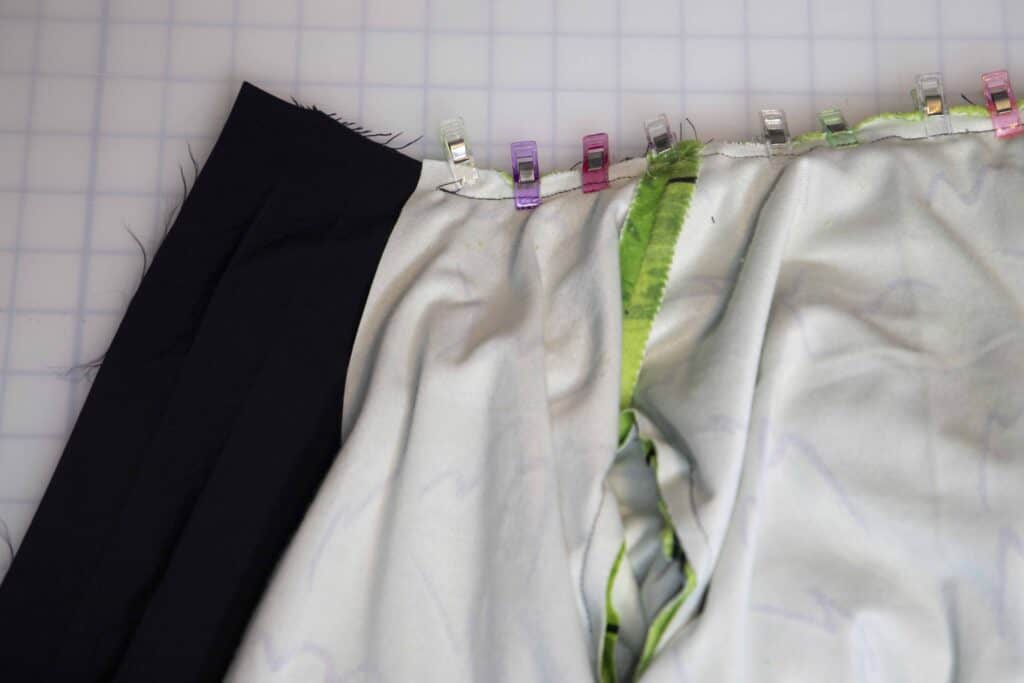
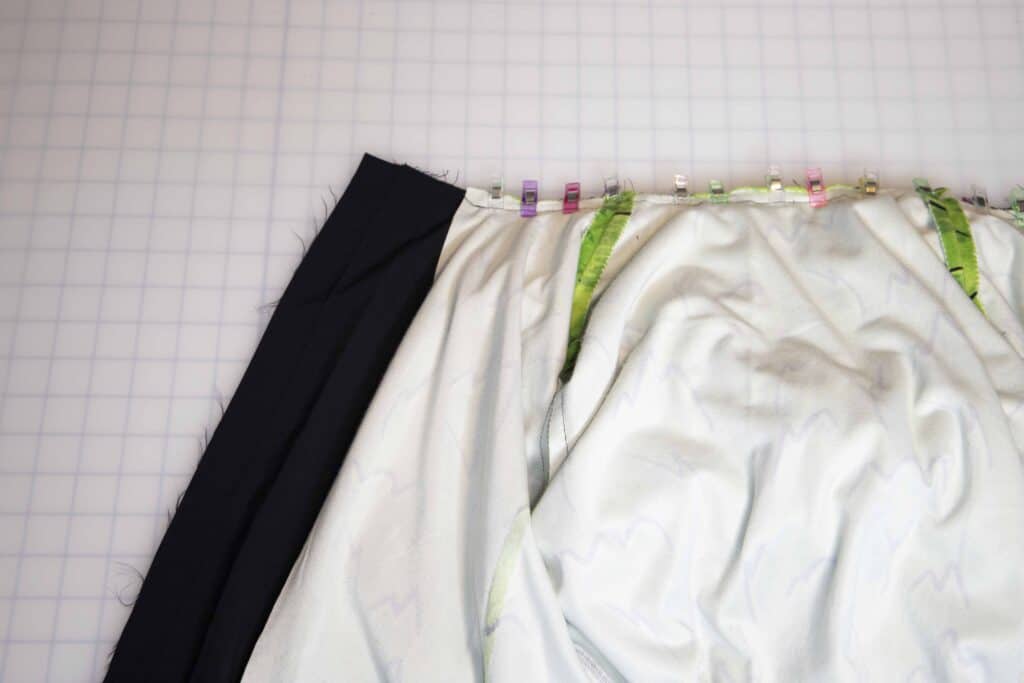
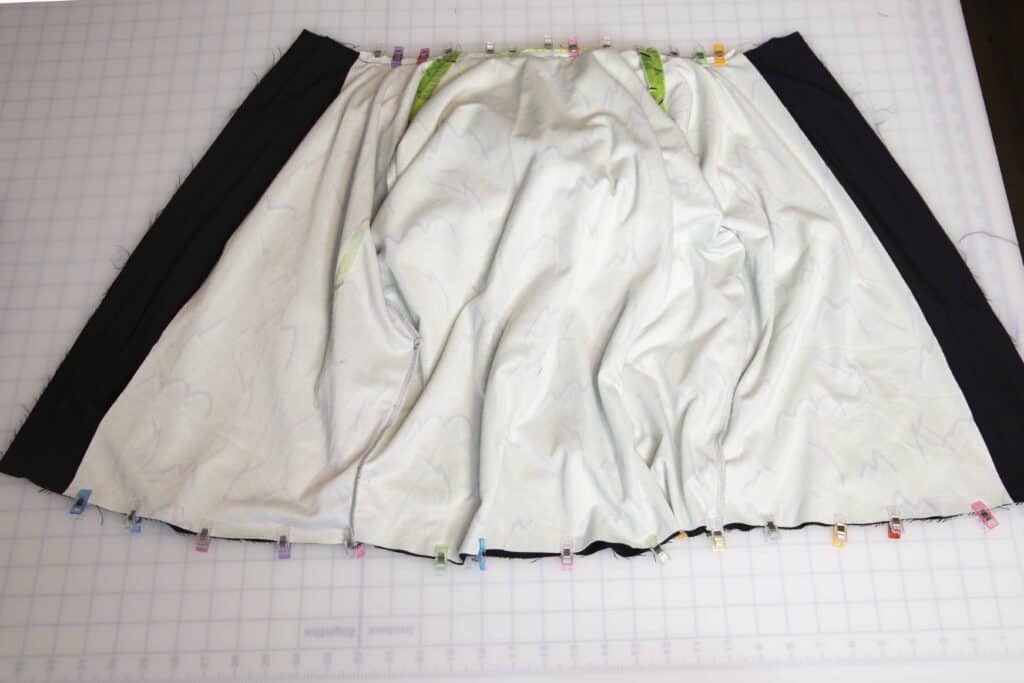
Place your main and lining right sides together matching the raw edges of the neckline and bottom. Pin them in place.
The main will be longer, that’s the way it is supposed to be.
Sew along the neckline, the hood will be sandwiched in between the main and lining. Sew the bottom edge too. Seam allowance for these steps is 1/2 inch.
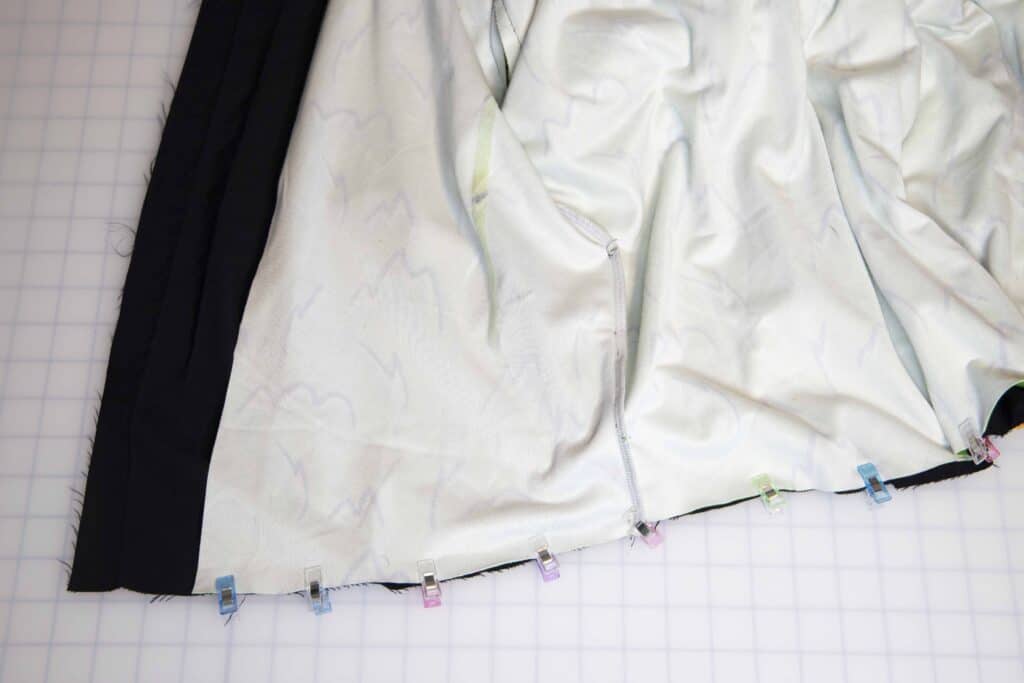
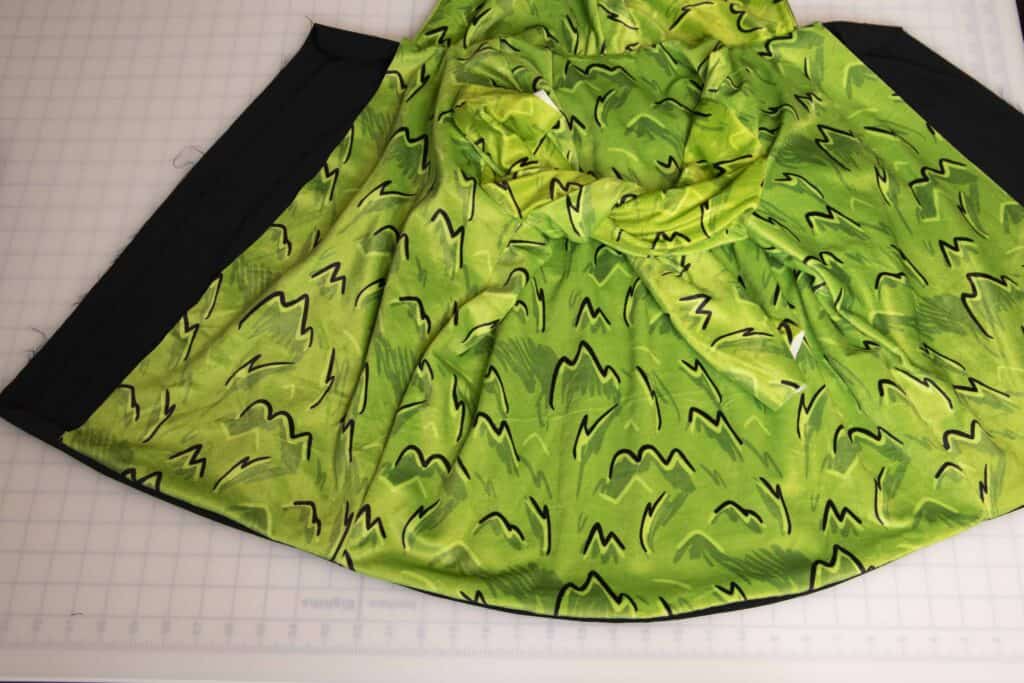
Turn the jacket right side out. We will now top stitch the neckline and bottom hem.
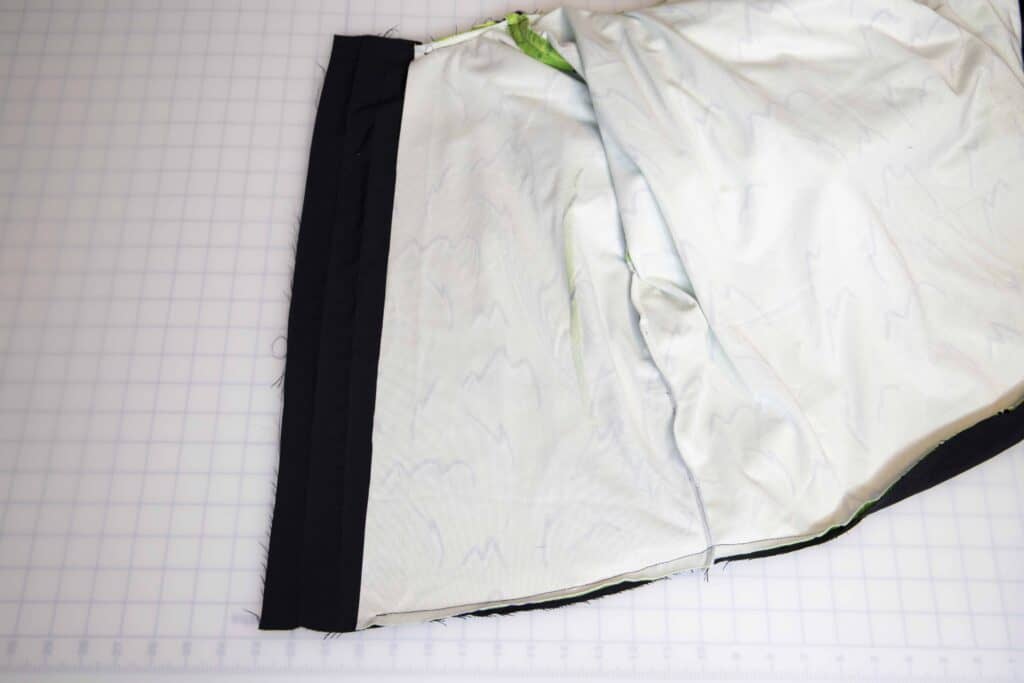
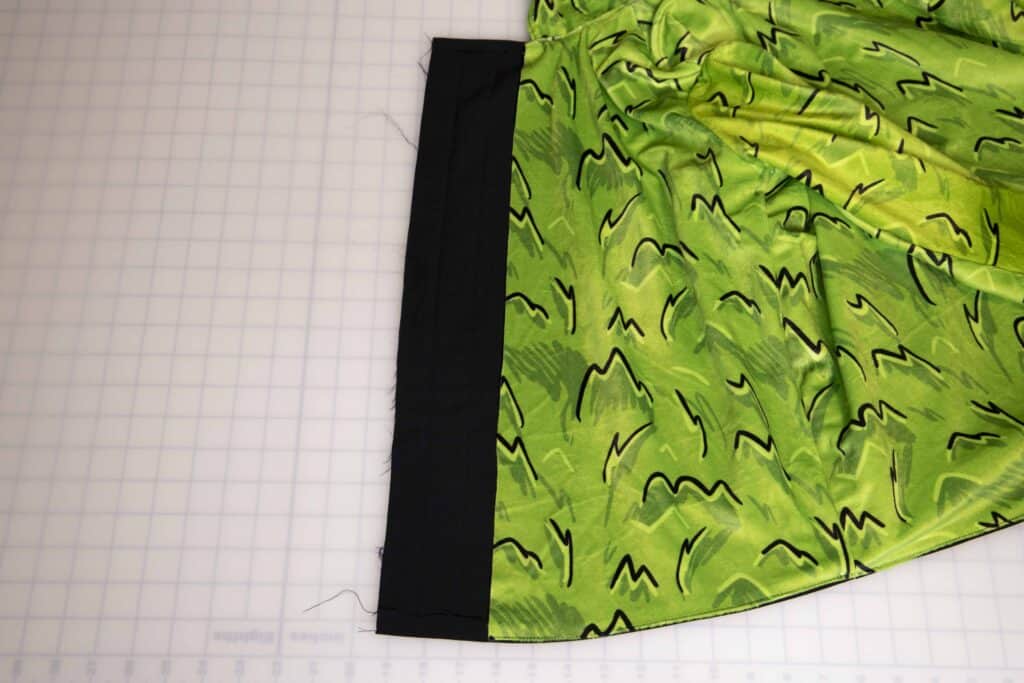
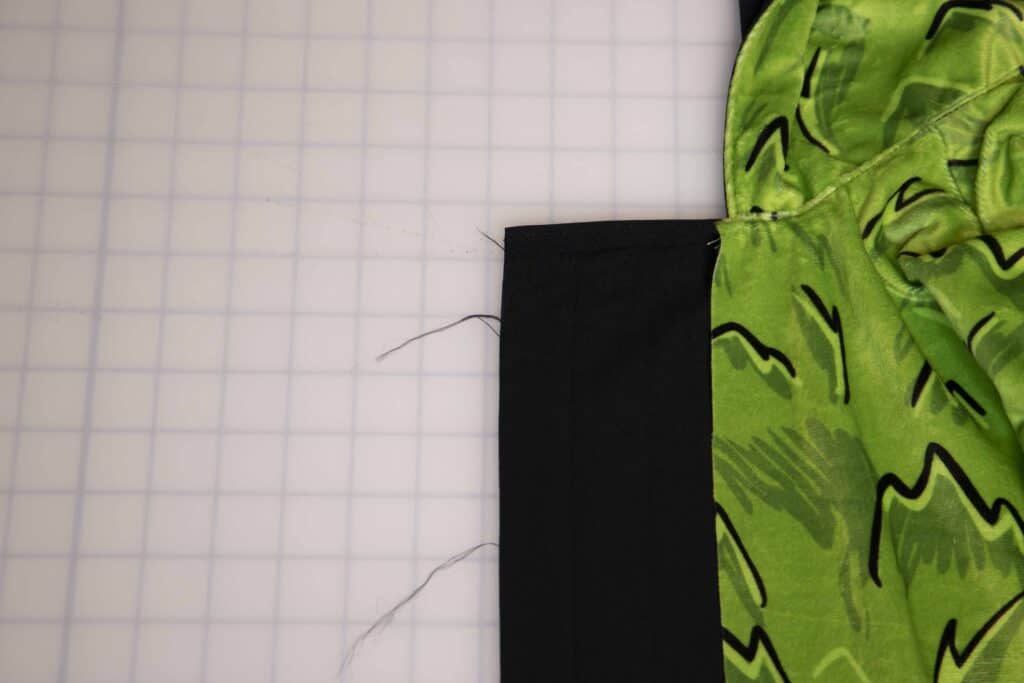
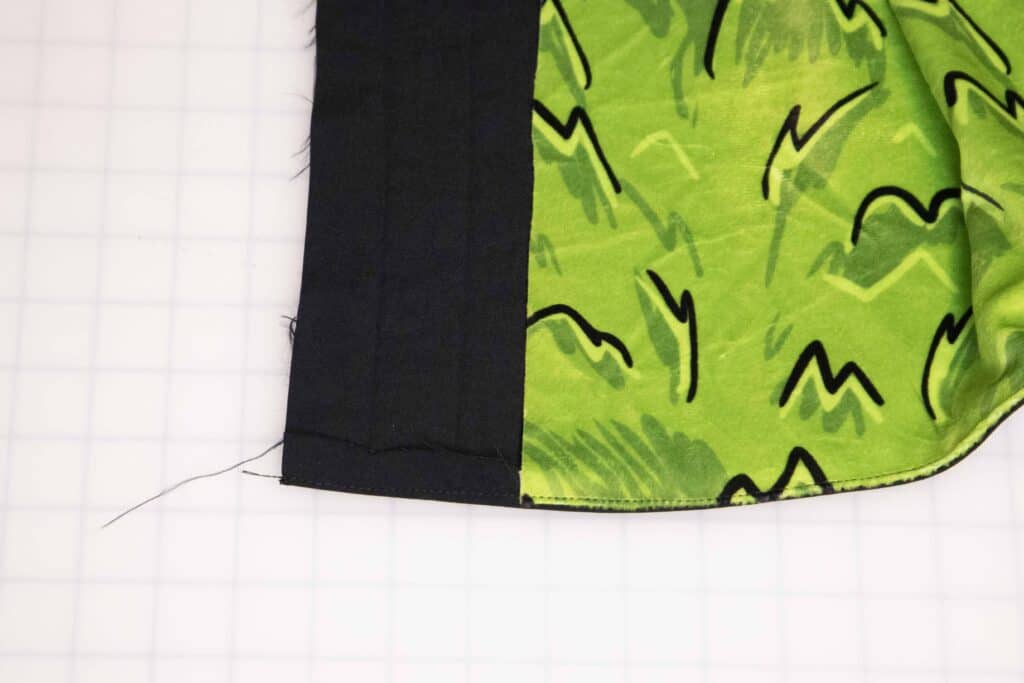
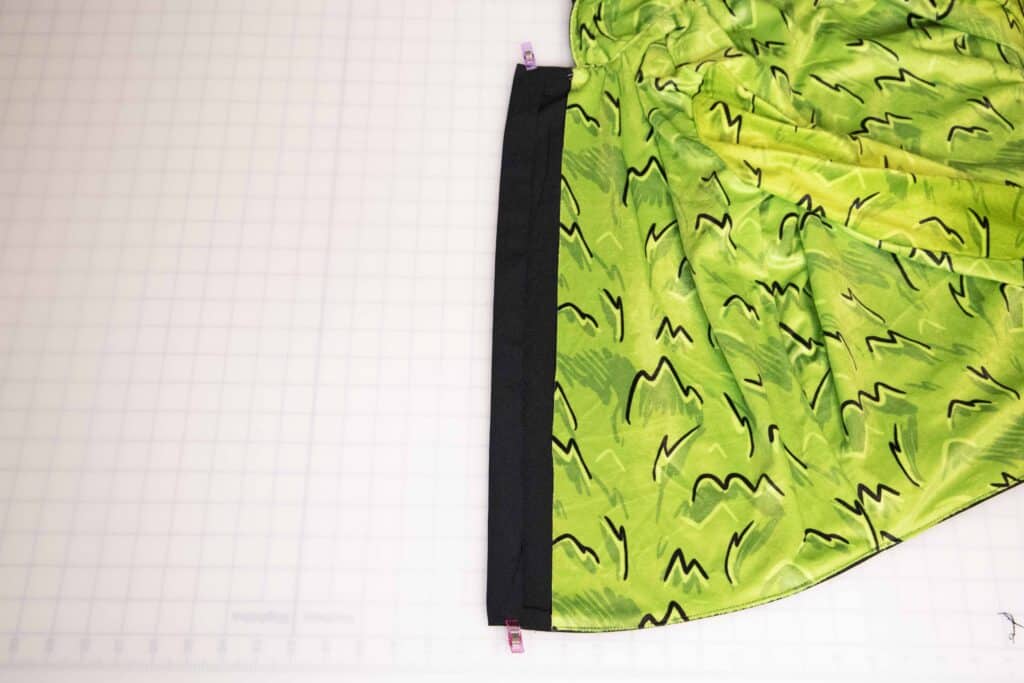
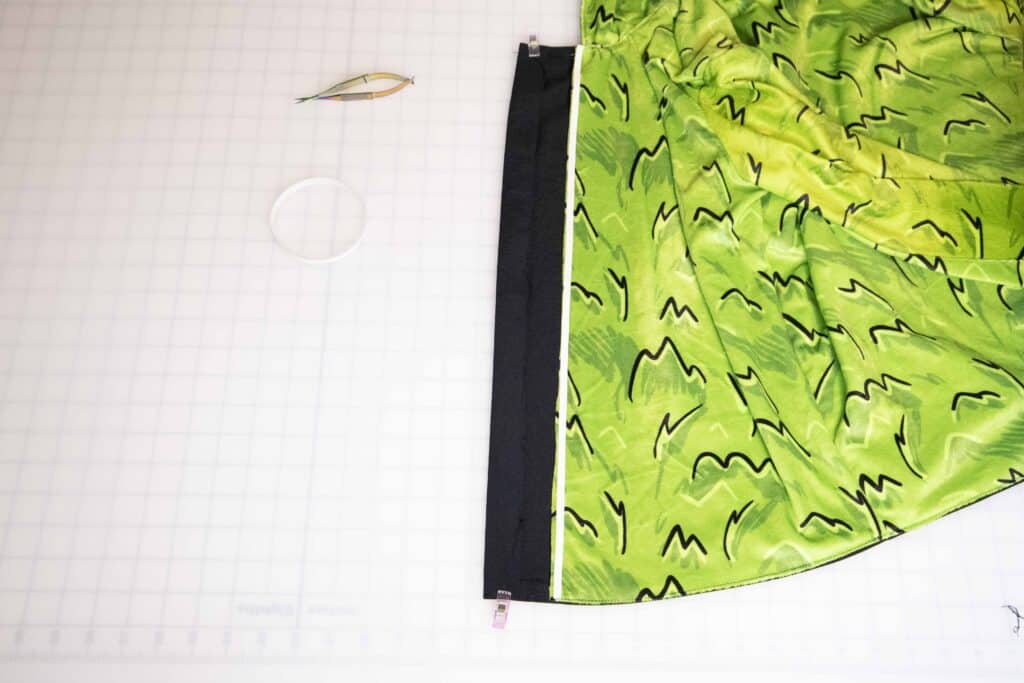
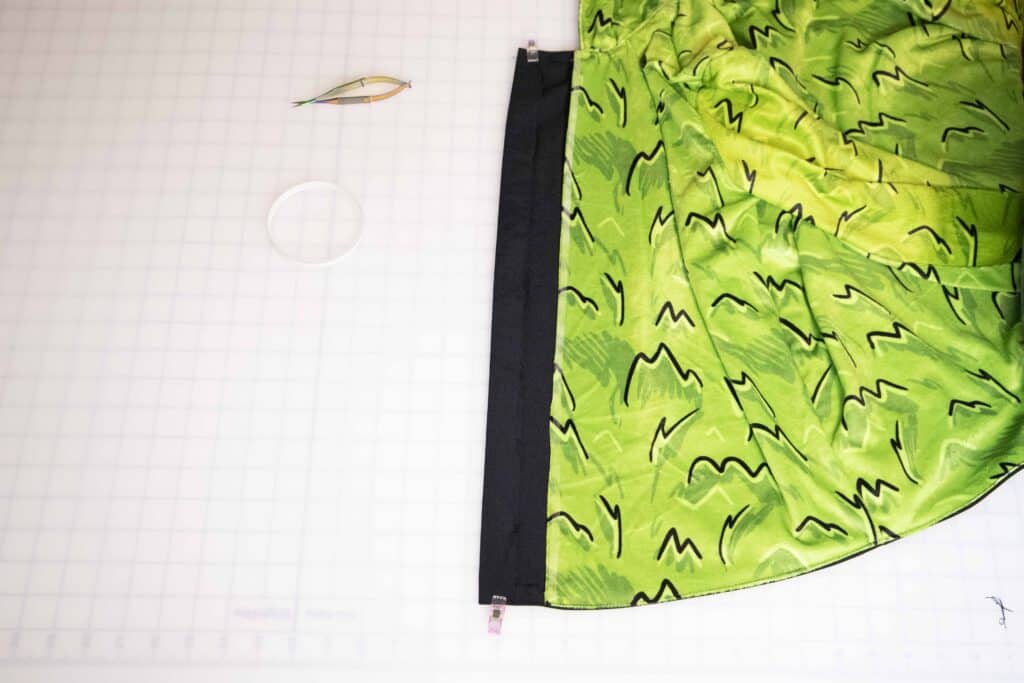
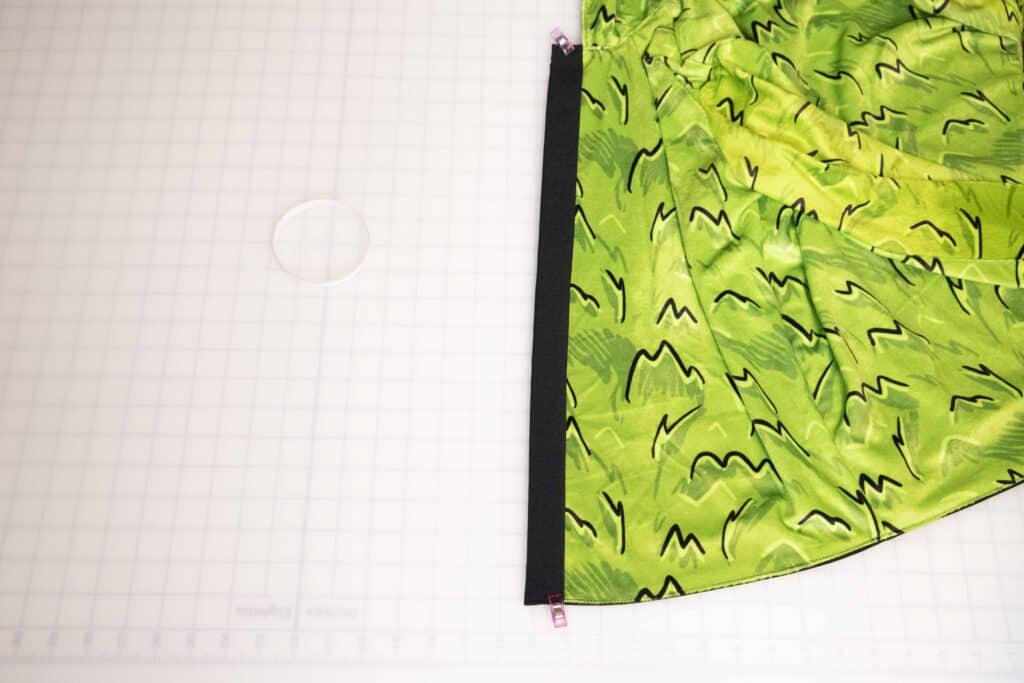
When top stitching, fold the excess fabric down (or up) 1/2″ on the placket part. See picture below for how it will look both at the neckline and bottom hem.
Following the first fold marking, press the front placket once on both sides. Pin in place. I like to add a strip of water soluble double sided tape to the raw edge of the lining. It will help tremendously when sewing.
Note: if you used the bigger hood, it will go all the way to the fold on both sides.
Fold the placket one more time along the second fold line. This will no overlap over the raw edge of the lining, right where the double sided tape is. Press it down with your fingers. If you don’t have any DST handy for this step, you can always pin it in place. Sew the placket down.
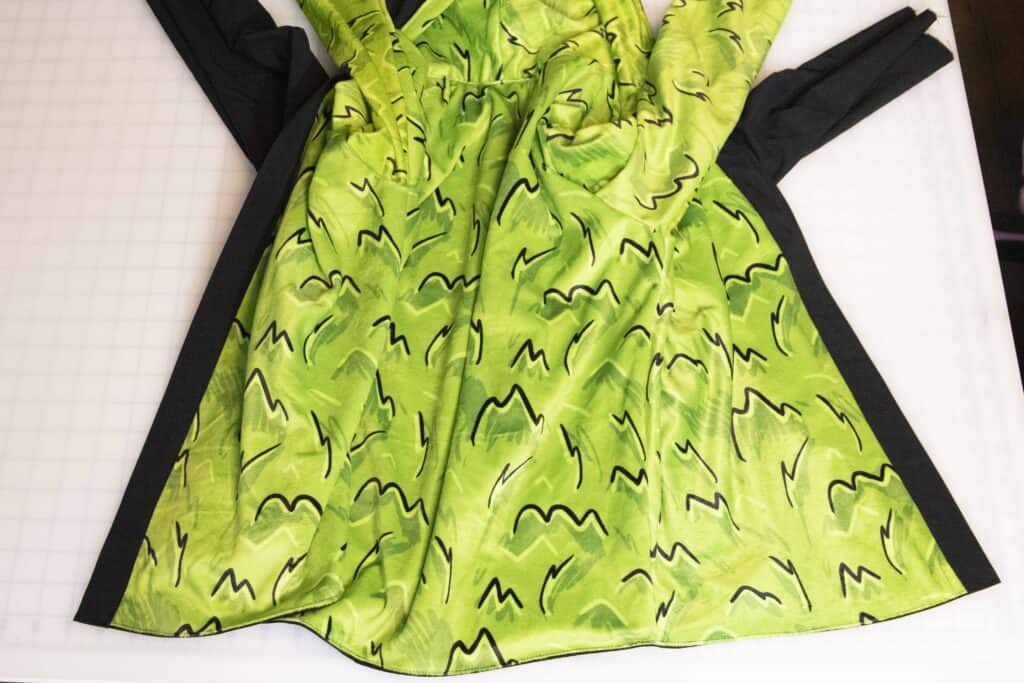
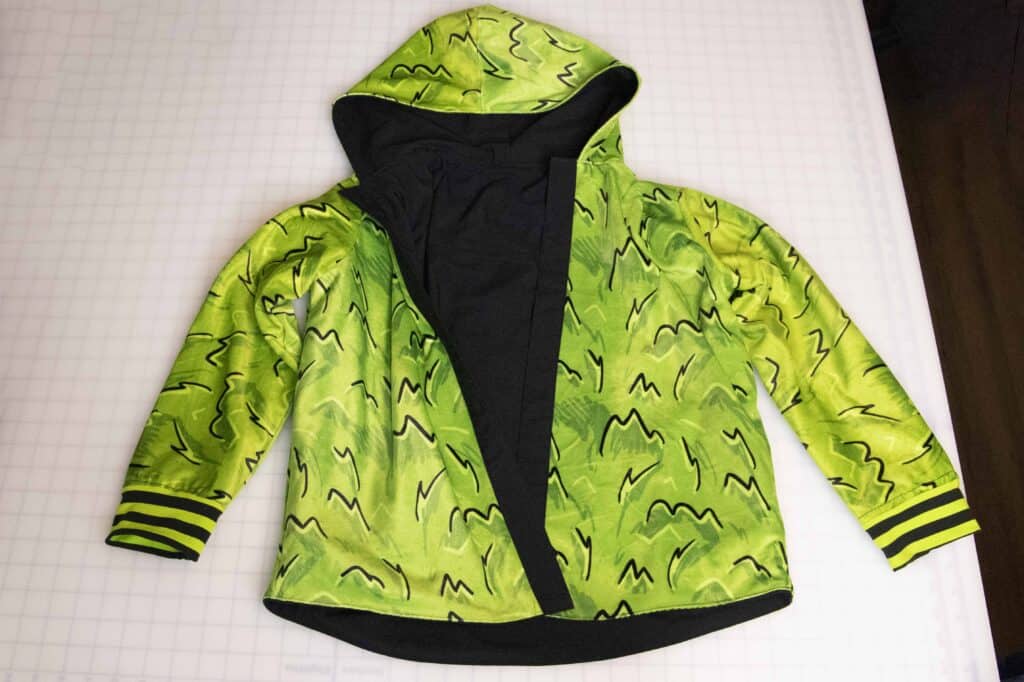
I also like to top stitch all around the placket, on all 4 sides. Once you finish these steps (and your jacket looks like the pic below) set it aside.
CUFFS
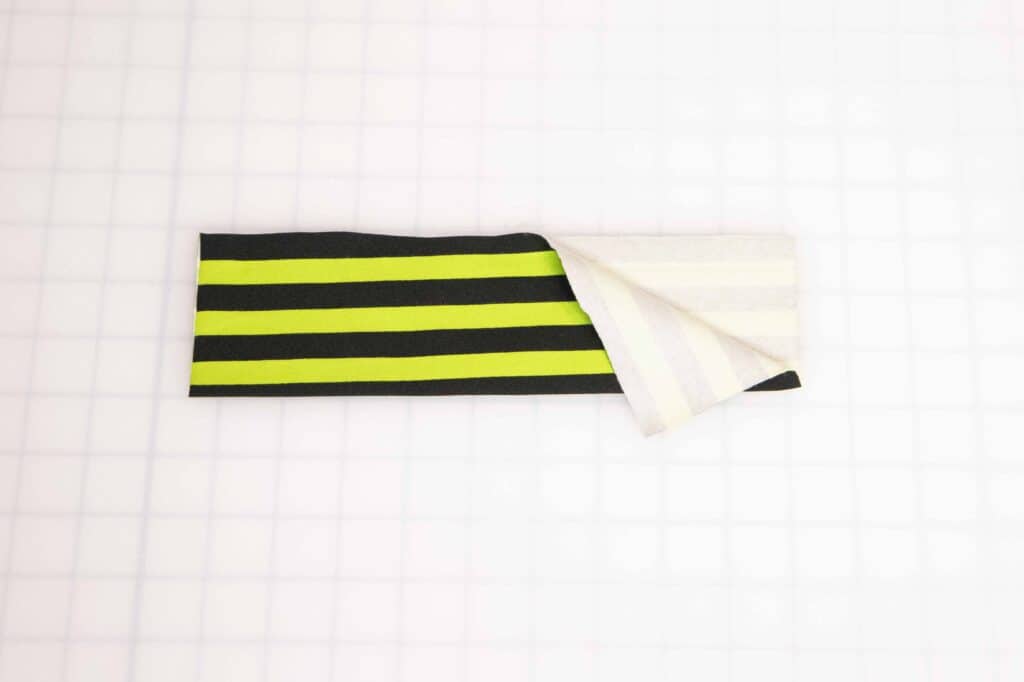
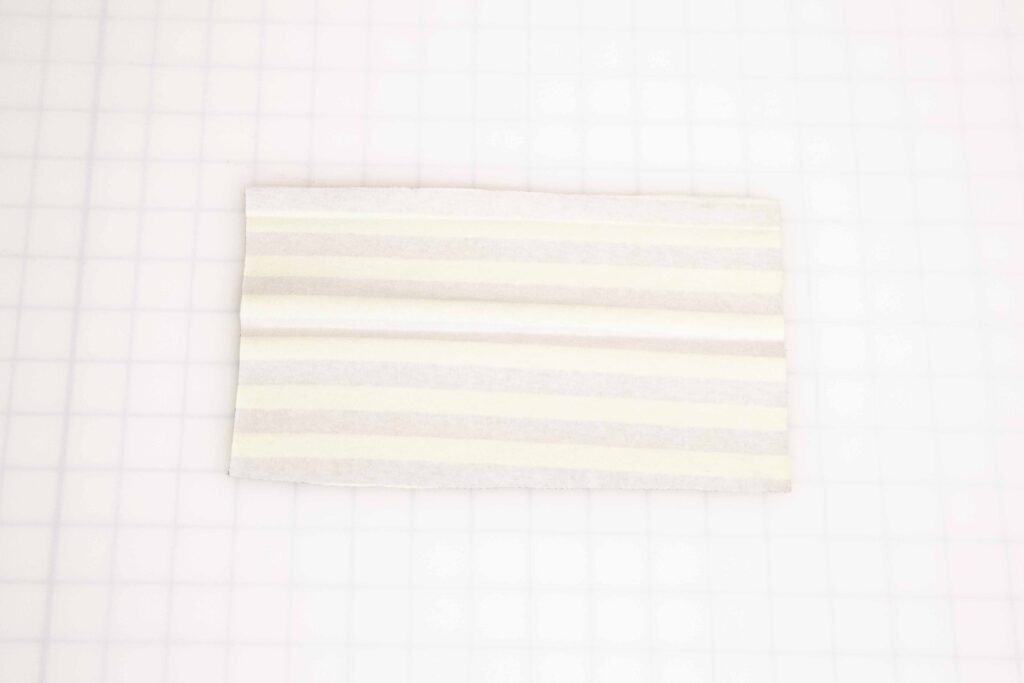
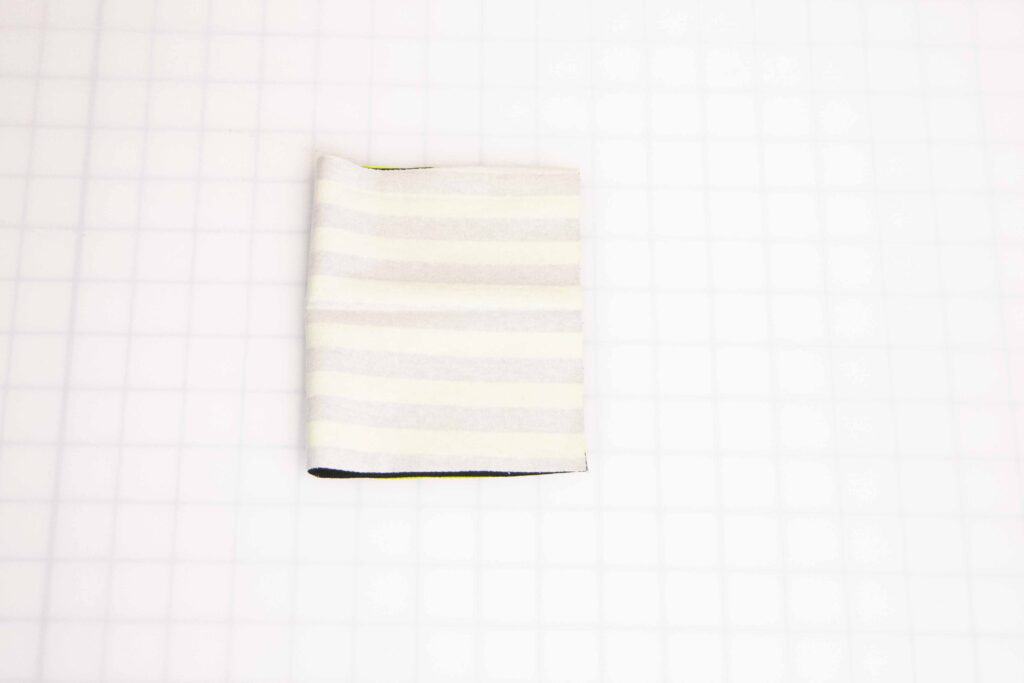
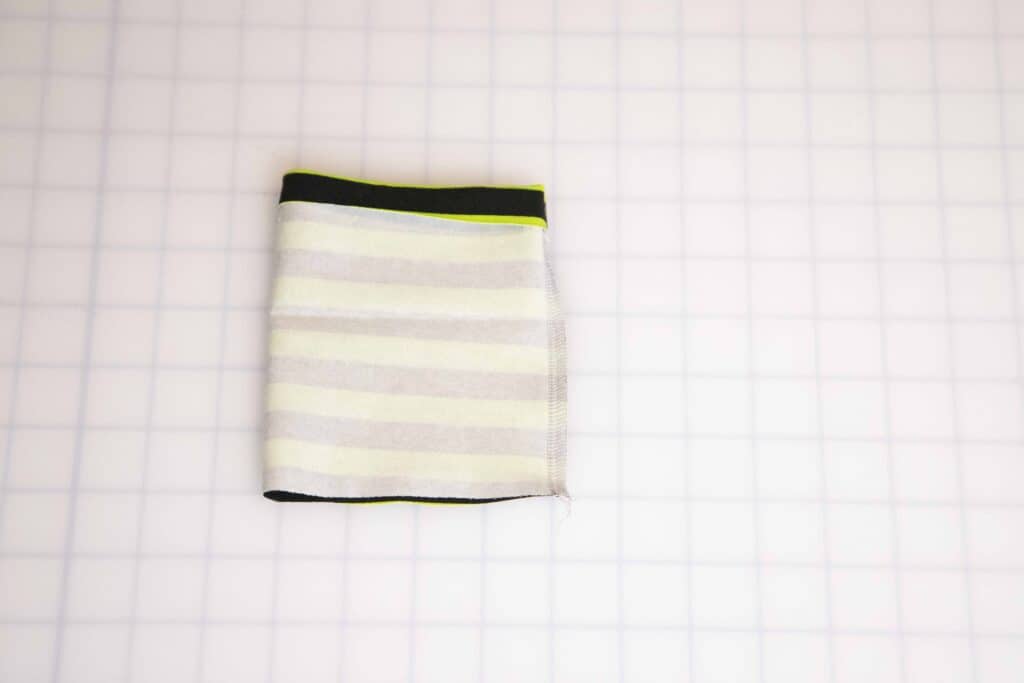
Let’s work on the cuffs. Press both cuffs, length wise. Open them up and press the top of each cuff 1/2″. Thus will create a memory hem. With the cuffs opened up, sew each at the short end to create a loop.
Refold the top memory hem over the loop.
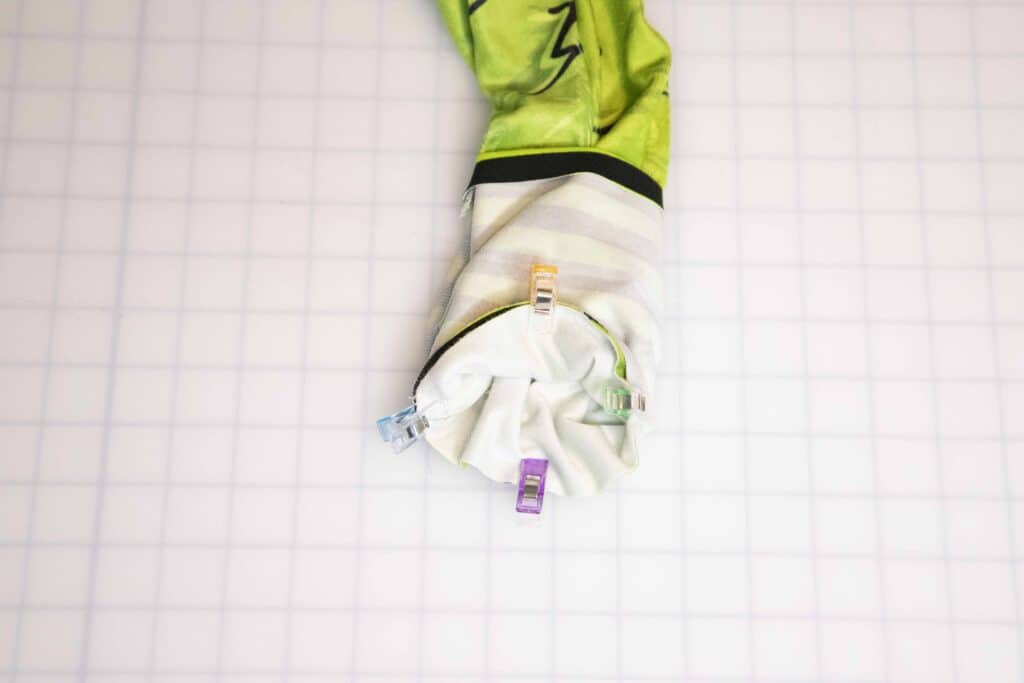
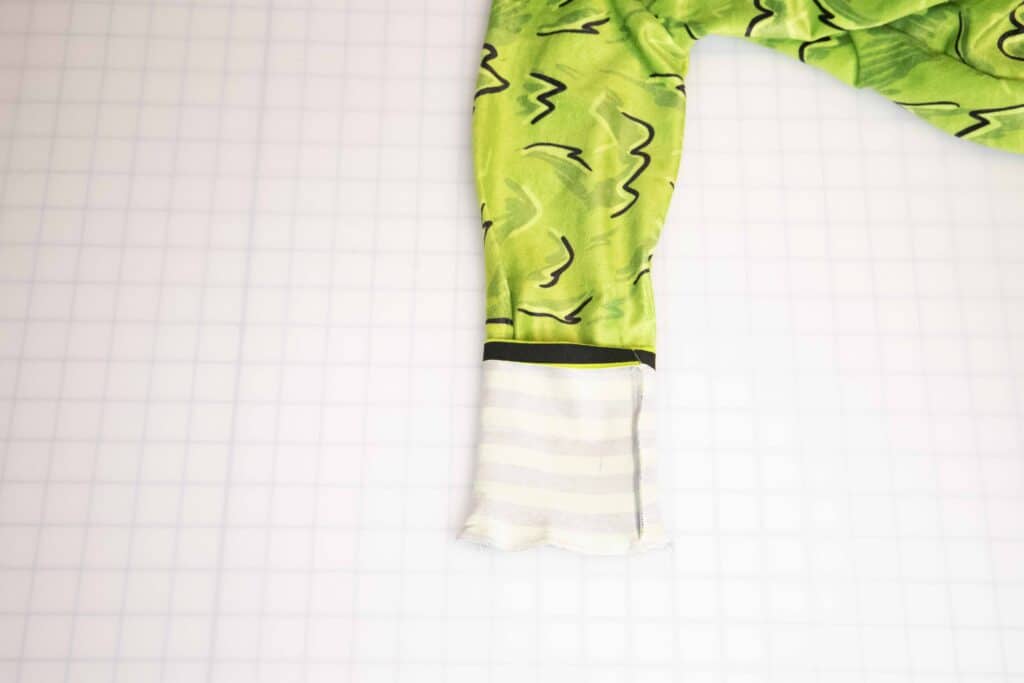
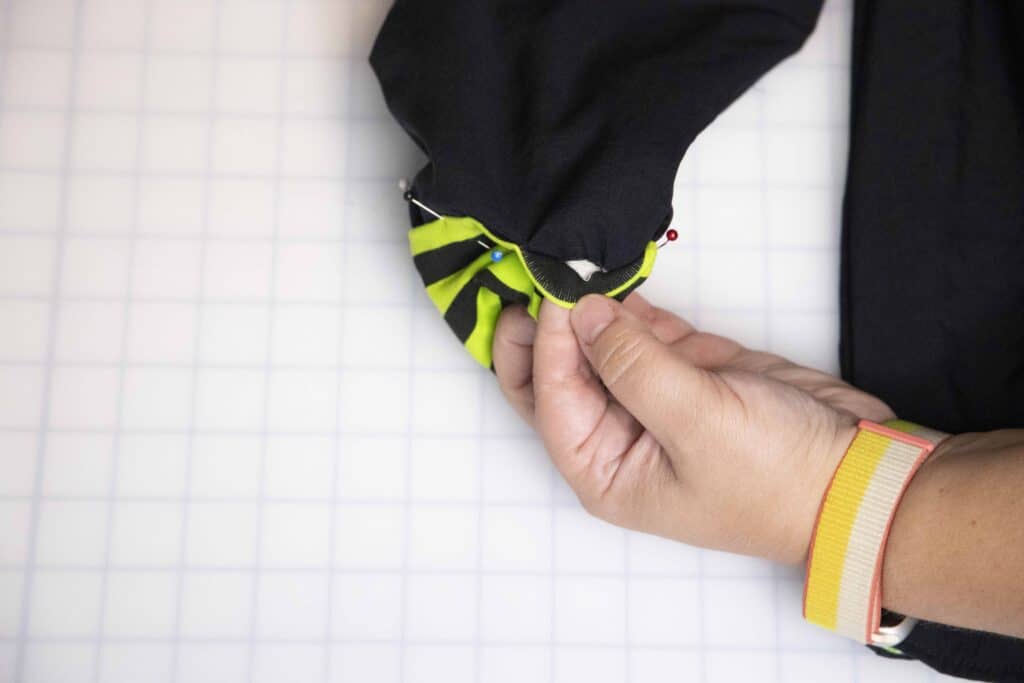
Place the unfolded raw edge of the cuff on the lining sleeve opening. You will stretch the cuff to fit the opening. Match the sleeve seam with the cuff seam. Sew in place with a 1/2″ seam allowance. Repeat this step with the other cuff and lining sleeve.
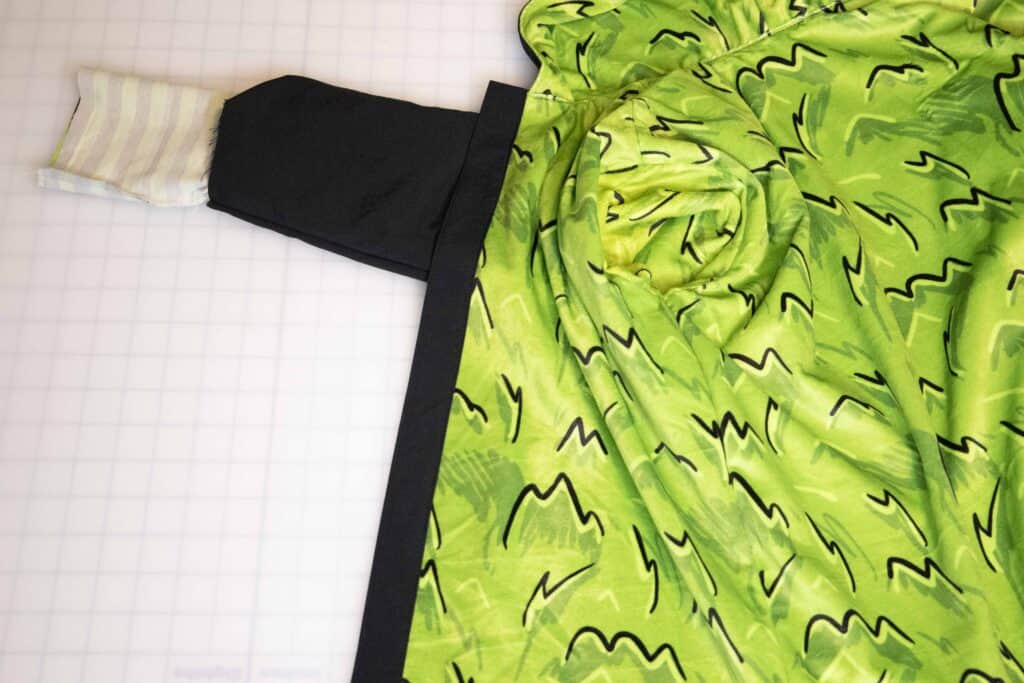
Time to make it look like a shirt! Push the lining sleeve through the main sleeve so they are wrong sides together.
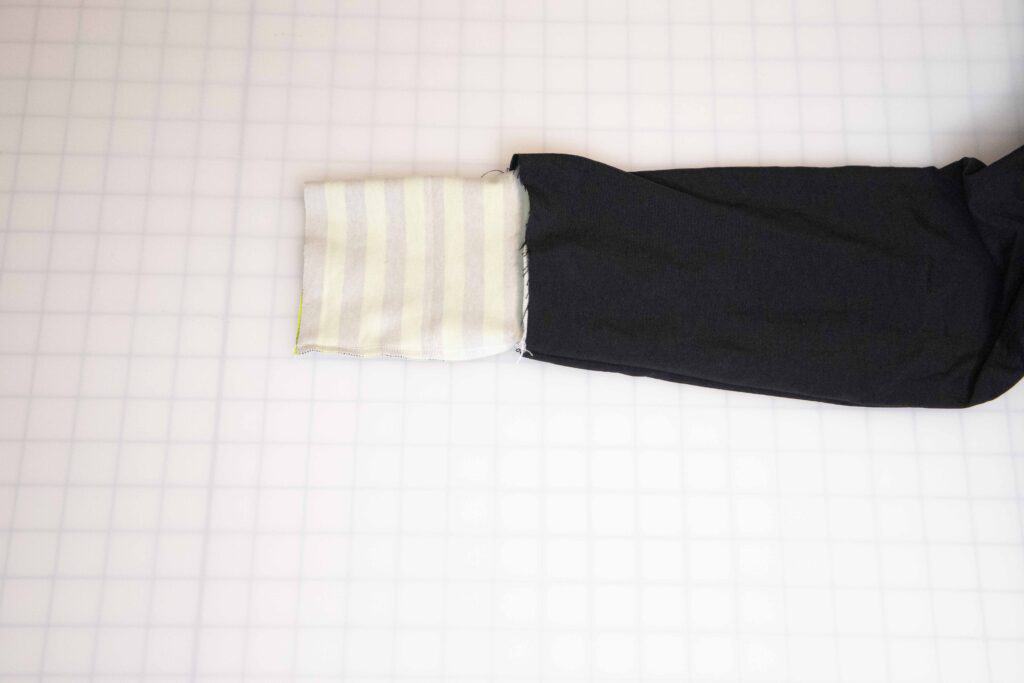
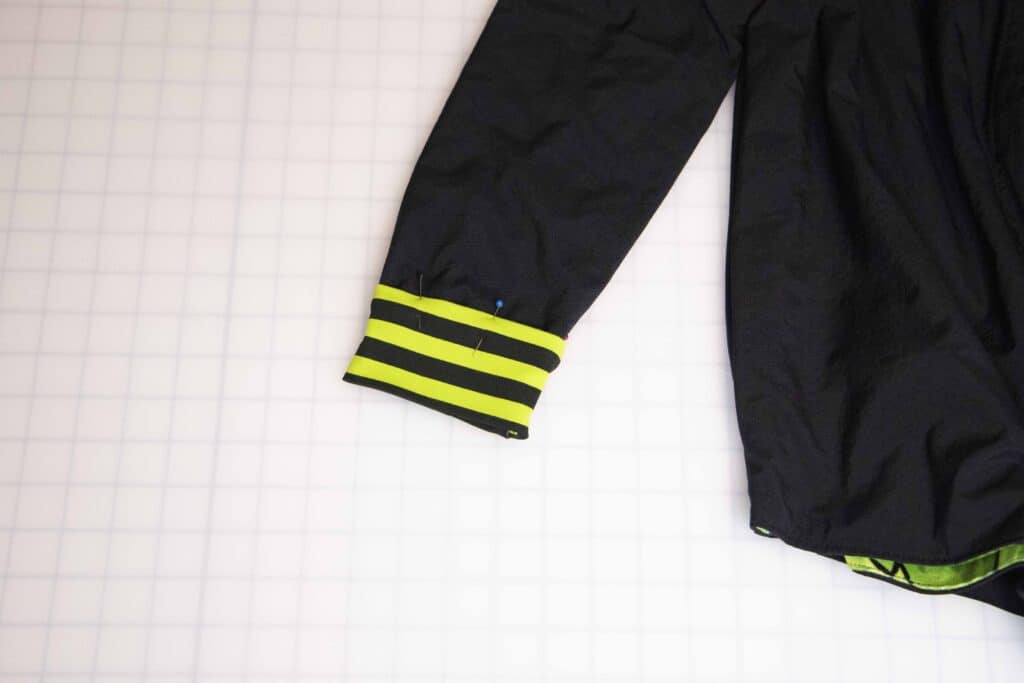
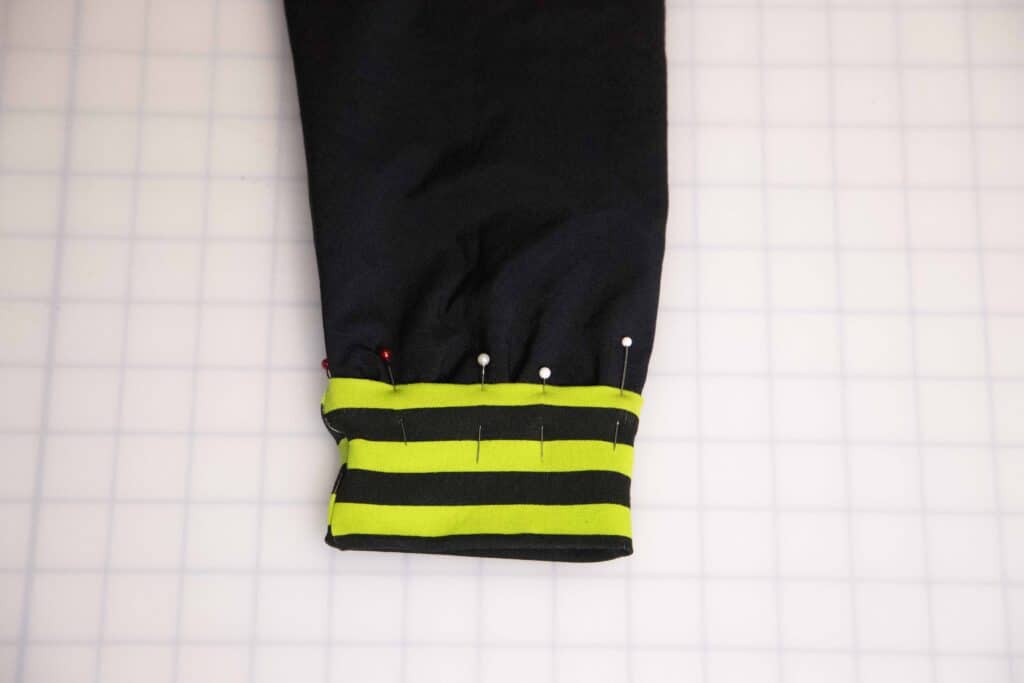
Fold the cuff along the middle crease that we pressed earlier. The edge is still folded 1/2′. Once you bring the cuff over, the sleeve raw edge will be inclosed in the cuff. Pin the edge of the cuff on the sleeve all around.
Stitch the cuff down. Look how beautiful is the cuff with no raw edges on the lining! Take a second to admire your work!
BUTTONS
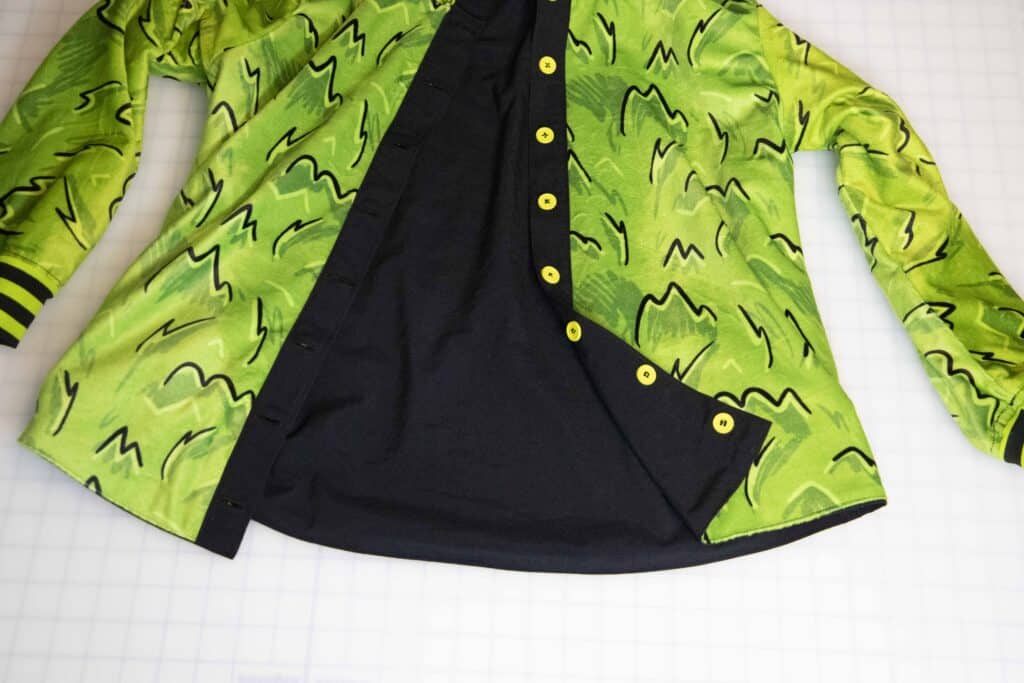
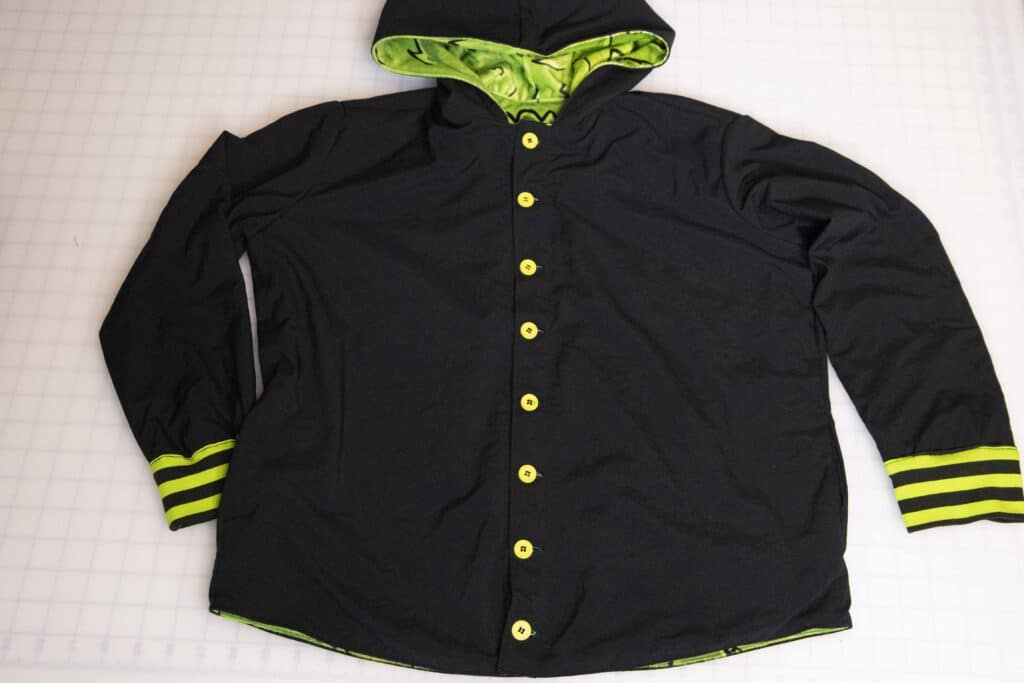
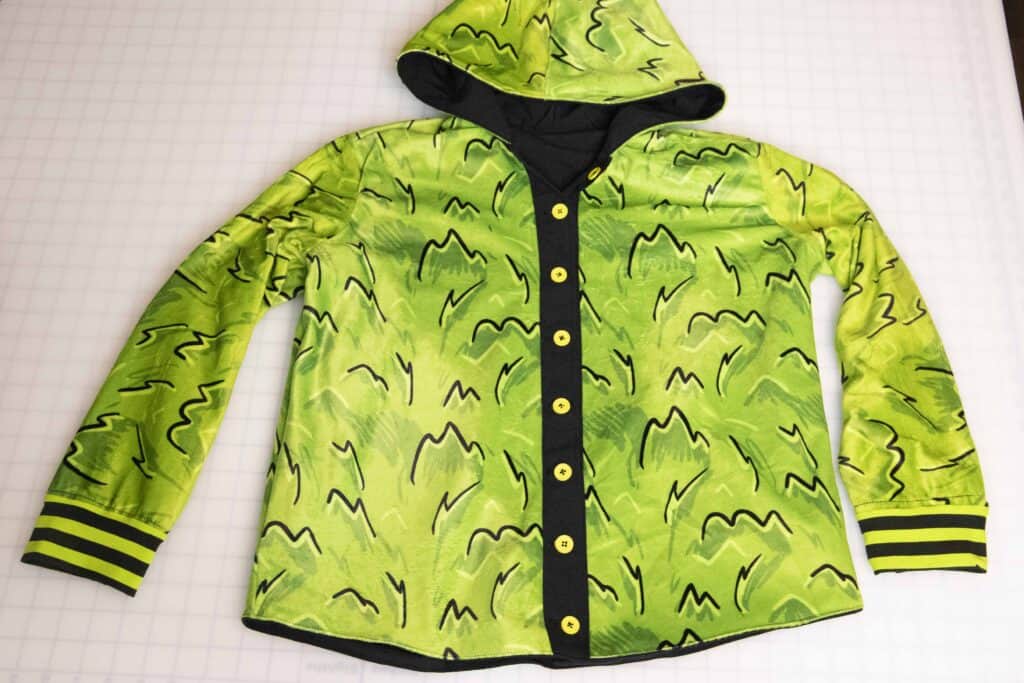
Sew the button holes on one of the plackets. Let’s add the buttons now! To make this Lumberjack fully reversible I added buttons on both sides of the placket. I hate to say it but the easiest way to do this is to hand 🖐 stitch 🖐 the buttons on both sides simultaneously. Make sure that you don’t pull the thread extremely tight. You need wiggle room for the buttons to be able to be fastened.
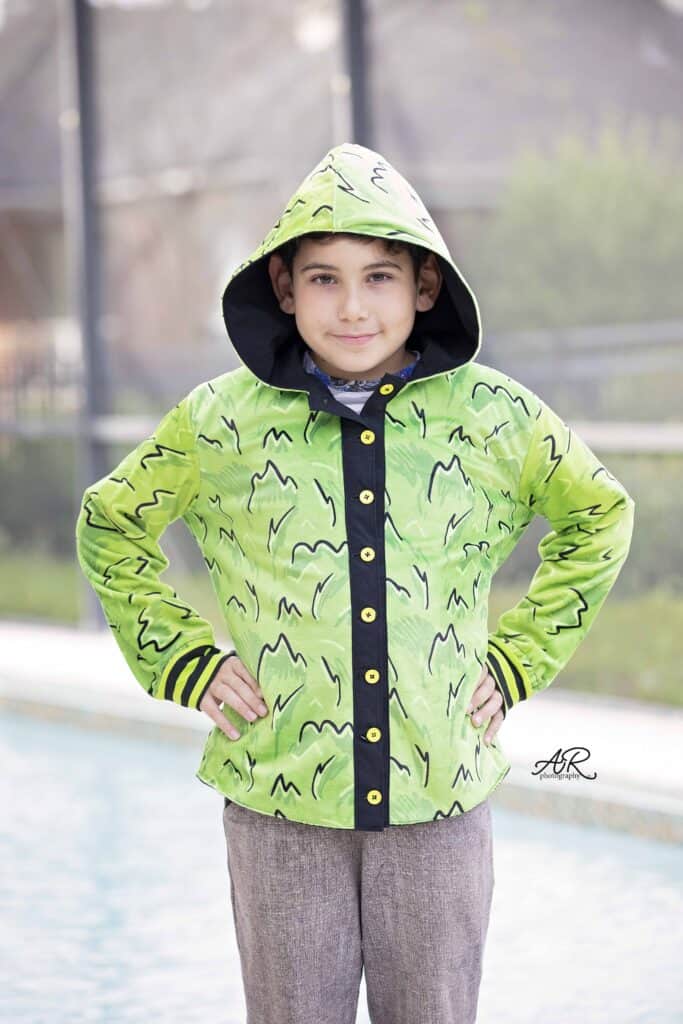
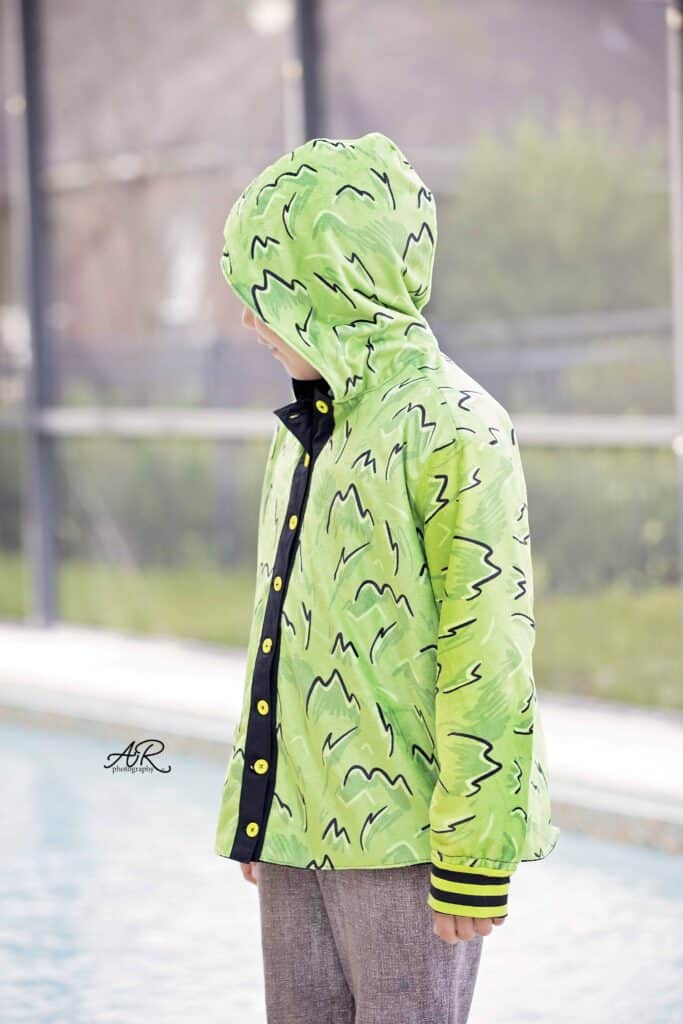
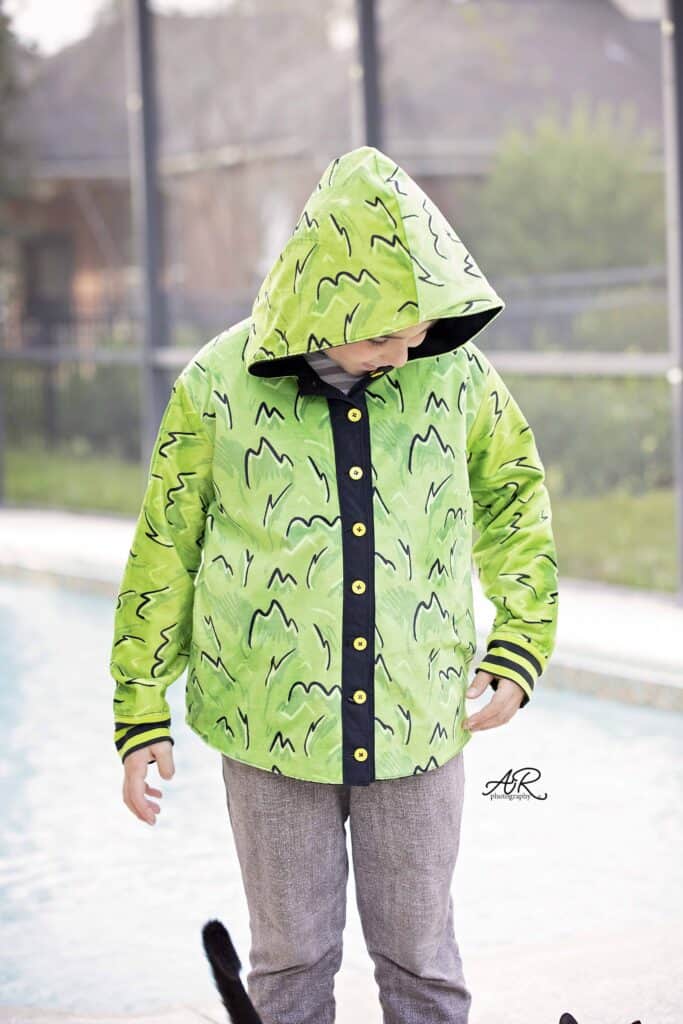
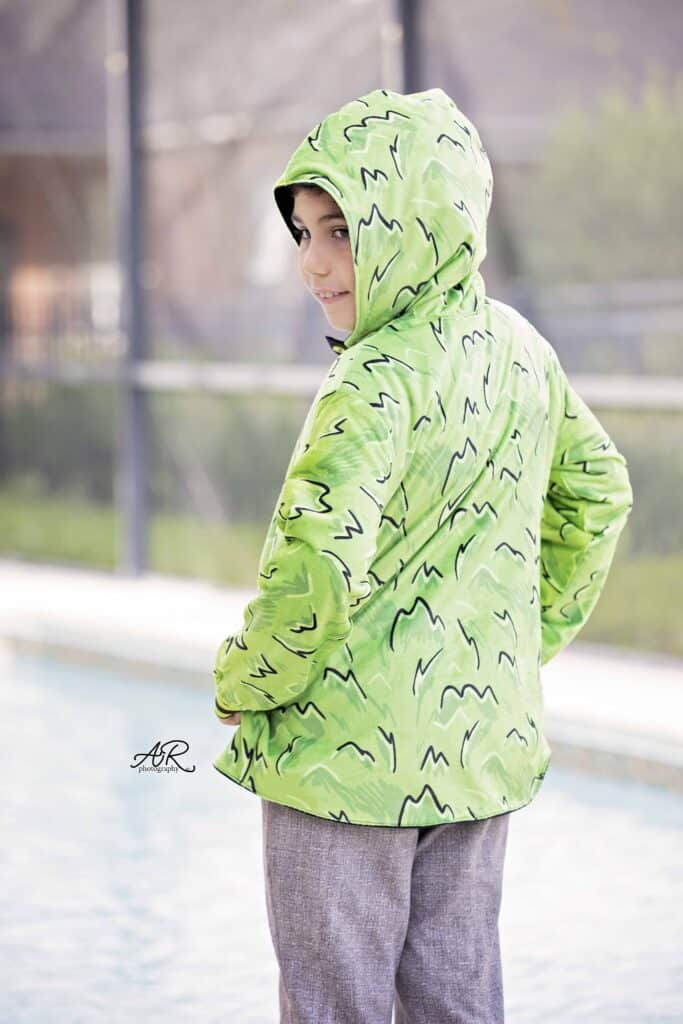
All done! This is how to take the newest Lumberjack pattern and turn it into a fully reversible shacket.
I am very excited to see if you take on this project! Don’t forget to share it in our Facebook group and on Insta!


Leave a Reply