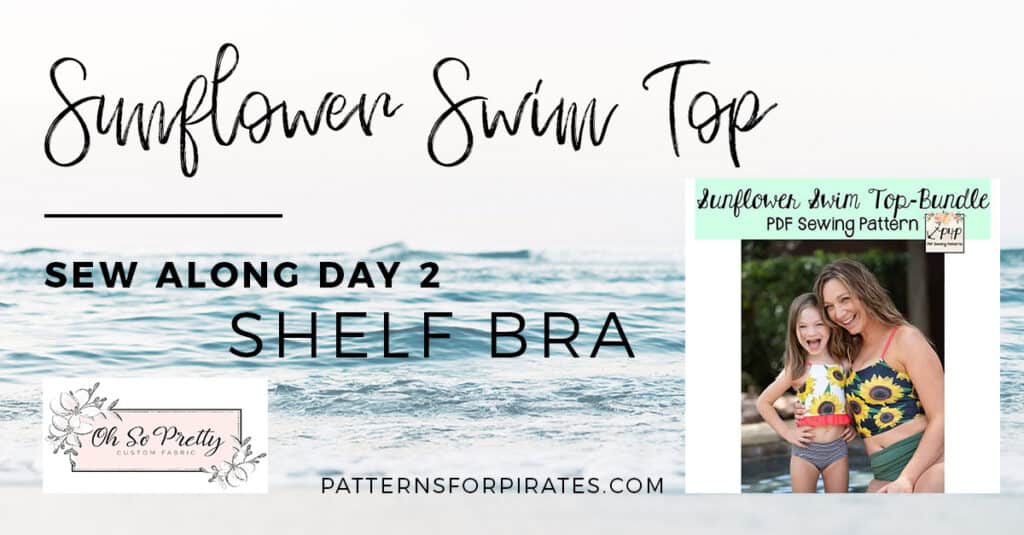
Good morning and welcome to day 2 of our Sunflower Swim top SEW ALONG. Today we create the shelf bra, with or without the removable cups layer. If you are adding the cup pockets you will have 4 pieces for the front (one main, one lining, one inner lining and one shelf bra). If you are making the youth Sunflower you will not have the cups option so your front will have 3 layers (main, lining and shelf bra).
This swim top can be sewn entirely with your sewing machine. If you own a serger and a coverstitch machine, some steps can be done with them. In my years of me-made swimsuit sewing and wearing I have found that swimwear created with the sewing machine tends to last longer than serged one. So my personal goal for this sew along is to utilize a zig zag and a triple stretch stitch 100% off the time. If you know me, you know that I am a huge serger/coverstitch fan so this is a big step 😉.
Tip: if you do not have 3/4″ swim elastic for today’s steps, you can use 1″ knit elastic in a pinch. Do keep in mind that swim elastic is treated to withstand chlorine water, while knit elastic is not,
You can see in today’s video how I added the shelf bra to the lining, including the cup pockets. Once you complete all steps, snap a photo of your front lining and posted in the comments of Day 1 photo of this sew along album. You can find the album in the M4M & P4P sew along group on Facebook.
Sunflower Swim Top SAL day 1 | Cut fabric
Sunflower Swim Top SAL day 2 | Shelf bra
Sunflower Swim Top SAL day 3 | Straps and side seams
Sunflower Swim Top SAL day 4 | Attach lining
Sunflower Swim Top SAL day 5 | Neckline and elastics
Sunflower Swim Top SAL day 6 | Add ruffle/hem and finish swim top


Leave a Reply