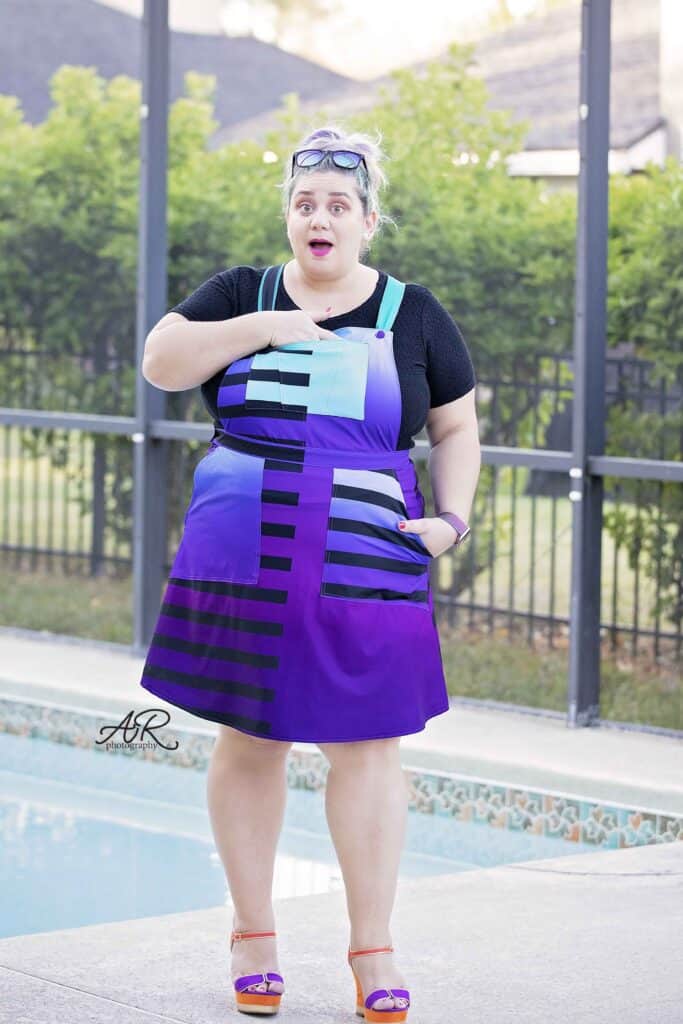
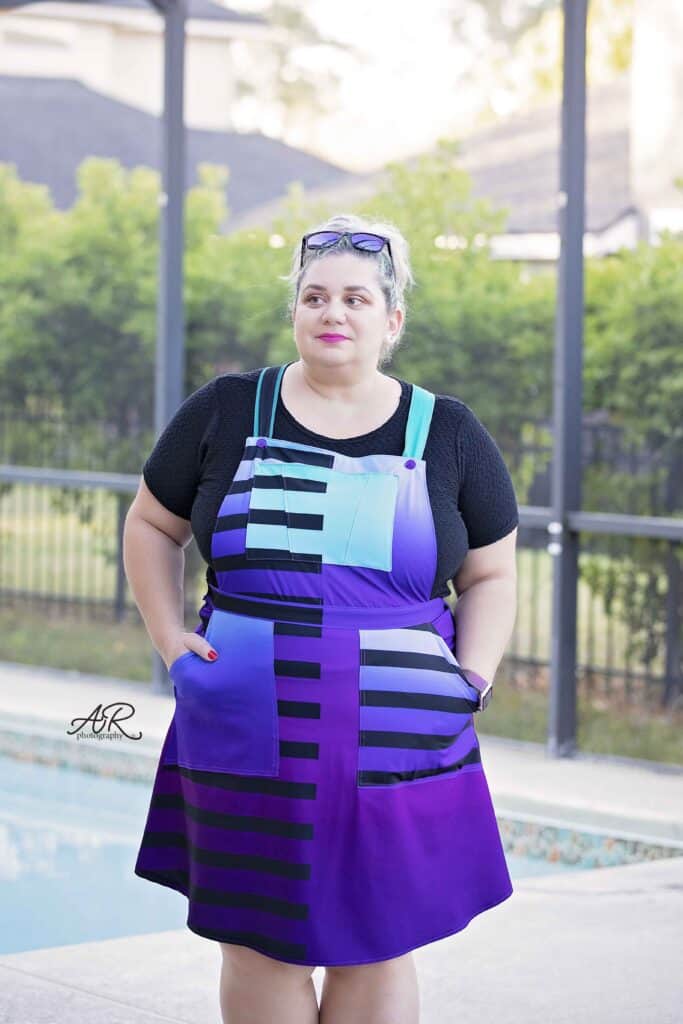
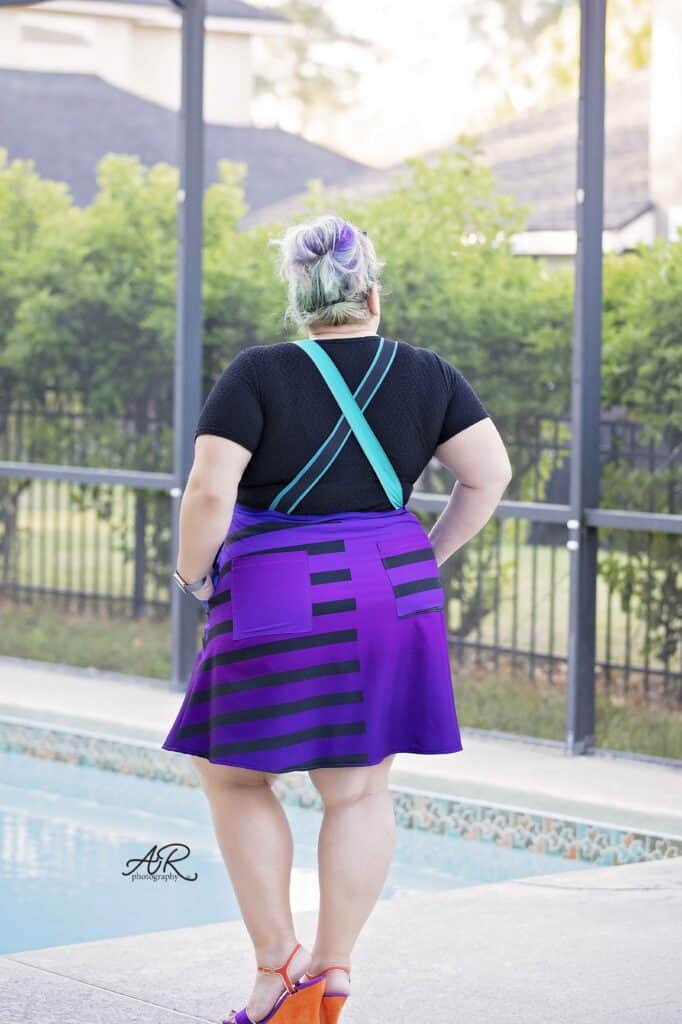
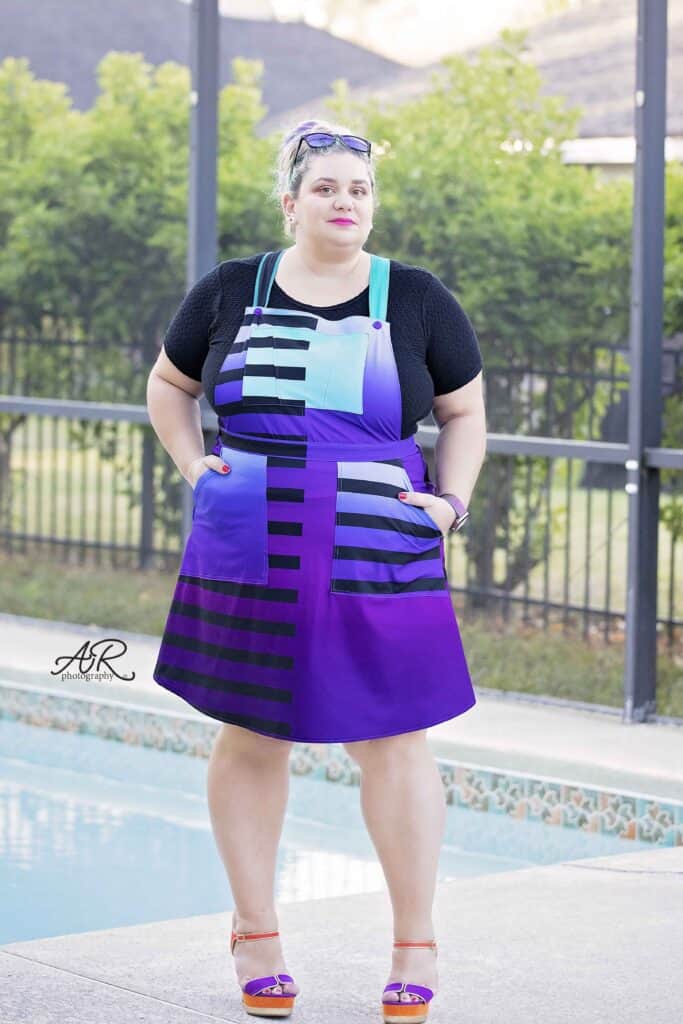
Good morning, pirates! We made it to the last day of our Vintage Jumper sew along. Today we put the finishing touches on the jumper by adding the 3 buttons and buttonholes as well as hemming the skirt/pants.
I start with the side button. If your machine came with the buttonhole foot attachment, grab it now. If not, you can manually make the buttonhole by marking the location and stitching a rectangle (the size of your button) with a tight zig zag stitch (also known as satin stitch). If you’re new to sewing buttons, check out our P4P University Buttons and Buttonholes blog, where I show you various techniques.
If you did not try on the jumper yesterday, do that now and mark where you would like the straps to be for best fit. Check out the Vintage Jumper Hacks blog where you will find a great alternative to the bib buttons. Rachel shows you (with a video too!!) how to add overall buckles instead!
Last step of the day is to hem the skirt or the pants. Ohh, and remember to give your finish garment a good press!
Check out today’s video below! Once you complete your project, add a picture of your jumper to the comments of day 6 photo of the sew along album. This is where the P4P team will look to select the winners for the sew along. I do encourage you to share your Vintage Jumper in the main group too so we can all admire it.
Vintage Jumper SAL | DAY 1 (cut fabric)
Vintage Jumper SAL | DAY 2 (Back darts, front & back pockets, crotch & in seam)
Vintage Jumper SAL | DAY 3 (out seam)
Vintage Jumper SAL | DAY 4 (straps, front bib)
Vintage Jumper SAL | DAY 5 (waistband)
Vintage Jumper SAL | DAY 6 (button holes, buttons and hem)


Leave a Reply