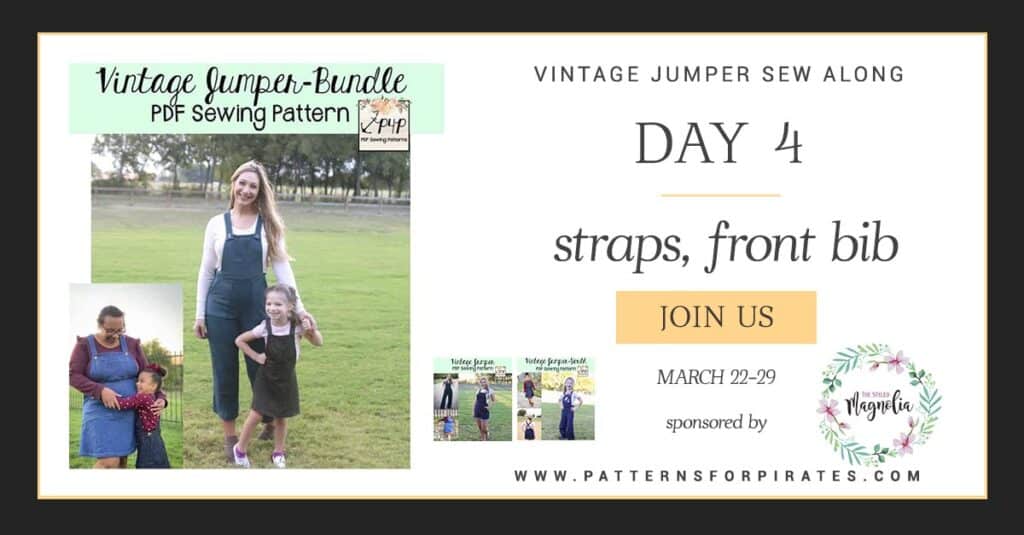
Good morning, pirates! Today we start working on the top part of the jumper. It features a cute bib and straps that attach to the waistband and bib.
The bib is lined and it has a fun color-blocked pocket. While the pocket is optional, I wouldn’t skip it. If you are making the youth Jumper you can add a cute embroidery, a monogram a heat transfer vinyl graphic, you name it! Another way to add a little something extra to the pocket is to do some decorative top stitching. So much opportunity for embellishments!
The pocket itself is not lined, however, I did decide to line mine because the fabric was thin enough. If you are using a heavier, thicker woven, don’t line it or use a thin fabric for the back. You can see how I did it in the video below.
When creating the two long straps, don’t forget to as some tricot interfacing to both the main and the lining. Sew each strap lining and main, right sides together along the 3 straight edges, not the slanted one with the notch. Using your favorite turning tool, turn your straps right side out, press and top stitch. That’s it! You have completed the steps for day 4. All you have to do now is add your check in photo to the sew along album on Facebook.
See you tomorrow!
Vintage Jumper SAL | DAY 1 (cut fabric)
Vintage Jumper SAL | DAY 2 (Back darts, front & back pockets, crotch & in seam)
Vintage Jumper SAL | DAY 3 (out seam)
Vintage Jumper SAL | DAY 4 (straps, front bib)
Vintage Jumper SAL | DAY 5 (waistband)
Vintage Jumper SAL | DAY 6 (button holes, buttons and hem)


Leave a Reply