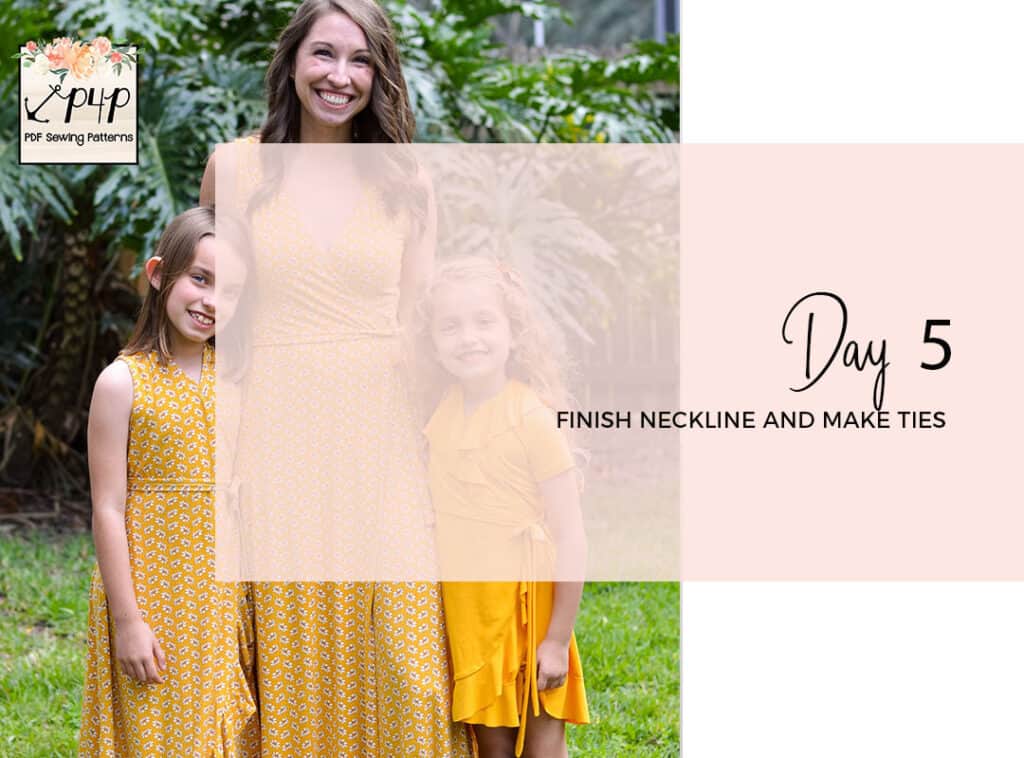
Ahoy, pirates! Today’s steps will be adding the neckline binding and creating & attaching the ties. Pretty easy! Start by pressing the binding 1/4″ inch along one of the long edges. Set that aside if you are adding the neck flounce.
Create the long neckline flounce by sewing the pieces right sides together as instructed in the pattern. Make sure you attach the flounce 1/2″ away from the ends. Once this step is completed, add the neckline binding right sides together with a 1/4″ seam allowance. Remember, the binding is not visible on the outside of the dress.
Last thing we need to do today is to create the two ties. Take the long tie and fold it in half, lengthwise, right sides together. Sew along one of the short ends and the long one, turn inside out. It is very important that you attach the long tie to the side where you have the side opening.
Day 5 video is posted below, take a look. When you finished today’s steps post a picture of your progress in the comments of day 5 photo of the Flutter Wrap sal album in the M4M/P4P Sew Along group on Facebook.
Flutter Wrap SAL day 1 | Print and cut pattern
Flutter Wrap SAL day 2 | Cut fabric
Flutter Wrap SAL day 3 | Sew back, shoulder and side seams
Flutter Wrap SAL day 4 | Sew sleeves or tank binding
Flutter Wrap SAL day 5 | Add neckline binding and waist ties
Flutter Wrap SAL day 6 | Finish skirt


Leave a Reply