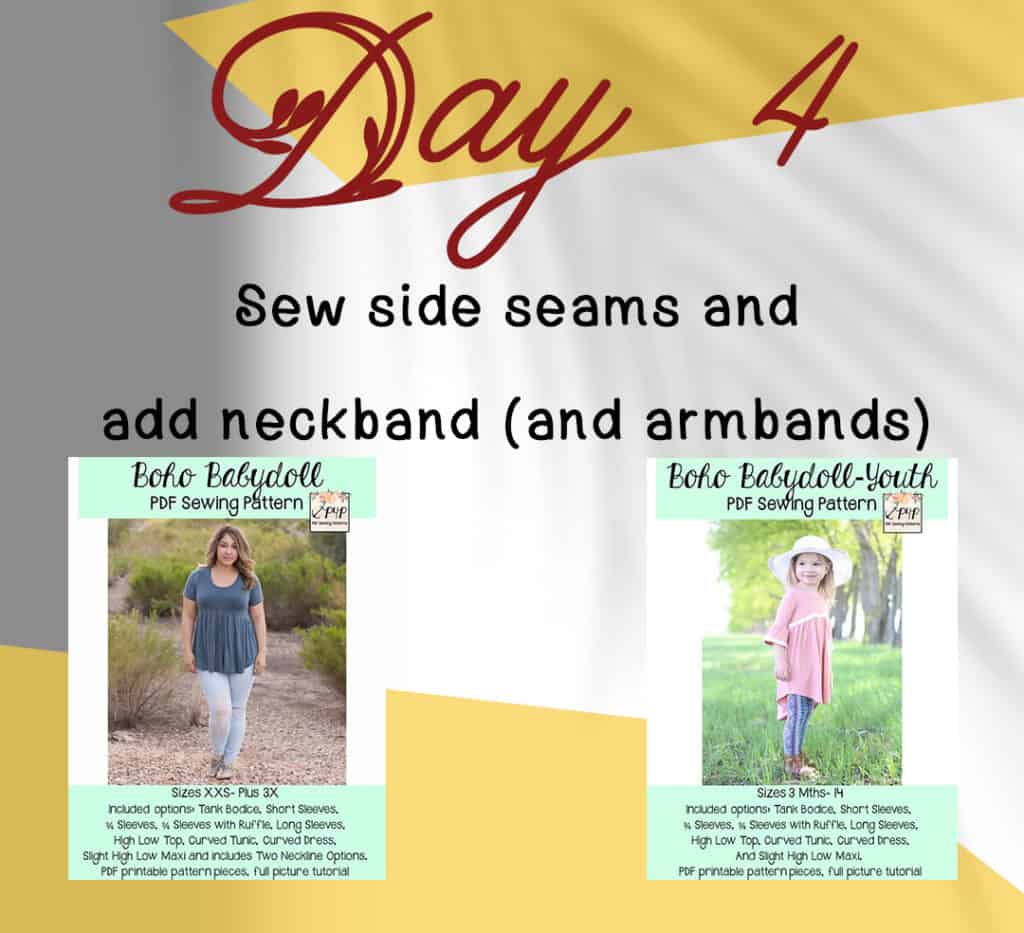
We made it to the half way mark of our Boho Babydoll sew along! That was fast! Today we’ll be sewing the side seams and adding the neckband and armbands (if you picked the tank option).
When sewing the side seams, pin the front to the back of the shirt, right sides together. I like to pin the armpit first, then the end of the sleeve and the bottom and finally add a few pins or clips in between. Whether you are making the long sleeve, 3/4 or short sleeves (like I am) the technique is the same.
Whether you chose the high or the low scoop neckline, take a look over our P4P University Neckbands 101 before you start sewing.
In the video below I show you how to sew the side seams and add the neckband using a serger / coverstitch machine. When you finish these steps be sure to post a picture of your progress (finished bodice) in the comments of the Day 4 photo (album is in the M4M & P4P Sew along group)
Boho Babydoll Sew Along | Day 1 (print and cut pattern)
Boho Babydoll Sew Along | Day 2 (choose and cut fabric)
Boho Babydoll Sew Along | Day 3 (sew shoulder seams and sleeves)
Boho Babydoll Sew Along | Day 4 (Sew side seams, add neckband and armbands)
Boho Babydoll Sew Along | Day 5 (prepare skirt and attach it)
Boho Babydoll Sew Along | Day 6 (hem skirt and sleeves)


Leave a Reply