Let’s get to it, my Pirate friends! This my favorite time of the year: HALLOWEEN!! It’s full of kitchy decorations, creative costumes, and lots of sewing (at least for me!) and is also the start of the holiday season.
We are all treats and no tricks this year, by giving you a quick and easy Trick or Treat Bag that you can whip up in no time for your littles — or yourself! It doesn’t take much fabric and is a great way to finally use up all of that fun cotton woven that you keep buying while browsing the fabric store, without any actual plan of what you’re going to make with it.
This tote is meant to be made with woven (non-stretch) fabrics. You will need a little under 3/4 Yard of the main fabric, and 1/2 Yard of the lining fabric. This bag ends up being reversible — so if you can’t decide between fabrics (which we couldn’t at all….the prints this time of year are SO CUTE!!), you can use it one way, and then turn it inside out and use it again. It’s like two bags in one!
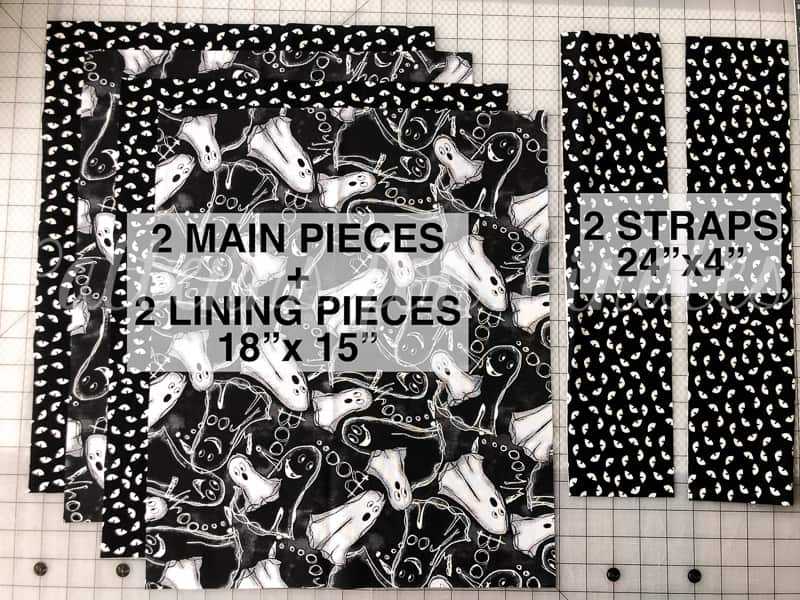
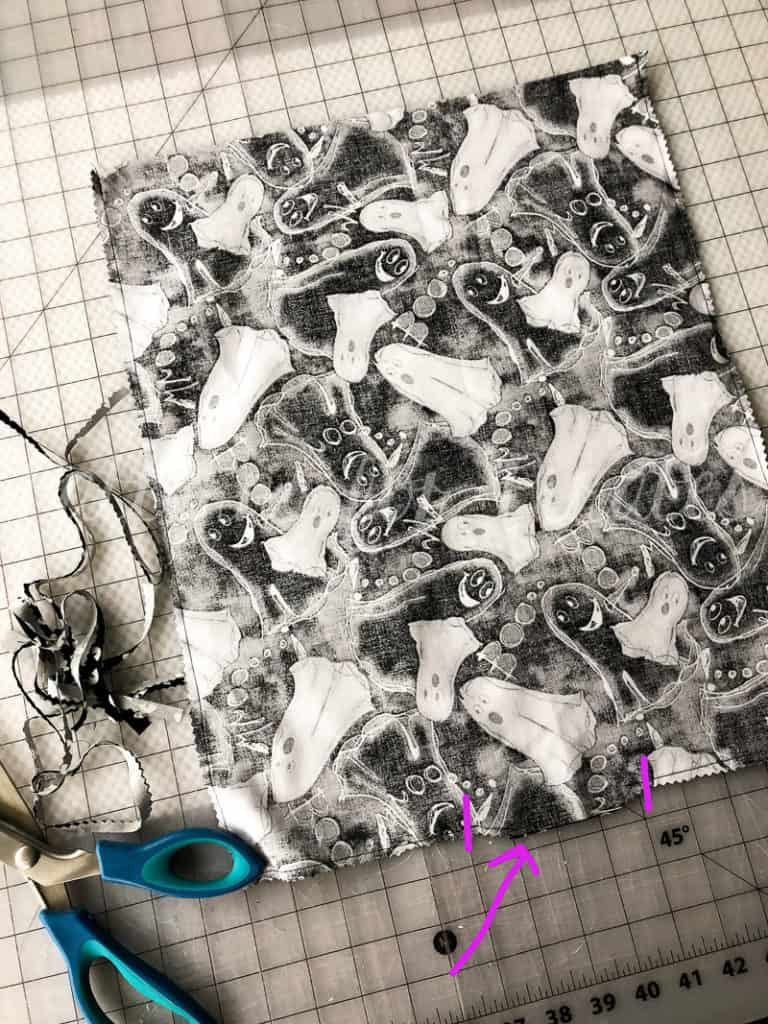
Step 1: Cut 2 Main Fabric pieces and 2 Lining Pieces 18″ long x 15″ wide. Cut 2 Straps 24″ long x 4″ wide.
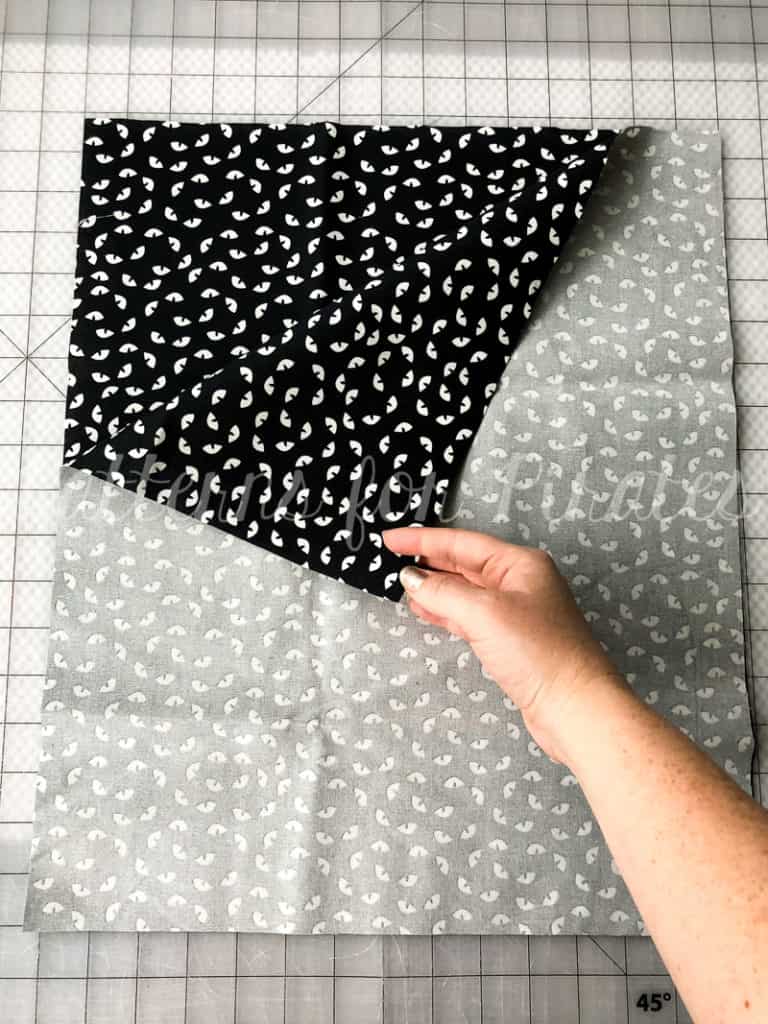
Step 2: Lay main bag pieces, right sides together.
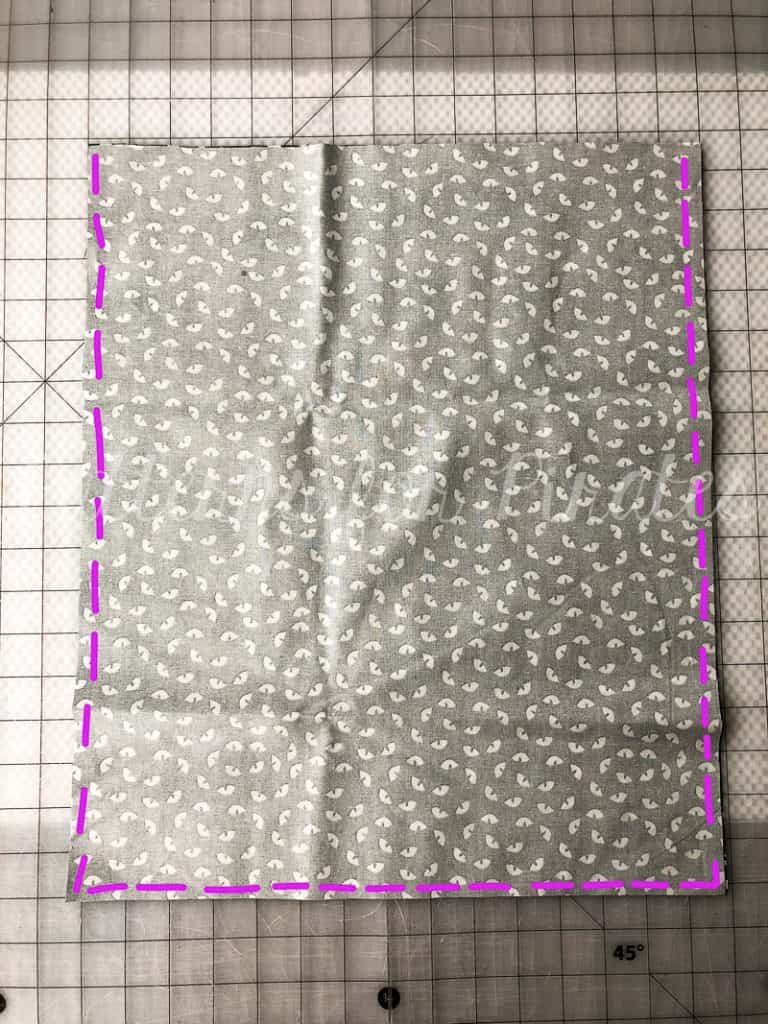
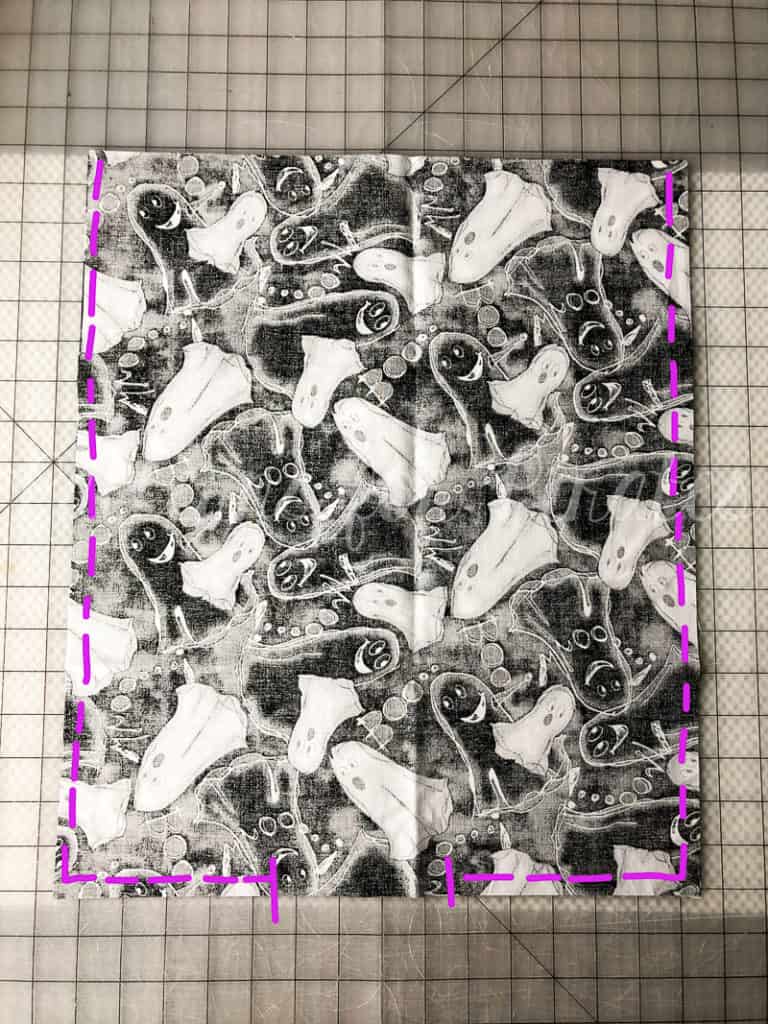
Step 3: Using 1/2″ seam allowance, sew along the side and bottom edges.
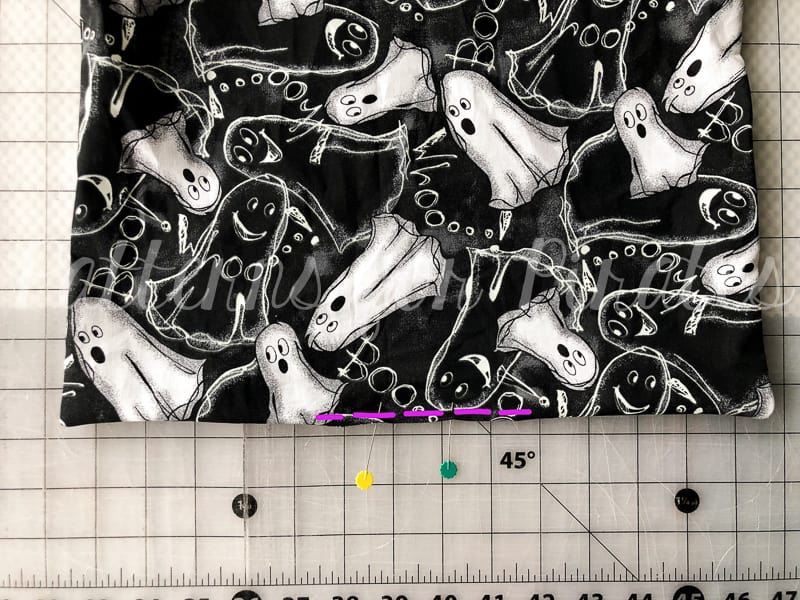
Step 4: Repeat Steps 2 + 3 with lining fabric, only this time leaving a 3-4″ opening in the middle bottom for turning.
Step 5: Trim seam allowances and corners on both main and lining pieces. Be careful not to clip through your seams, and leave the allowance on the opening of the lining piece. Set aside main and lining bag pieces for now.
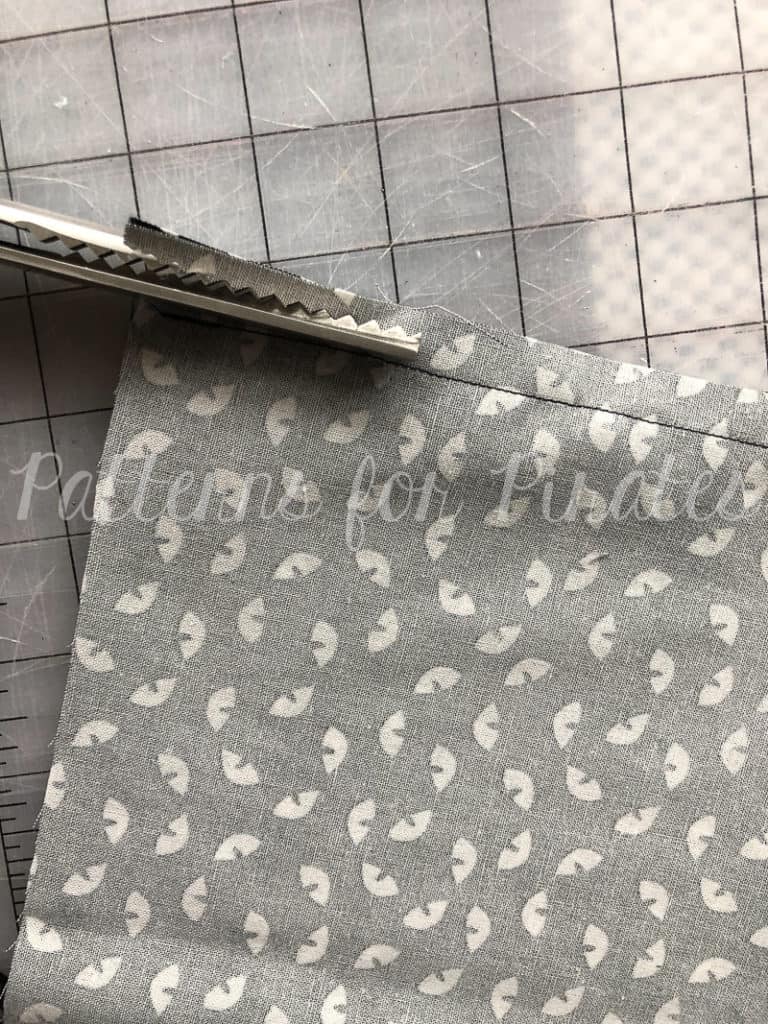
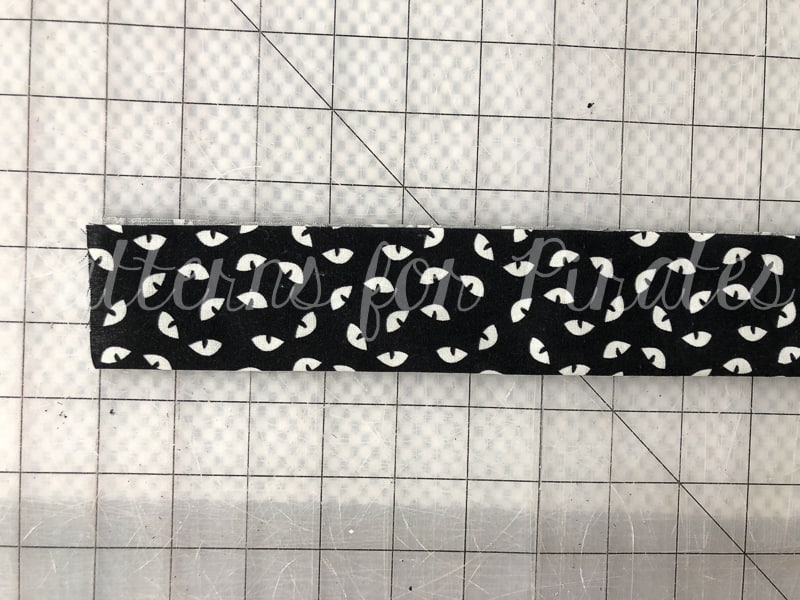
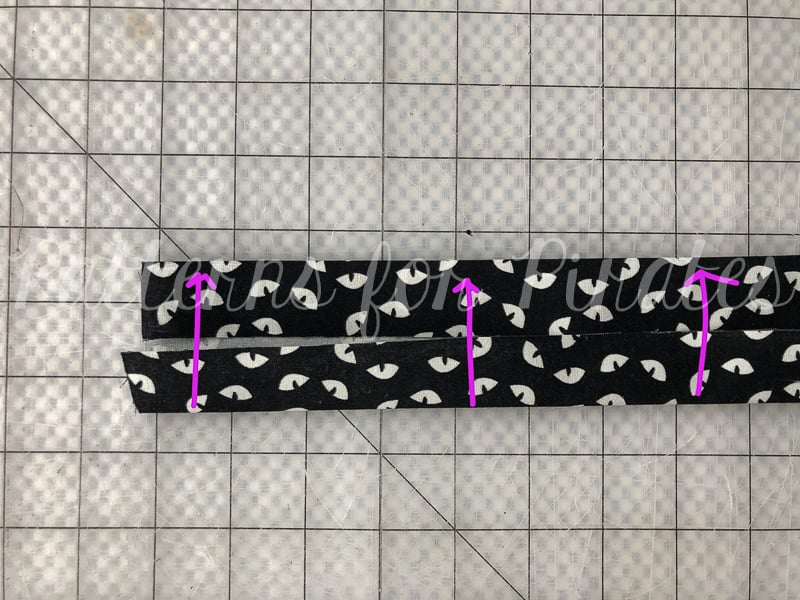
Step 6: With one of your strap pieces, lay with wrong side facing you. Fold in half, meeting the long edges together. Press.
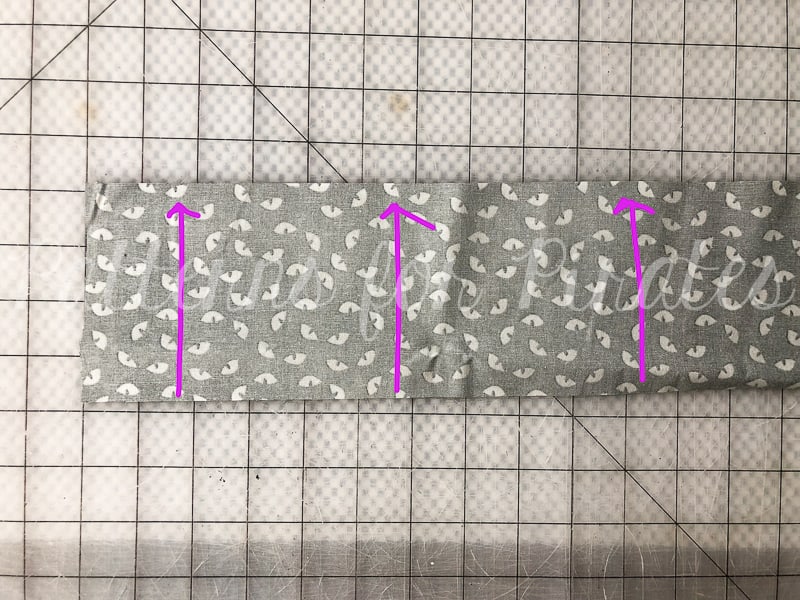
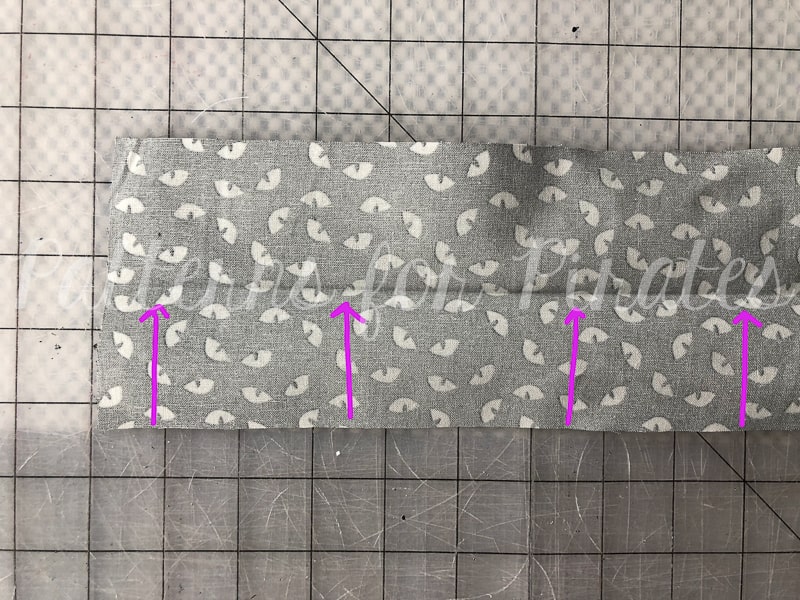
Step 7: Open up your piece and fold one of the raw edges toward the middle crease you just made.
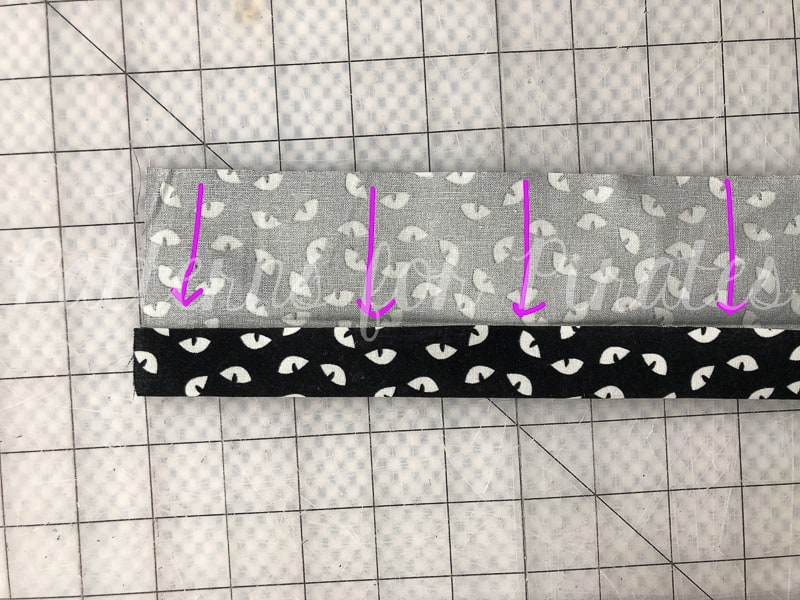
Step 8: Repeat with the second raw edge. Press.
Step 9: Fold along middle crease, meeting both folded edges. All of your raw edges will be fully enclosed now.
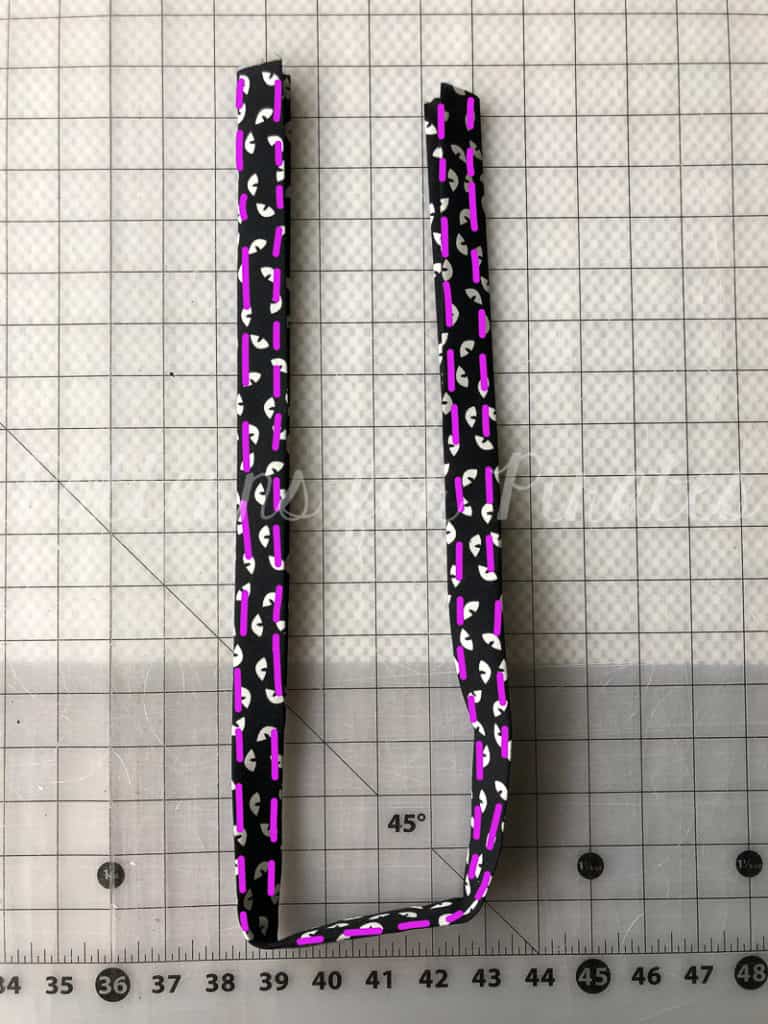
Step 10: Press you strap piece. Then edge stitch along both long, outer edges. Repeat with second strap.
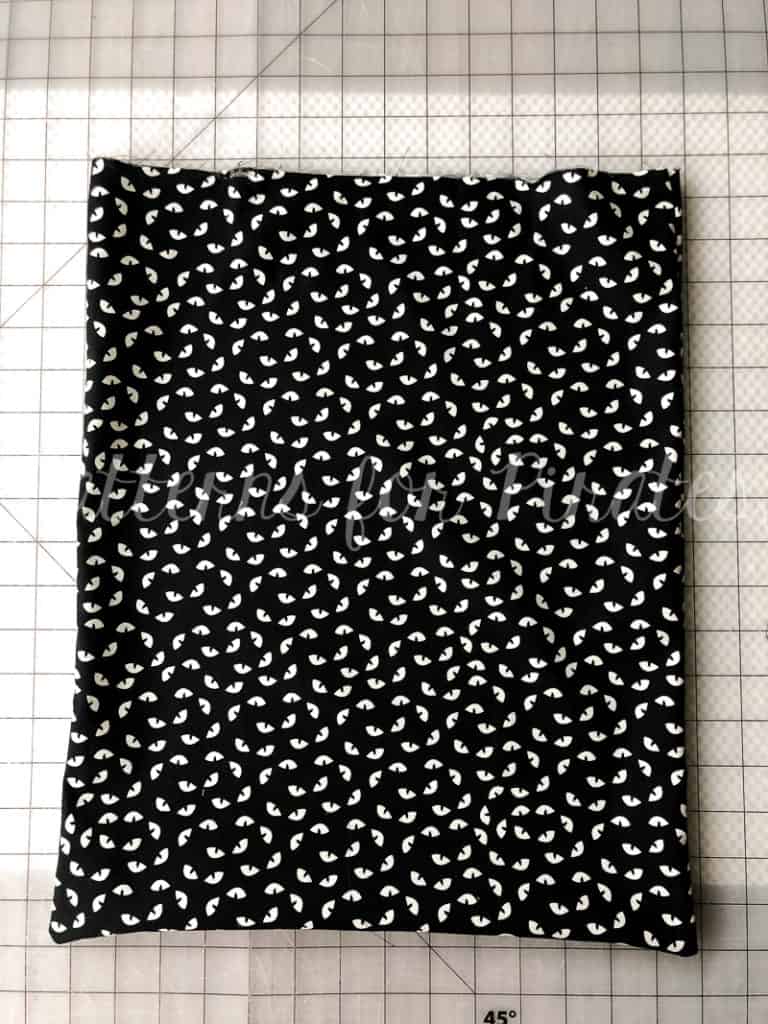
Step 11: Grab your main bag piece and turn right sides out.
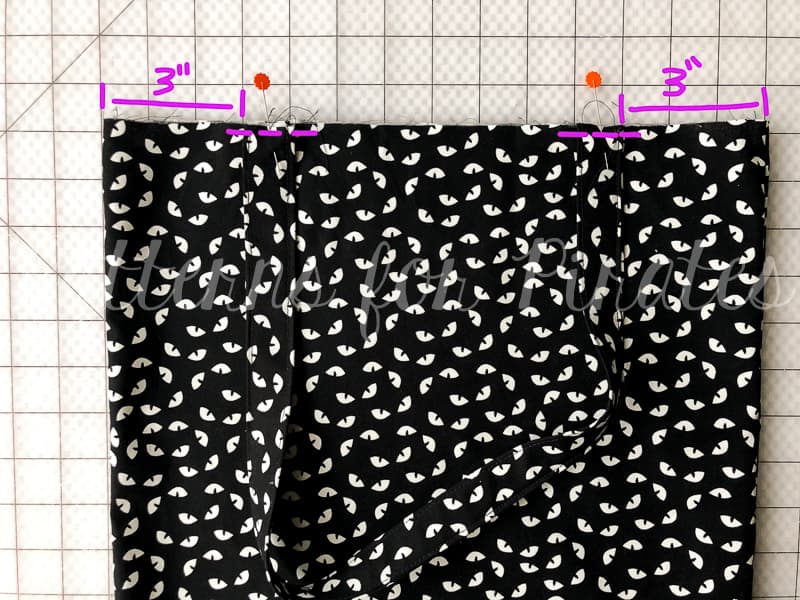
Step 12: Careful not to twist your strap, pin raw edges in place, measuring 3″ from the edge of your bag. Baste, using 1/4″ allowance. Repeat on other side of main bag piece, using the other strap.
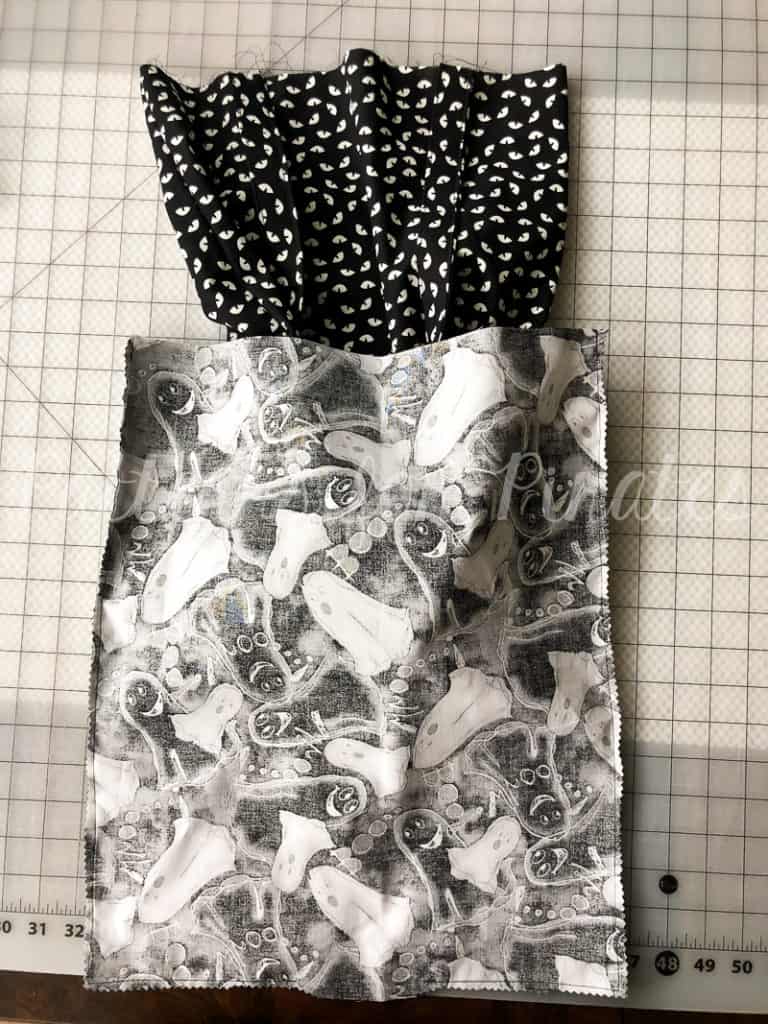
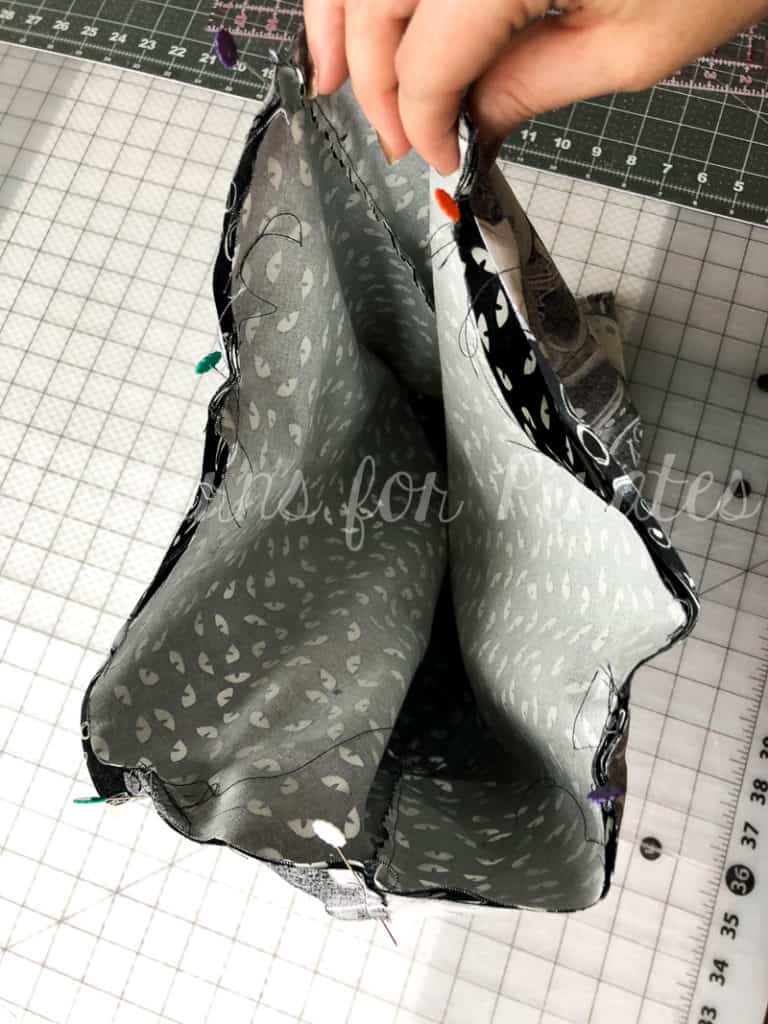
Step 13: With your main bag piece (with straps now basted onto it) right sides out, and lining piece wrong sides out, slide the main bag inside of the lining.
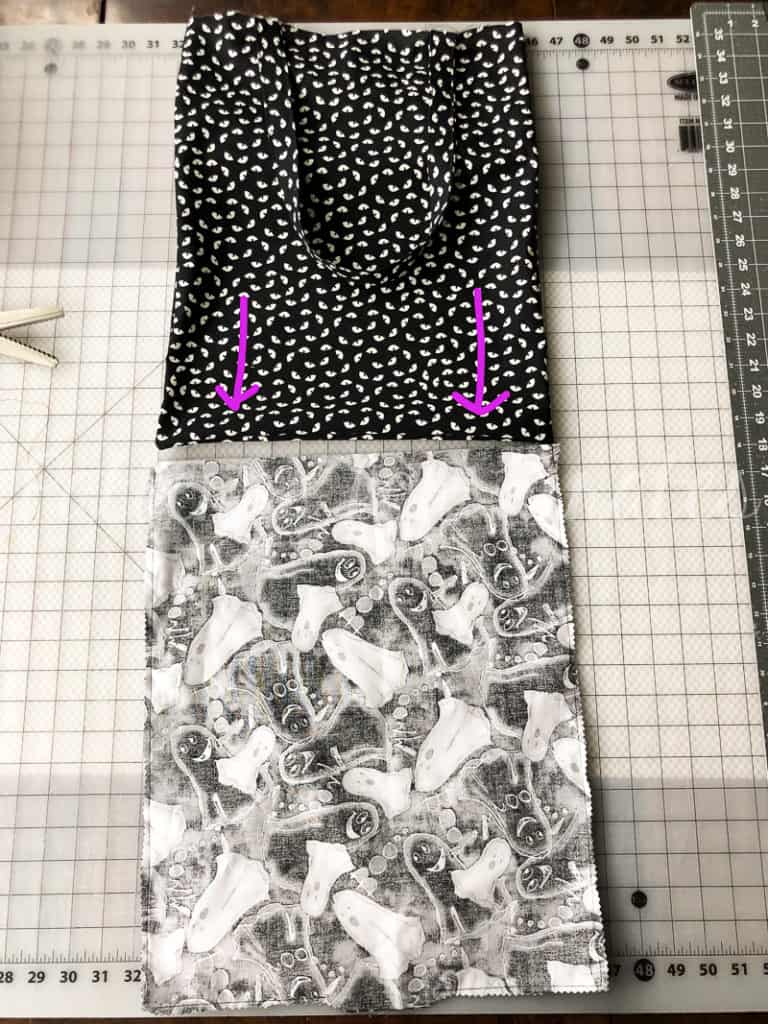
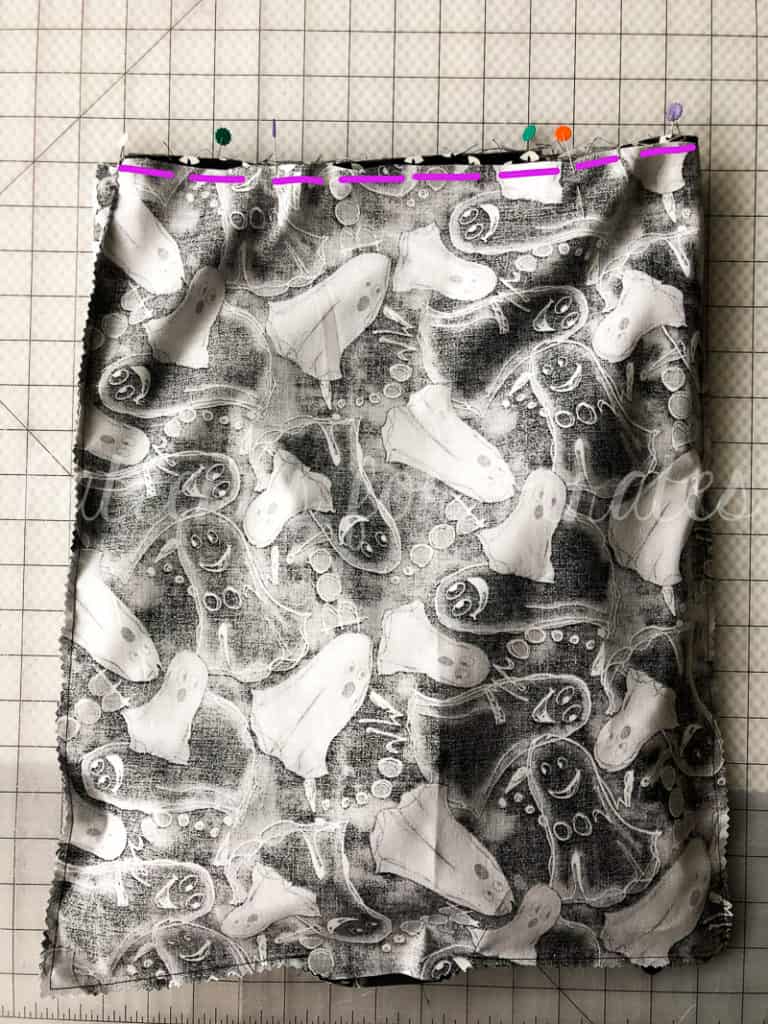
Step 14: Align raw edges and seams, and pin in place.
Step 15: Using 1/2″ seam allowance, stitch around entire top edge of bag.
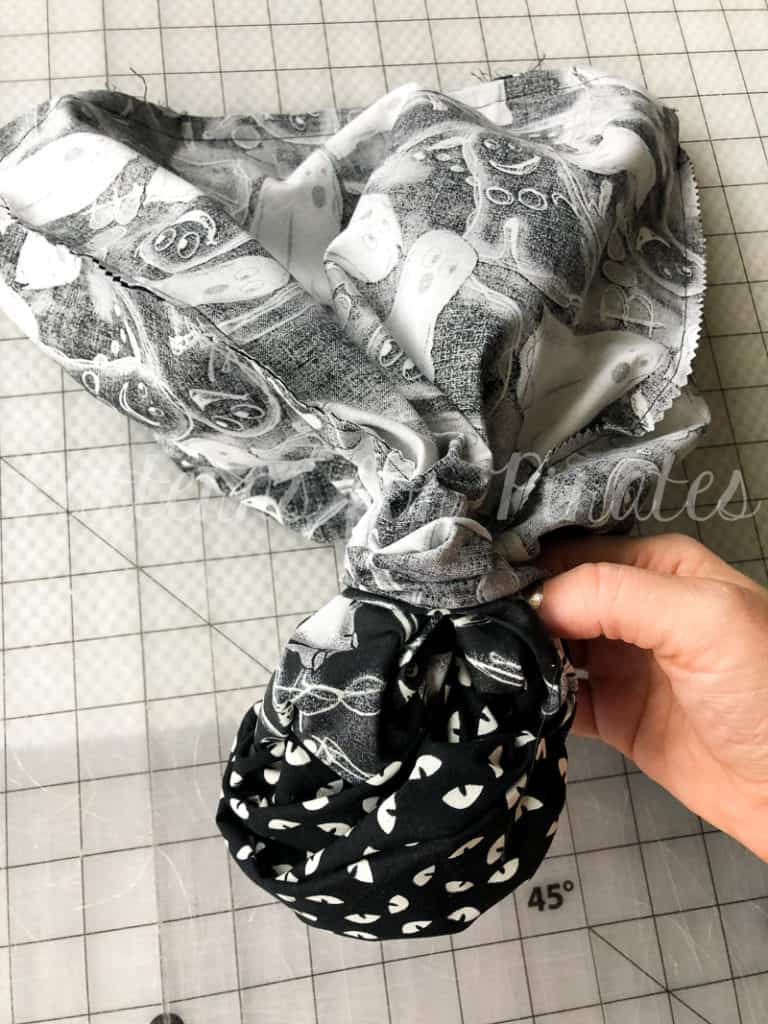
Step 16: Through the opening that we left in the bottom of the lining piece, turn your bag right sides out.
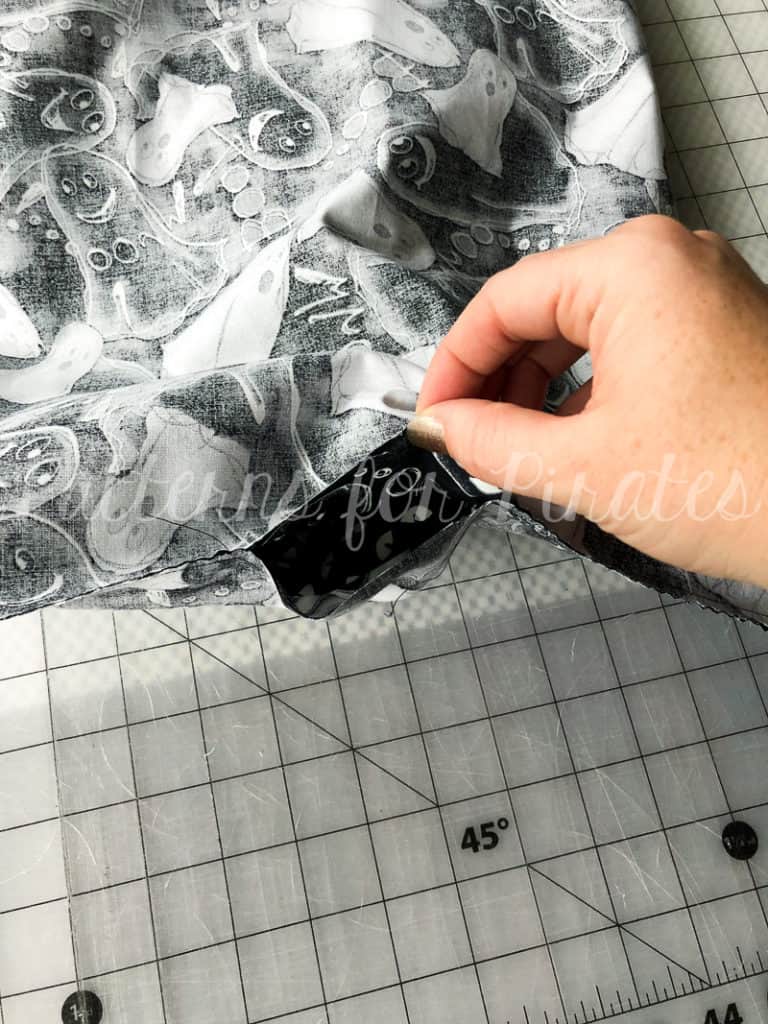
Step 17: Using your favorite stitch (I recommend doing a blind hand stitch), close the opening in the bottom of the lining piece.
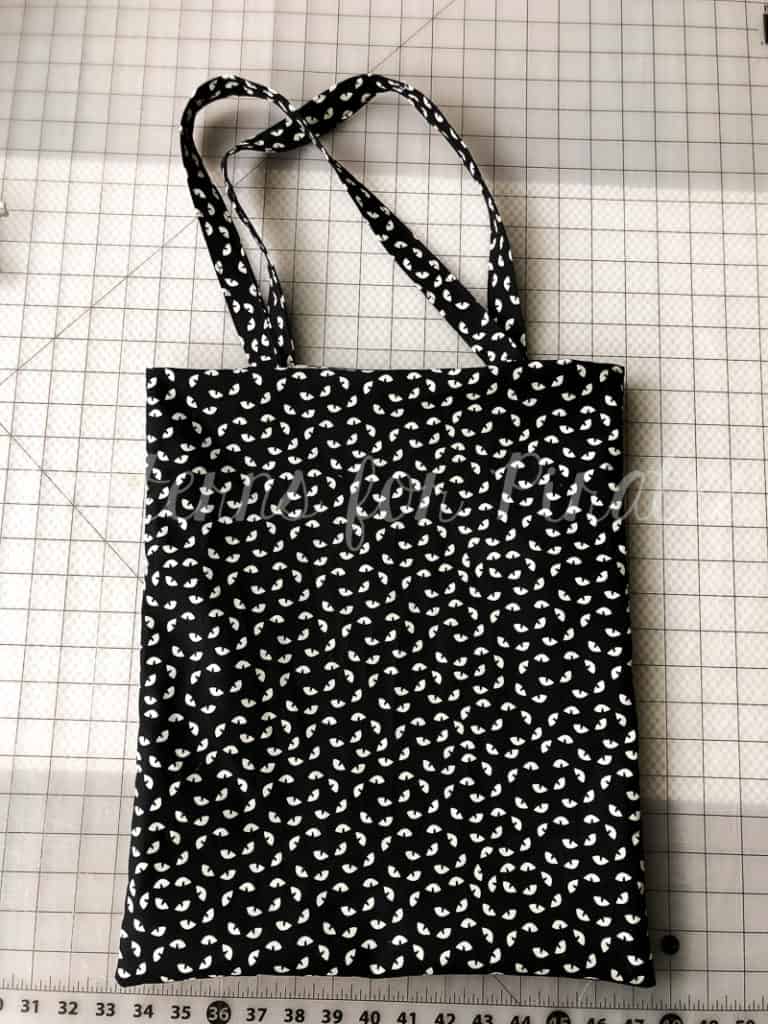
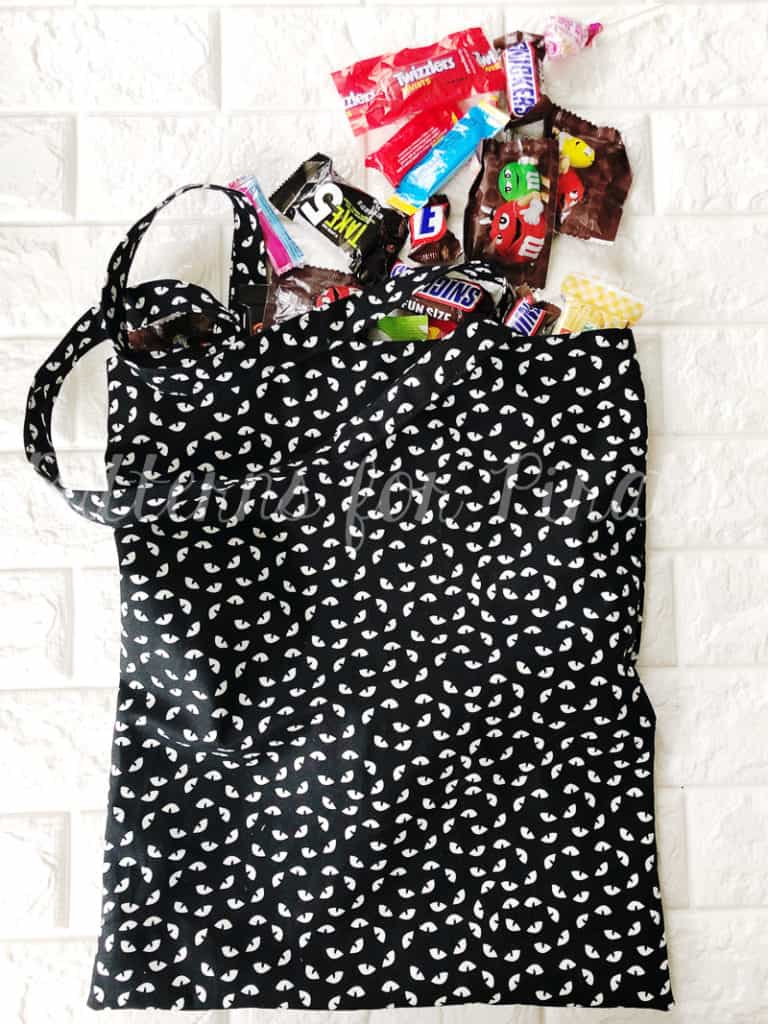
Step 18: Push lining inside of the main bag piece, press, and admire your new handiwork before your littles steal it and fill it with candy this Halloween!
Happy Halloween, friends! I’m loving all of the costume photos that have been rolling in so far. Can’t wait to see the rest of them (hopefully with some new P4P Trick or Treat bags in tow!)



I can’t find the pattern download 🙁 even after placing an order in shop, there is nothing to download 🙁
Oh yeah. Now I get it. No pdf. Sorry to bother.
i cant find the oattern???
If you’re looking for a download, there isn’t one. The pieces are all rectangular, and the dimensions and directions are all right here on this page. 🙂