LINED JACKET
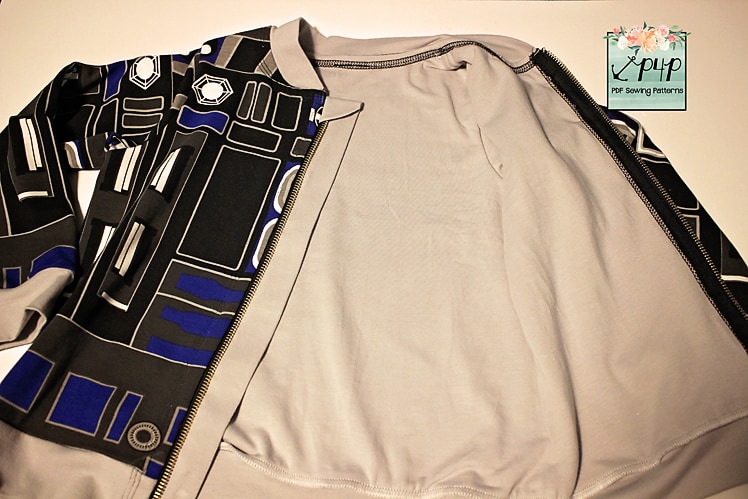
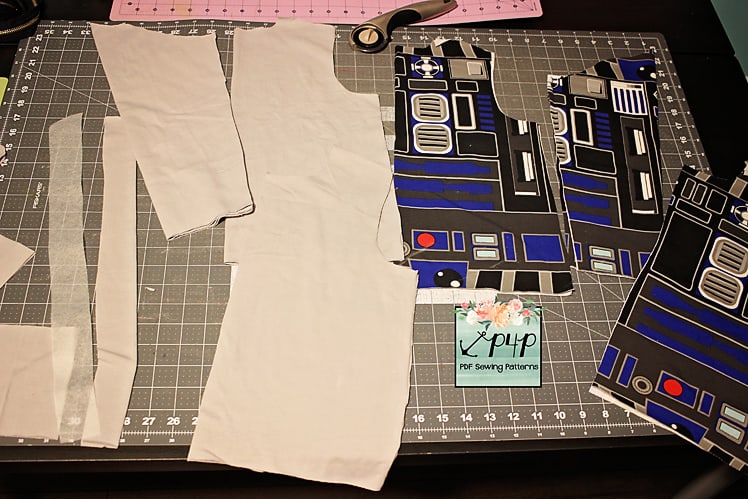
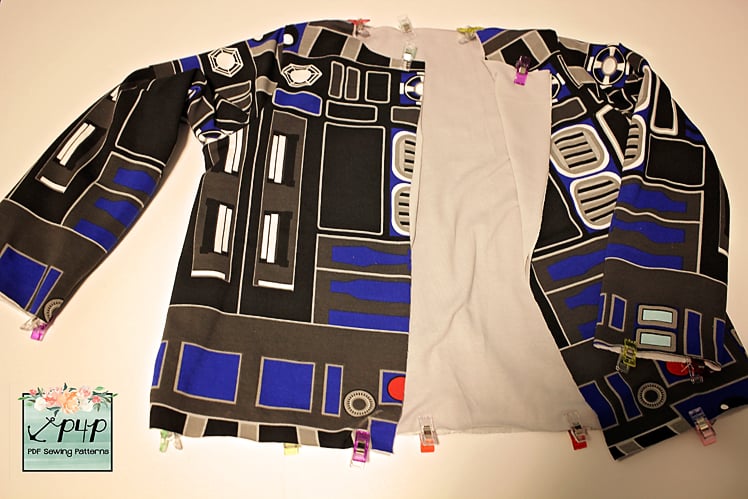
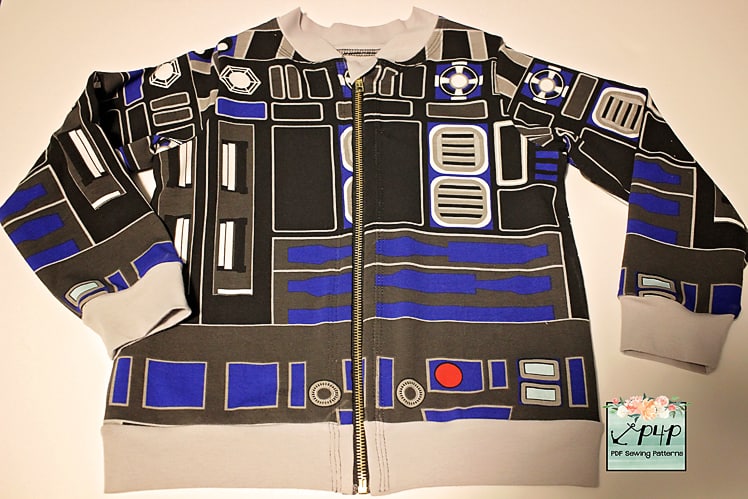
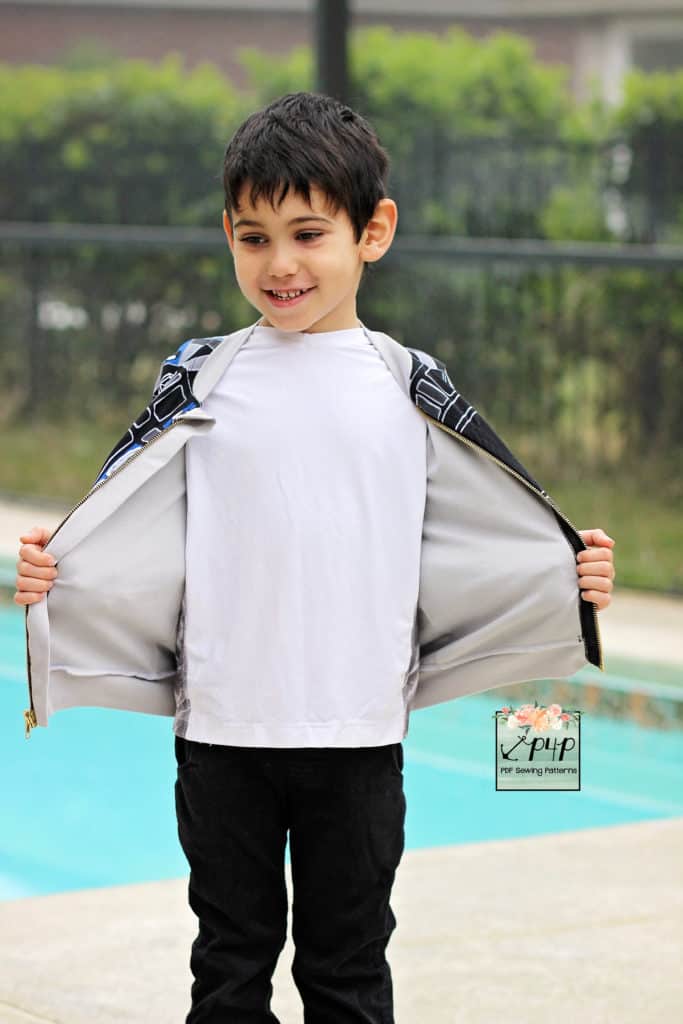
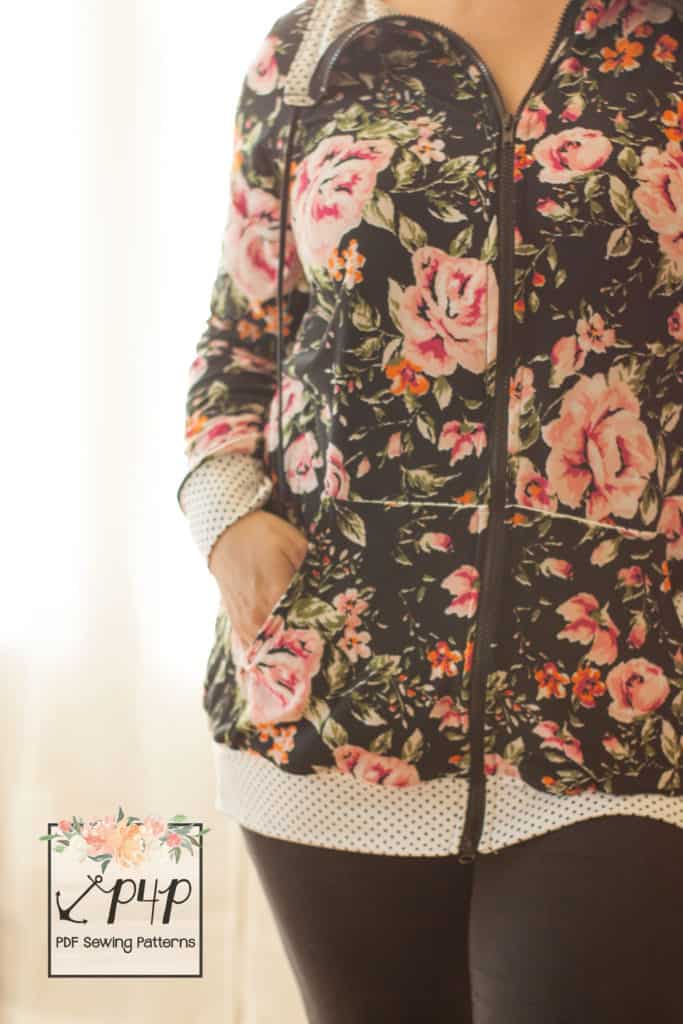
Love the look of the Go To Jacket but would like a warmer option too? No problem! Let’s line it! I like my jackets lined with cotton spandex but you can certainly use other knits if you prefer. Start by printing the pattern and cutting the desired style. You will be cutting two sets of front pieces (one main, one lining), two sets of sleeves and two back pieces (one main fabric, one lining). I chose the bomber style jacket with cuffed sleeves and no pockets. Should you decide to add pockets, you will only be cutting one set, for the main fabric.
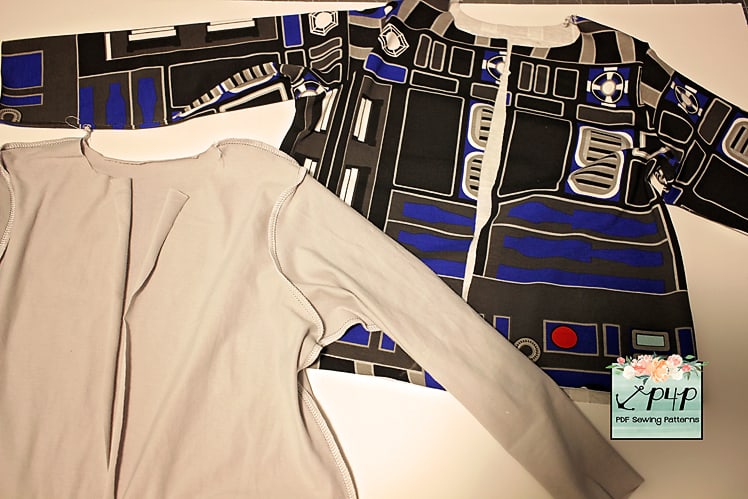
Sew the shell of the jacket (front, back and sleeves) as per the pattern instructions. Repeat with the lining.
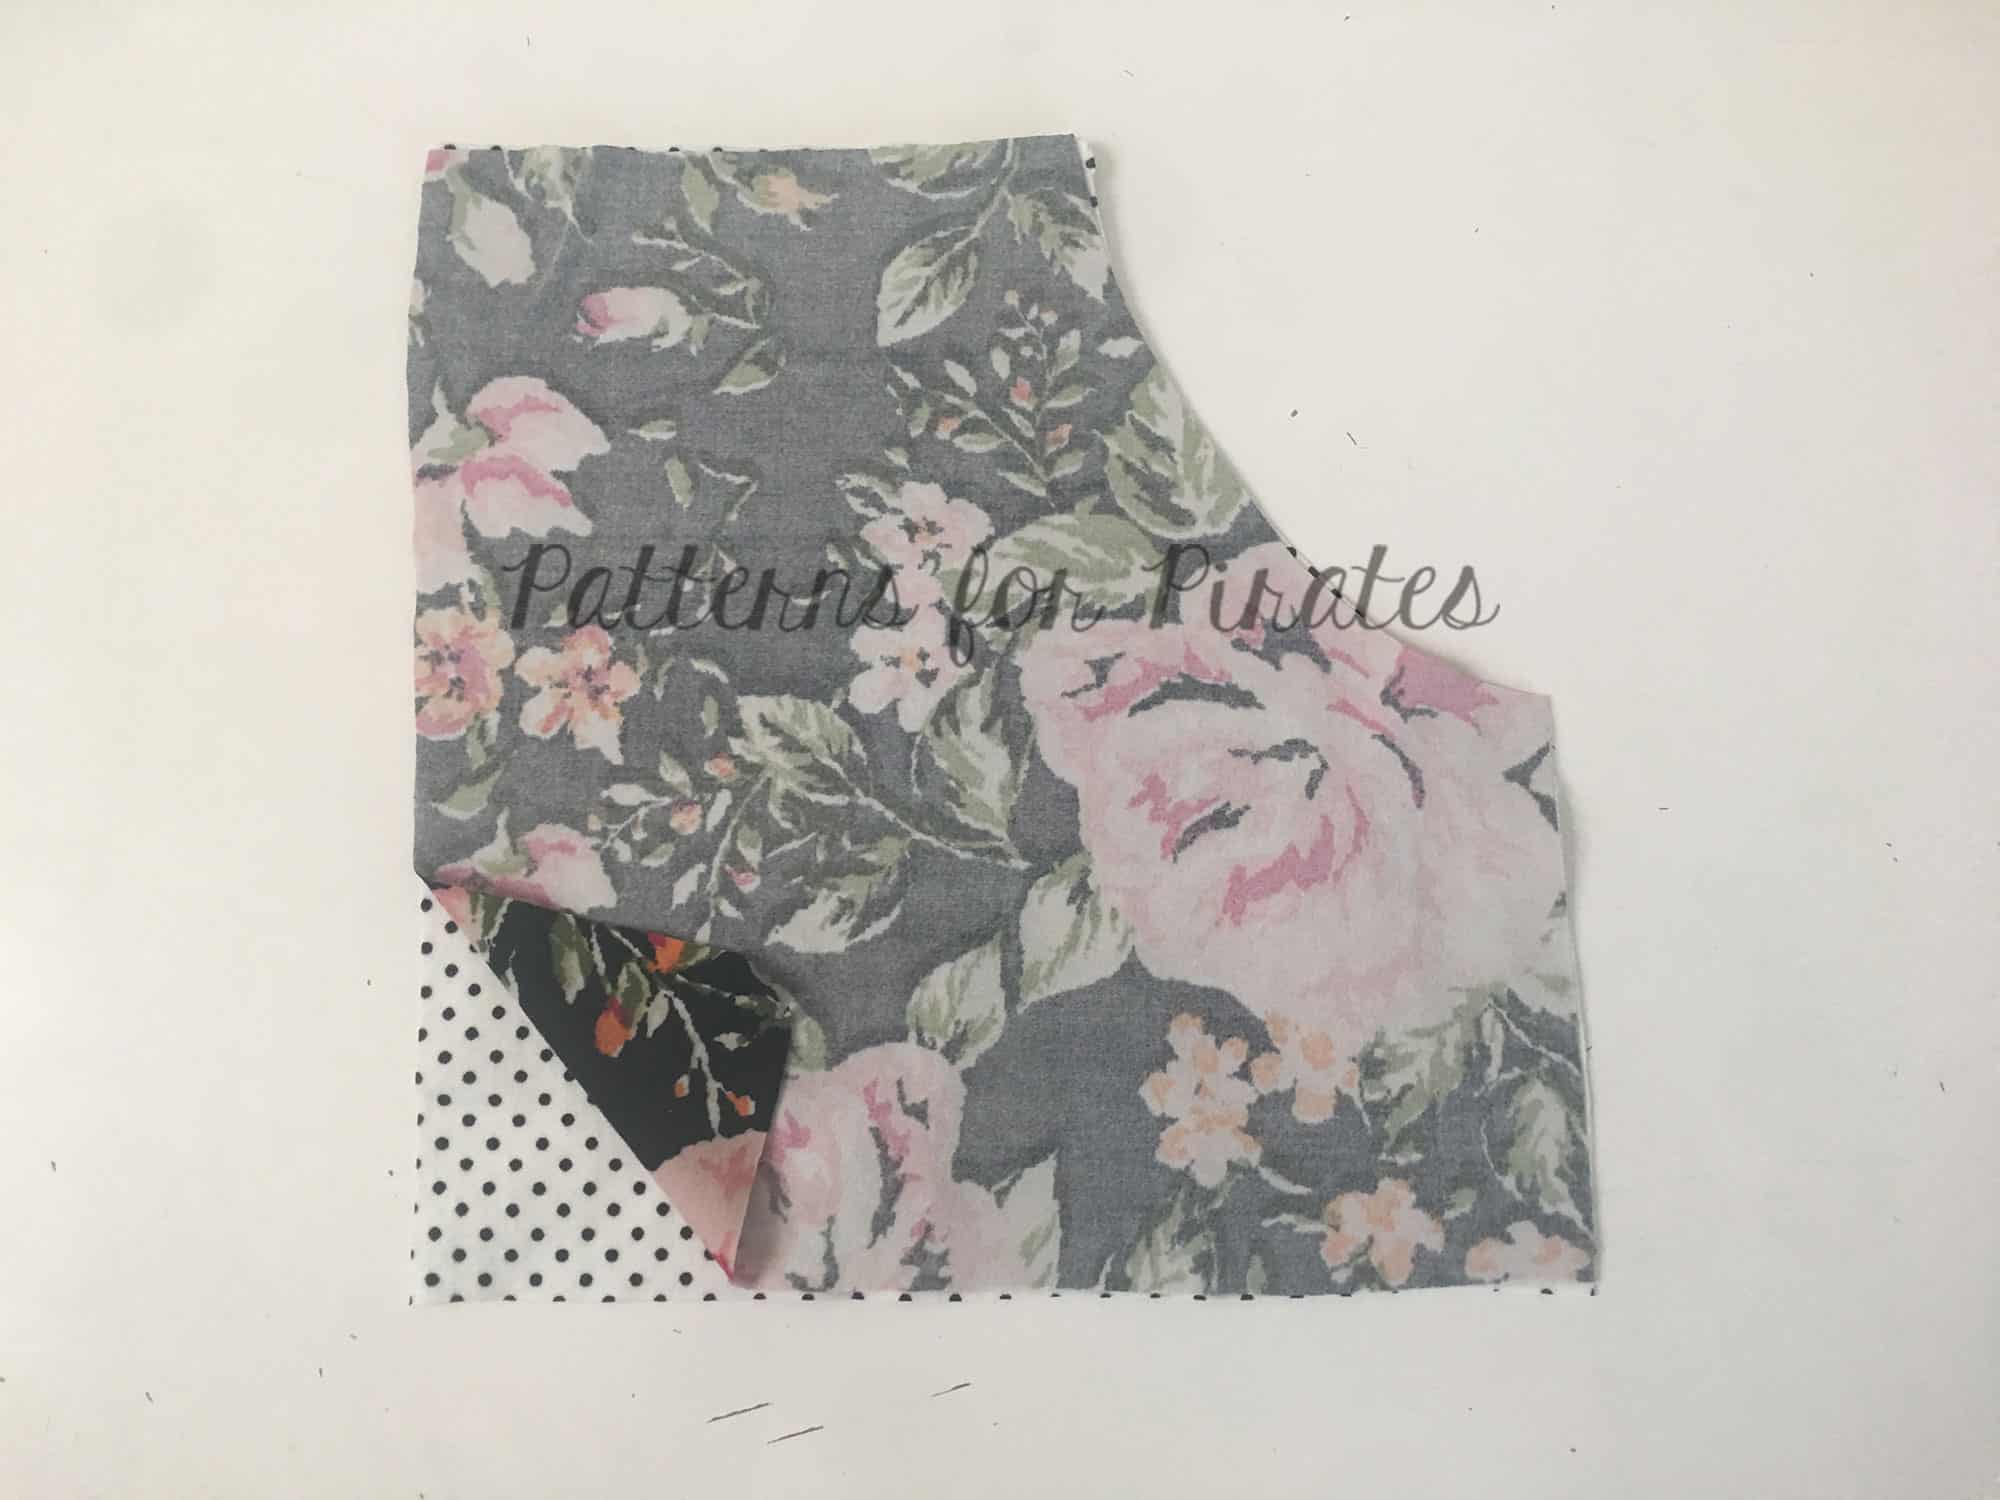
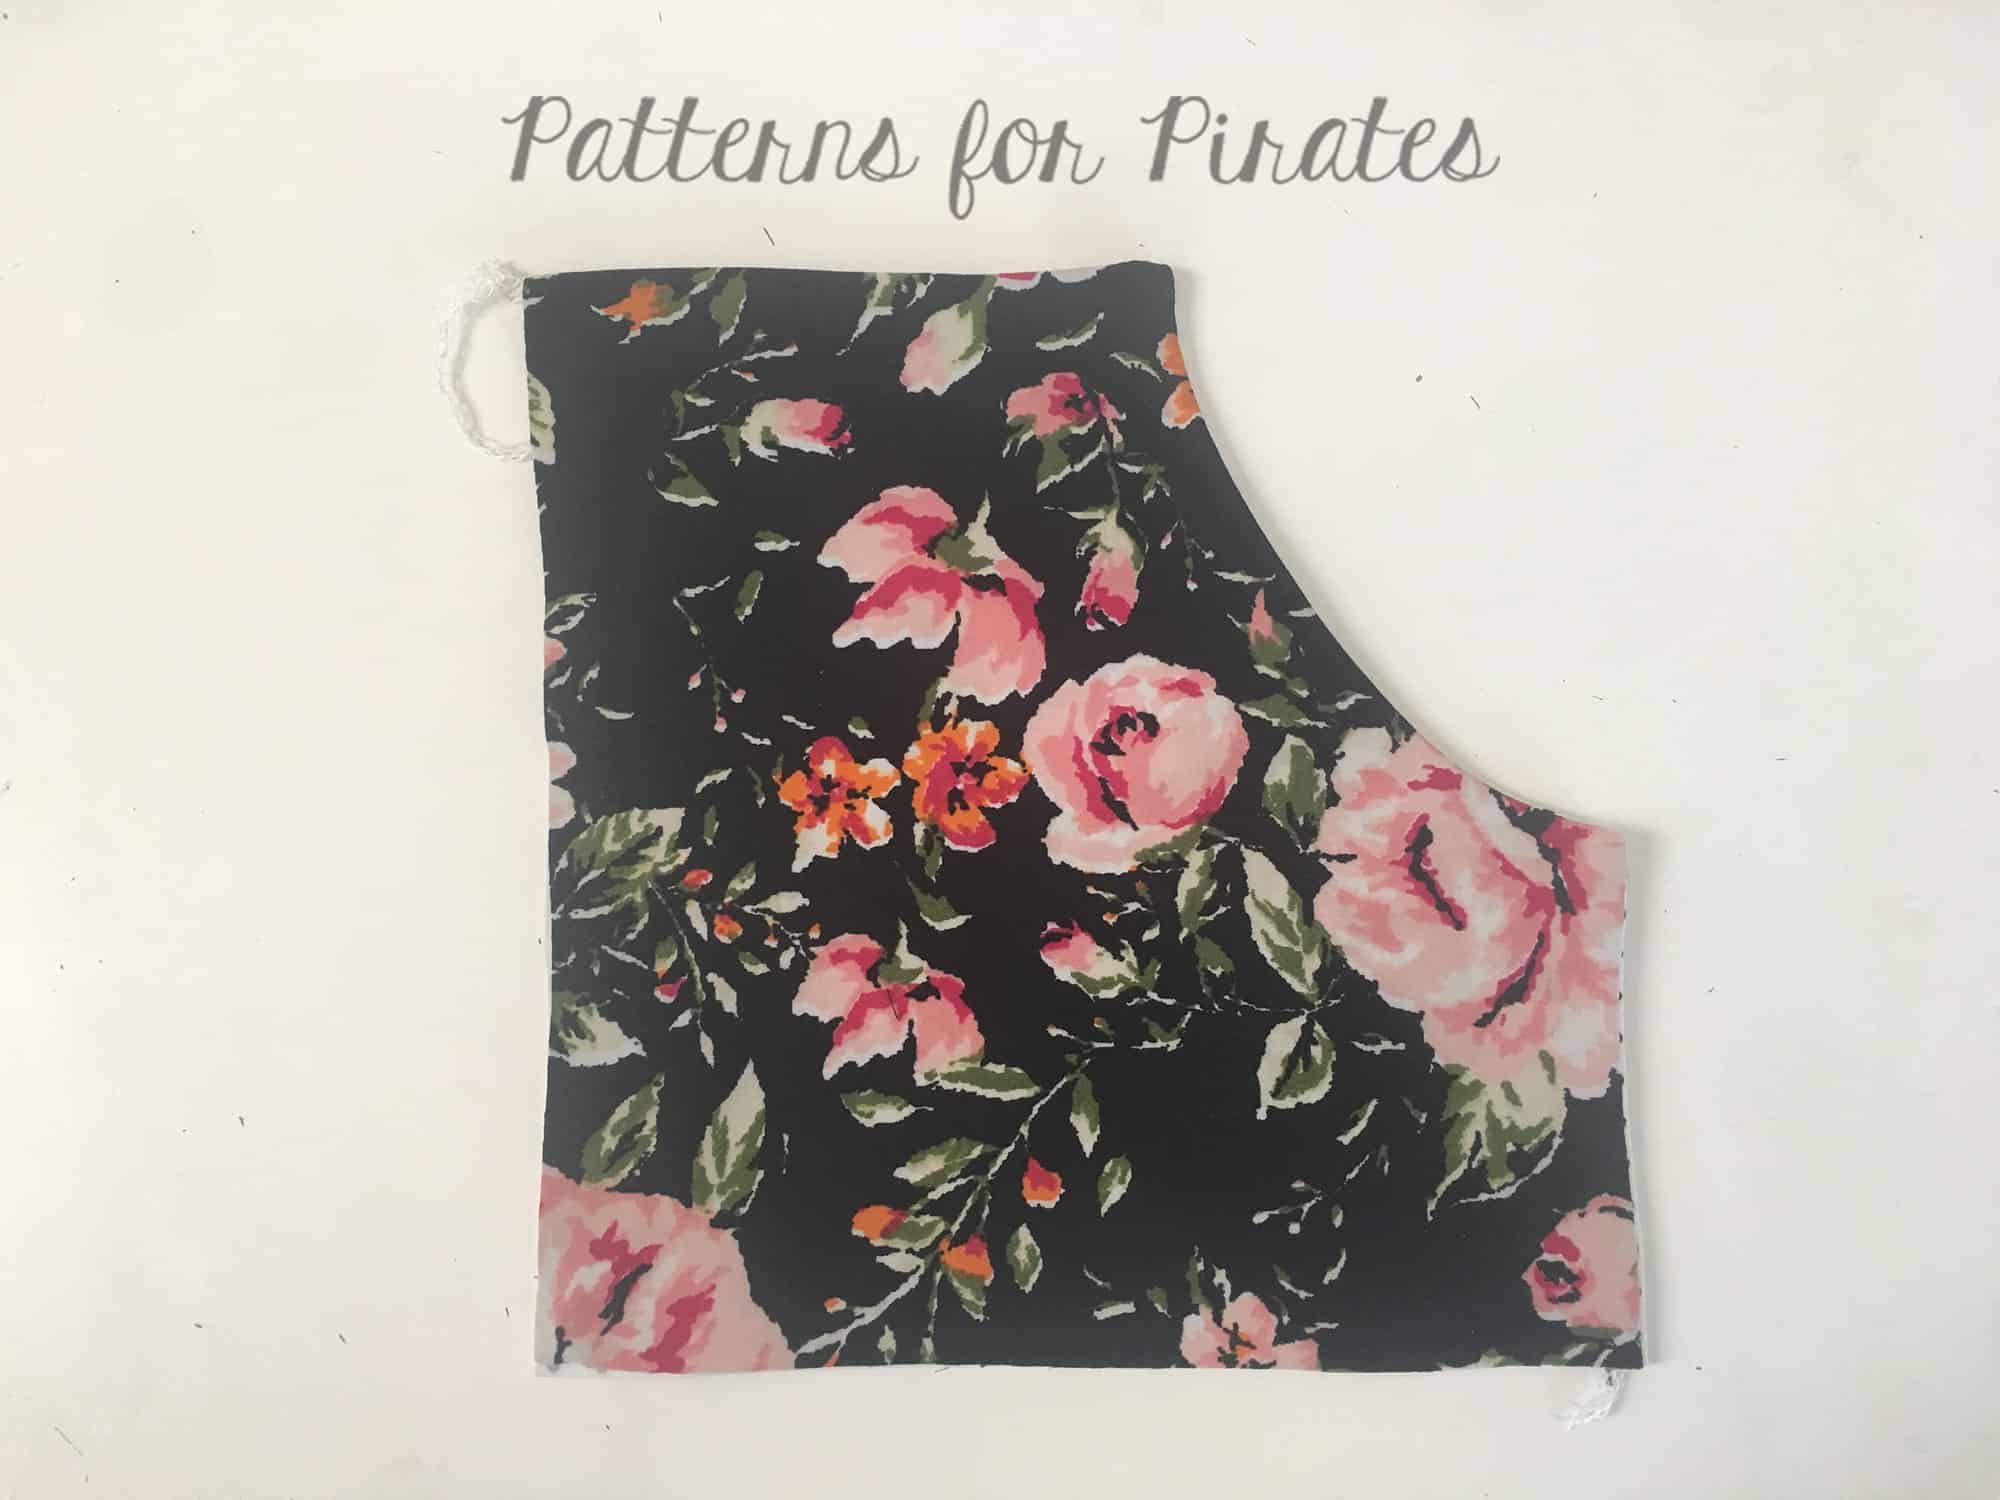
Insert the lining in the main jacket, wrong sides together making sure the side seams match. You can now basted all edges together or simply pin a lot to keep the fabrics together.
Going forward, you will be treating the two layers of fabric as one. Add the cuffs (or hem) to the sleeves, the waistband and the collar or hood.
Sew the zipper and the zipper guard as in the pattern tutorial. Give your jacket a good press and show it off! See how easy that was?
VEST
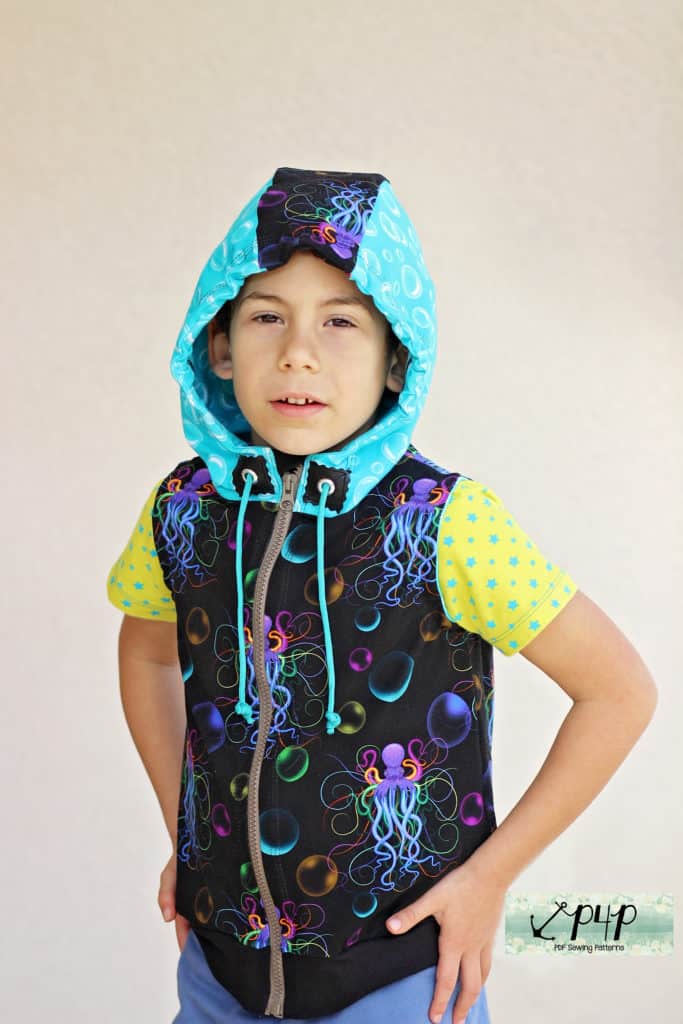
Now that we’ve shown you how to make the Go To Jacket work for cooler weather, let’s make it for warmer temps. And what better way than to hack it into a vest.
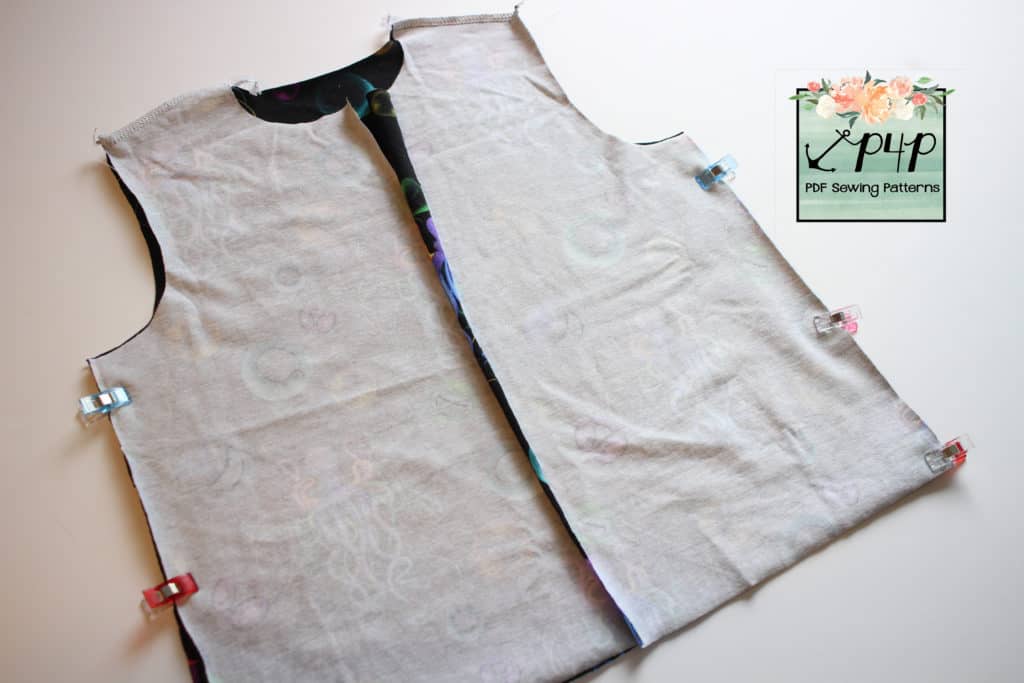
Cut the pattern pieces as you normally would, just skip cutting the sleeves, you won’t need them! Sew the shoulder seams, then the side seams.
Attach the hood or neckband and the waistband as in the tutorial.
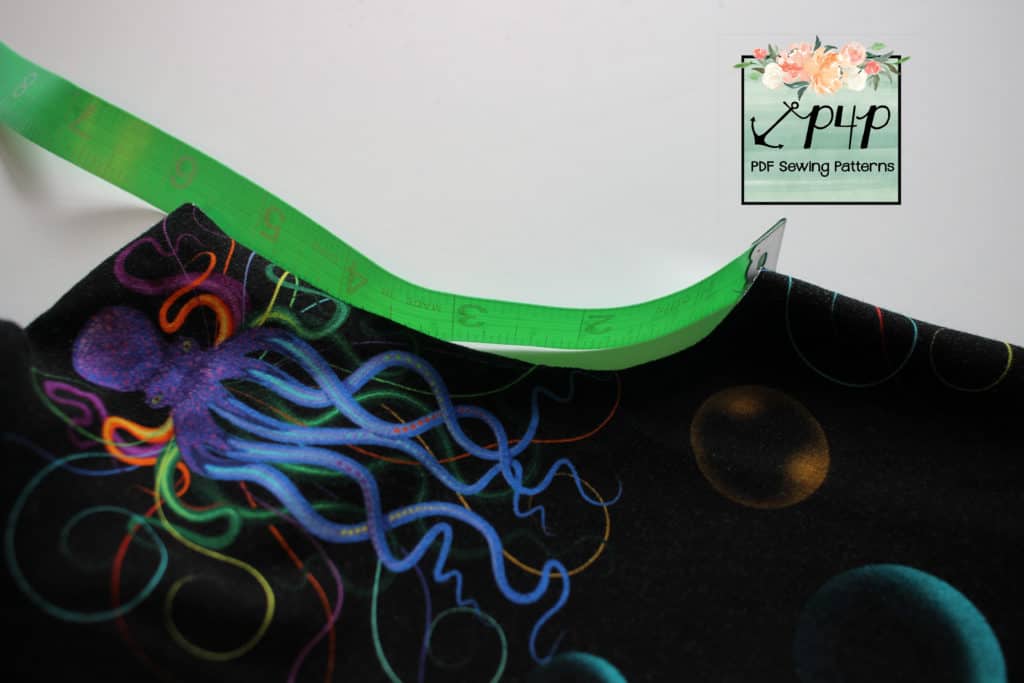
Using a measuring tape, measure the arm opening. For size 7 the arm opening is 11″. Cut two strips of knit fabric 1.5″ by the length you measured plus 1″ for seam allowance. In my case my two binding strips were 1.5’x12″. You can also you store bought single fold bias tape for binding the arm opening.
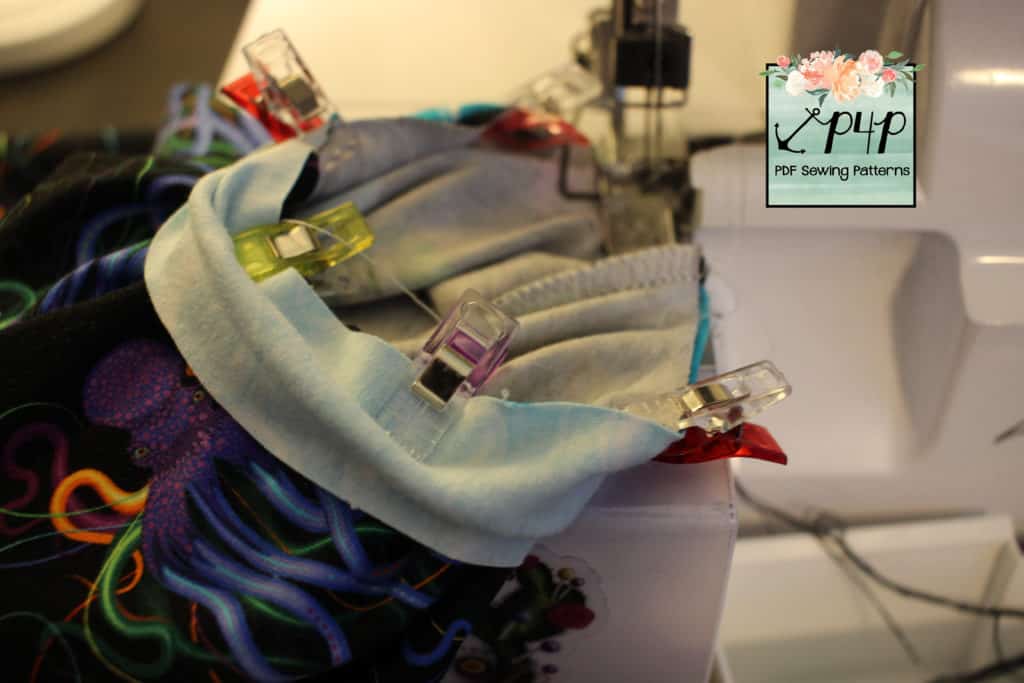
Sew the biding at the short sides (right sides together) so you form a loop. Attach the binding to the arm opening right sides together.
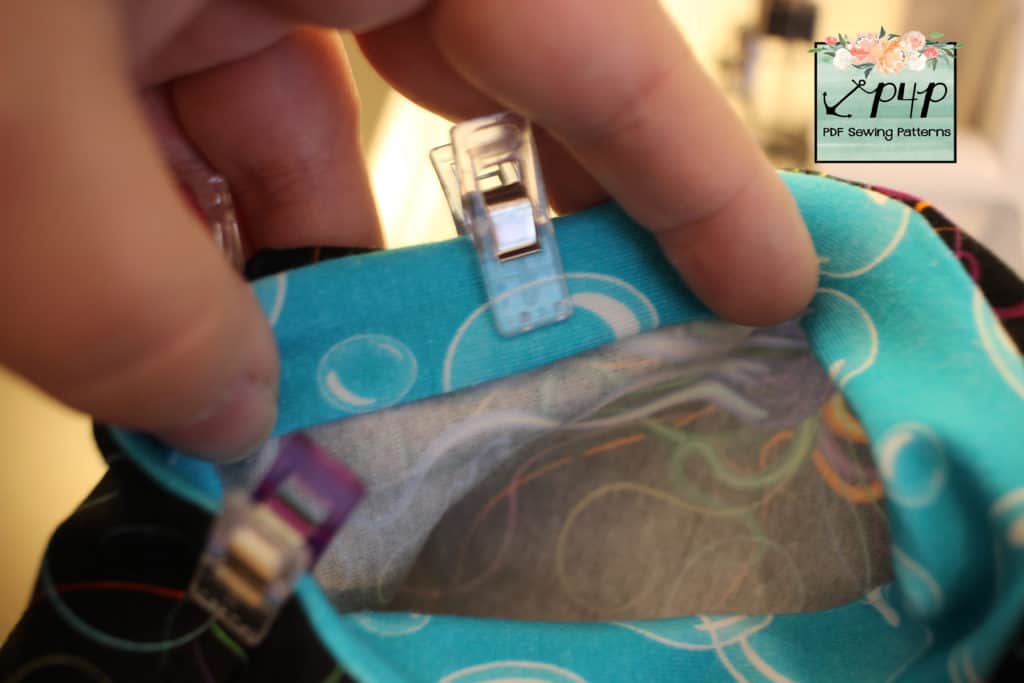
Fold the raw edge 1/2″ , wrong sides together then pin the binding in place. Sew it with a stretch stitch or a coverstitch. Give it a good steam press!
All done!
TIP: If you don’t want to add the binding to the arm holes, you can simply hem them 1/2″ and press it…easy peasy!
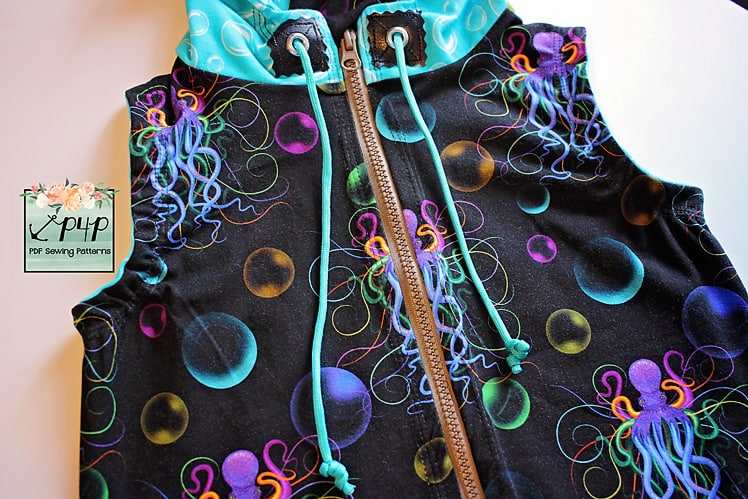
LEATHER HOOD ACCENT
***Let me start this fun hack with a disclosure: DO NOT ADD DRAWSTRINGS TO YOUNG CHILDREN HOODIES. Check your state and federal guidelines regarding drawstrings on children clothing.
The tutorial I’m about to give you should be applied to teens and adult hoodies. For little ones, you can always add faux short drawstrings and tack them to the hood lining.
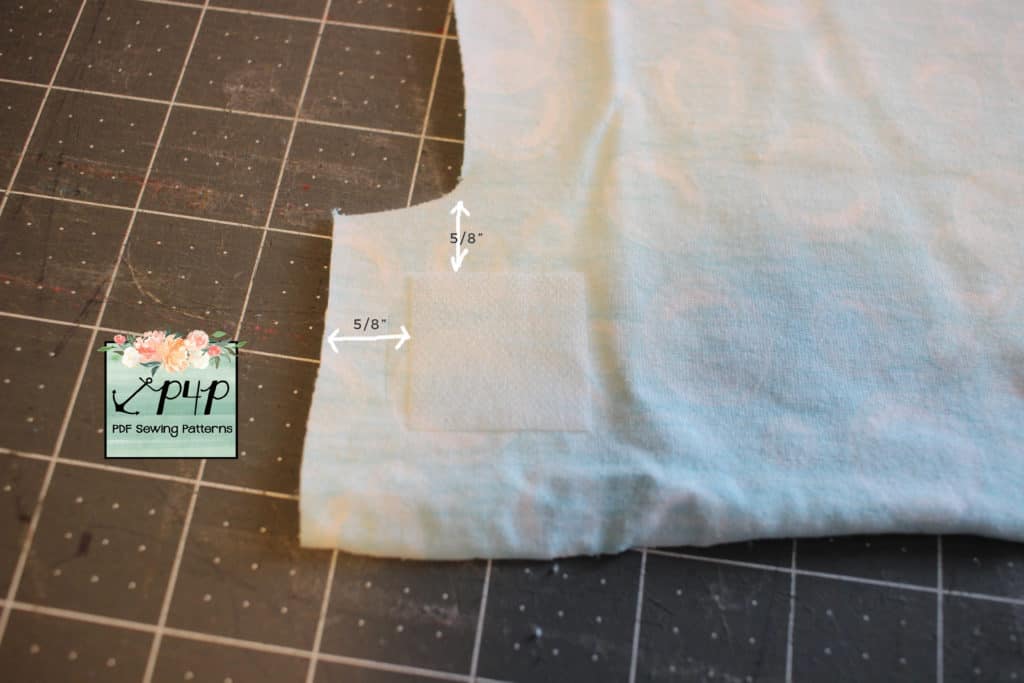
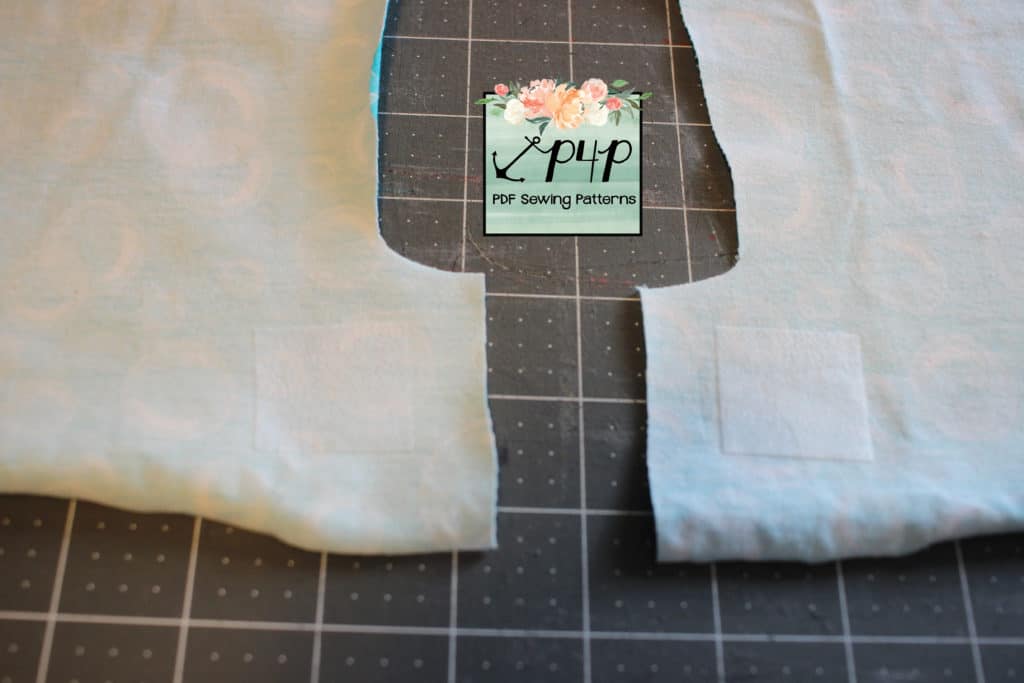
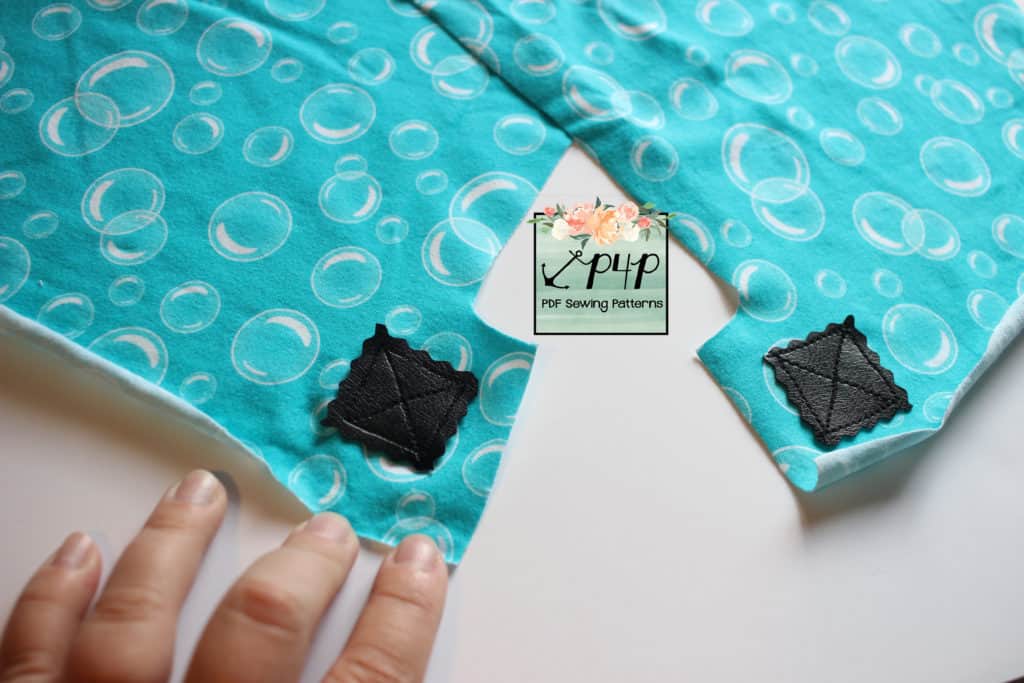
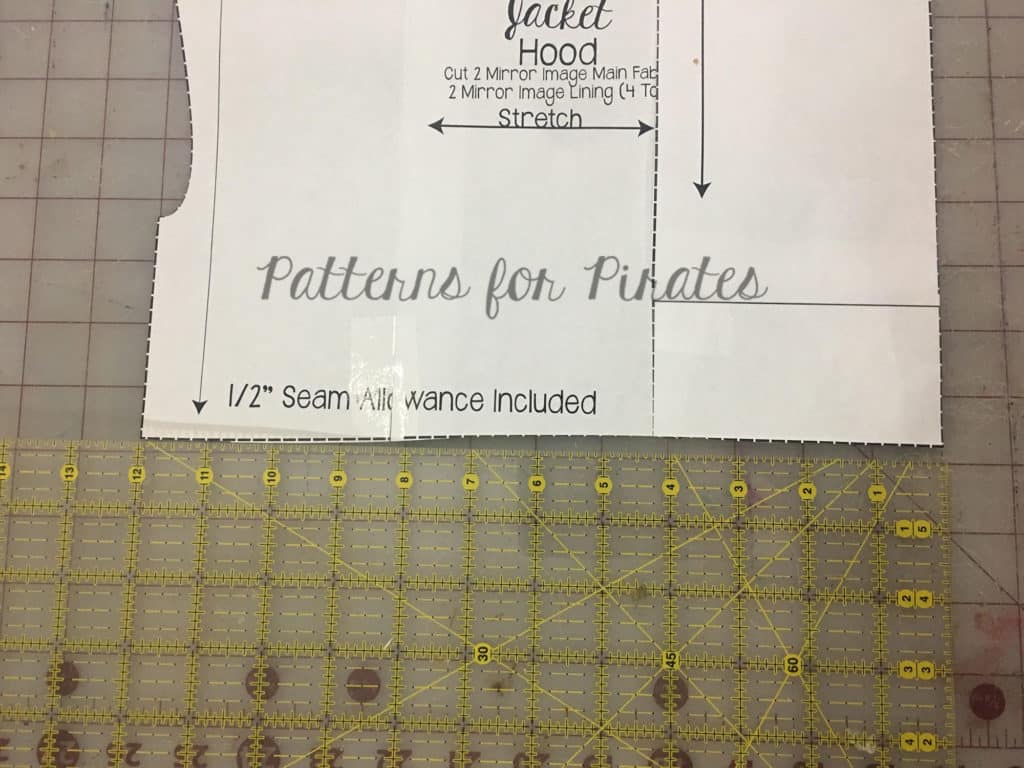
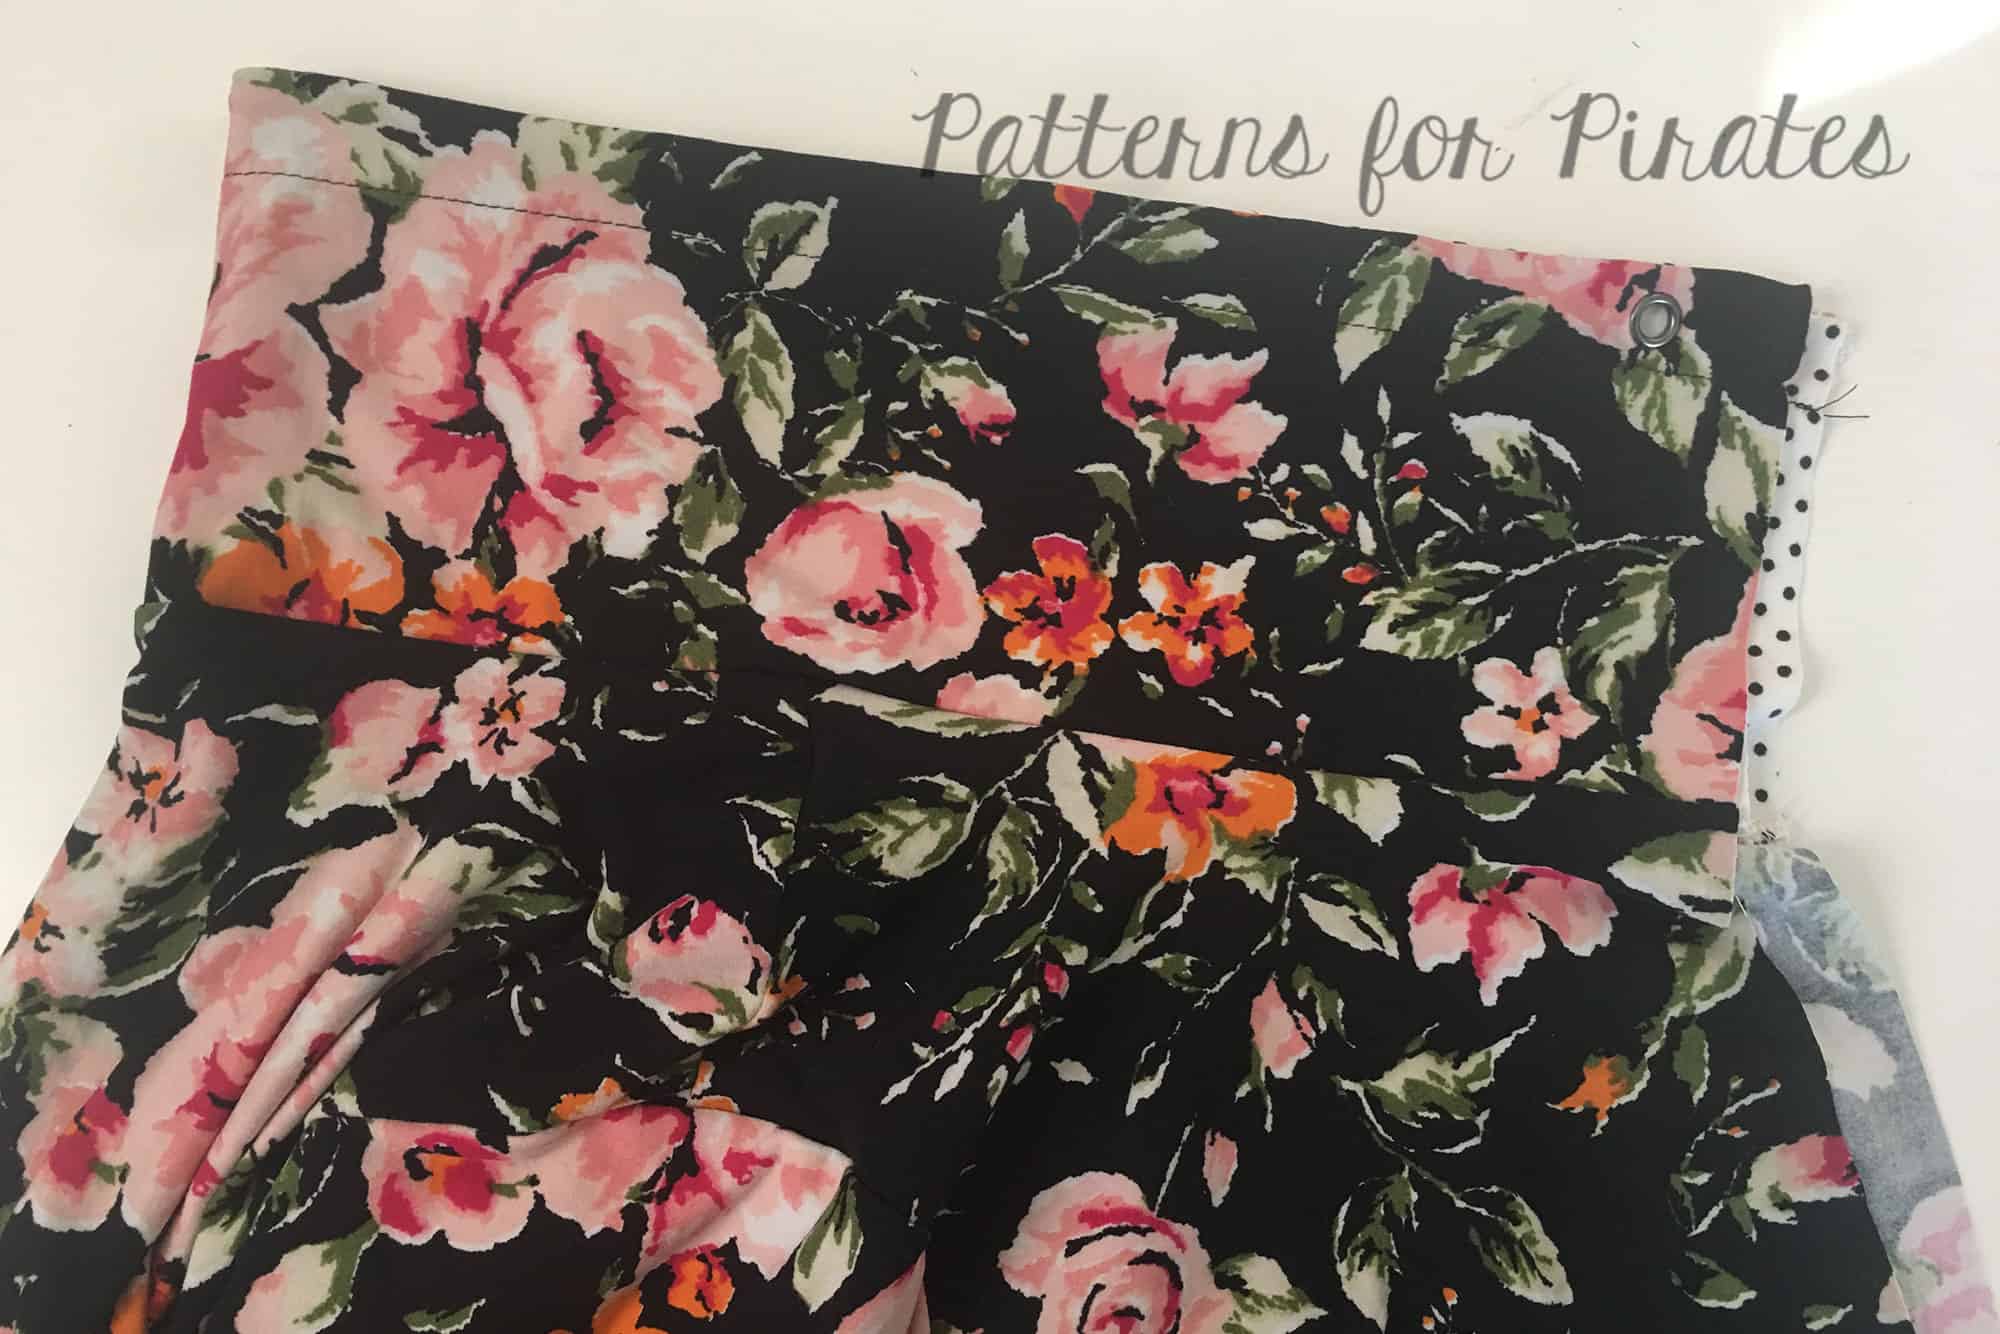
Start by applying a 1 1/4″ square piece of fusible interfacing to each of the back of the front of the hood pieces. See picture below for suggested placement.
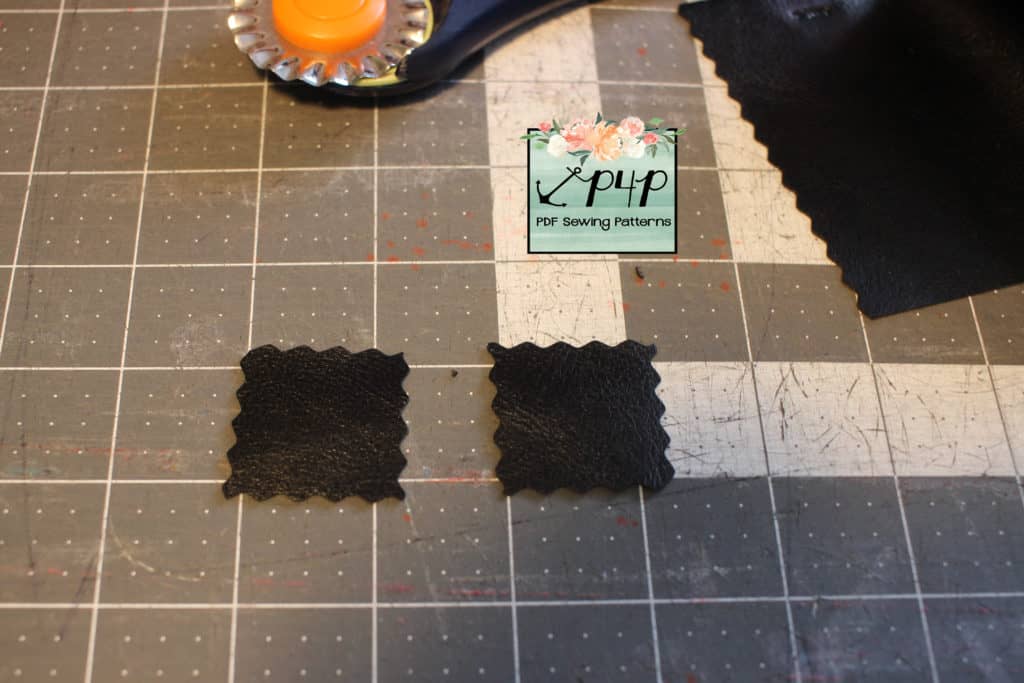
Cut two square pieces of leather, vinyl or even felt. I like mine cut 1 and 1/4 inches but you can certainly play around with the shape or size. I use a pinking rotary cutter to make them but you don’t have to.
Attach the leather squares to to the hood sides. I love using a triple stretch stitch because it pops. A regular straight stitch will work too but you won’t see it that well.
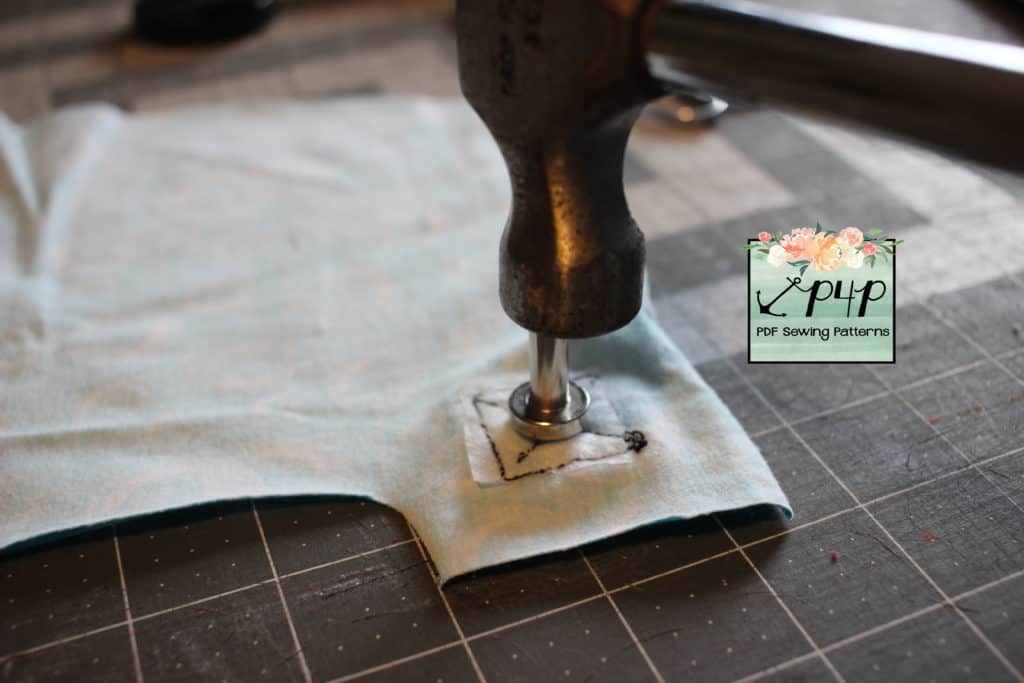
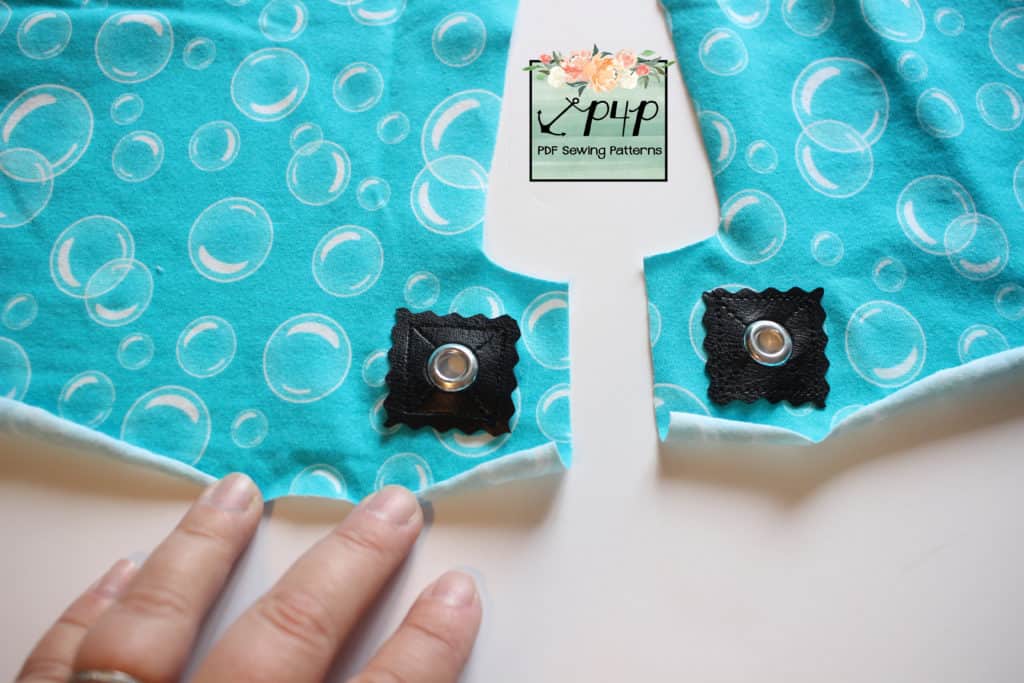
Add grommets as per the manufacturer instructions. Some grommets attachment devices use a press, others just a good ole hammer. 🙂
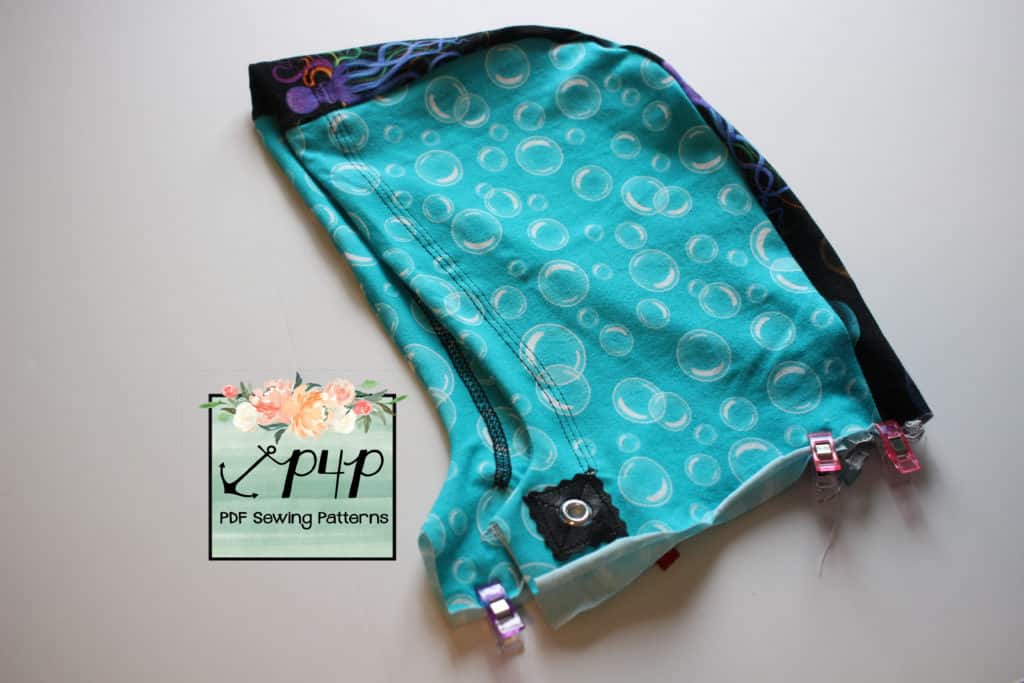
Now that the sides of the hood are done, simply construct the hood as in the pattern tutorial. Attach it to the jacket and show it off!
FUNNEL COLLAR
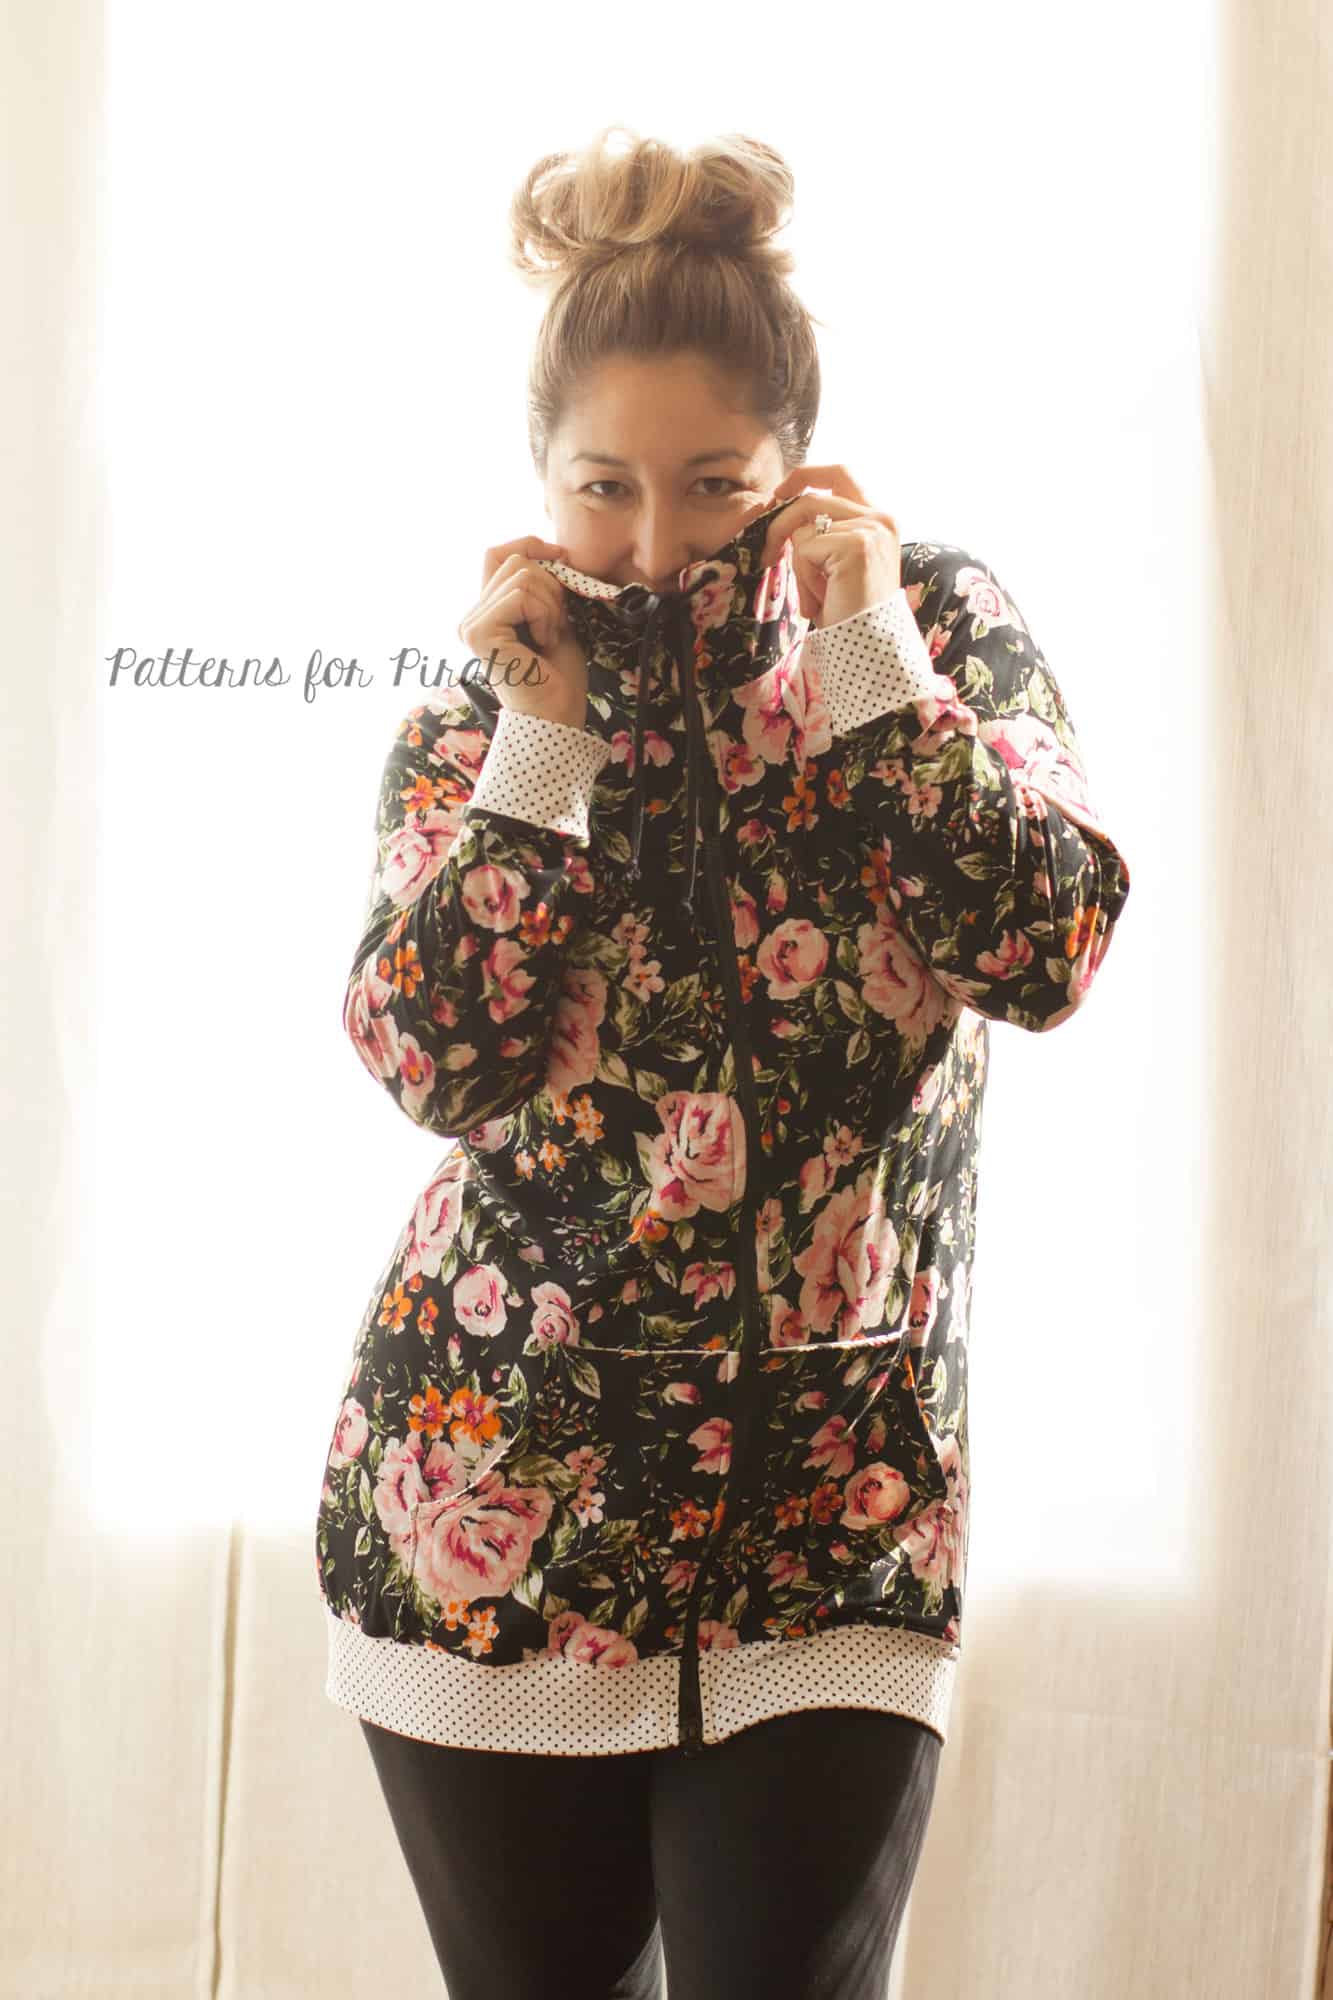
The hood extension on the chin is great design feature, but maybe you don’t want a full hoodie…. with a few minor changes you can easily make a funnel collar neckline.
First, cut your funnel collar pieces. The collar is 1:1 ratio with the neckline and a rectangle. You can either construct your jacket first or and measure the neckline or use the hood as a guide to determine the width of the collar piece. Overlap the hood side piece and hood center by 1/2″ then multiply that by 2.
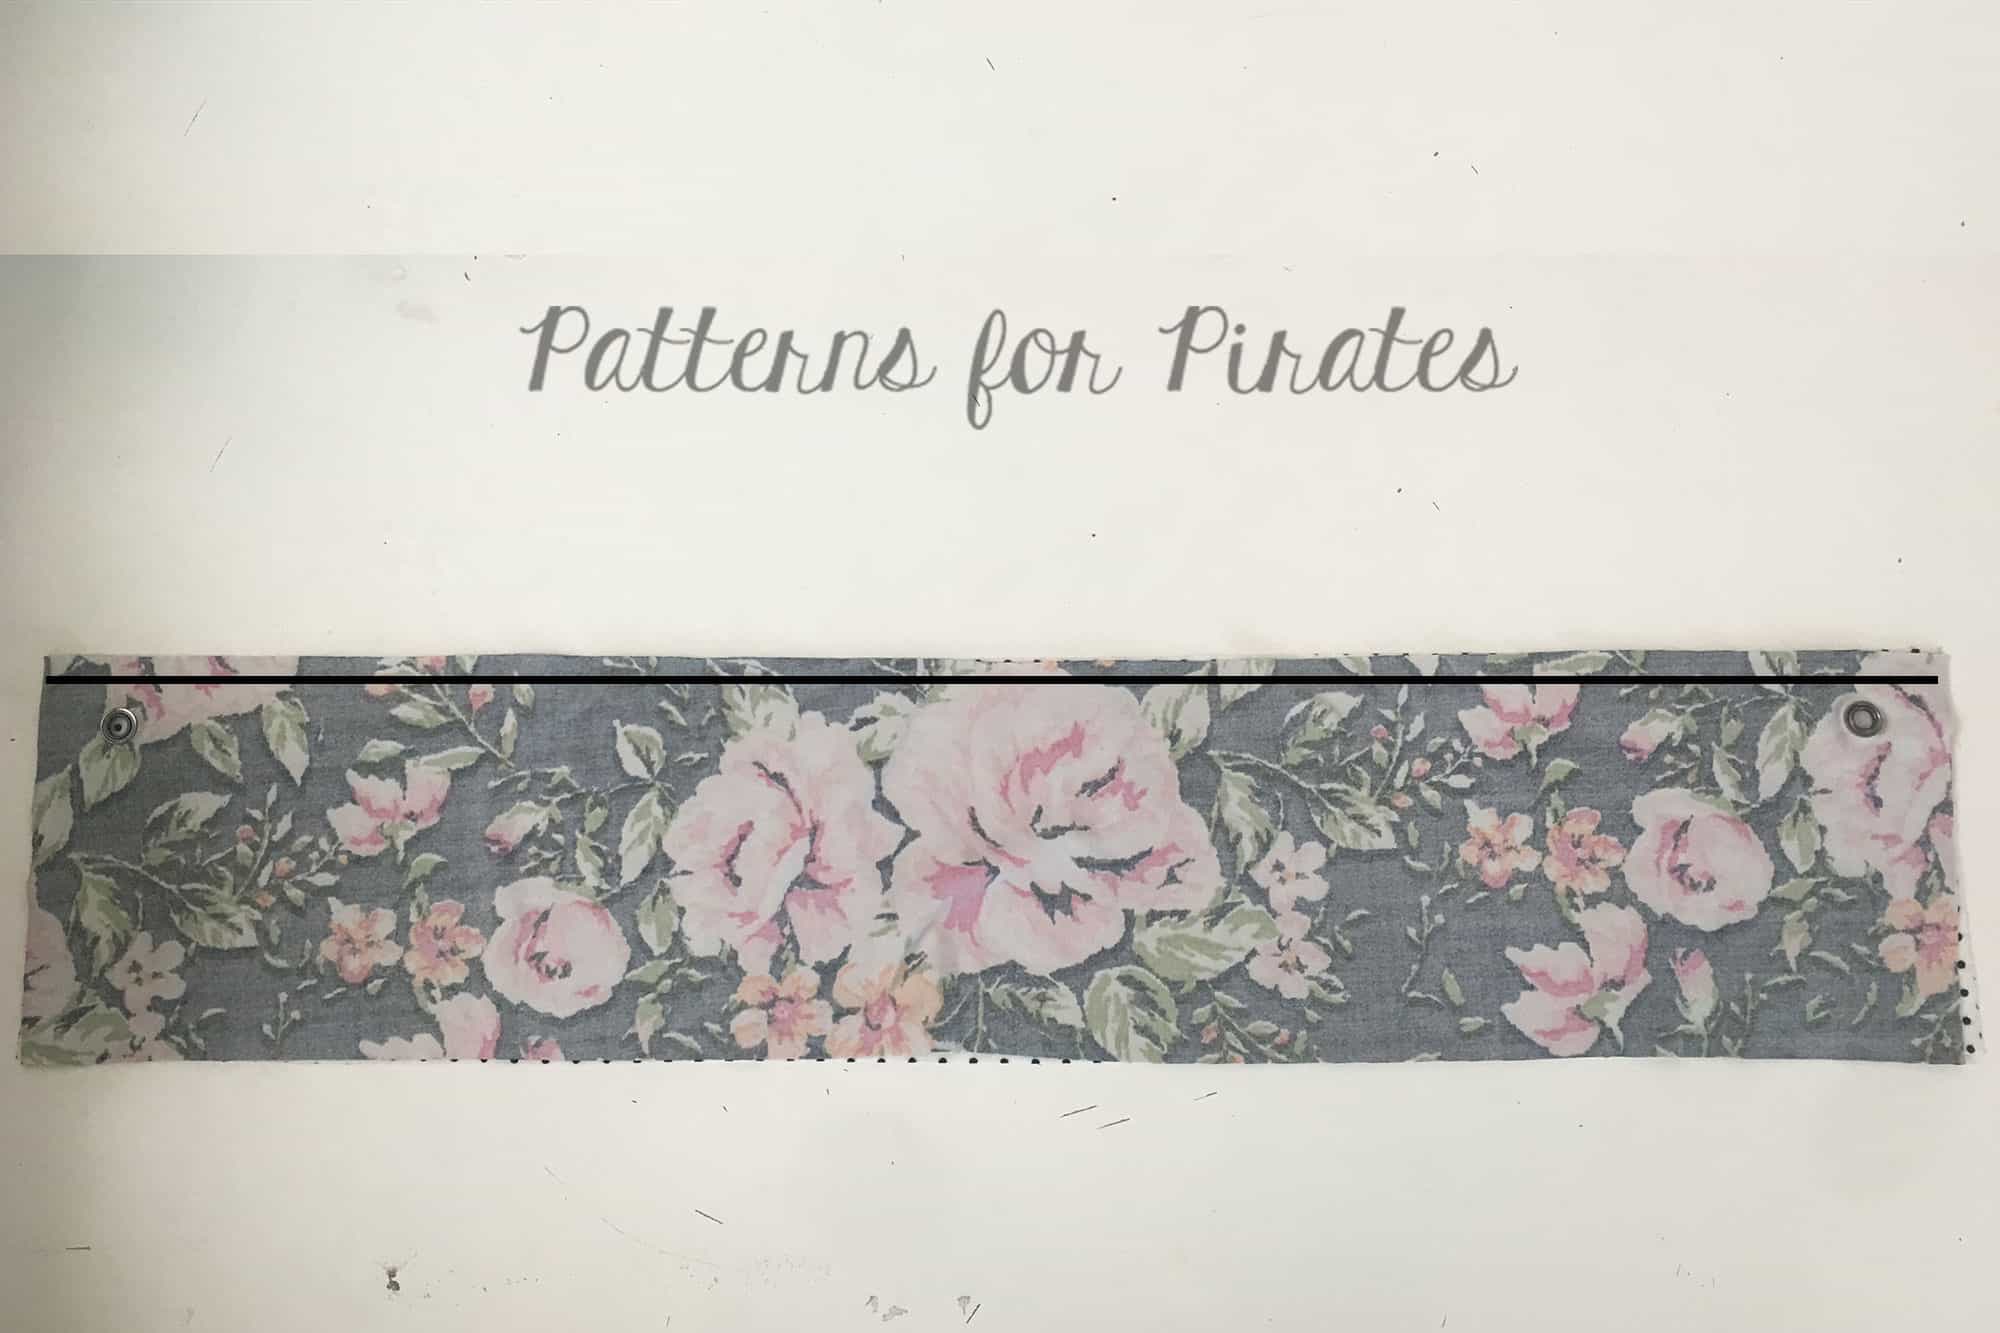
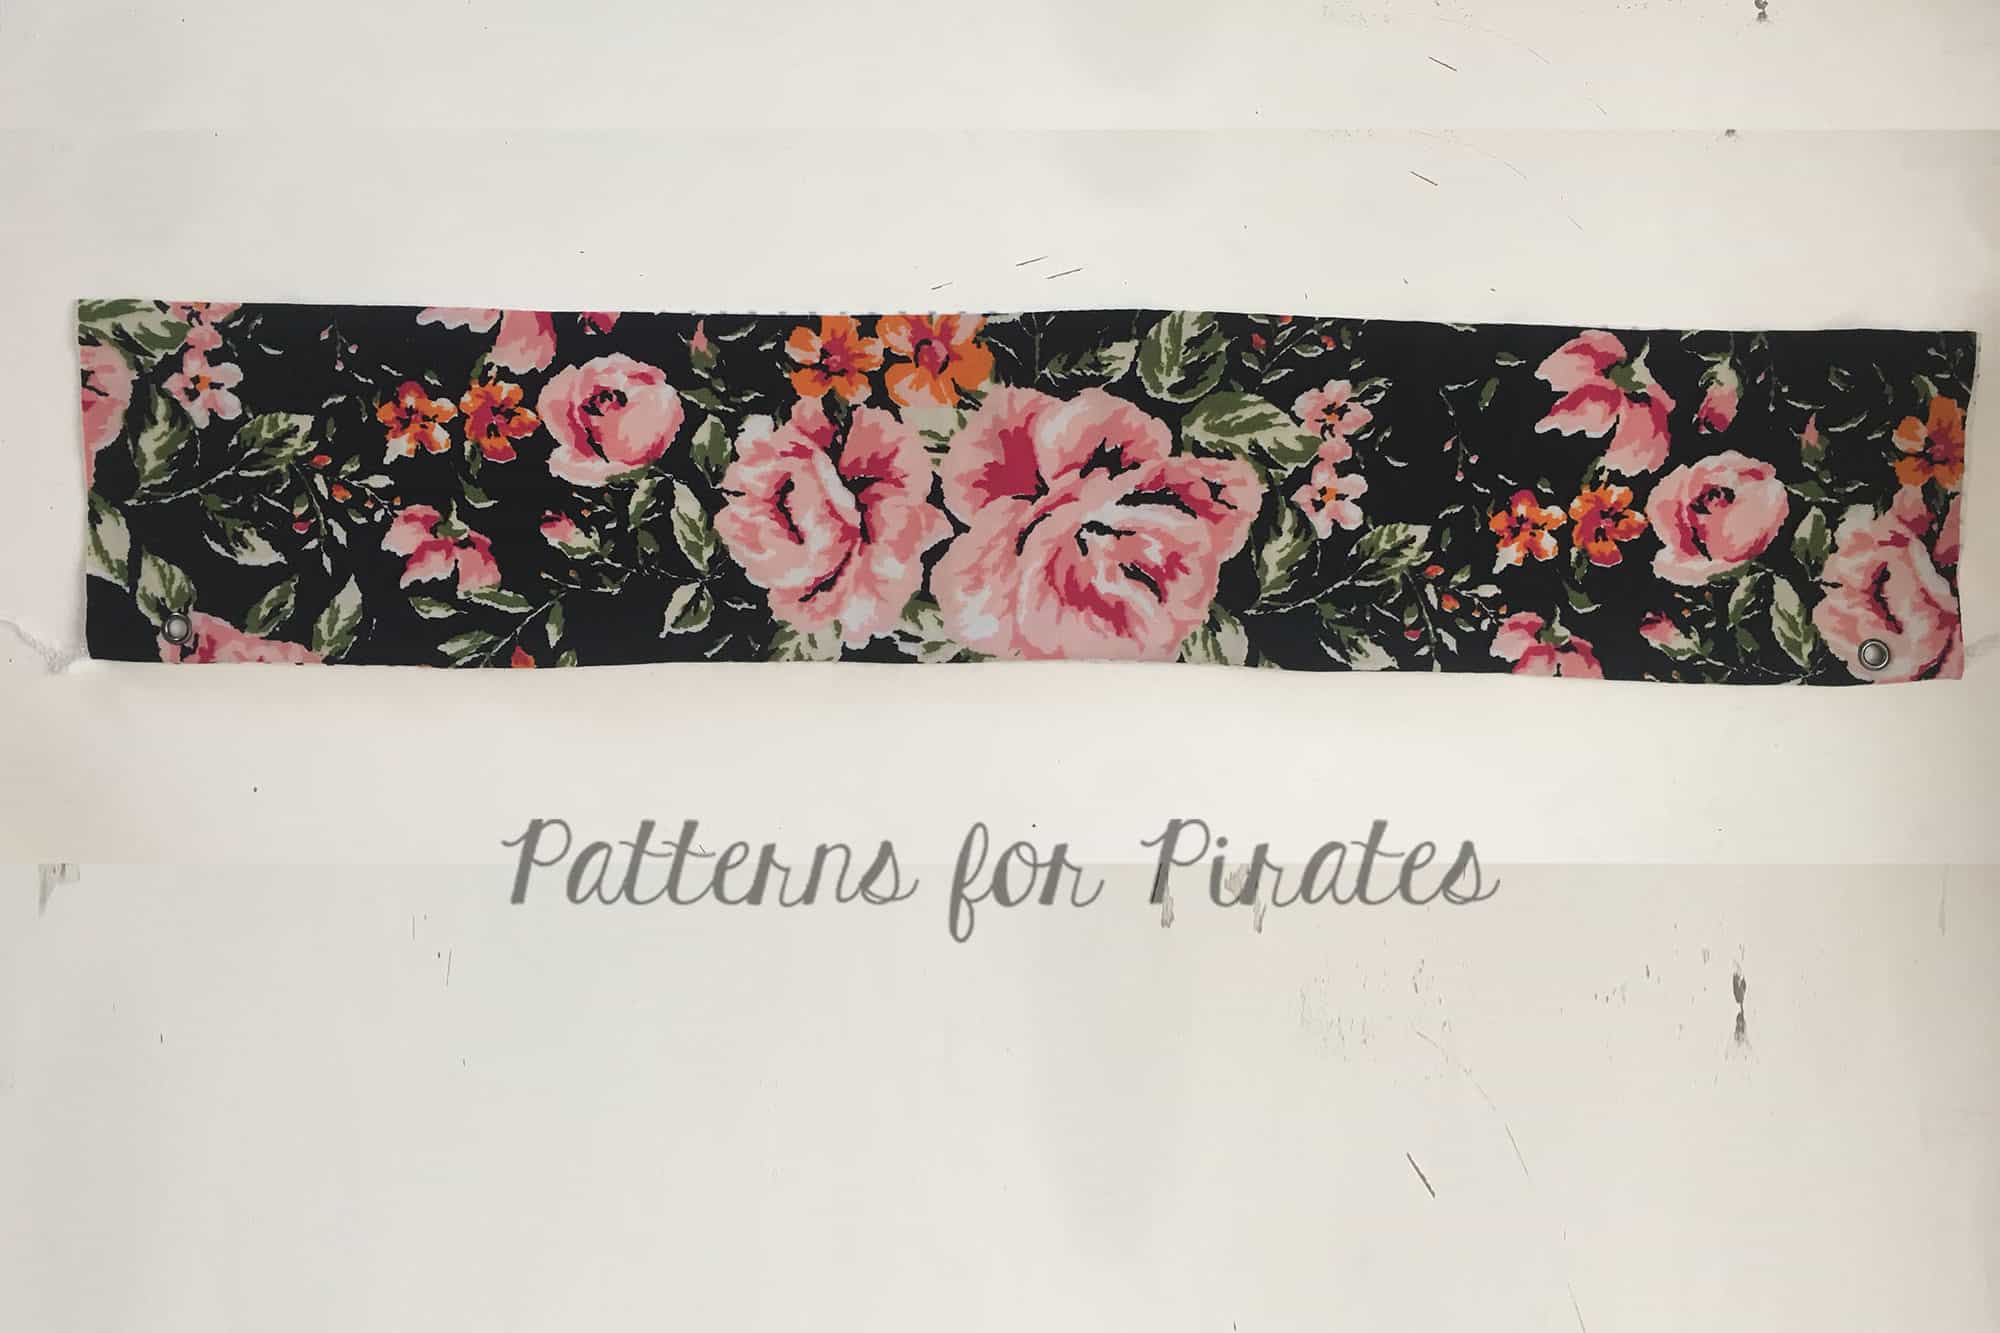
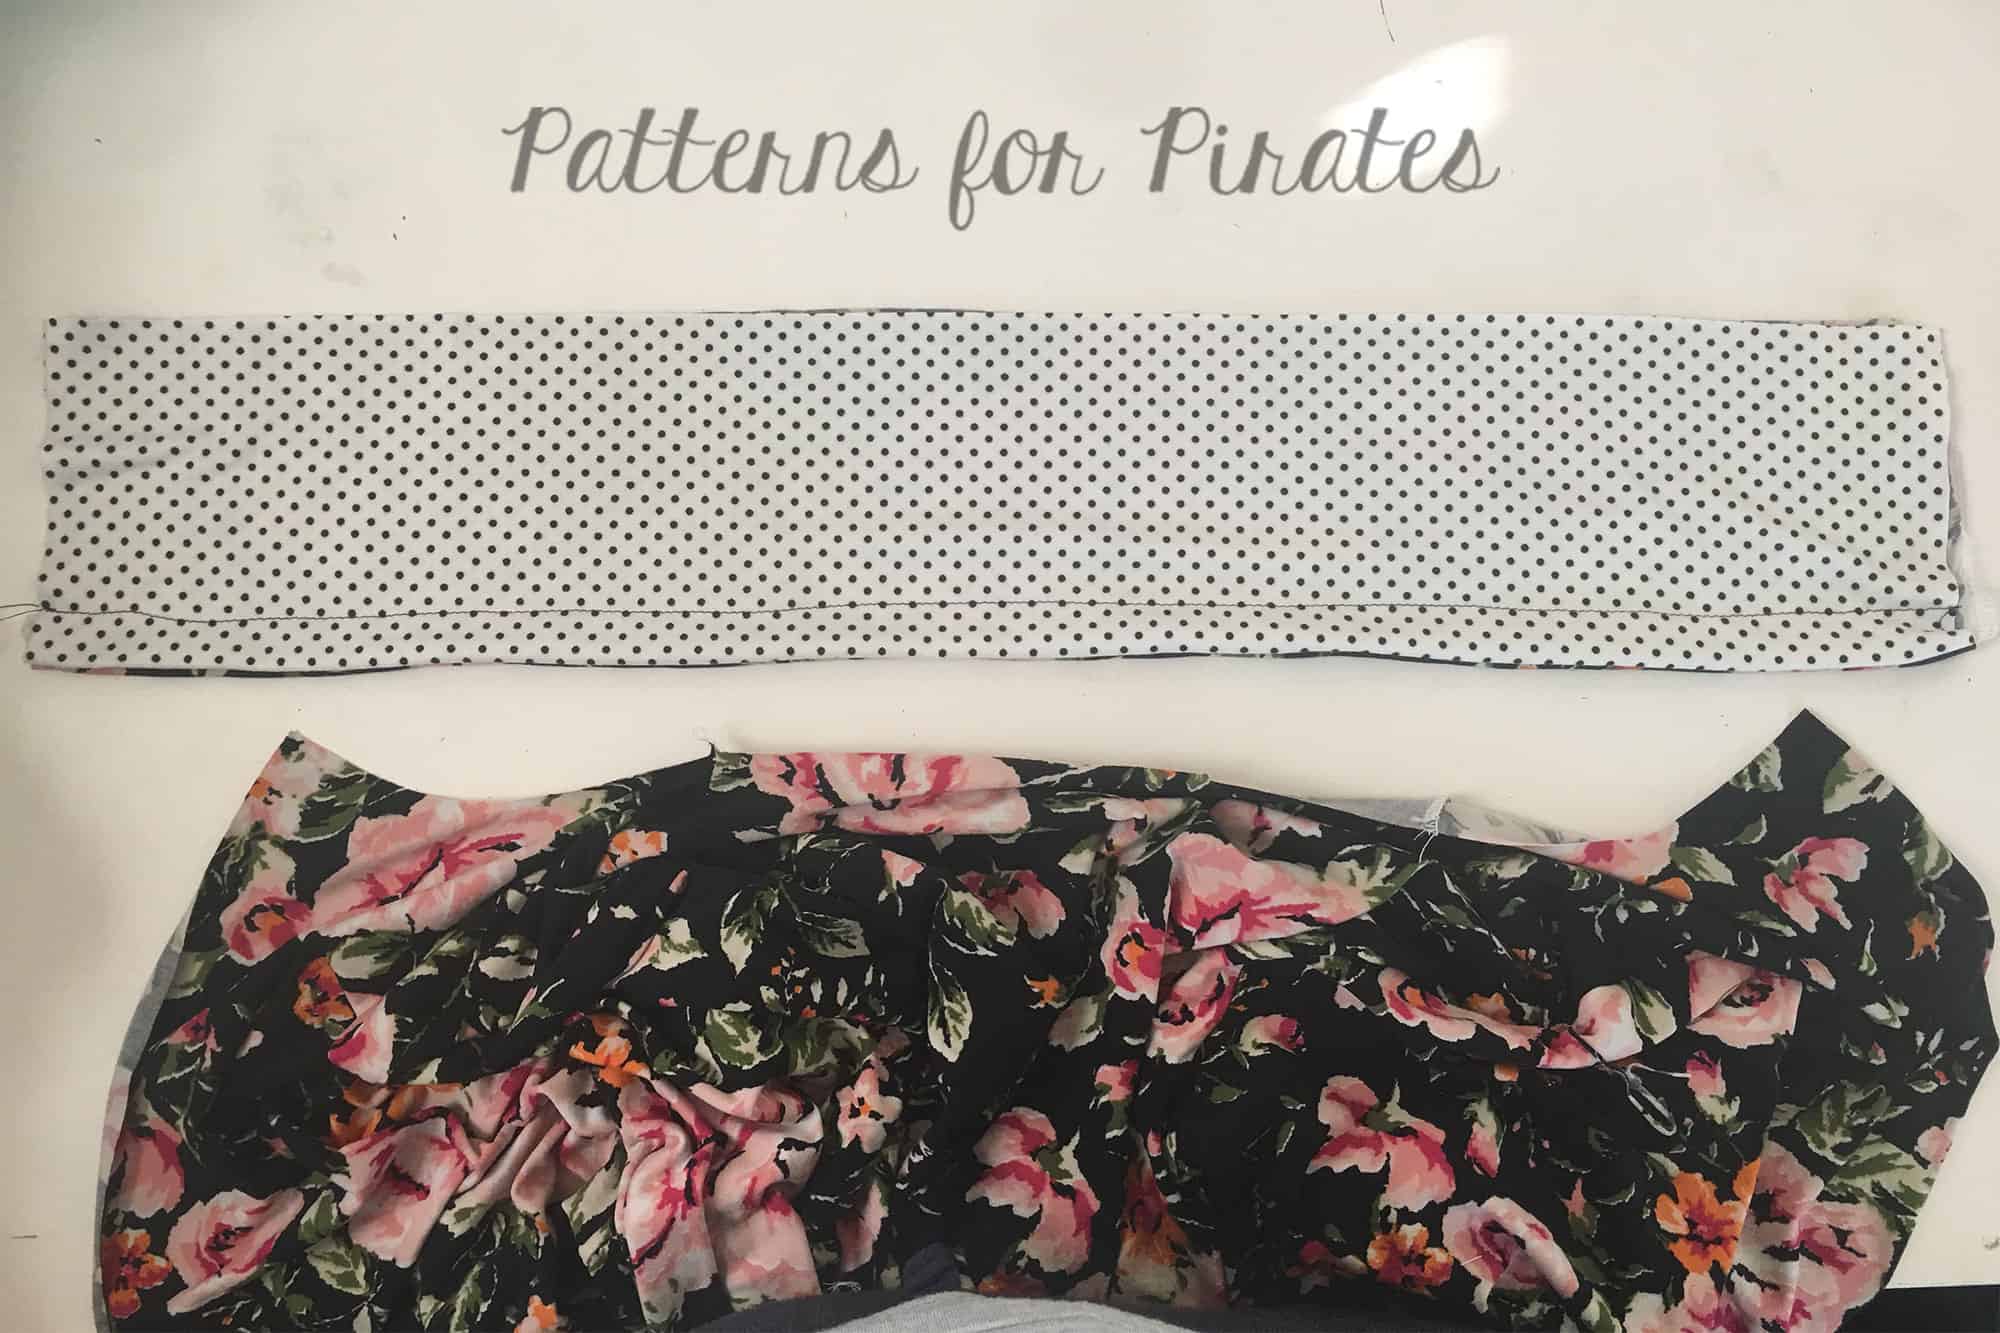
Here my hood pieces measure 12″ so I will cut the collar 24″ wide. I chose to do the height at 5″ so my final collar piece is 5″ x 24″. I also wanted the lining to be a different fabric so cut 1 main and 1 lining piece. If you don’t want them in different fabrics you could easily double the height you want and fold in half lengthwise.
Now construct your collar.
- Place collar lining and main, right sides together.
- Sitch along top edge.
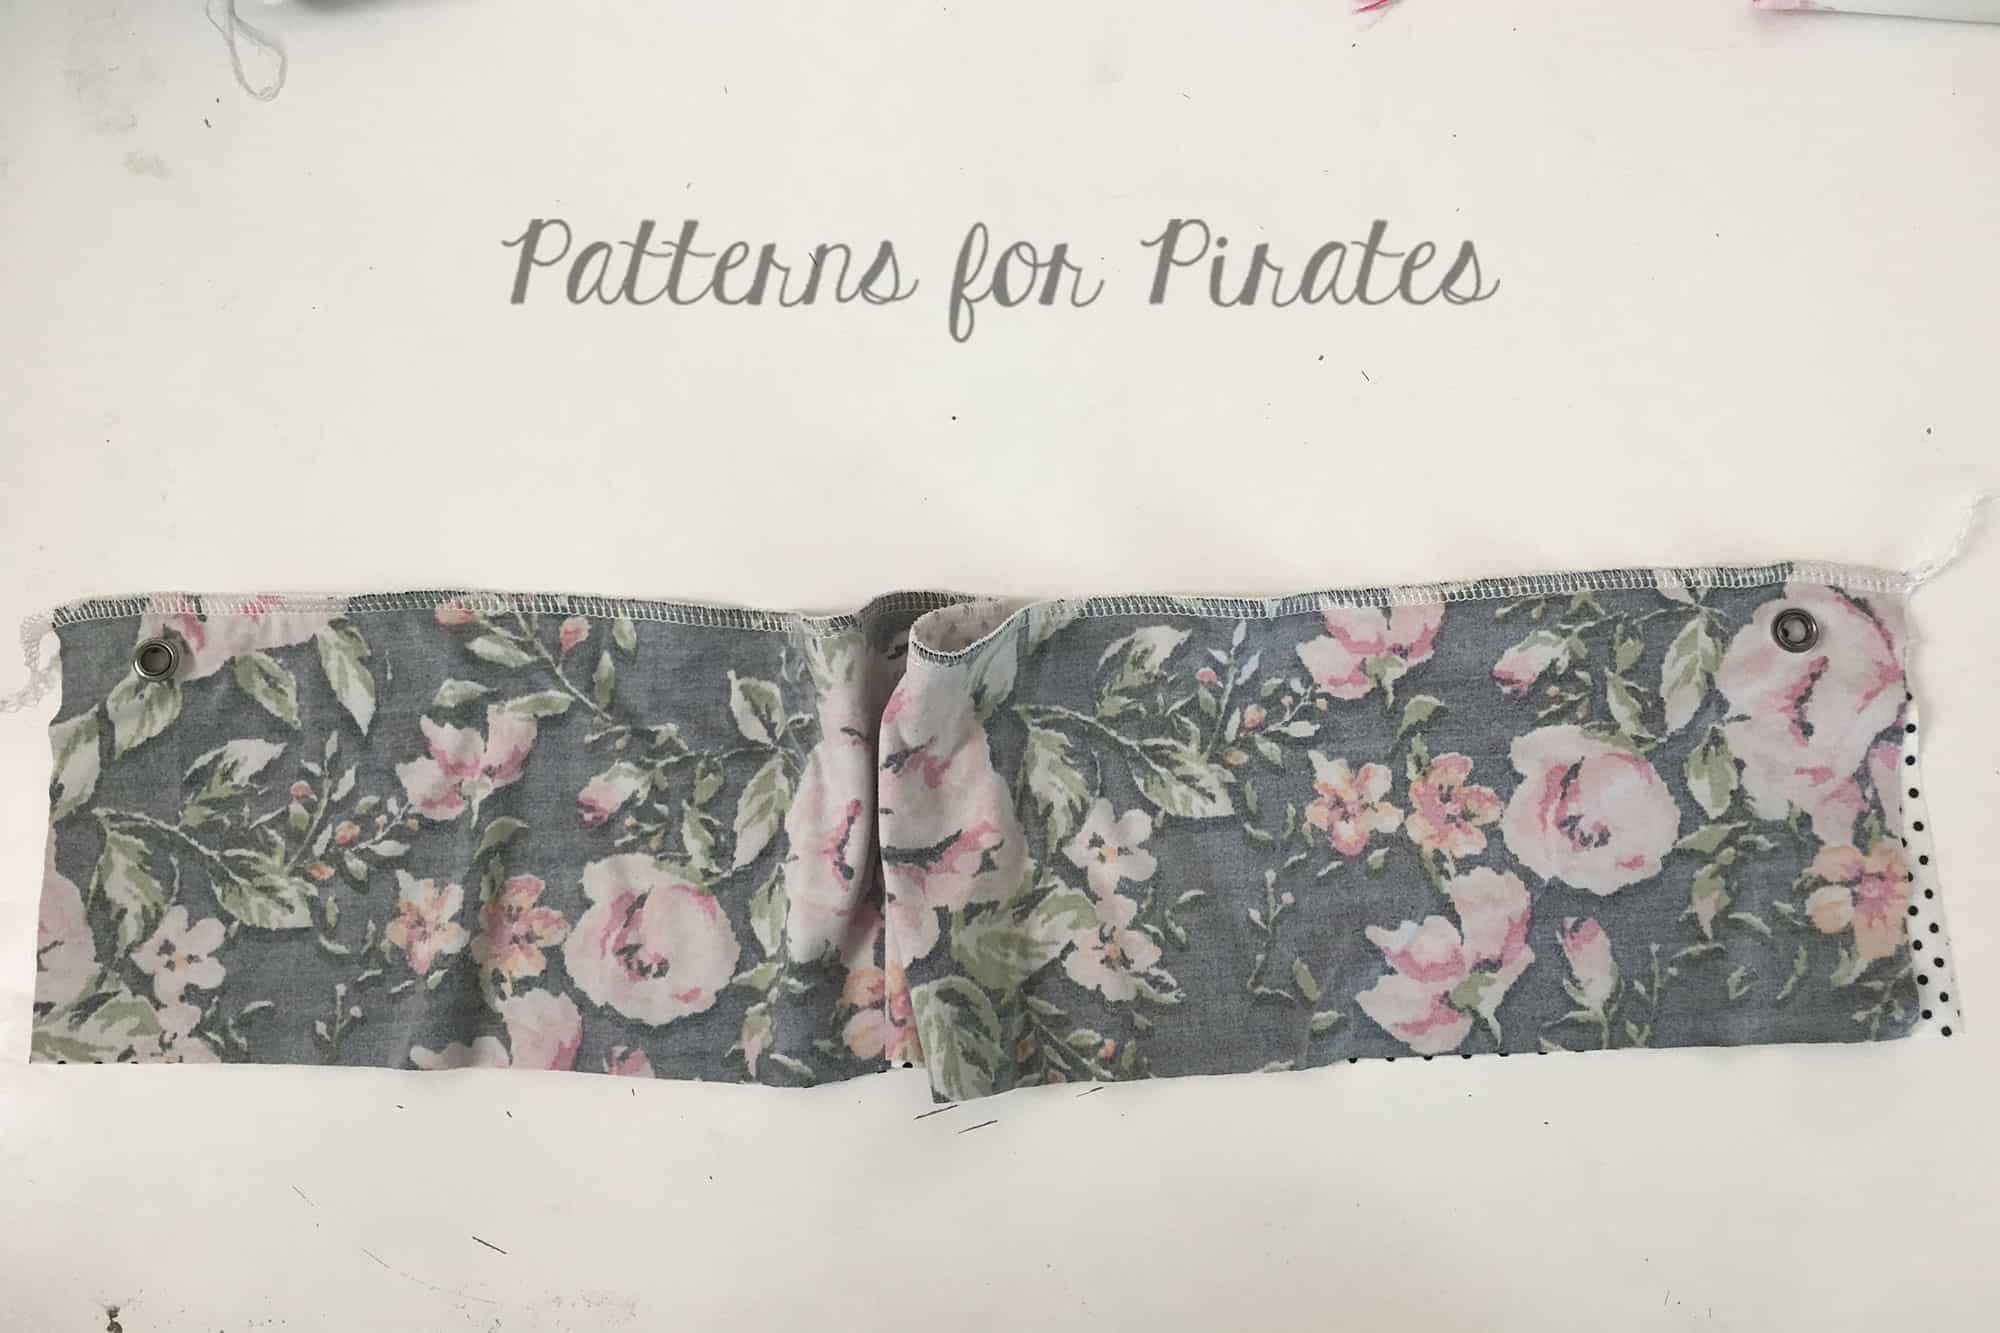
- Fold collar with wrong sides together and top stitch along top edge.
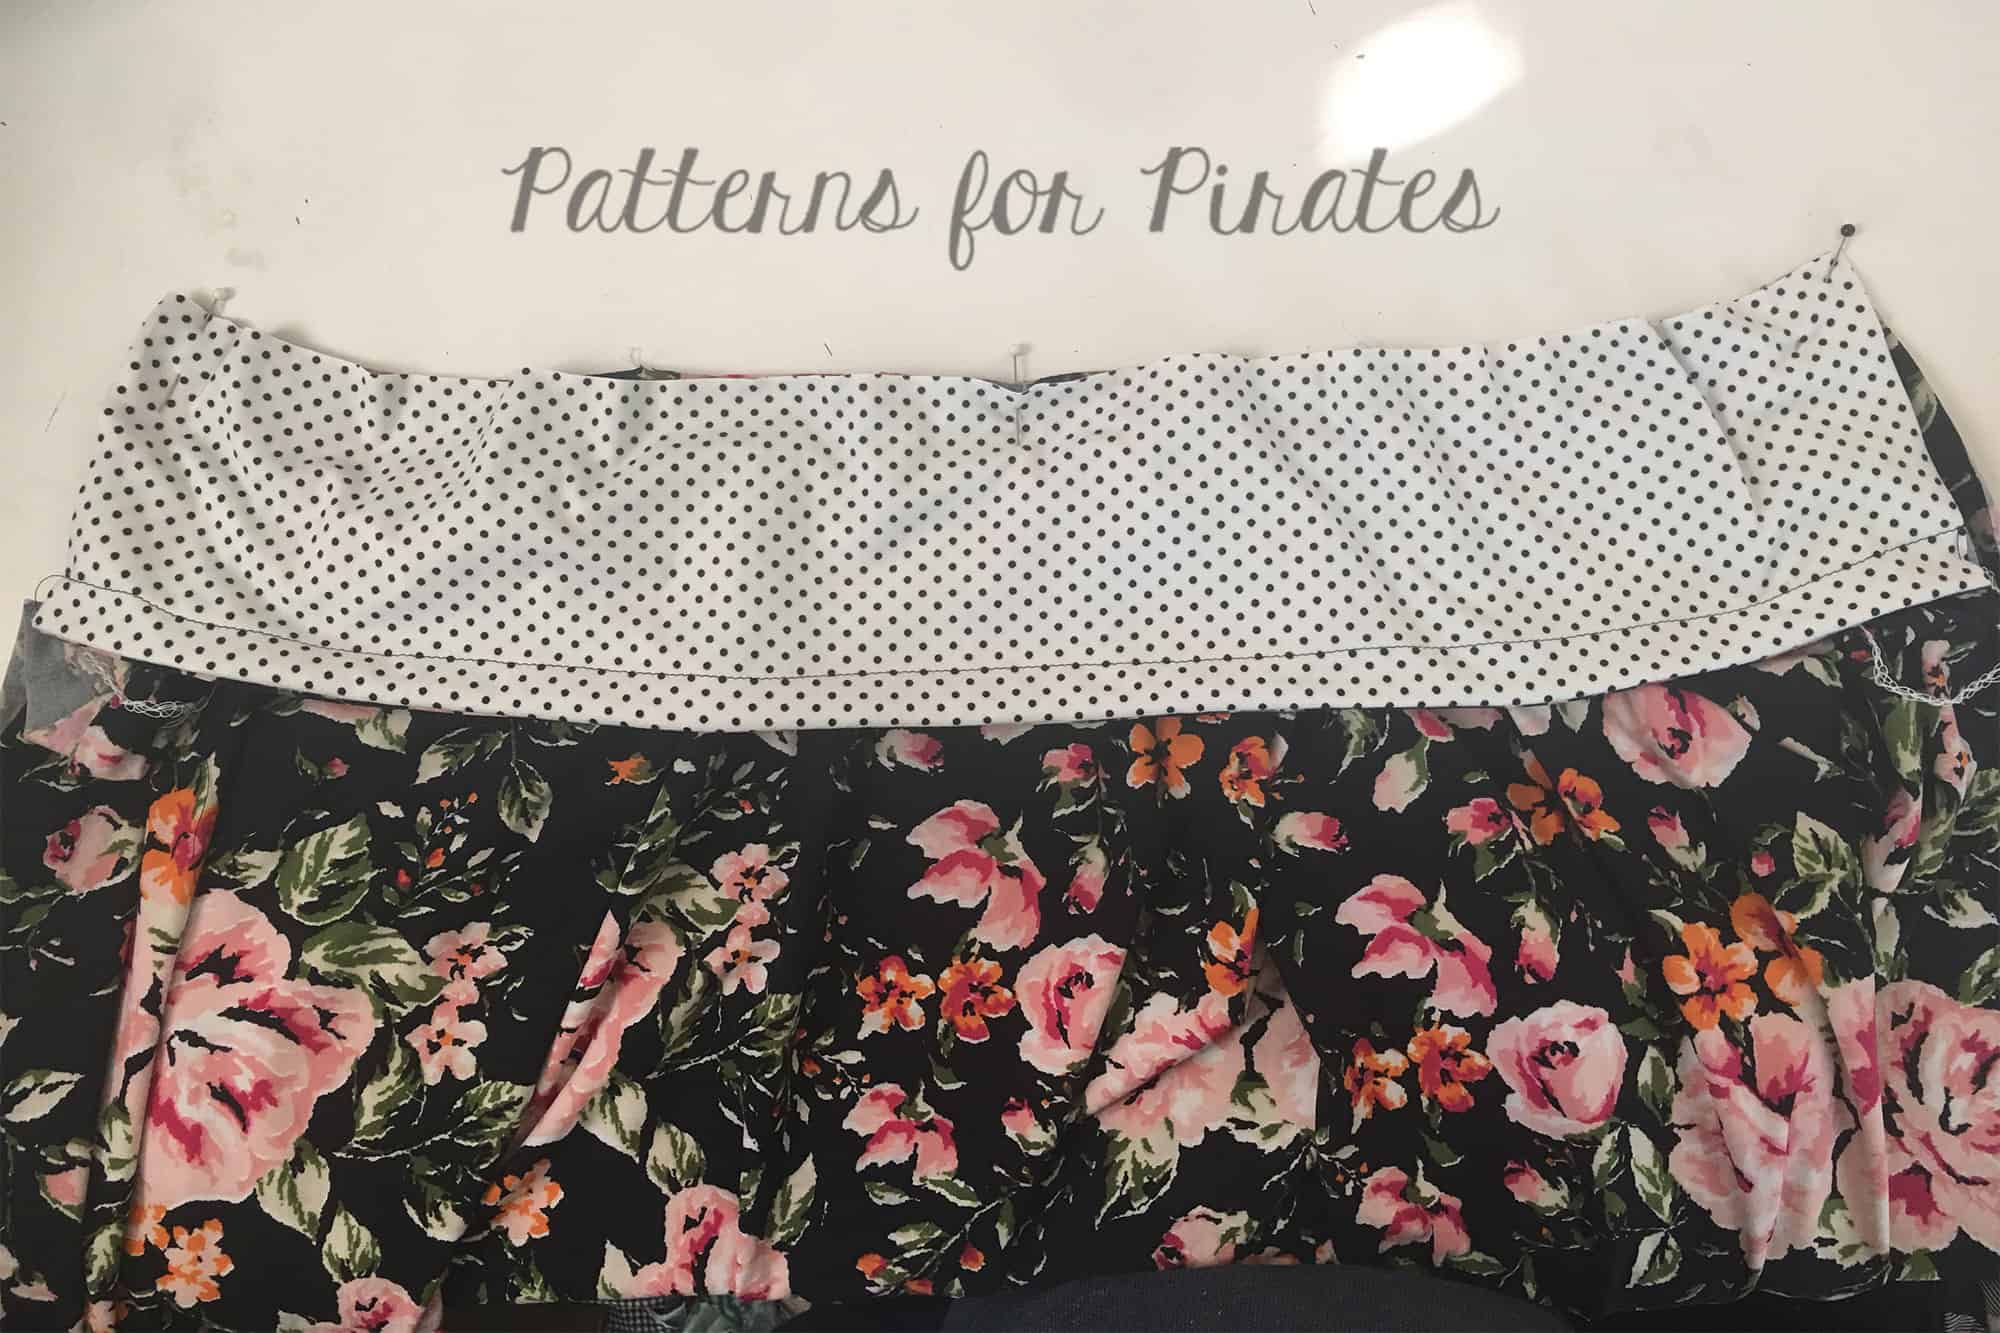
- With right sides together of collar and jacket pieces, align raw ede of collar to neckline.
- Stitch collar to neckline.
- Press seam allowance down and top-stitch.
Proceed to install your zipper chin guard and/or zipper as instructed in the tutorial. Note – if you added height to the collar (taller than what the chin extension is on the hood) be sure to lengthen the zipper chin guard to match the length of the front jacket piece.
LINED KANGA POCKETS
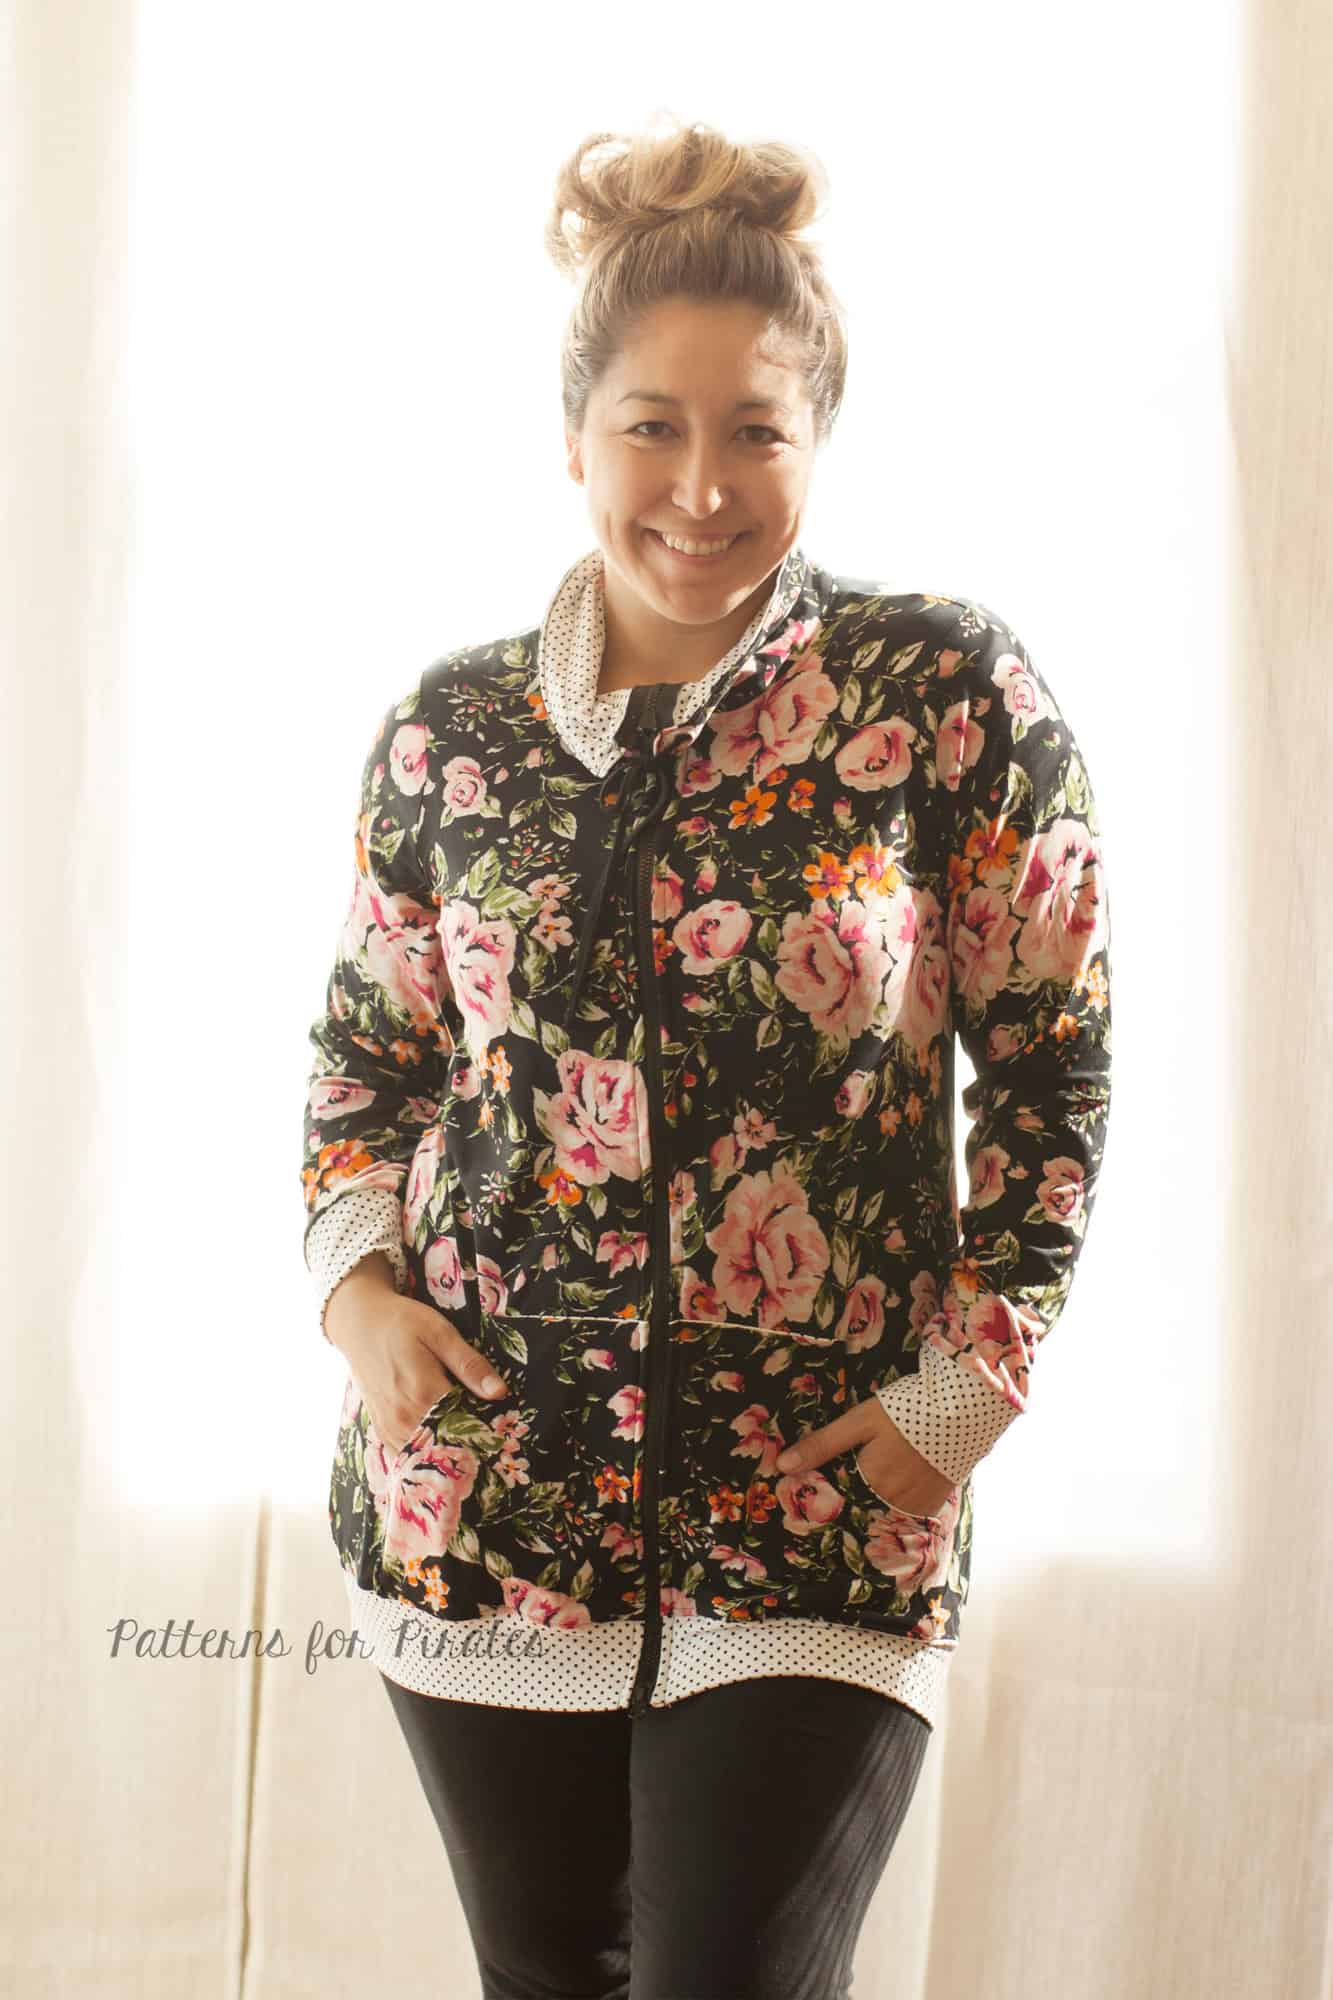
Want to add a fun pop of color or accent piece? Lining the kanga pockets is an easy way to do so.
- Cut 2 mirror image of the kanga pocket (4 total).
- With right sides together stitch pocket along top edge, pocket curve and side edge leaving the bottom and center front unsewn.
- Turn right side out and press. Optional: top-stitch along pocket edge.
Once you’ve constructed the pocket, proceed as shown in the tutorial by tops-stitching the pocket to the jacket front.
We hope you enjoyed these hacks! Have you made a Go To Jacket or used one these on another pattern? Hop on over to our Facebook Group and share…we’d love to see your creation. 🙂








[…] Hacks Blog […]