
Welcome to the day 5 of the P4P Henley sew along. Today’s steps include adding the neckband or the hood.
-
Crew Neckband
If you have done the solid front shirt (no placket) you will now be adding the neckband as in the pattern tutorial. For additional tip, check out our P4P University Neckbands 101 blog and videos here.
-
Henley Neckband
If your sew along choice was a Henley style shirt then you would now be adding the henley neckband. This neckband is not sewn in a loop like the crew neckband was. Take a moment to watch the video below. The most important thing to keep in mind when adding this neckband is to go very slow and baste!
-
Hood (with or without the placket)
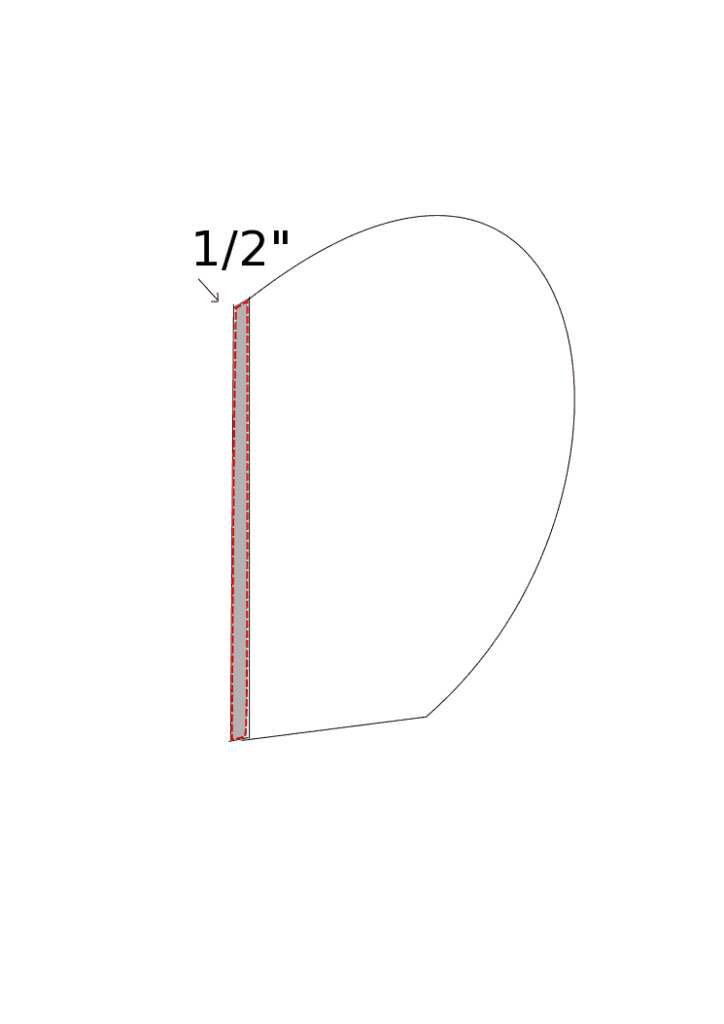
The Henley patterns include a hood for the placket option. For this sew along we wanted to show you how easy it is to add a hood to the solid front option. The only pattern modifications you will need to make is to extend the front of the hood by 1/2″.
Sew the hood as per the pattern tutorial. Overlap the front neckline 1/2″ and baste in place.
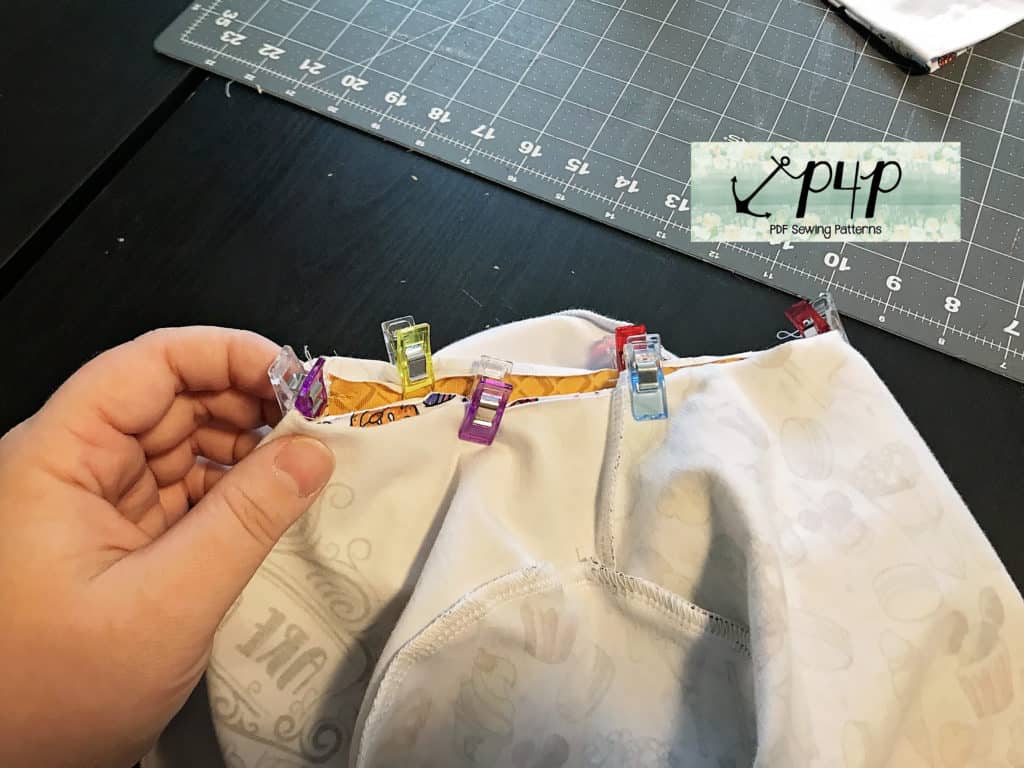
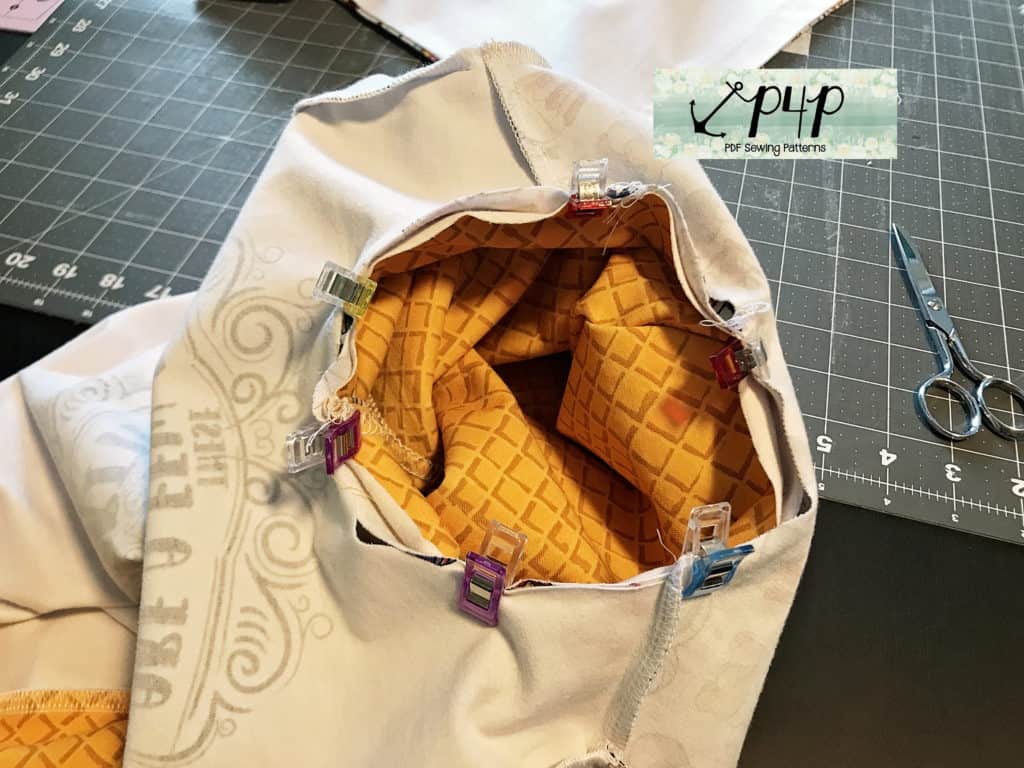
Mark the quarter points of the hood and the neckline. Turn your shirt inside out and place the hood right sides together, matching the quarter points.
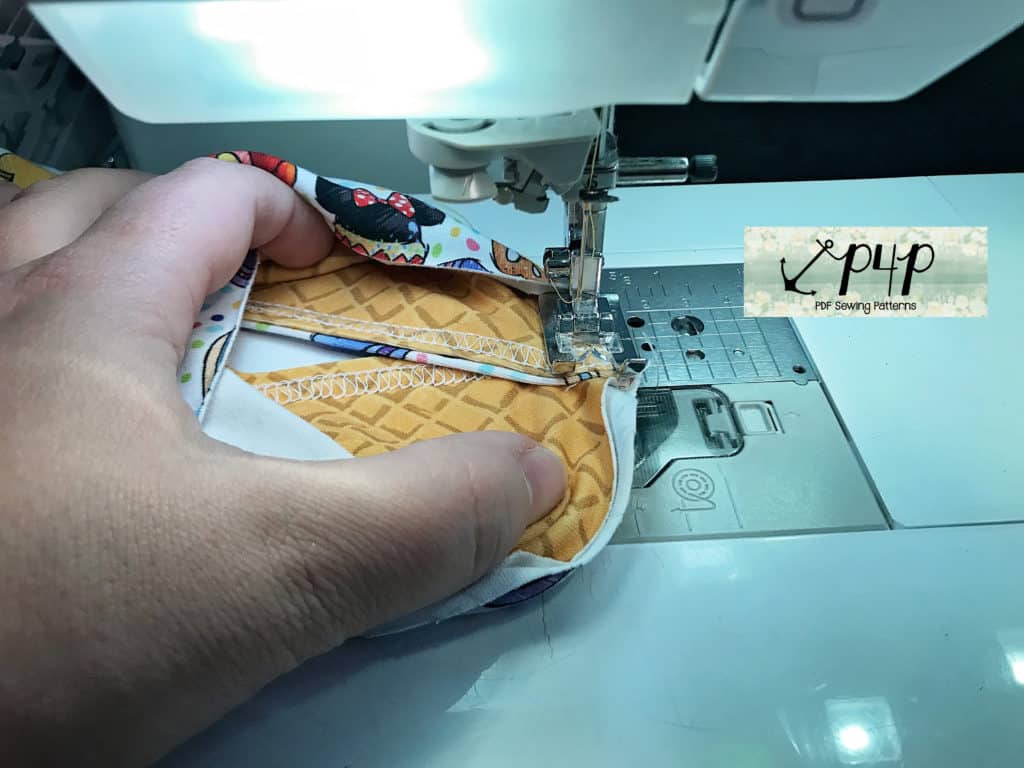
Sew or serge the hood to the neckline following a 1/2″ seam allowance. See how easy it was to add a hood to the plain front shirt?
**The links won’t be active until the scheduled date.
January 14: Announcement.
January 15: Choosing Your Fabrics, Printing + Measuring.
January 16: Cutting Fabric.
January 17: Placket.
January 18: Sleeves.
January 19: Attaching Neckband + Hood.
January 20-21: Catch-Up Days.
January 22: Recap + Winners Announced!



Leave a Reply