What? We are on day four of the 2017 Holiday Freebies already? I hope you’re having as much fun as I am! If you need to back and review the past three days, I can wait!
Here are some links: Slouchy Headwarmer / Emoji Pillows / Clothing Size Tags
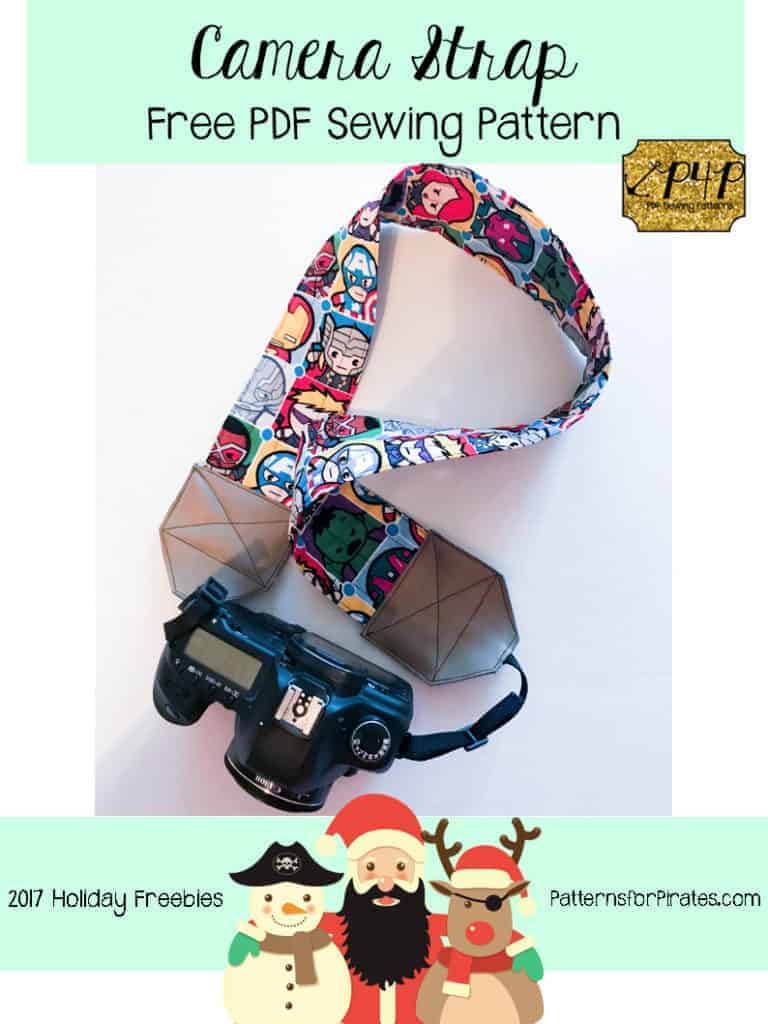
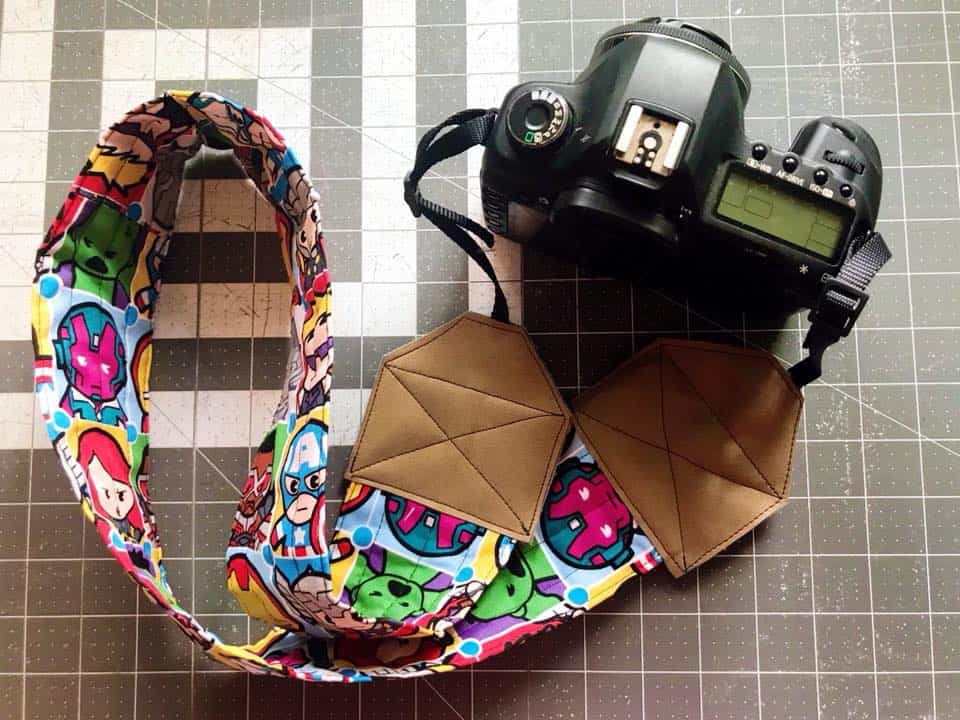
Now that we’ve covered that, let’s get to today’s free pattern! Sewing and photography seem to go hand-in-hand more often, because we want to share what we’ve made with our sewing community! Why not sew yourself a sweet little strap to wear while you’re using that camera of yours? It’s super easy to do and way more fun than using what came with your camera originally. Let’s get to it!
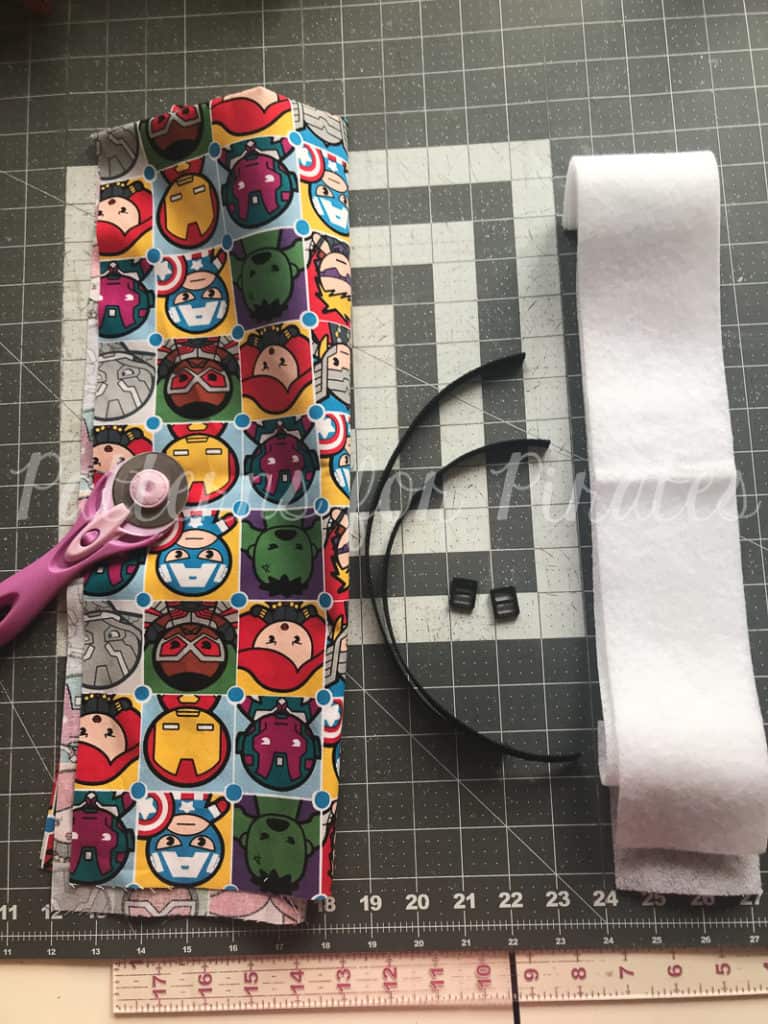
Prep your pieces, you will need:
- Pattern Piece for Vinyl Ends
- 36″ L x 12″ W Quilting Cotton
- 2 – 12″ cuts of nylon webbing (1/2″ or 3/8″ both work) — I used THIS
- 2 – 1/2″ or 3/8″ sliding adjusters — I used THESE black versions as well as THESE fun colored ones!
- 36 L x 3″ W Fusible Fleece Interfacing
- Small scraps of Vinyl/Pleather
**If you can’t find the nylon webbing / sliding adjusters in your local fabric store, a quick trick is to buy a small dog collar from the dollar store. They tend to have the right width strap, and usually include the adjuster on it as well.
Important: The ends of nylon wedding need to be heat sealed to prevent fraying. Make sure to do this before sewing it to your strap pieces!
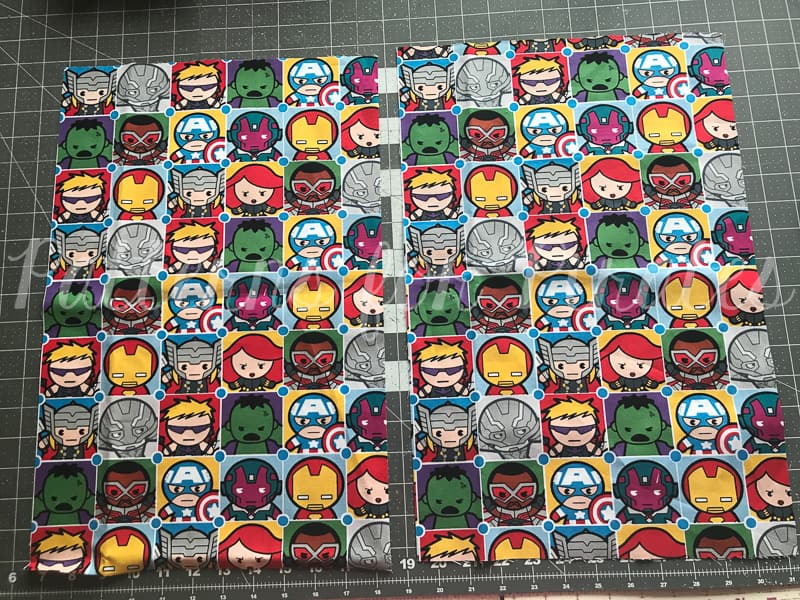
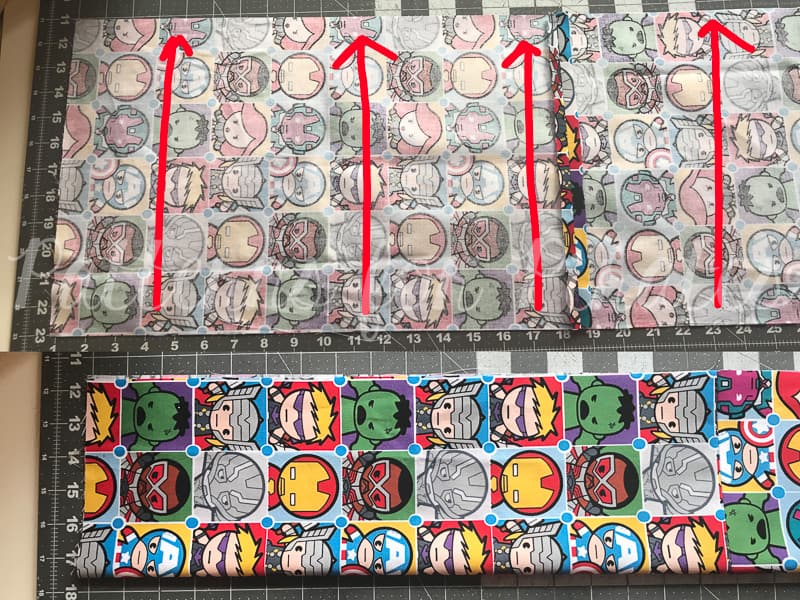
**If your fabric is directional, you will want to cut two pieces for your strap and then stitch them together. Cut two 18.5″ x 12″ pieces from your quilting cotton.
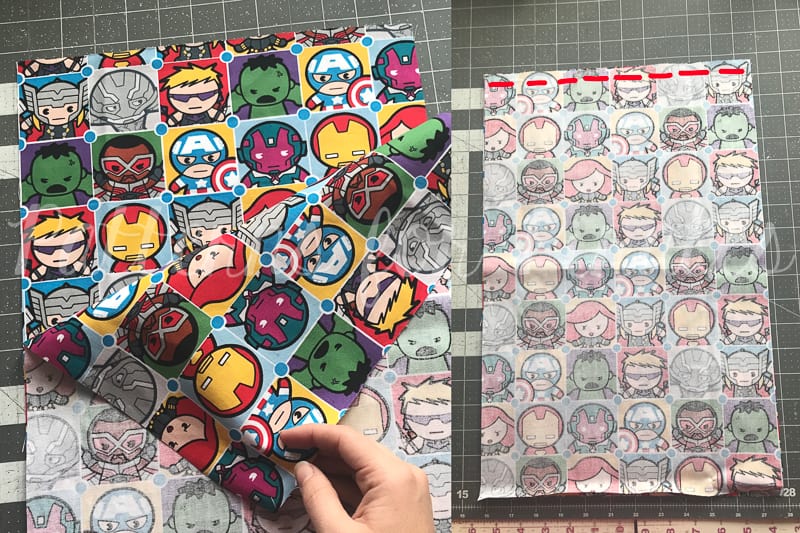
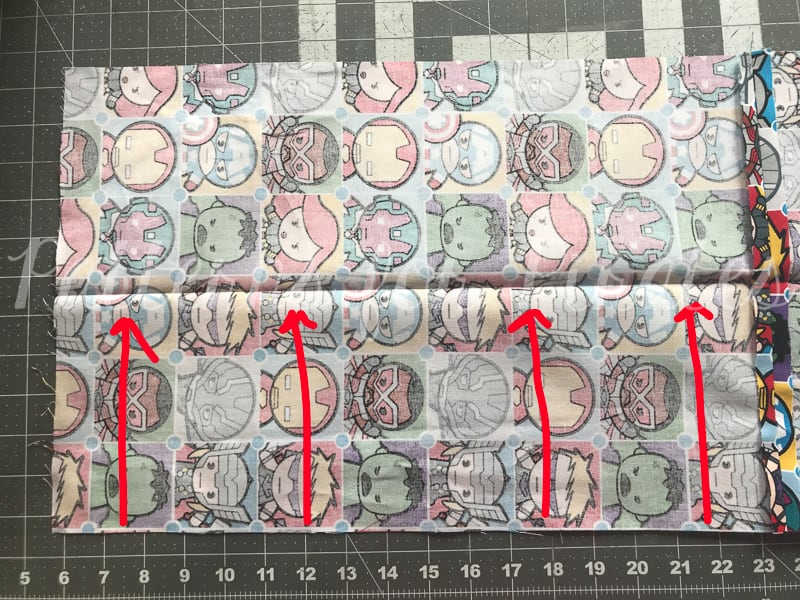
For directional fabric, place your pieces right sides together, and sew along the short edge, using 1/2″ seam allowance.
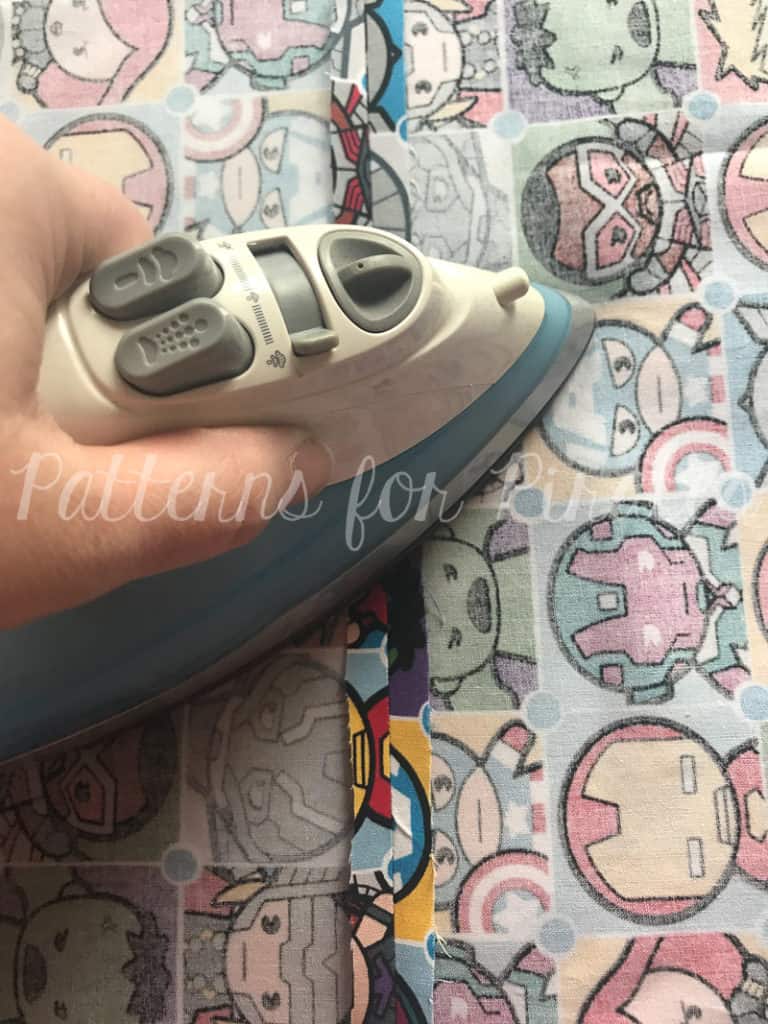
Press open your seam.
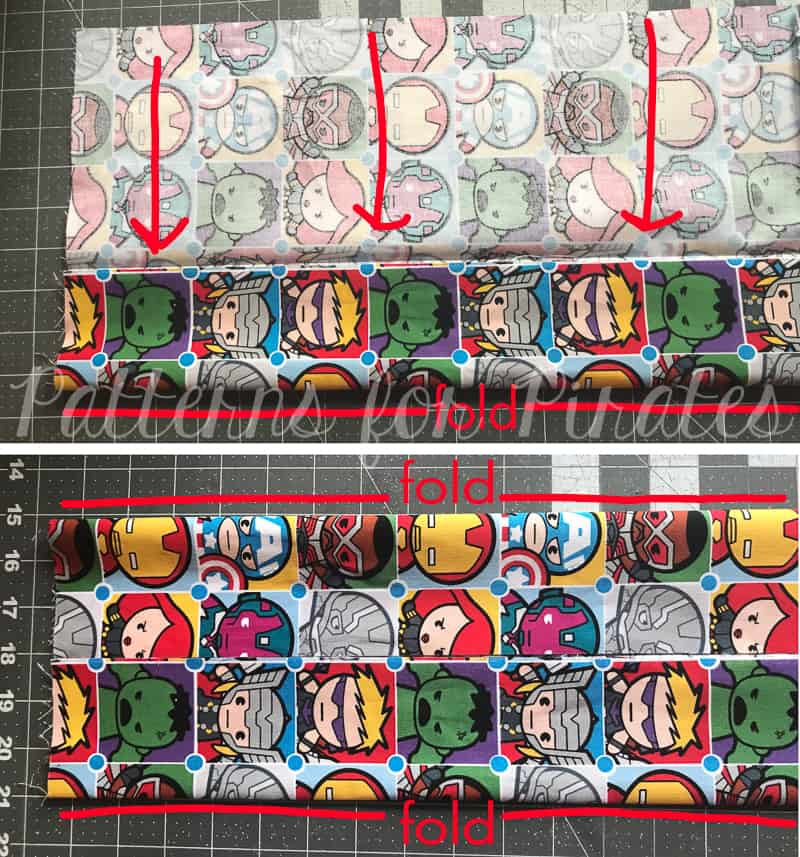
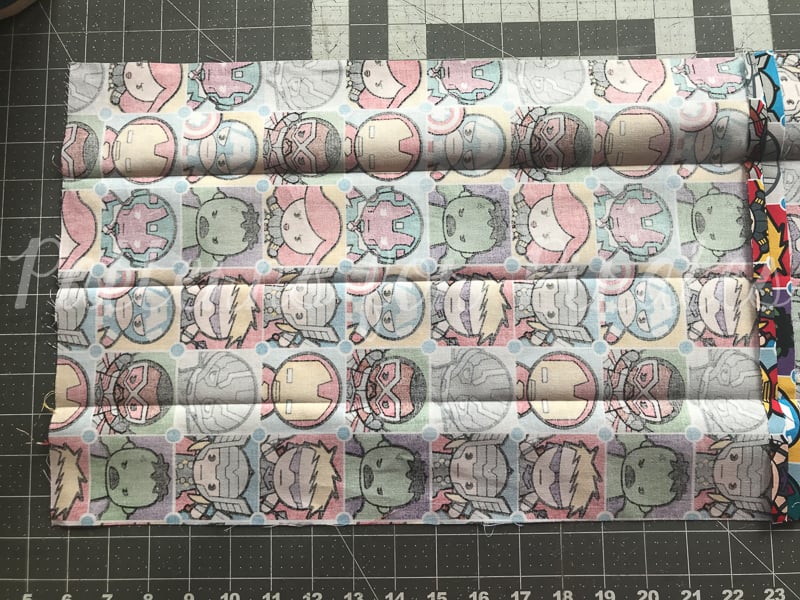
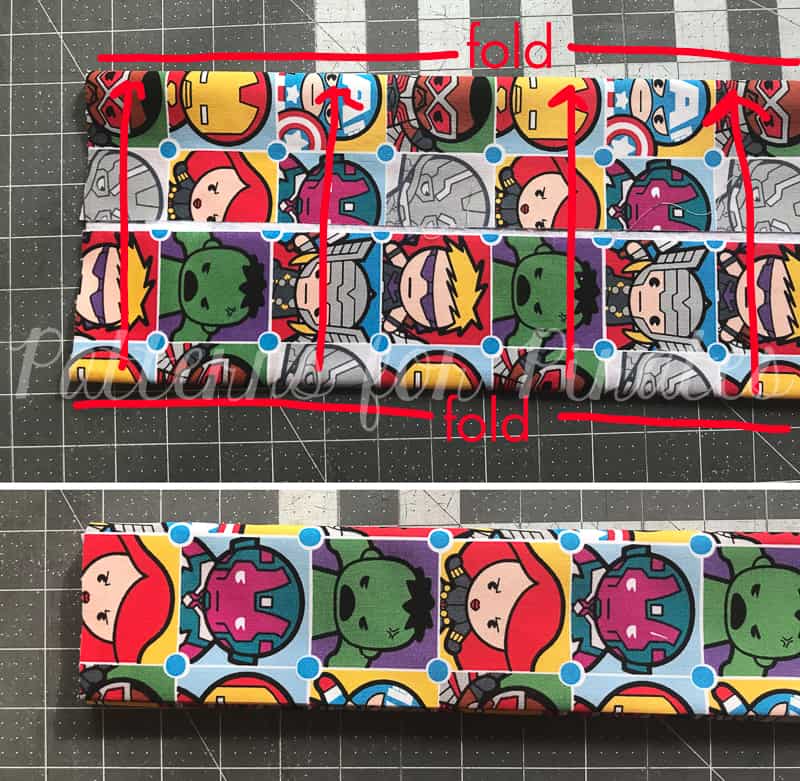
For all straps: Fold your main fabric wrong sides together, meeting the long edges to one another. Press.
Open up your piece and fold one of the raw edges toward the middle crease you just made.
Repeat with the second raw edge. Press.
If you open your piece, you’ll now have 3 creases, spread evenly across four total sections.
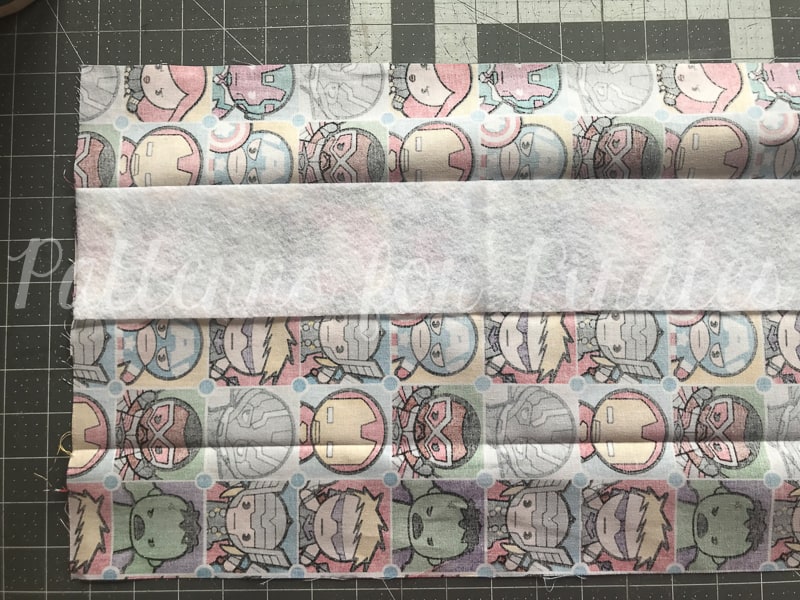
On one of the middle sections, following the directions provided by the manufacturer, iron your fusible fleece to your strap piece.
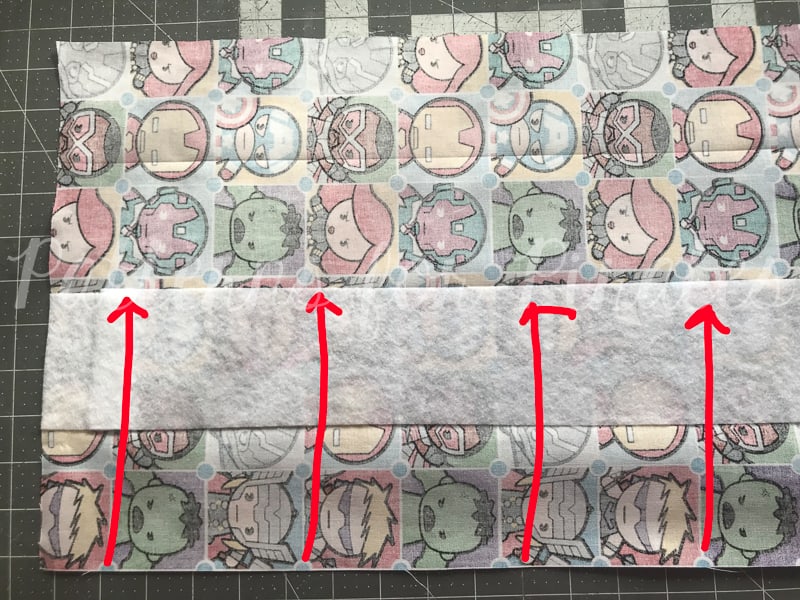
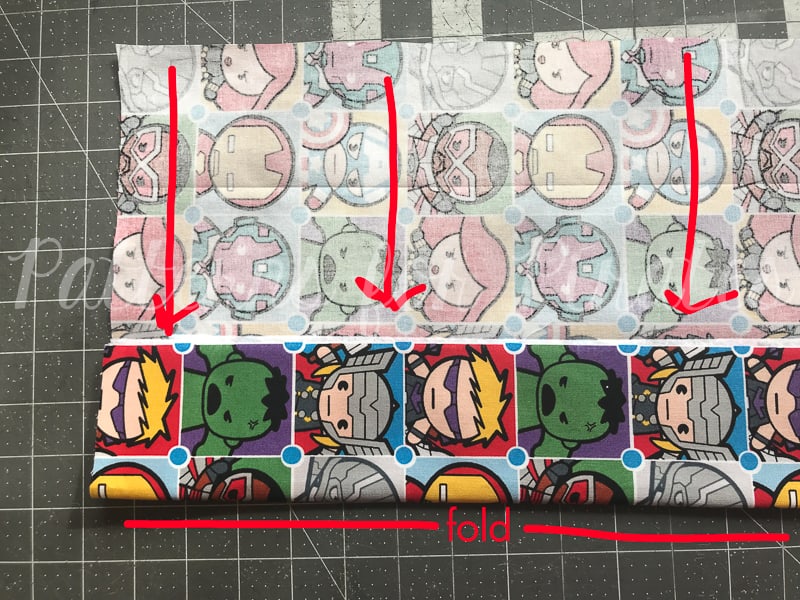
We will be refolding the strap in the same method as before. Take one of the raw edges and fold it toward the middle crease.
Repeat with other raw edge.
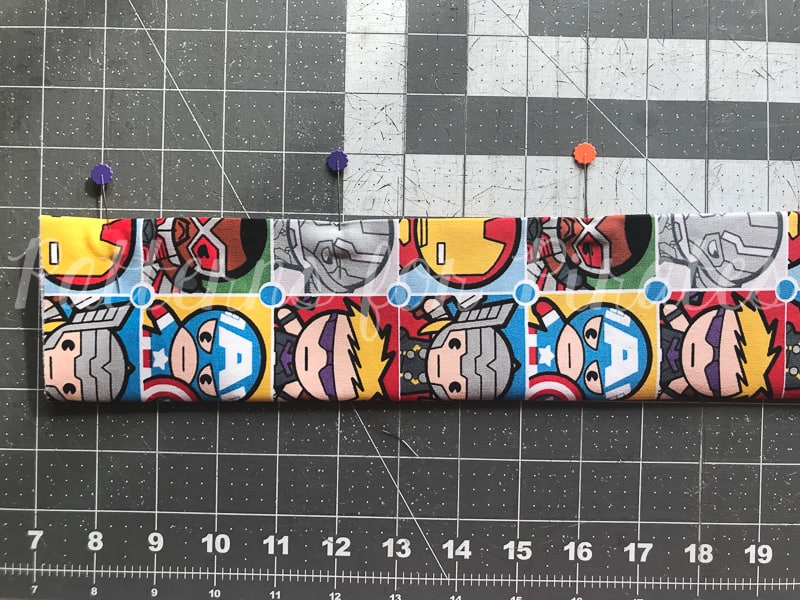
Fold along middle crease, meeting both folded edges. All of your raw edges will be fully enclosed now.
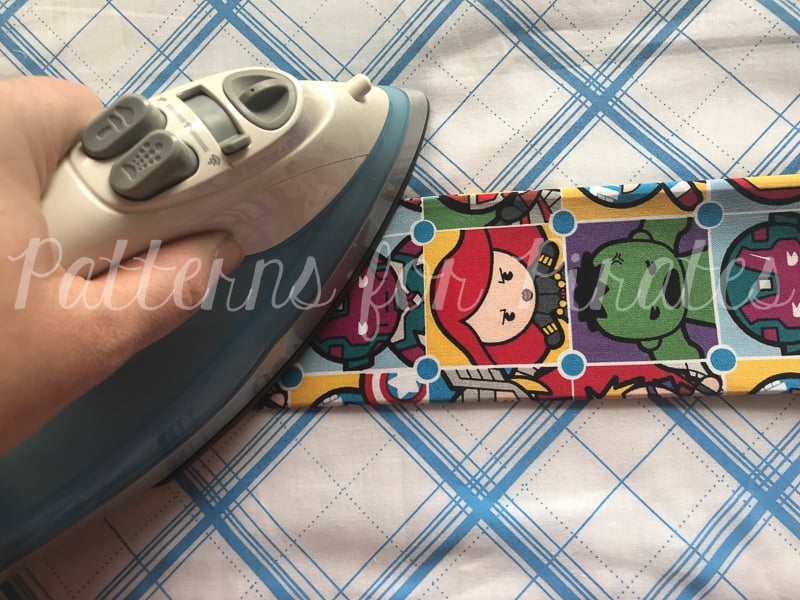
Press, press, press.
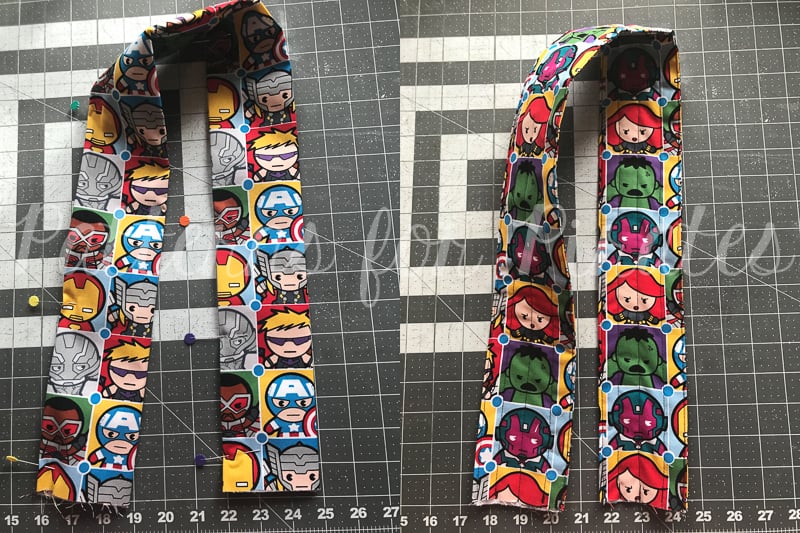
I like to clip/pin my outer edges together, to make sure they’ll align properly when I go to stitch them. Straight stitch along the entire edge you just pinned, getting as close to the edge as you can.
This part is up to you, and how fancy you want to get with your quilting. I like to run an edge stitch along the other long edge. And then three even lines across the rest of the strap. You can stitch as much or as little as you’d like!
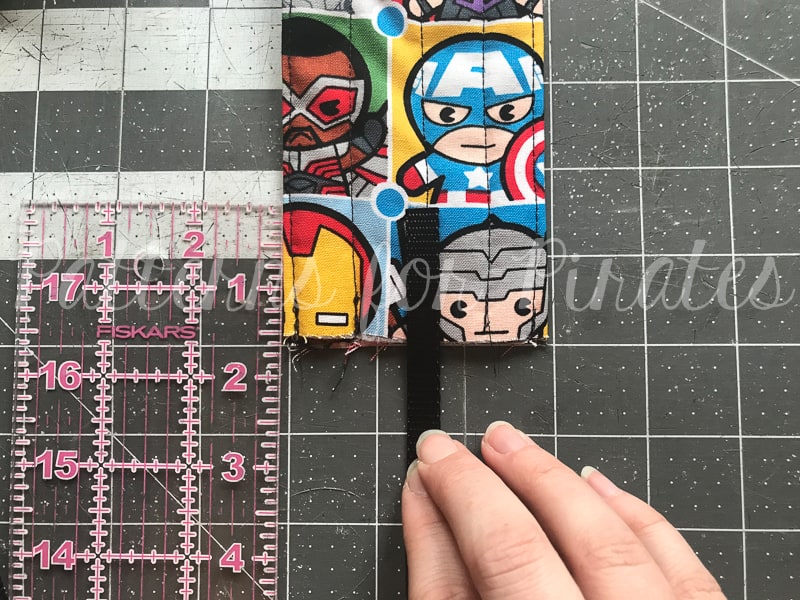
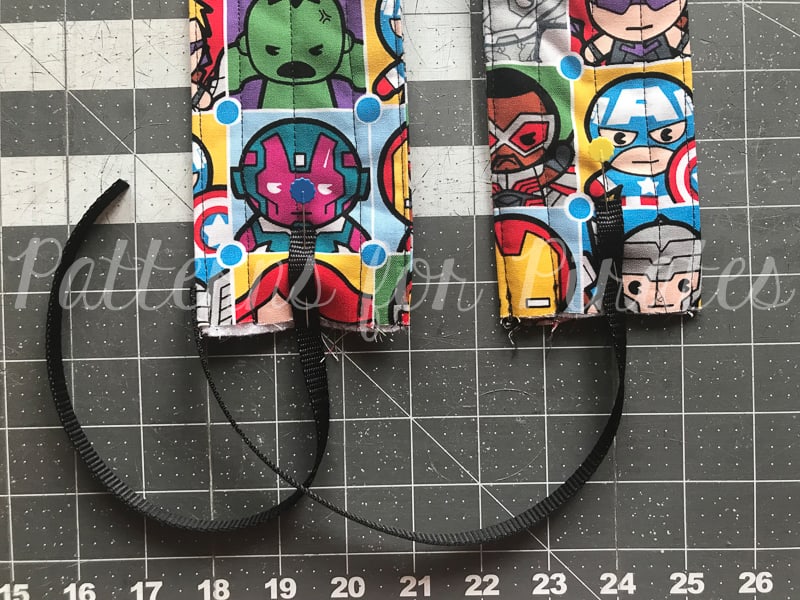
Take your nylon strap and overlap it 1.5″ from the edge of your strap, aligning it directly in the center of the strap.
Pin and repeat for the opposite end.
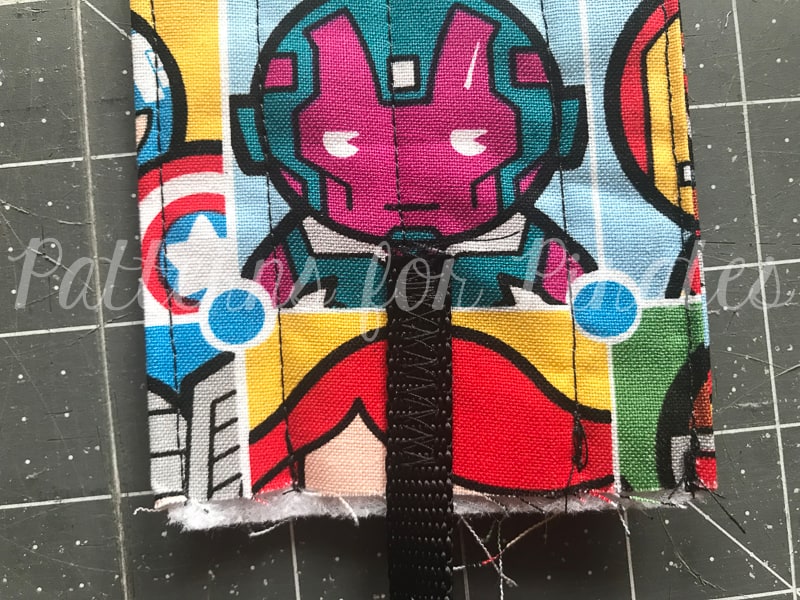
Using a wide zig zag stitch, secure your nylon strap to the end.
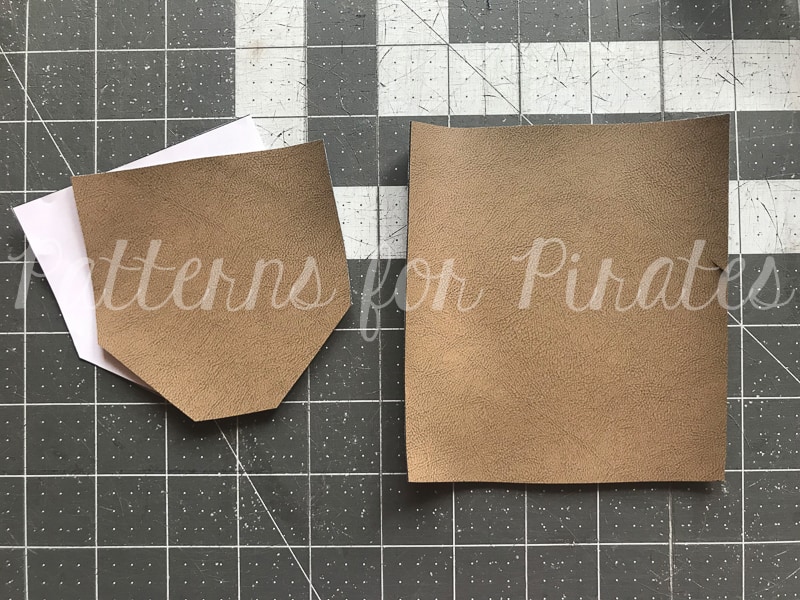
For the vinyl pieces, I recommend to only cut one actual piece — and to have an oversized rectangle for the other. It’s easier than trying to get them to line up perfectly. Especially since vinyl can be fussy to topstitch.
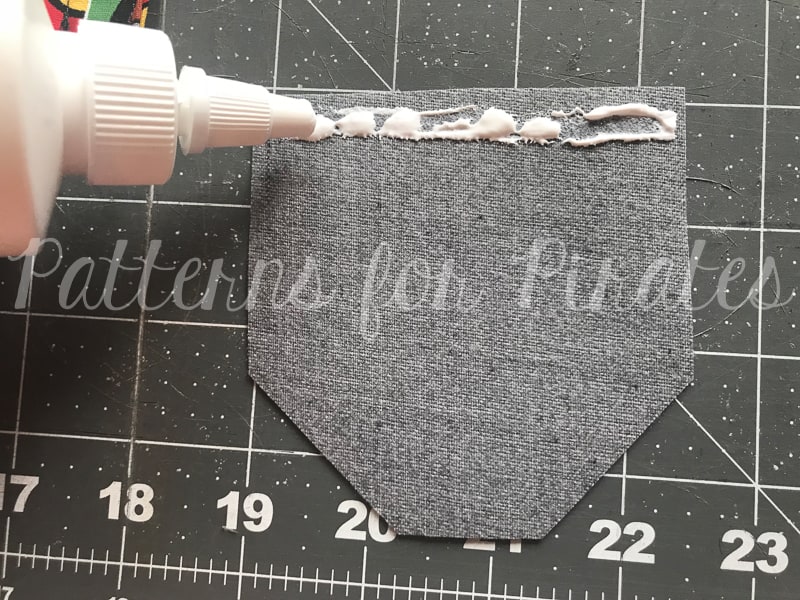
I like to run a line of fabric glue at the top of the vinyl backside. It helps keep it in place when sewing.
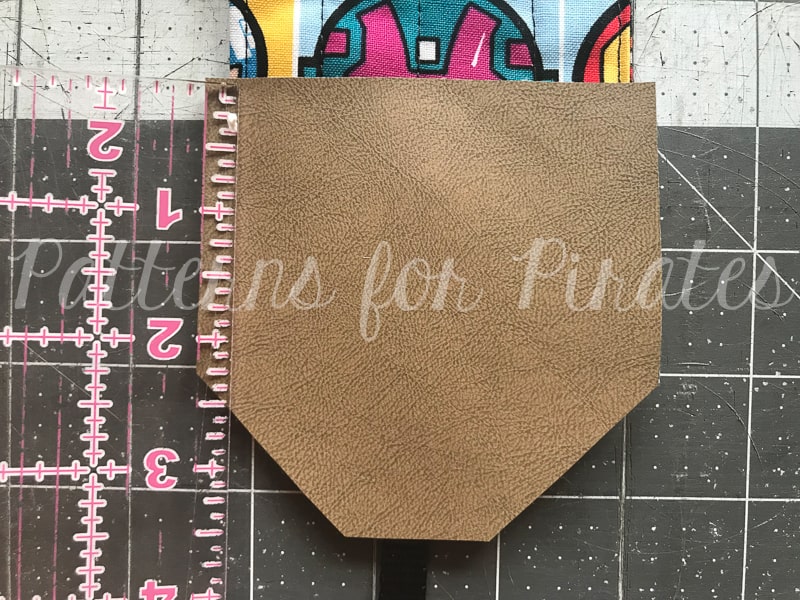
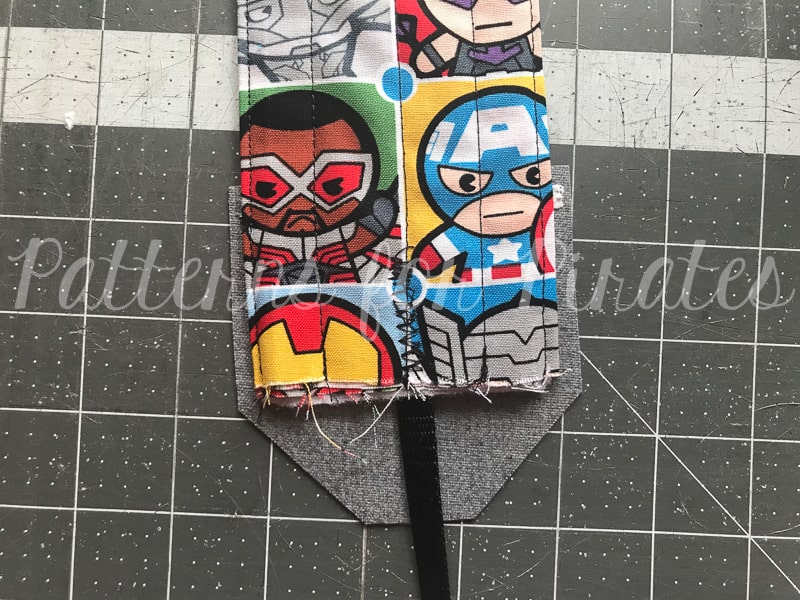
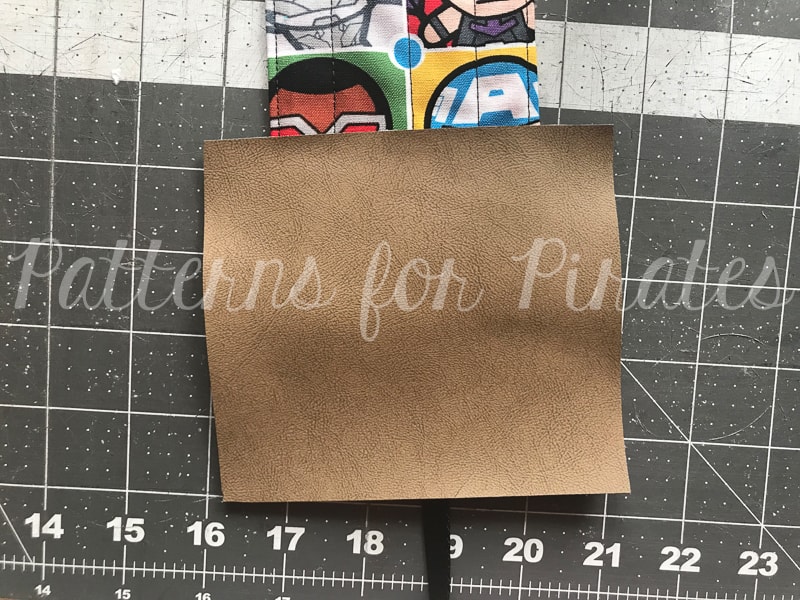
Two inches up from the bottom of your strap piece, lay out one of the vinyl pieces. The vinyl should be slightly wider than your strap.
Flip over your strap.
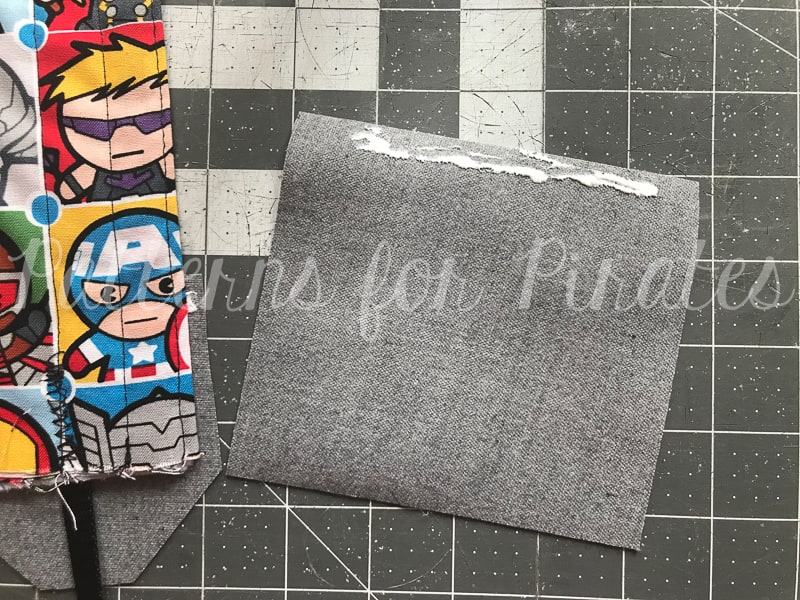
Throw another line of glue on the edge of your vinyl square.
Place it 2″ up from the bottom of your strap.
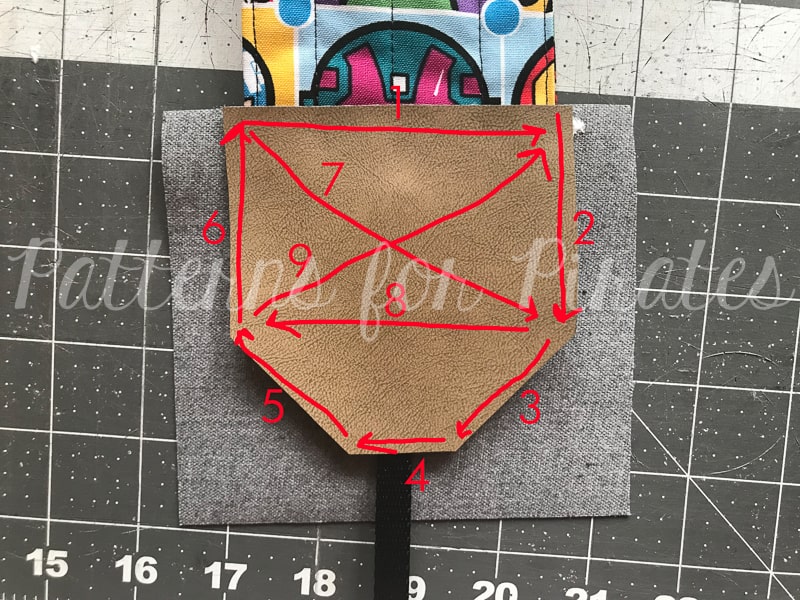
Flip your piece back over and stitch your vinyl on. This is the path I take and it allows for a continuous stitch. You can take whatever path you want.
I HIGHLY recommend using a teflon foot for this. Vinyl can be a huge brat. I know they carry them at JoAnn Fabrics, or you can snag one on Amazon.
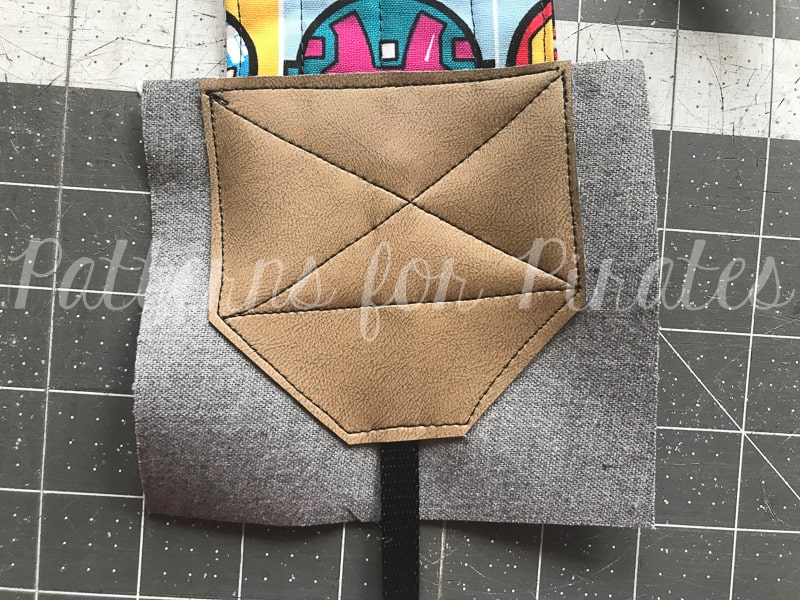
Finished stitches.
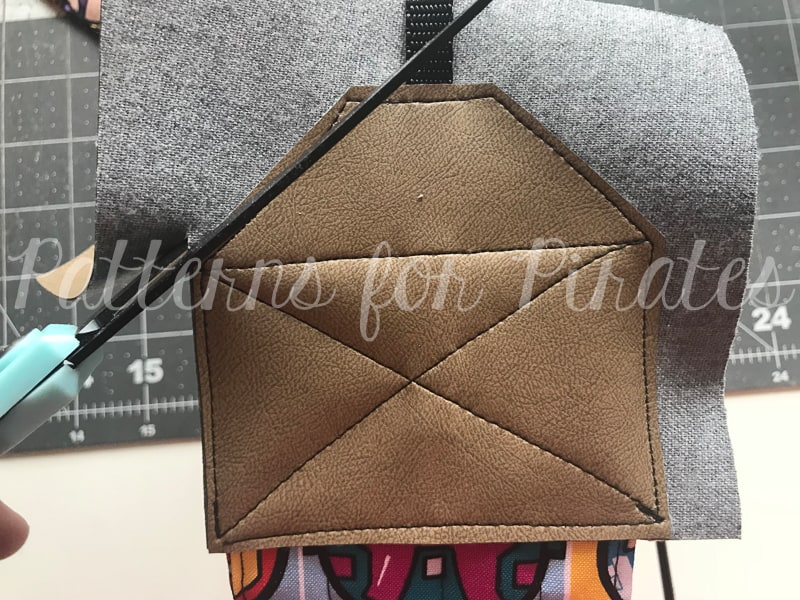
Trim the vinyl to match your other pieces.
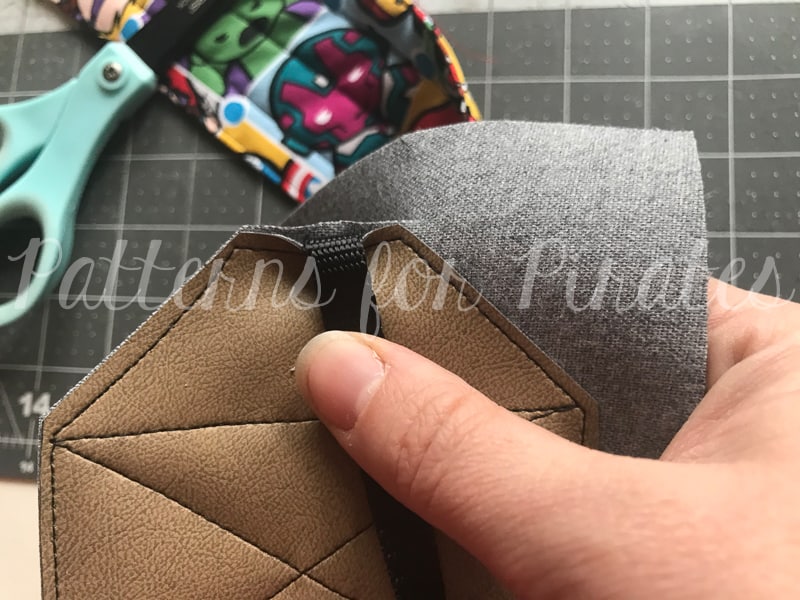
Be careful not to cut off your nylon strap. Just tuck it out of the way when you’re trimming.
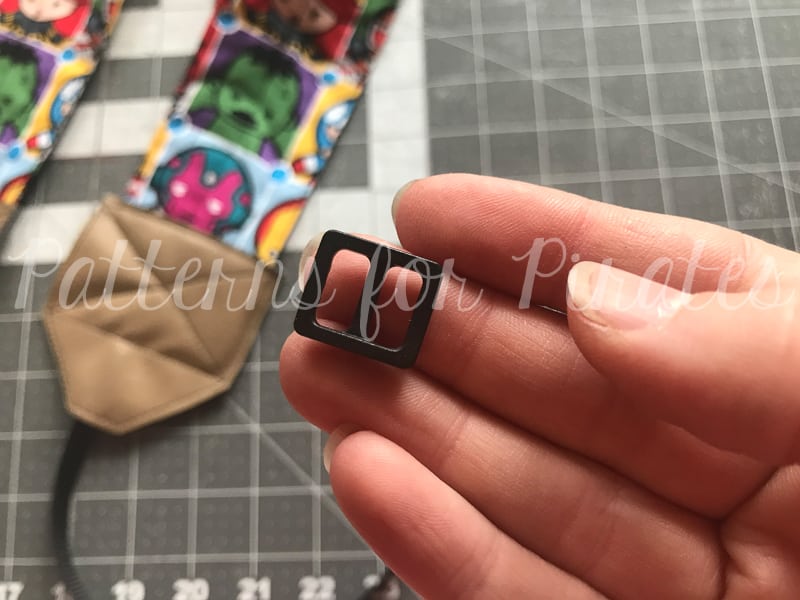
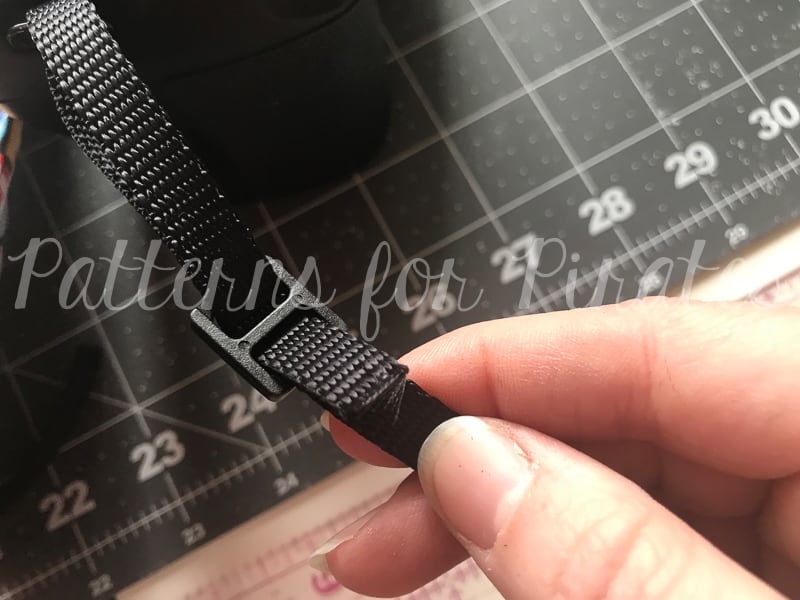
Take your slider.
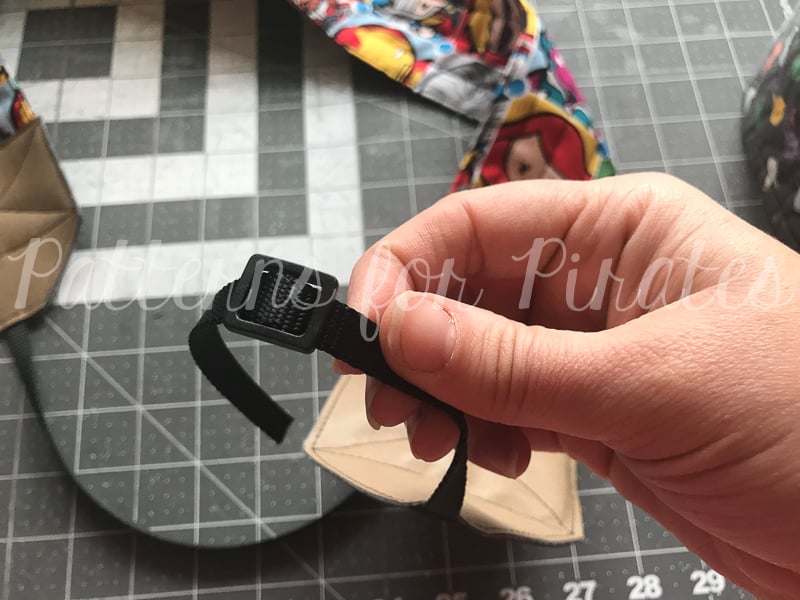
Slide it onto your strap.
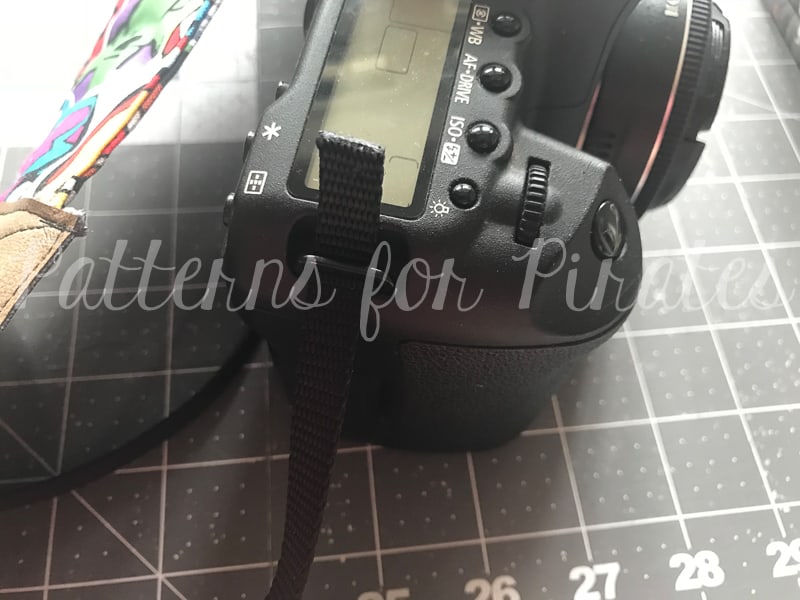
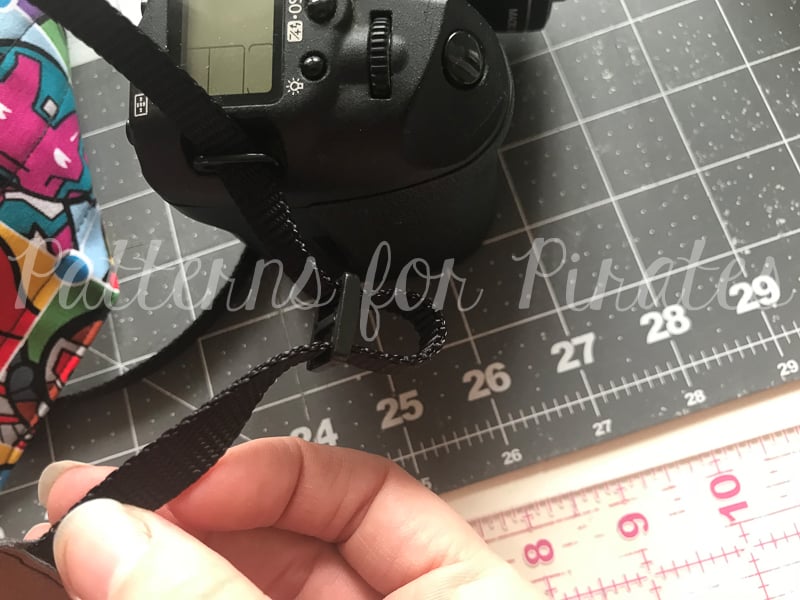
Put the cord in from the bottom-up on your camera.
Give yourself a little slack.
Run the cord back through the bottom and secure the strap to your camera. Easy peasy!
I am SO EXCITED to see your new, stylin’ camera straps! I’ve been using my me-made strap for years now (so has my hubby) and we get compliments on it all the time. I’m betting you will too! Please, if you do make one for yourself, share it with us in the Patterns for Pirates Facebook Group!
**Also, as a quick note, there are some affiliate links scattered within this post. I make a small commission for purchases made through those links, but I only link products that I’ve used and actually recommend myself.


[…] few dollars with coupons and by scouting the sales table at my craft store. I used a tutorial from Patterns for Pirates, but there are lots of good tutorials on the web! She uses canvas webbing instead of rings, but I […]