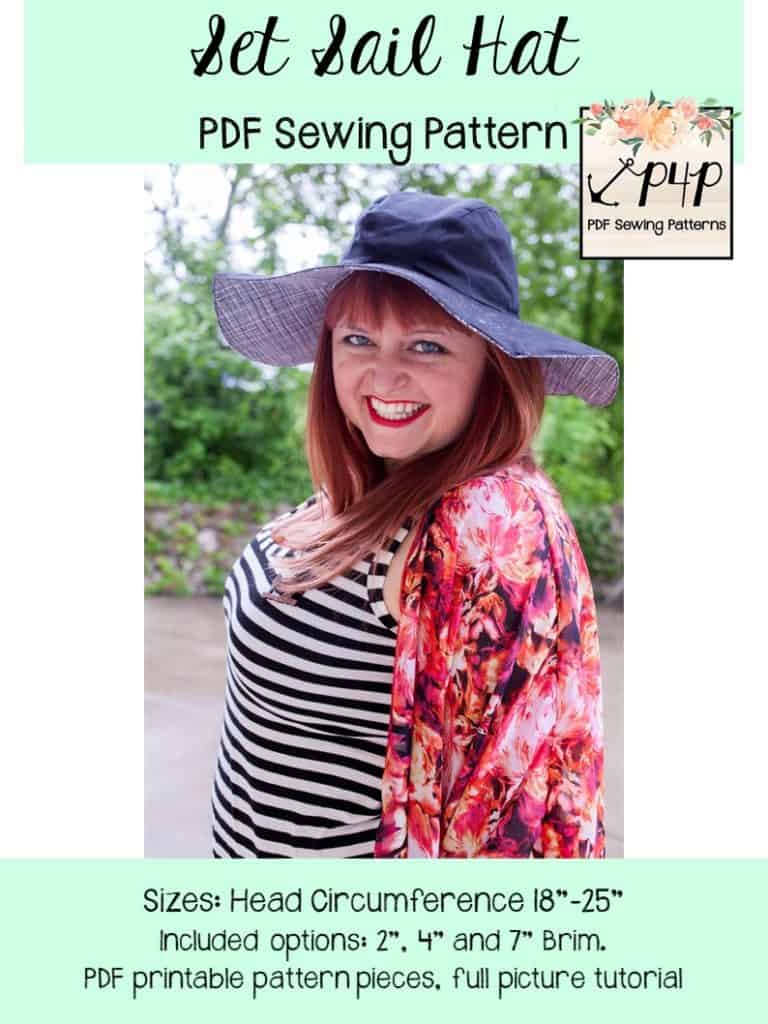
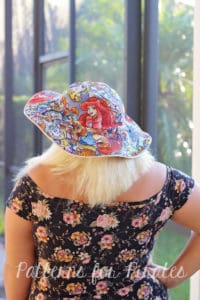
I am super-duper excited to be sharing the newest addition to the P4P pattern lineup: the Set Sail Hat.
Get ready for the quickest, cutest sew ever, my friends! Because this hat takes minimal amounts of fabric and gives you maximum results. And it’s reversible! So you are practically getting two hats for the sewing efforts of one. Perfect, am I right?
Did I forget to mention the best part??!! It’s FREE!
The Set Sail Hat is drafted for head circumferences ranging from 18″ to 25″. It has a three-piece cap that curves beautifully to your head, and comes ready with three brim sizes: 2″, 4″, and the ever-fabulous 7″. To keep those brims extra sturdy, we do recommend stabilizing them with a medium-to-firm weight interfacing (we love Pellon 809!) so make sure to pick some up next time you go shopping at your local fabric store.
Here’s a quick peek at the AH-MAZING hats that our testers created!
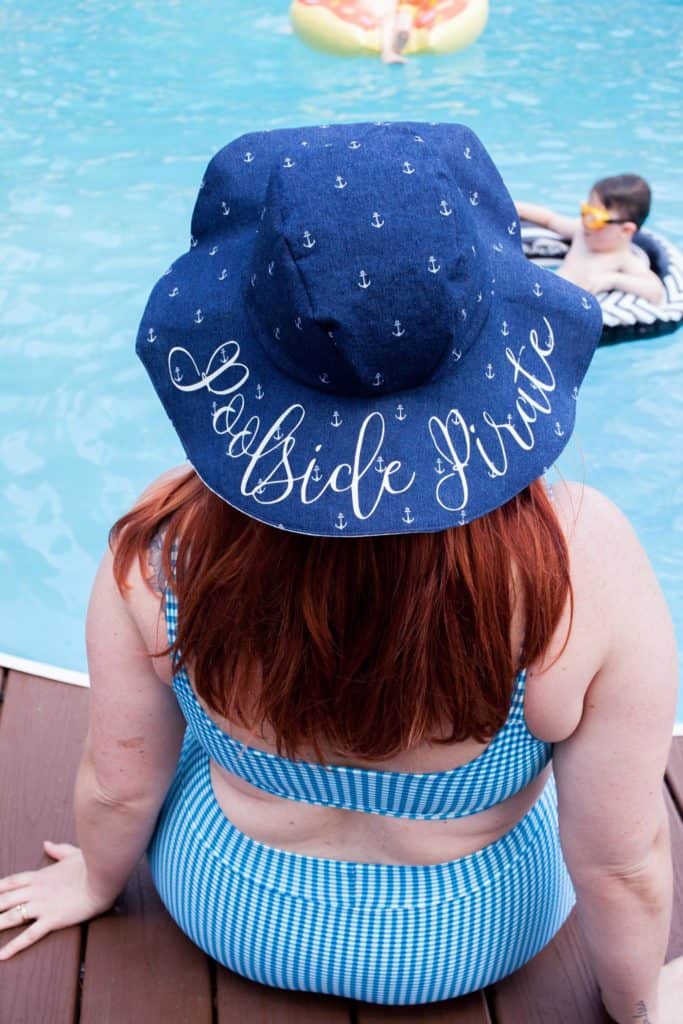
But wait! There’s more! We’ve been seeing “wordy” sun hats all over the place the last couple of seasons and we wanted to help you make your own.
Packaged as SVG and PNG files, you can download these phrases (which are already curved specifically for the brim of both the 4″ and 7″ hats):
- Vacay Vibes
- Sup, Beaches?
- Seas the Day
- Resting Beach Face
- Pirate Maiden
- Hello Sunshine
- Do Not Disturb
- Champagne Please
- Boss Babe
- Beer Me
- Beach Please
You can find those freebies as a quick download here: Set Sail Hat Phrases
Easy Hack: Adding Piping
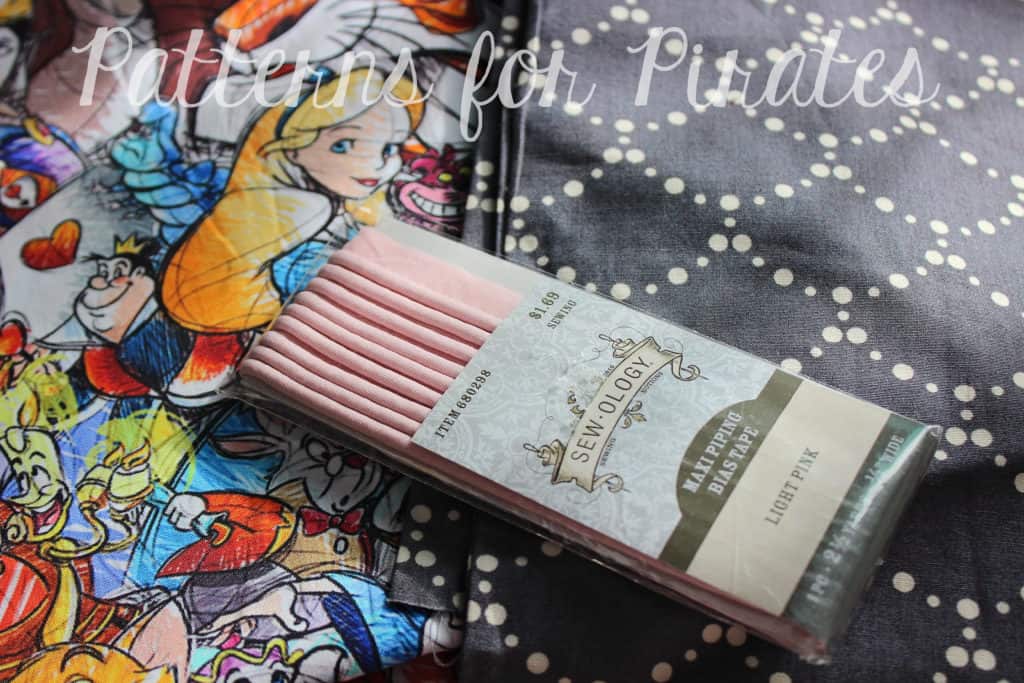
It’s not part of the original pattern instructions, but we wanted to help you with a quick tutorial on the blog. We’ve got an easy little detail addition that makes a big impact. We are talking about PIPING…good old fashion store bought piping. Don’t get us wrong, if you feel adventurous and want to make your own, go for it! However, our personal preference is the ease of ready made piping 🙂
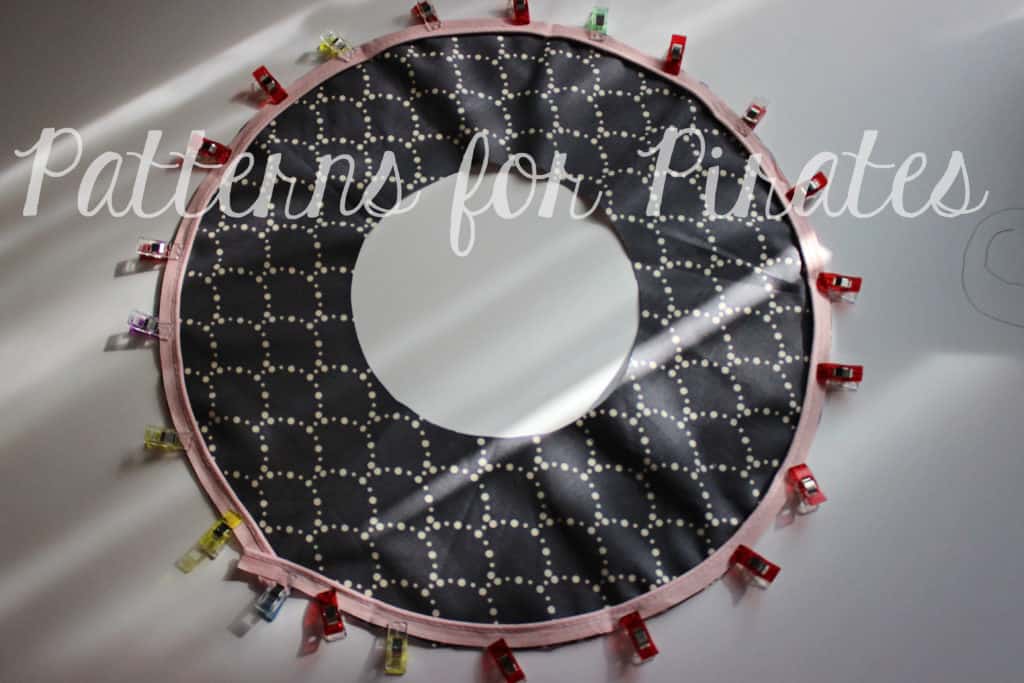
We’ll be adding piping to the brim of the hat. The 4″ brim takes a little less than a package of piping. If you chose to add this detail to the 7″ brim you will need two packs of piping. You will not have to make any changes to the pattern, simply cut your pieces as you normally would.
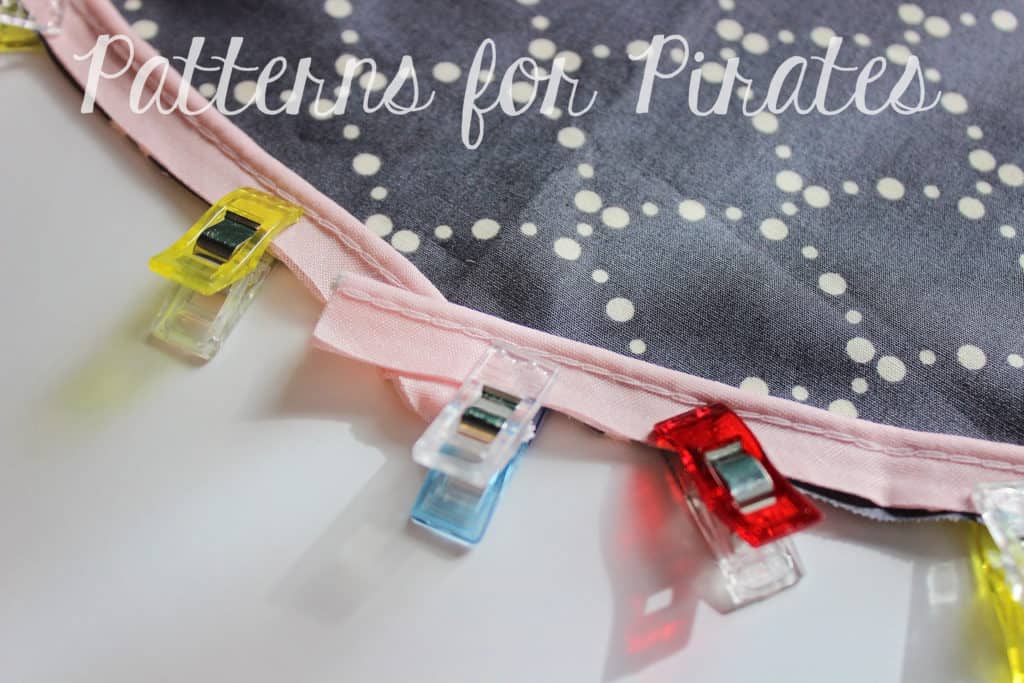
Pin or use clips to attach the piping to the outer circumference of one of the brims, lining or main. Chose what would be the back of the hat and overlap the piping there.
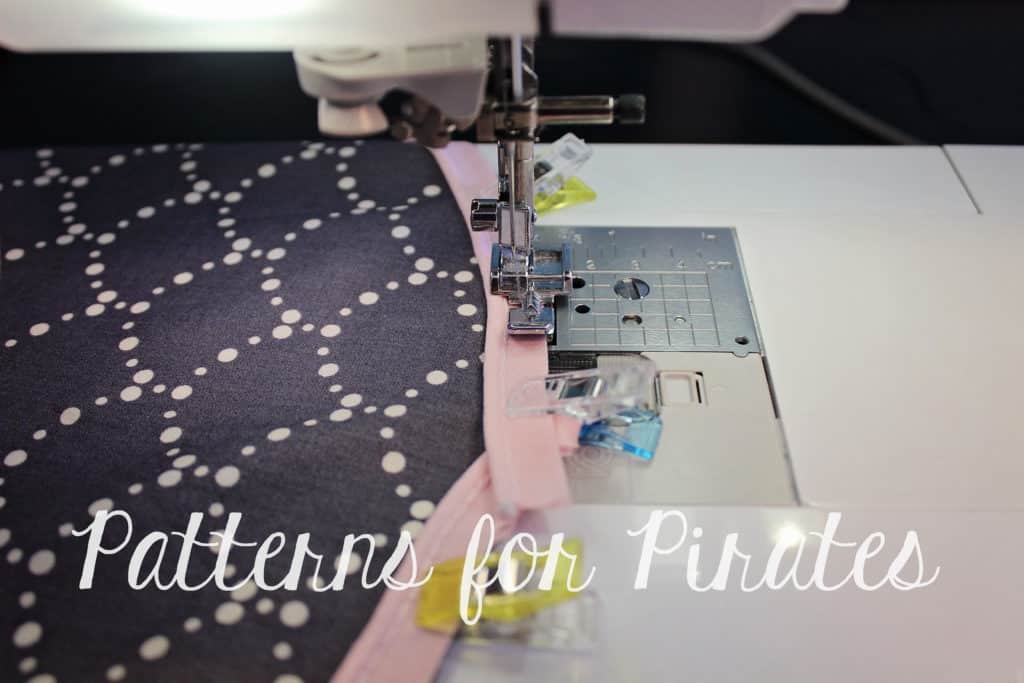
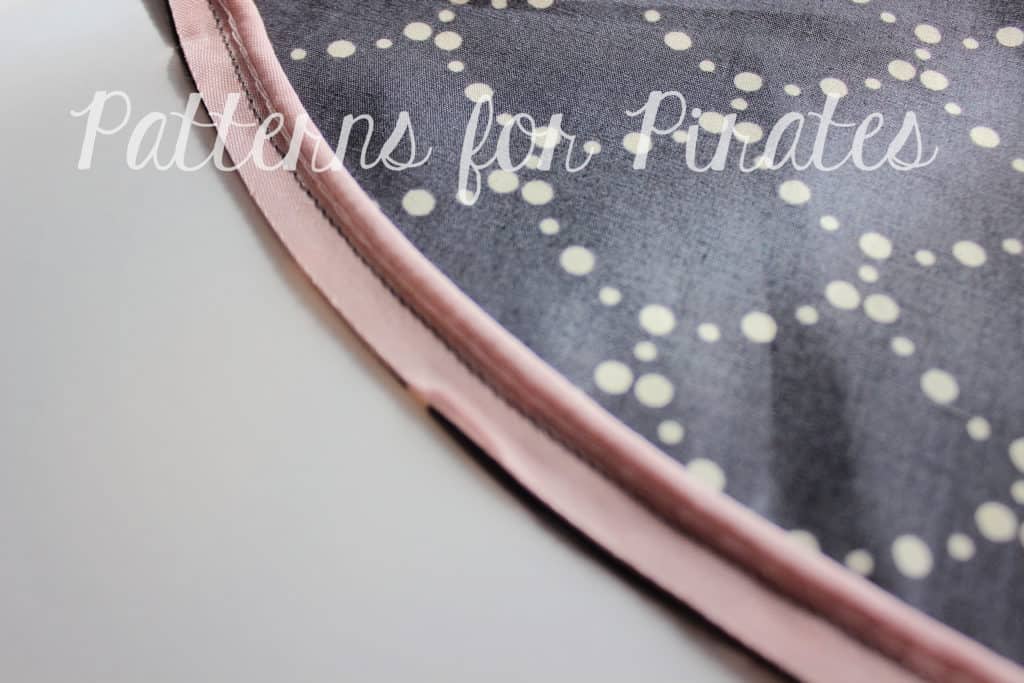
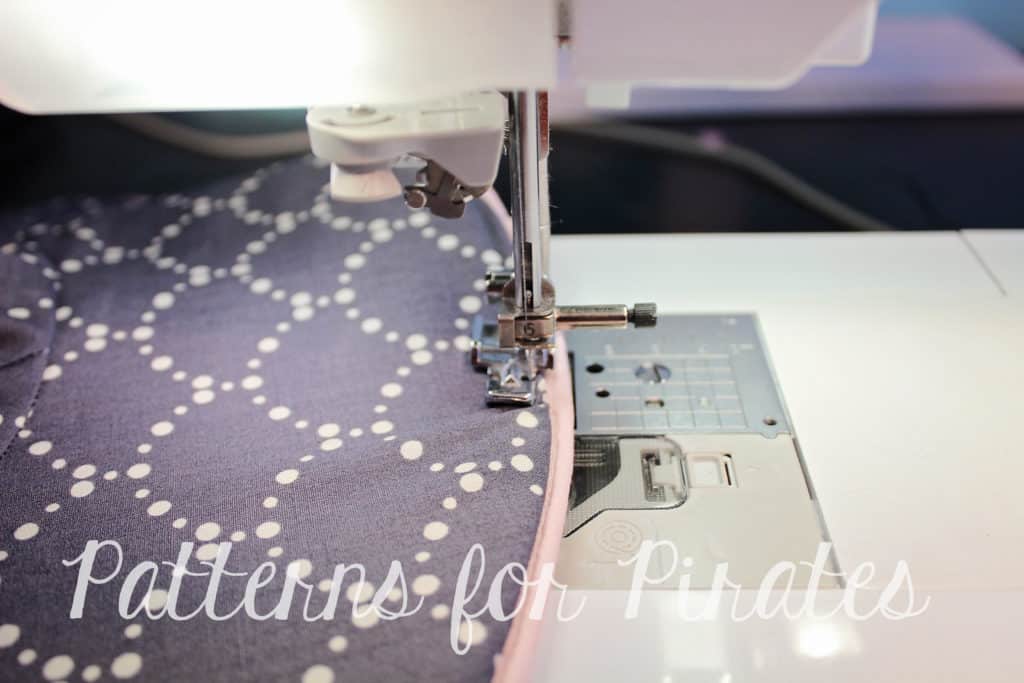
The key to successfully sewing piping is using your zipper foot. So, switch your regular foot to the zipper foot and sew the piping to the brim.
All you have left to to now is sew the hat as per the tutorial and enjoy your awesome new make!
What are you waiting for? Go grab your copy of the Set Sail Hat! It’s always free and always fabulous!
Need some style inspiration? Check out our Facebook Album full of amazing images from our testers.
Happy Sewing, Pirates!


This is AMAZING and I really want to make one! Do you have any suggestions for larger heads, though? I have a shockingly big head
I would love to have that pattern.
I’m so glad to find this. I have one of those 50 SPF hats but it’s in a boring beige. It will be nice to be able to make a protective hat AND enjoy color, too!
[ We even gave you some adorable phrases you can decorate the hat with for some extra fun! Download those on the Set Sail Hat Round Up Post! ] The link to the Text Phrases for the Set Sail Hats seems to be broken as it returns an error message of: “403 Forbidden “. Thank you.
Where is it? I can’t find a first for me ♀️
Here is link to the product: https://www.patternsforpirates.com/product/set-sail-hat/