As with all new P4P patterns our blog team has some easy hacks ready for you to take your Summer Pjs up a notch. It is a sizzling summer after all…
Knit and FOE
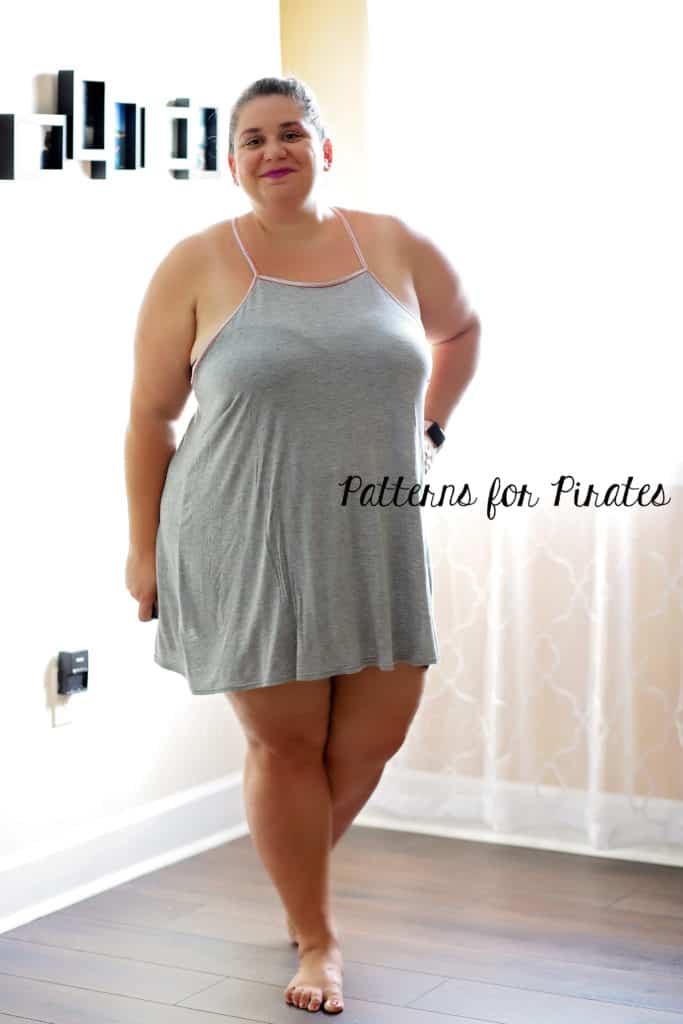
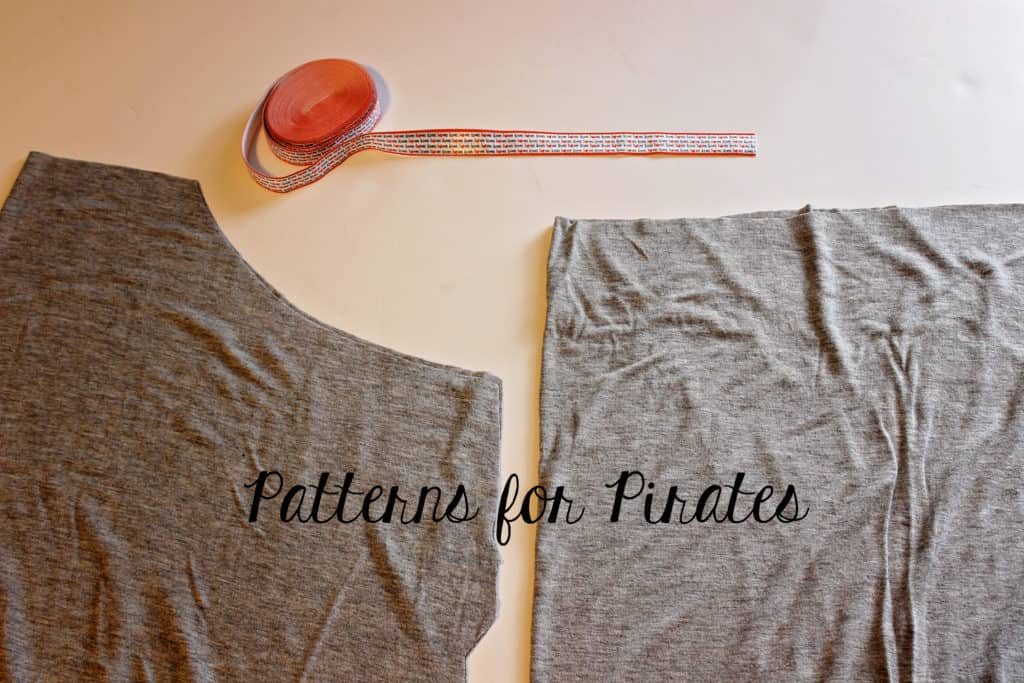
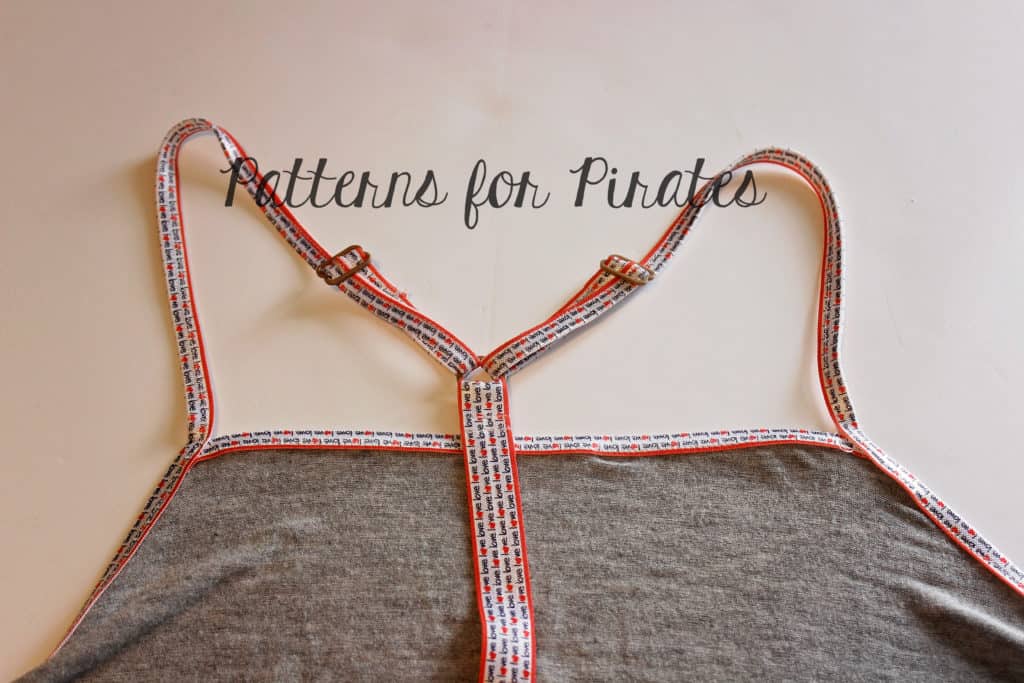
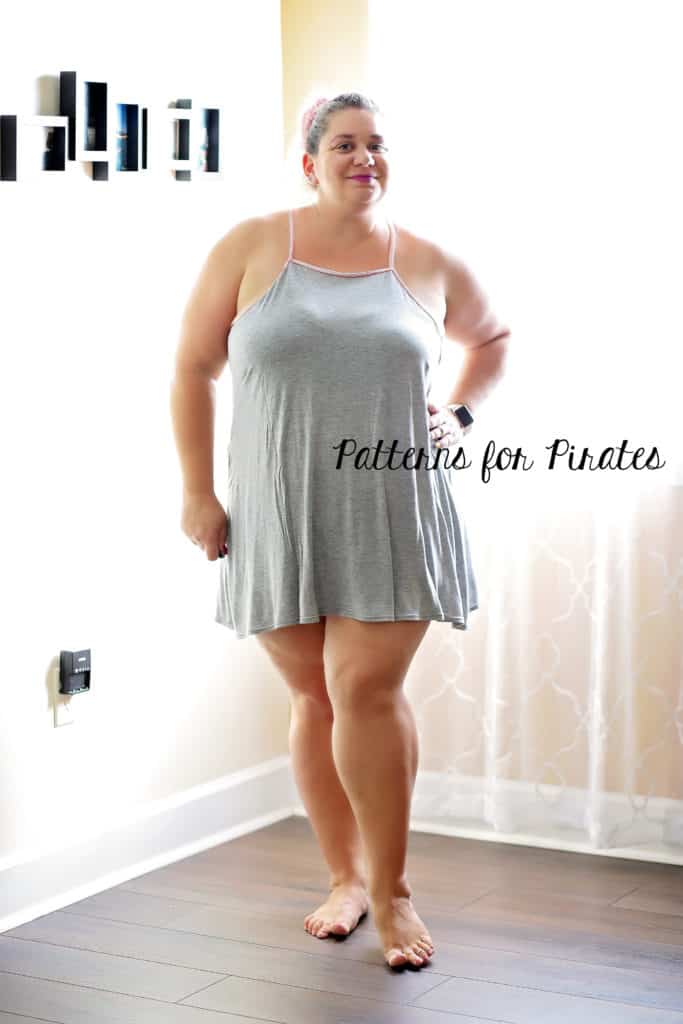
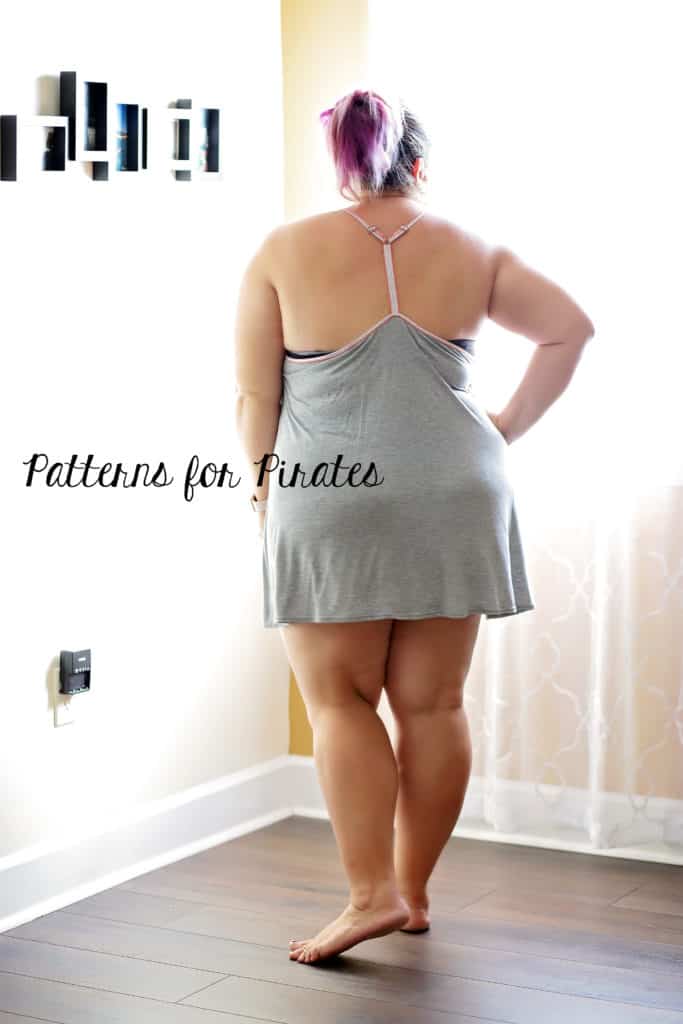
Let’s start with a simple fabric switch. If you are anything like me you have piles and piles of knit fabric in your stash. Let’s make the Summer Pjs with jersey knit. The other replacement we are making is switching the bias tape for FOE (fold over elastic).
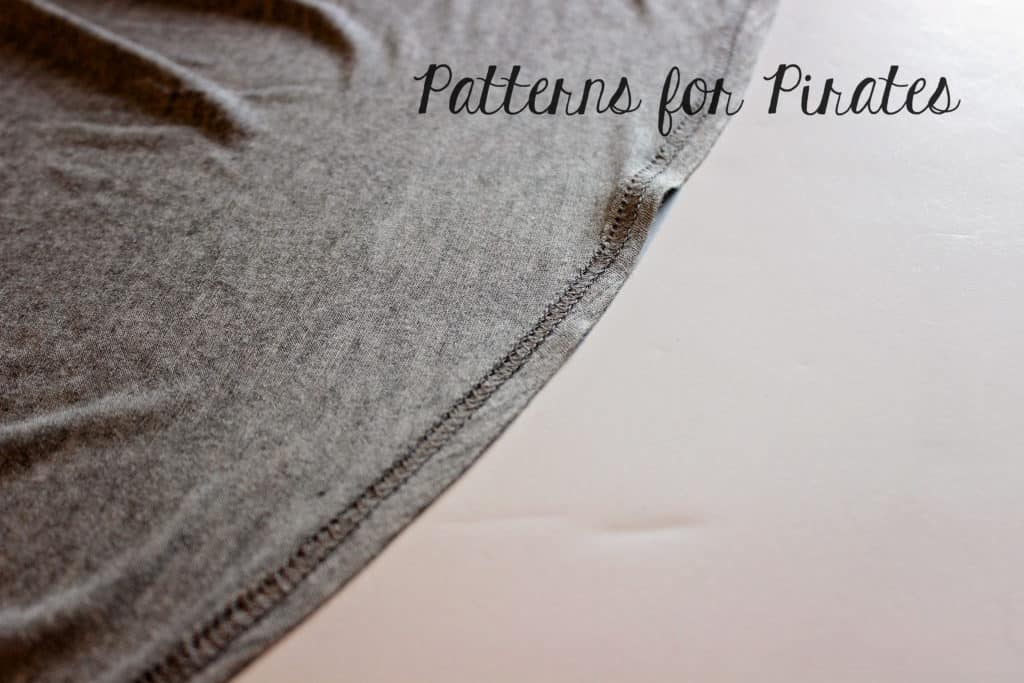
I used 5/8″ FOE for mine but any width bigger would work too. One of my favorite parts of making the Summer PJs with knit is that I can coverstitch the hem.
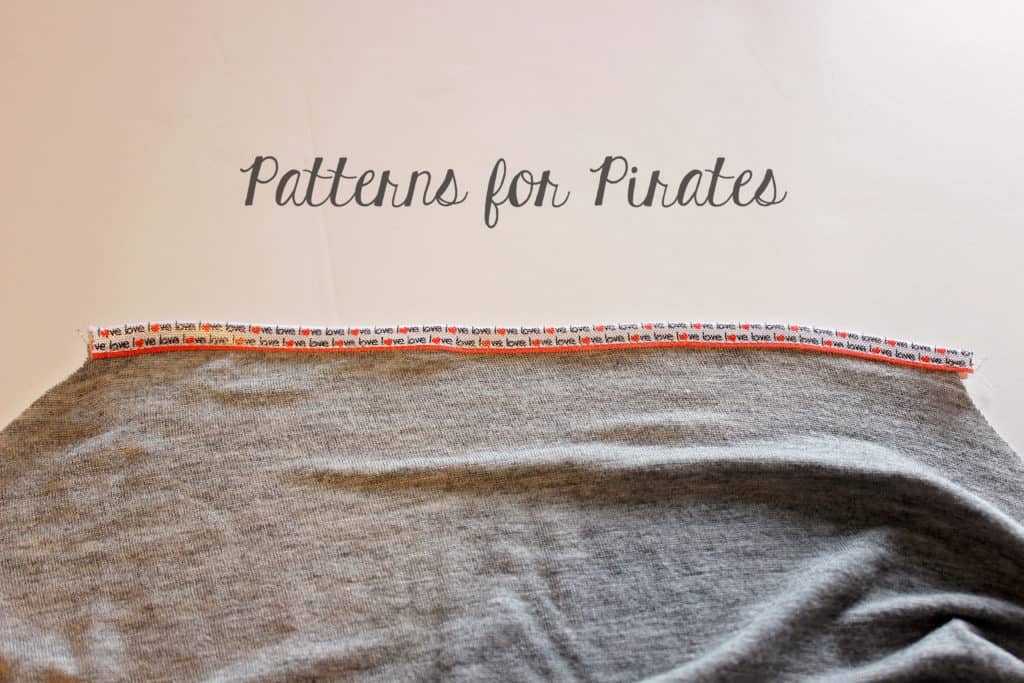
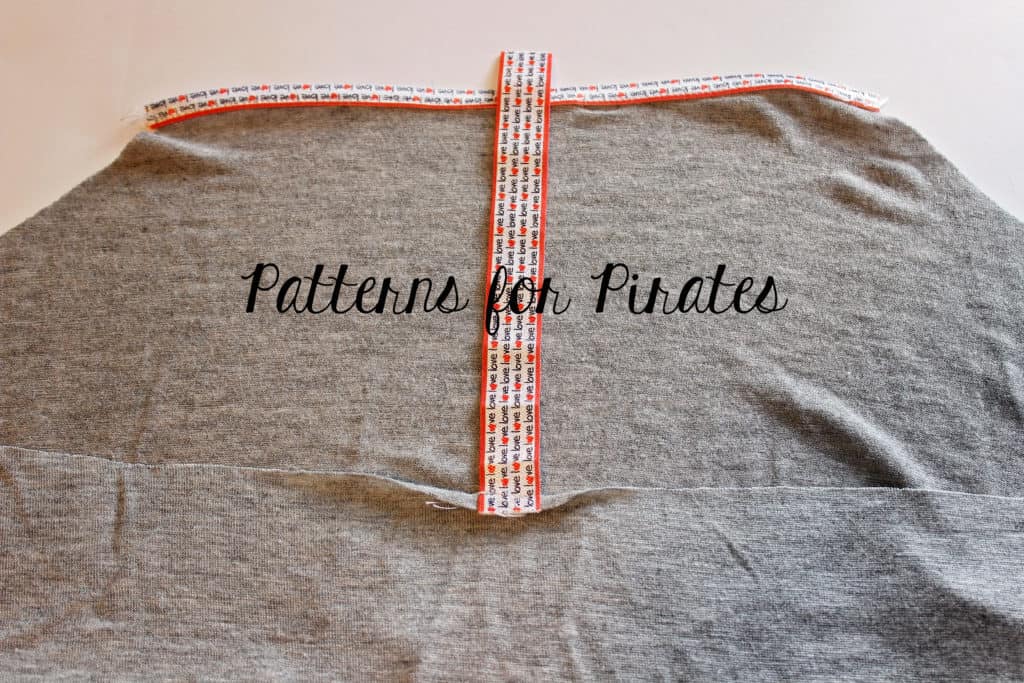
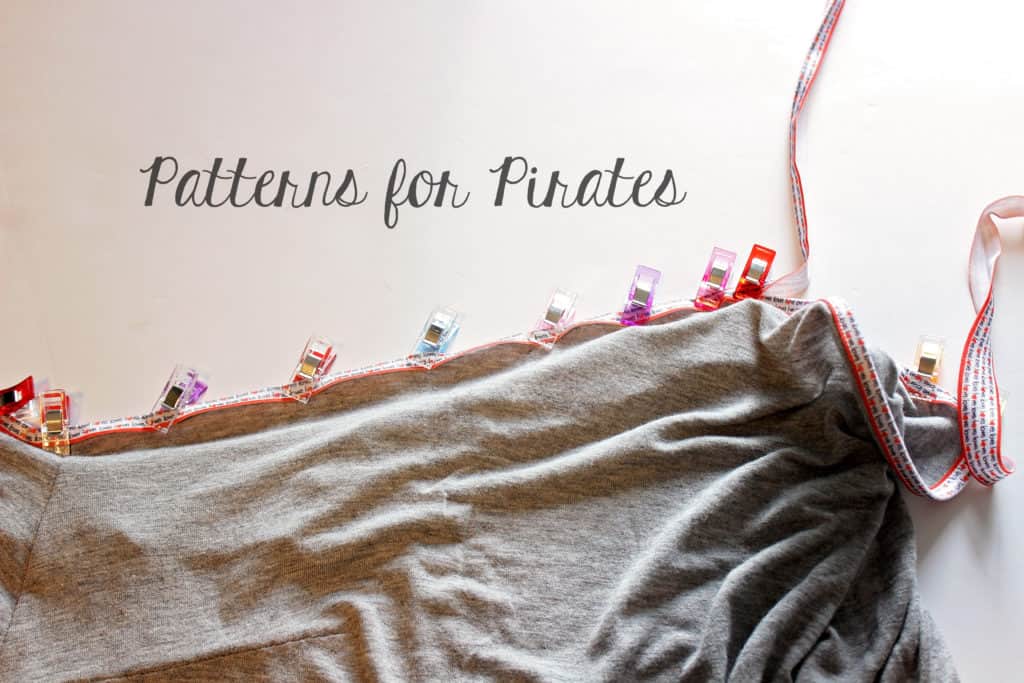
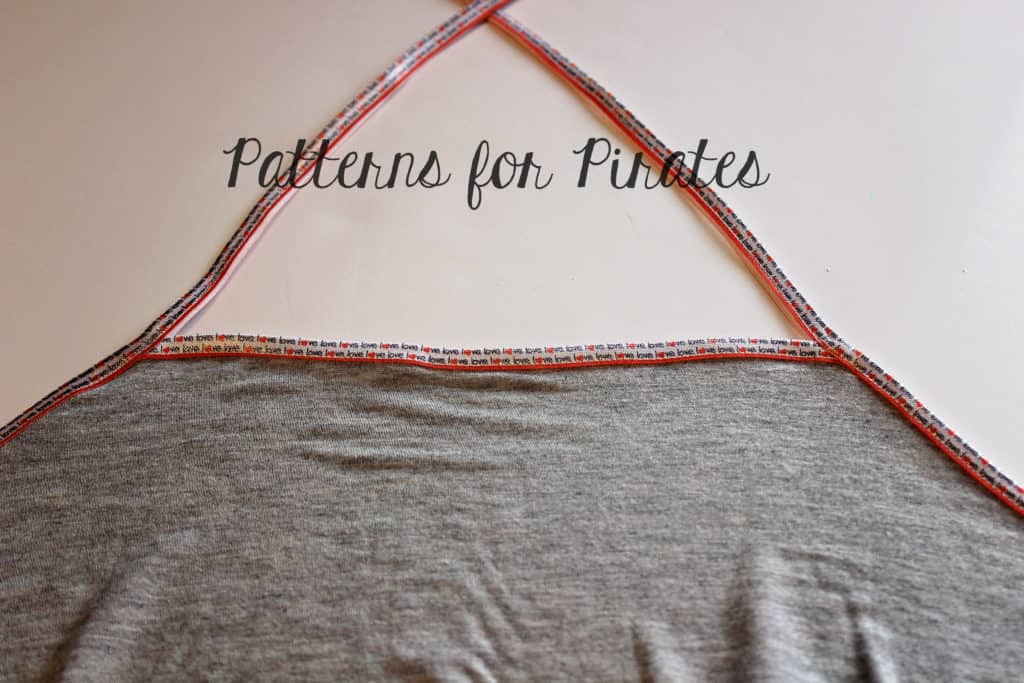
Sew the PJs as instructed in the tutorial. When adding FOE simply fold it in half and sew it on with a lightning bolt stitch or triple stretch stitch. You can get away with using a straight stitch since the pattern has plenty of positive ease so you won’t really be stretching the binding.
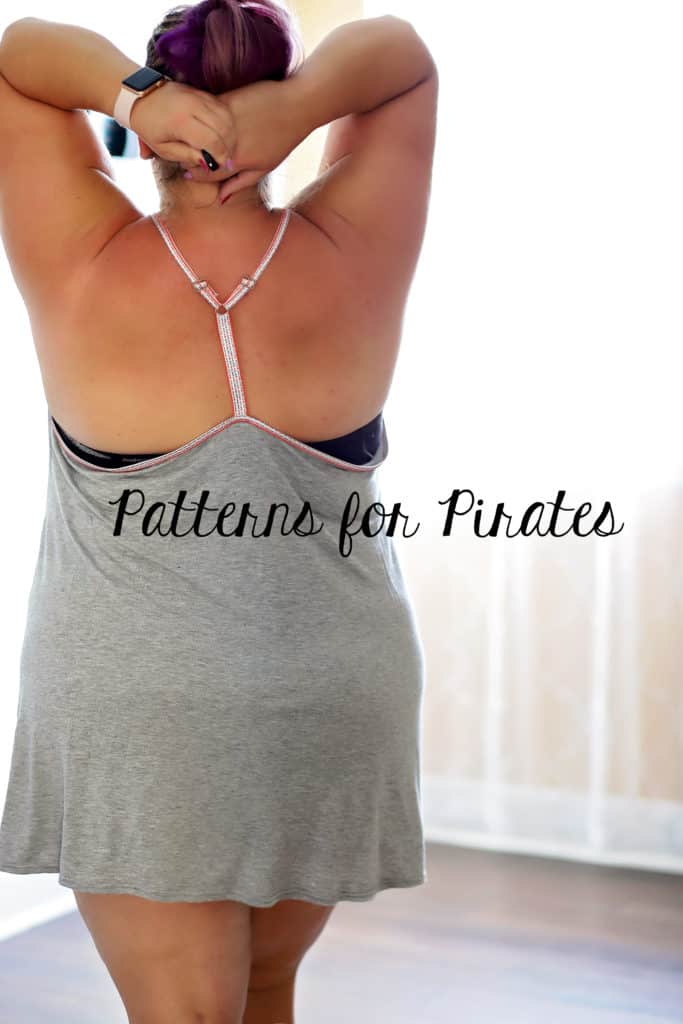
I left the FOE as is for the back strap but you can certainly fold that one over as well.
Use lots of pins when adding the long back strap. It will help if you steam press the FOE fold prior to pinning or clipping it in place.
That’s it! No changes made to the actual pattern pieces just fabric choice…easy peasy!
Lace Insert
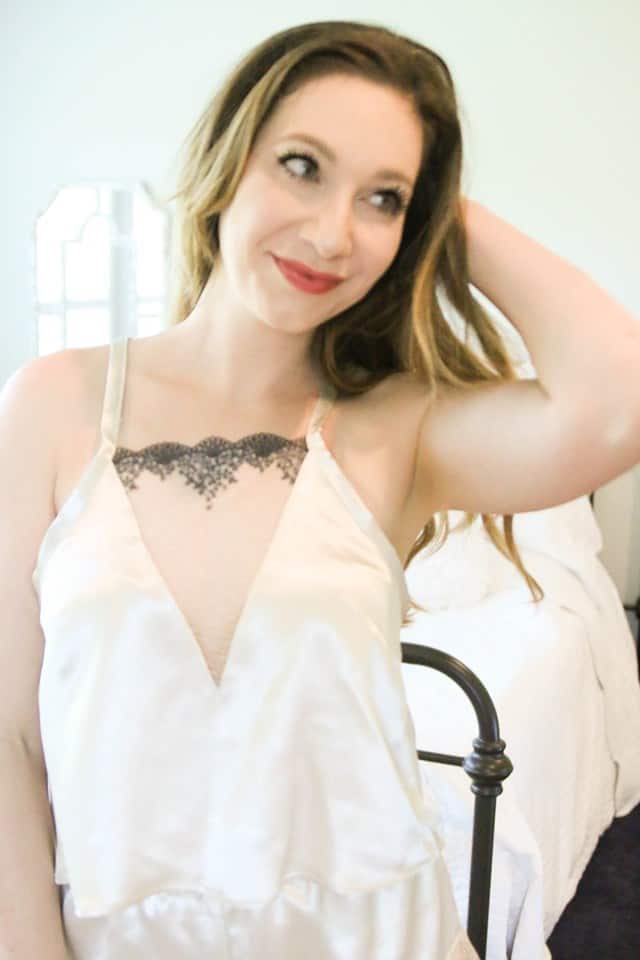
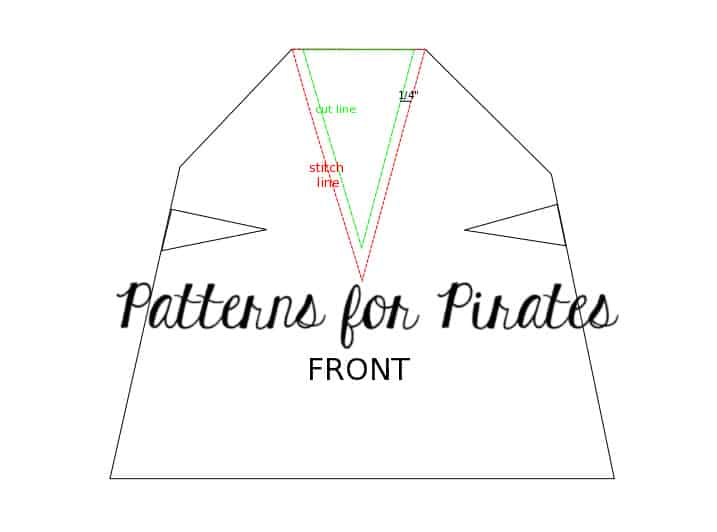
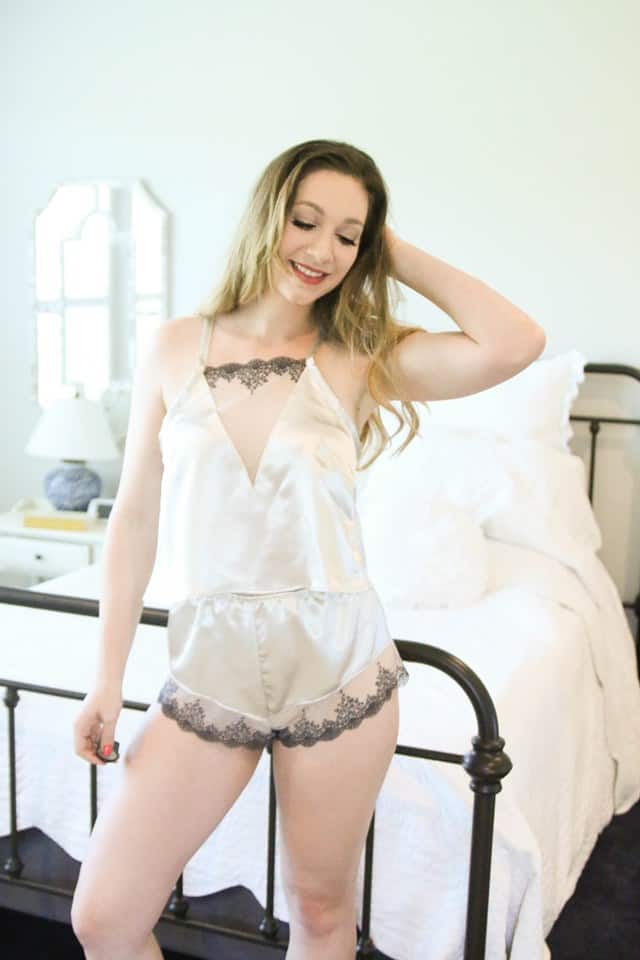
If you are looking to make your Summer Pjs just a little more sexy…why not add a lace insert to the front of the top or nightie? Grab your favorite lace or very wide lace trim and let’s get started. Cut the fabric as instructed in the pattern. Using a disappearing pen, like a Frixion , mark on the front piece the “V” you would like to be lace. This is where you choose how “risque” you would like to make your pajamas. Mark another line 1/4″ inside of the first one. This will be your cutting line for the main fabric. Cute along the green line and remove the inside triangle.
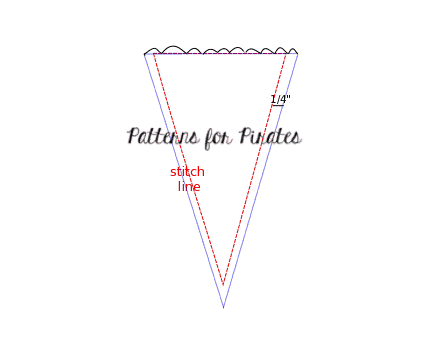
Cut down your lace a 1/4″ bigger than the size of the bigger triangle. If you use gallon lace or trim make sure the pretty details (like Judy’s black accent) is at the top. Mark 1/4″ inside the V lace triangle with the disappearing pen or tailor chalk. This will be the stitching line.
Place your lace triangle over the front piece right sides together matching the stitching lines (red). Sew over the marked lines with a straight stitch, pivoting at the center V. Flip the lace piece inside the main fabric and finish the raw edges with a zig zag stitch. Top stitch 1/8″ away from the edge.
If your lace has a raw edge at the top, follow the pattern to add bias binding. If your using lace with a finished edge like Judy’s then simply skip the front bias tape.
All you have left to do now is enjoy your new sexy summer pajamas.
Ruffles
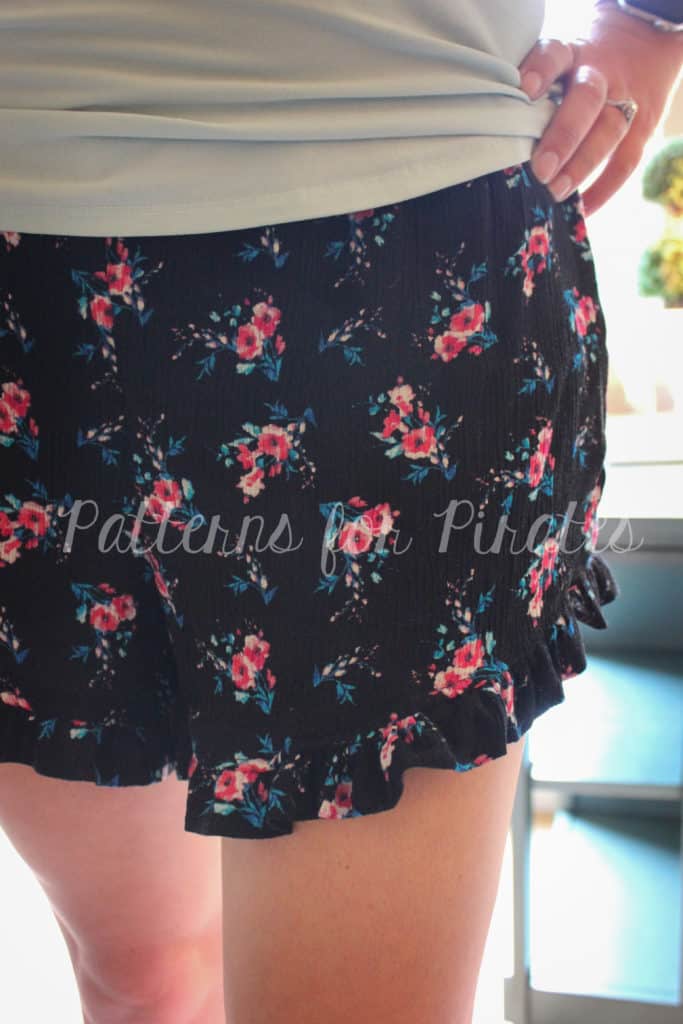
Ruffles can add such a soft, feminine detail and to me, the new Summer PJ’s has so many great places to add a ruffle. One of the first places is the legs. You can add ruffles to either the cheekie or shorts length. For this tutorial, I added ruffles to the shorts length.
To begin, you will want to assemble your shorts as directed by the tutorial, with the exception of hemming.
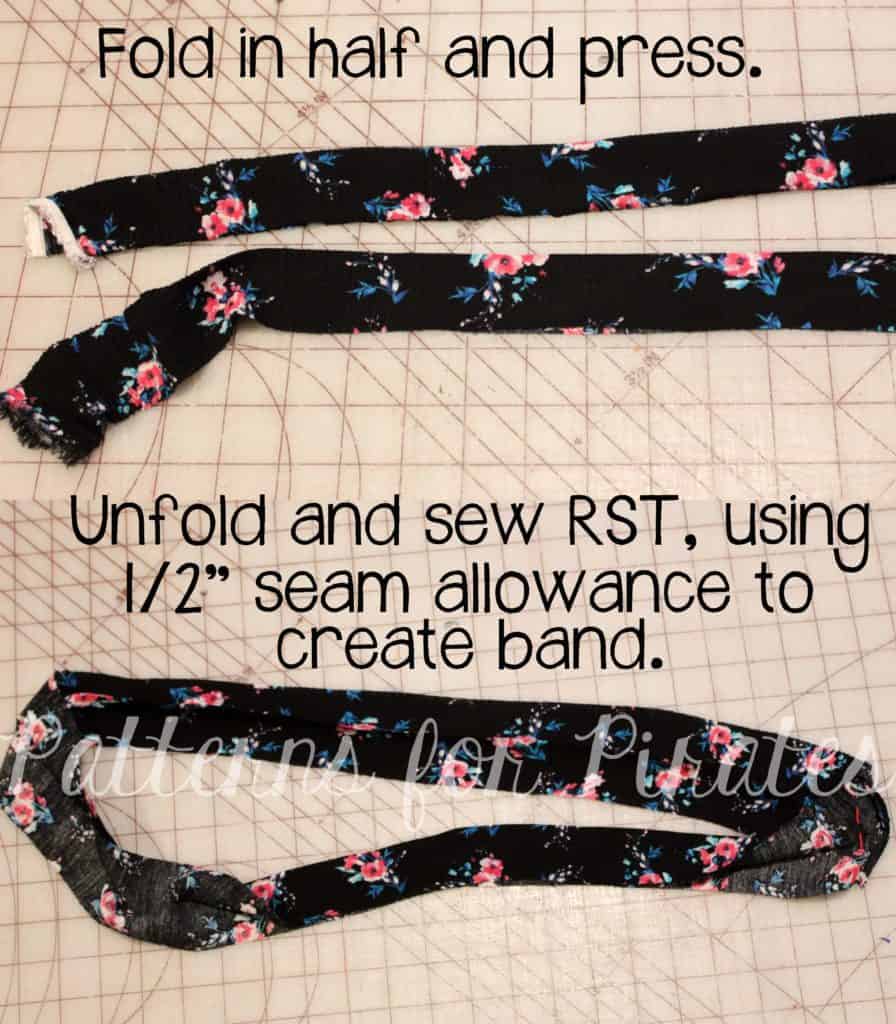
Once you’ve constructed your shorts, you will need cut your bands that will be used for the ruffles. The band needs to be 3″ x width of fabric. If you would like your ruffle more full, you can always sew two strips together to create a fuller look.
Once the strips are cut, you will want to press them in half, with wrong sides together. Unfold your strips. With right sides together, stitch the ends together, using a 1/2″ seam allowance to create a loop.
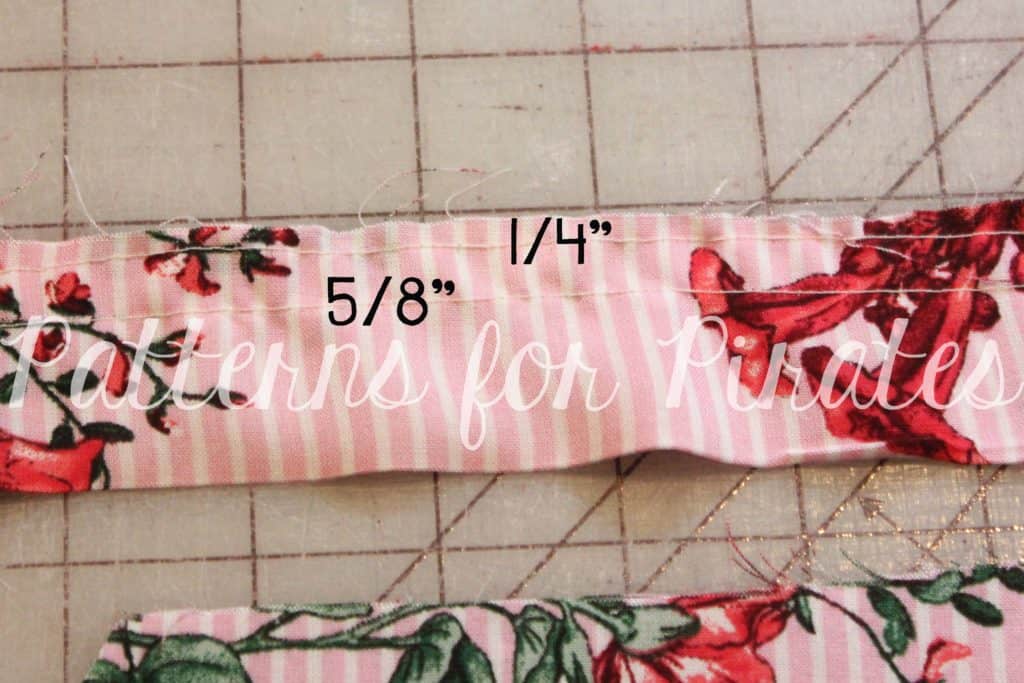
Re-fold your band. Using the longest straight stitch on your machine, create your gathering stitches. You will want to use two rows of stitches, one at a 1/4″ from the raw edge and a second 5/8″. Repeat on other band.
Mark the middle of your band with a pin or clip. Pulling the bobbin thread, begin to gather your band. You will then want to match up the seam of the band with the crotch seam and the middle with the outside leg seam.
Evenly distribute your gathers and attach using a 1/2″ seam allowance. To finish, press the seam up and top stitch around the legs if wished!
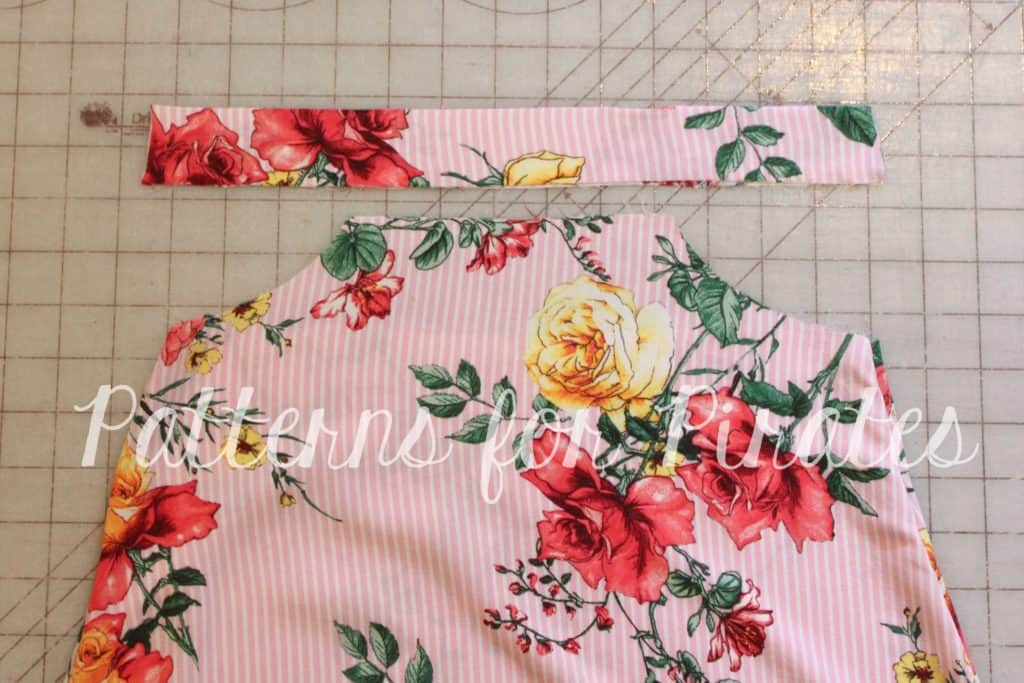
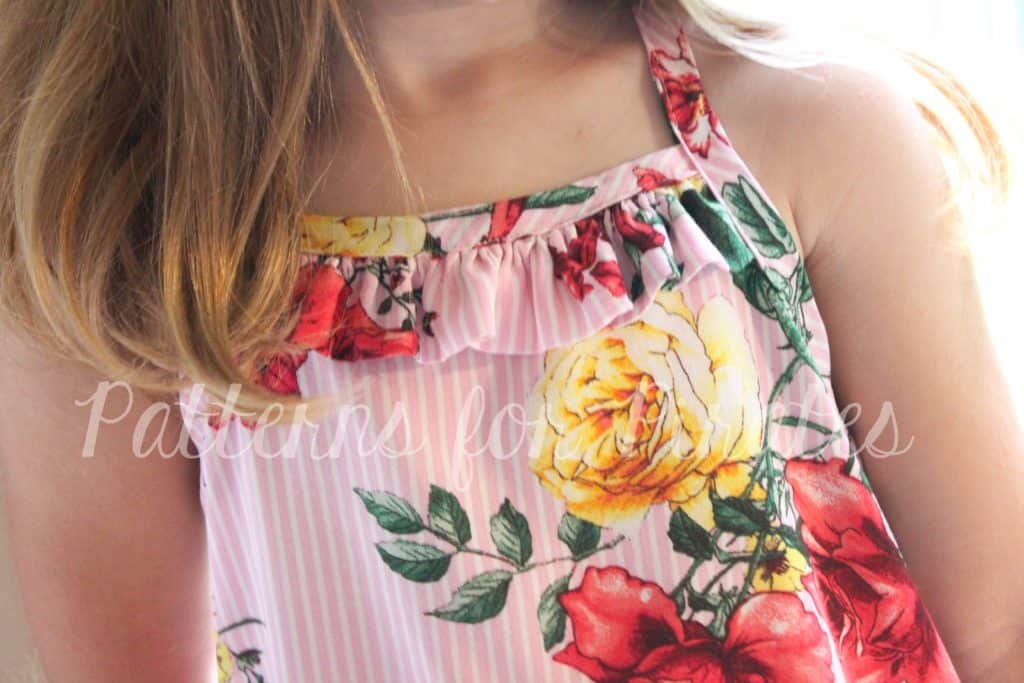
Another quick and easy way to add ruffles to the Summer PJ’s is to add one to the neckline. I chose to add this to my daughter’s nightgown and we are both in love with the results. Many of the steps will be the same as above. After cutting out your top, stitch your side seams together. For the ruffle, you will want to cut a strip of fabric that is 3″ x double the width of the neckline. Press this strip of fabric in half, wrong sides together.
Using the longest straight stitch, create your gathering stitches by stitching a straight line at both 1/4″ and 5/8″ from the raw edge.
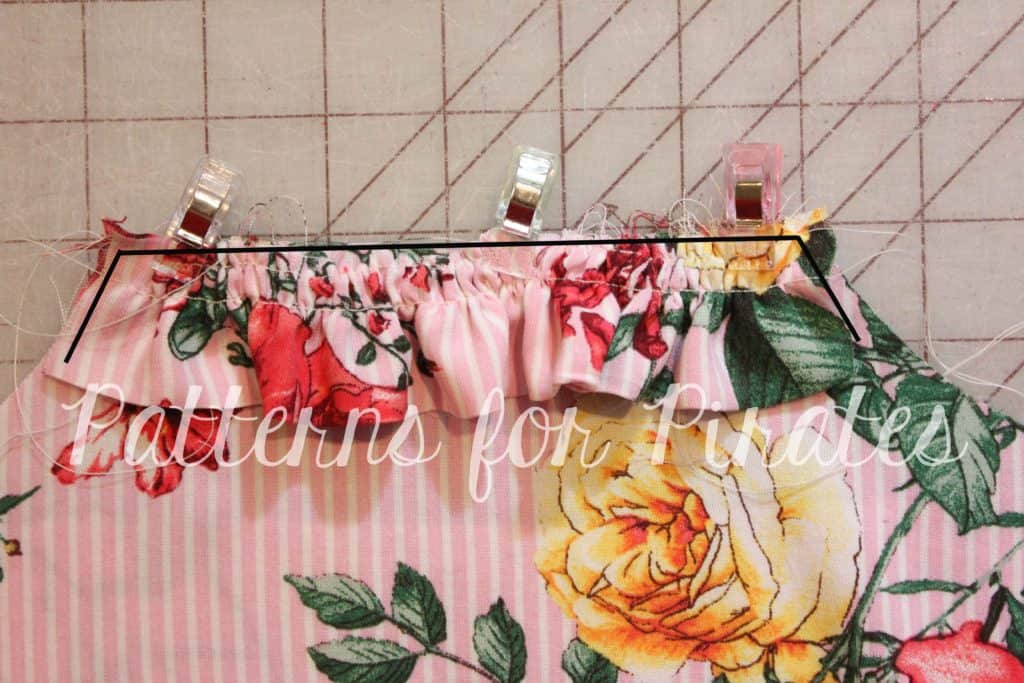
To gather, pull the bobbin thread until the strip is the same width as the neckline (** Leave 1/2″ ungathered on both ends to help reduce bulk when attaching the binding). Baste around the armscyes and neckline to hold ruffle in place.
Continue to finish the top according to the tutorial, attaching the binding to the neckline as instructed, treating the ruffle and neckline as one.
Now that you have your youth and adult Summer PJs, and learned some easy hacks, time to get creative with your own pajamas. Don’t forget to share your pretties in the P4P Facebook group so we can all marvel at their beauty.
Alex and Erinn









[…] Bottoms: I made 3 design changes; pockets, waistband, and ruffles. The ruffles are explained on the pattern for pirates blog, so I won’t detail that here. I drafted the waistband prior to hacking the pockets. The […]