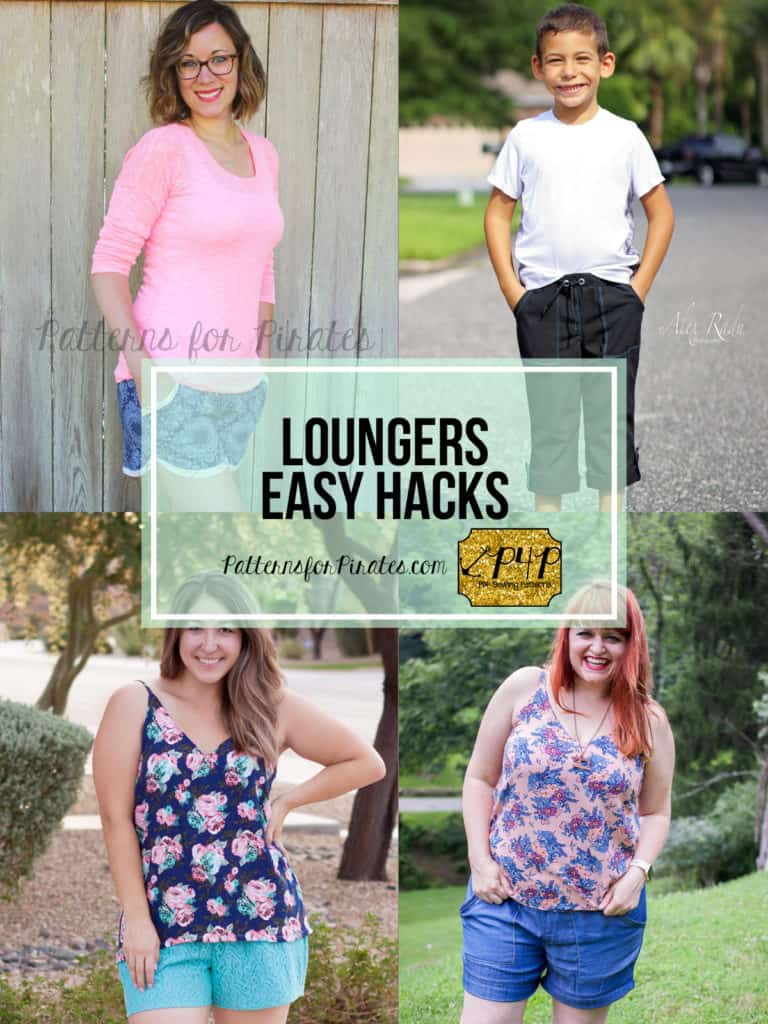
In true Pirate fashion we could not have let this double release go by without showing you some easy but fun hacks for the Little Loungers and Linen Loungers. Erinn will start you off with an adorable bias binding hack for the curved hem shorts.
…..
Bias Binding curved hem
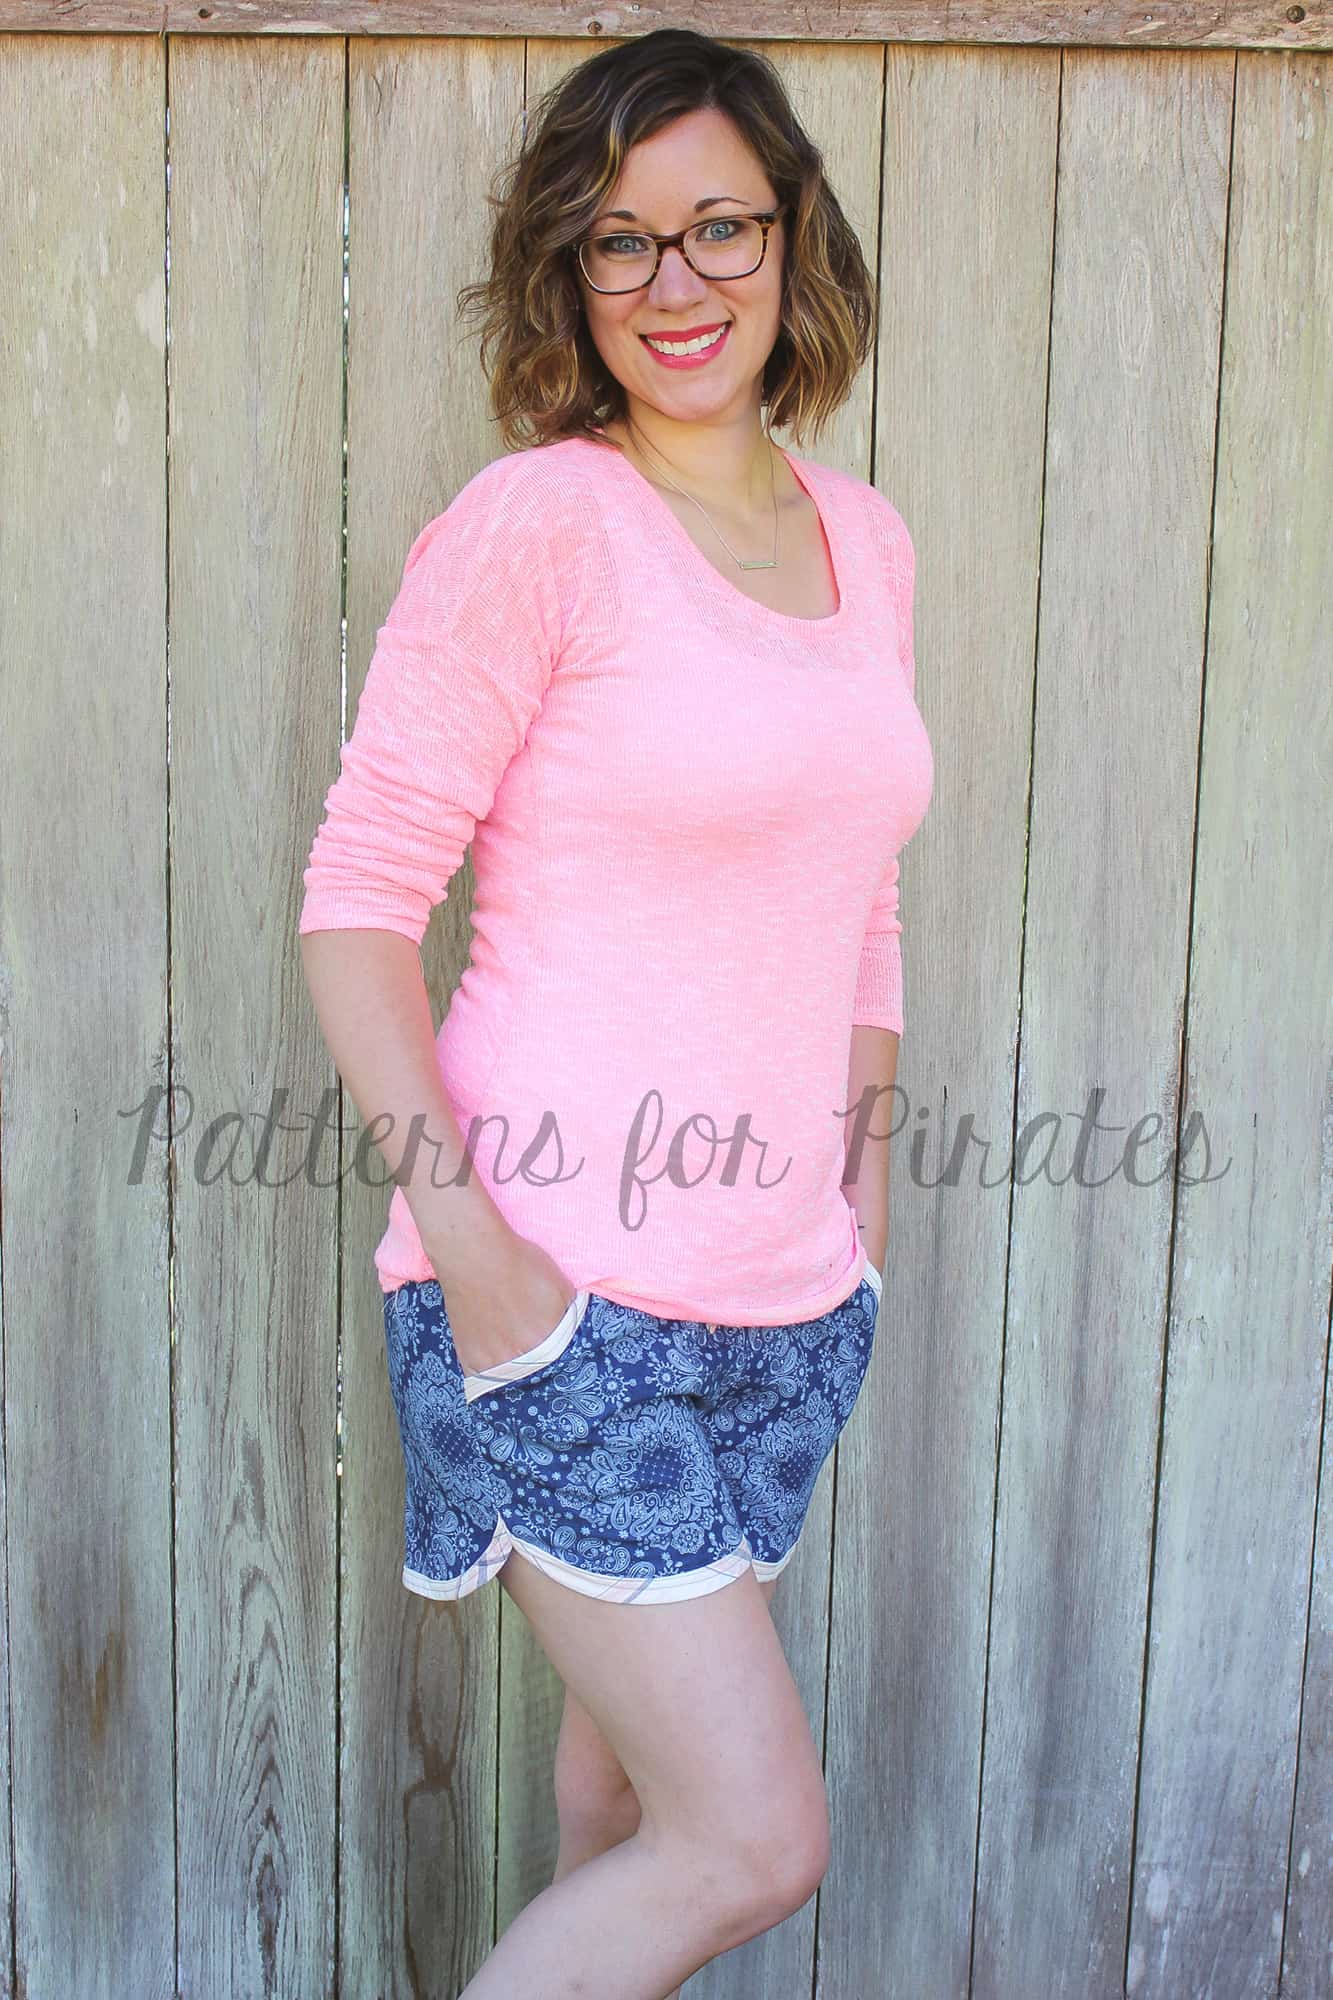
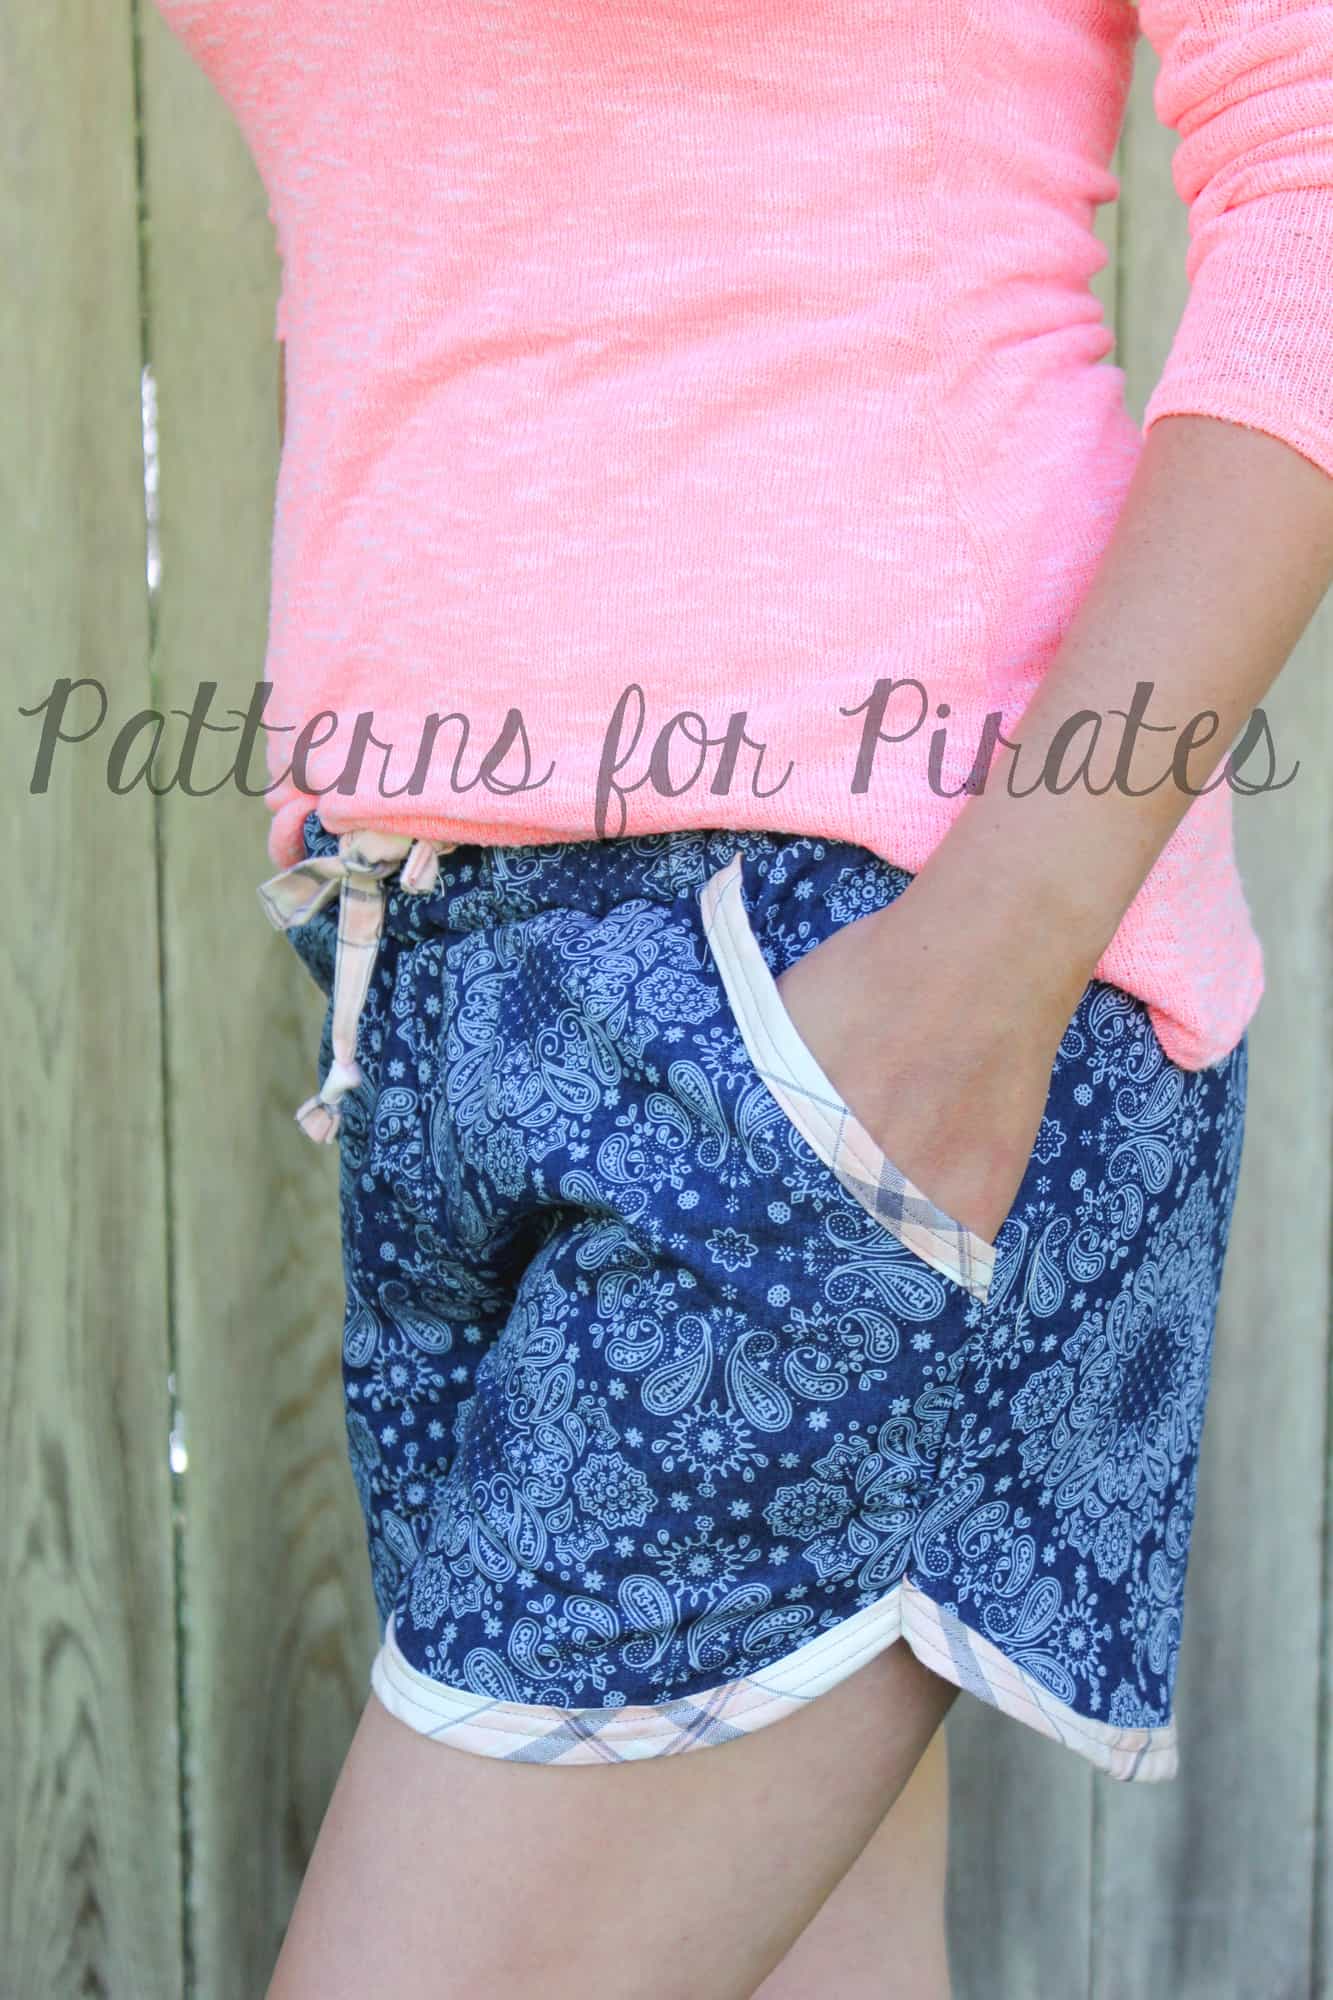
Adding bias bindings to the hemline of the curved shorts is a quick and easy way to create an entirely different look. One of the things that I love most about this look is that it’s a great way to add a pop of contrasting or coordinating fabrics.
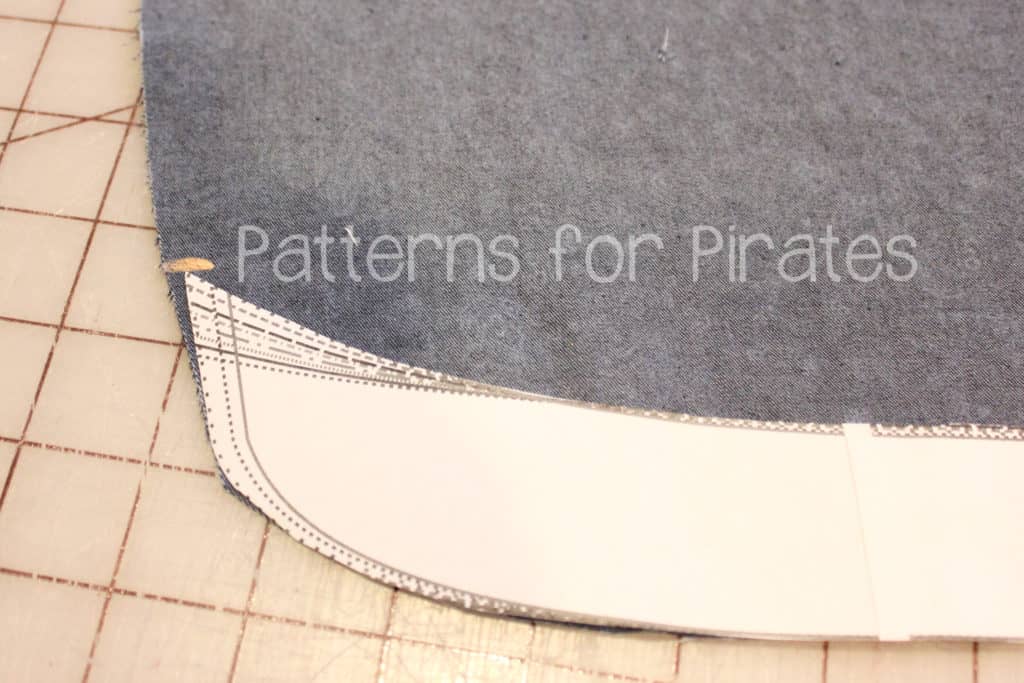
To create this look, cut out your pattern pieces as you would per the pattern. The only additional thing you will need are your bindings. For mine, I cut them 2″ wide by a length that was longer than the hemline. As you can see below, I used the curved pattern pieces and marked the top edge. I will connect my bias binding pieces up to this marking.
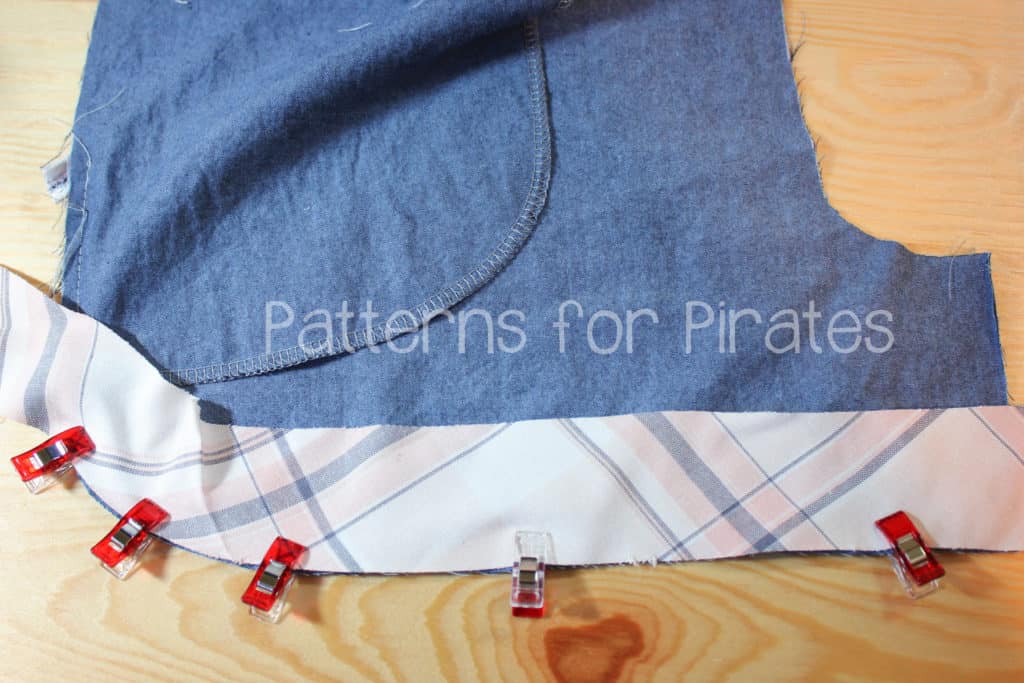
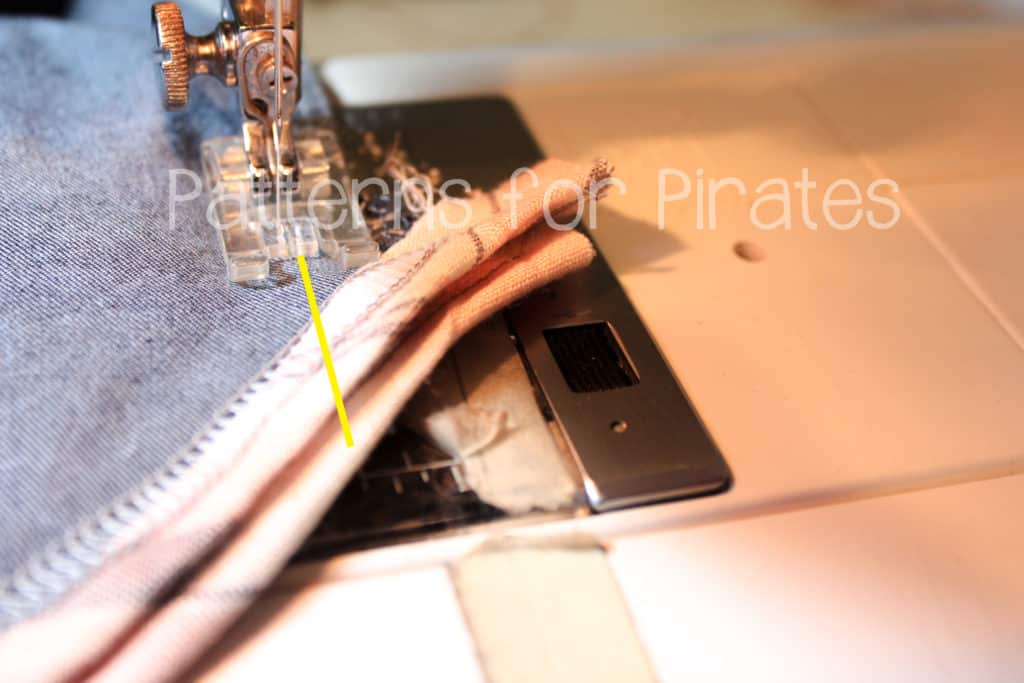
If you are attaching pockets, you can complete everything through these steps. Before sewing up the inseam and sides, you will want to complete your bindings along the curves. Place your shorts facing down and bias binding pieces face down and then gently ease them along the curves. You will want to pin/clip this in place. As you can see, my pieces are longer than the edges, but these will be trimmed later. Attach with a 1/2″ seam allowance, then clip into seam allowance along curve.
Once you’ve attached your binding, press binding piece and seam up. Press bias binding piece to align with top edge, then press again as you fold binding over (these are the same steps as were completed on pockets). 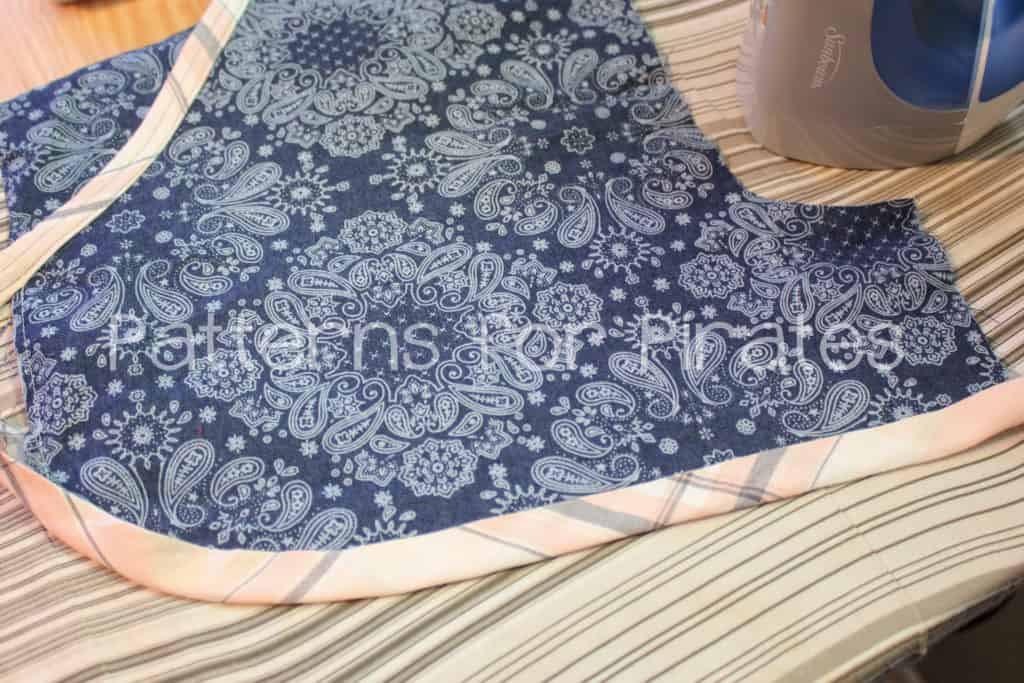
Once you’ve attached all bias bindings, you will assembly your pattern as directed. When reaching the curved seam and inseam, you will want to make sure to use a straight stitch for the last few inches to create a cleaner finish (With wovens, it is advised to use a straight stitch first and then go back over with a serger if desired. If doing so, end your serged section a few inches before your straight stitch to help create that cleaner look). Trim any bias binding pieces that might be longer than your seam allowance.
…..
Cuffed capri pants
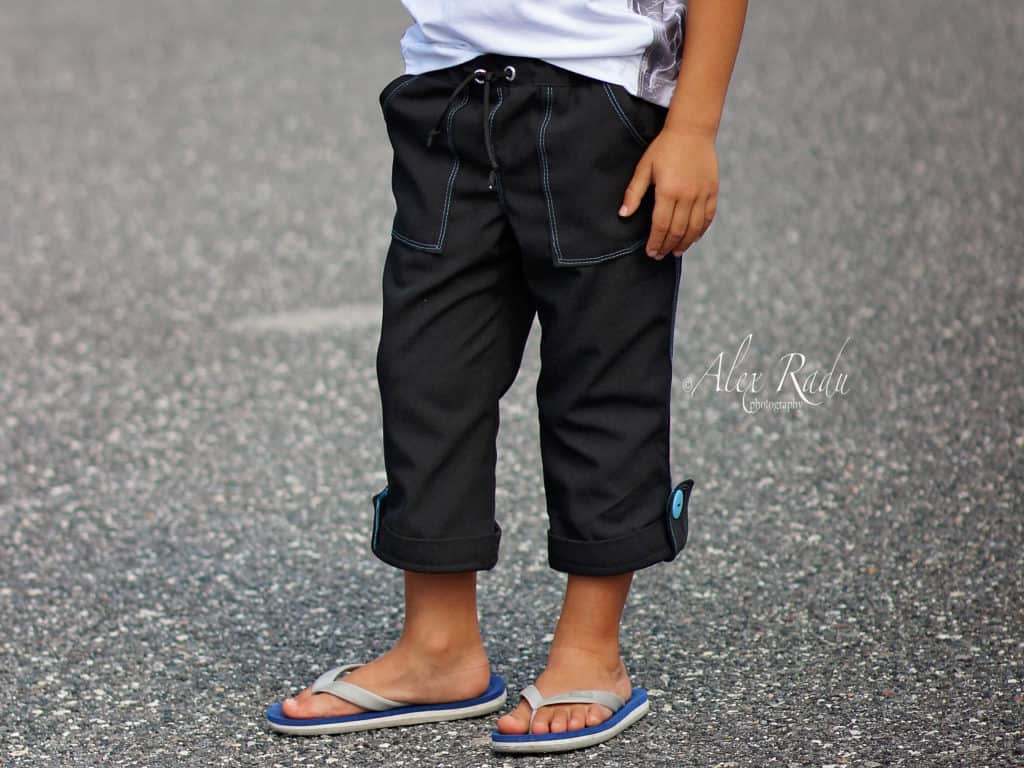
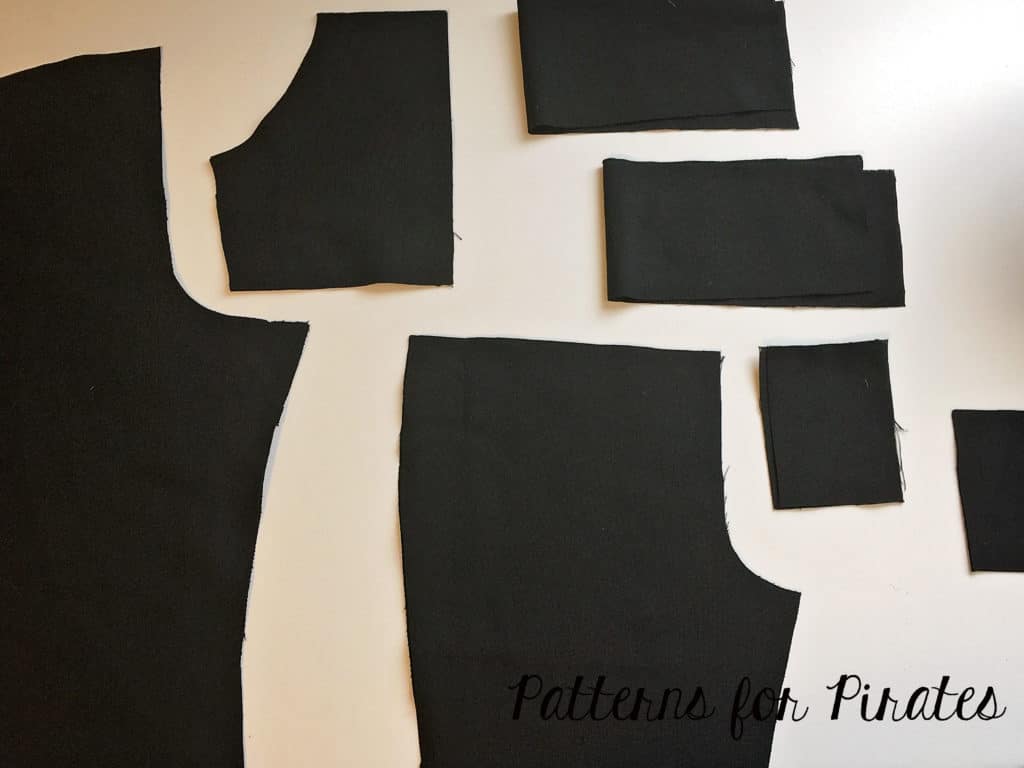
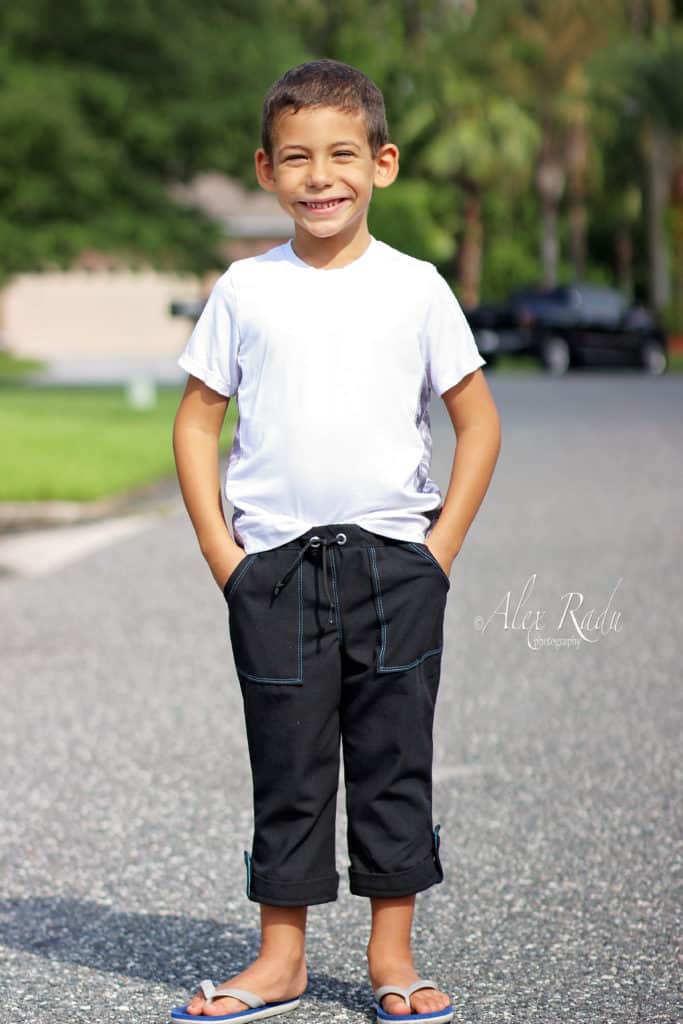
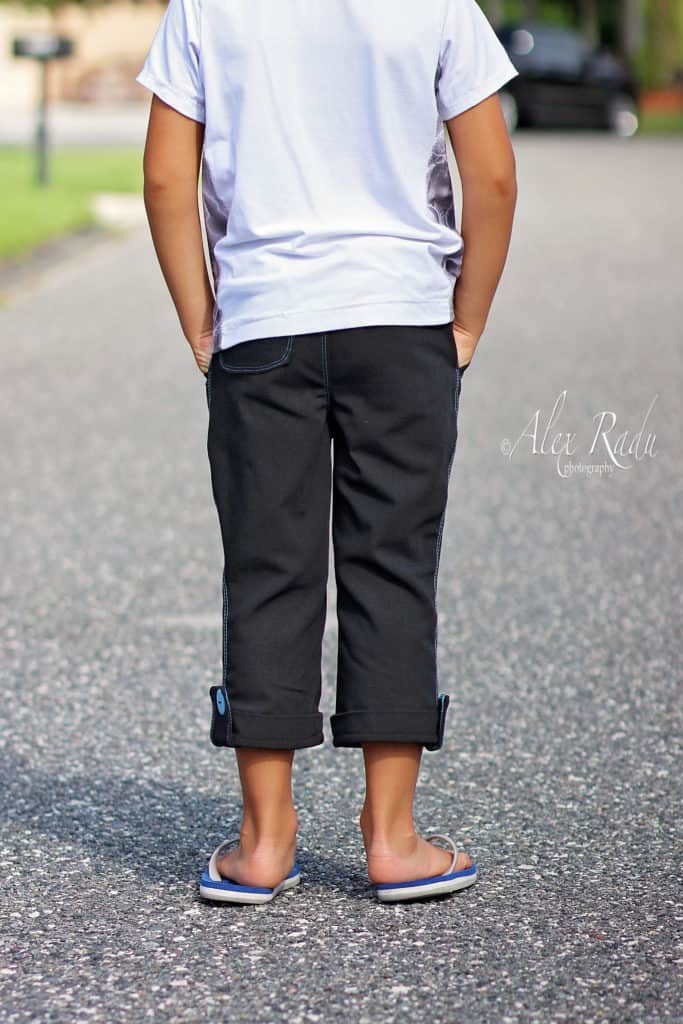
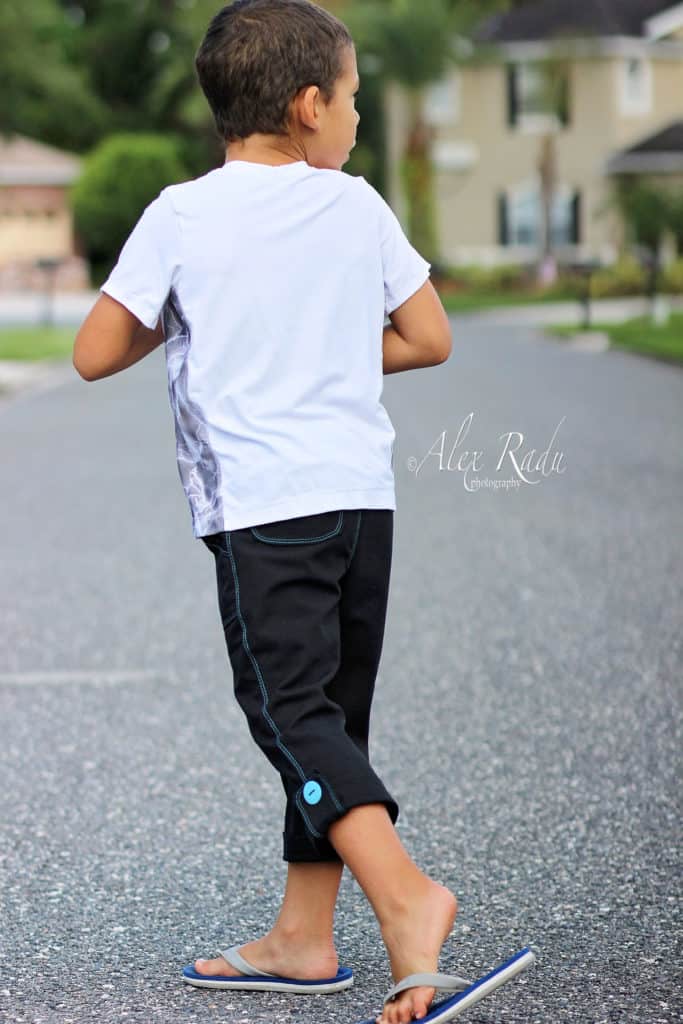
Next I will show you how easy it is to add cuffs to the capri pants. The patterns include a cuff option for the short so we will use the same tutorial techniques. Start by printing the pattern in your desired size. I made a size 6 Little Loungers with patch pocket and elastic waistband.
There are two changes you will need to do to the original pattern. You must cut the capri length 1 inch shorter than the cut line for both the front and back pieces. We do that because we won’t be hemming anymore, we will be adding the cuffs. That brings me to the second change you’ll need to make. The cuffs in the pattern are drafted to fit 1:1 ratio to the shorts leg opening. The capri leg opening is smaller so we will need to shorten the width of the cuff. How much you shorten the width will vary for each size. The length of the cuff will remain the same.
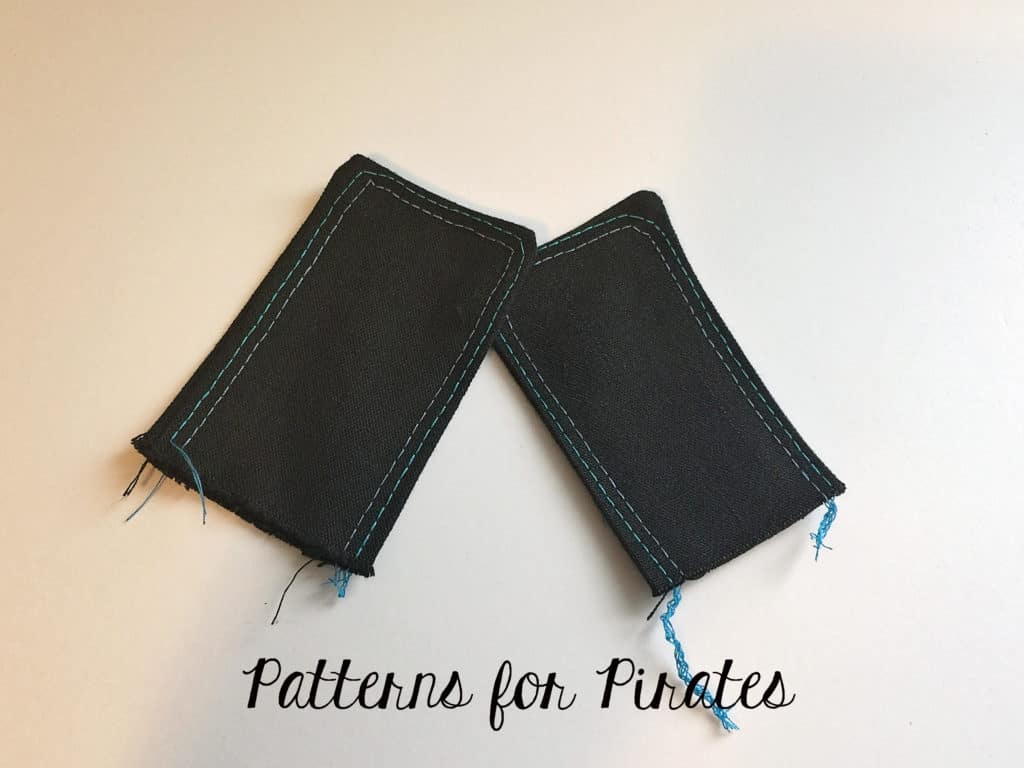
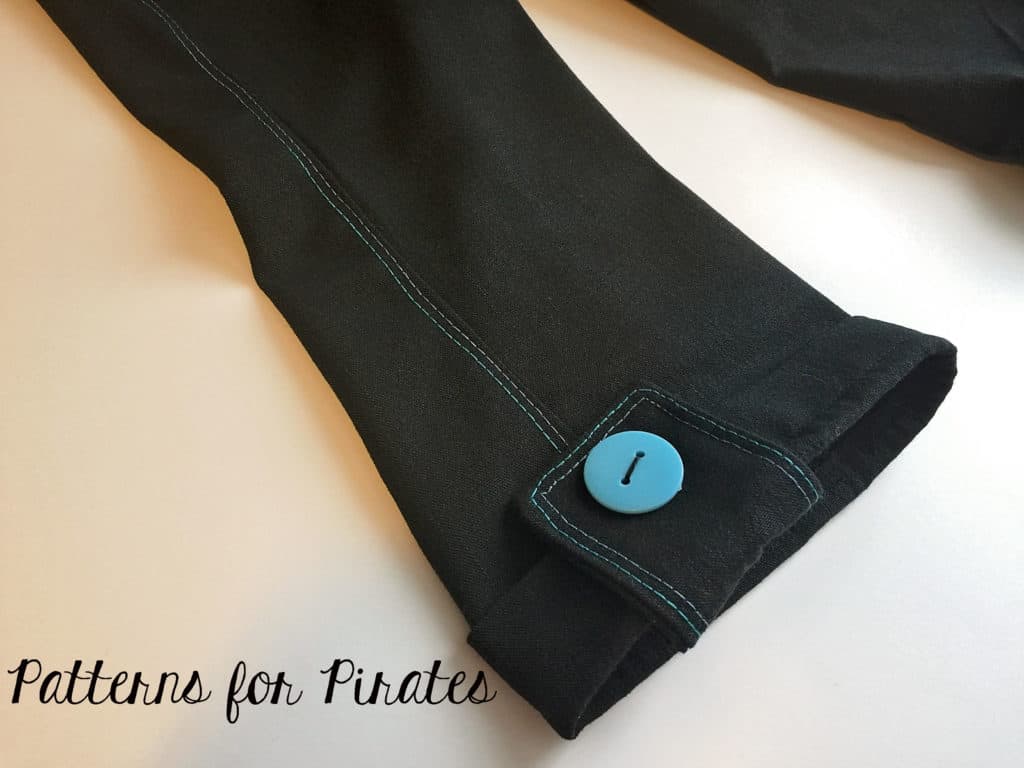
Don’t forget to cut and attach the button tabs too! They add such a cute touch to the capris!
Sew the pants as per the tutorial. Easy peasy! Don’t be afraid to add some detail stitching to the button tabs or the pockets! I used my coverstitch to add a touch of blue but you can certainly use a twin needle or your preferred decorative stitches.
If you love the look of the cuff but prefer the bermuda length you can certainly apply the same principals and created a cuffed bermuda linen lounger or little lounger…the sky’s the limit! 🙂
…..
Hemmed and lined shorts
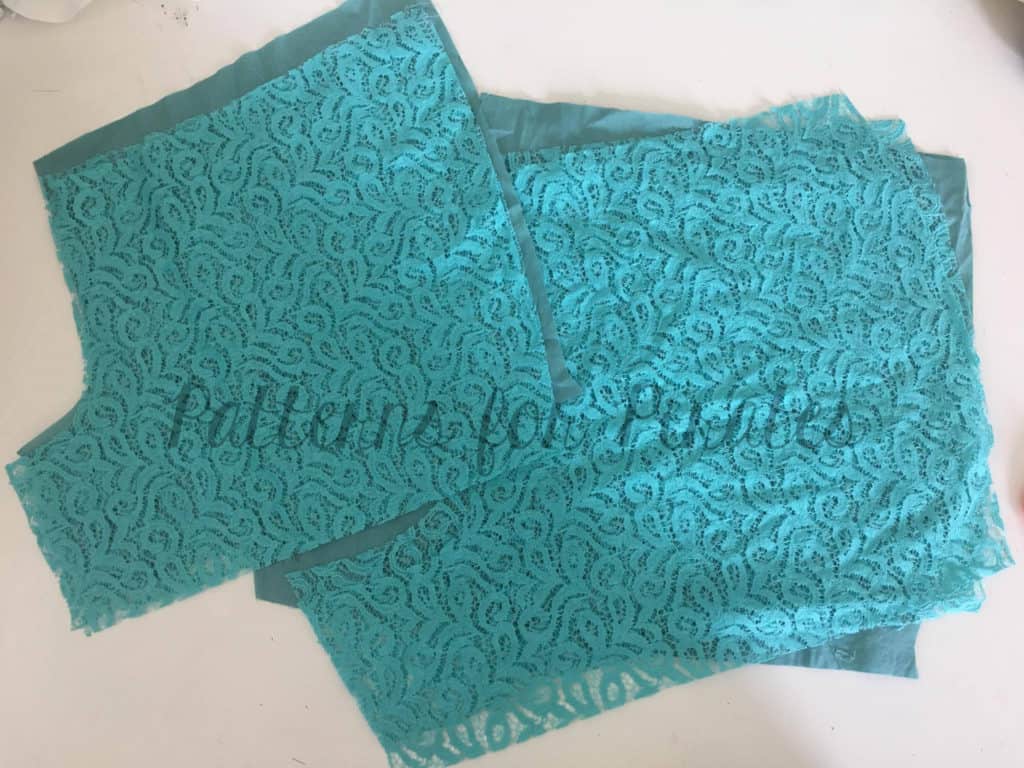
We always like to mix up our finishing options to give you a wide variety that you can apply to any pattern so we went with a cuffed or curved hem facing for the shorts this time. If you’ve been following P4P for awhile, you’ll notice Judy loves some short shorts 😉 but that may not be your preference. I’m going to show you how to lengthen your inseam and do a simple hemmed edge. I also wanted to use this gorgeous embroidered lace so will give some insight on how to line them.
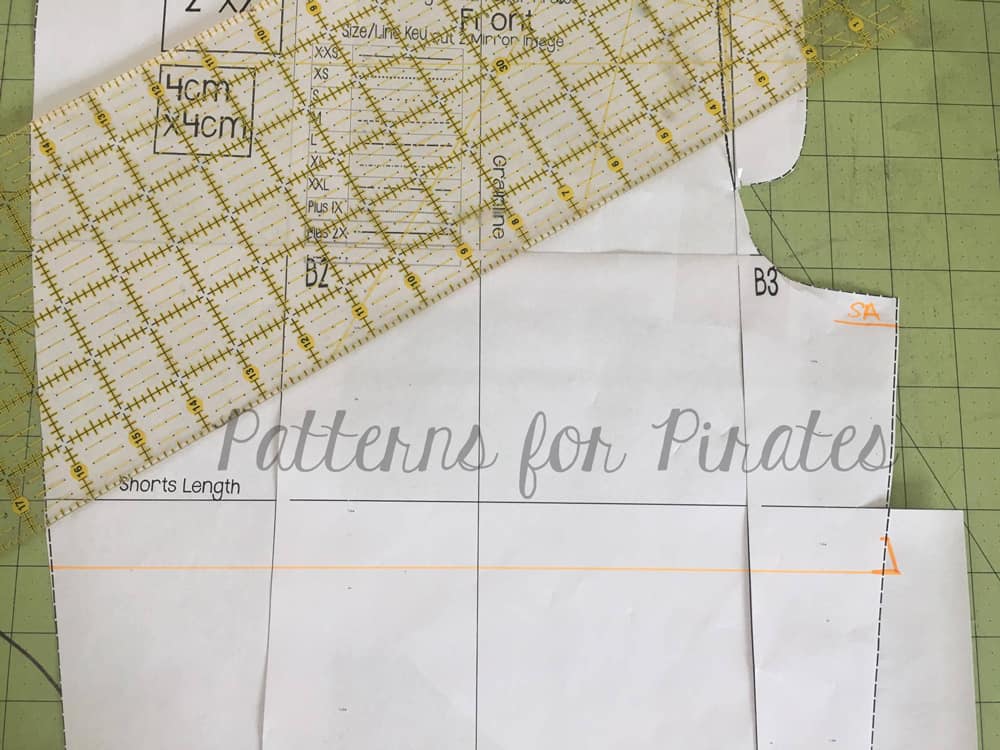
First, decide what you would like your finished inseam length to be. The current inseam finishes at 2.5″. For my finished length I went with 3.5″. Decide the length of your preferred hem (I did 1/2″) and add this to your desired inseam length. Measure and transfer to your pattern. Don’t forget all seam allowances are 1/2″ so your total inseam on the pattern should be 1/2″ longer. Example for my 3.5″ finished inseam: 1/2″ seam allowance at the crotch curve + 3.5″ inseam length + .5″ hem allowance = 4.5″ total inseam.
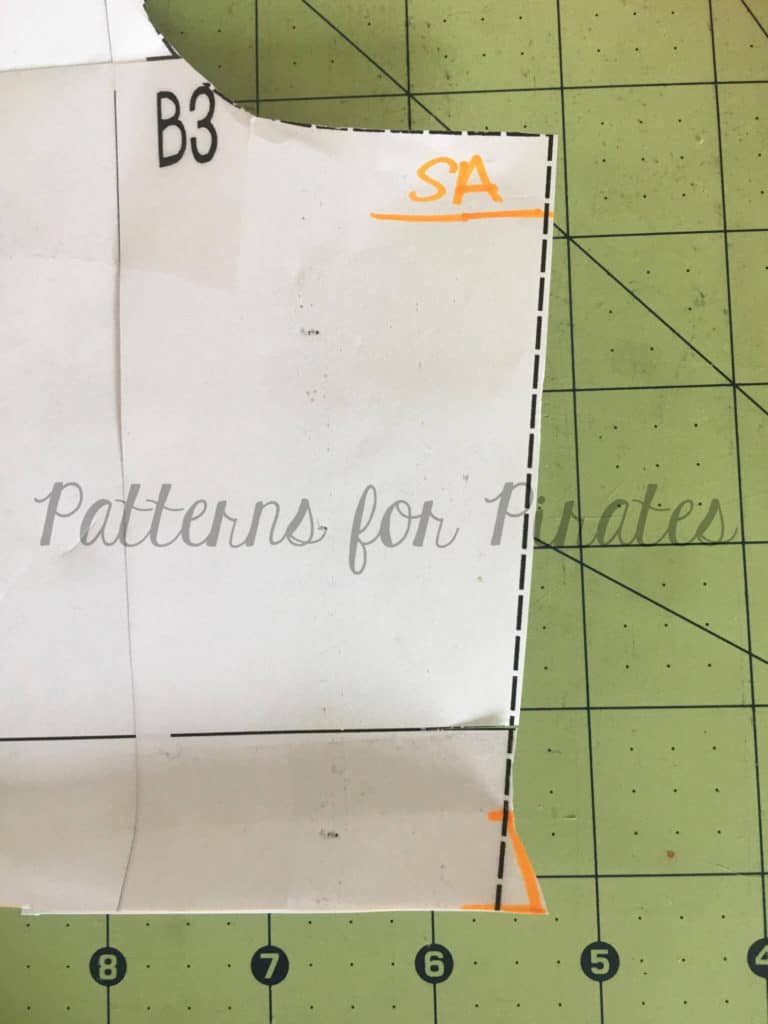
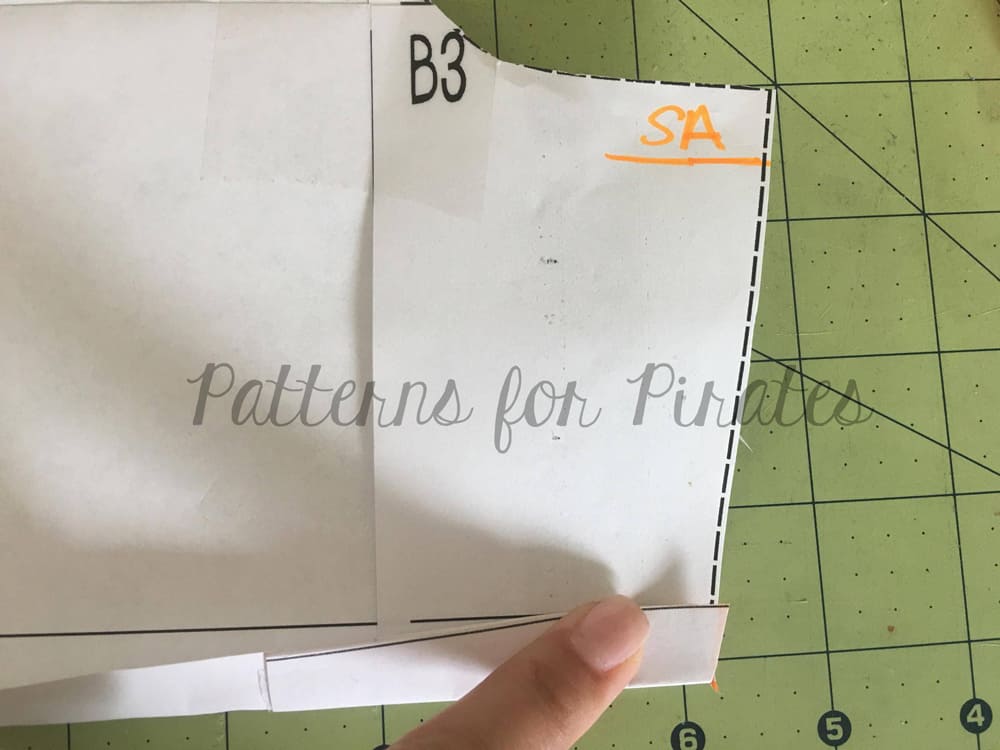
Now that you have adjusted your inseam length we will make our hem gauge for the hem. You’ll notice these outward notches on other cutlines (bermuda) as well as on sleeves hems. It may look a little funny, but it actually serves a purpose. Cutting the outward notch will allow the hem to lay flat once folded. The angle of the gauge should be a mirror image of the seam just above it so that when its turned under it will lay flush. Again, my hem allowance is 1/2″, if you choose to do a wider hem, you will want to extend your hem gauge to match the same length of your hem allowance.
Proceed to cut your pattern and construct as instructed in the tutorial. To make a lined pair, cut every piece from both your main and lining fabric. Lay your main fabric on top of your lining piece (right sides up) and construct as usual, treating them as one piece.
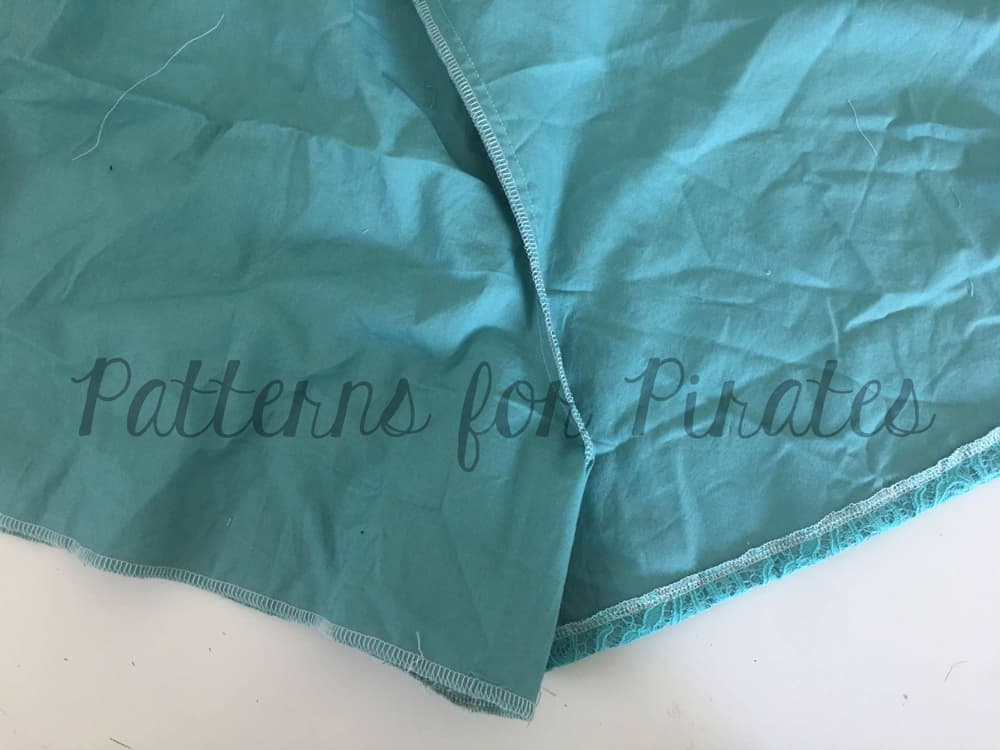
To hem, I serged both the main and lining fabric together to finish the edge . Then turned and top-stitched. Easy right?
You can also line the shorts by treating your lining and main fabric as separate items. So construct a main short and lining short then slip them inside one another and attach your waistband to both the lining and the main. I chose to it the other way since I would be hemming them together anyway.
…..
Fully Enclosed Seams on Cuffed Shorts
When it comes to seams on my pants, I tend to gravitate toward wanting to enclose all of them. It gives a nicer, neater look to your pant, and just feels more “handmade” than “homemade” to me. The Loungers tutorial already tells you how to enclose the waistband on your pants, but what if you wanted to enclose the cuff hems too?
Here’s a quick rundown of how to make that happen:
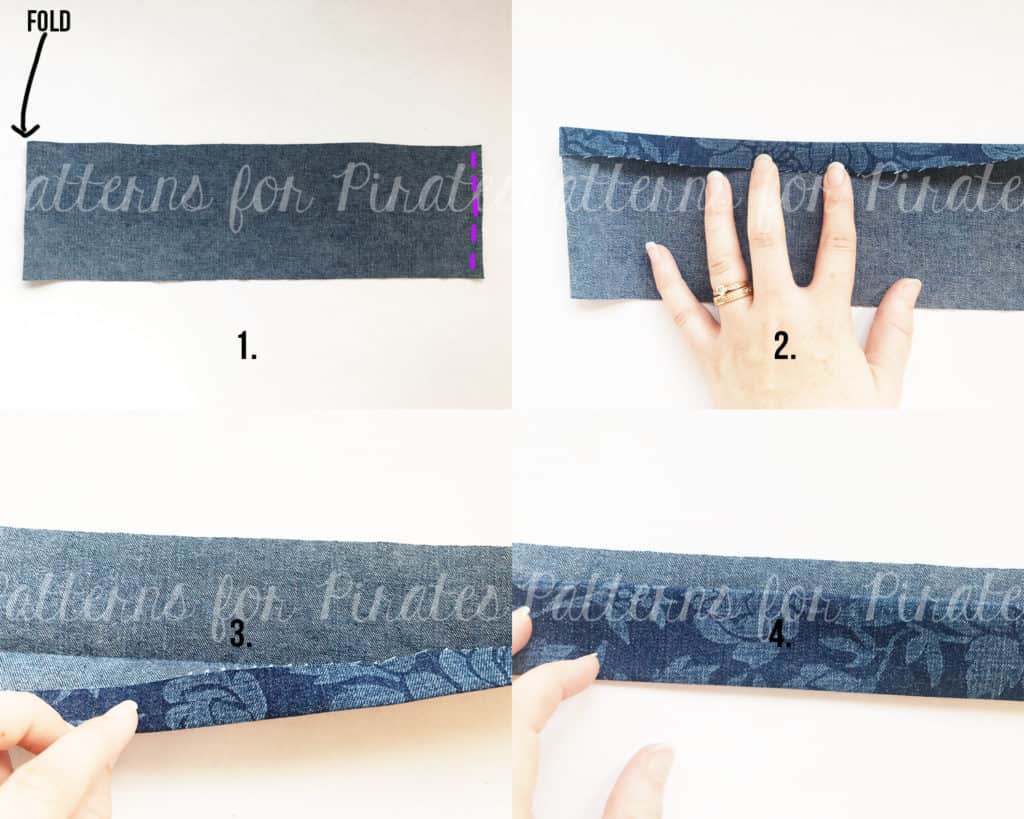
- Prepare your cuff as the pattern states. Right sides together, fold piece in half and stitch along unfolded edge.
- Working from the wrong side of the fabric, fold and press 1/2″ on one of the long edges of entire cuff piece.
- With right sides together, fold and press your cuff piece, leaving 1/2″ seam allowance at the top edge.
- Press, press, press.
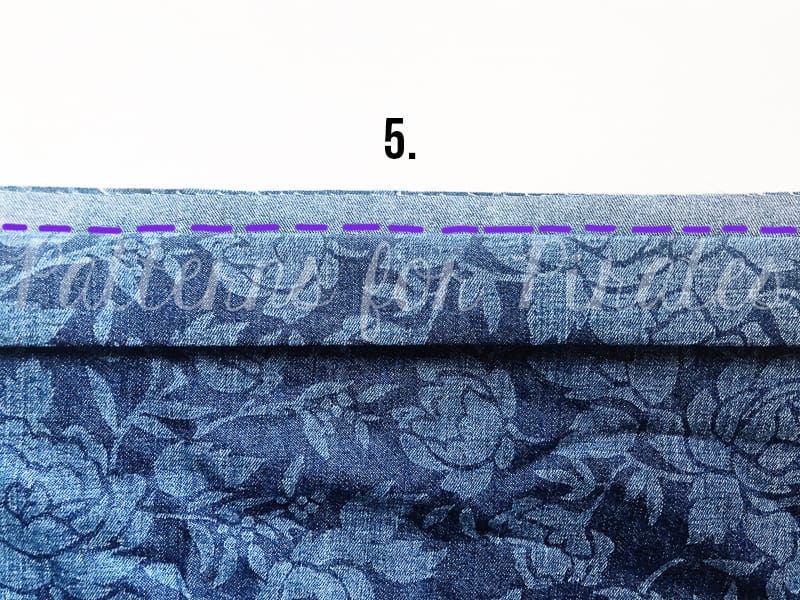
5. With your pant leg piece right side up, place your cuff piece on top (pinning carefully and aligning all of your seams. Stitch at a 1/2″ seam allowance.
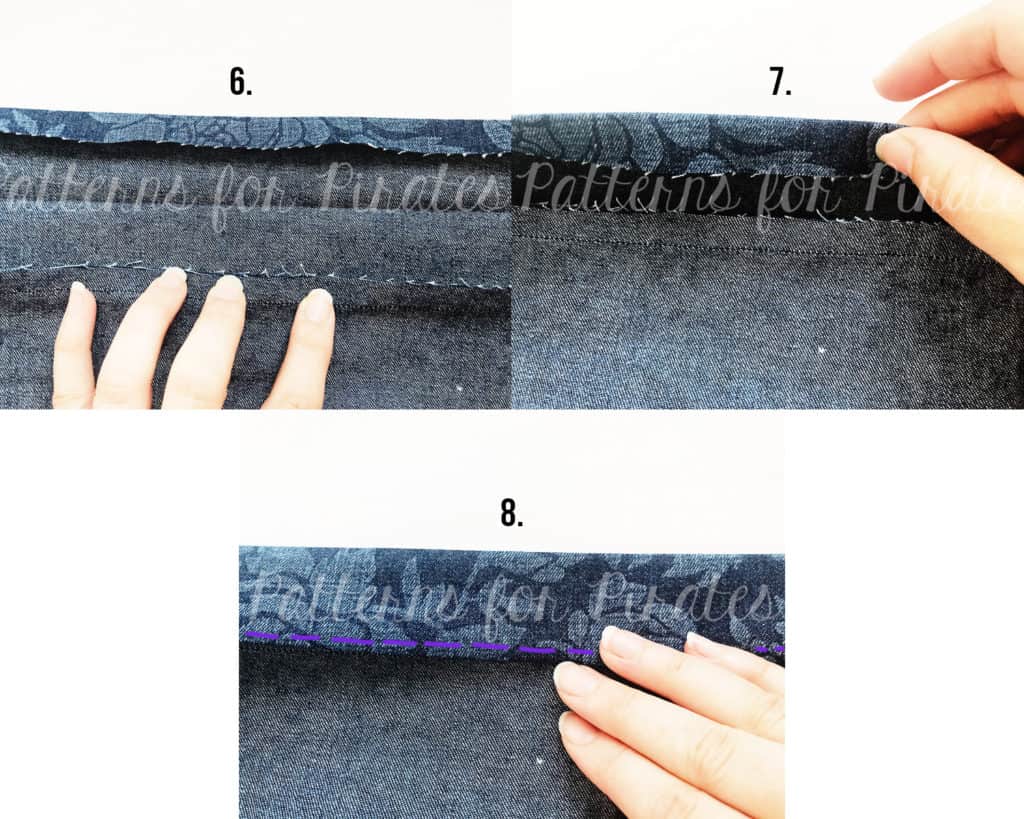
6. Flip your fabric over so you’re looking at the wrong side of your pant leg. Open up your cuff piece and press the raw edges away from the pant leg, toward your cuff.
7. Using those beautifully pressed lines that you created for yourself back in steps 2-4, fold your cuff piece so it encloses all of your raw edges.
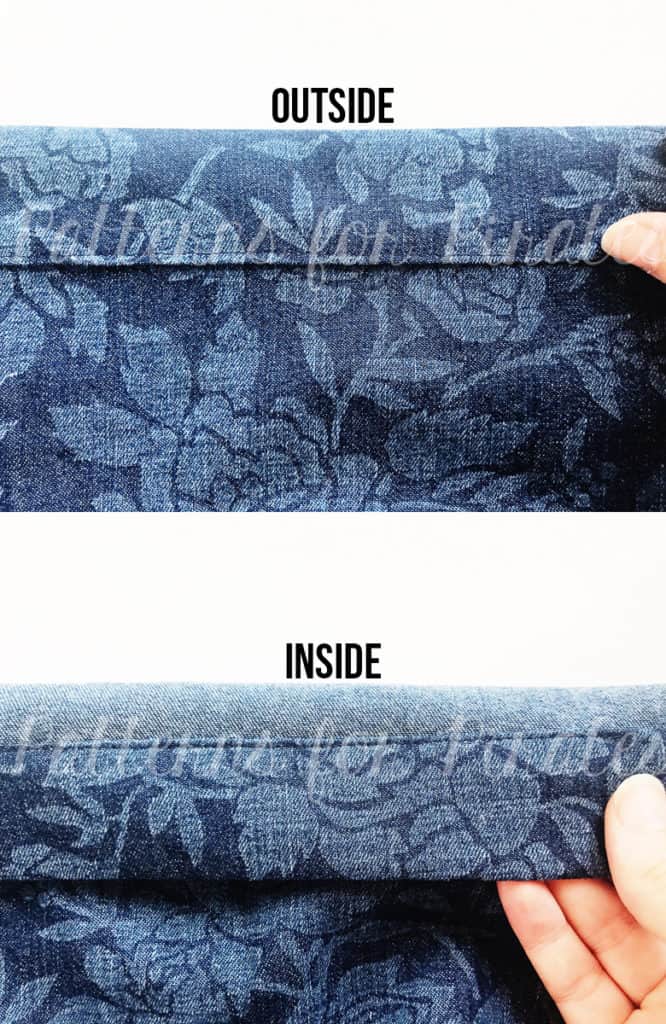
8. Press and edge stitch.
You now have a beautifully enclosed hem on your pant leg! Do a small happy dance, pat yourself on the back, and then repeat the steps for your other cuff.
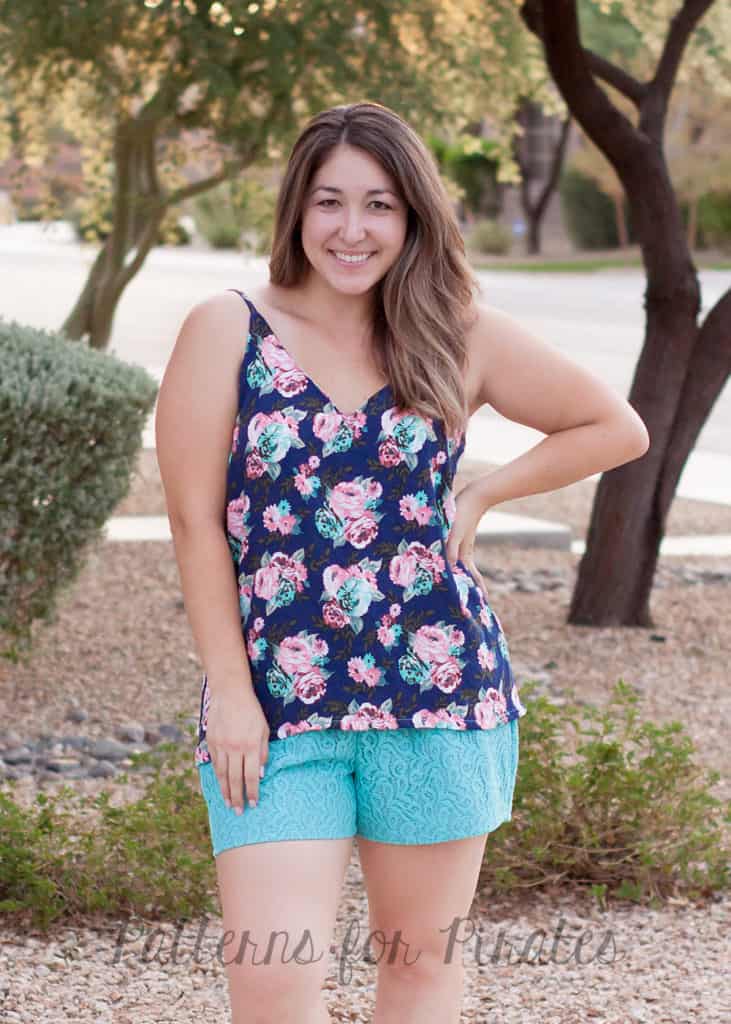
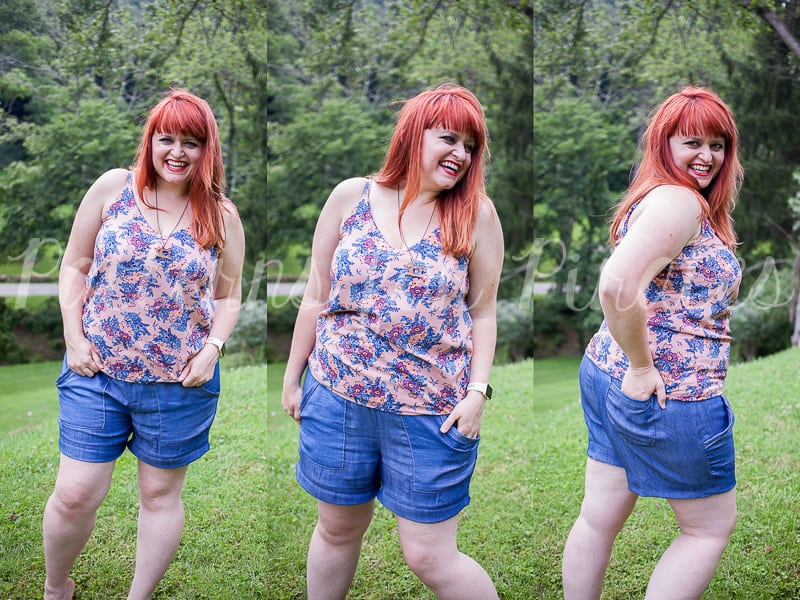
(I didn’t have a chance to grab photos in my new shorts made from the tutorial yet, but I used that same method on the short pictured below and I LOVE them! You will too!)
Use one of these hacks? Be sure to hop on over to the Facebook Group and share your Linen and Little Loungers love. 🙂




[…] options, two different waistbands, an optional drawstring, AND we even busted out some fun and easy hacks to take the pattern a little further. Not too shabby of a deal, […]