The new P4P Loggers (available in women and youth) are here! Needless to say the P4P team and blog contributors were very excited to show you these easy hacks that you can do to the Loggers in order to have even more options. Let’s get started!
…..
Peg Waistband
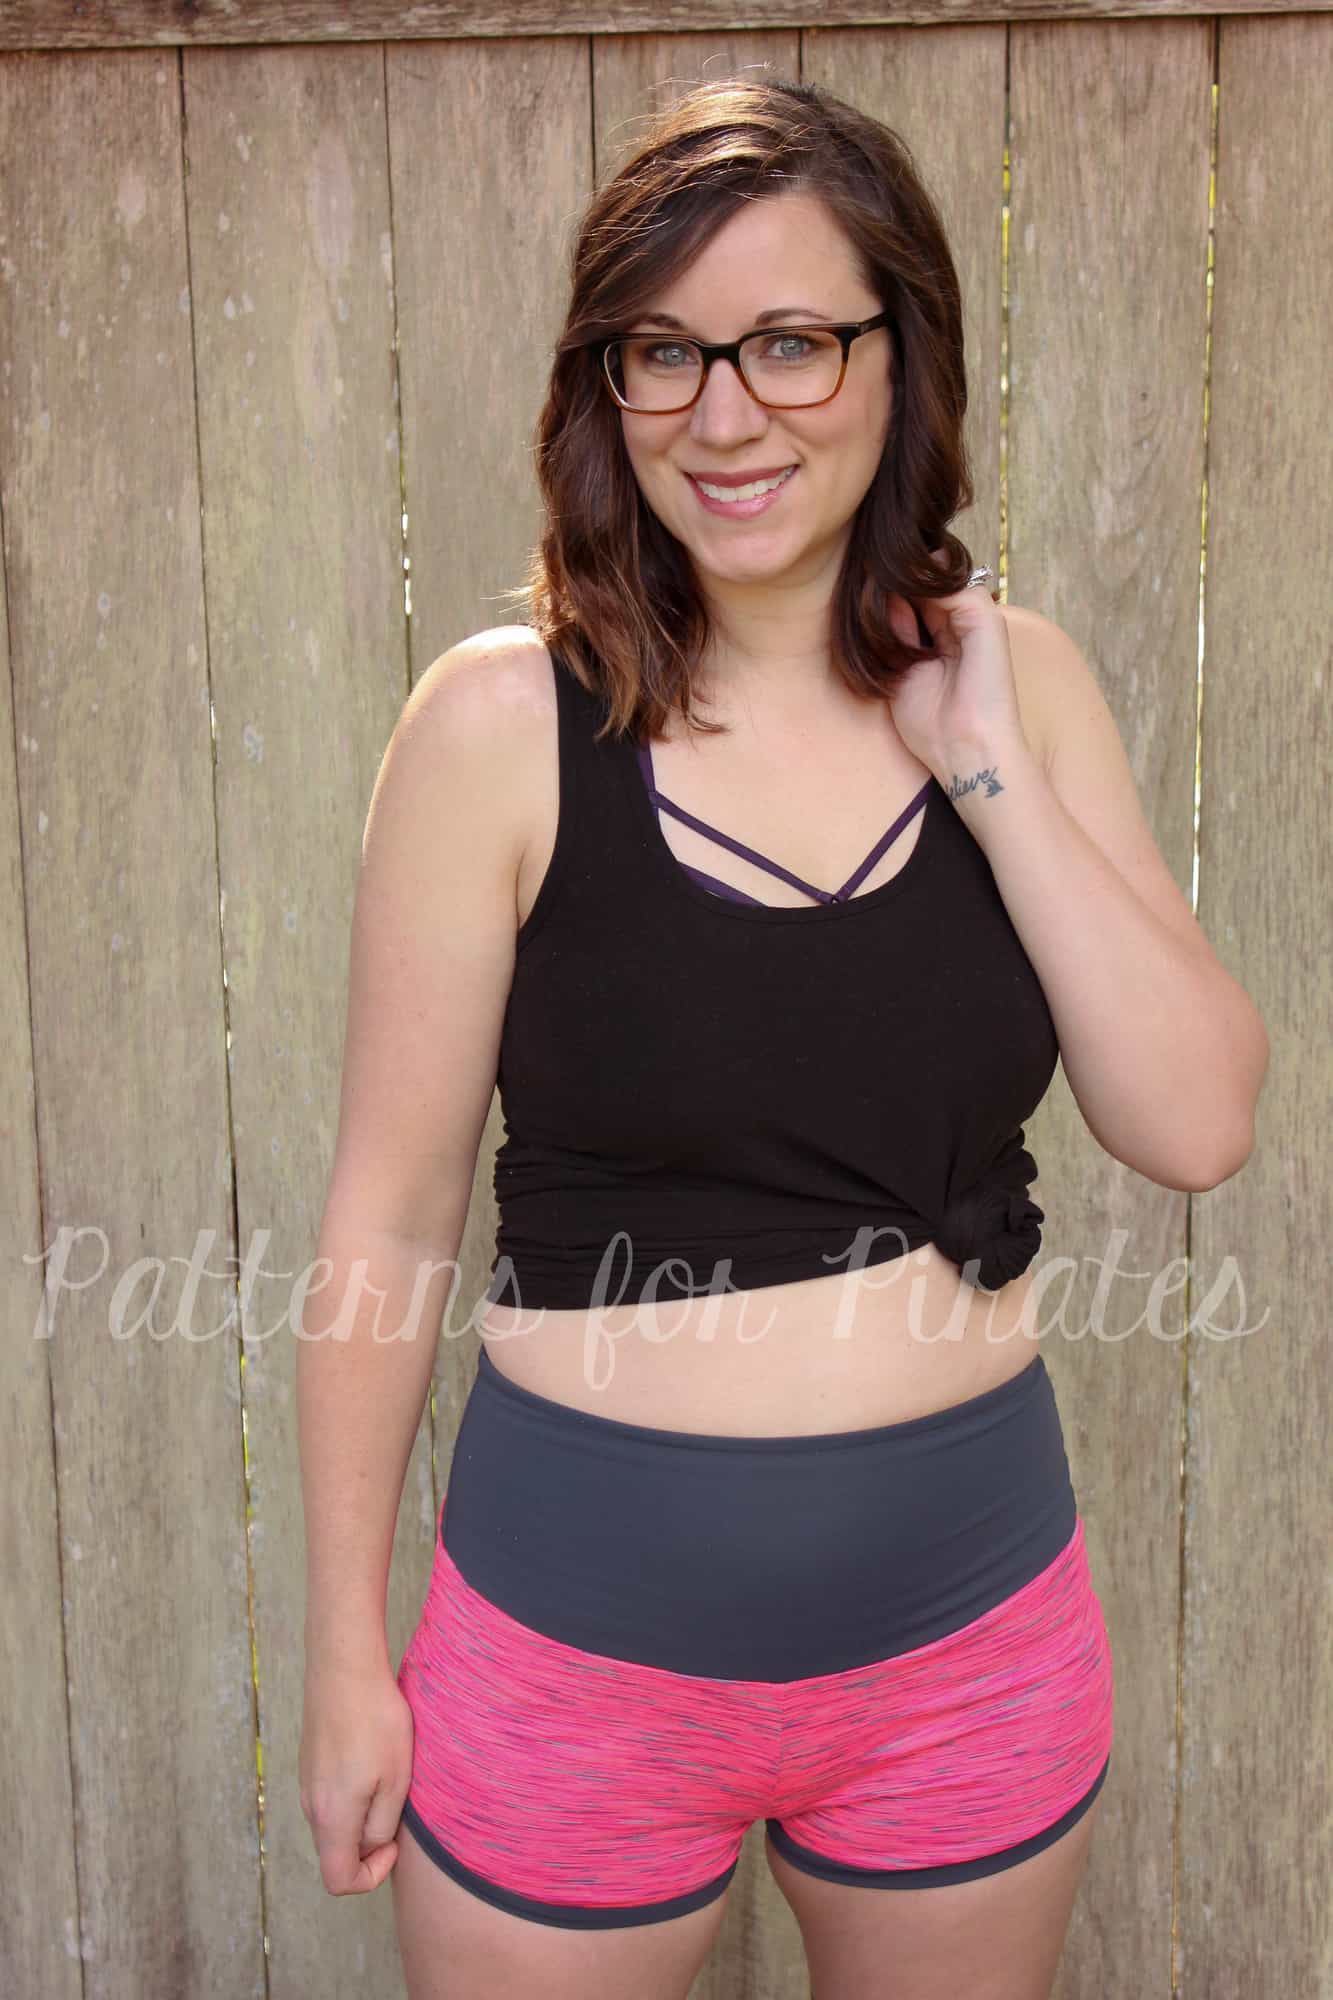
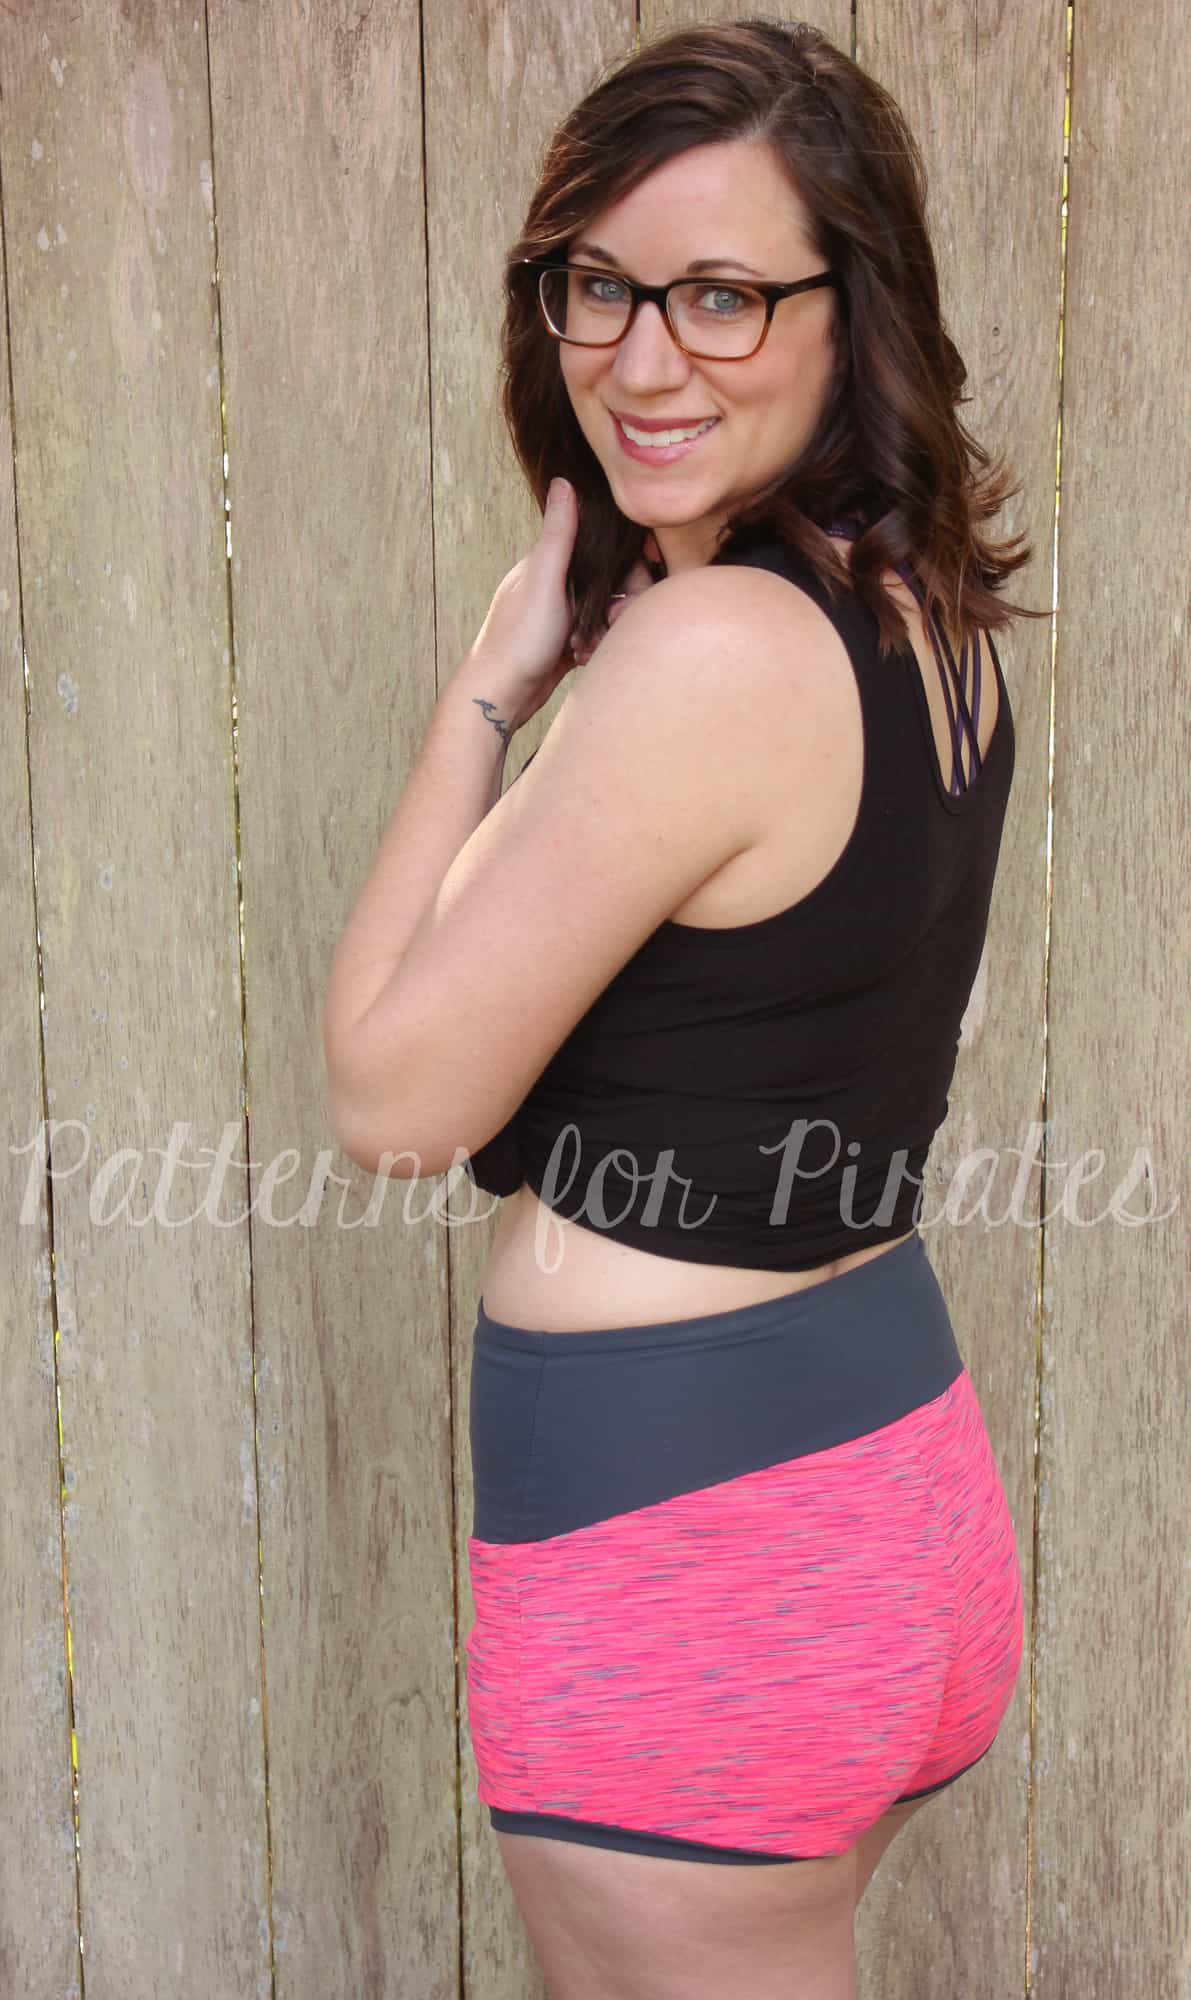
First comes the Pegs. Then comes the Logger… Up next, a Peg and Logger mash made in Heaven! Ever since the release of the Peg Leg add-on pack, I have been obsessed with the contoured waistband (What? You haven’t tried it yet? Grab a copy of it for FREE right here). Luckily, the Logger Pattern is another perfect way to show off and use the contoured waistband.
To create this look, you will need both the Logger and the contoured waistband pieces. One of the advantages to the Loggers is that you can use fabrics with just a small amount of vertical stretch. However, for the Pegs, 50% stretch is needed in both directions. So when choosing your fabric for the contoured waistband, it is KEY to make sure that it meets these requirements or else it won’t fit!
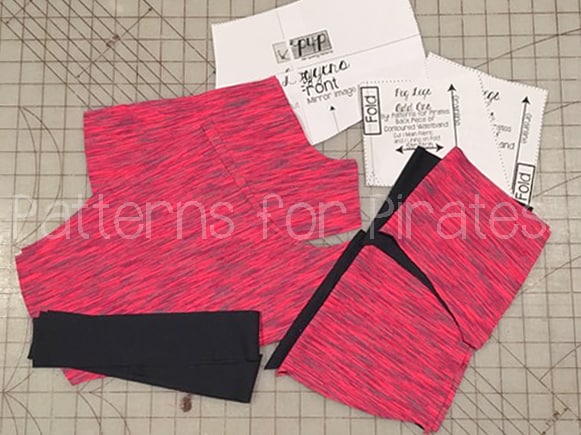
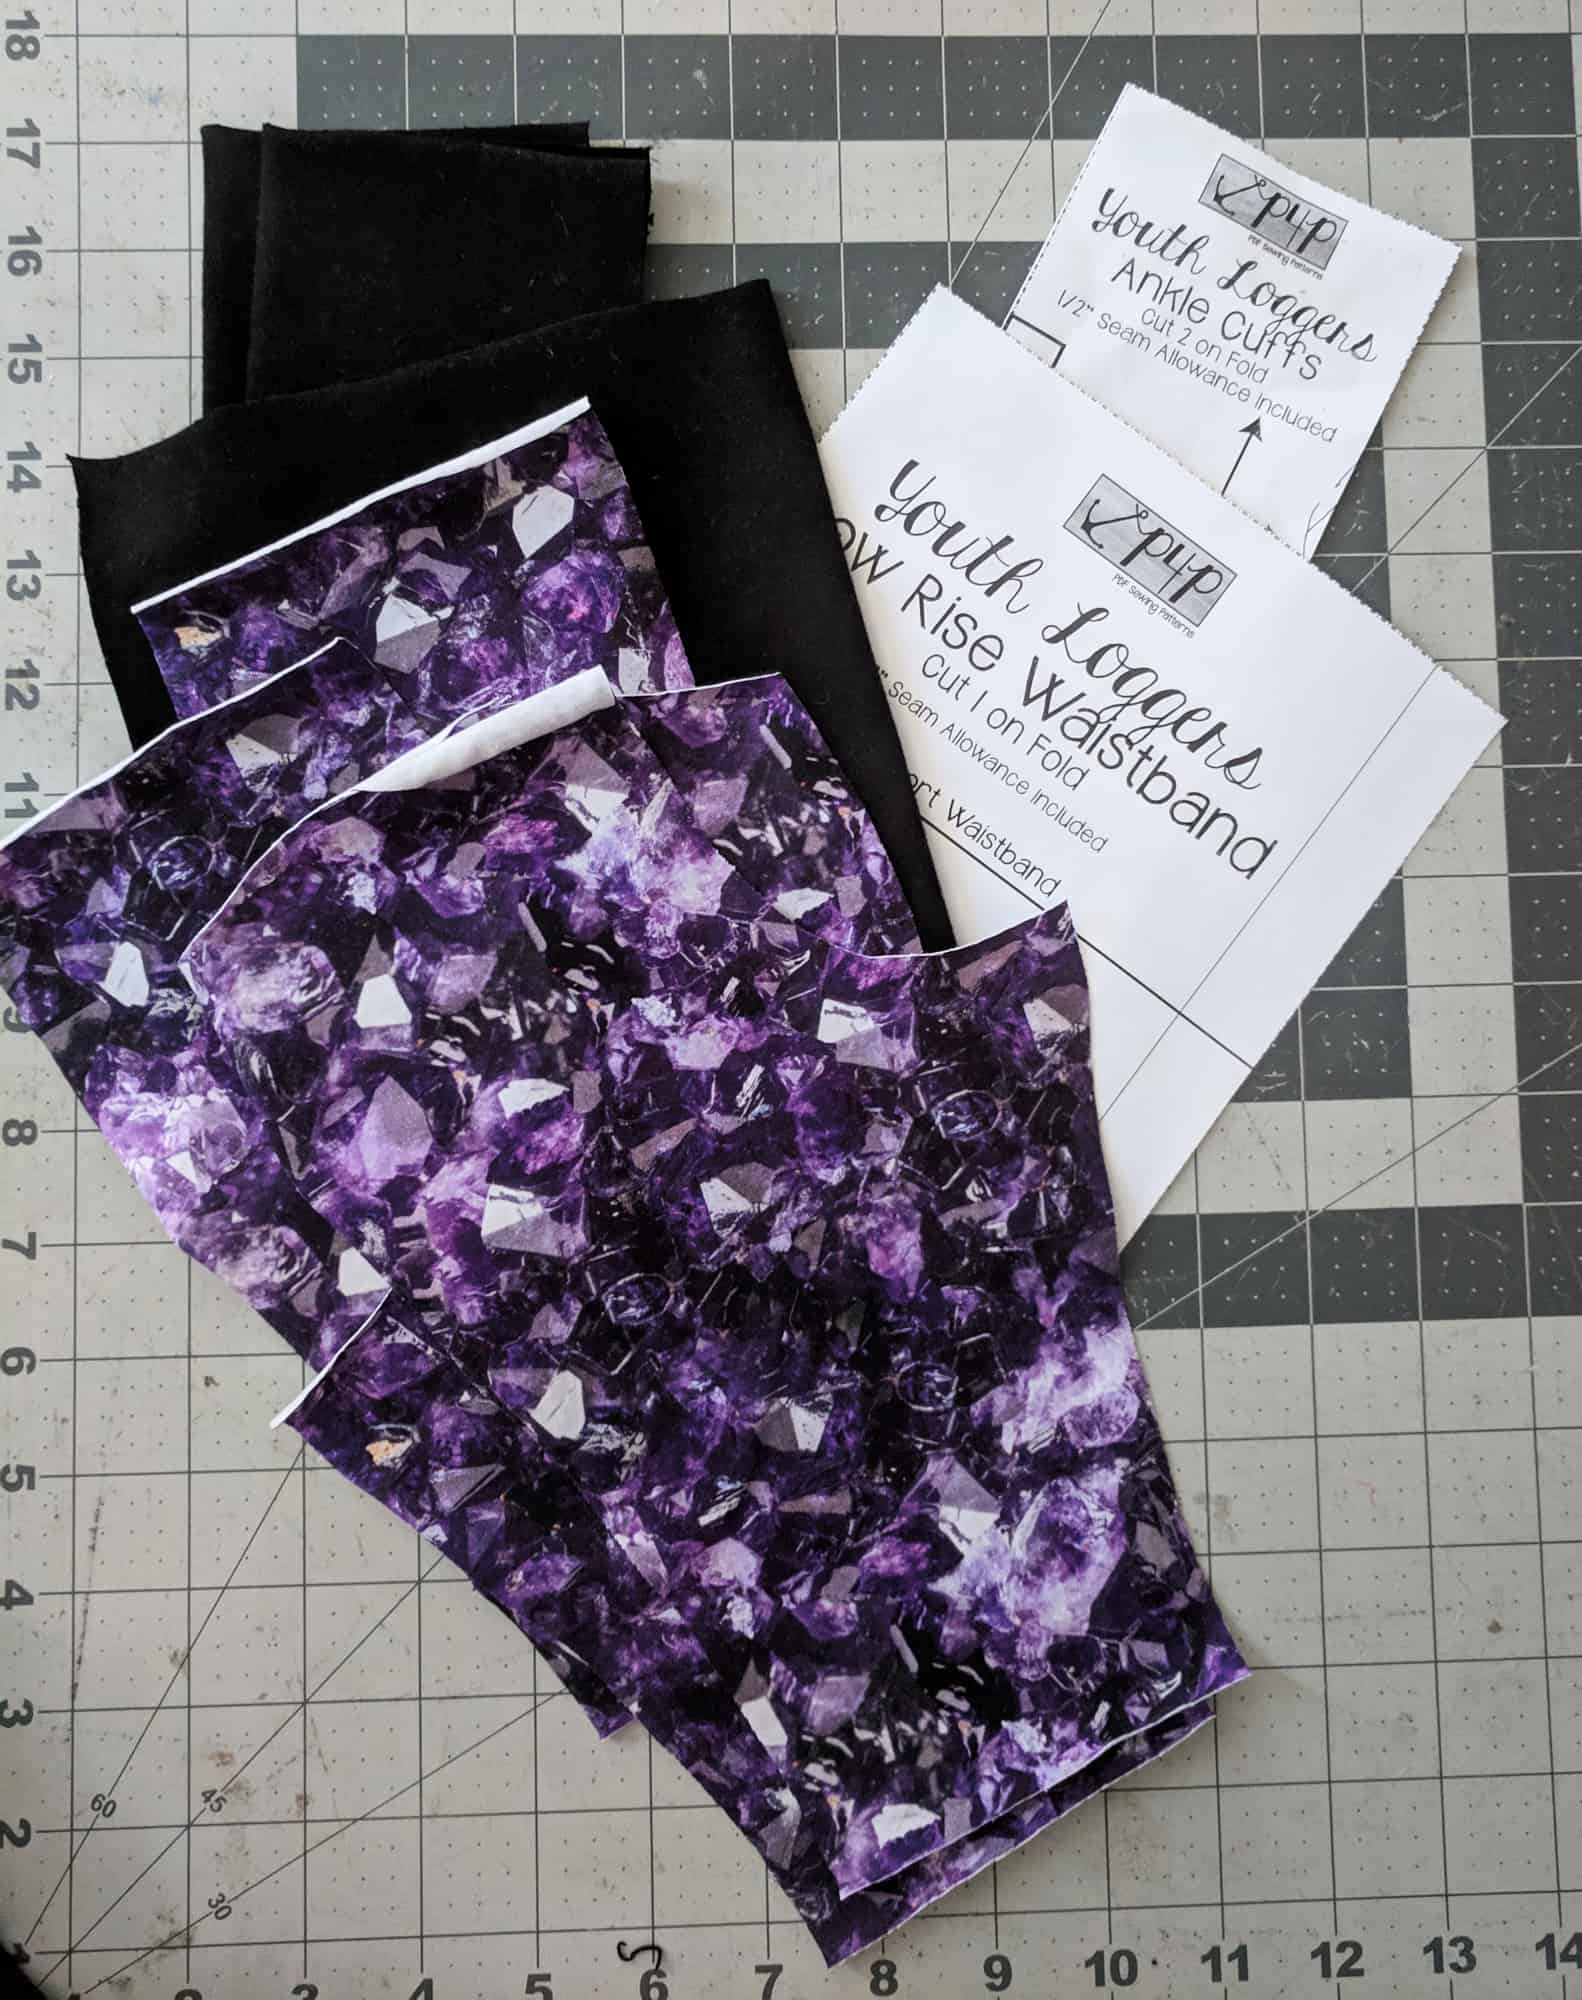
Begin by cutting out the necessary pieces. For the waist on your Logger, cut on the lower rise. As you can see in the picture below, I have have my Logger shorts with bands and then my pieces needed for the contoured waistband.
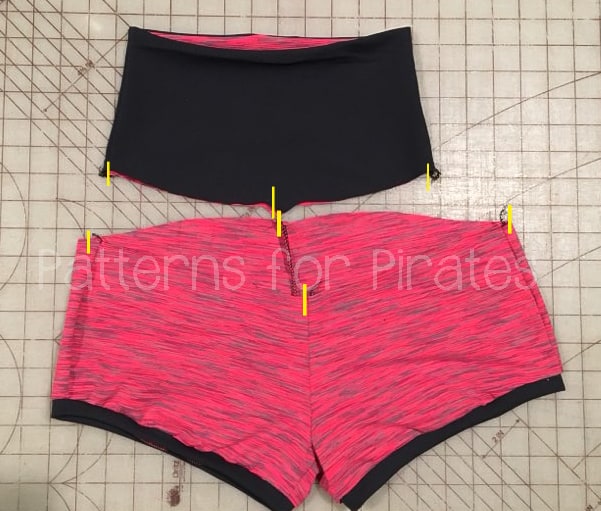
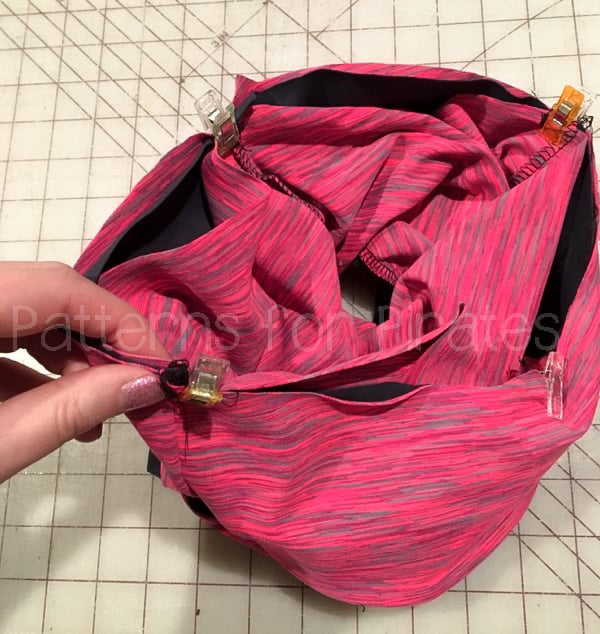
Next, assemble all pieces as written in the tutorials, including the waistband. Quarter both your Loggers and waistband. Slip your waistband over the Loggers, matching right sides together.
Attach your waistband, being sure to stretch the waistband only and NOT the Loggers. All finished! You have now created one of the most comfortable pair of pants with the most comfortable waistband that you will ever own! ~Erinn
…..
Capri Loggers
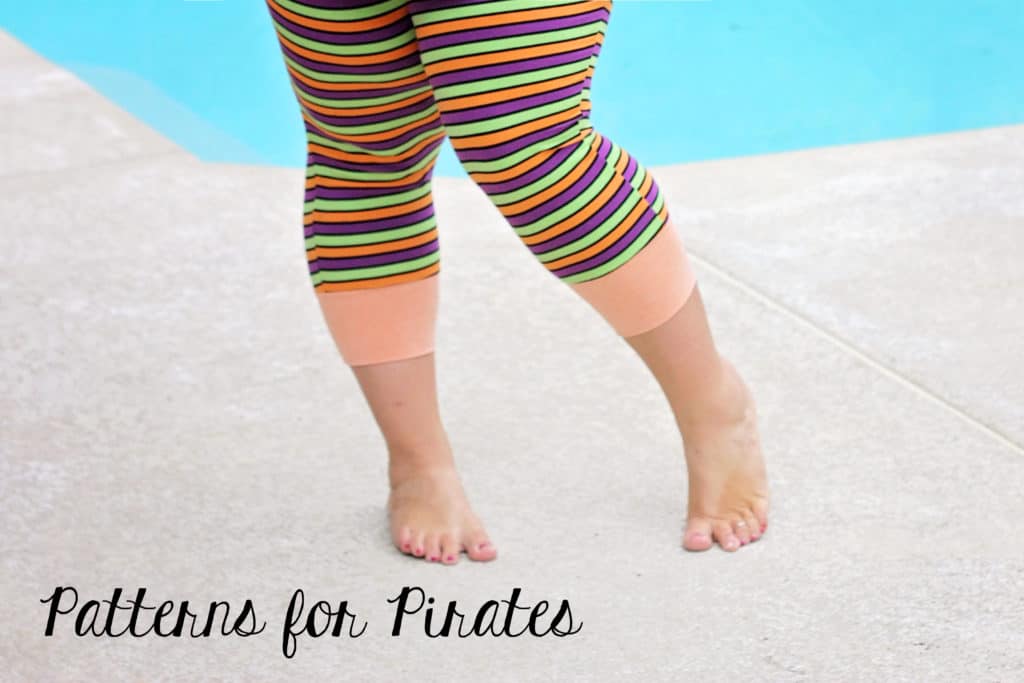
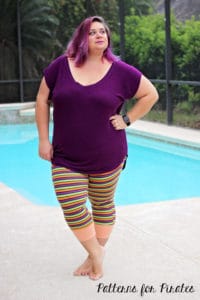
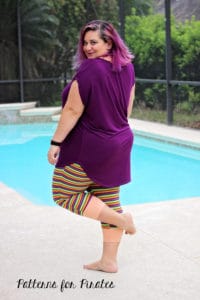
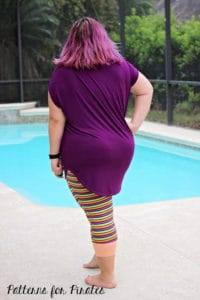
The Loggers patterns include 2 length, ankle and shorts. So let’s add a third. I personally love capri length leggings and joggers when biking so I knew I needed capri loggers too. Such an easy hack!
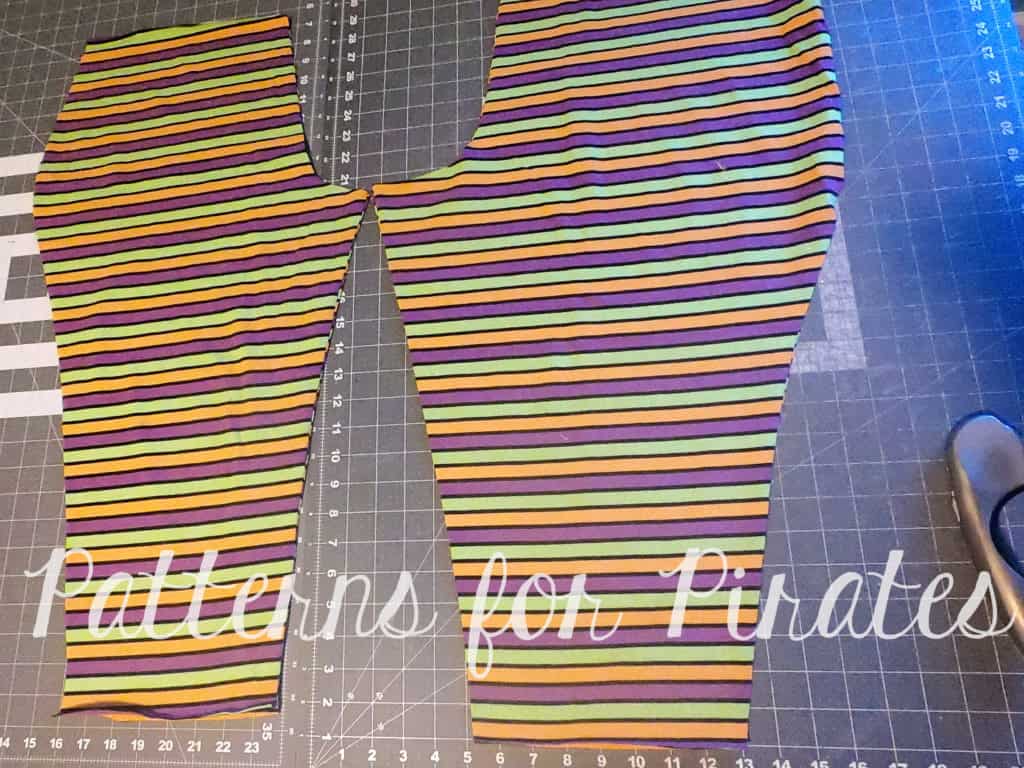
All you have to do is remove some length on both leg pieces. For the adult loggers I recommend removing about 7″ but you can go a little less or a little more. If you are not able to measure them you can use the Peg Legs capri length as a guide, just remember that the Pegs are hemmed while the Loggers have cuffs so make sure you accommodate for that.
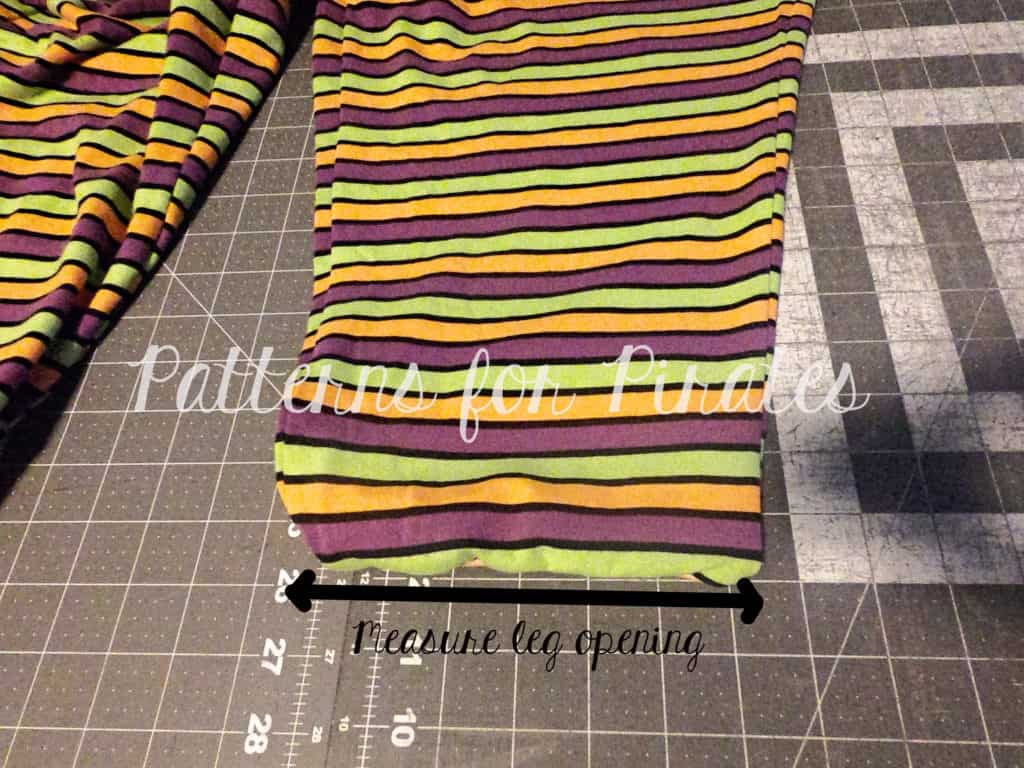
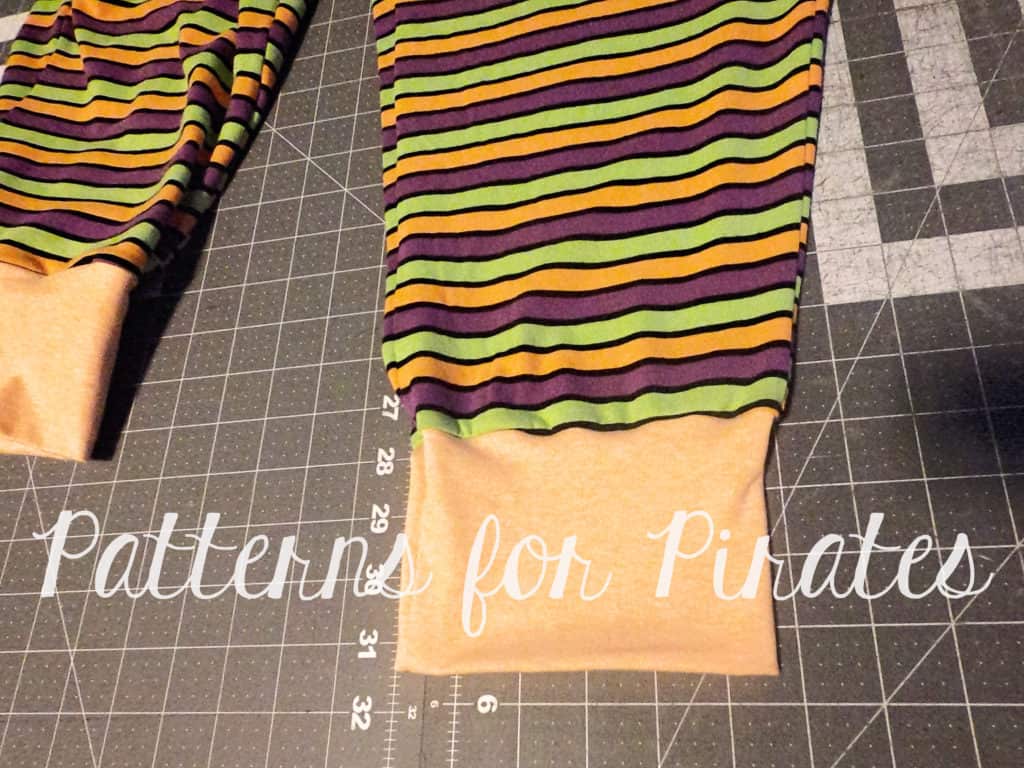
Once you cut your fabric continue sewing them as per the tutorial. The only change left to do is in the cuffs width. Measure the leg opening and multiply that by 0.90 and add 1″ for the seam allowance. Keep the height of the cuffs pattern as is.
All you have left to do is add the cuffs to the legs following the same instructions in the tutorial. As always, press, press, press!
Shhh! Want to know a little secret? For my pair of capri loggers I actually used the exact cuffs from the pattern. Since my loggers are 100% cotton spandex with great stretch and recovery I could do that. Something to keep in mind, but do not do this if you are using French Terry or other knit with not so great recovery.
That’s it! Super easy, capri loggers to add to your lounging or workout gear.
…..
Swim Bottoms
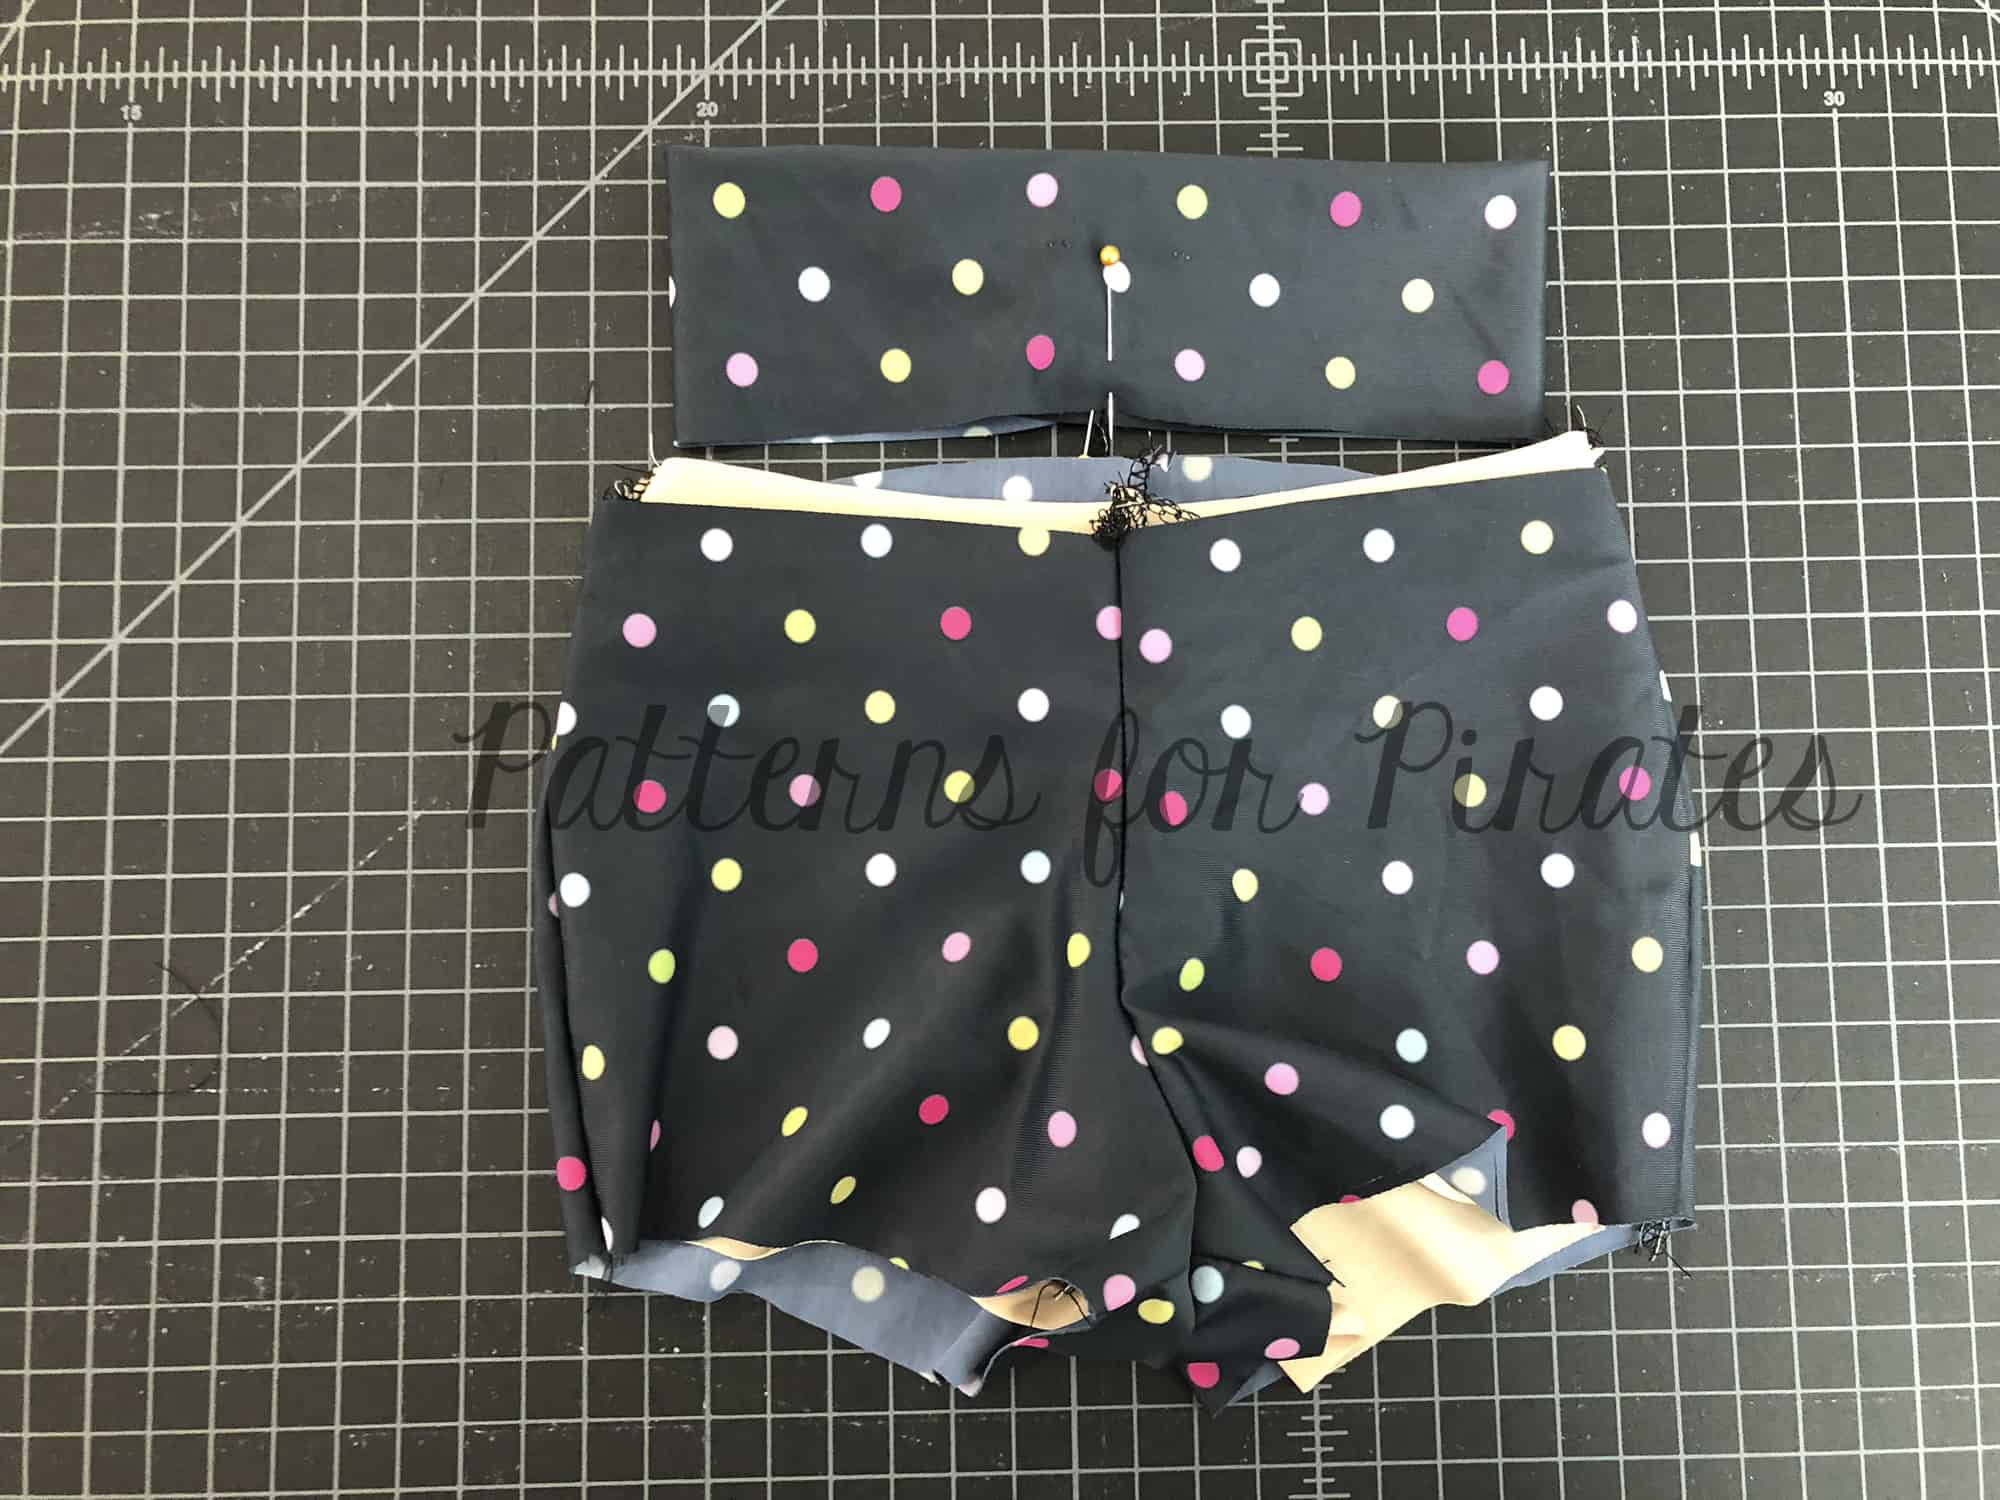
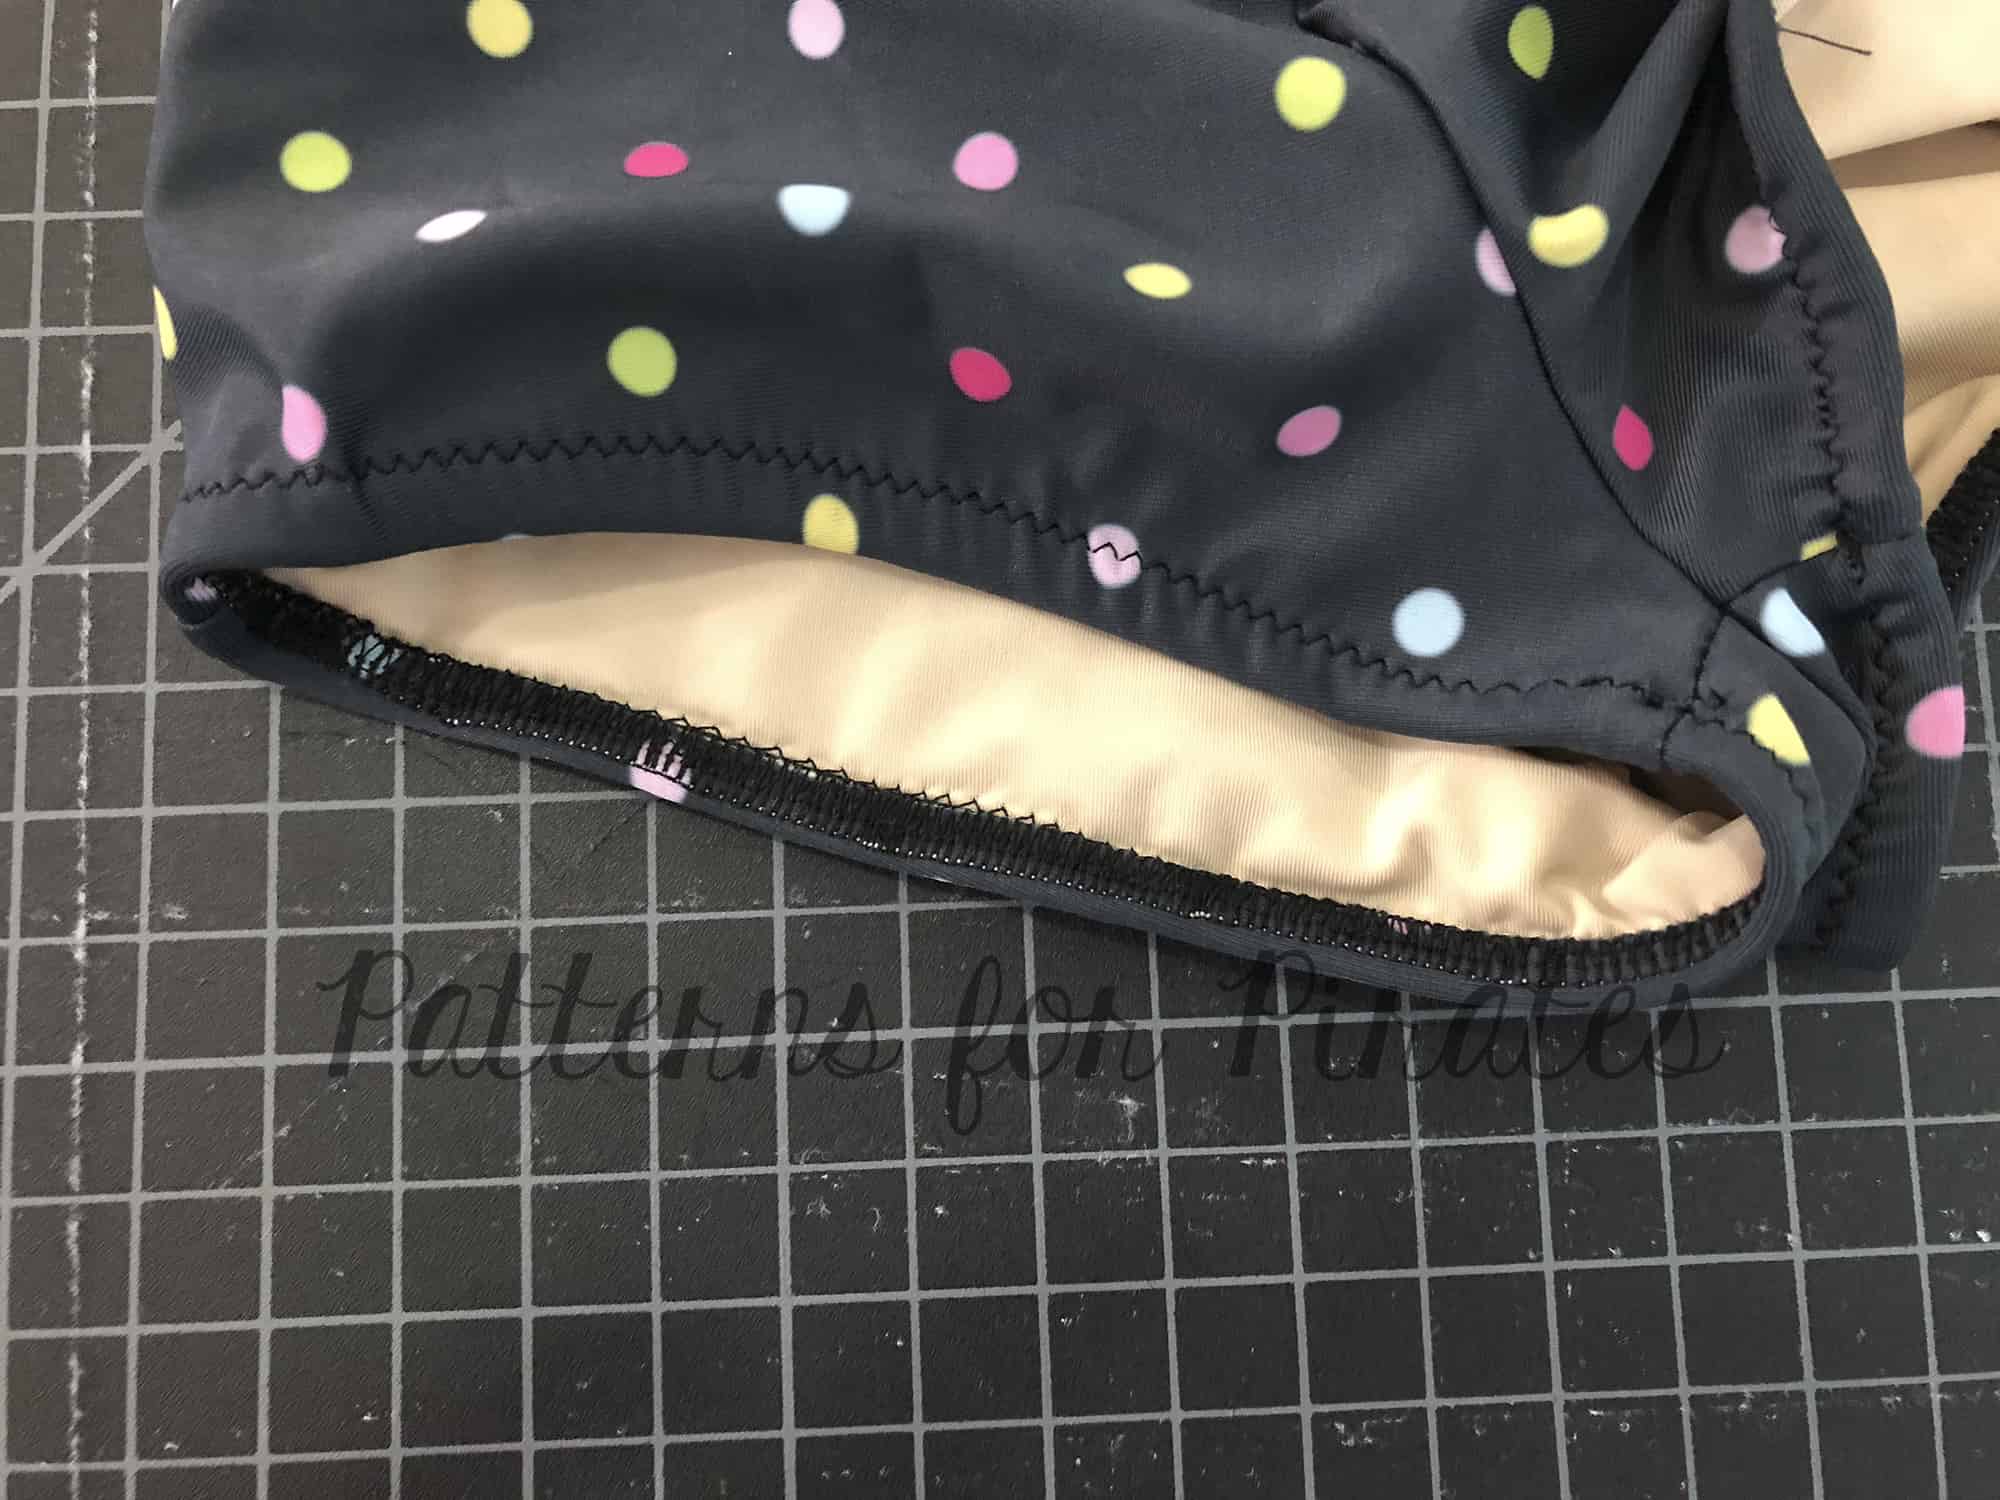
The shorts version of the Loggers makes for the perfect swim short! I used the youth version here for my girl but you can easily do the same for the women’s. Construction is more or less the same, but I chose to line them with swim lining and did elastic vs the bands. You can also adjust the inseam to your preference if you want them a little longer as they will finish a tiny bit shorter if adding swim elastic, or even keep the bands as shown in the original pattern.
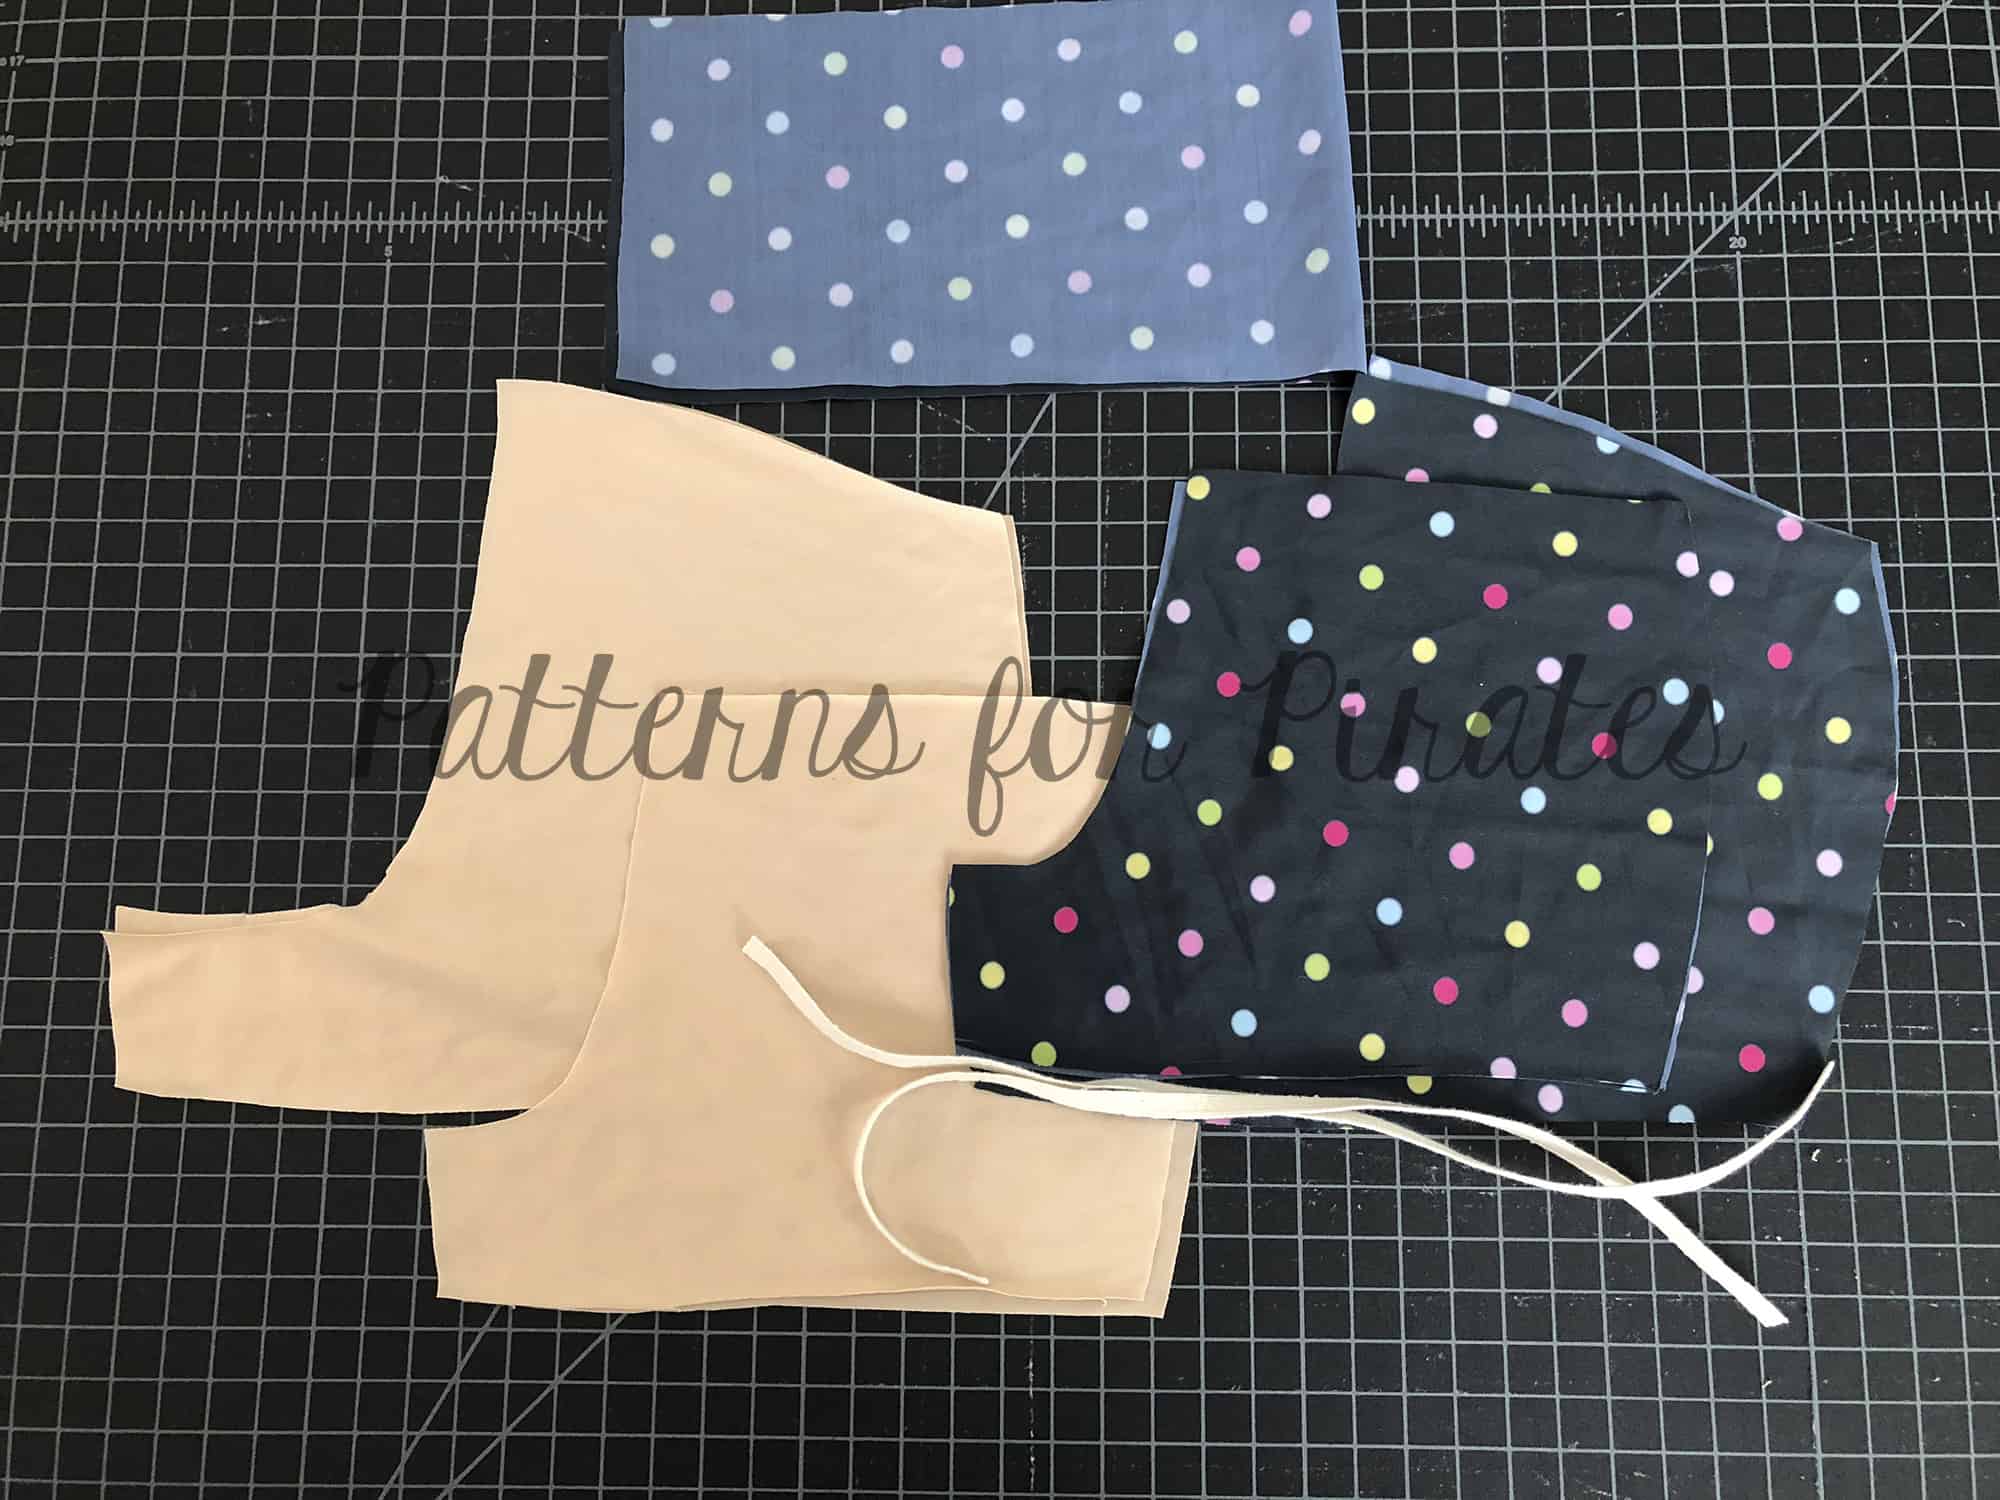
- Cut 1 Main, 1 Lining and 1 waistband. I used 1/4″ swim elastic cut 1/2″ shorter than the measurement in the pattern for the bands. (I would recommend, measuring the leg openings and cutting the elastic 80% as swim will expand in water)
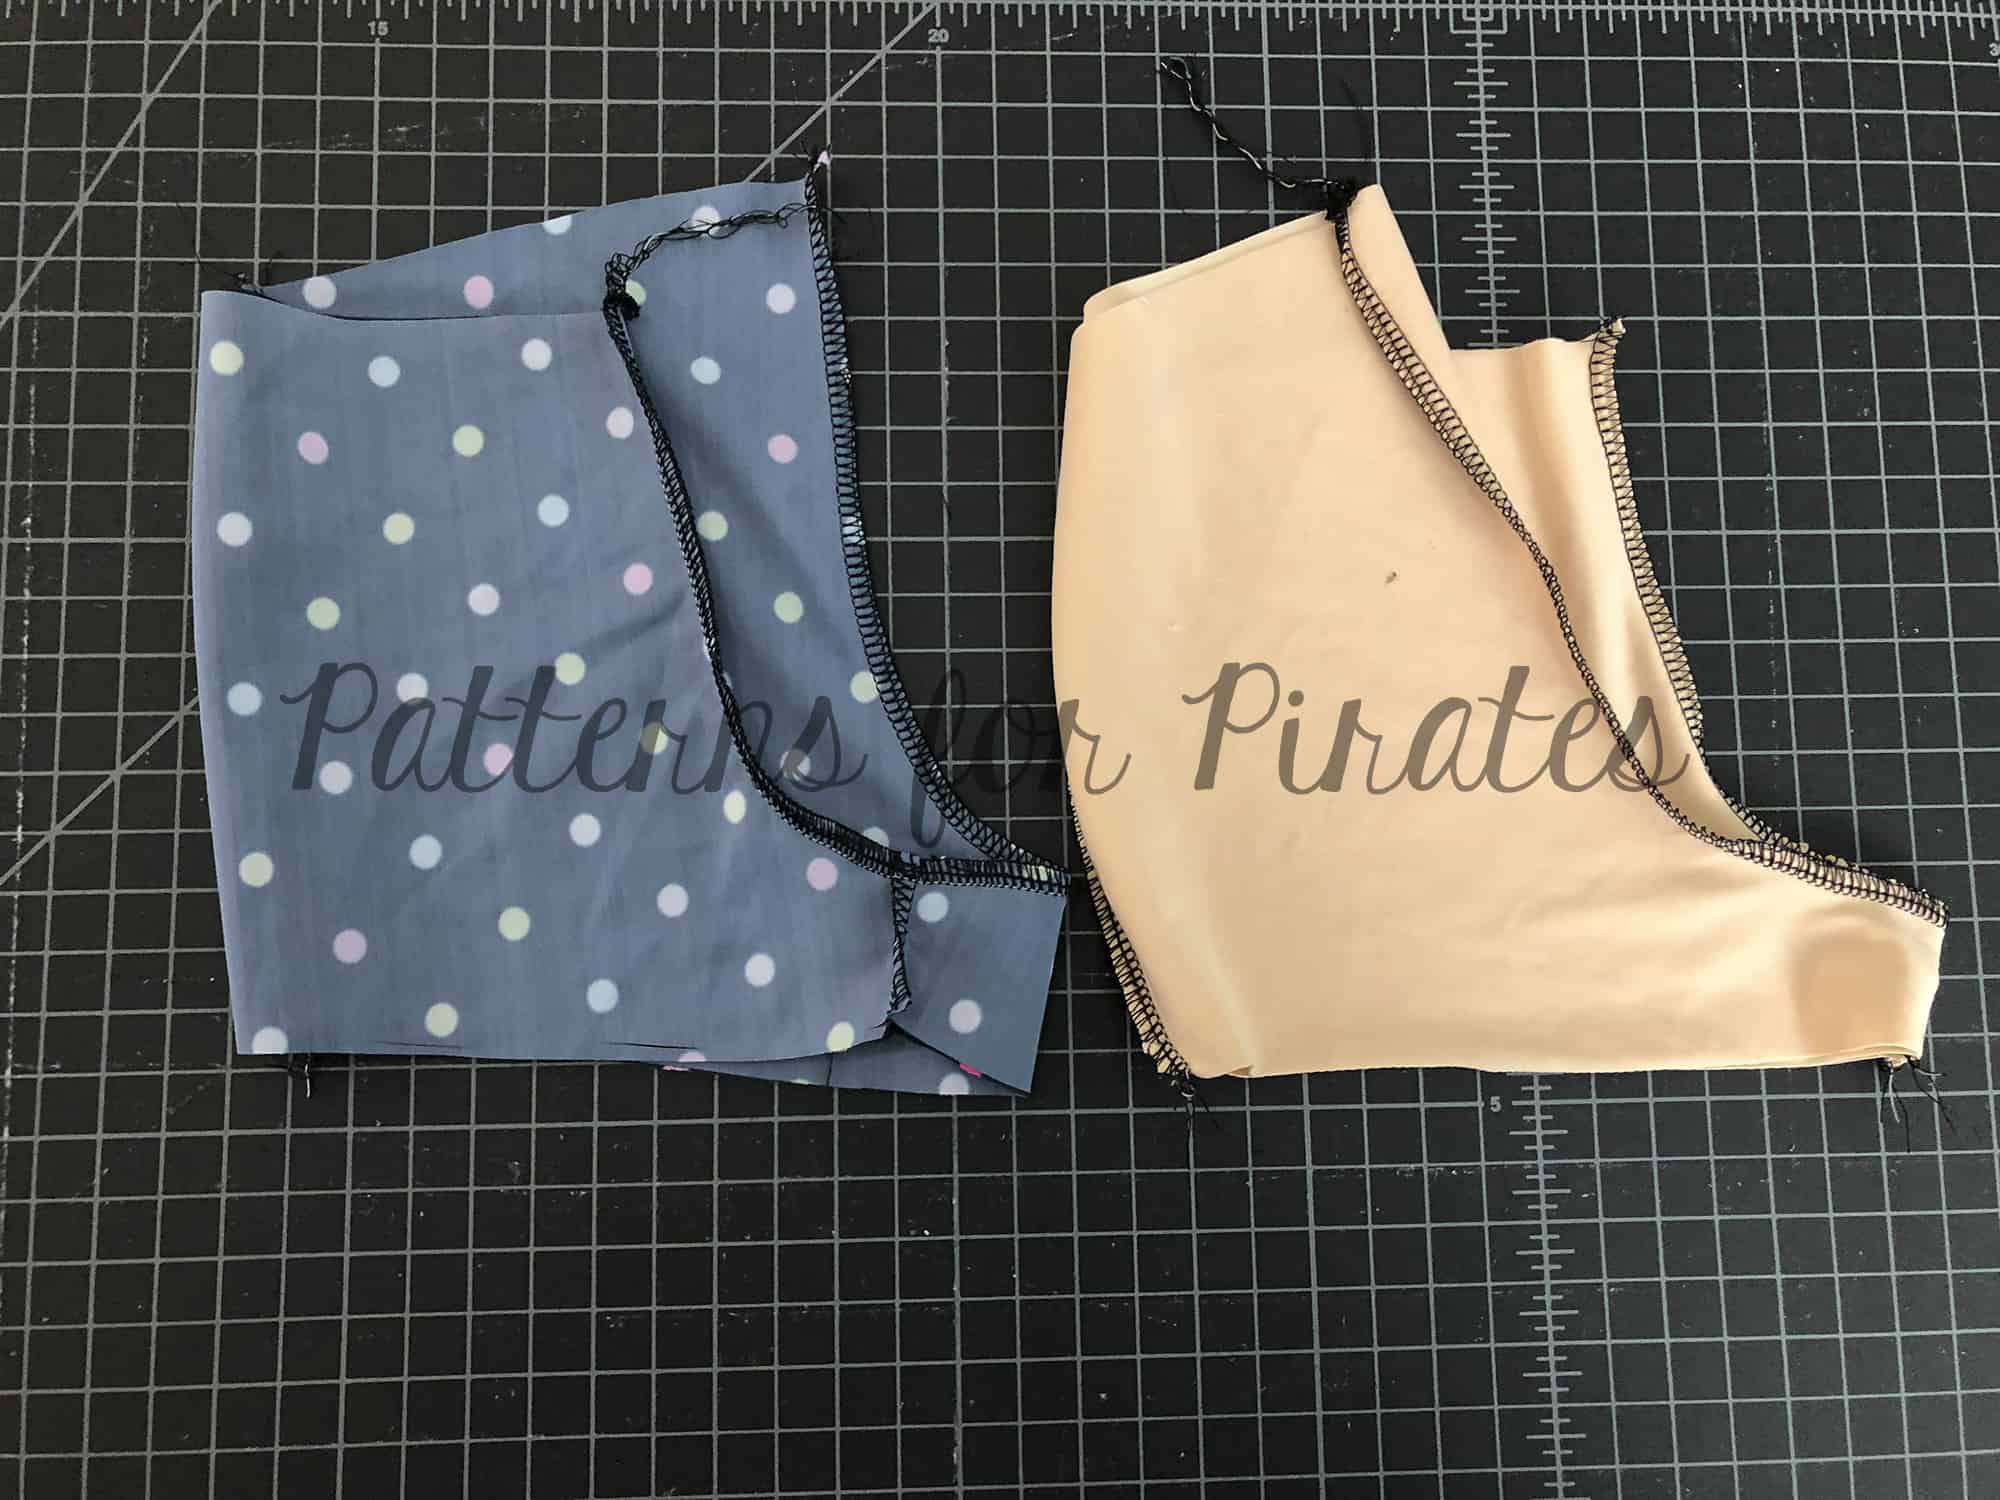
- Sew up each pair of shorts (1 main and 1 lining) separately as show in the tutorial.
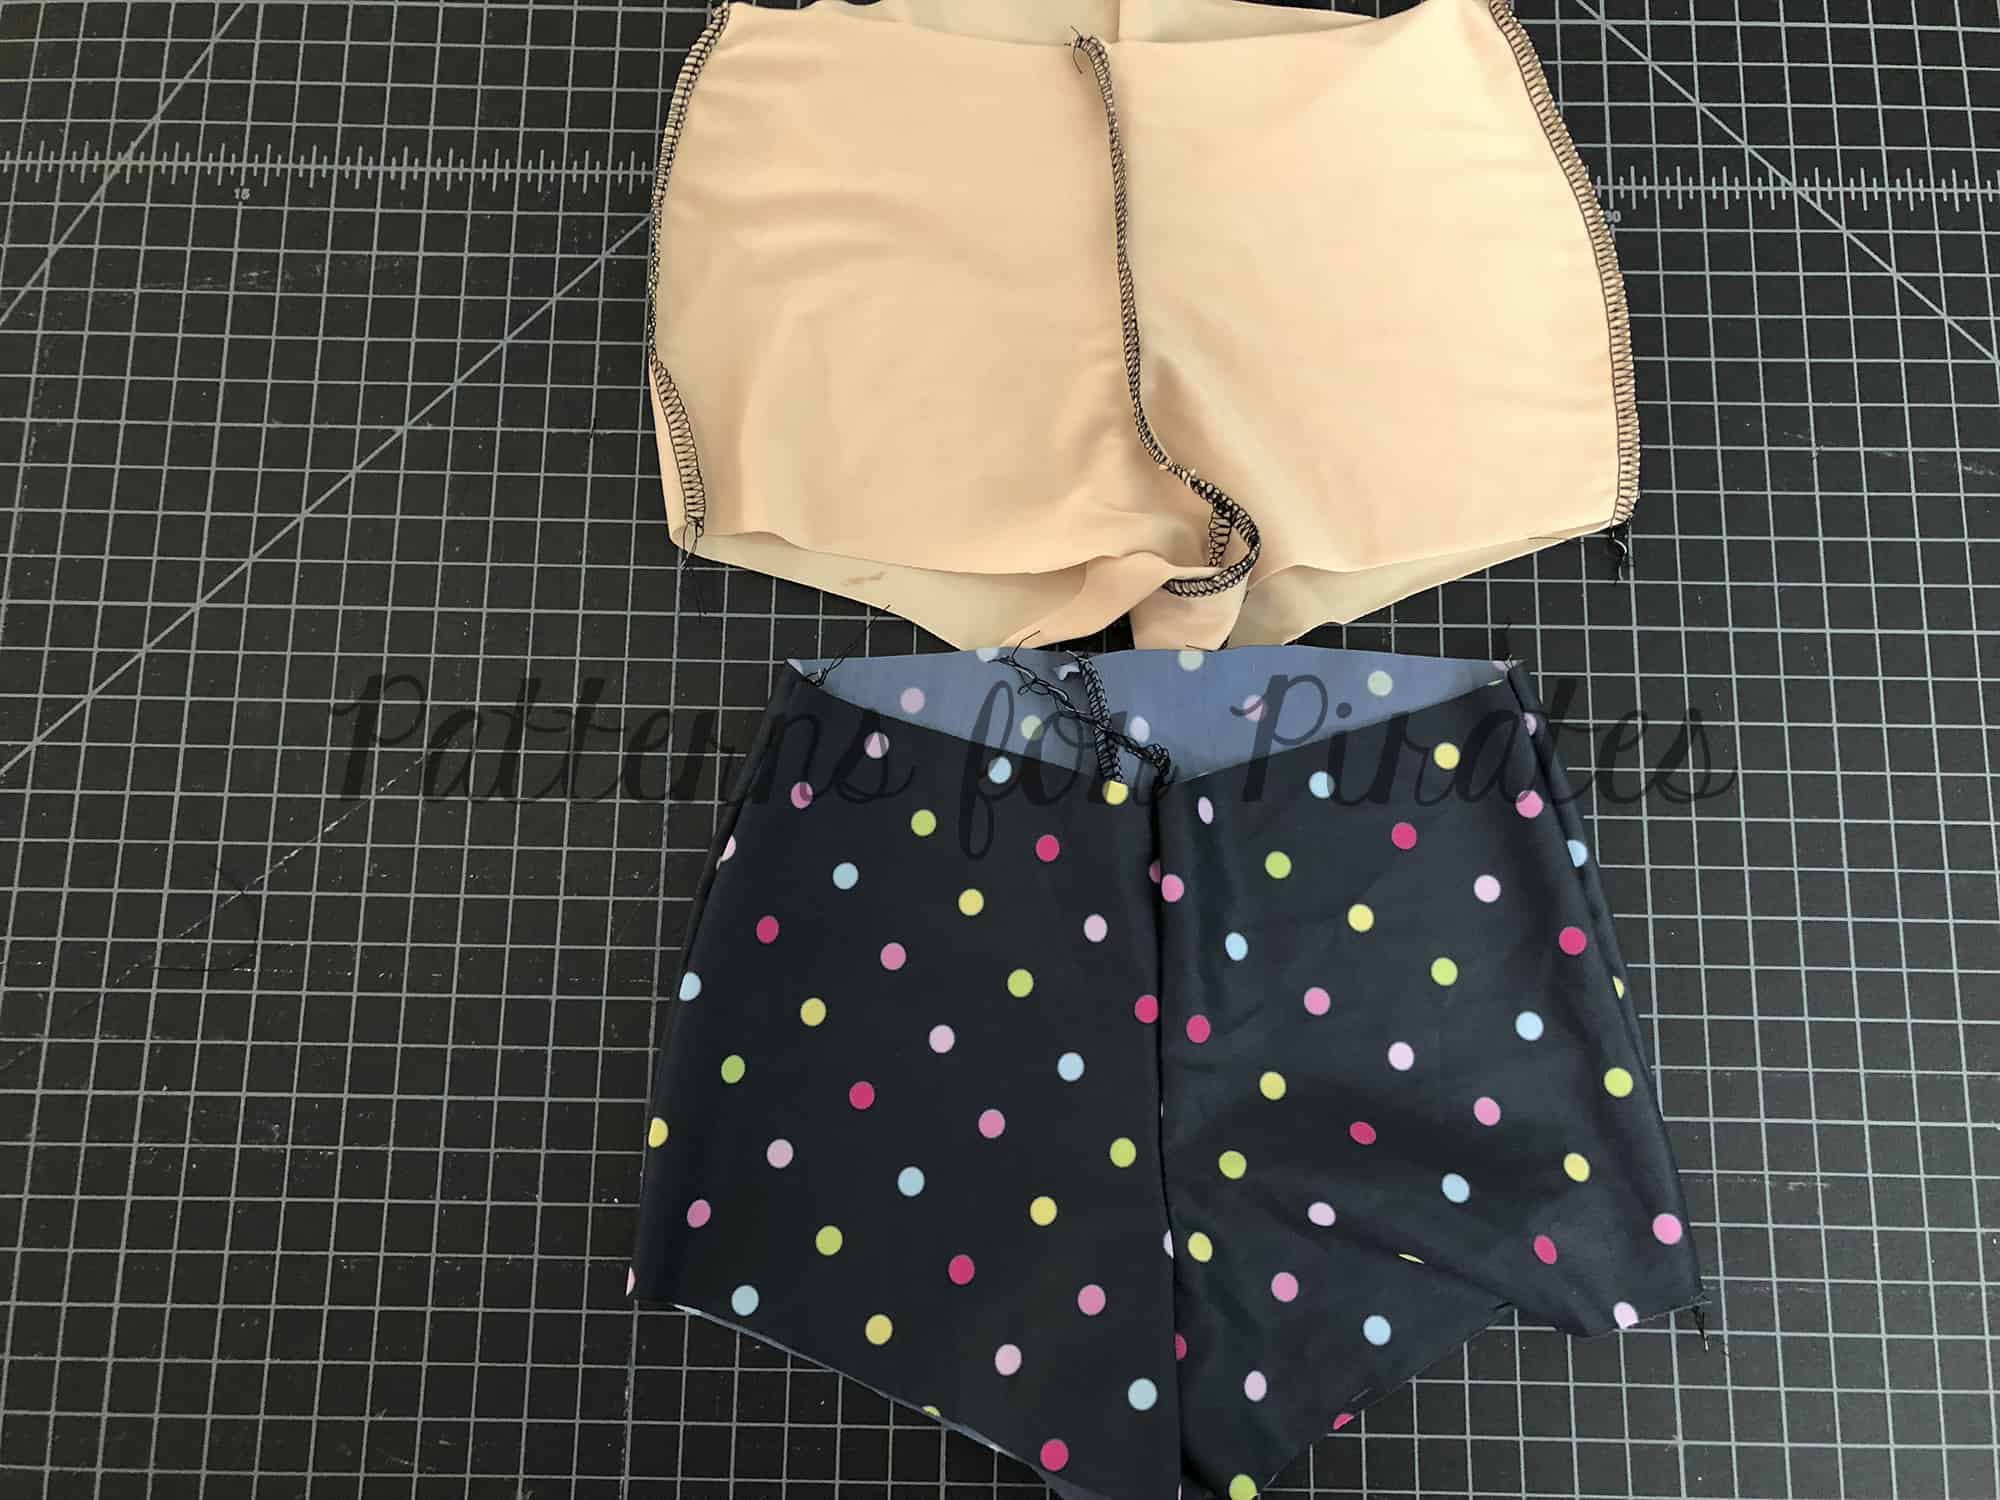
- Turn main right sides out and lining wrong sides out. With wrong sides together slip lining into main shorts.
- With right side of waistband to right side of shorts, attach your waistband (as shown in the tutorial). You will sew through 4 layers (1 lining, 1 main and 2 for your waistband.) Tip: Baste around the waist opening of the shorts to keep the layers from slipping and treat as one fabric.
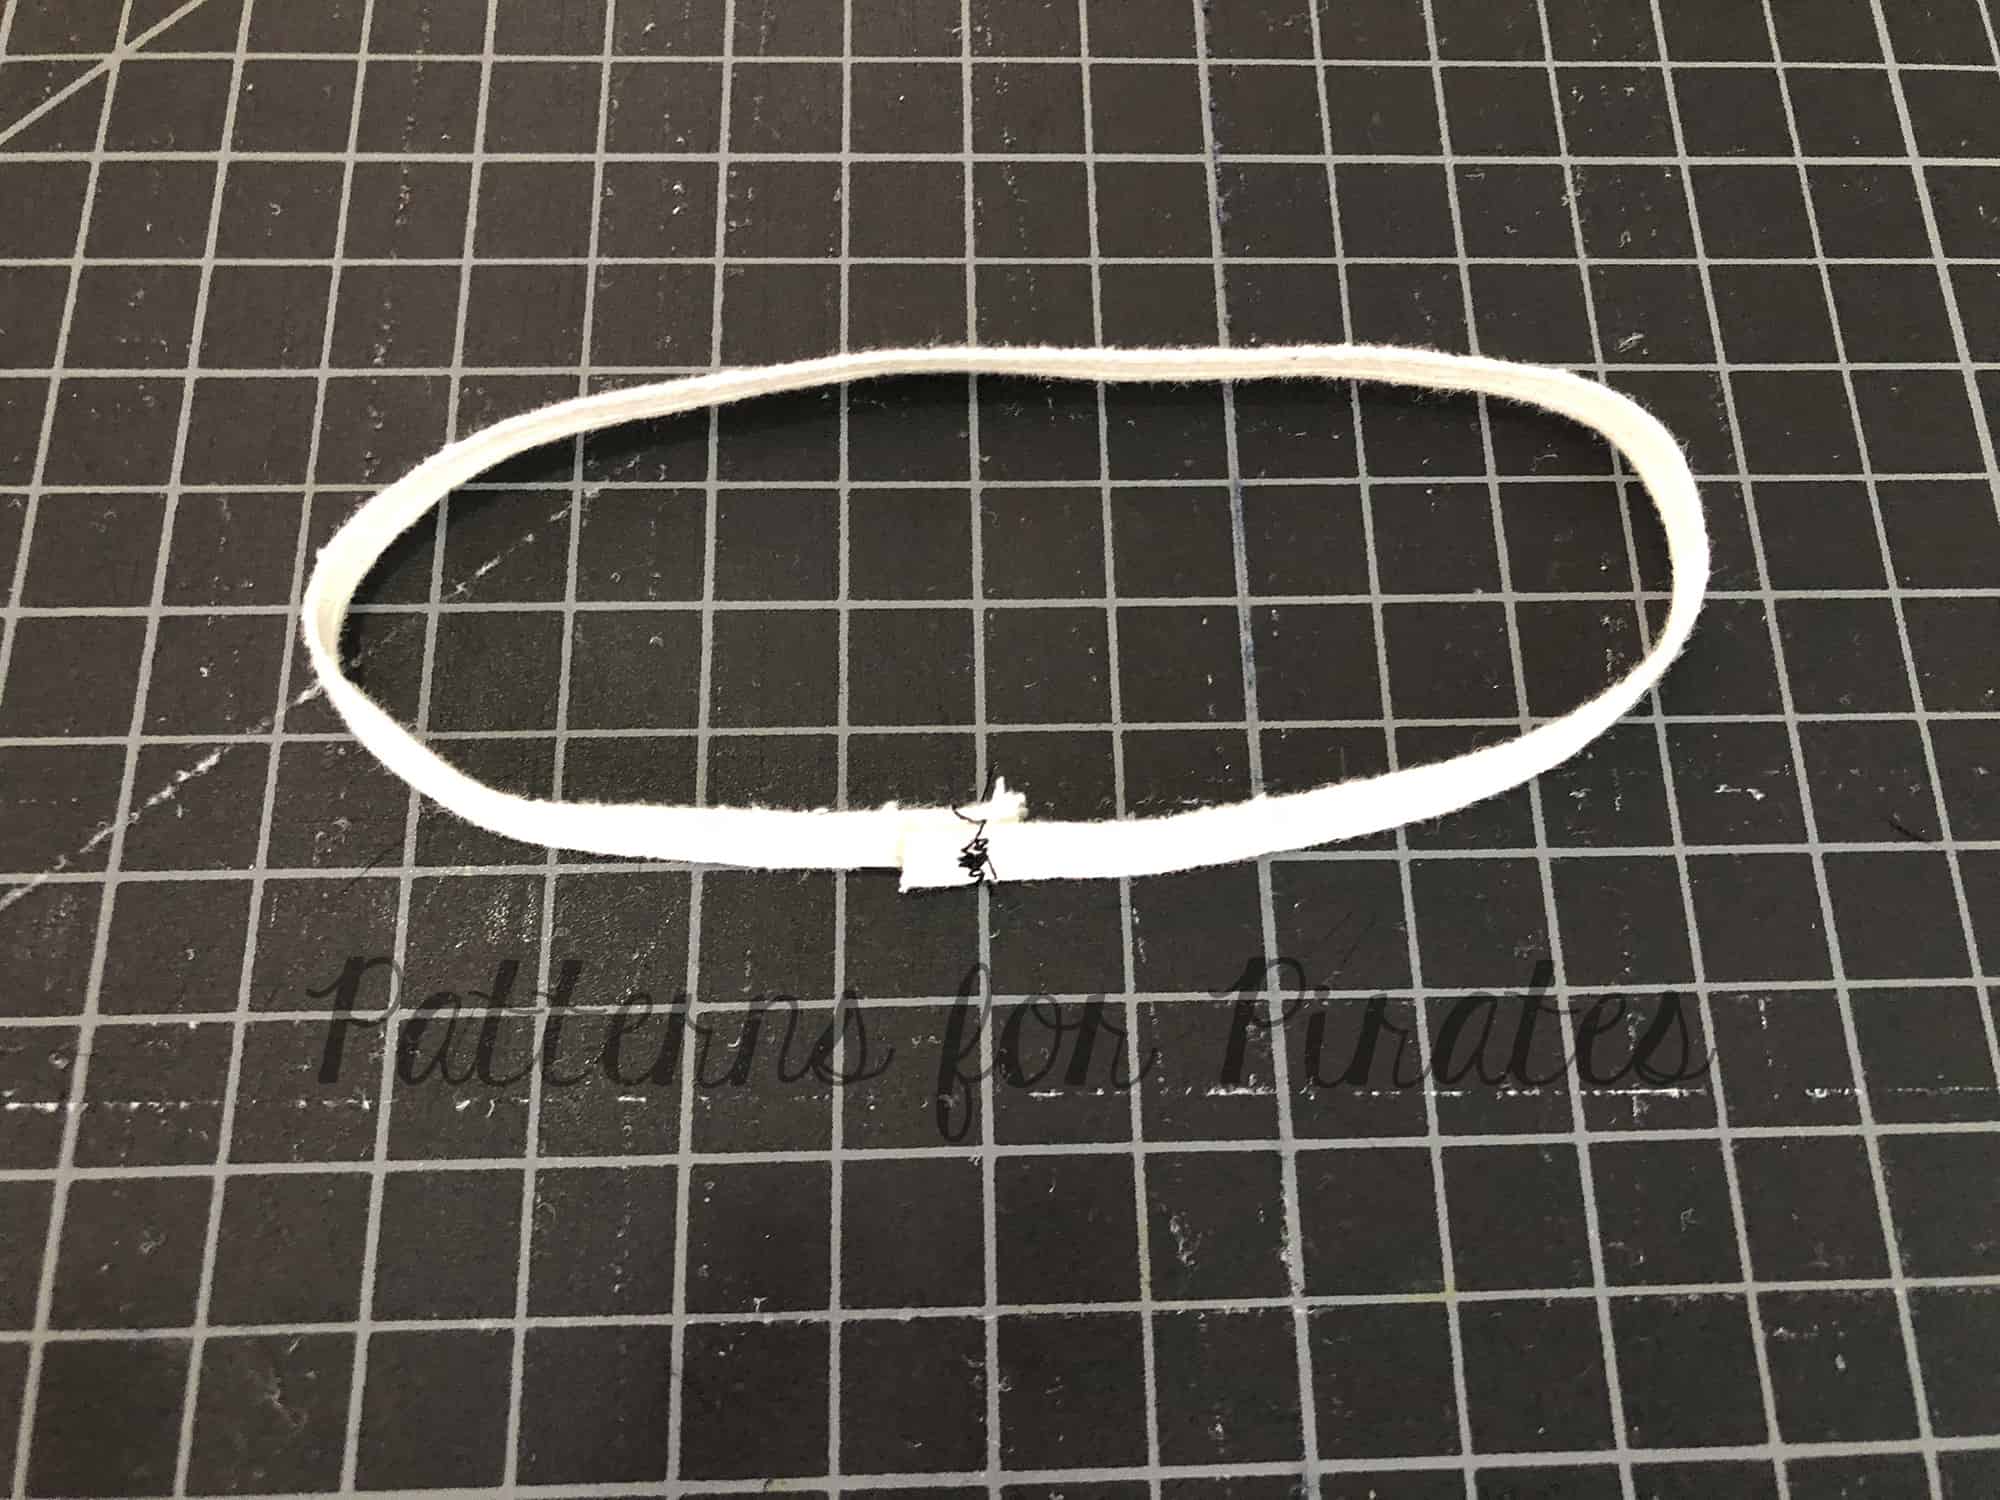
- Overlap the ends of the elastic and stitch with a zigzag stitch, creating a circle.
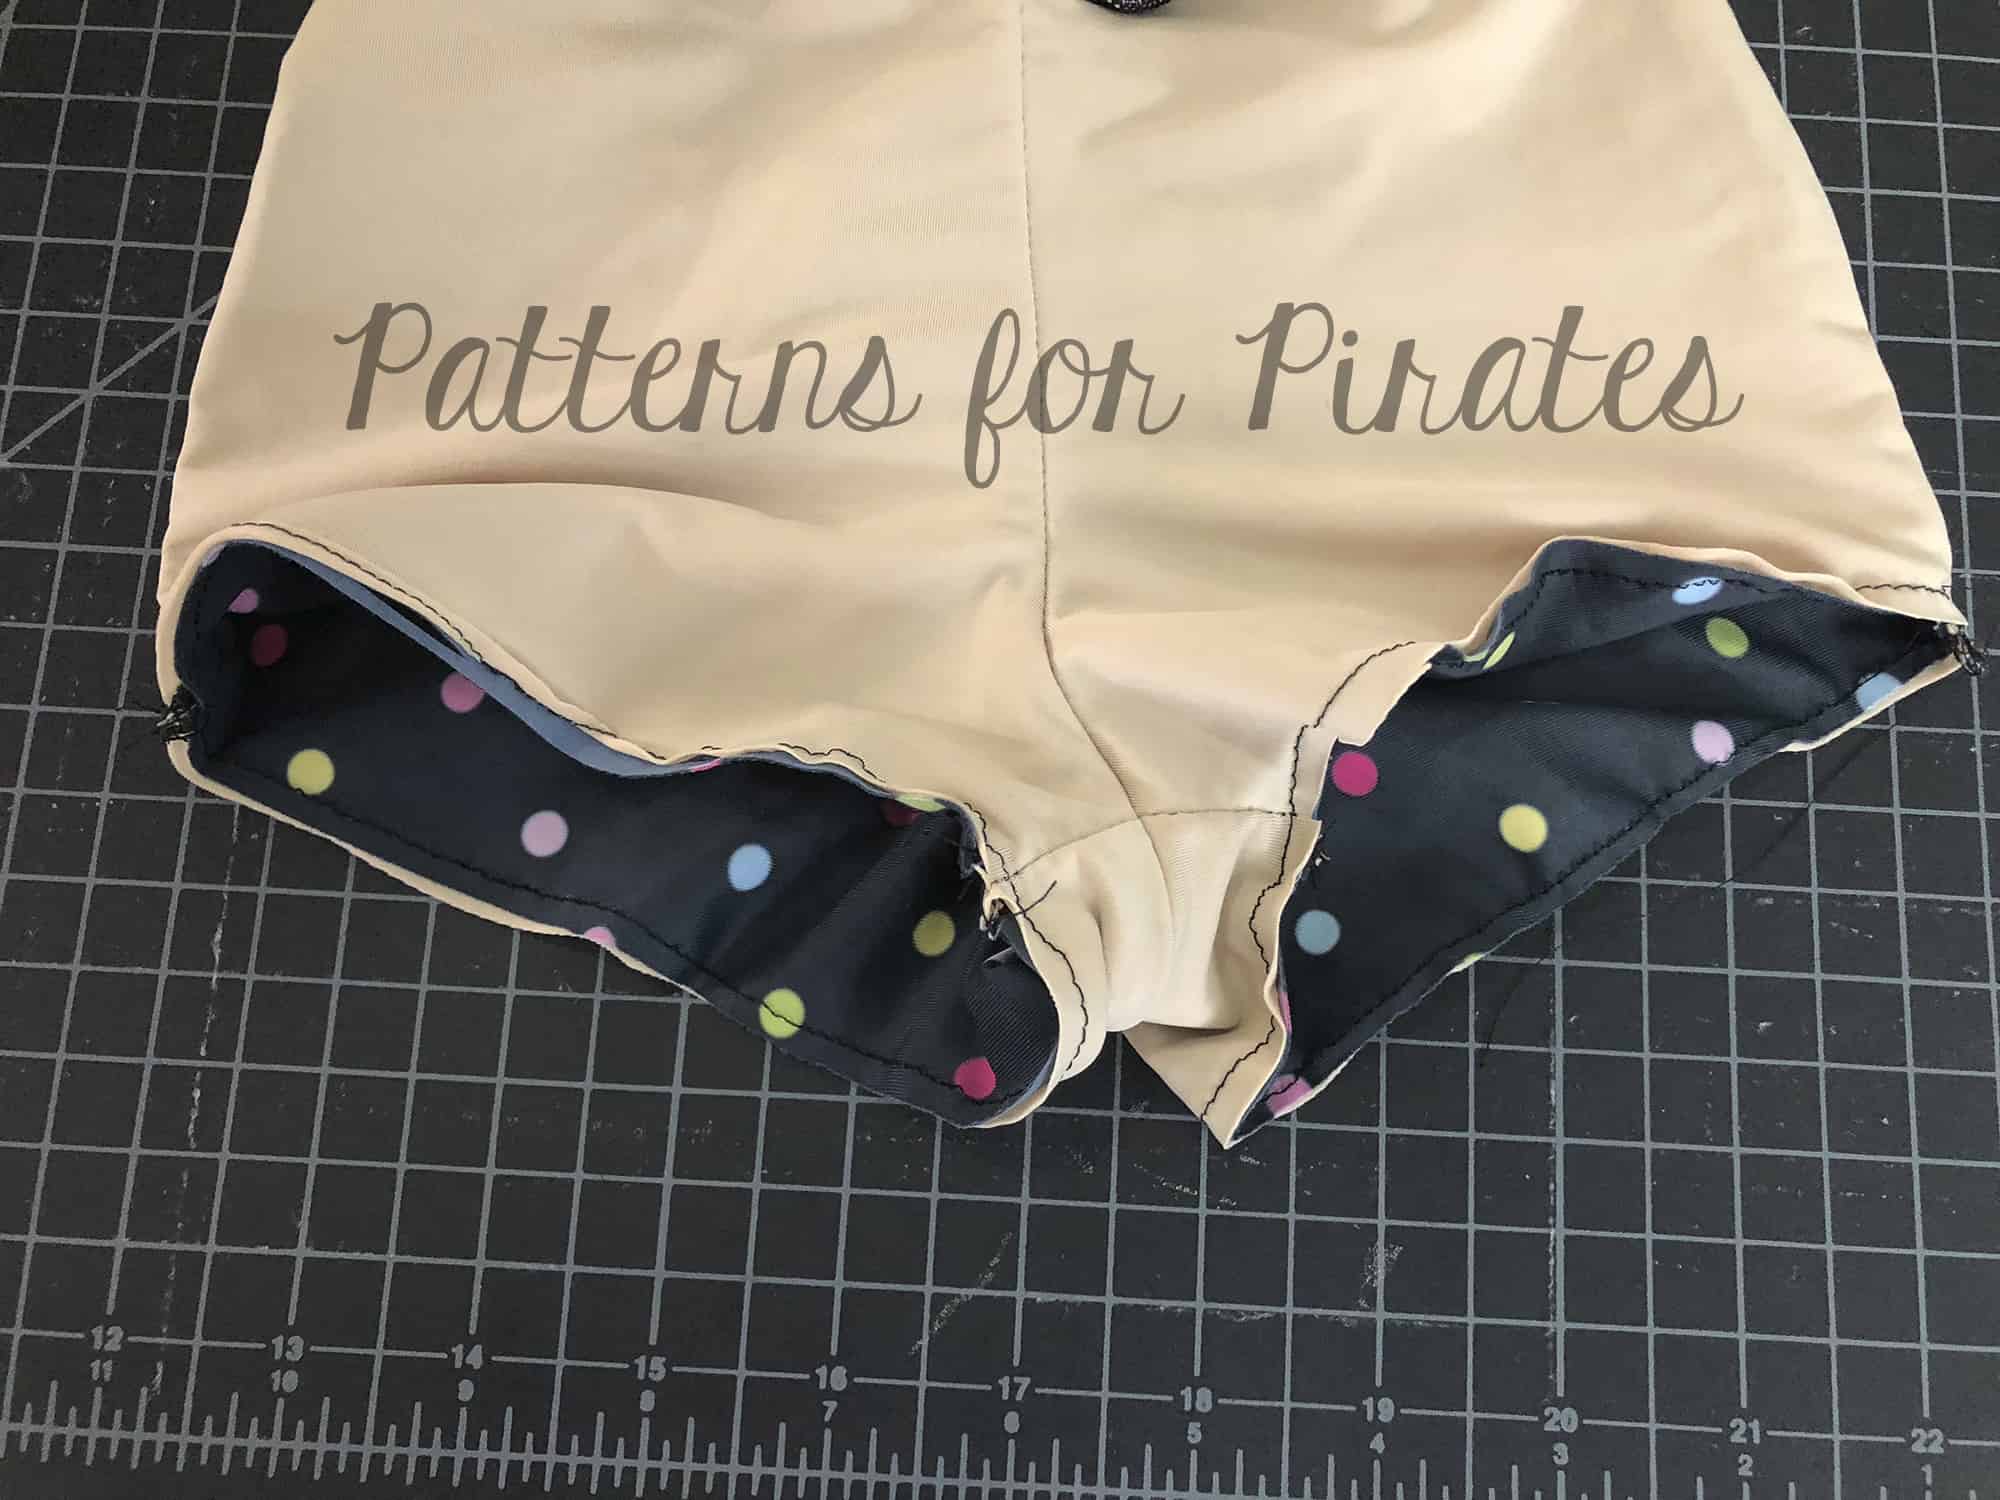
- Baste around the leg openings to keep the lining and main fabric from slipping.
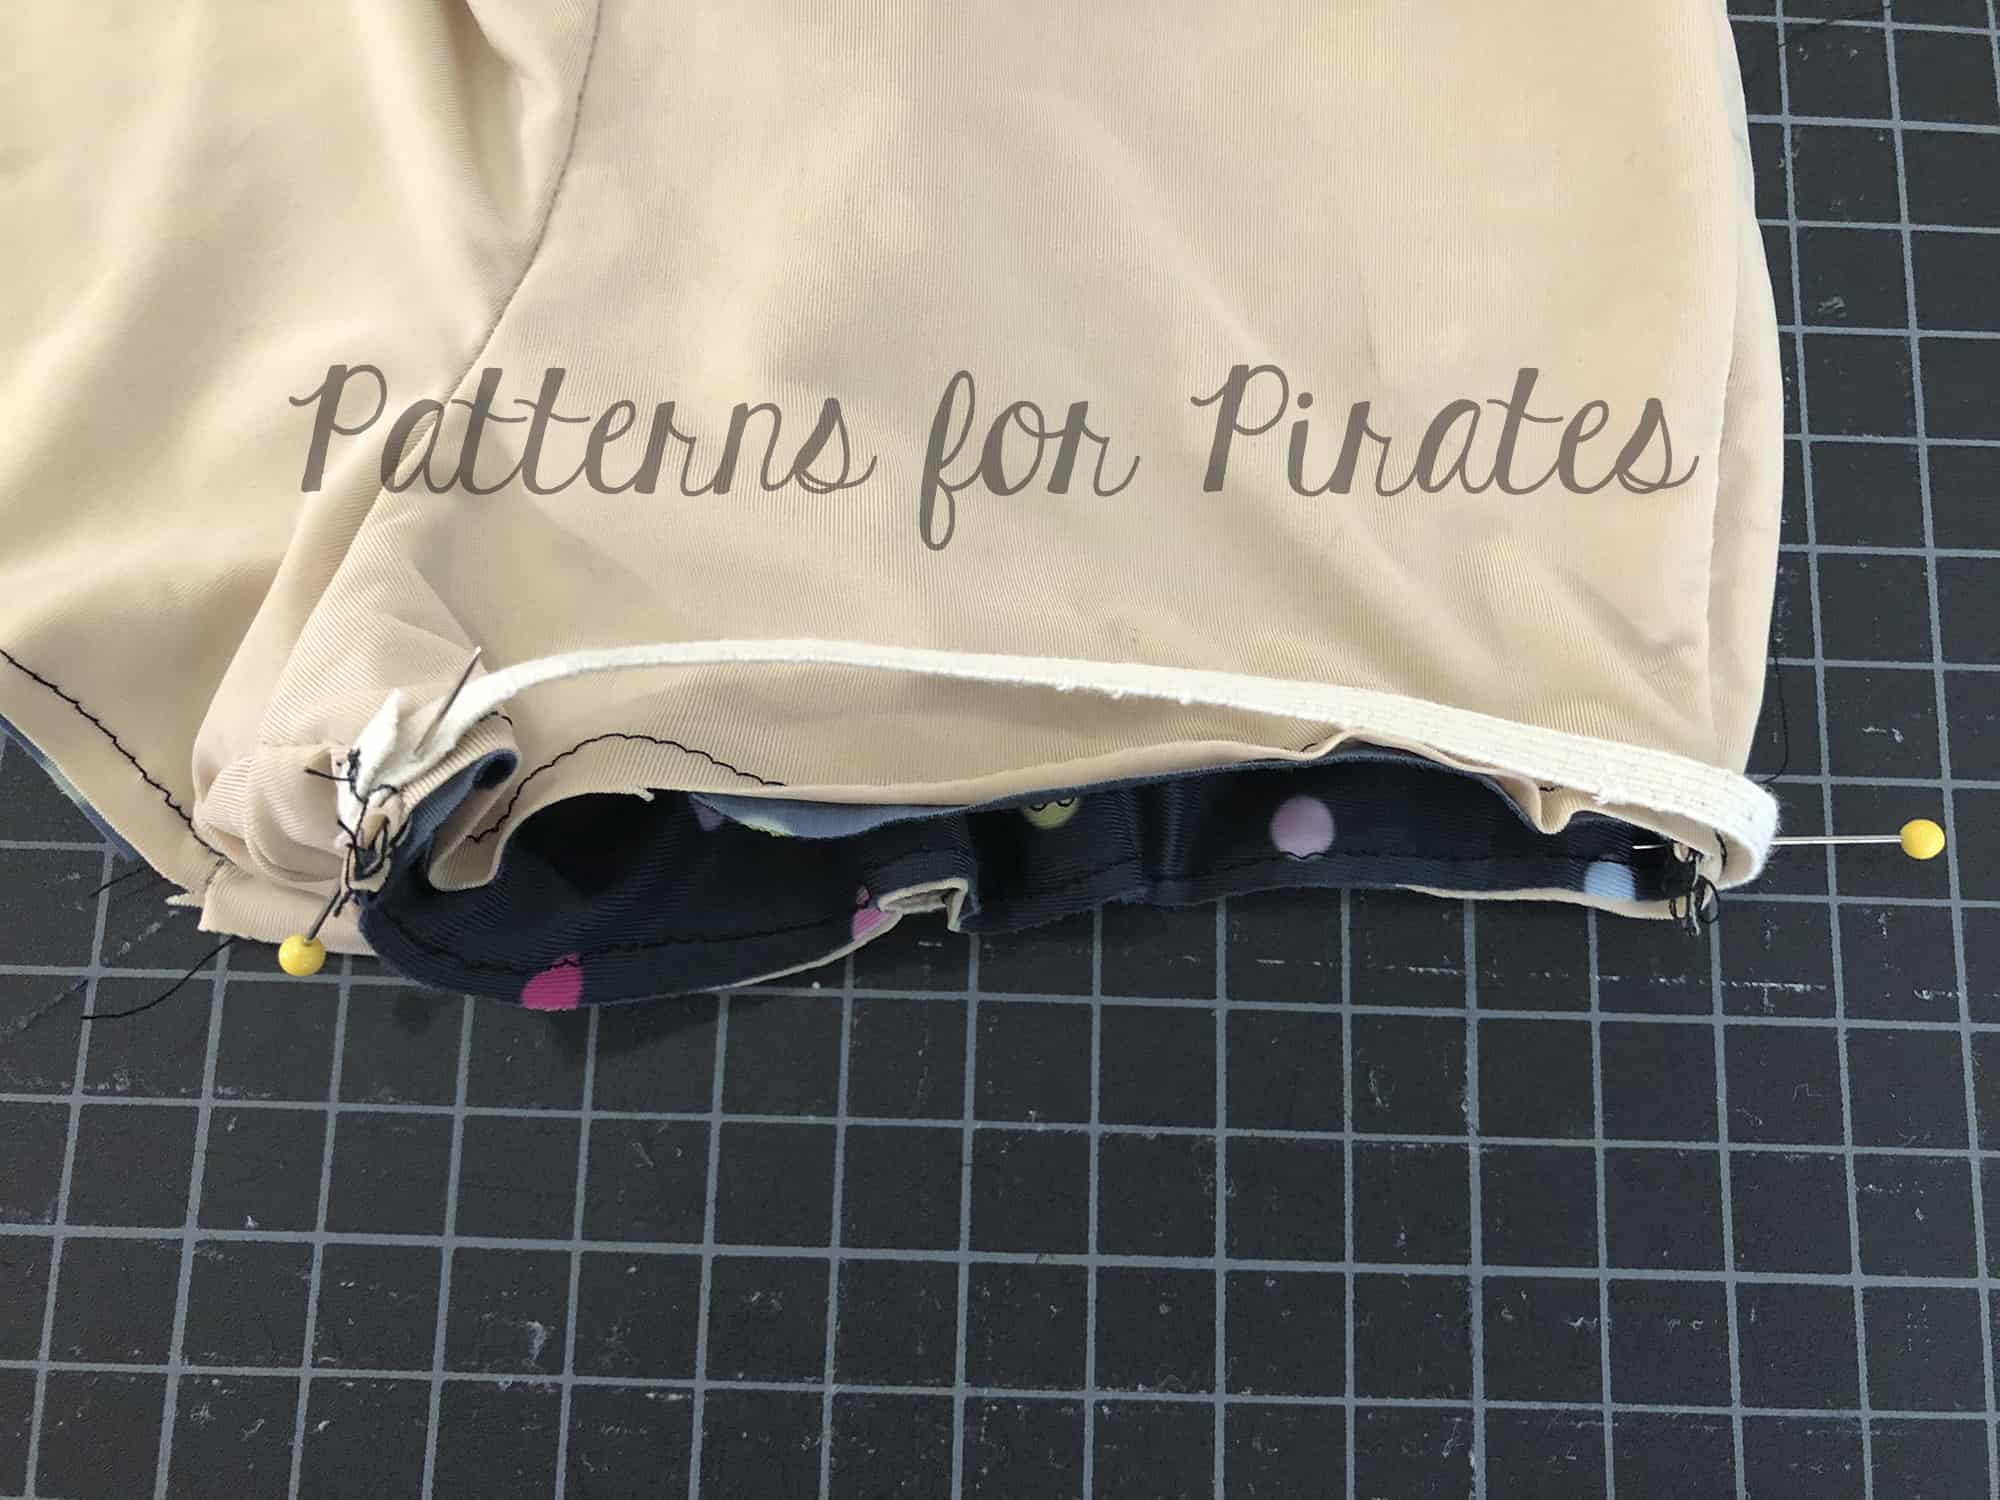
- Mark halfway points on elastic and shorts. Pin or clip elastic to the wrong side (lining side) of the shorts matching halfway points.
- Aligning raw edges, stitch elastic to shorts. If using a serger, do not cut off any fabric.the elastic will butt up to the raw edge of the fabric.
- Fold elastic to the lining side of the shorts and top-stitch using your favorite stretch stitch. Tip: I like to use a narrow zigzag for swimwear.
…..
Grow With Me Loggers
One of the hardest things about sewing for our kiddos is how fast they outgrow items we spend hours making. Well, here is a quick and easy way to make your little one’s Loggers last a bit longer.
You’ll start off by choosing the next size up for your pants. Now print and cut out your pattern pieces making sure to use the yoga style waistband. I went with a low rise for this set but you can choose high rise as well.
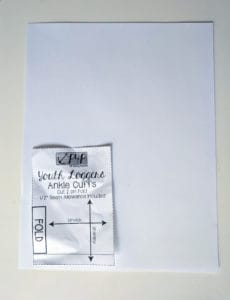
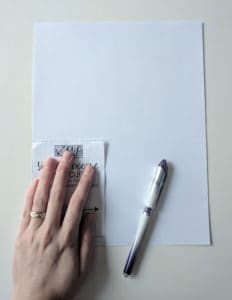
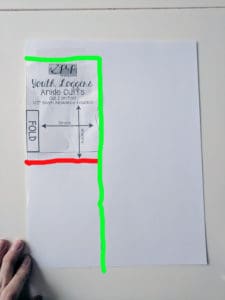
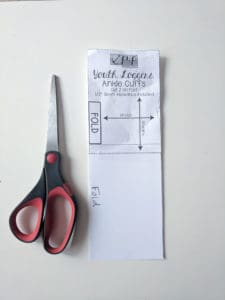
Now go ahead and grab your ankle cuff piece because we are going to be doubling the height of that. I did this by first tracing it on to a blank piece of paper. Then you’ll place it alongside your line edge shown in red so it’s doubled in size but still has the same fold line. Tape it down and then cut out the entire piece as one shown by the green line.
Now cut all your fabric pieces out just as directed!
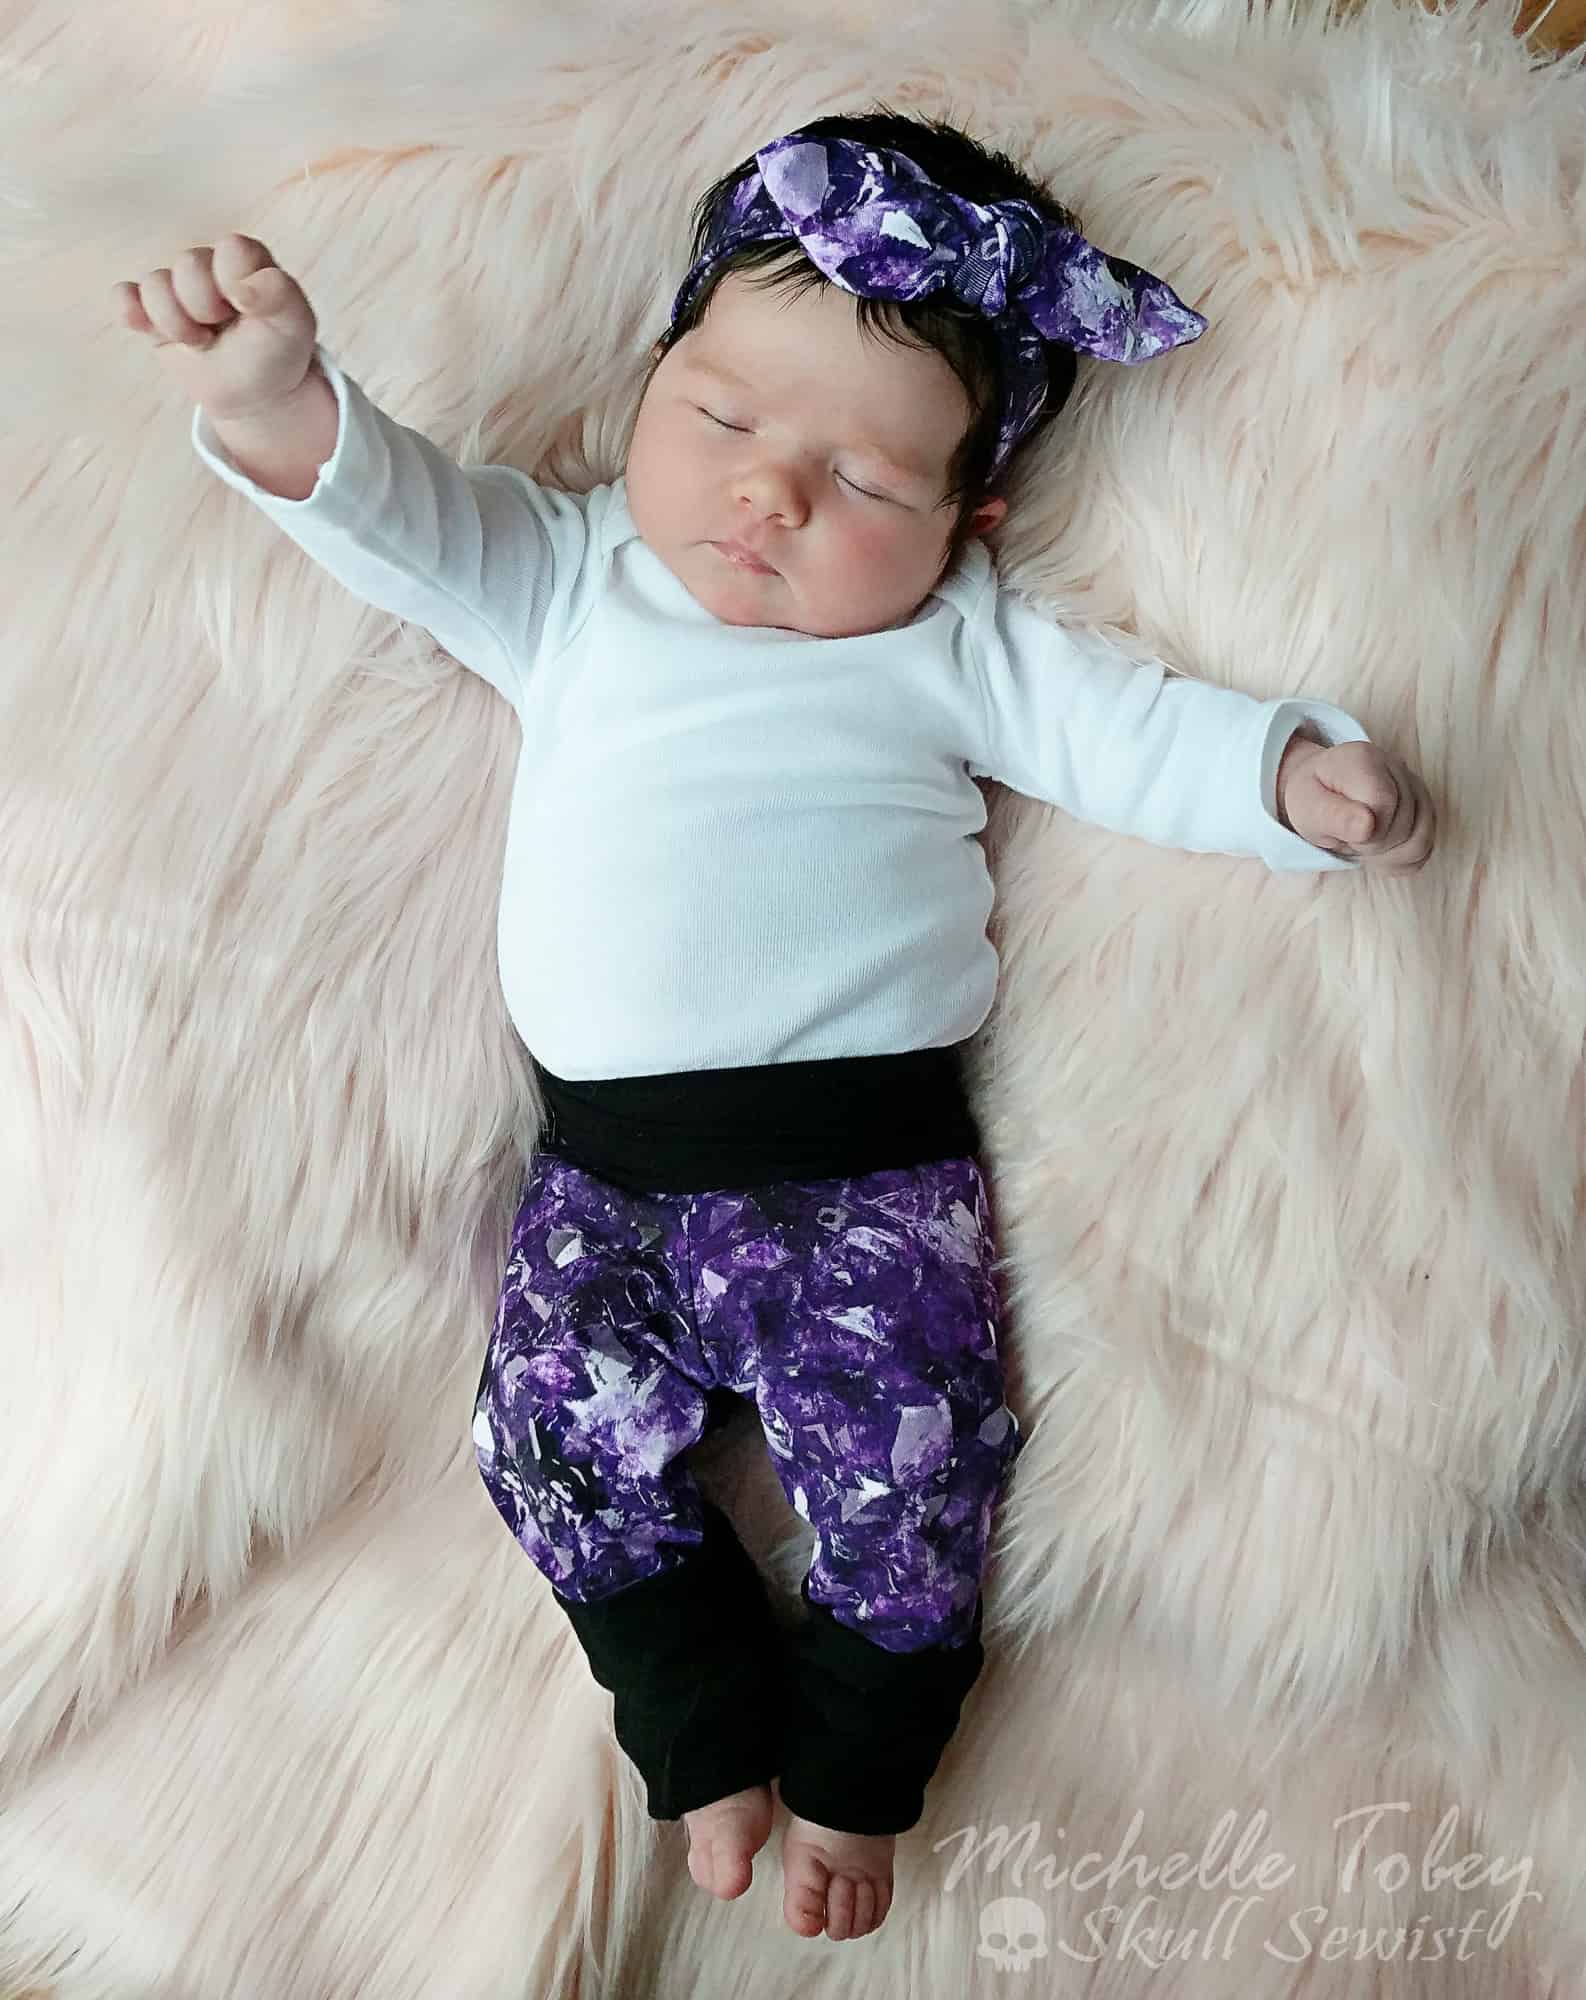
From here you’ll sew up exactly how it’s said to in the tutorial. When it comes to wearing you simply roll the bands to best fit your child. Here is an example of it fully rolled and extended. As you can see my little needs it fully rolled but now she’ll be able to wear them much longer!
Don’t forget to share your creations in our facebook group! We can’t wait to see all your makes!
Michelle
Now that you purchased your Loggers and reviewed all of our easy hacks, time to start sewing. Make yourself or a loved one a pair and don’t forget to show it off in the Patterns for Pirates Sewing Group on Facebook.
The P4P blog team!











silly me. I can’t figure out how to purchase a pattern.